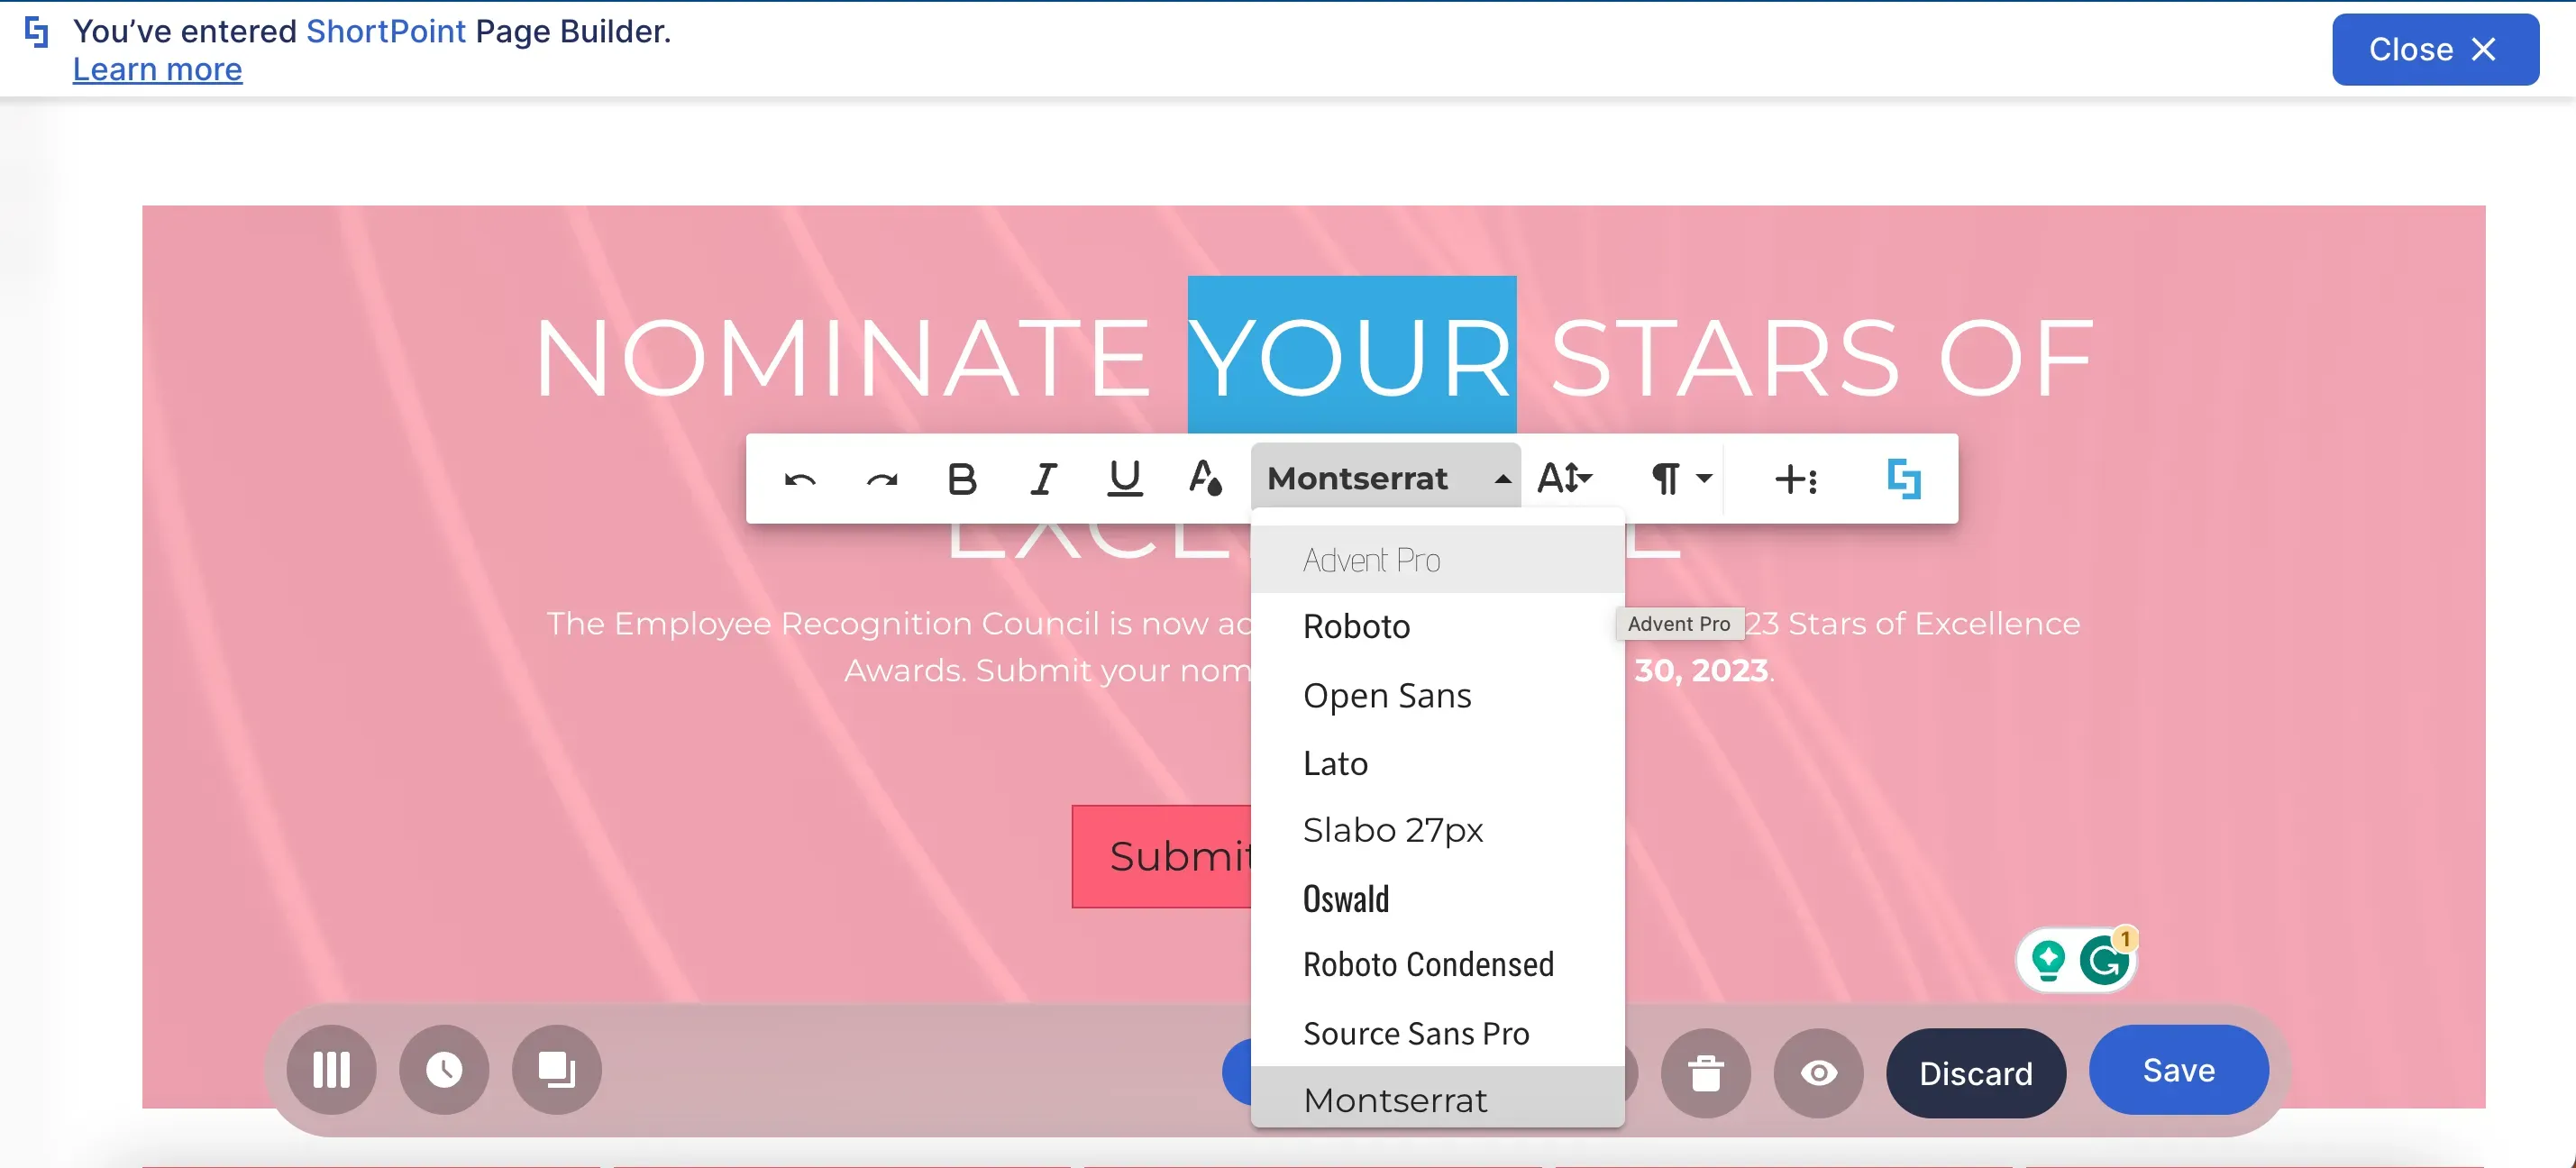

ShortPoint Theme Builder Basics
Apply brand fonts and typography
Applying your brand's font and text style enhances the readability of your site, keeps your users interested, and, most importantly, enables your site to accurately reflect your brand. In this lesson, you will learn how to update the font used on your SharePoint site using ShortPoint Theme Builder. You will also learn how to upload custom fonts and apply different fonts for different elements on your site.

Selecting a base font
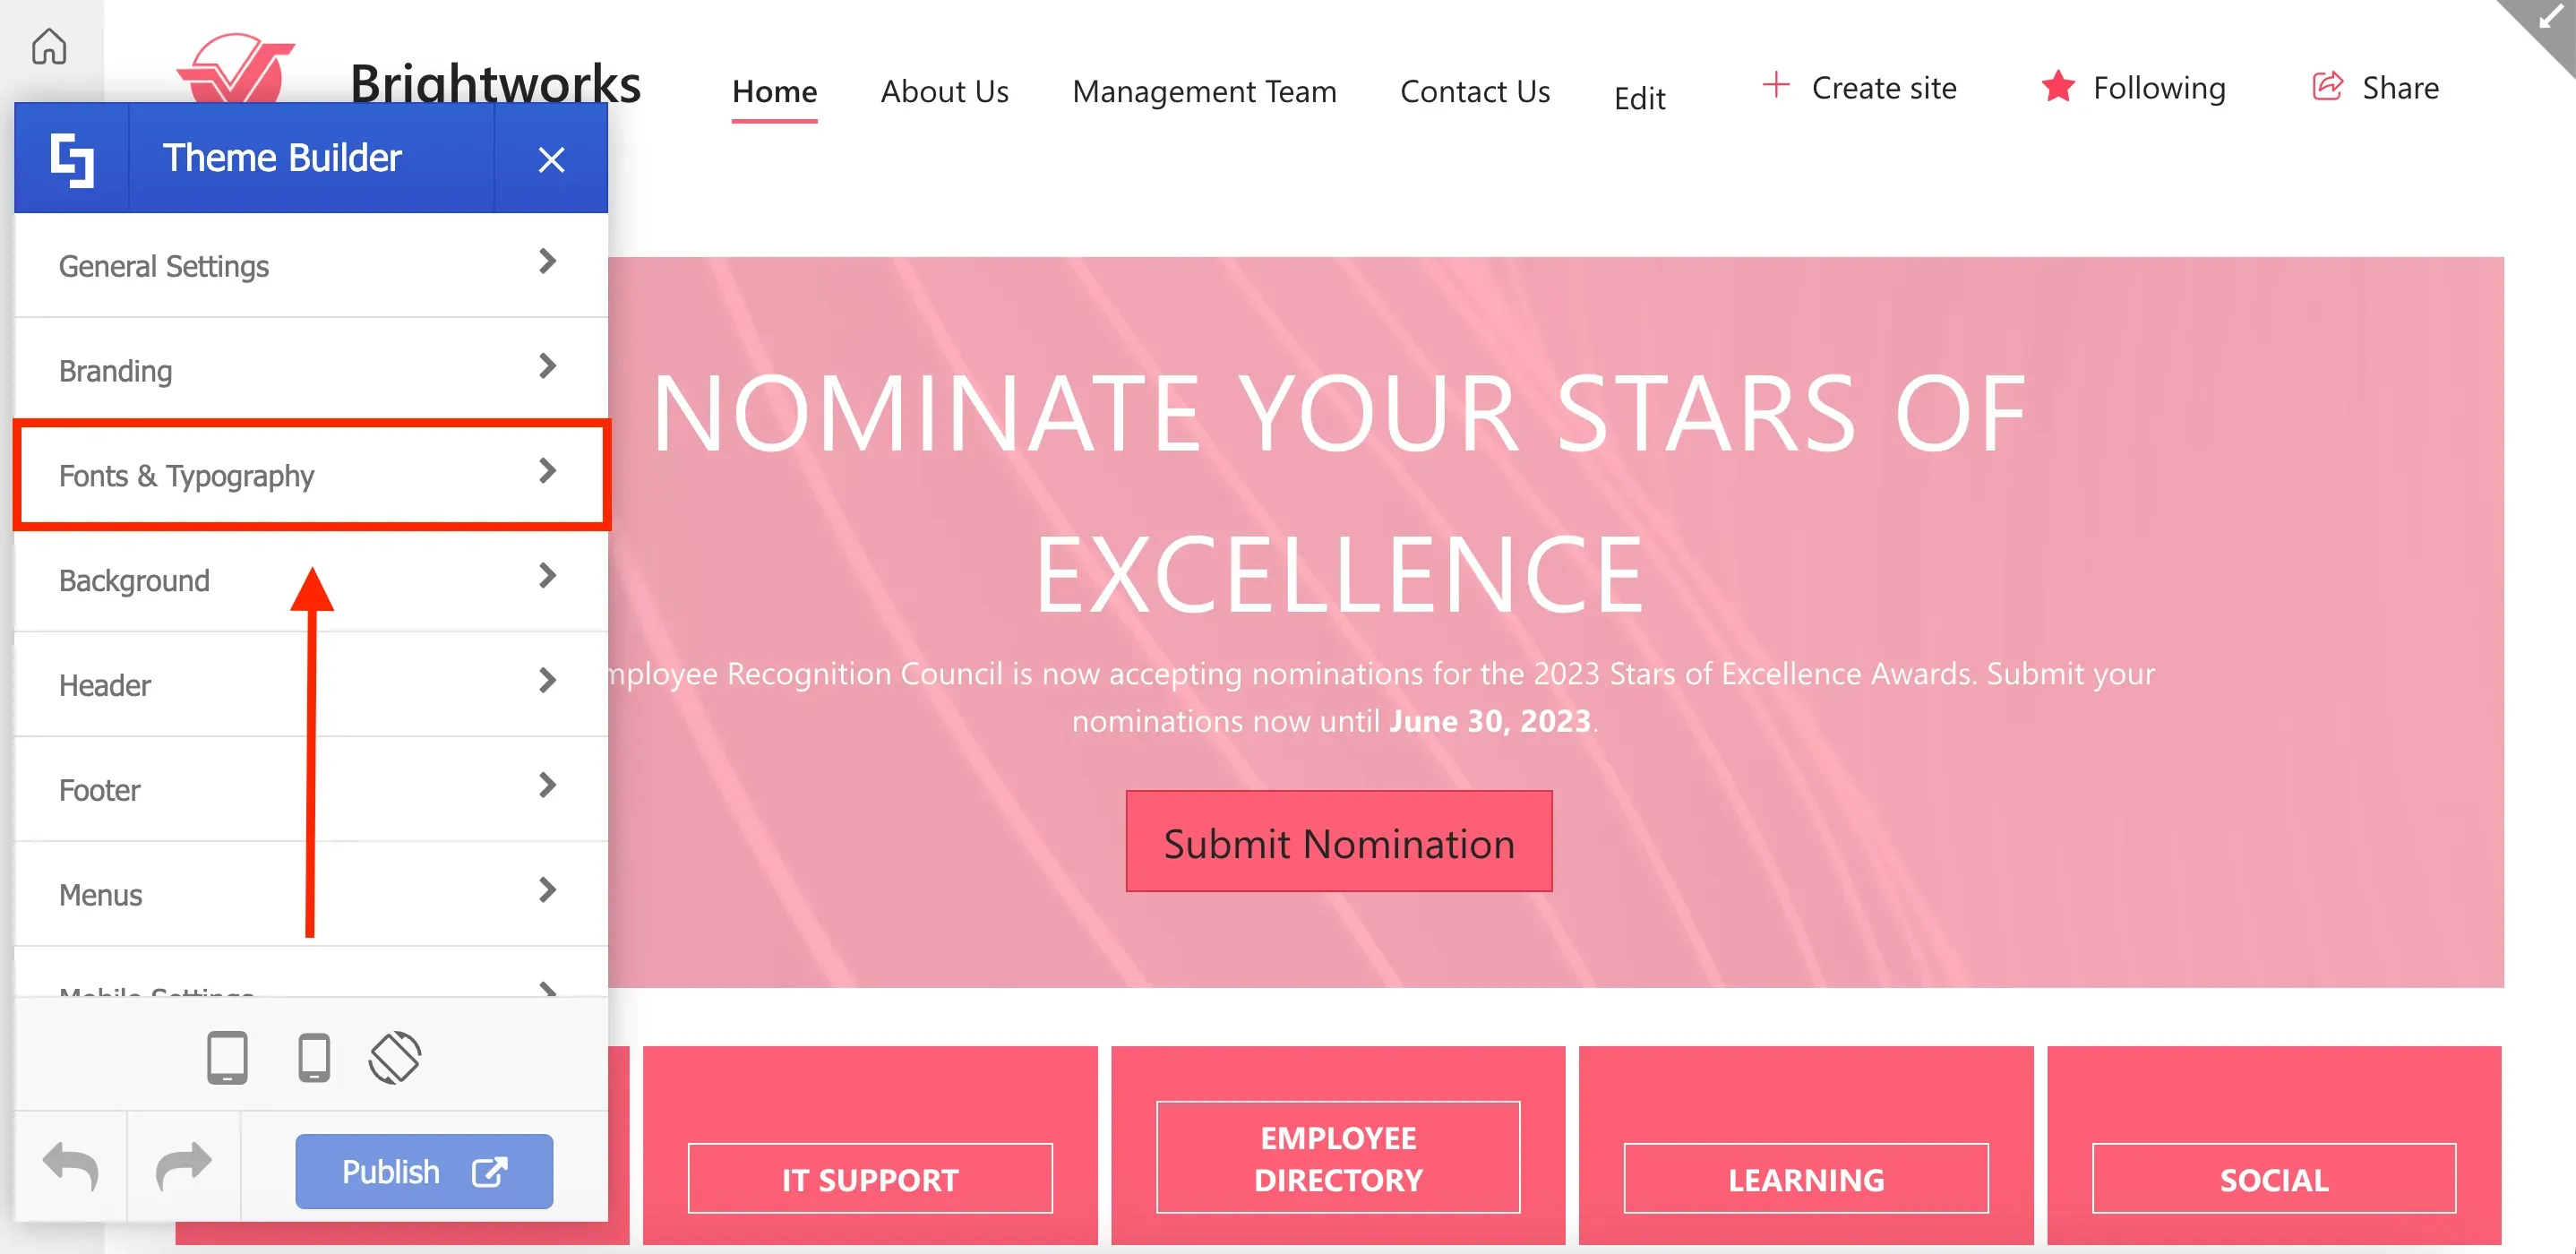
ShortPoint Theme Builder includes a dedicated section for customizing fonts and typography on your site. To begin, launch Theme Builder and select Fonts & Typography.
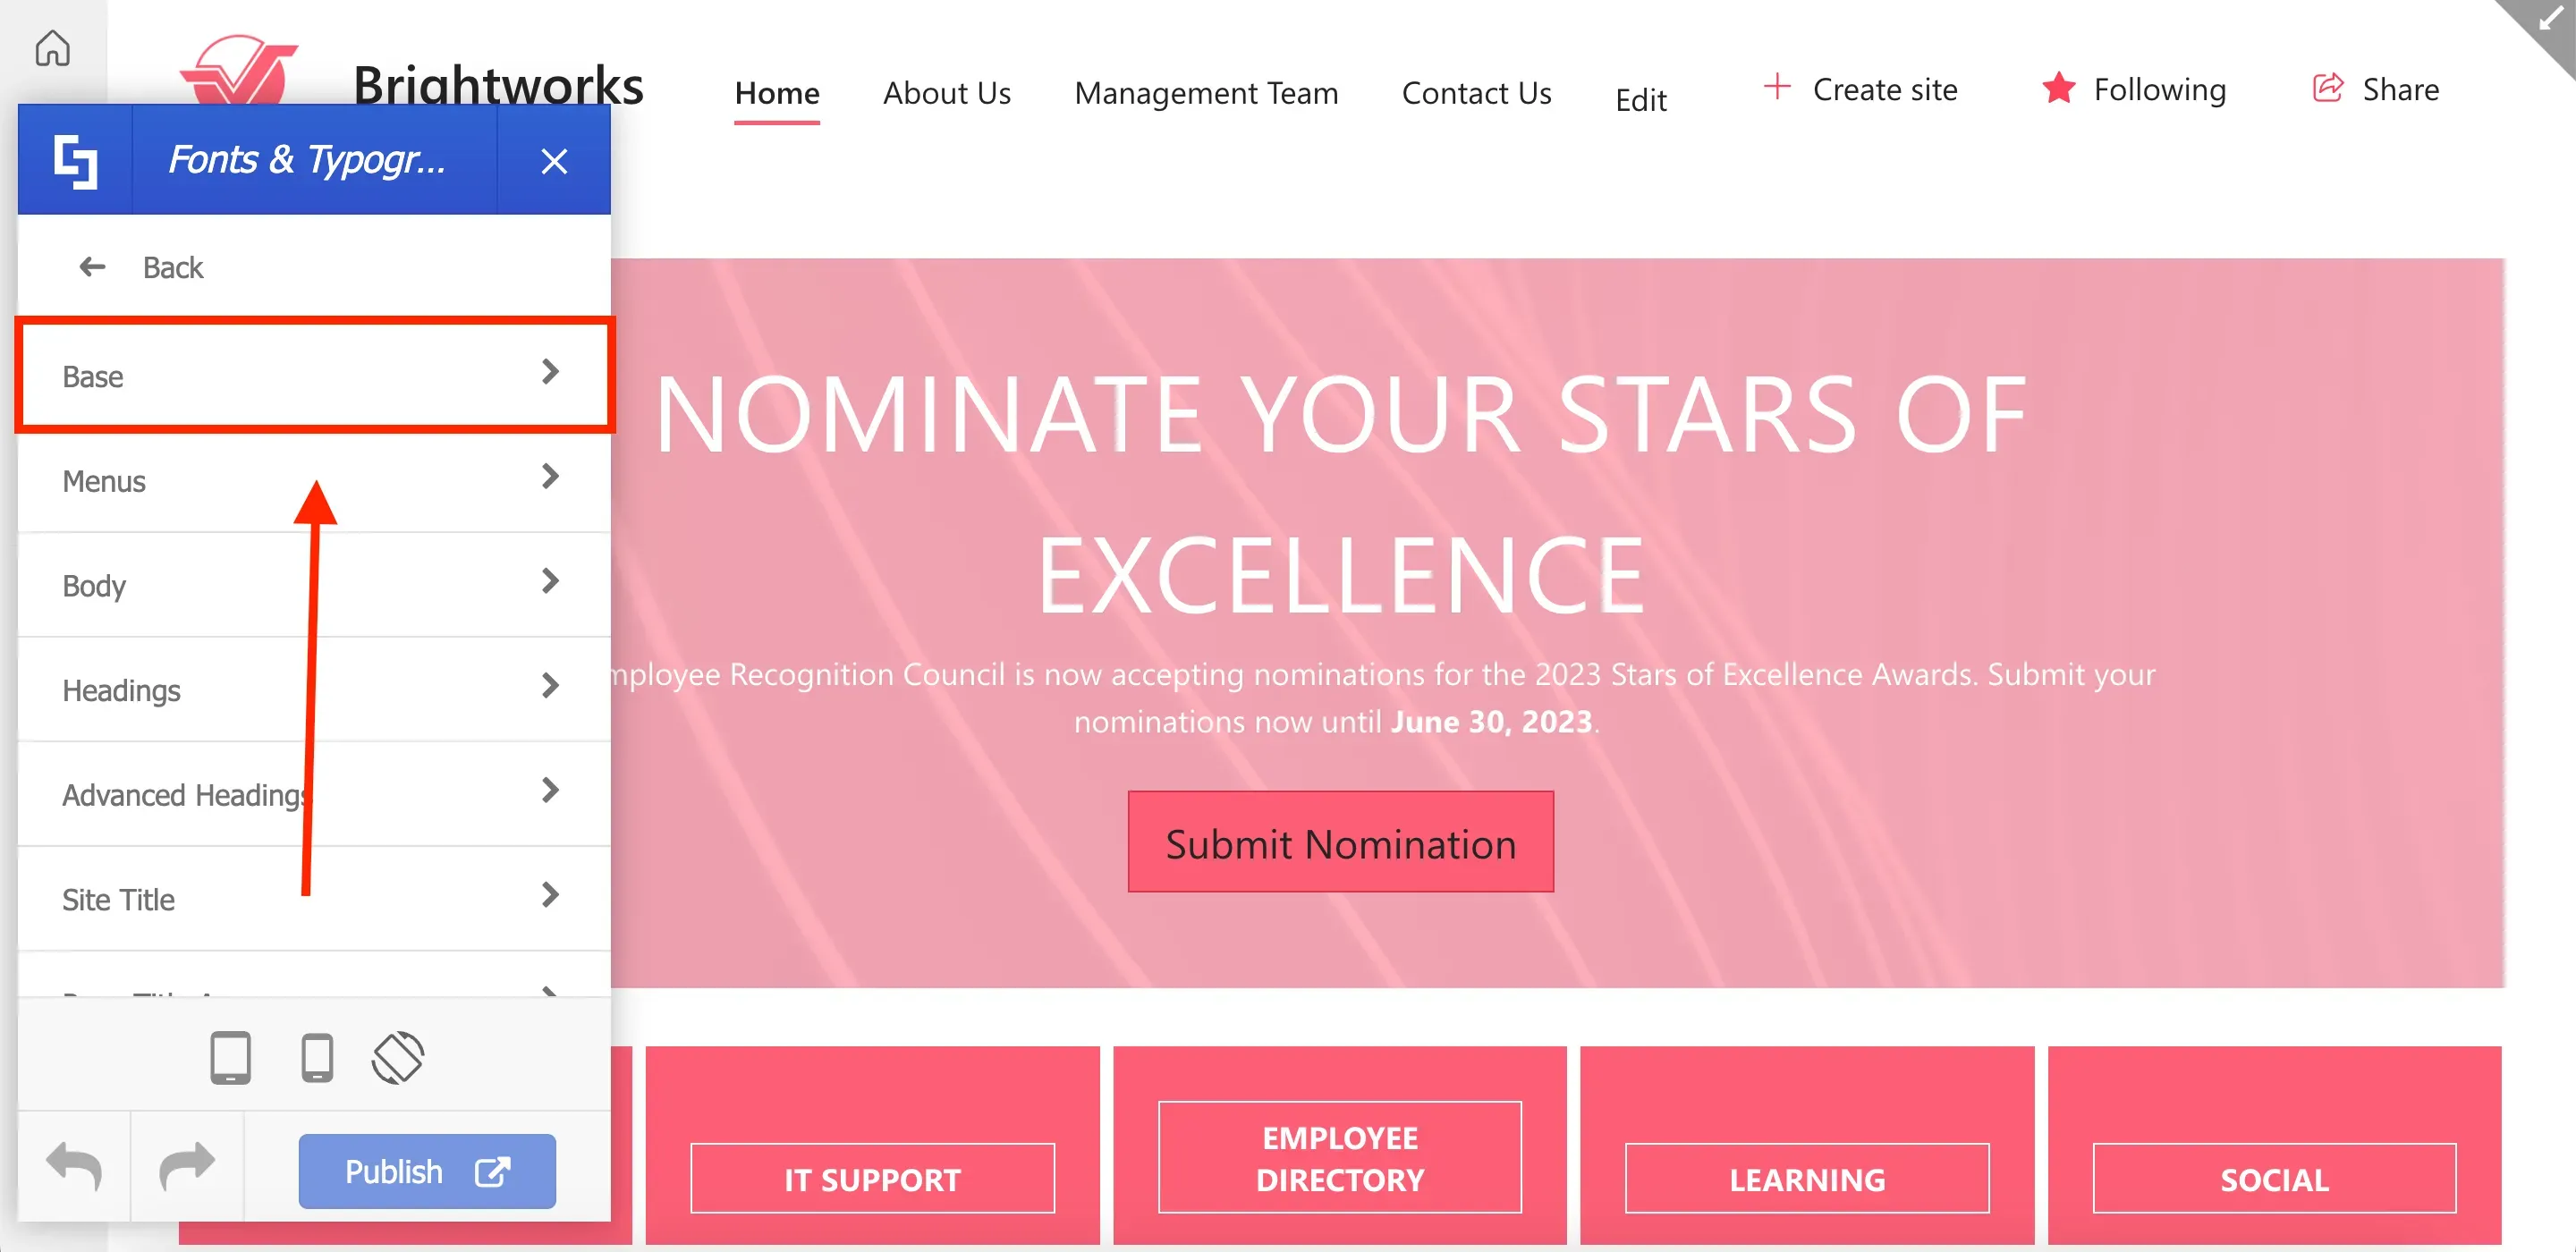
Then, select Base.
In the Font dropdown, you'll find a range of available fonts to select from. The font you choose will serve as the default font for all text. For this guide, we will select Montserrat.
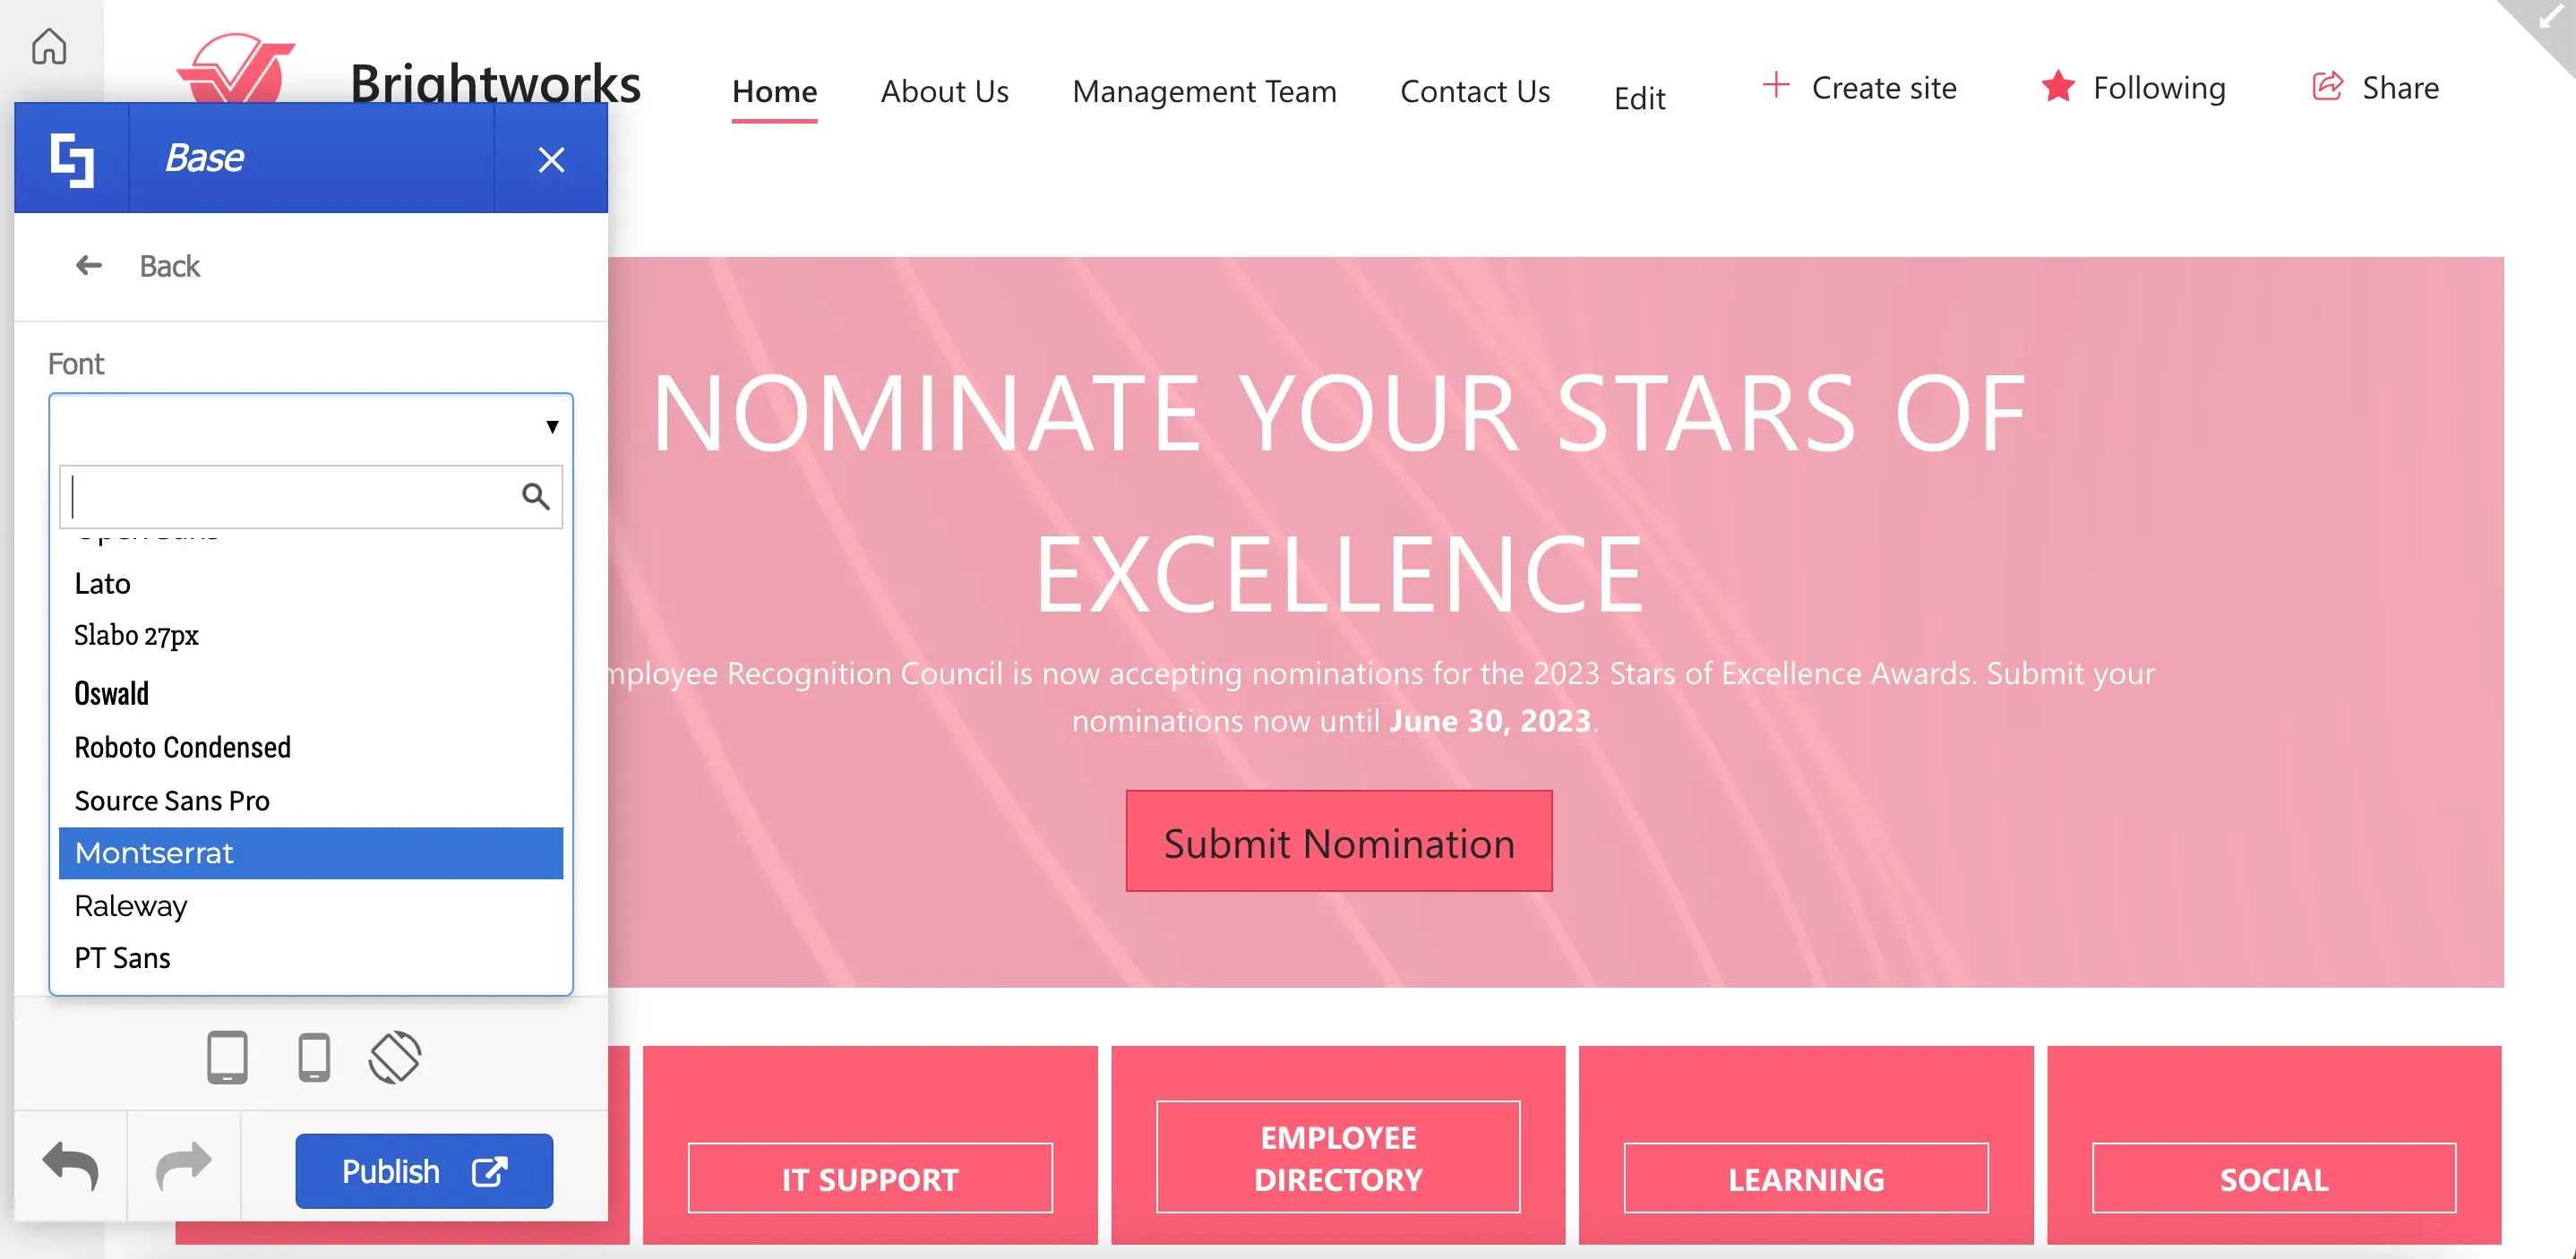
Once you've chosen a font, additional options for font styles will become accessible. Choose any option you prefer.
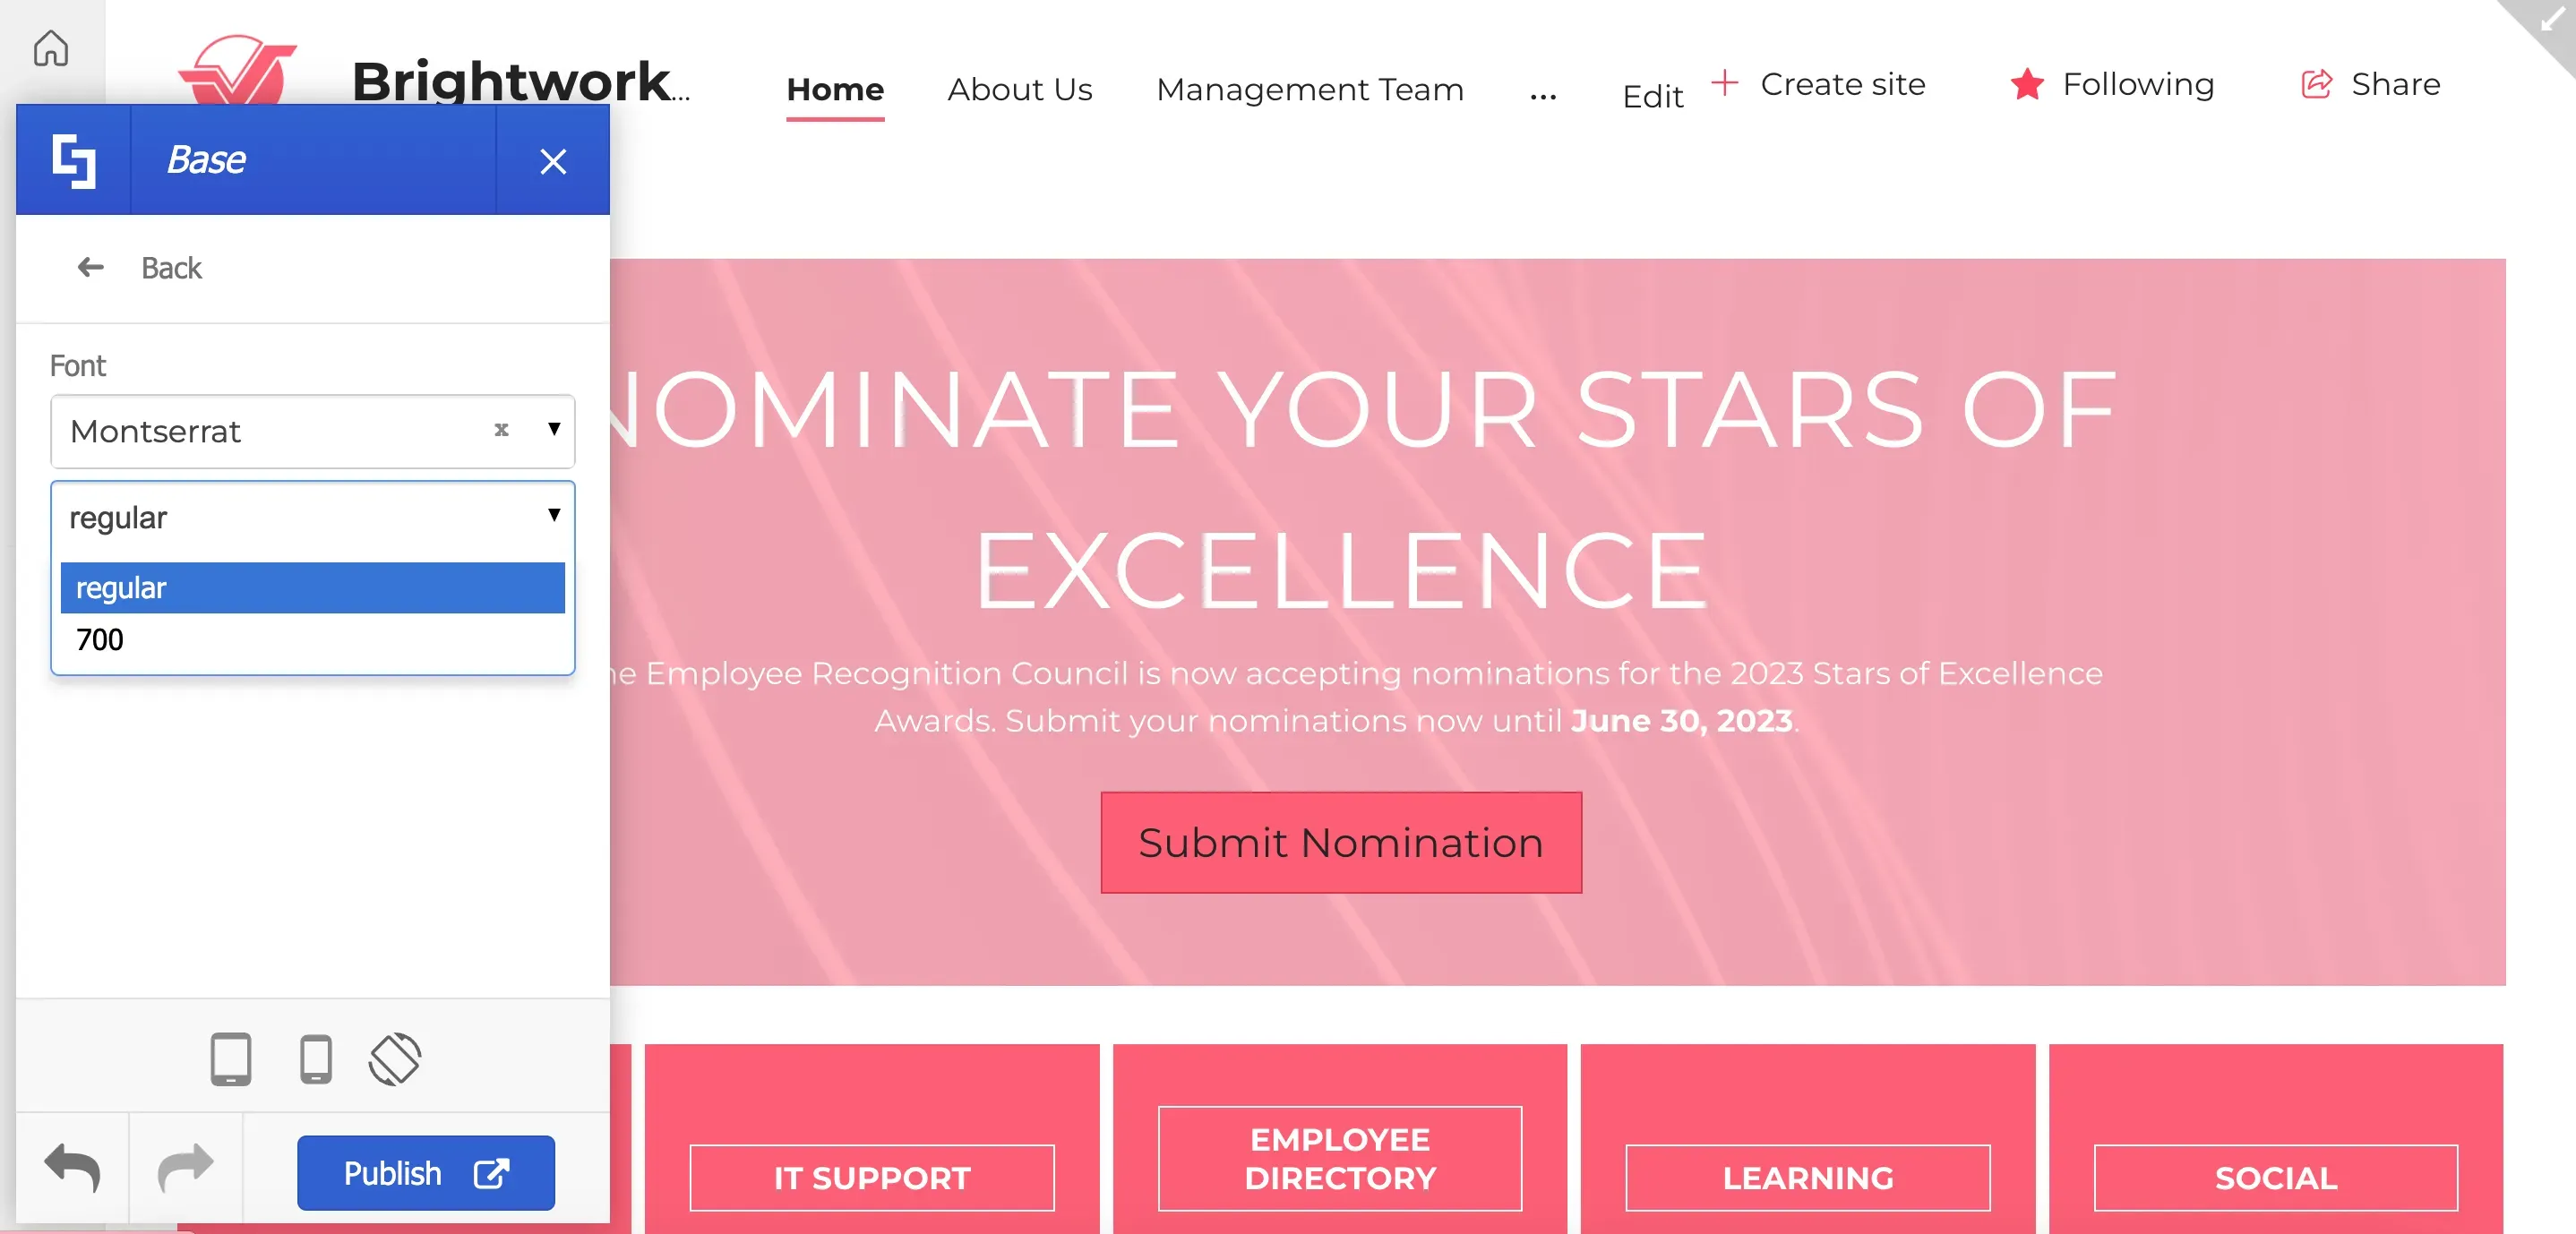
You will notice that the changes you make will be applied in real-time. Keep in mind that these customizations won't be visible to other users until you click Publish. This gives you the freedom to experiment with different fonts until you discover the perfect match for your requirements.

In addition to the Base font, you have the option to assign distinct fonts, font styles, and font settings, to specific page elements on your site.

For example, if you want to apply headings specifications from your brand guidelines, select Headings.
Setting font and typography for text elements
Here, you can specify and customize different aspects of your heading font.

You can also go to Advanced Headings to apply brand specifications for each heading style.

This will allow you to further customize each heading font & style.
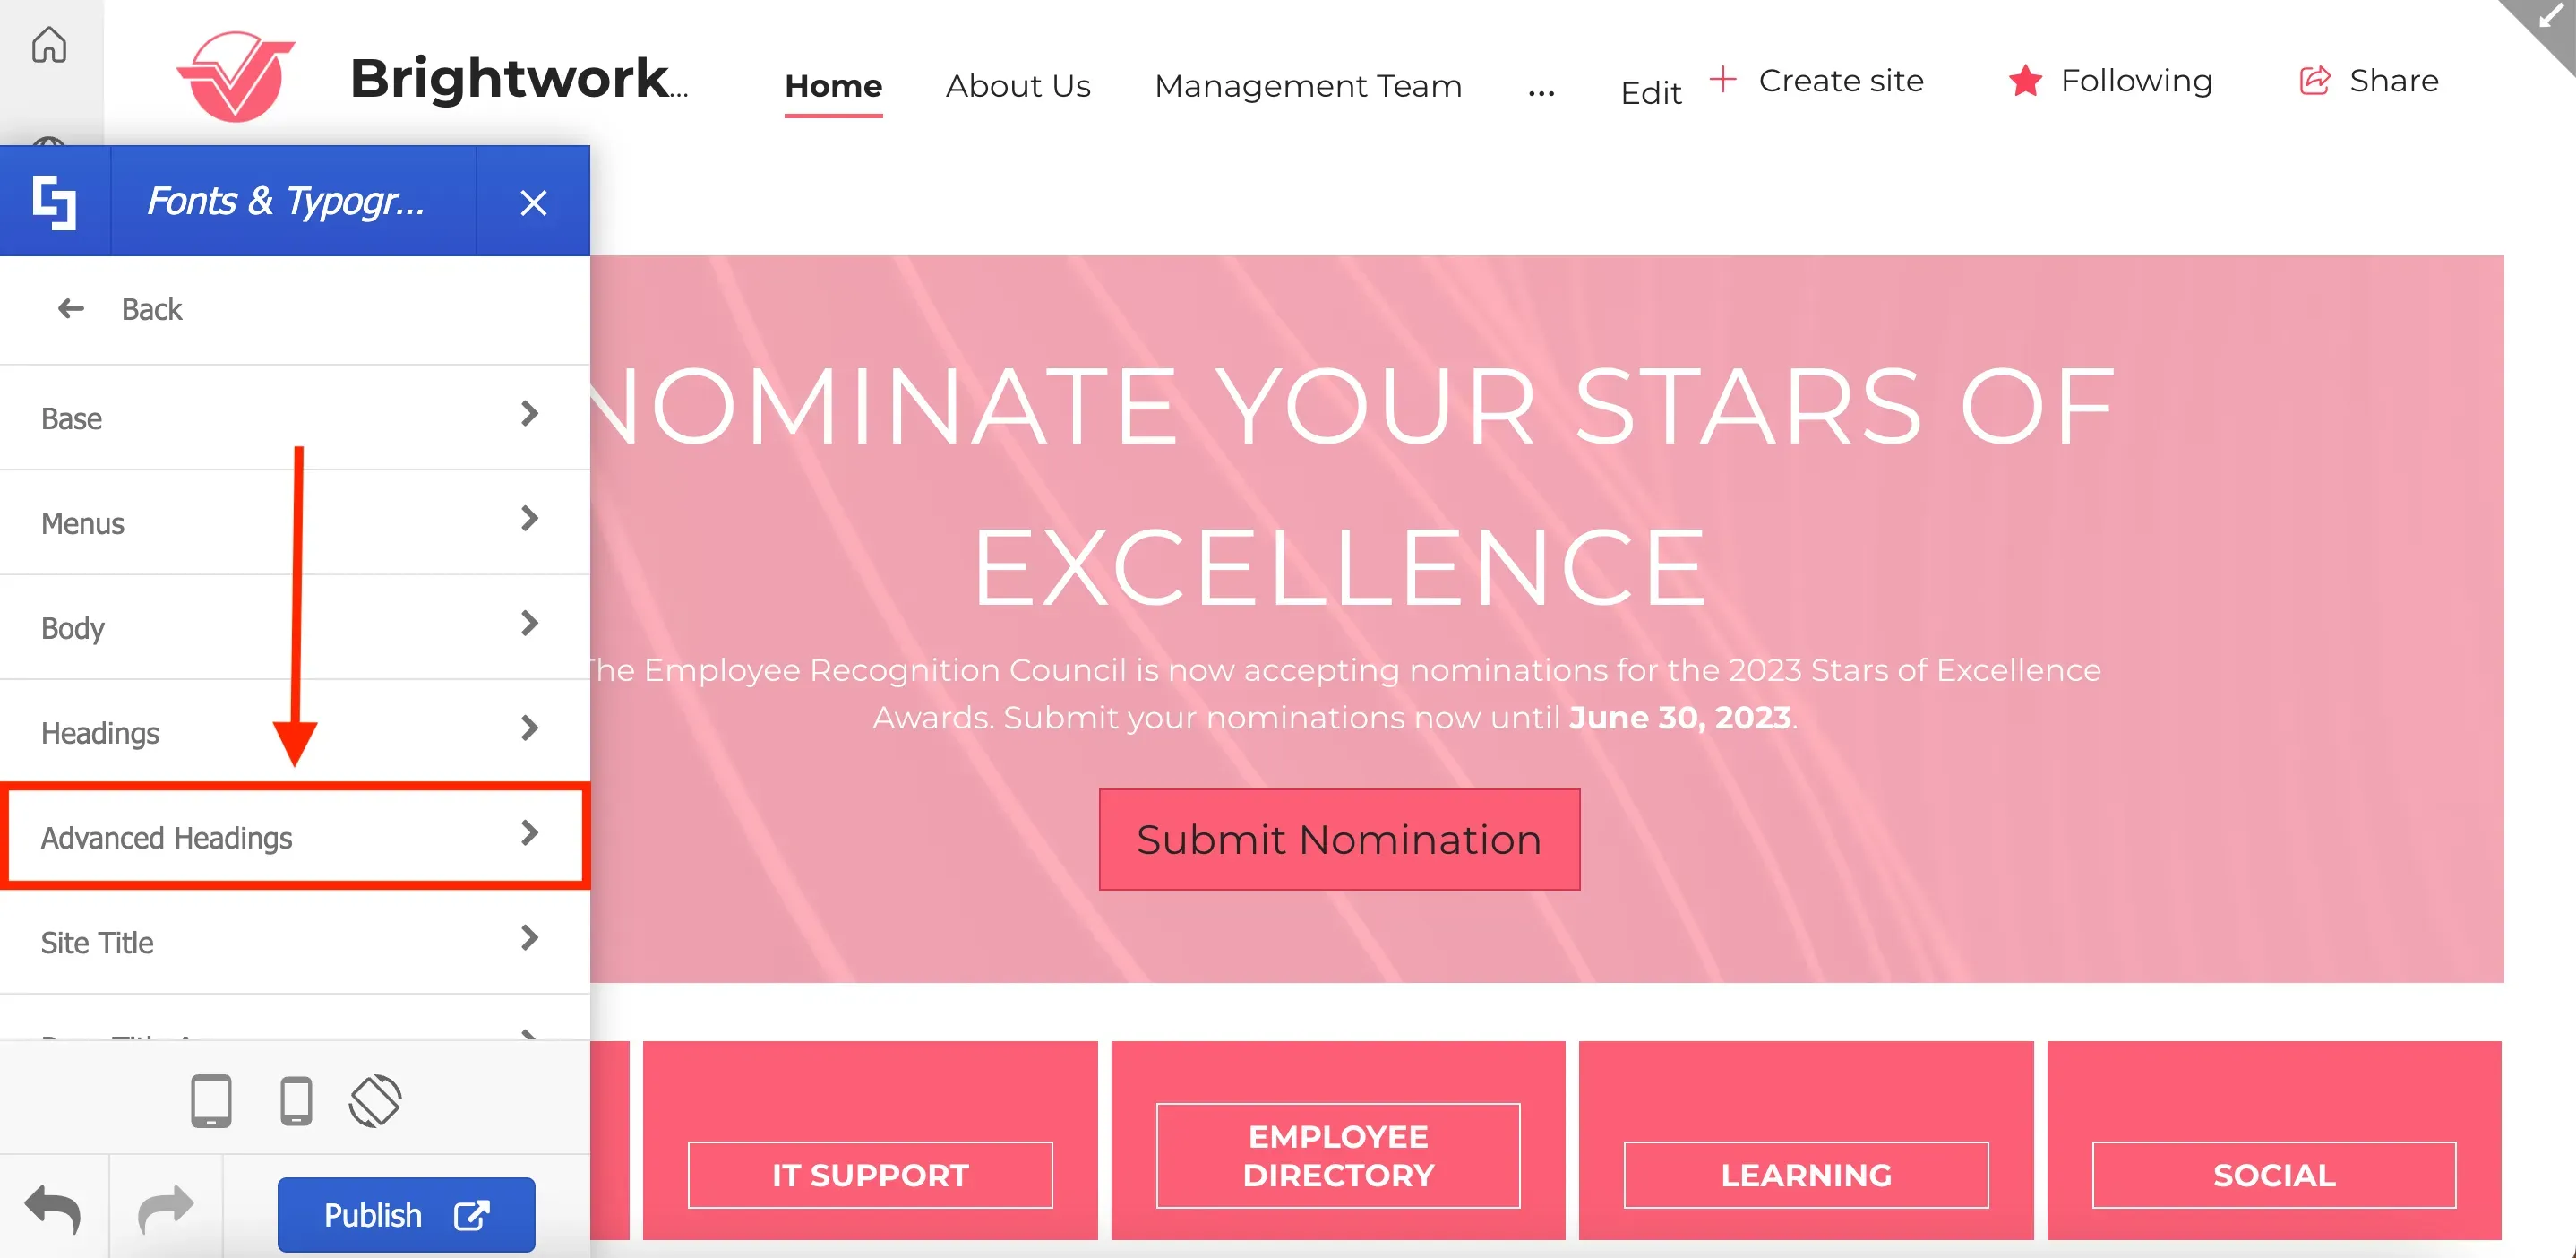
Now, let's explore custom fonts. If your brand utilizes a font that is not in the list of fonts available, you can upload them using ShortPoint Theme Builder.

To do so, go to the main menu and select Utilities.

From there, select Custom Fonts.

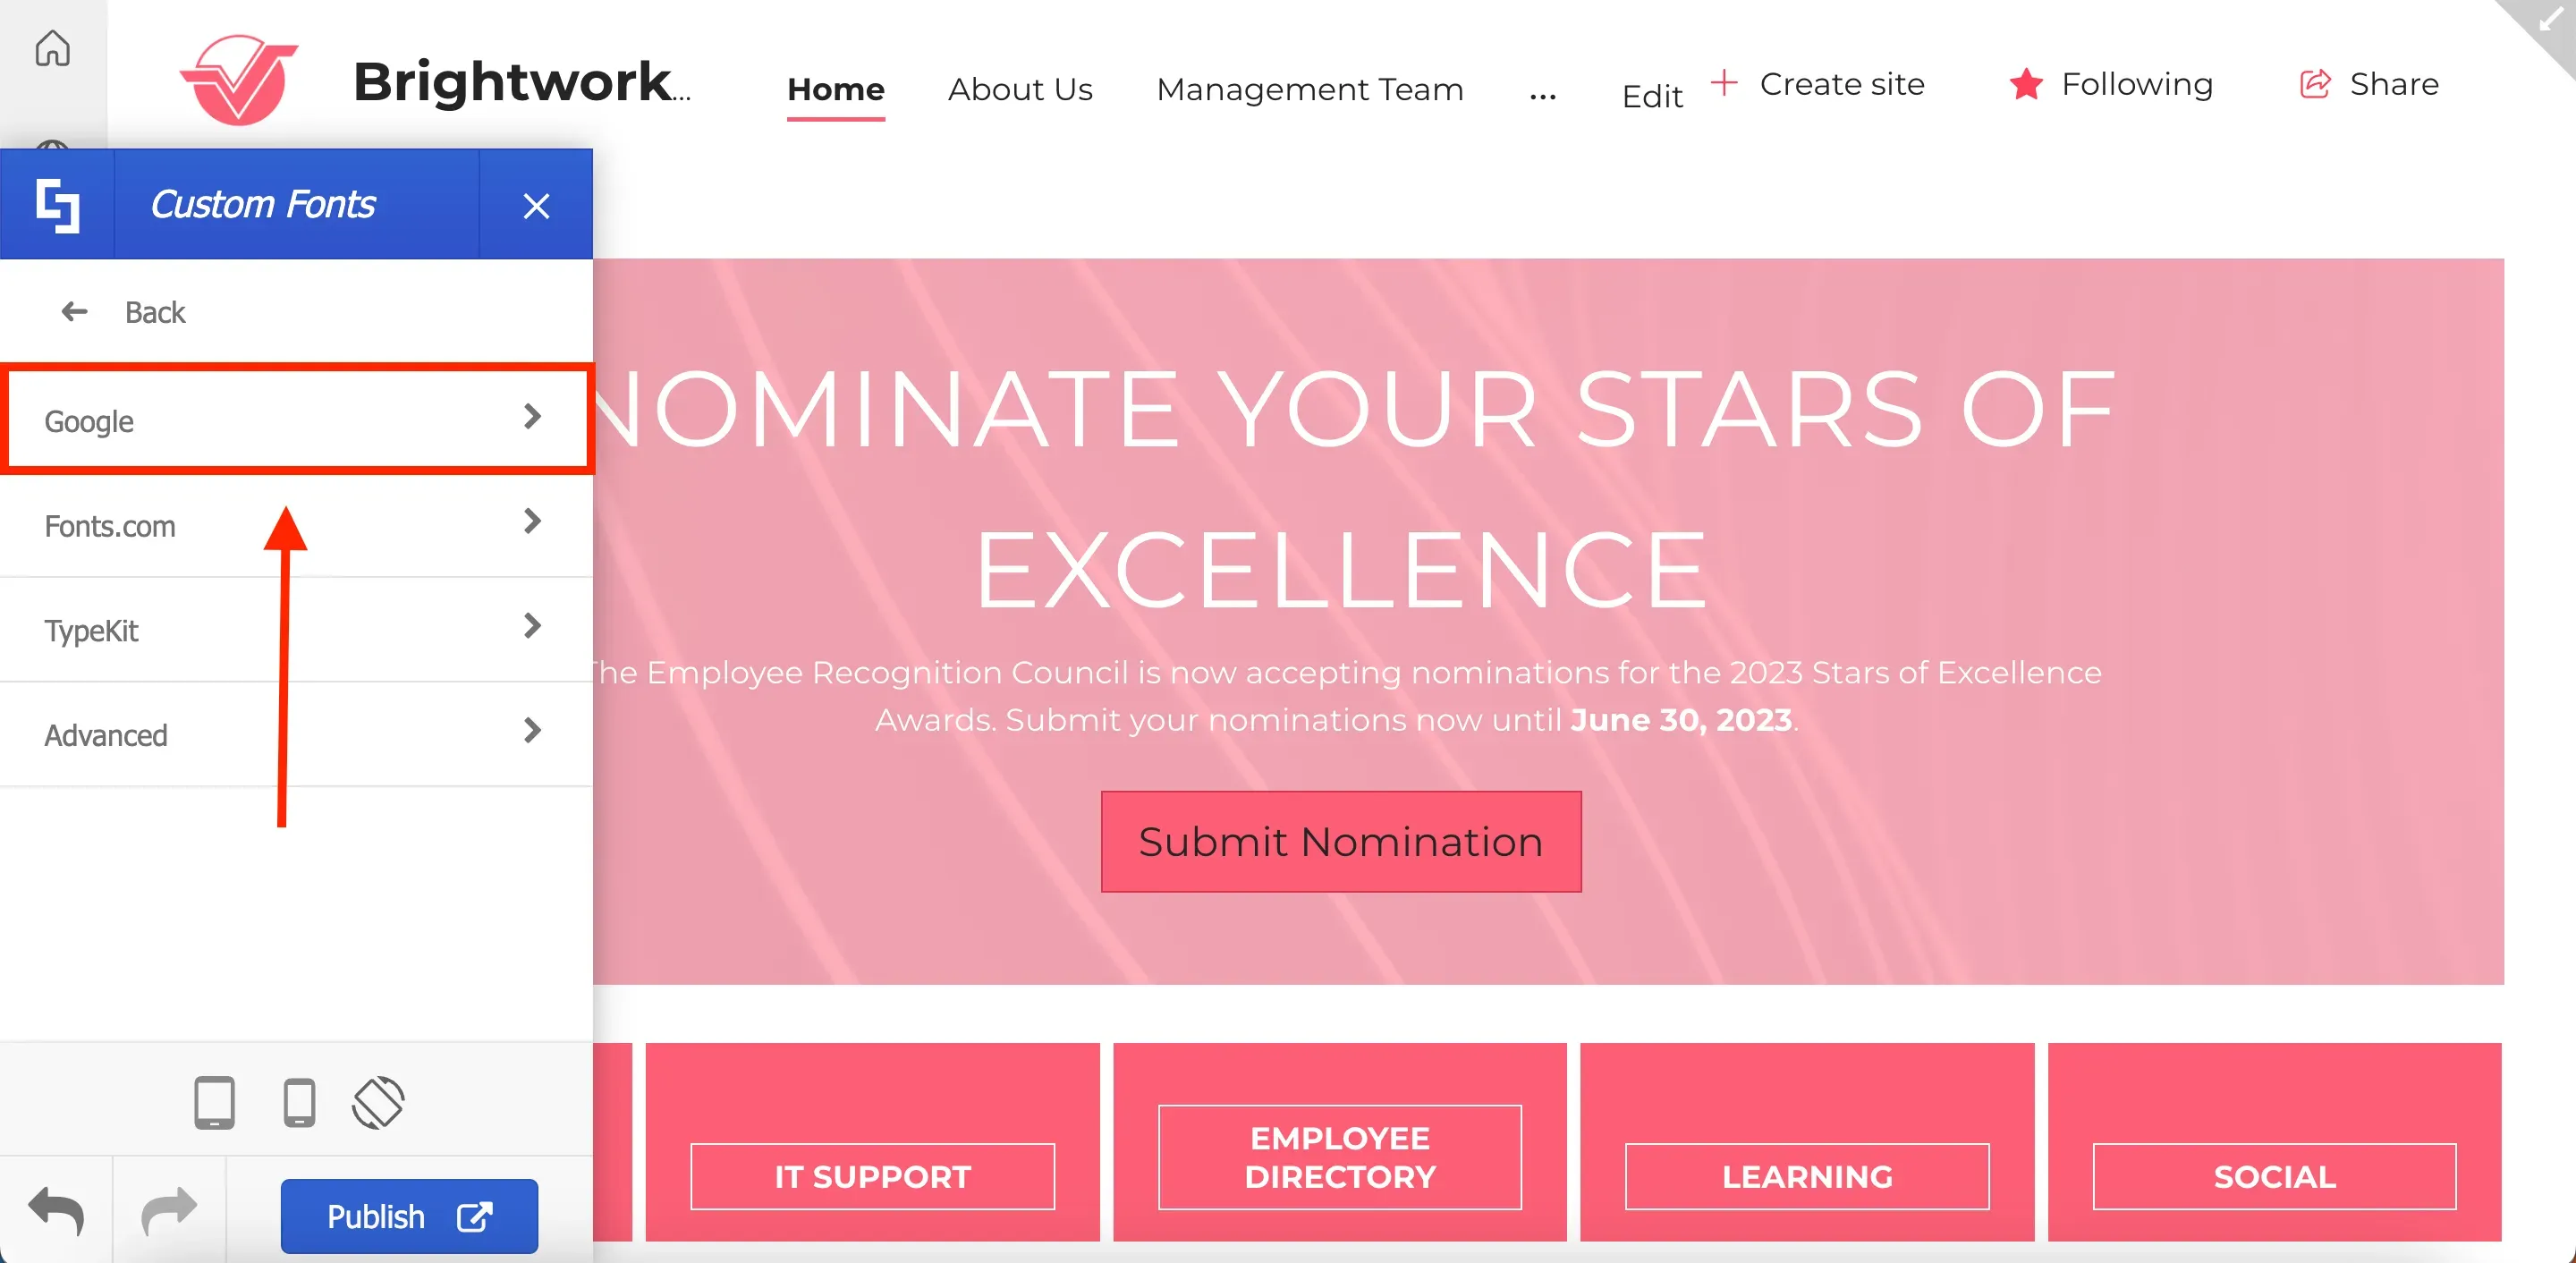
Here, you will find a collection of commonly used font sources including Google, Fonts.com, TypeKit, and Advanced. For this guide, we will add a new Google font.
Uploading custom fonts
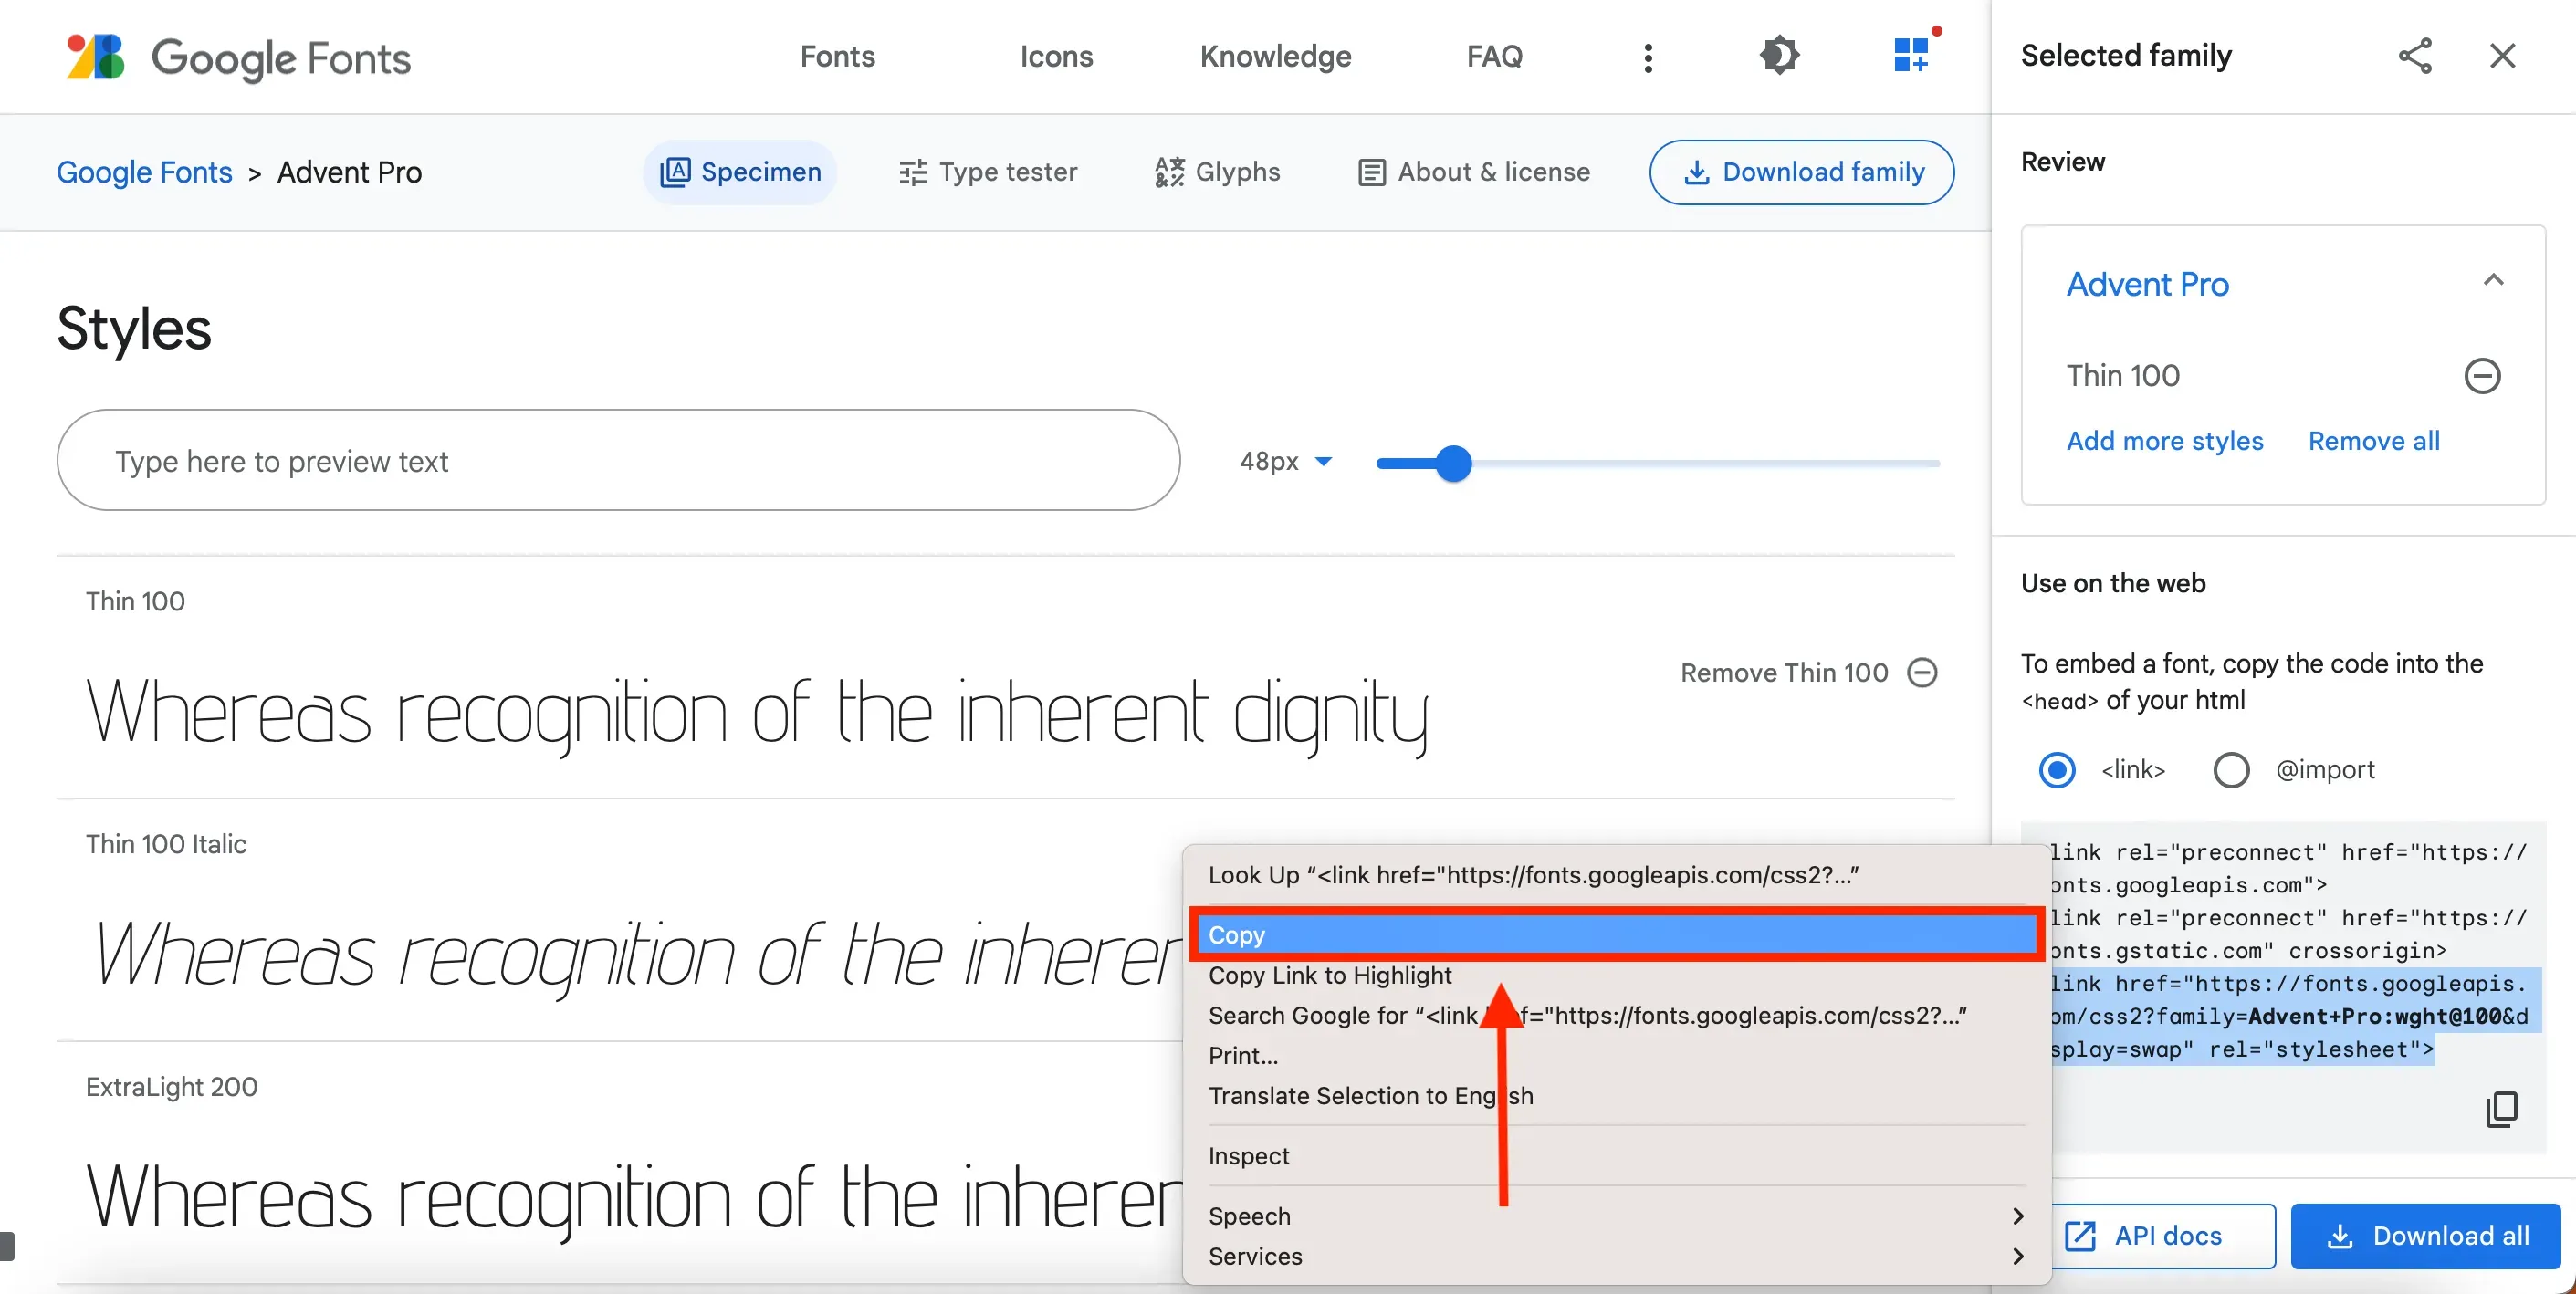
Then, look for the embed code of the font you want to use in Google Fonts and copy it.
Paste the embed code into the designated field in Theme Builder.
Click Apply.

Once completed, you'll be able to select your newly uploaded custom font from the font selection dropdown.

After you've finished updating your site's fonts and typography, remember to click Publish to save your changes.

It's also worth noting that the custom font you uploaded will be available as an option for the Text Design Element.

Congratulations! You now have the ability to construct your intranet site using fonts that align with your brand identity. Enjoy incorporating your own custom font and style into your SharePoint sites.