

ShortPoint Theme Builder Basics
Introduction to ShortPoint Theme Builder
It is important to ensure that the look and feel of your SharePoint site accurately represent your organization's branding. In this lesson, you will learn about ShortPoint Theme Builder, a powerful tool that allows you to customize your site's color theme, layout, style, and more. You will learn how to access it, navigate its interface, and learn about the general page layout options that you can apply across your SharePoint Site Collection.

Launching ShortPoint Theme Builder
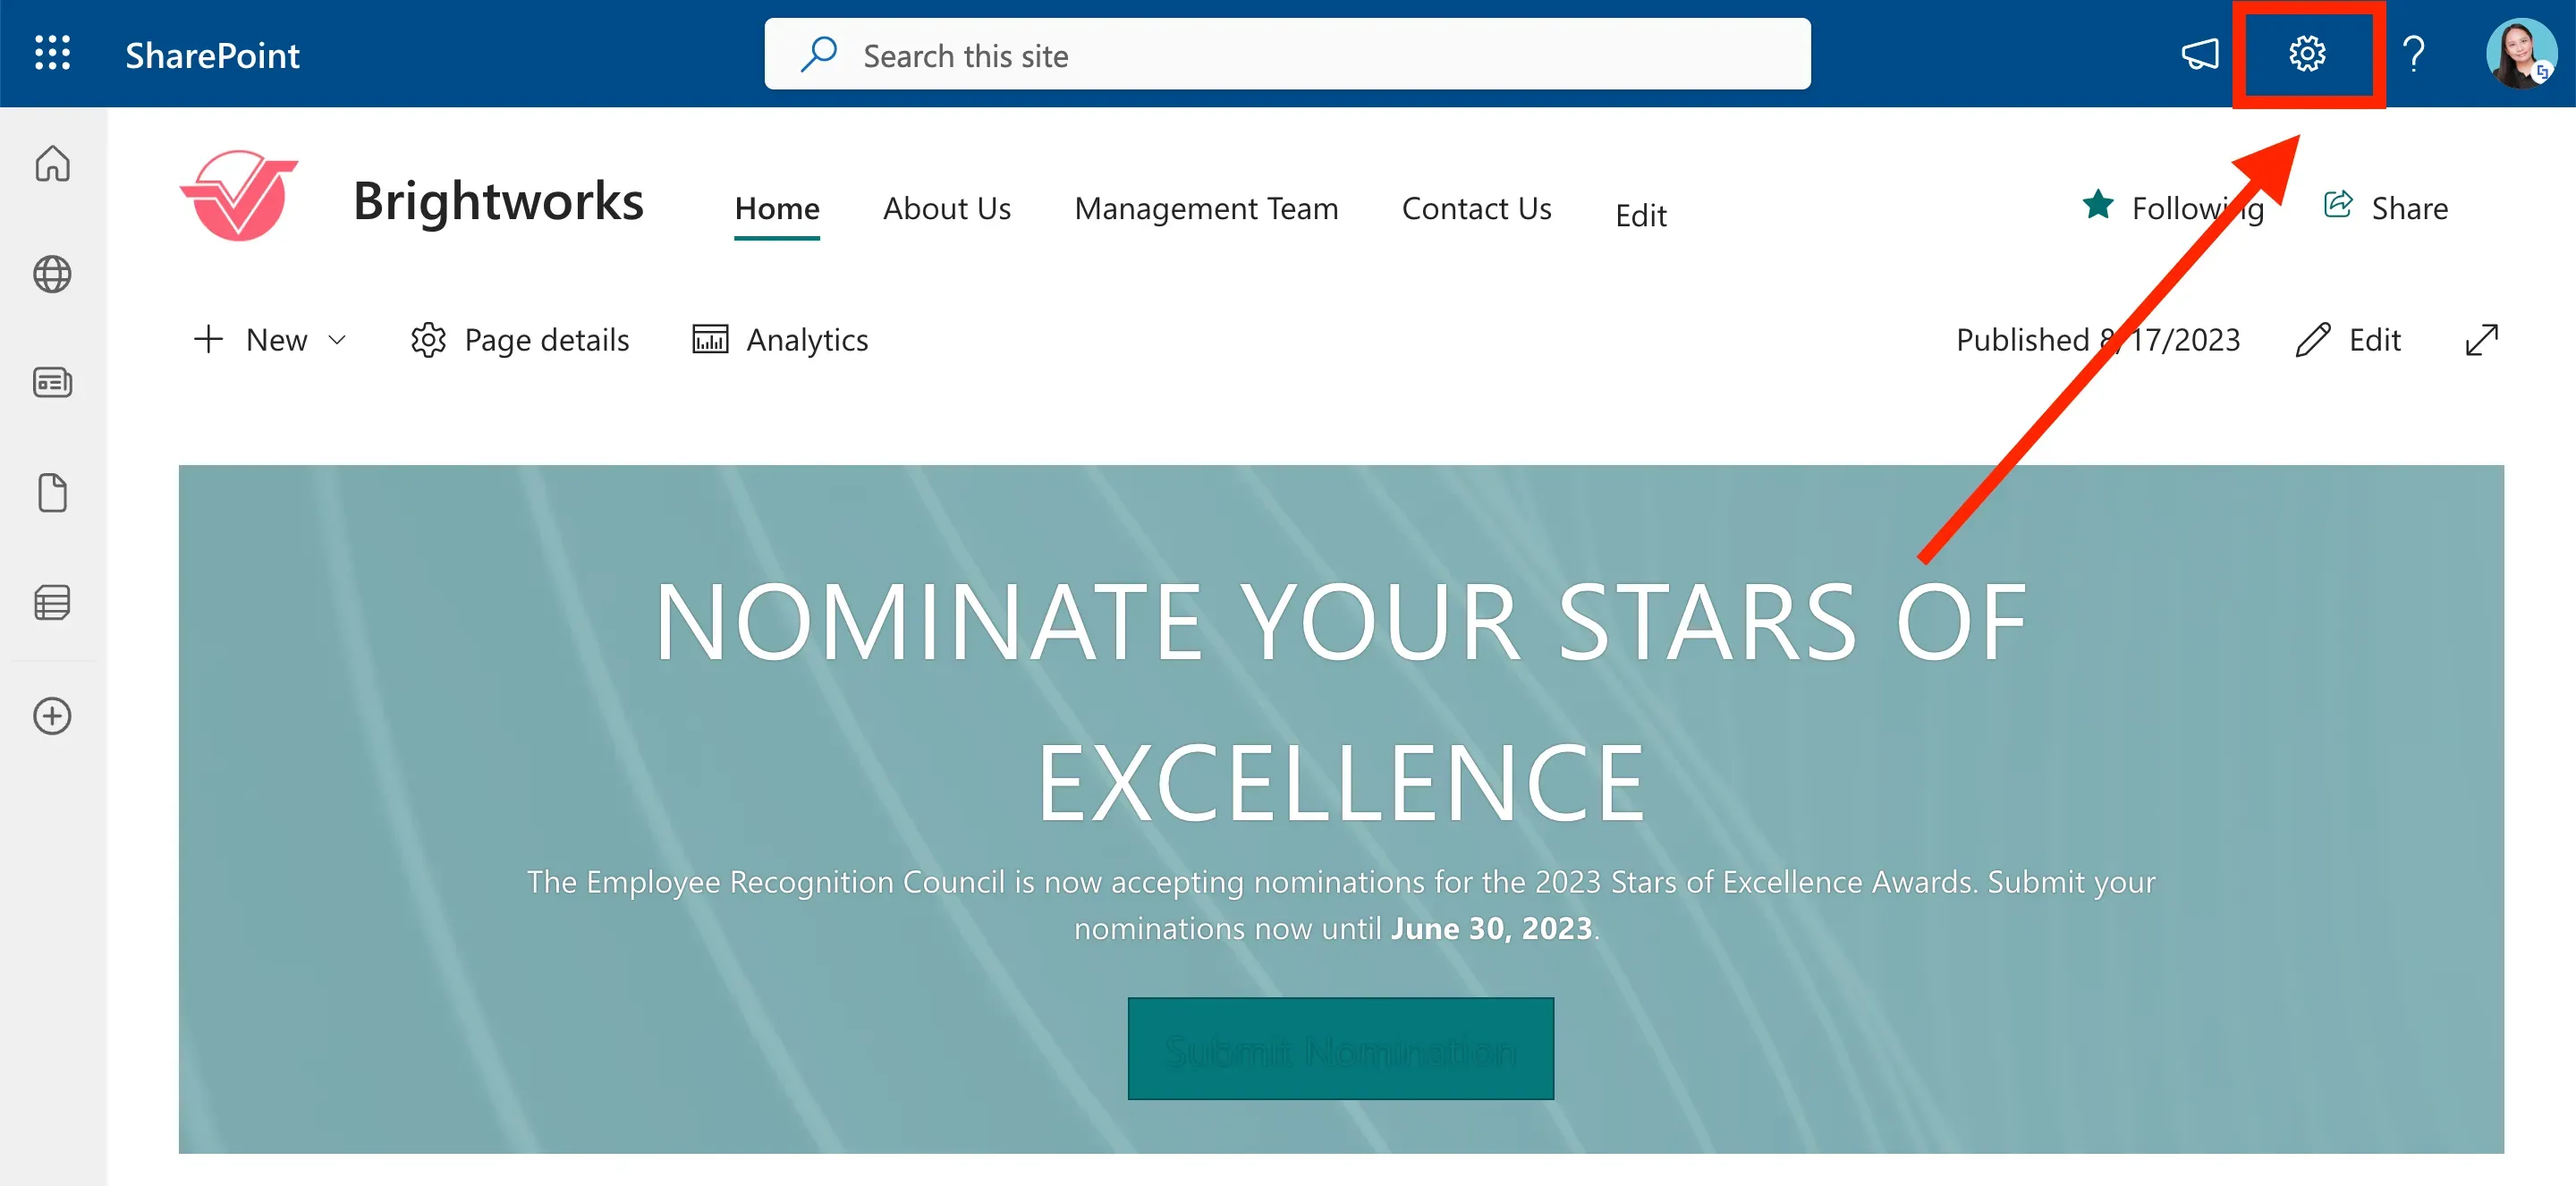
To launch ShortPoint Theme Builder, go to the SharePoint page you want to use and click the cogwheel icon at the right-hand corner of your screen.
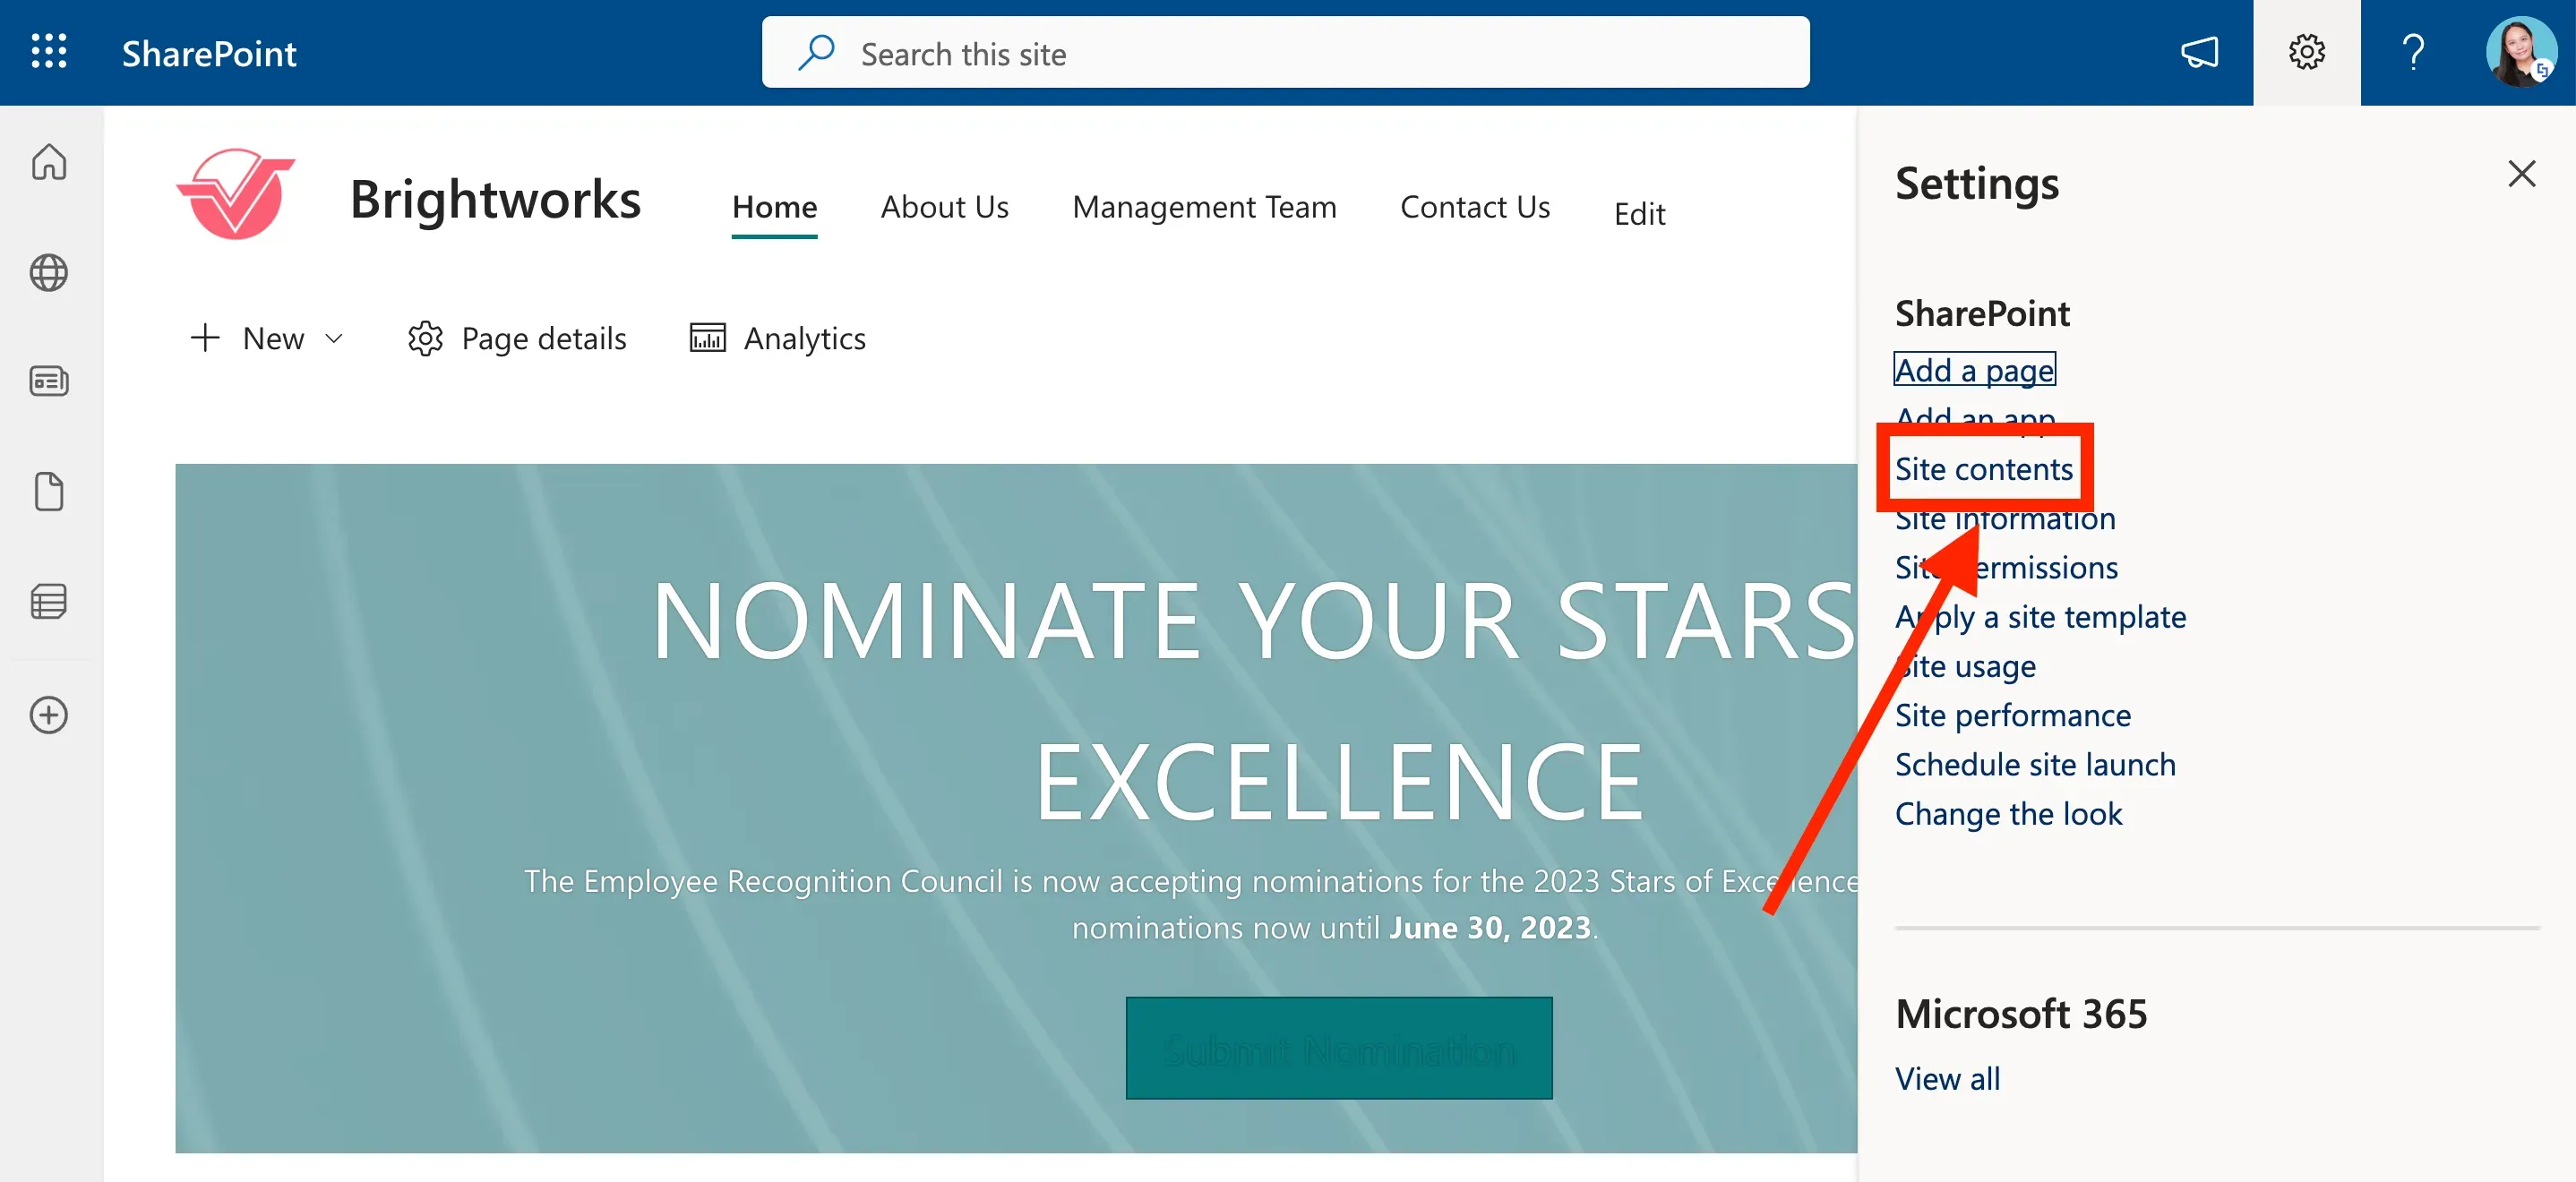
Then, select Site Contents.
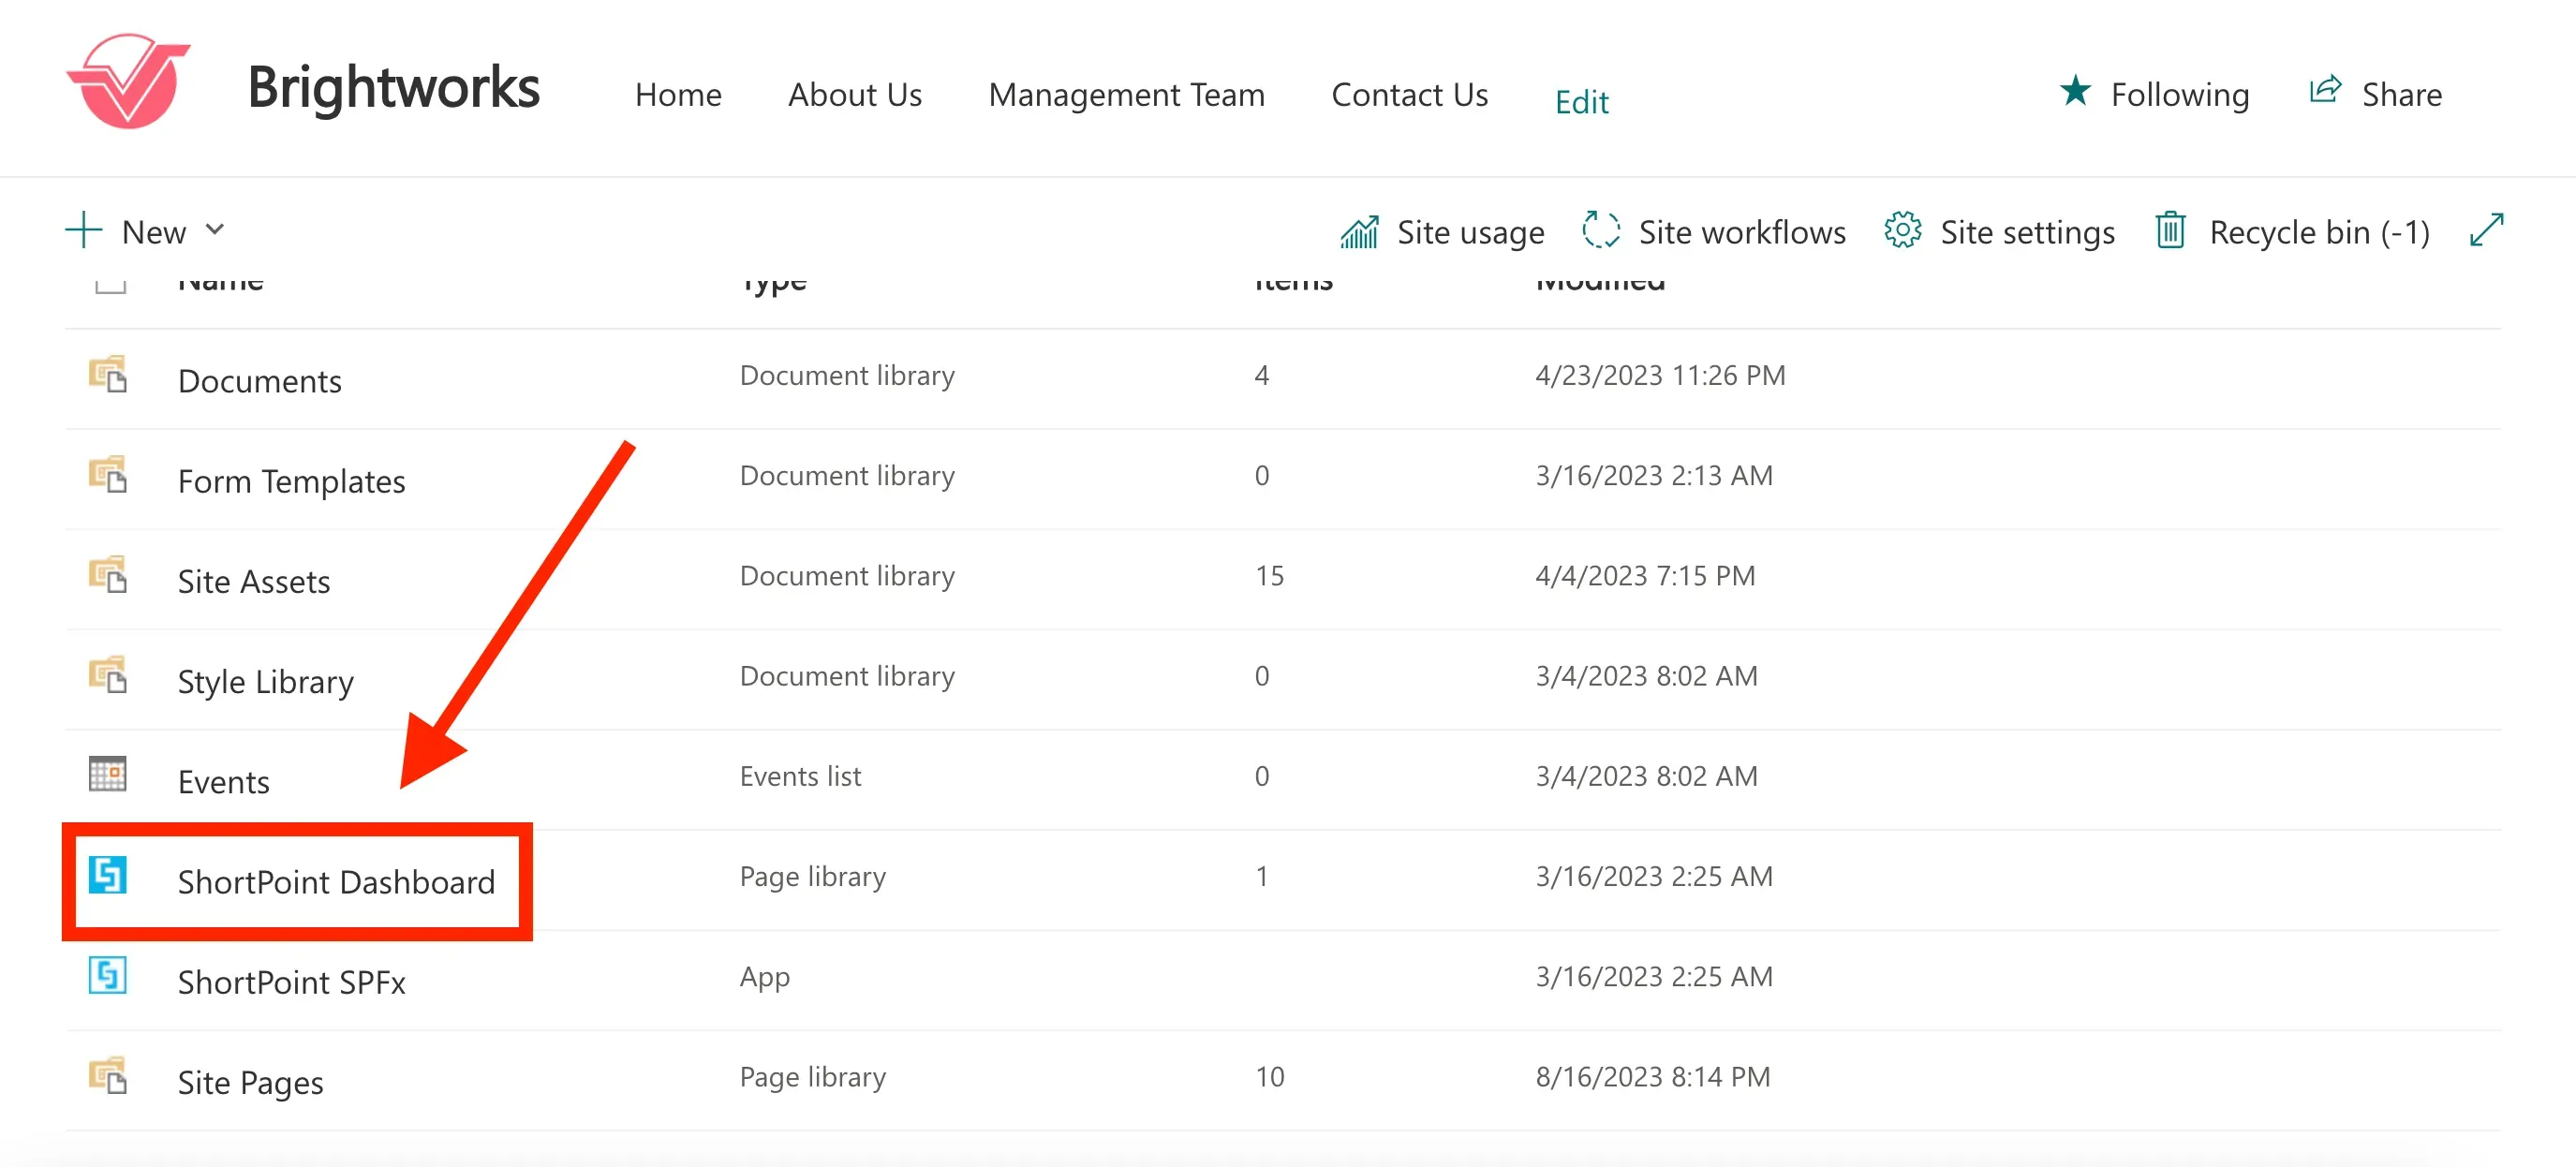
Select ShortPoint Dashboard.
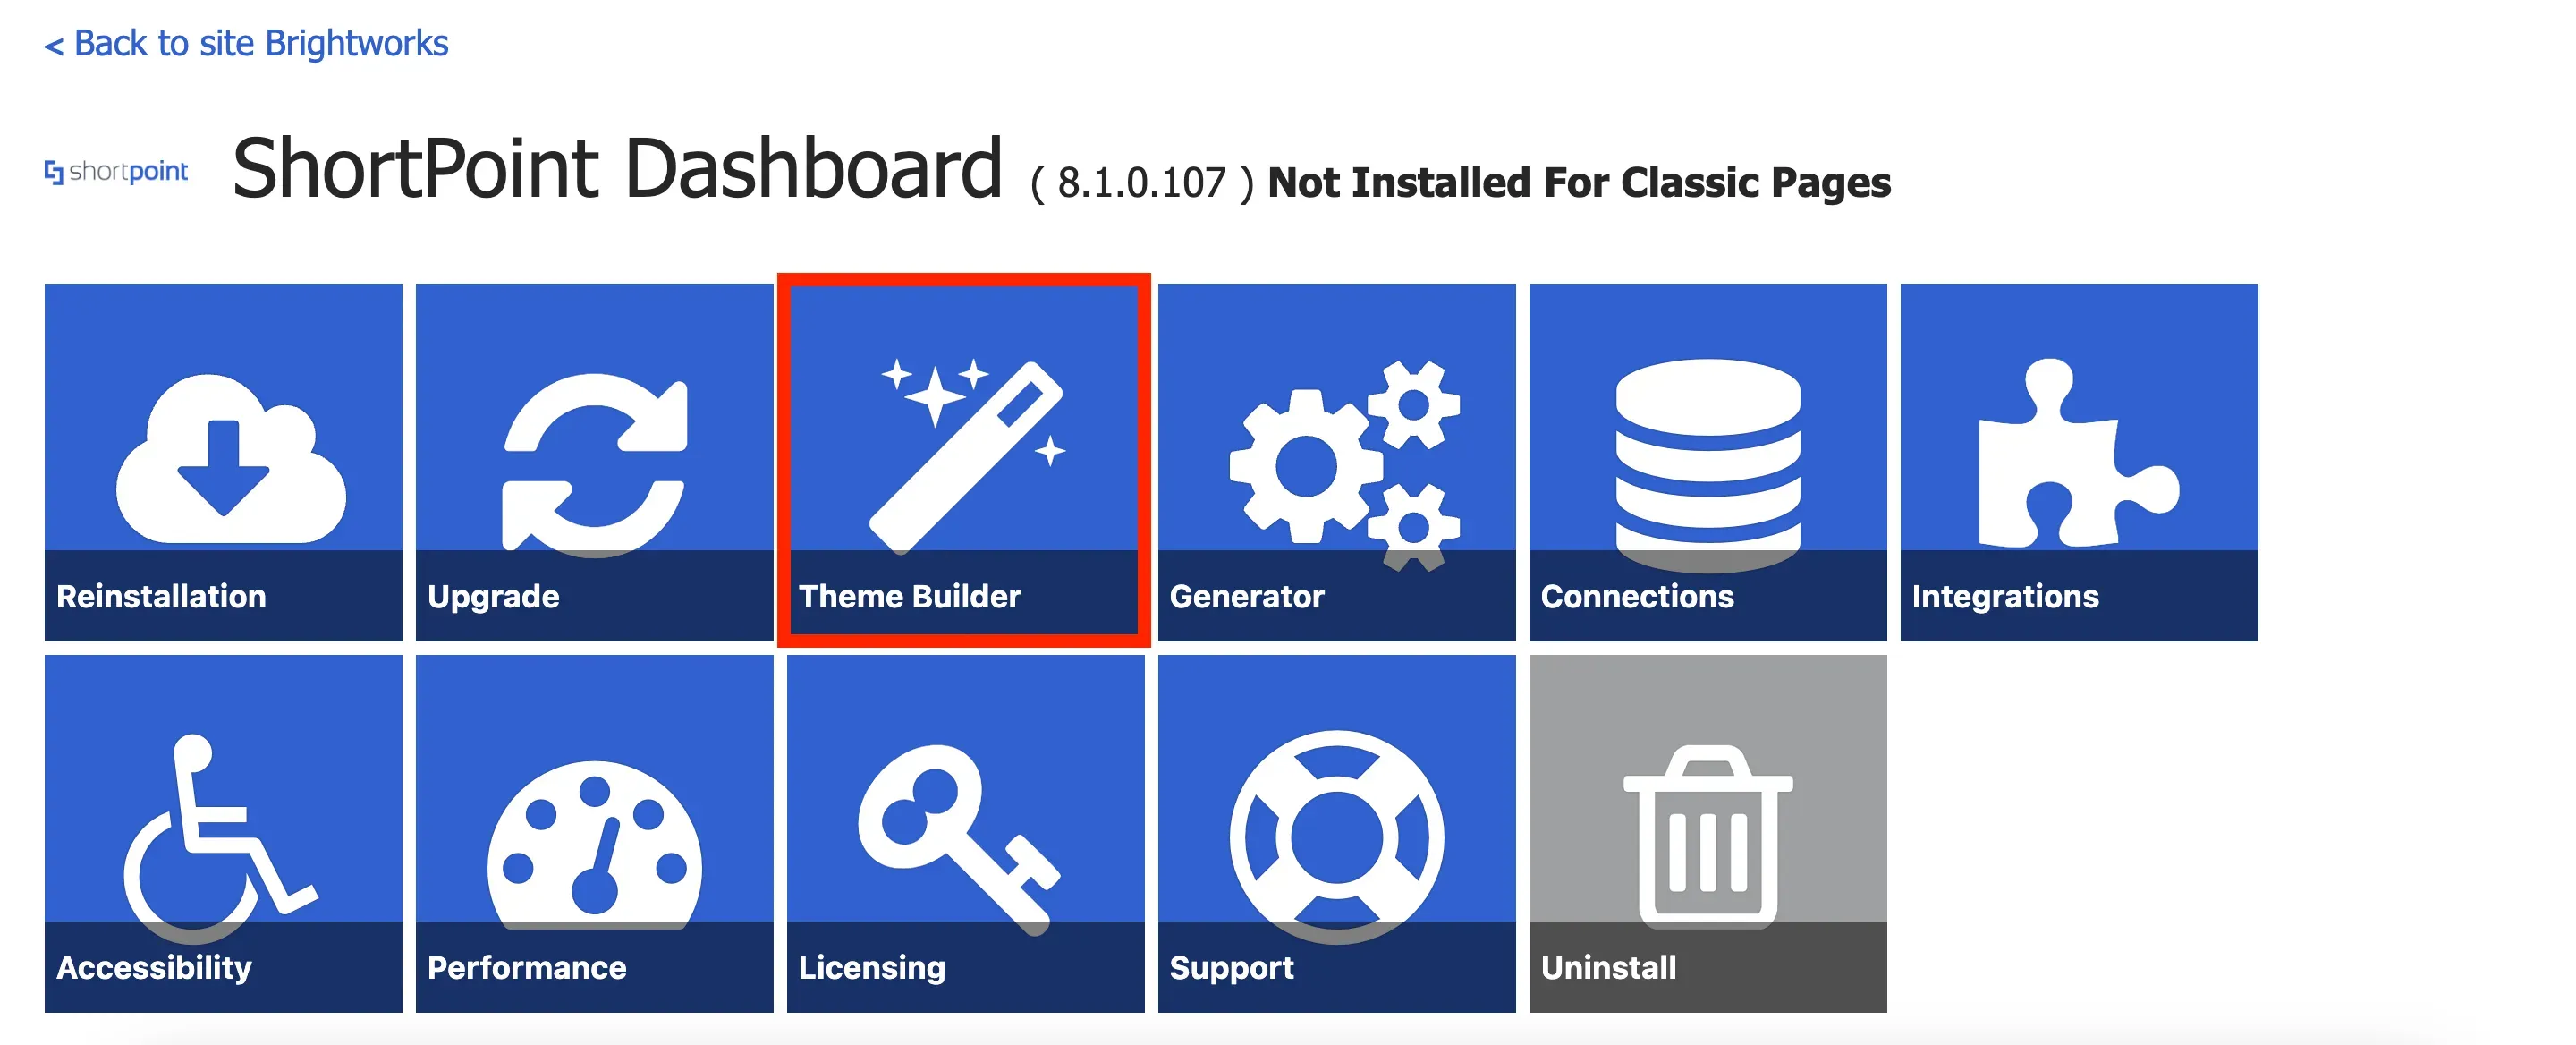
In the ShortPoint Dashboard, select Theme Builder.
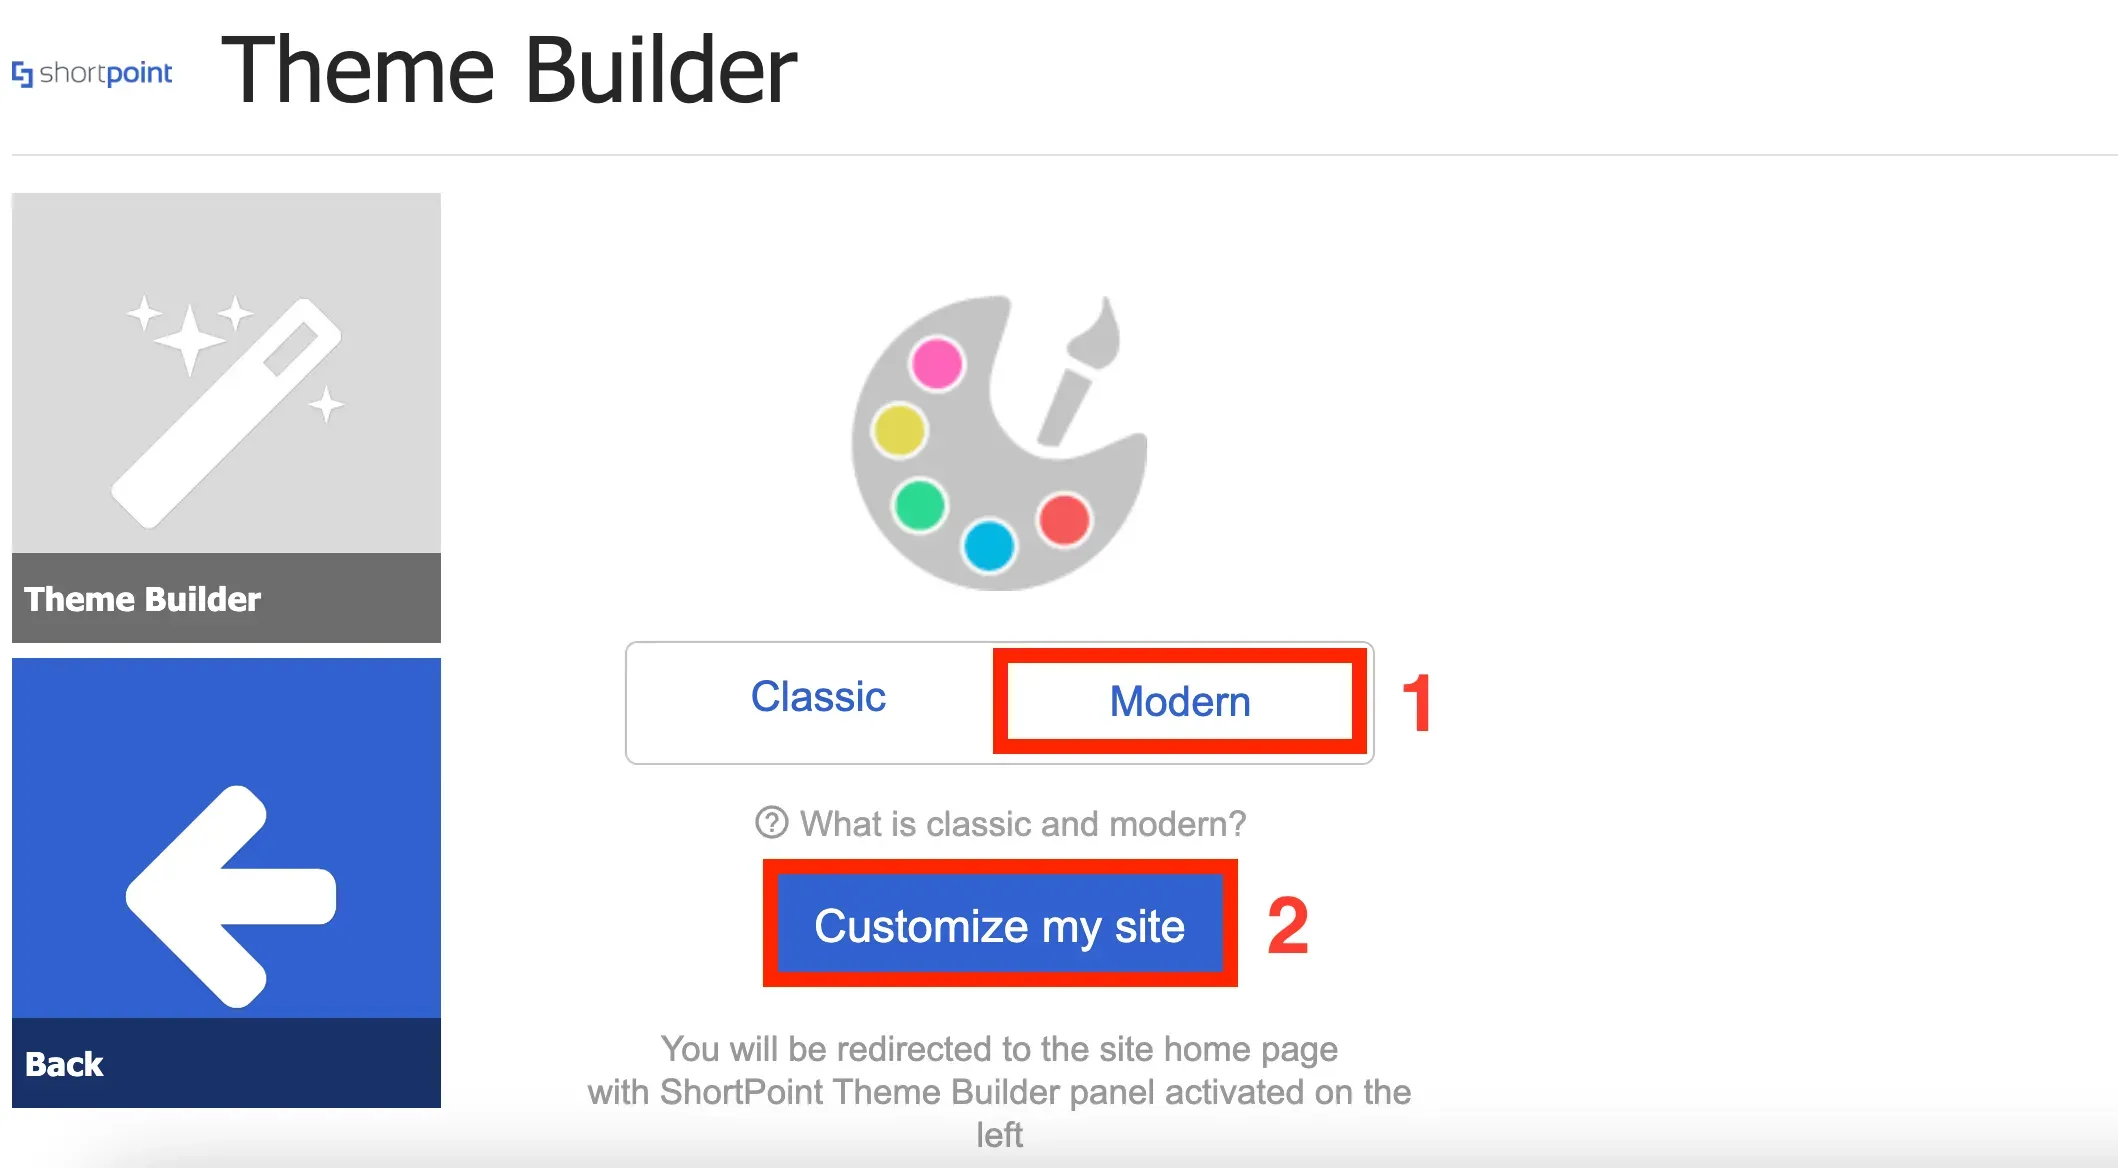
Choose [1] Modern and click [2] Customize my site.
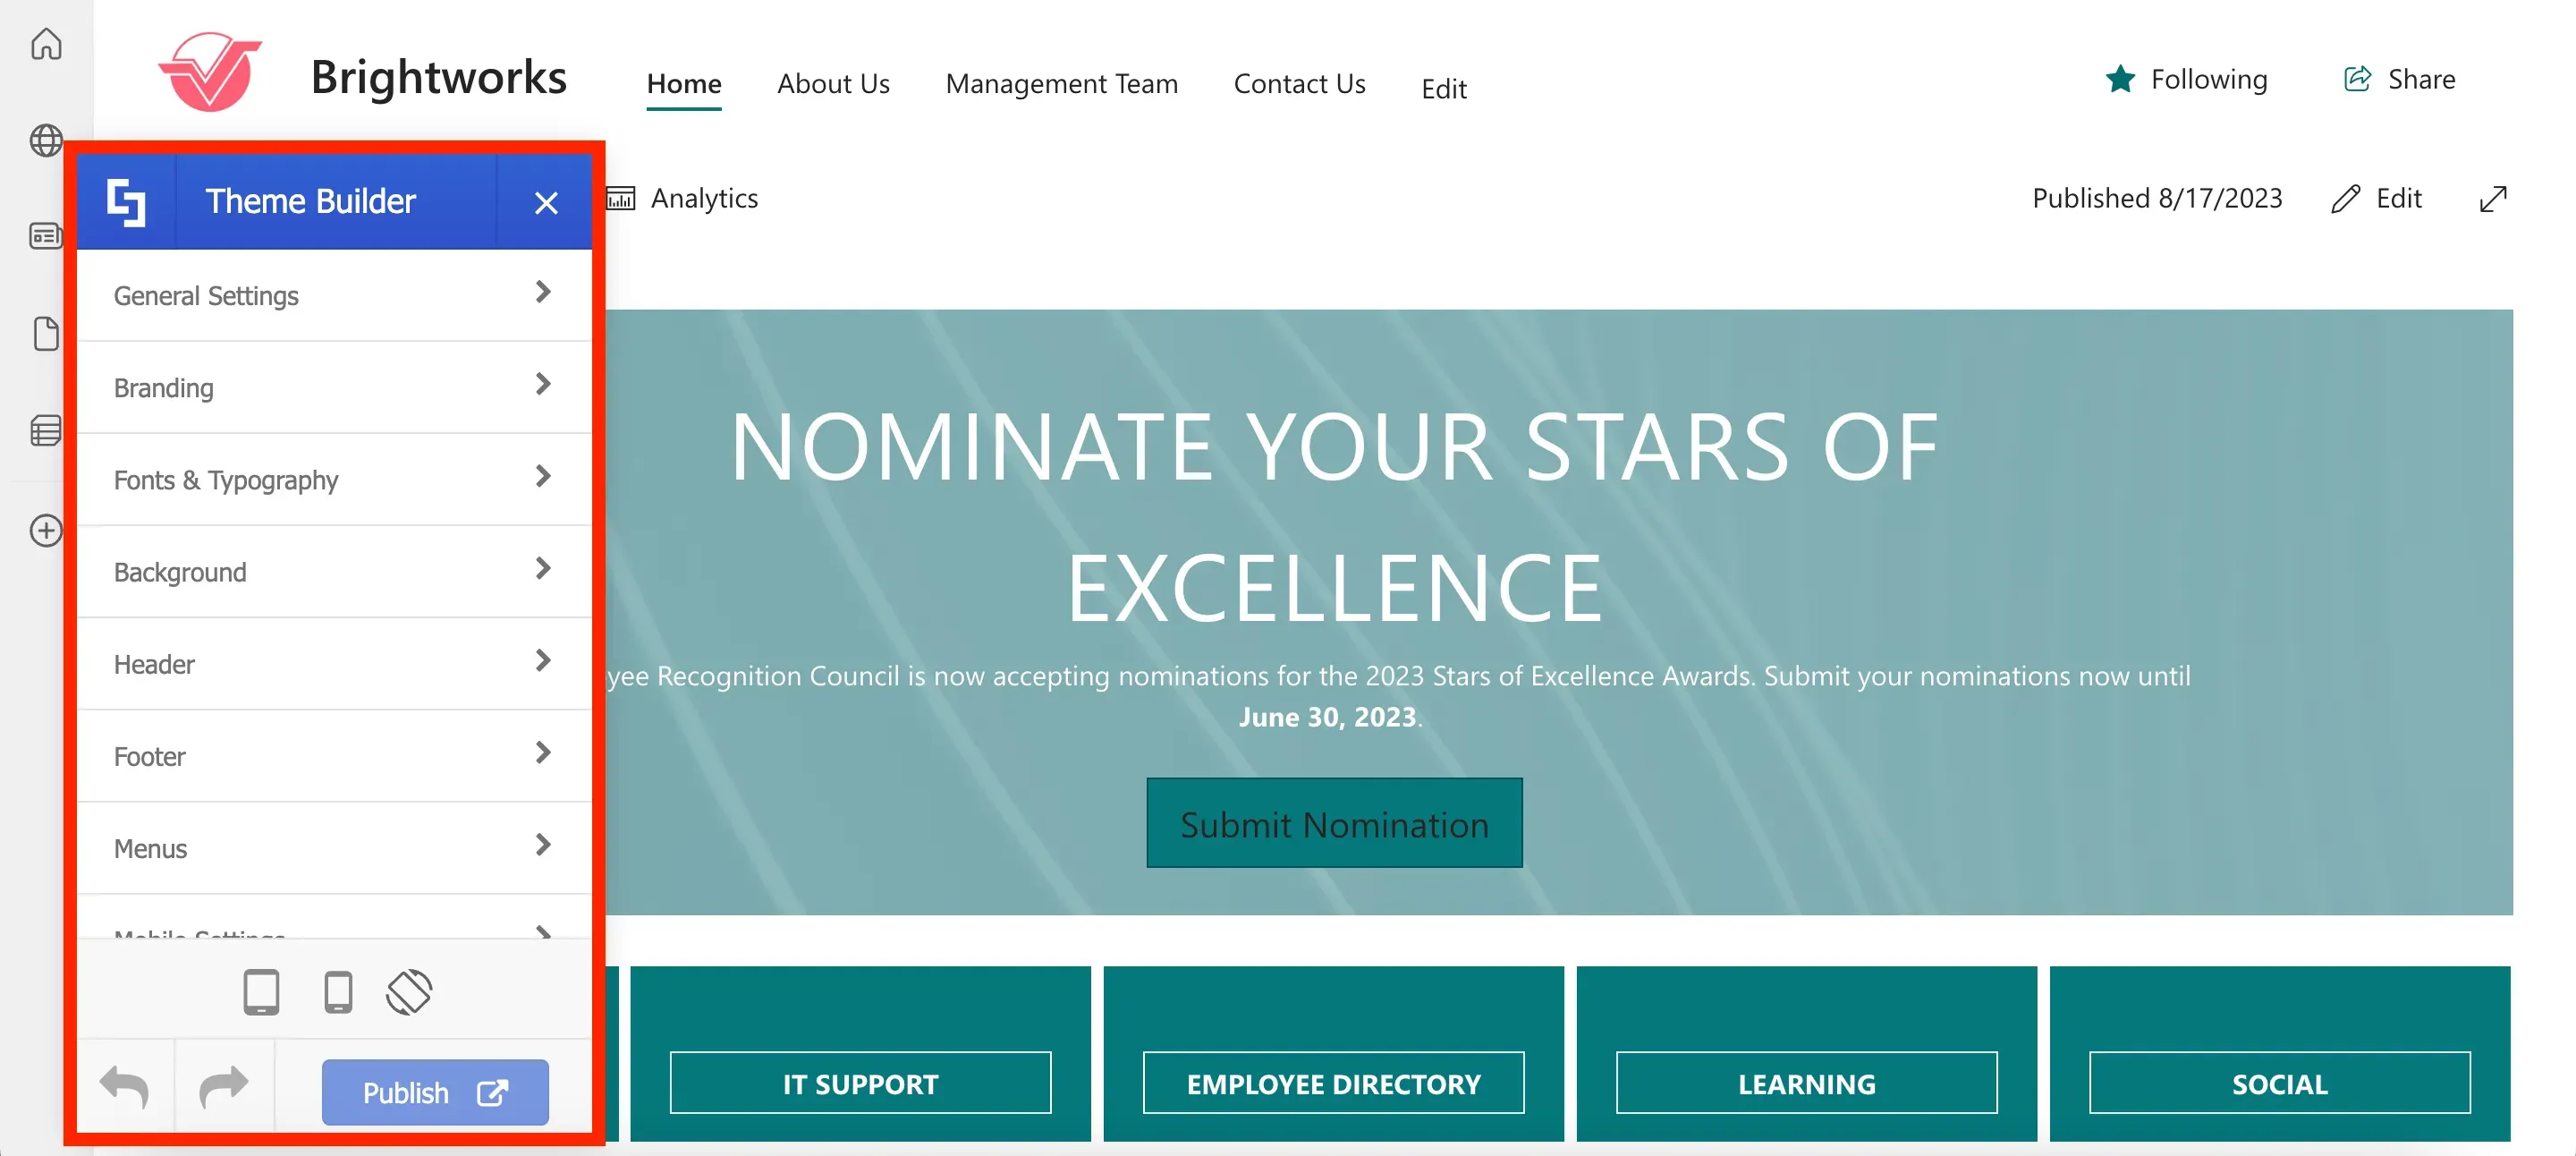
You will be taken to the main page of your site where you will be able to see the Theme Builder window.
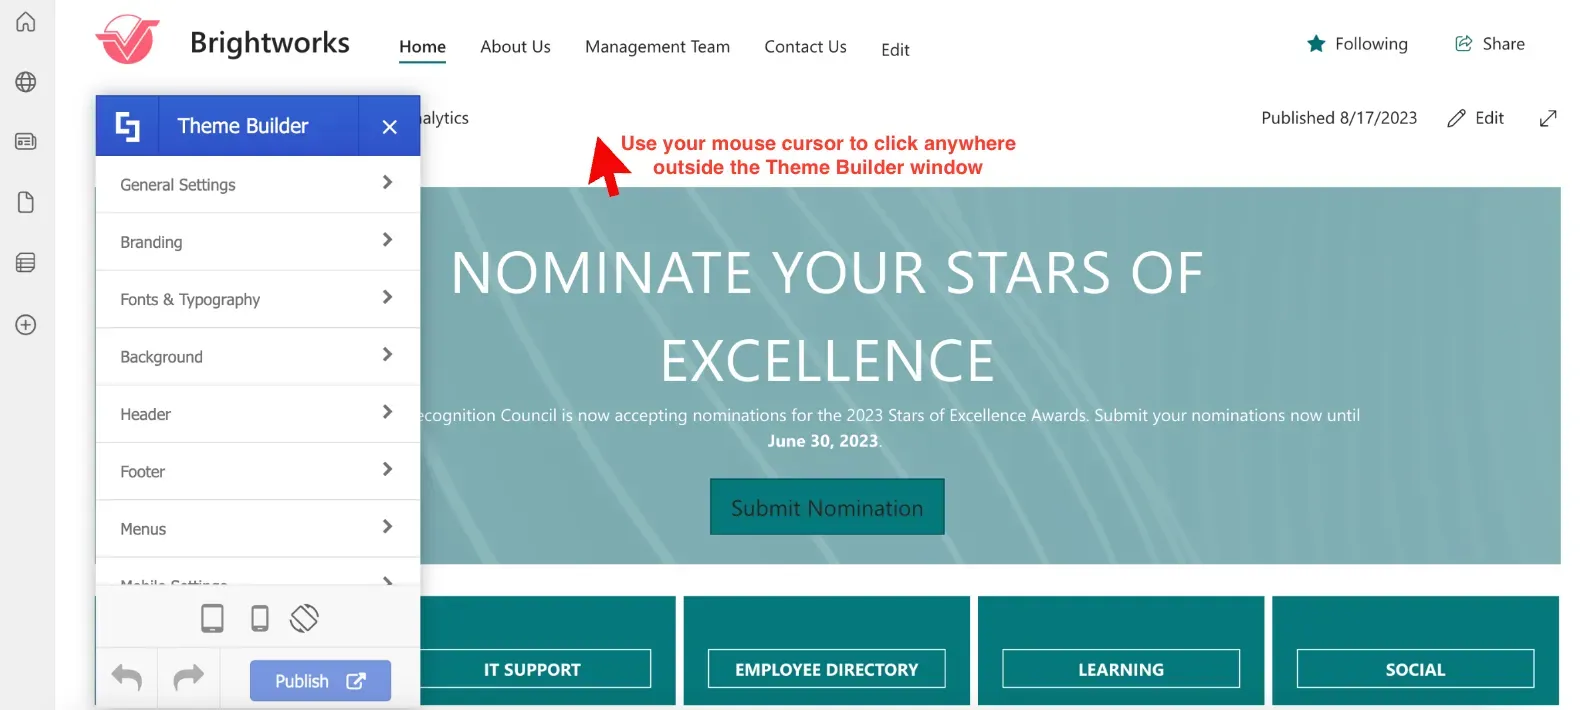
The Theme Builder window is collapsible. Simply click anywhere outside the Theme Builder window to minimize it.
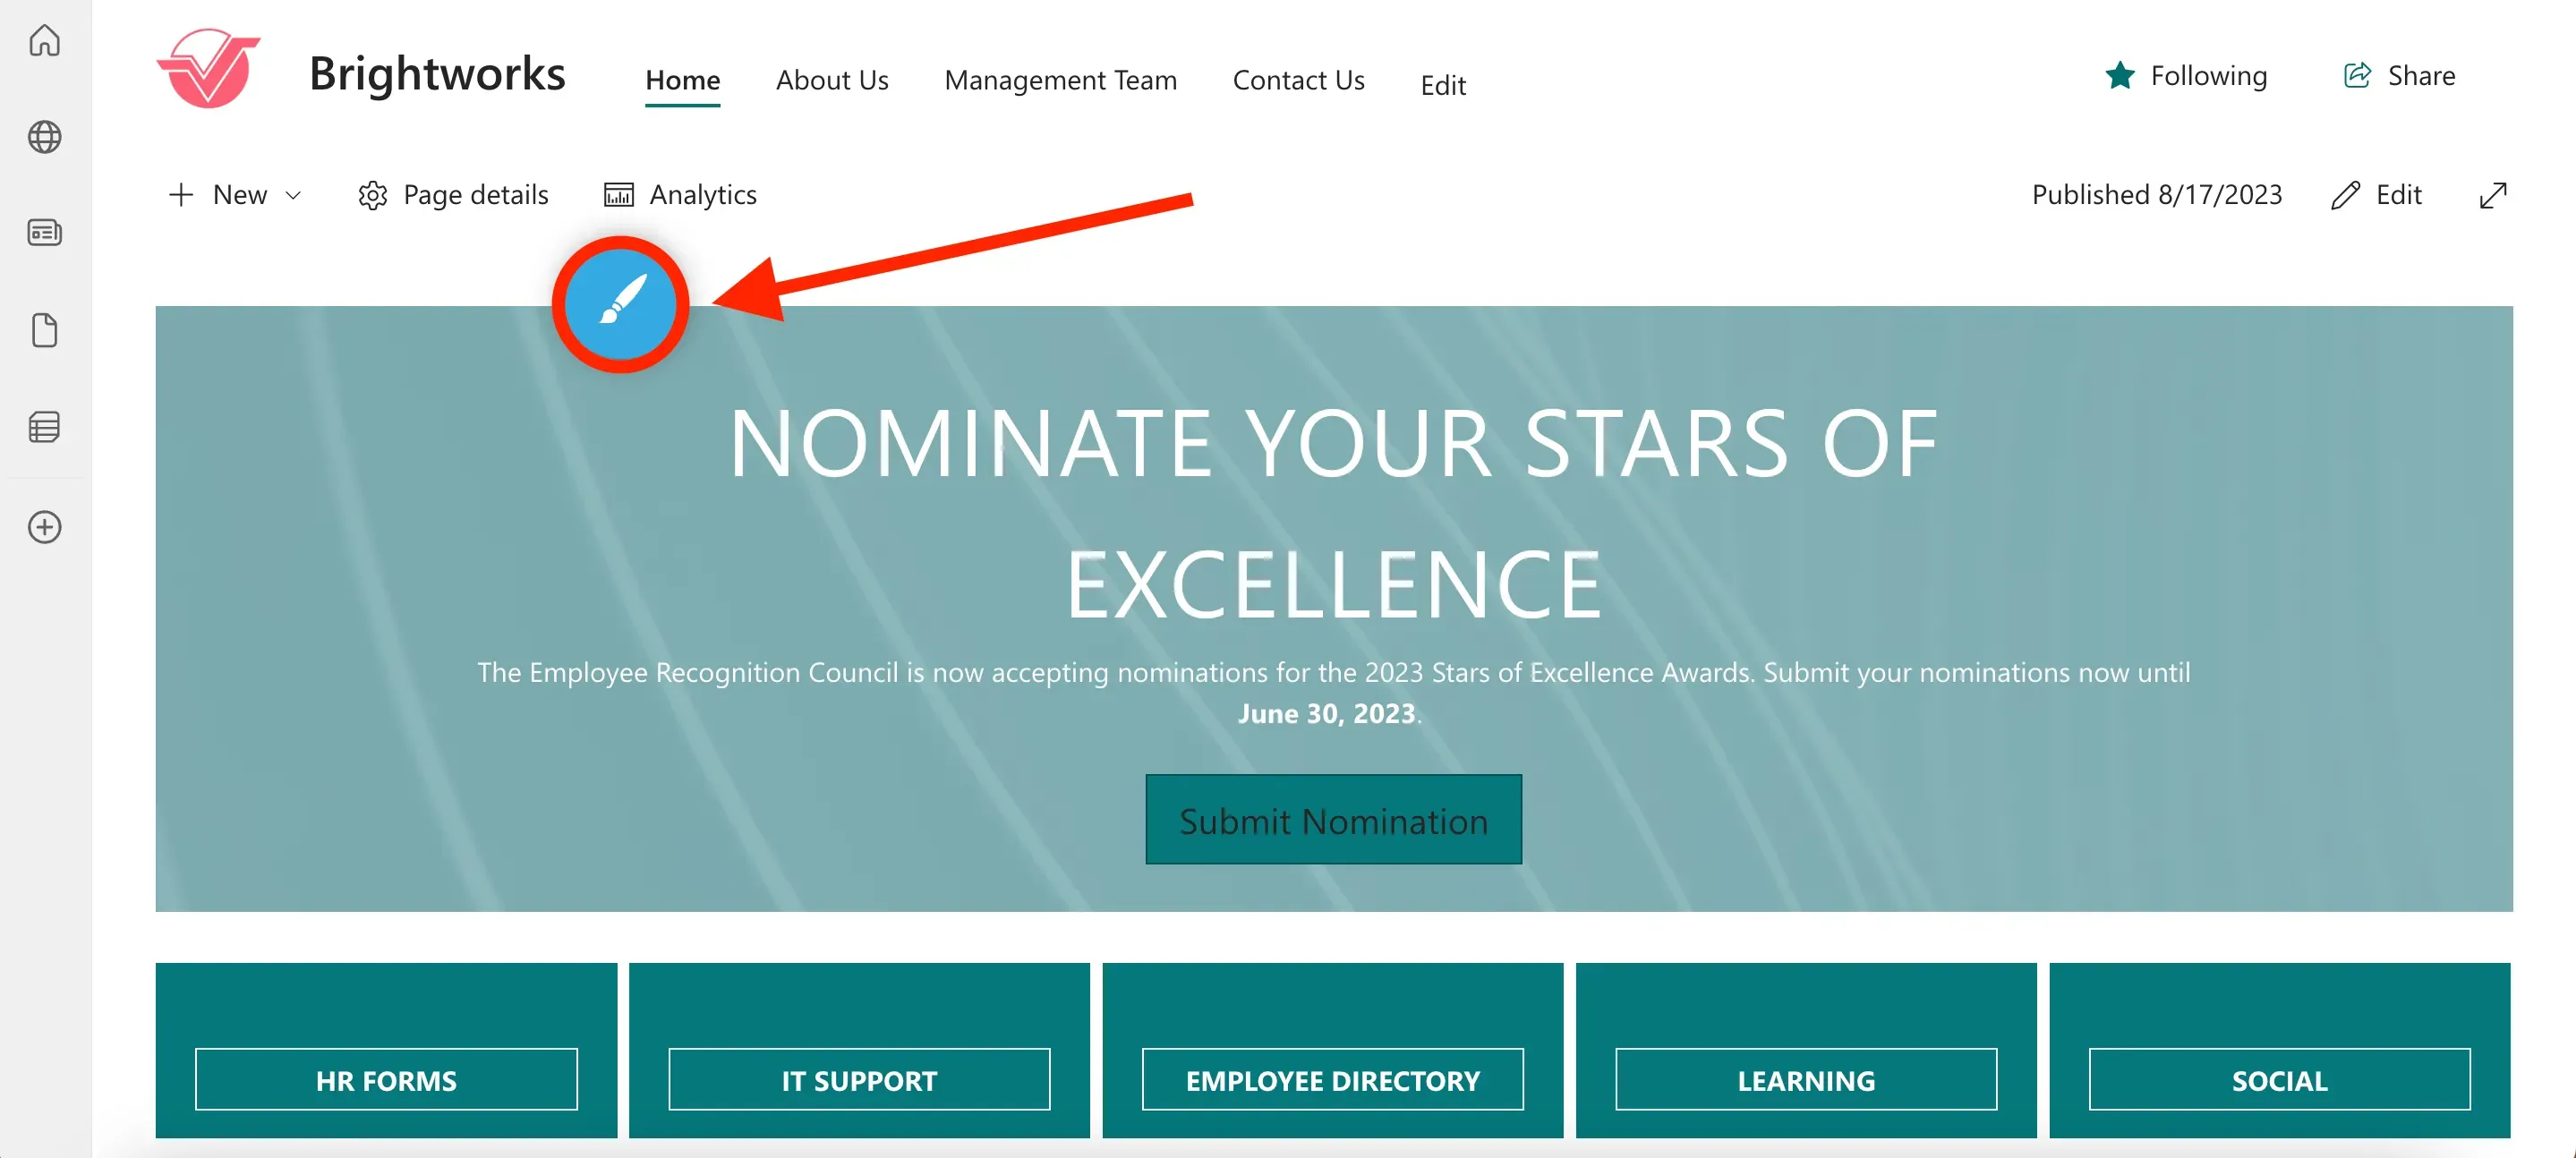
Once you do so, you will see a blue circle icon. To see Theme Builder and its options again, click the blue circle icon.
Navigating the ShortPoint Theme Builder interface
The Theme Builder window is also movable. All you have to do is drag the window using your mouse. For example, let us drag the Theme Builder window to the left side of the screen.
Here is what it will look like:
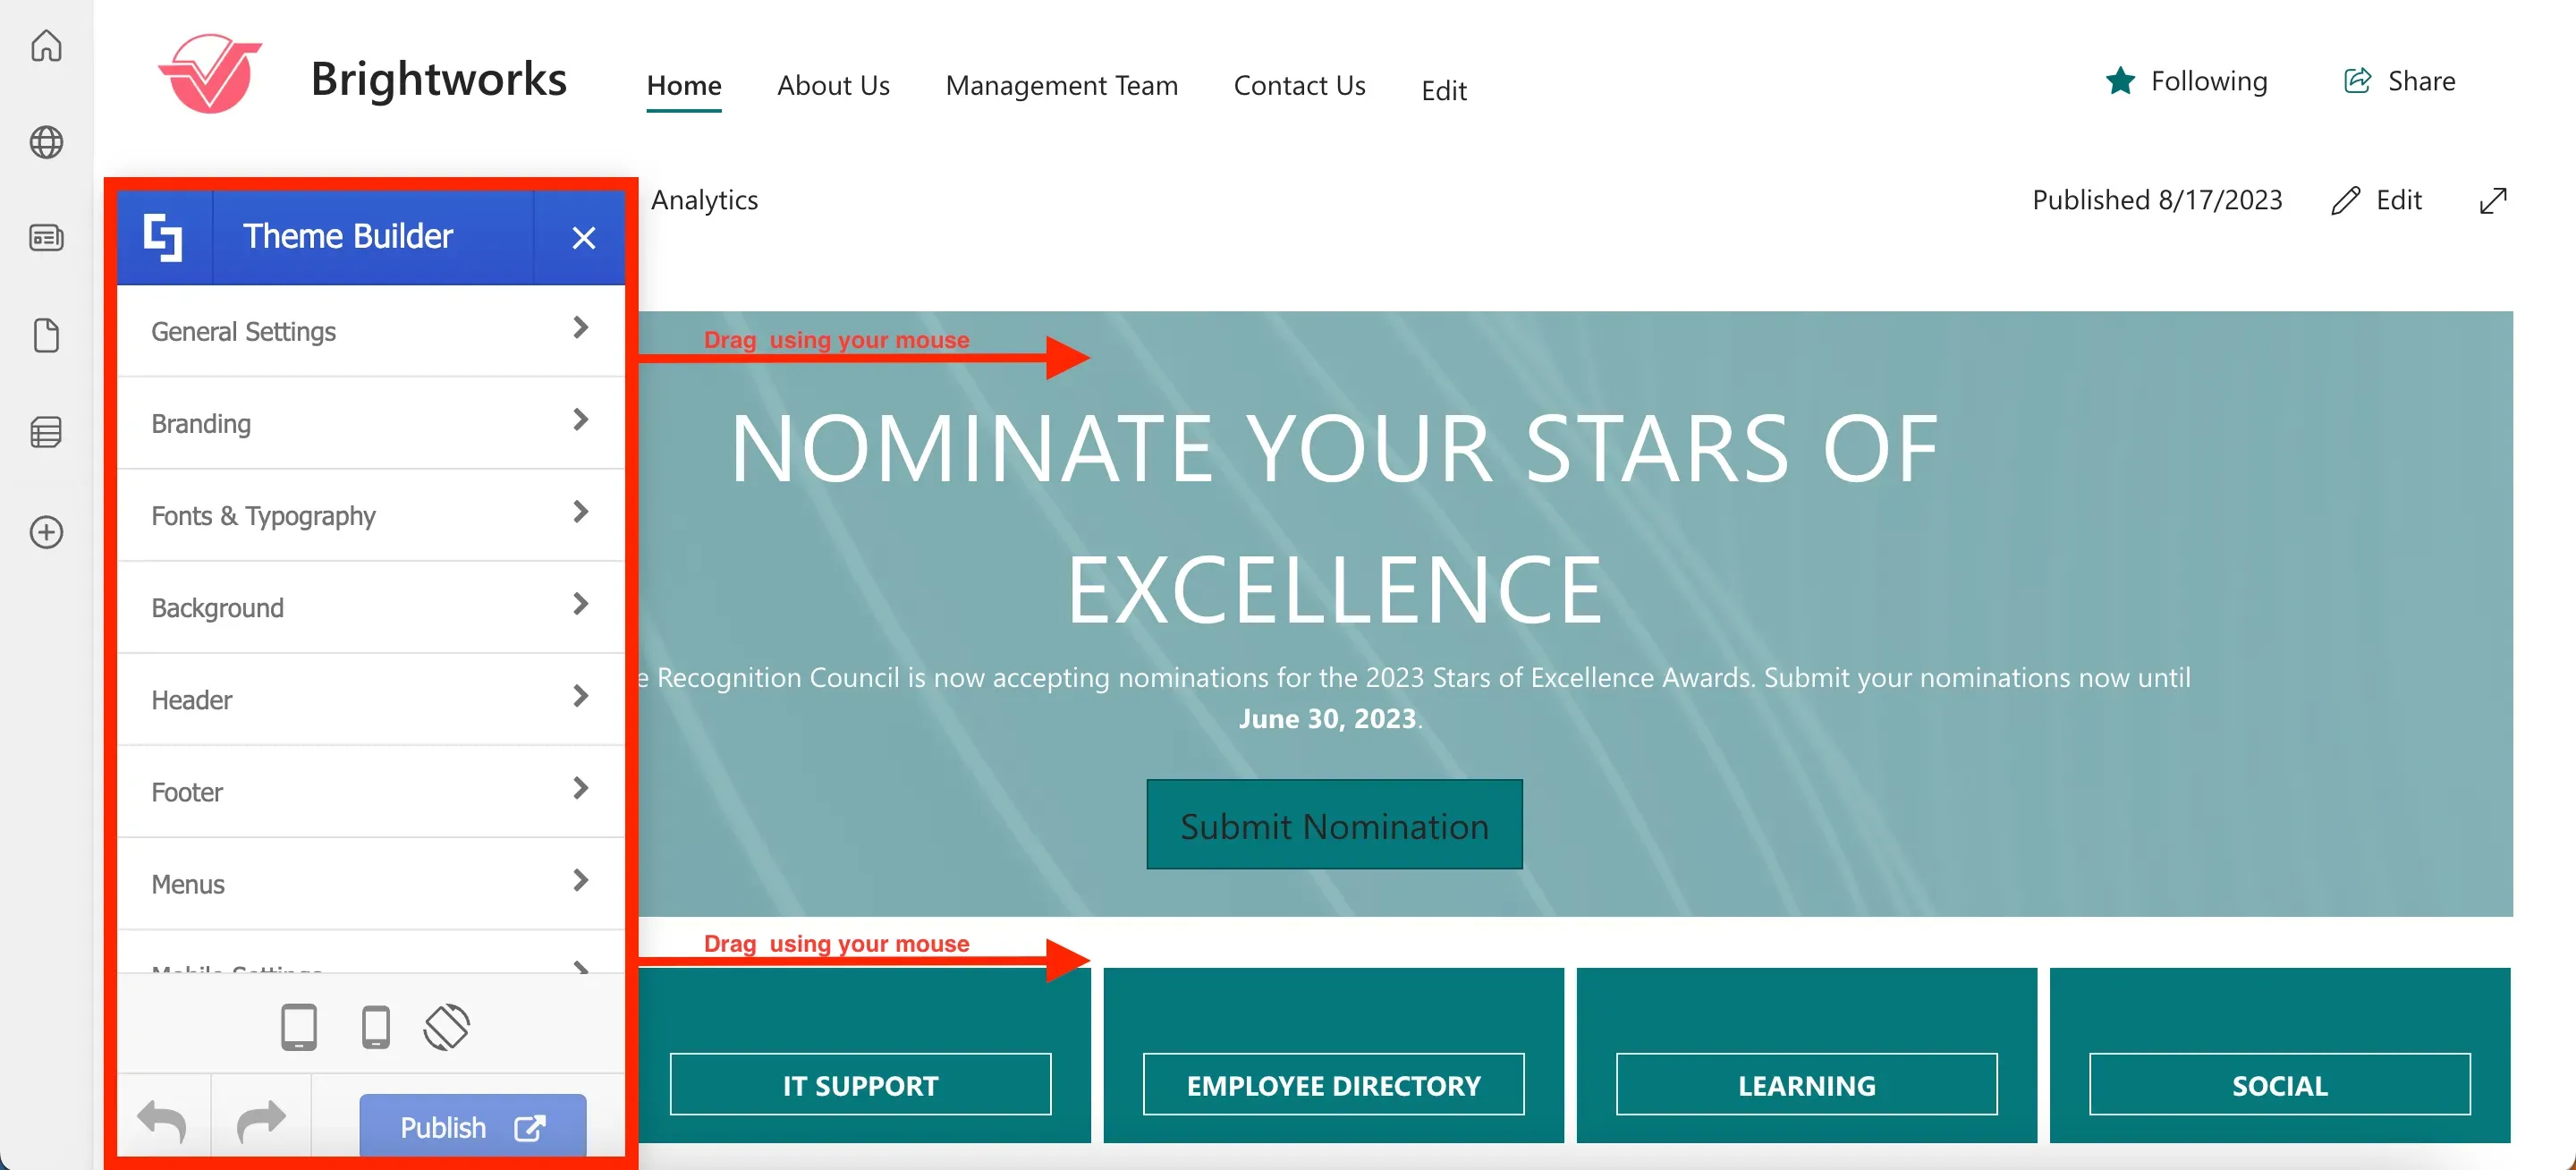
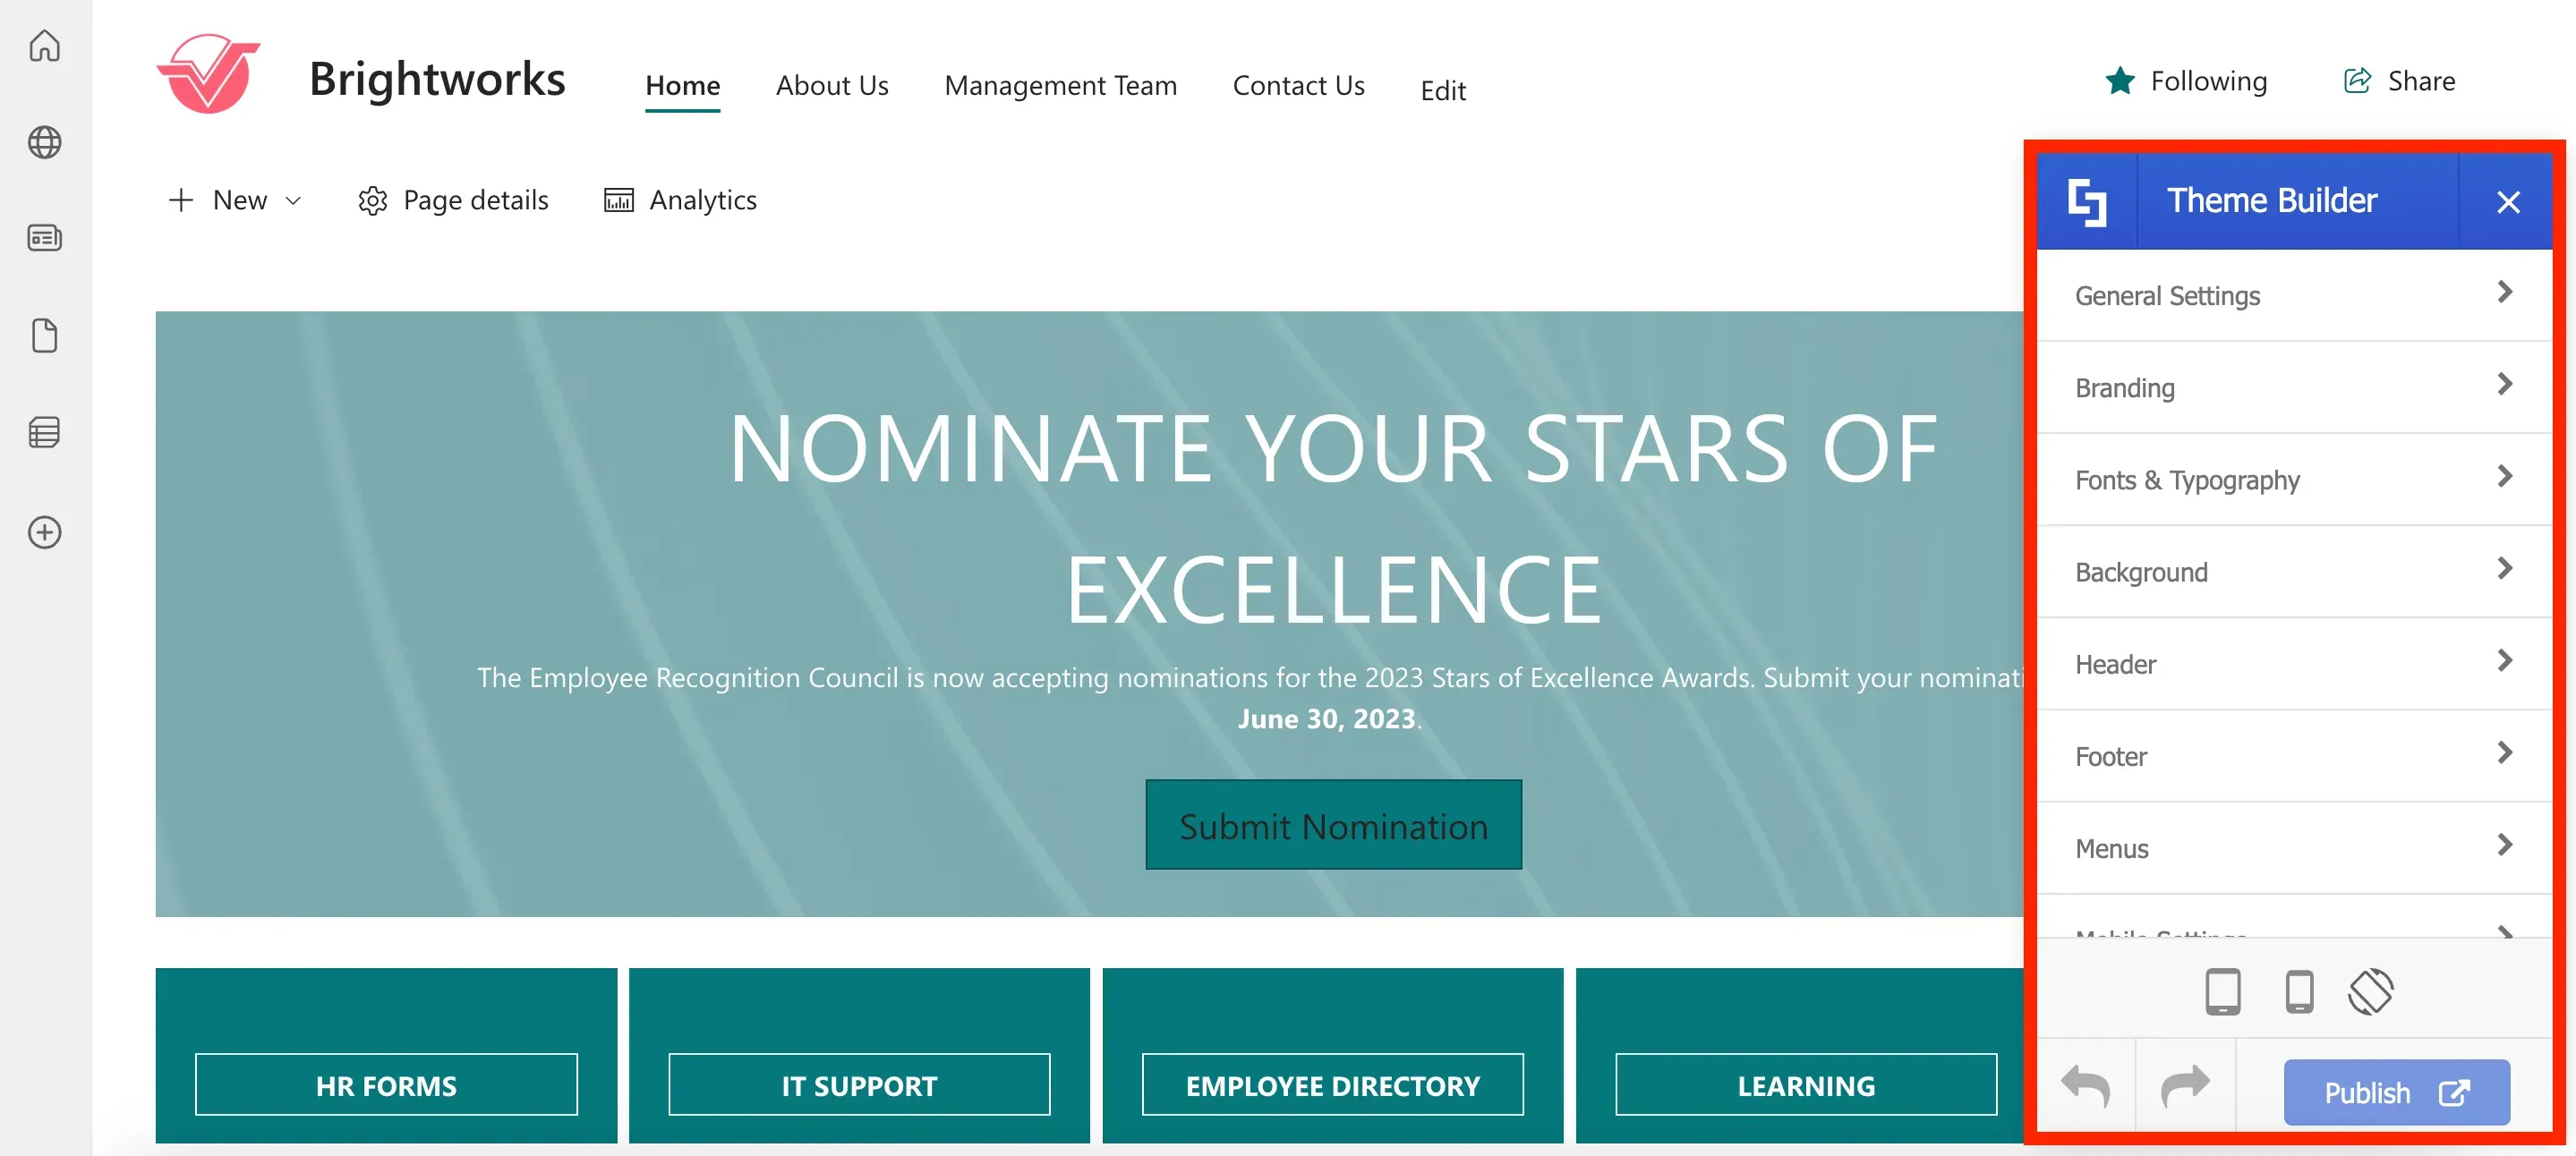
The Theme Builder also provides you with different options for customization. It is organized into different categories including General Settings, Branding, Fonts & Typography, and many more. Each category contains settings that you can adjust according to your specific requirements.
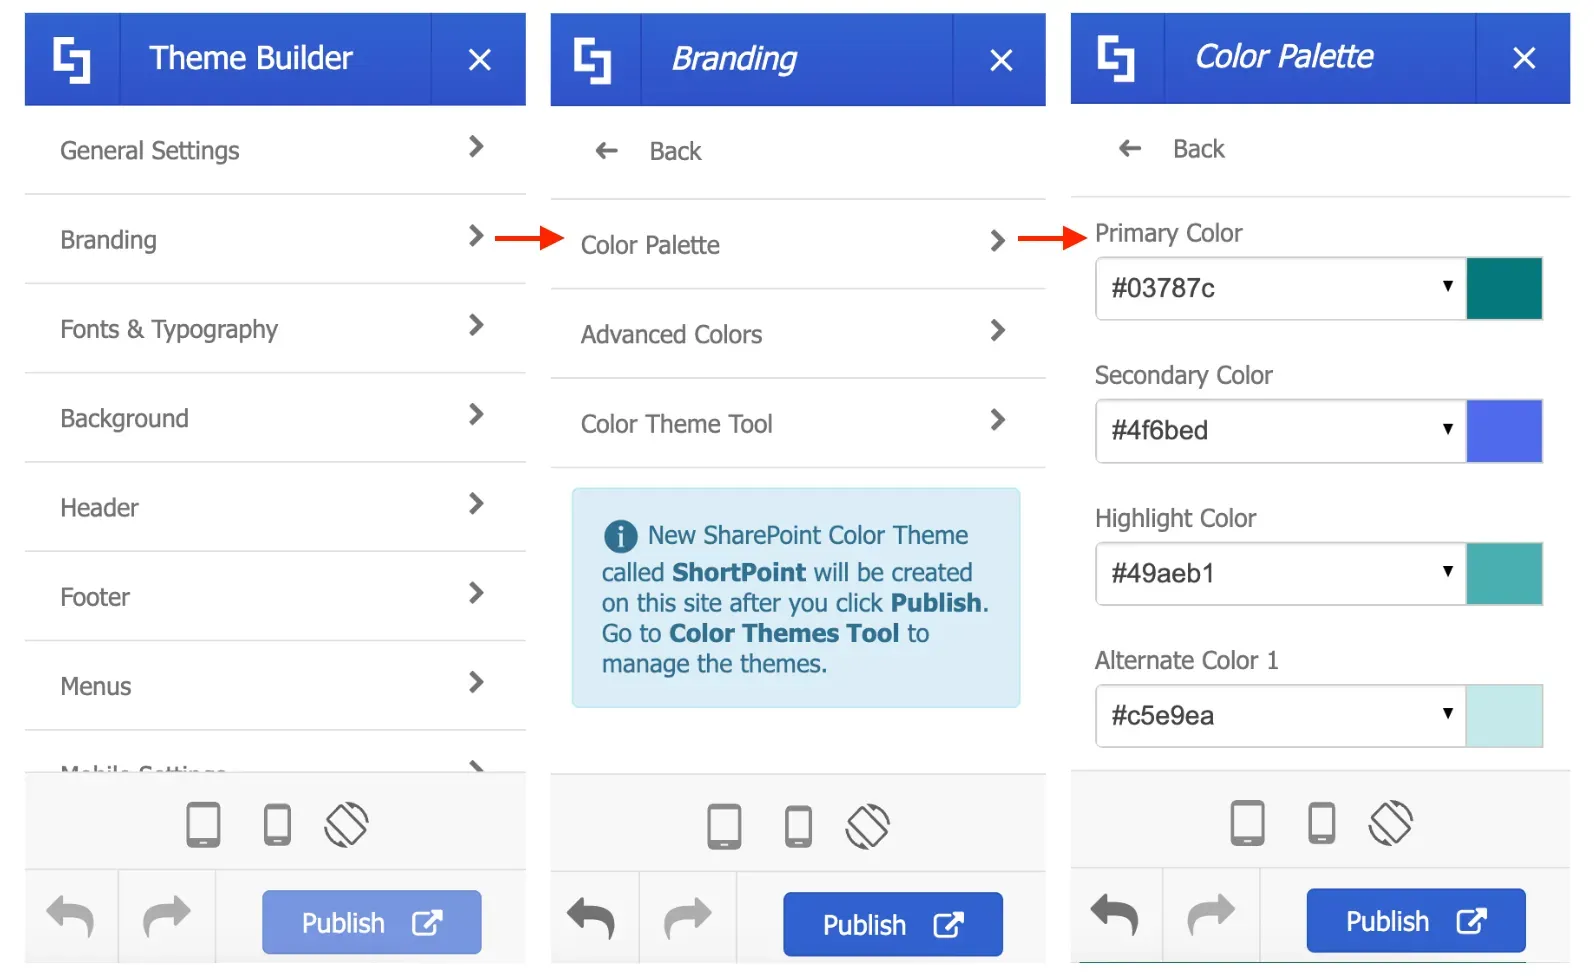
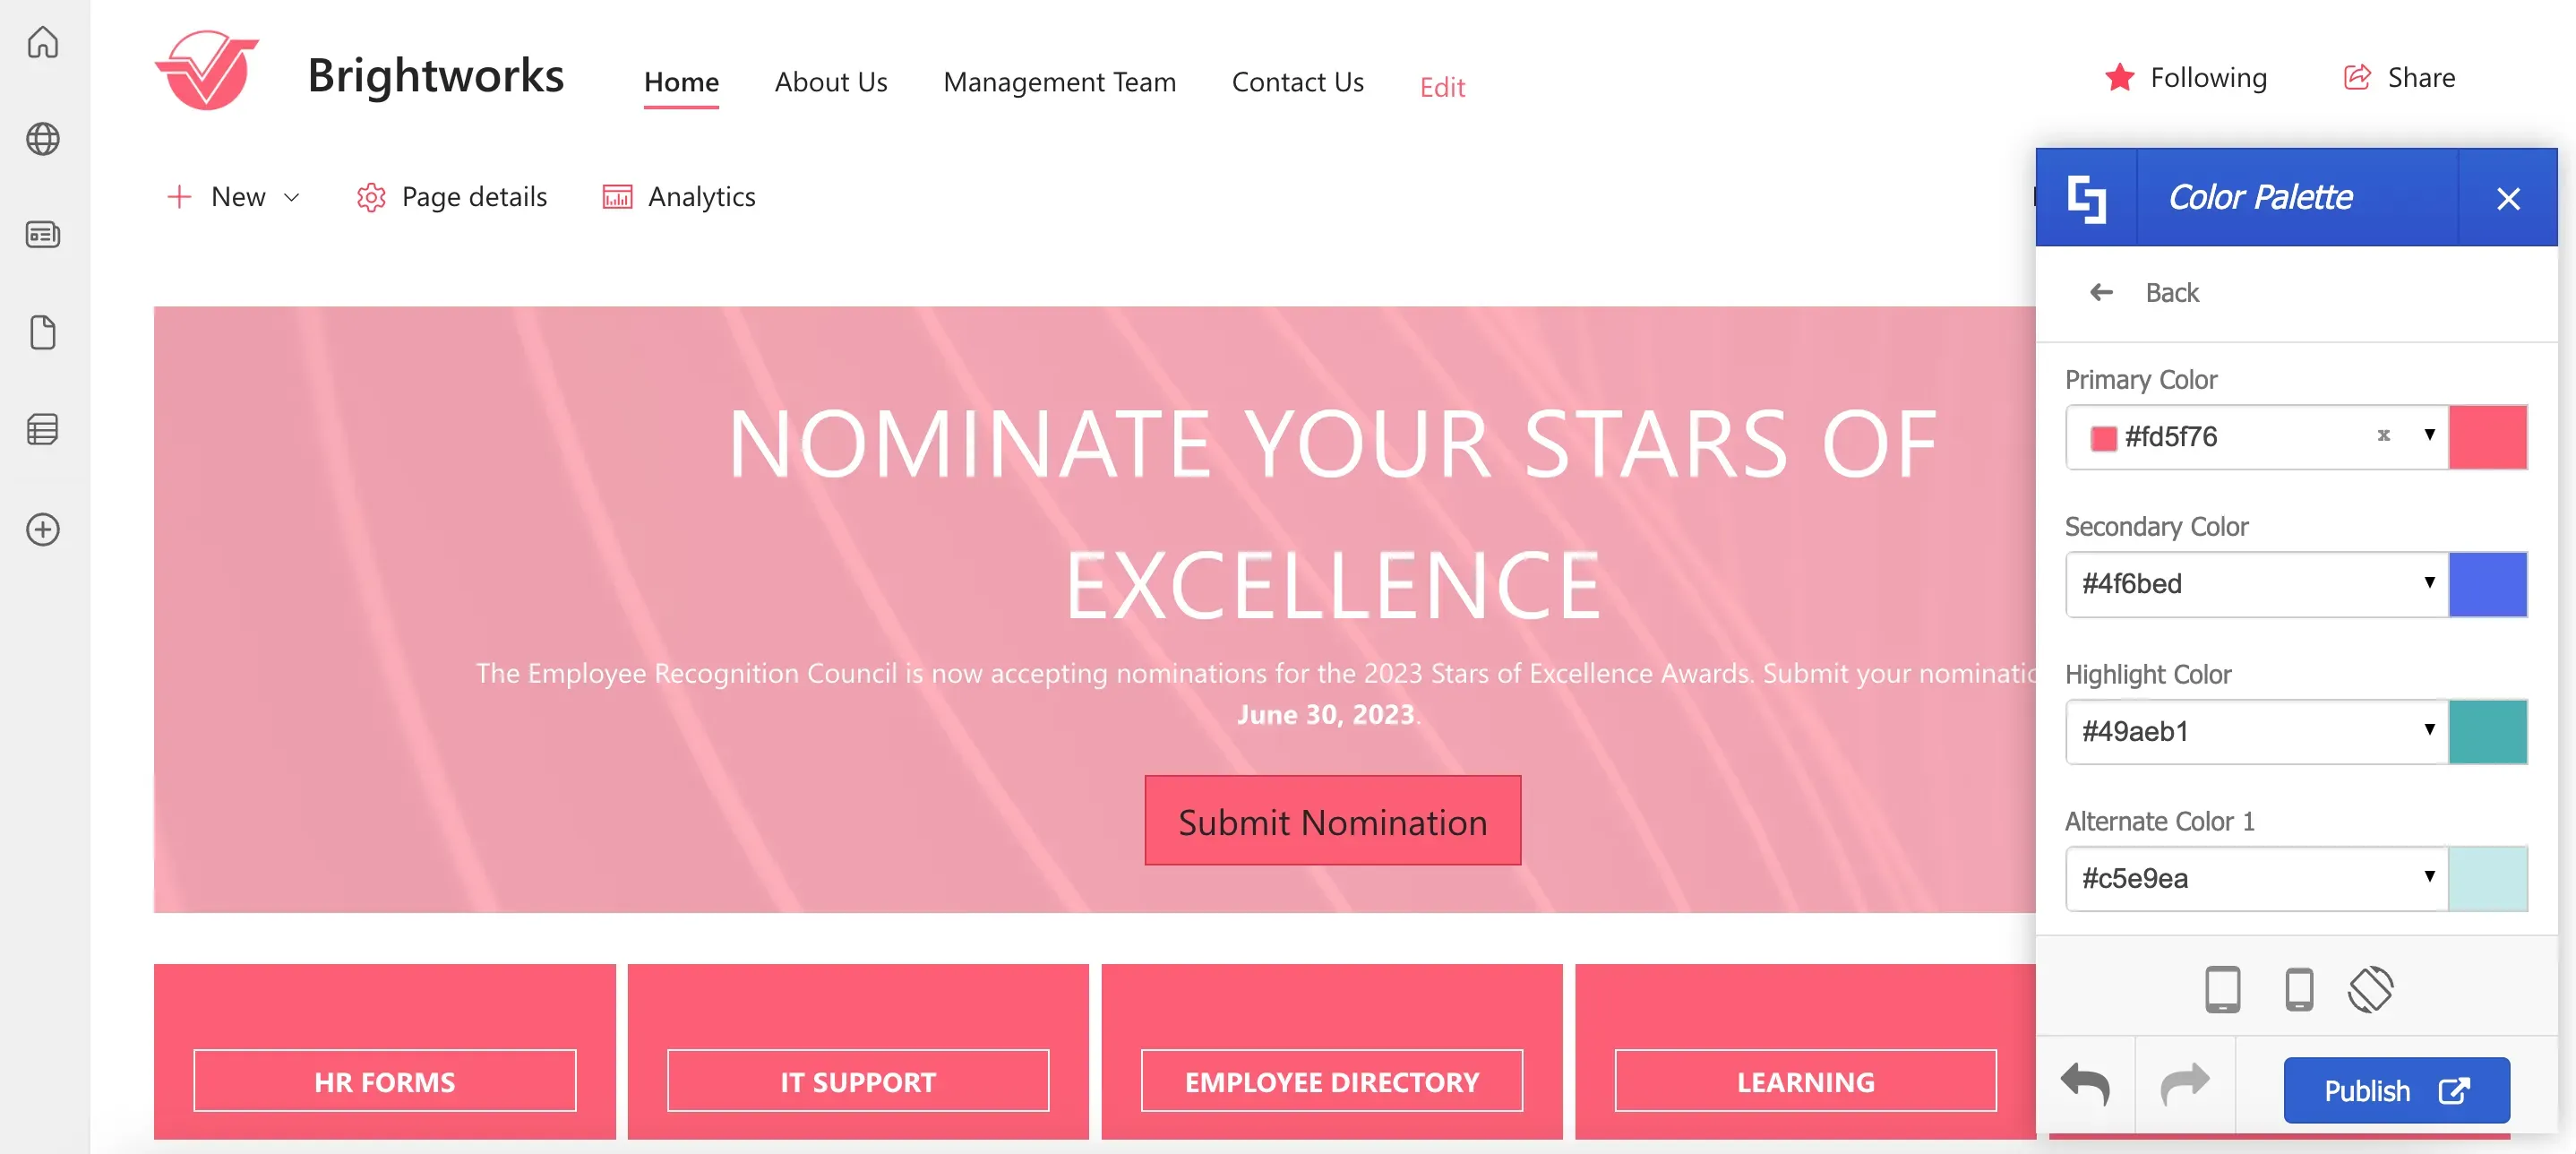
Once you start customizing options in the Theme Builder, you will notice that all changes made will immediately reflect on your page. For example, when we change the color of the site, you will readily see the color change.
You will also observe that your choices will impact other pages. For example, this Contact Us page followed the color we set for the main site.
It's important to note, however, that the changes you make are only visible to you until you decide to publish them. This allows you the freedom to experiment and try out different settings on your site before finalizing the perfect design.
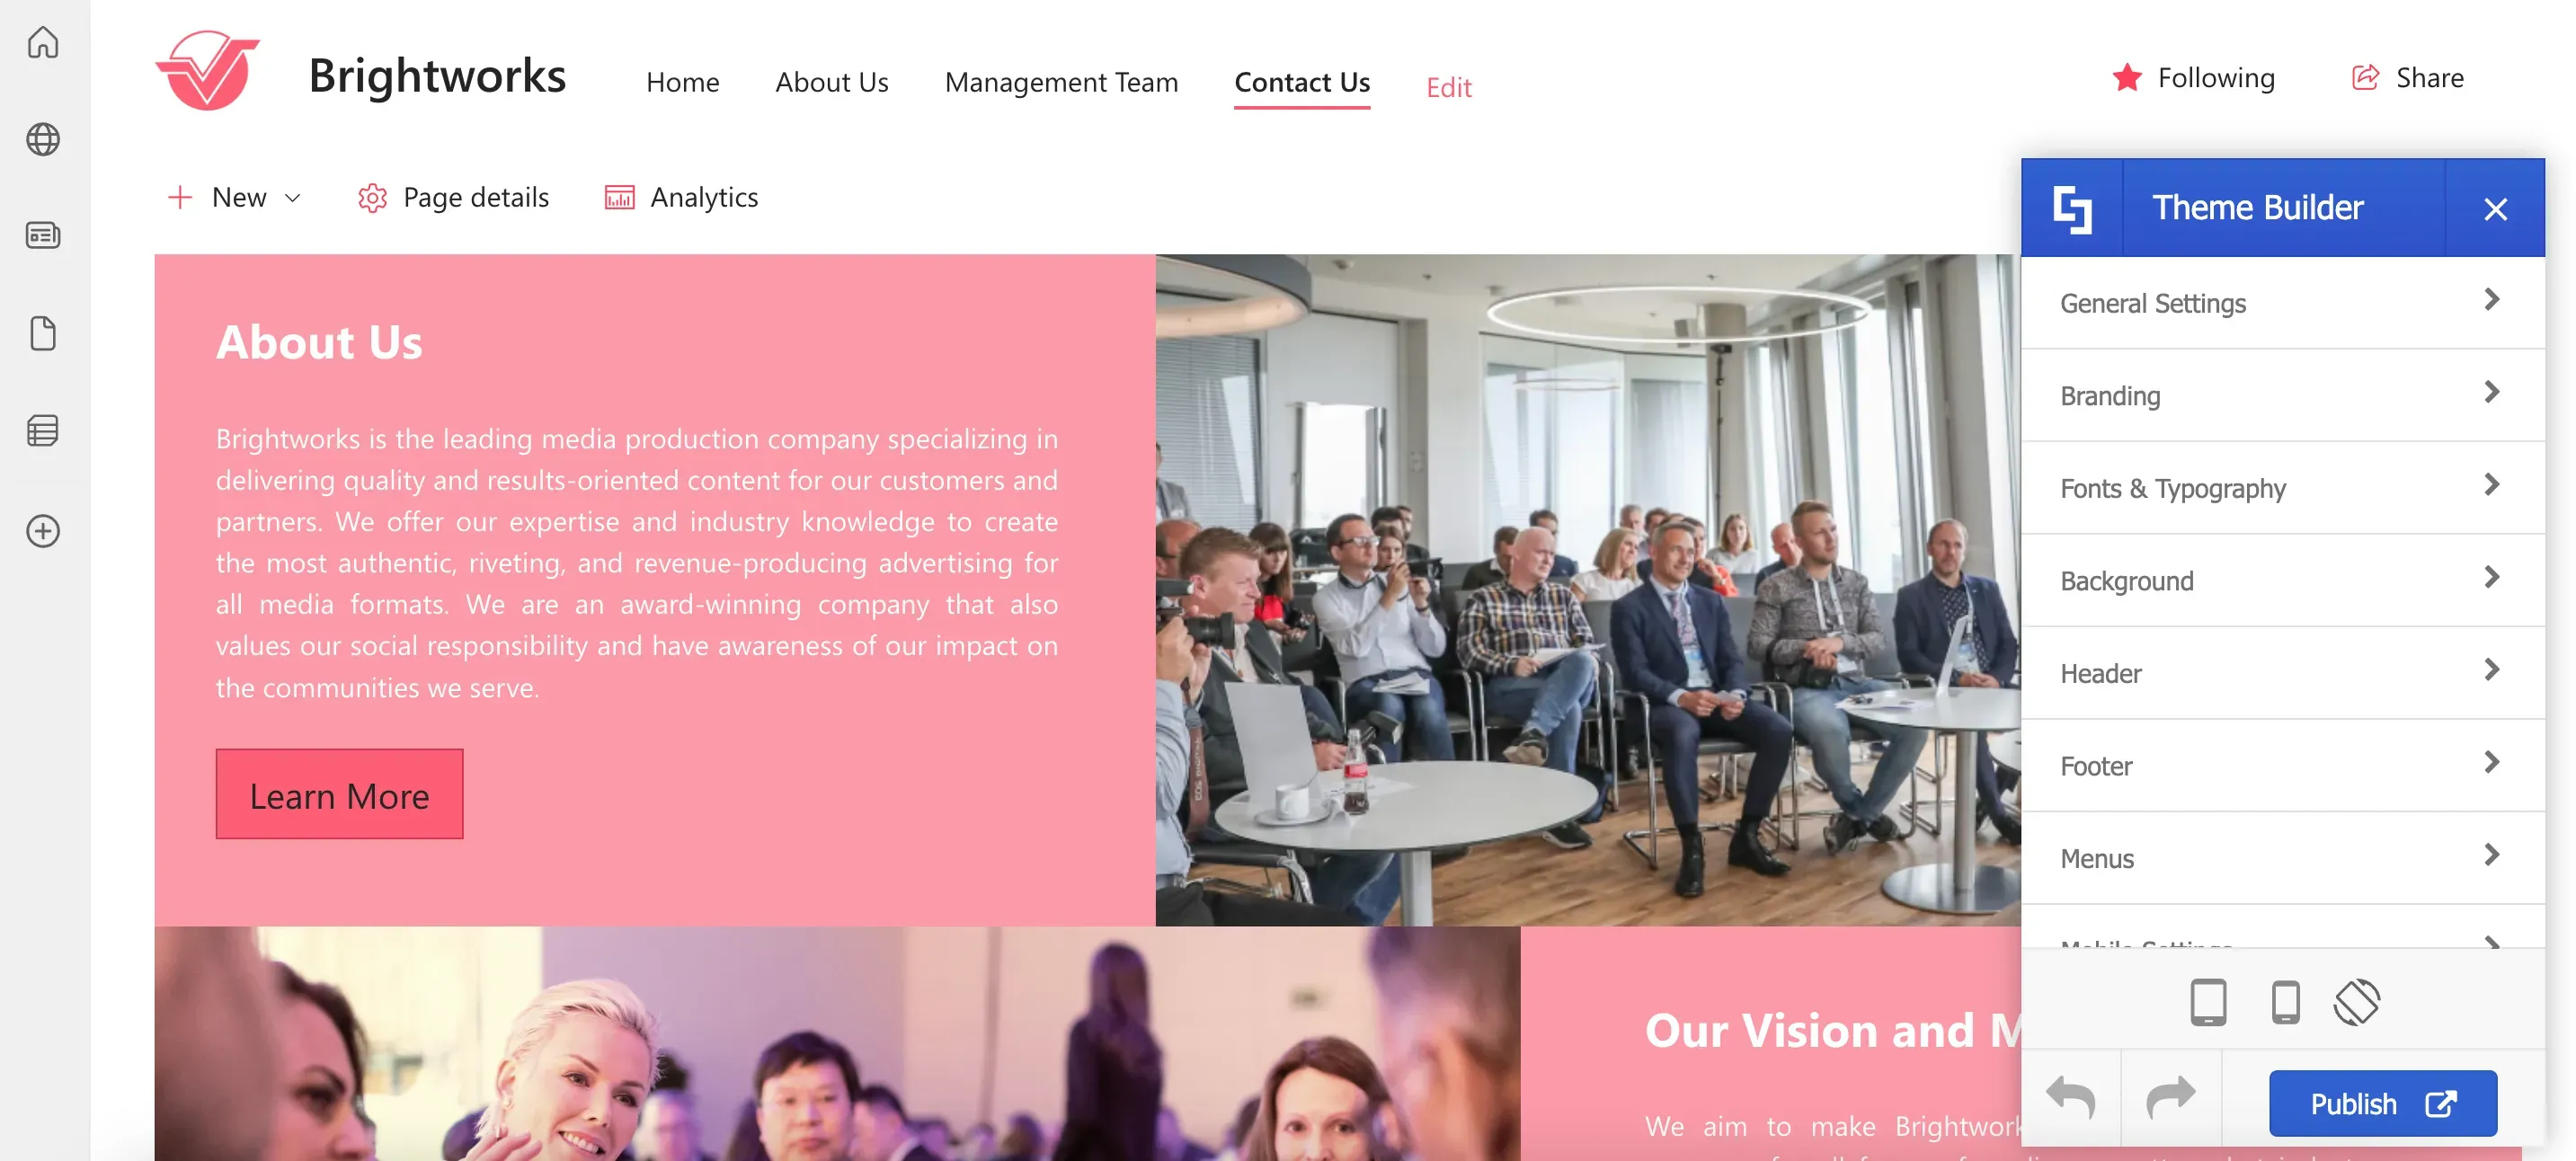
Let's show you how to apply a simple change to the look of your site. In the main Theme Builder menu, choose General Settings.
Modifying the general page layout
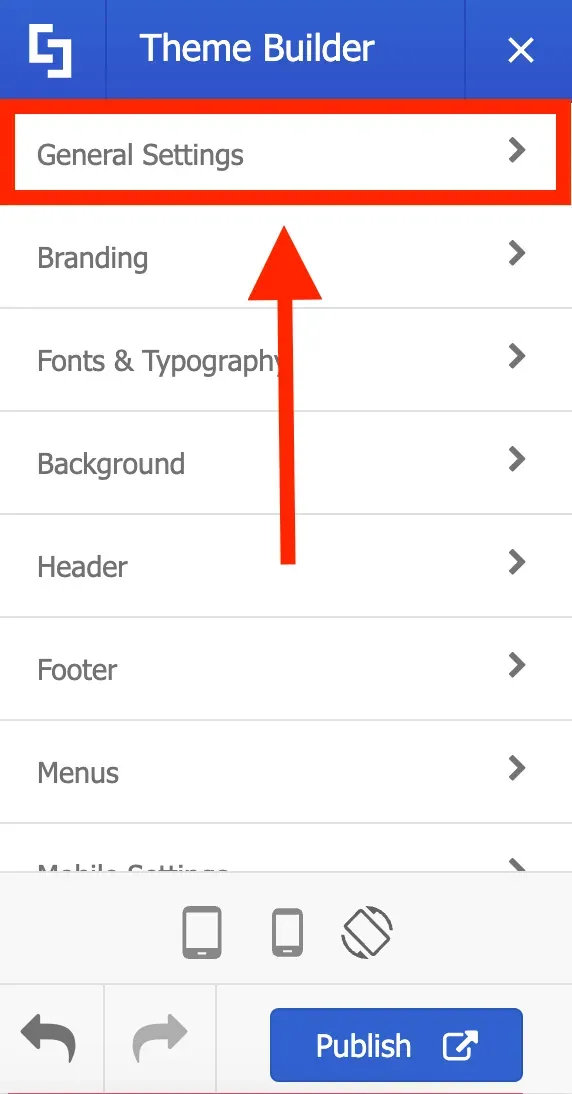
Then select General Layout from the available options.
Here, you will see three page layout options to choose from:
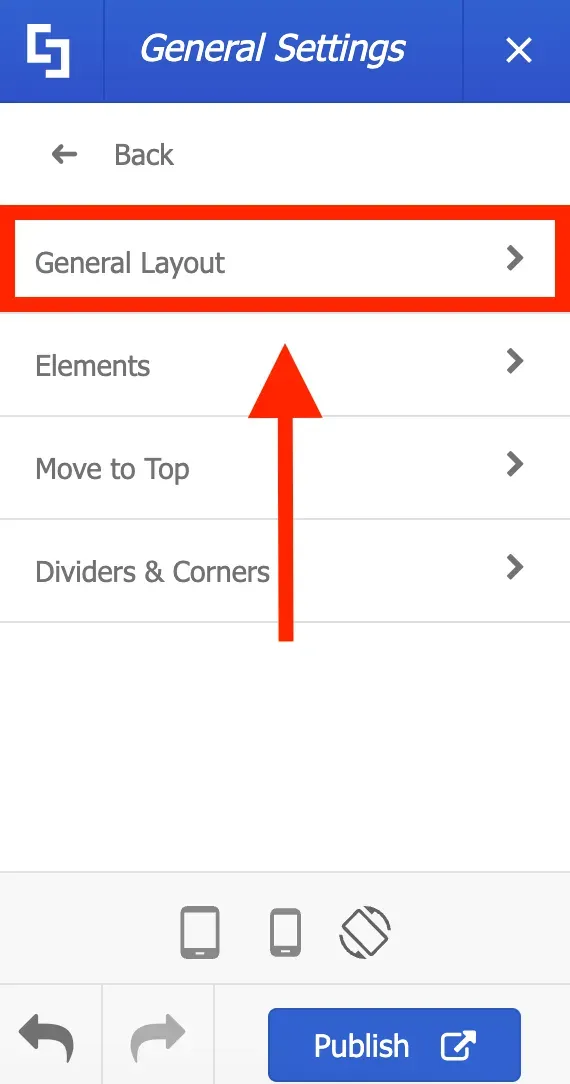
For this guide, we will choose the Frame layout.
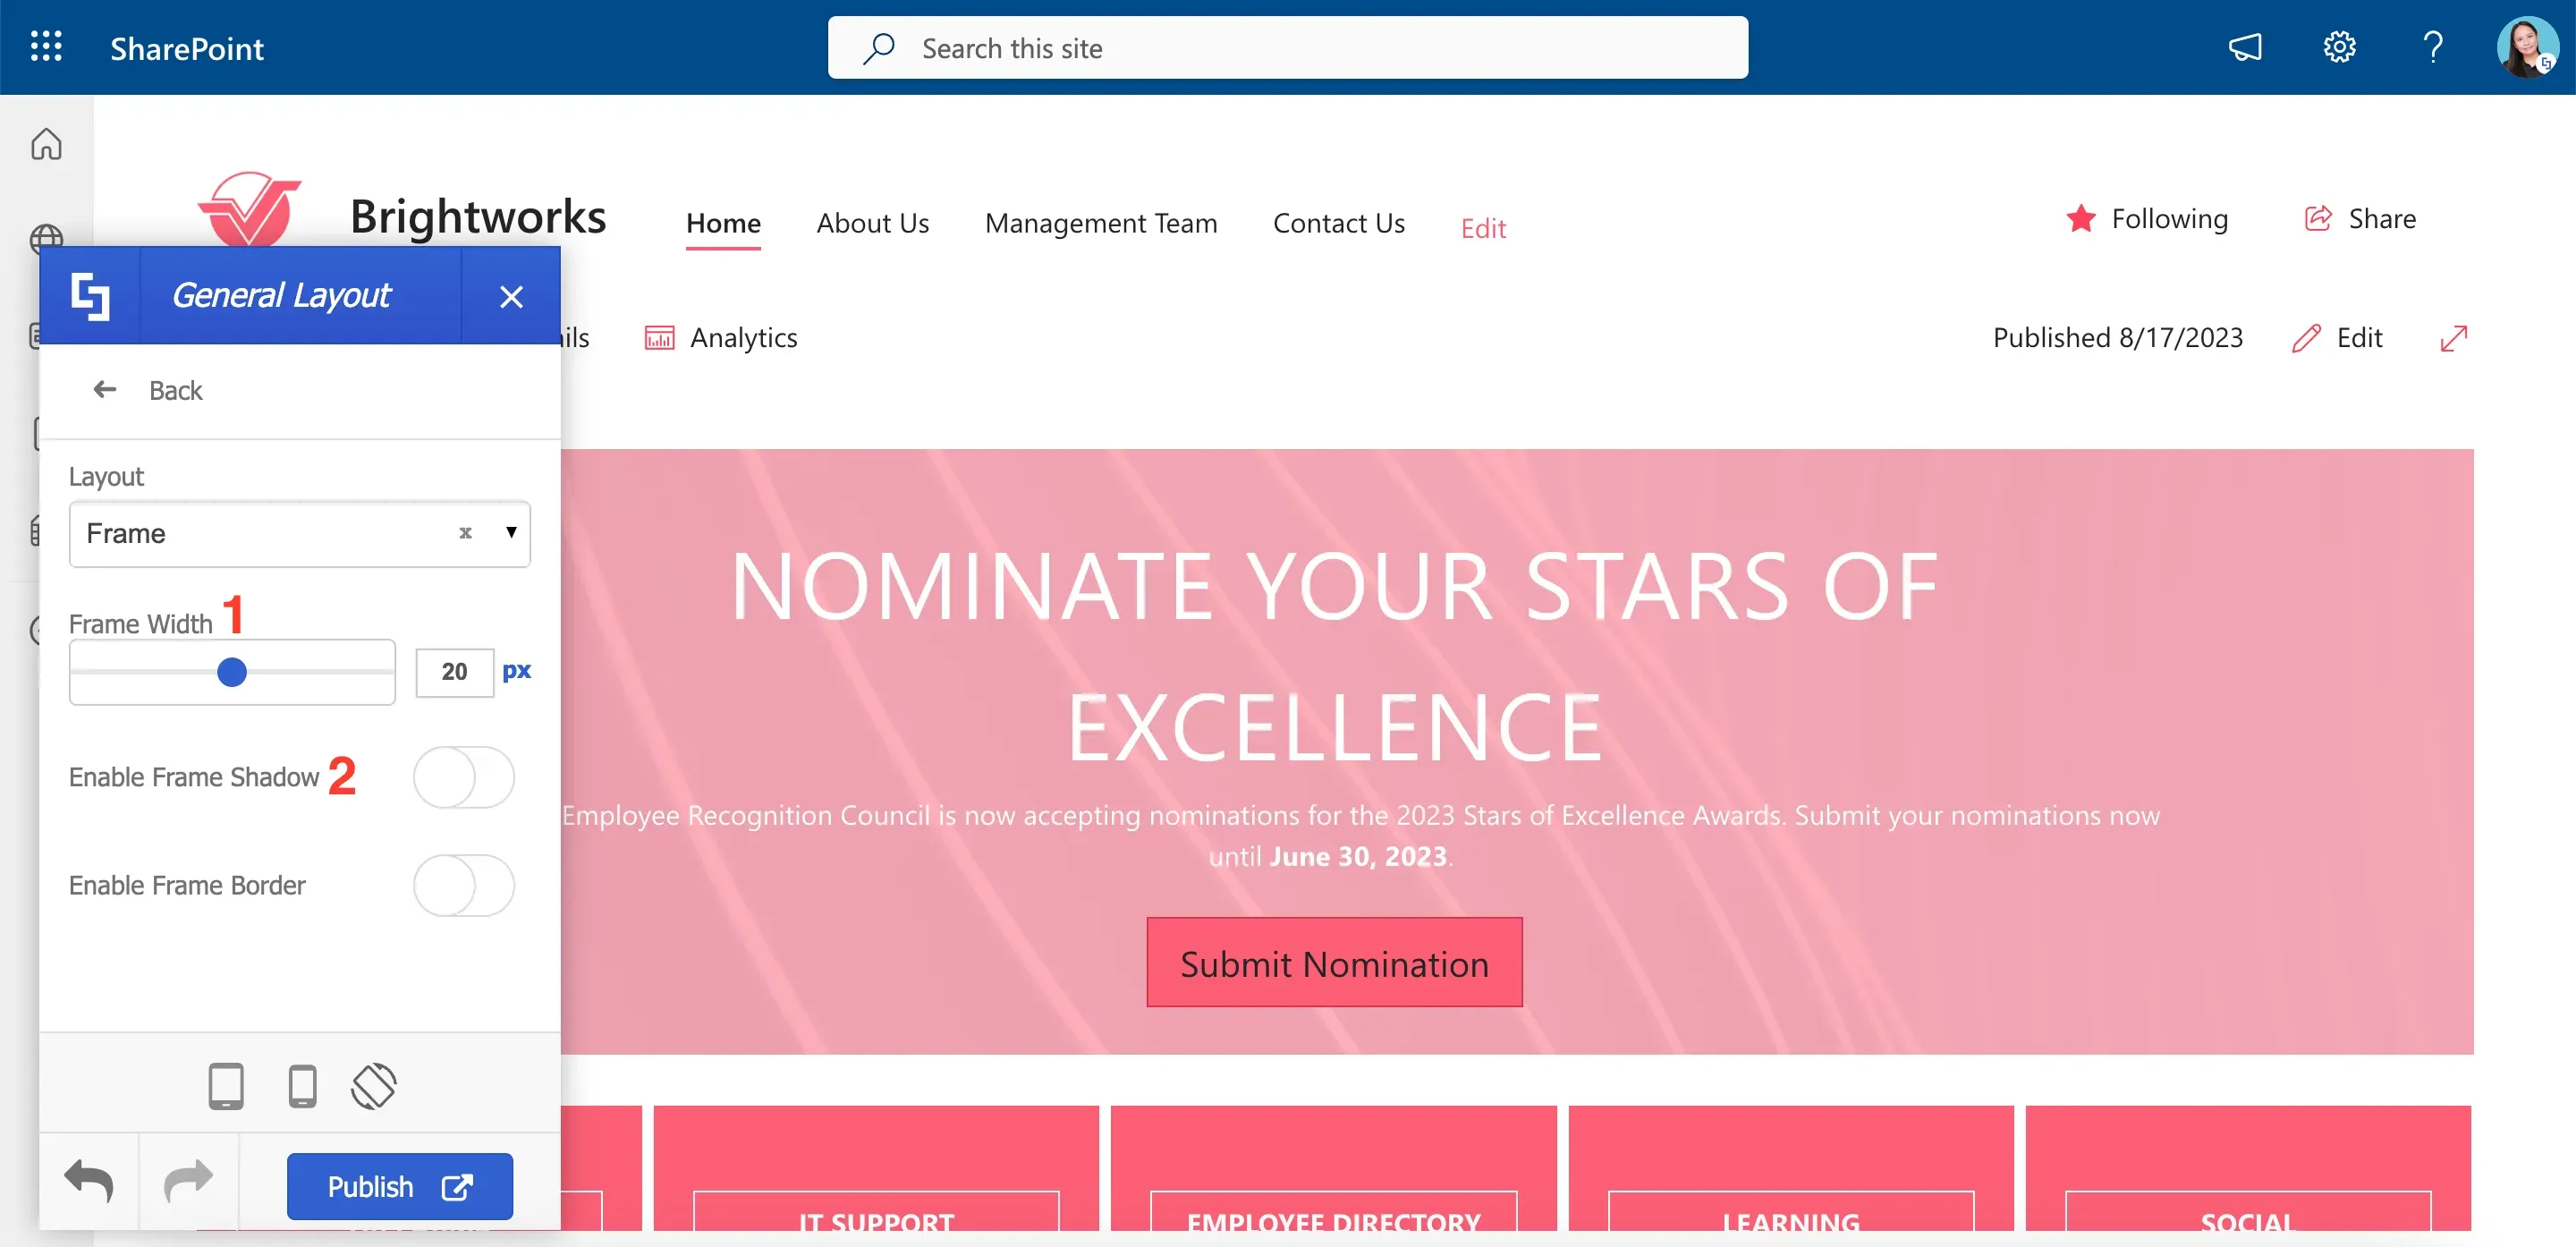
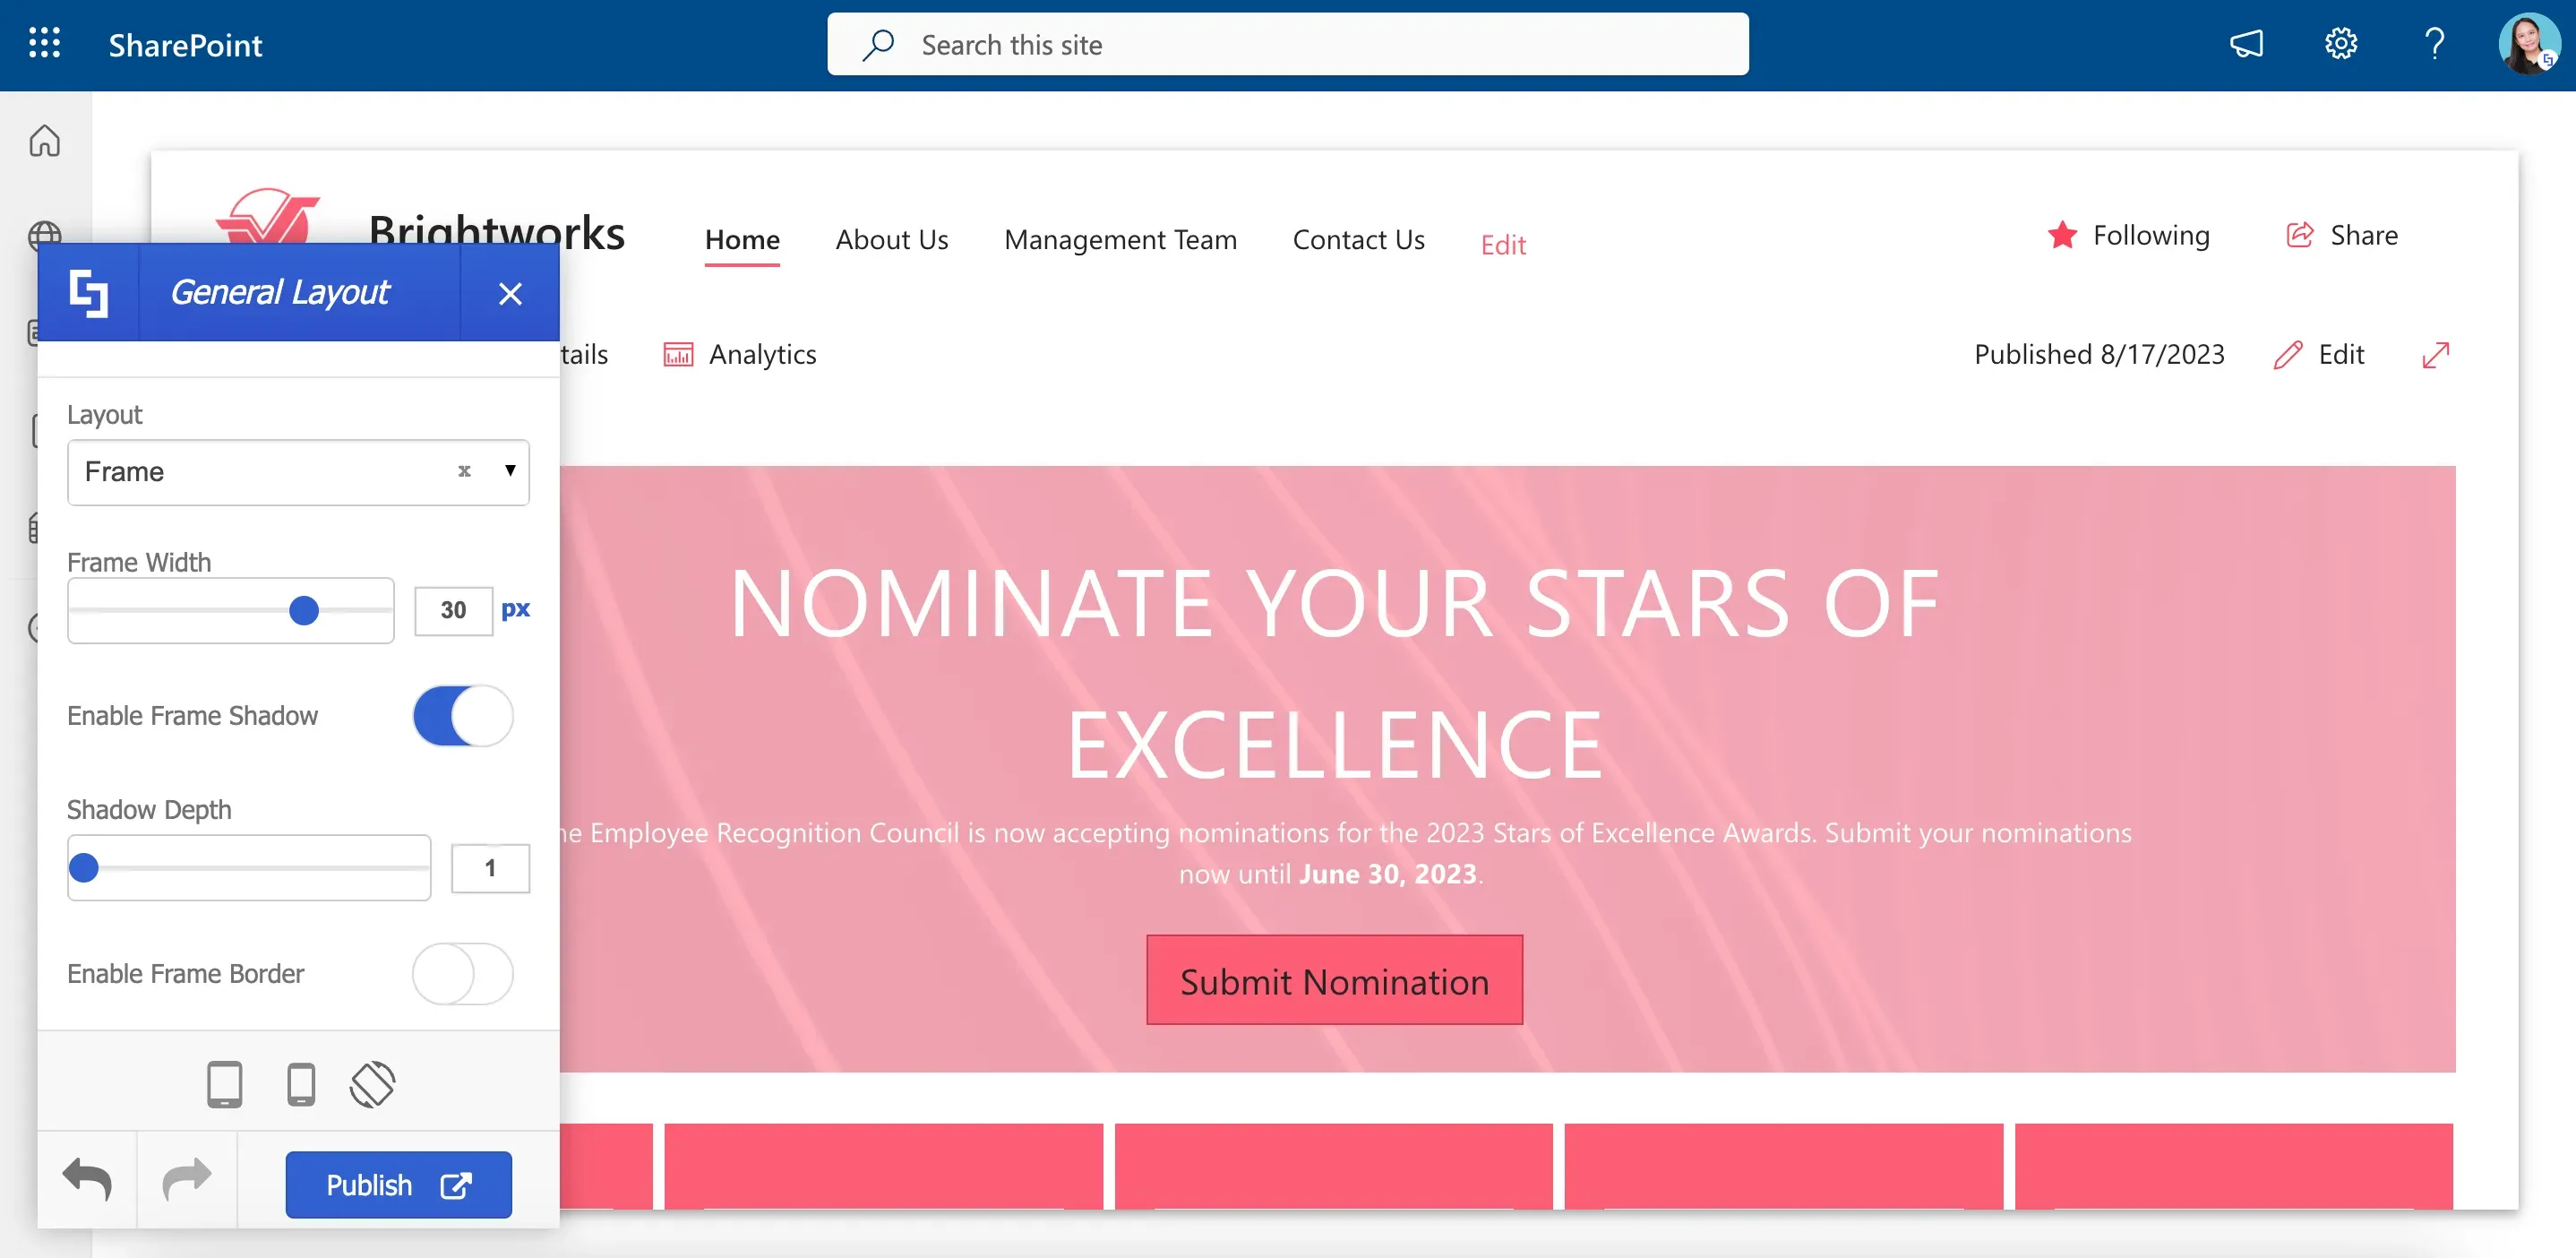
Each of the layout options provides additional settings that you can customize according to your preferences. For example, let us change the [1] Frame width to 30 px and toggle on [2] Enable Frame Shadow.
Your page will now look like this:
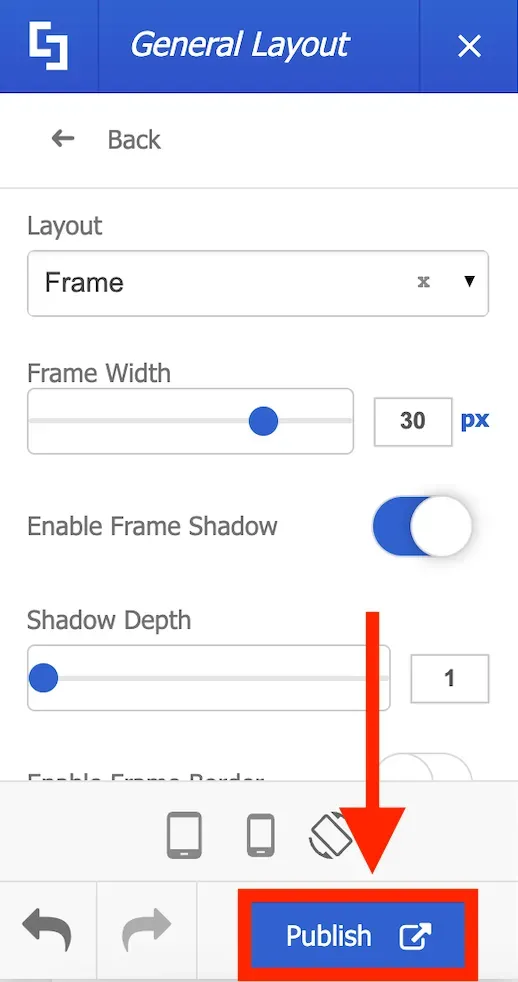
Once you have made the desired changes to the page layout, click Publish.
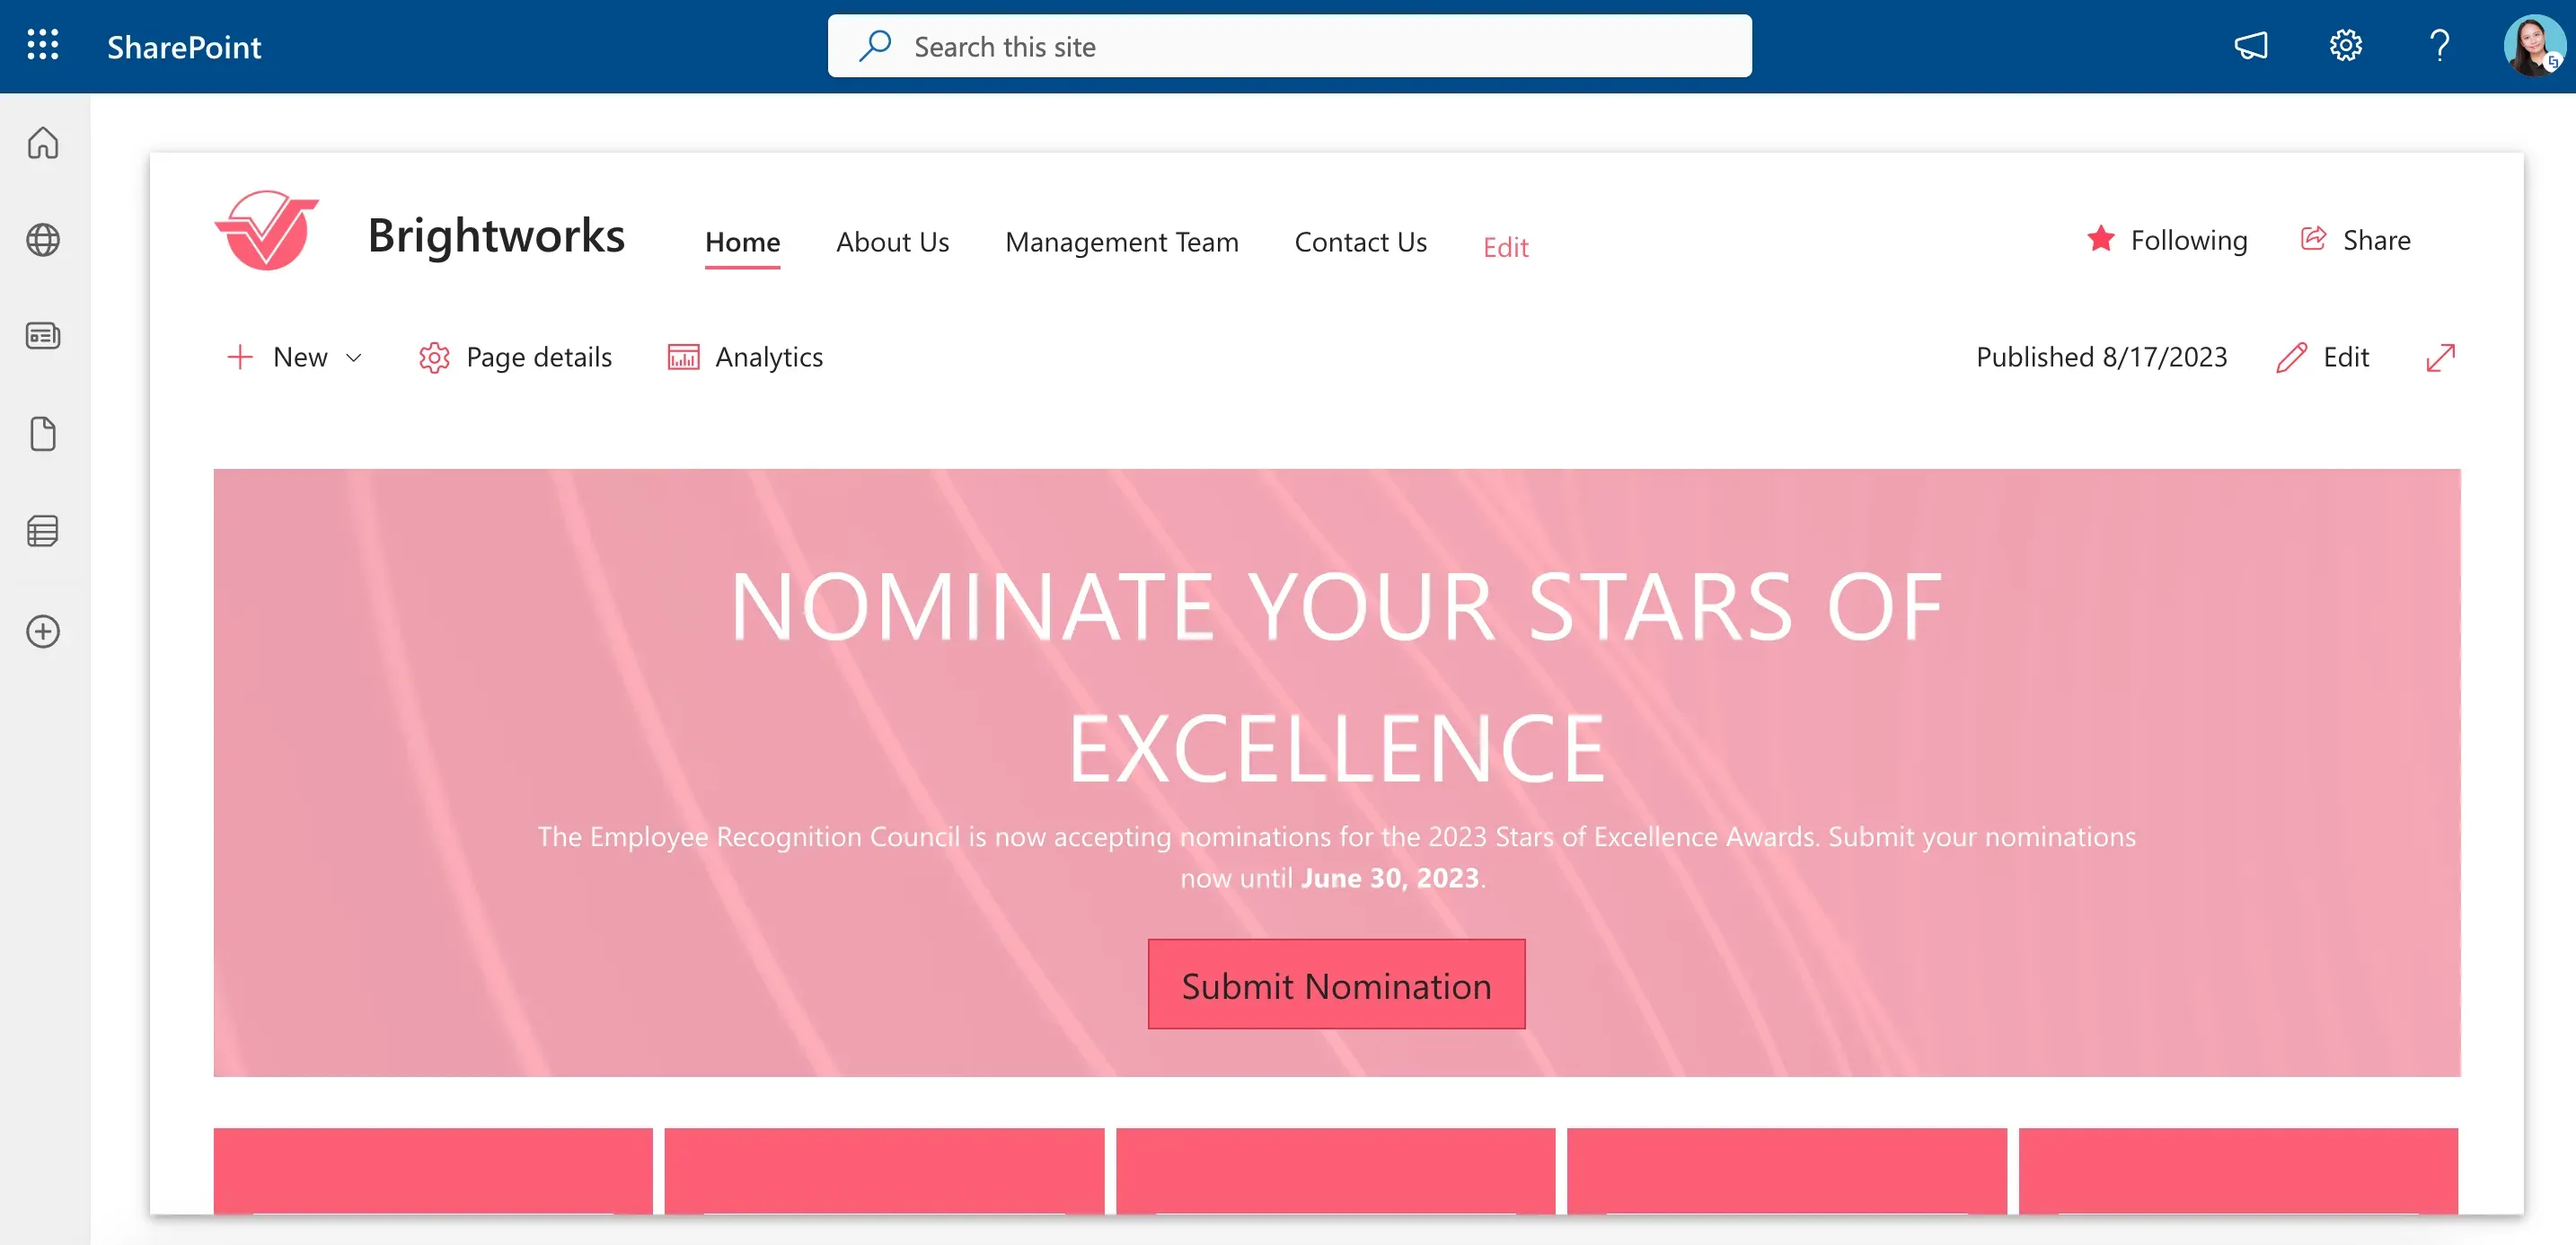
After publishing, the new page layout will be visible to all your site users.
Congratulations! You now know the basics of ShortPoint Theme Builder. You can start creating a stunning intranet site with minimal customizations. Enjoy exploring more features and unleashing your creativity.