

ShortPoint Theme Builder Basics
Modify SharePoint site page elements
In this lesson, you will learn how to apply Focus Mode for a cleaner and modern-looking SharePoint page. You will also learn how to hide SharePoint site page elements and enable other features for a more user-friendly site.

Applying Focus Mode
Every SharePoint site has a set of page elements that can be consistently found on your site. These elements include the SharePoint suite bar, page actions, hub sites menu, additional details, and more. You may wish to hide these page elements either to achieve a cleaner page design or to limit their visibility and accessibility to your users.
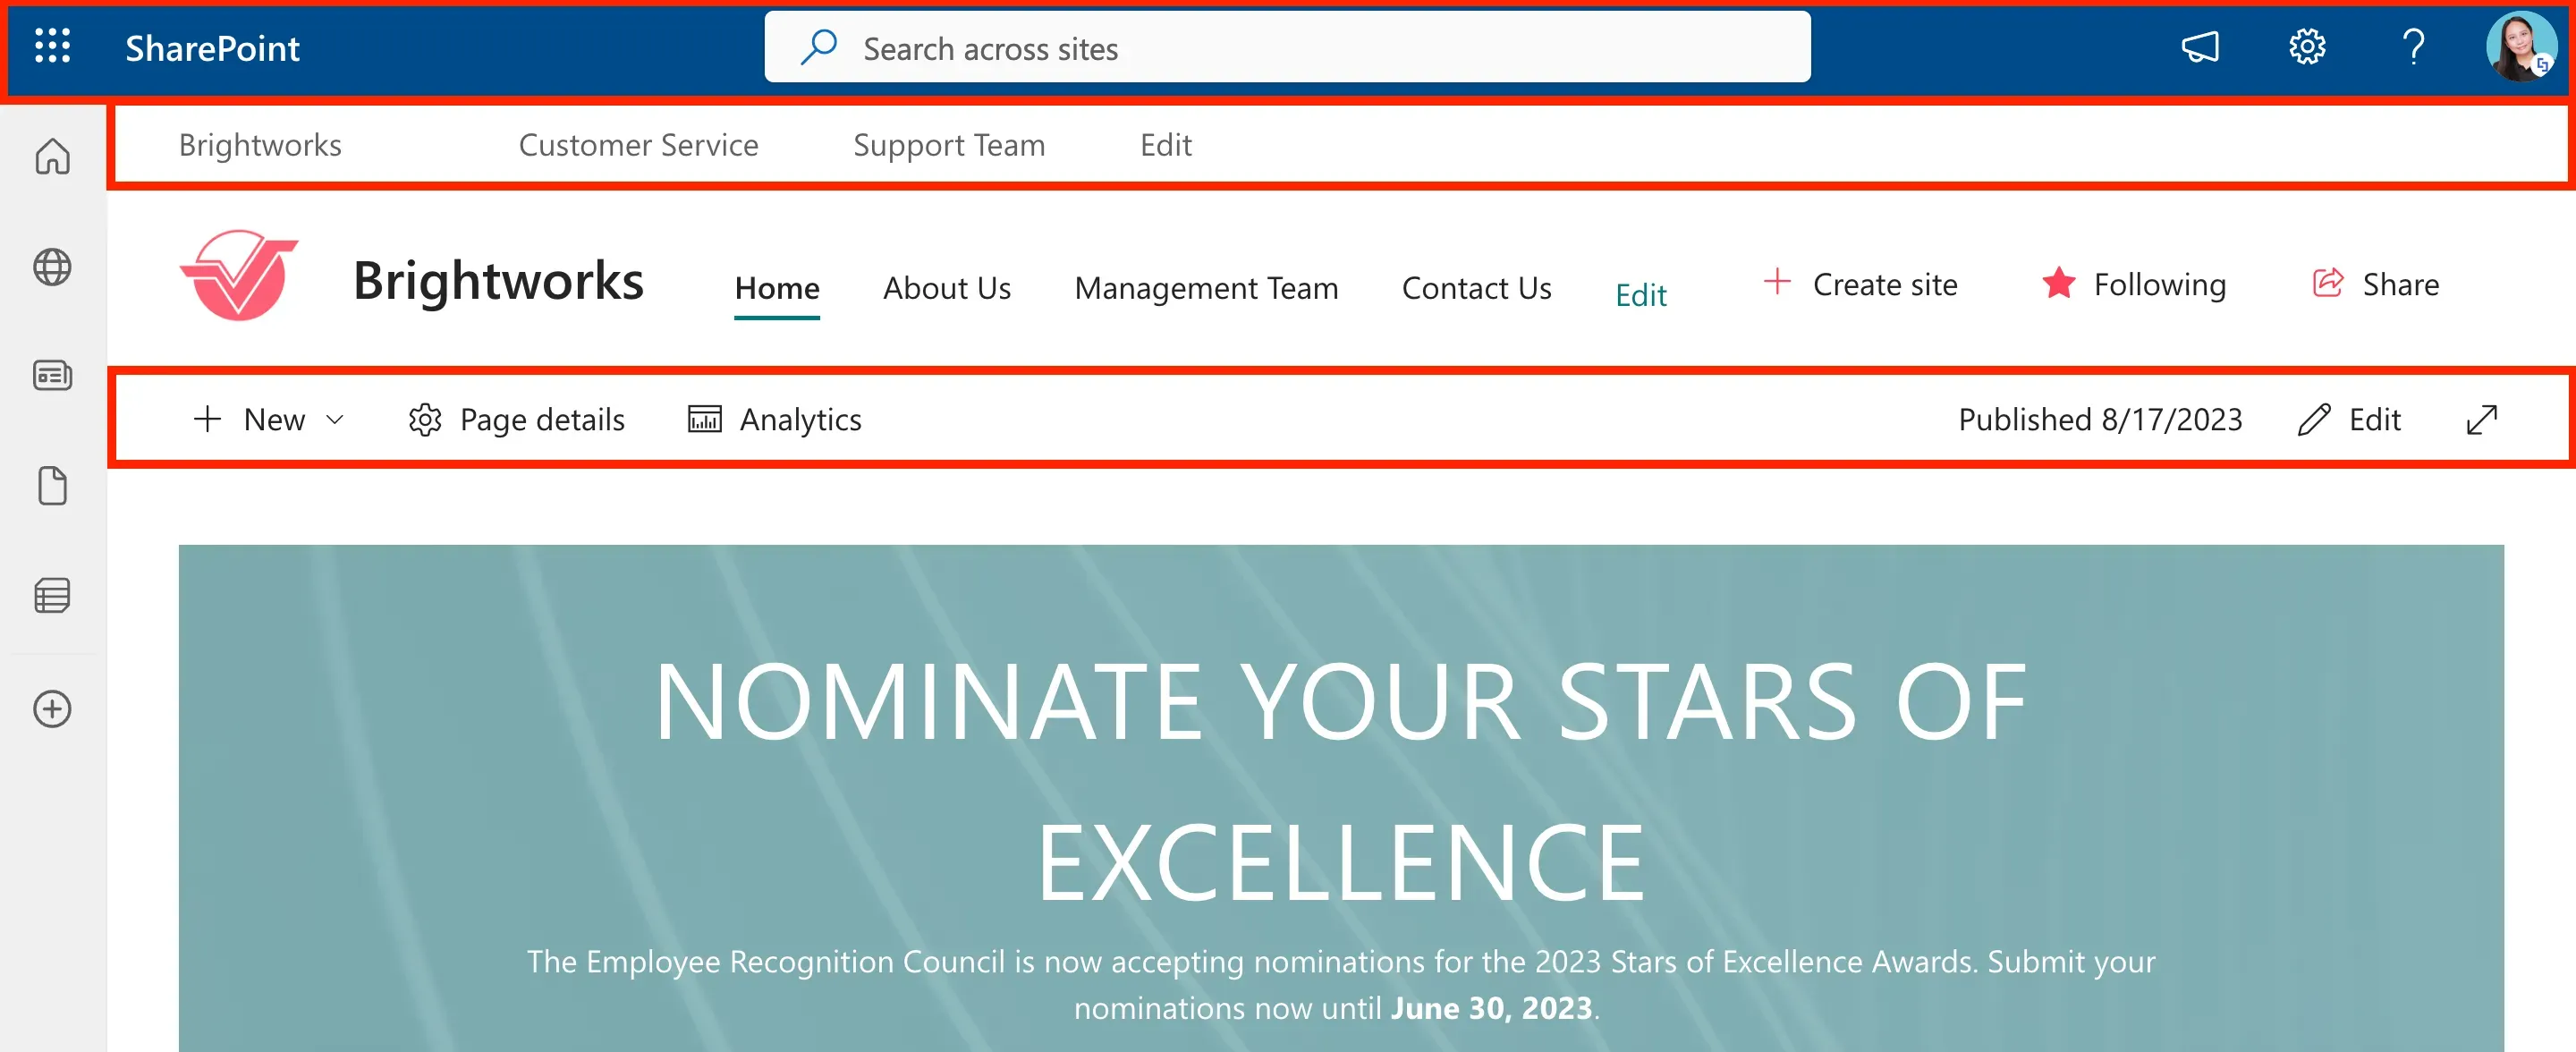
To accomplish this, launch the ShortPoint Theme Builder and navigate to the General Settings category.
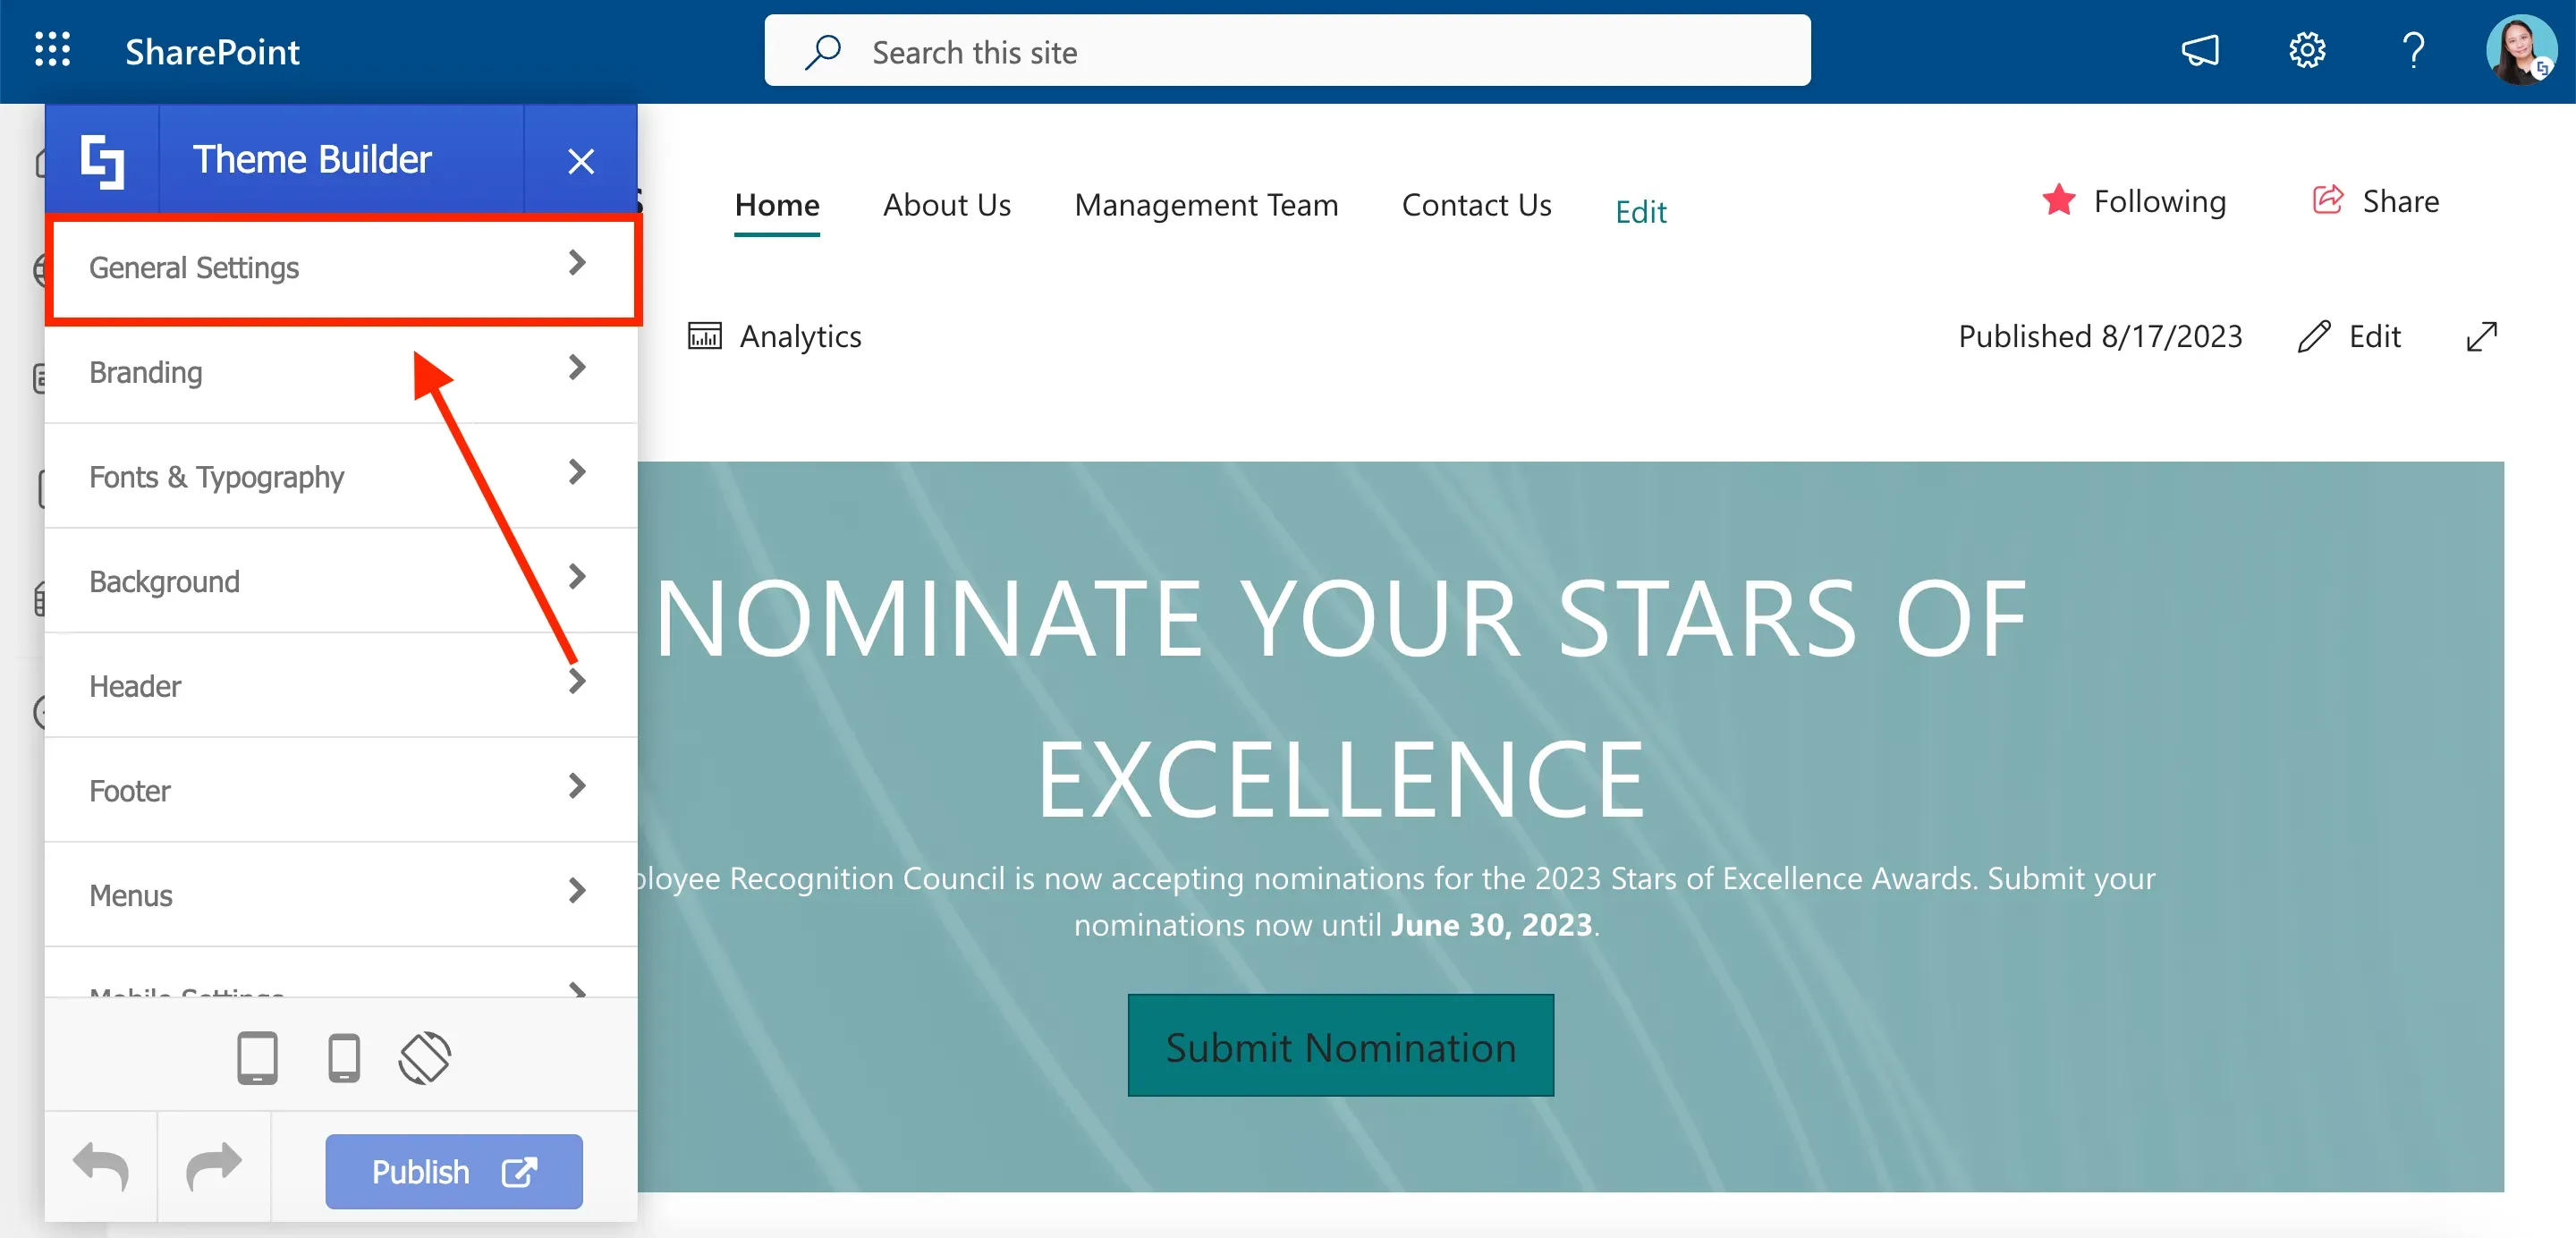
From there, select Elements.
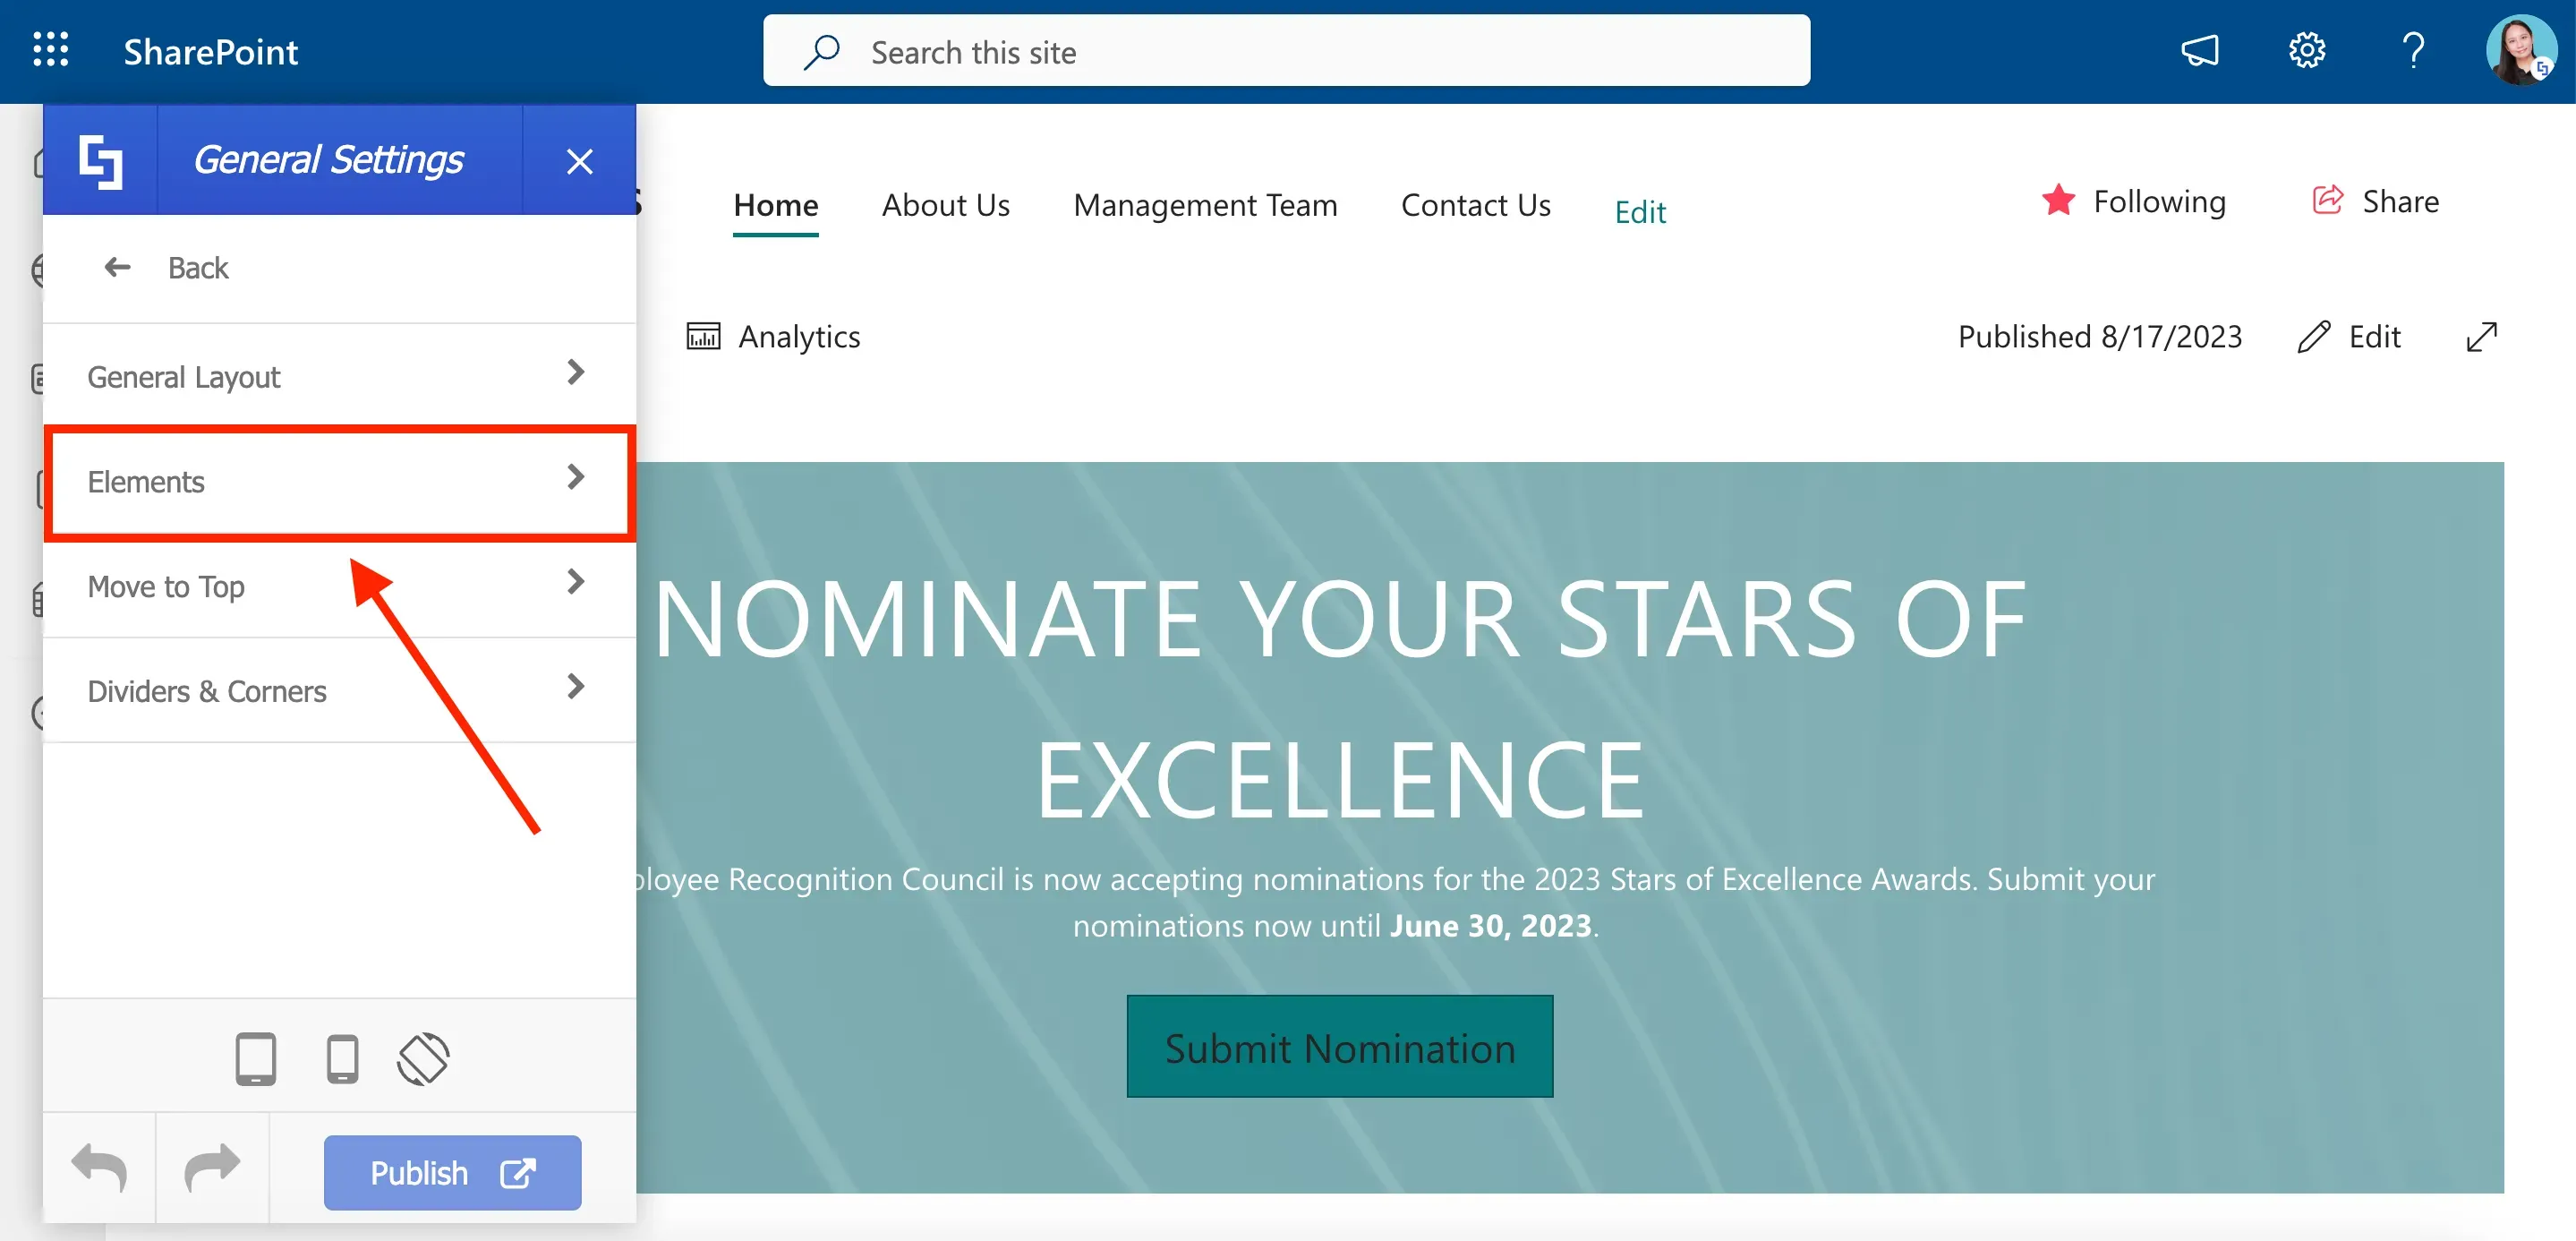
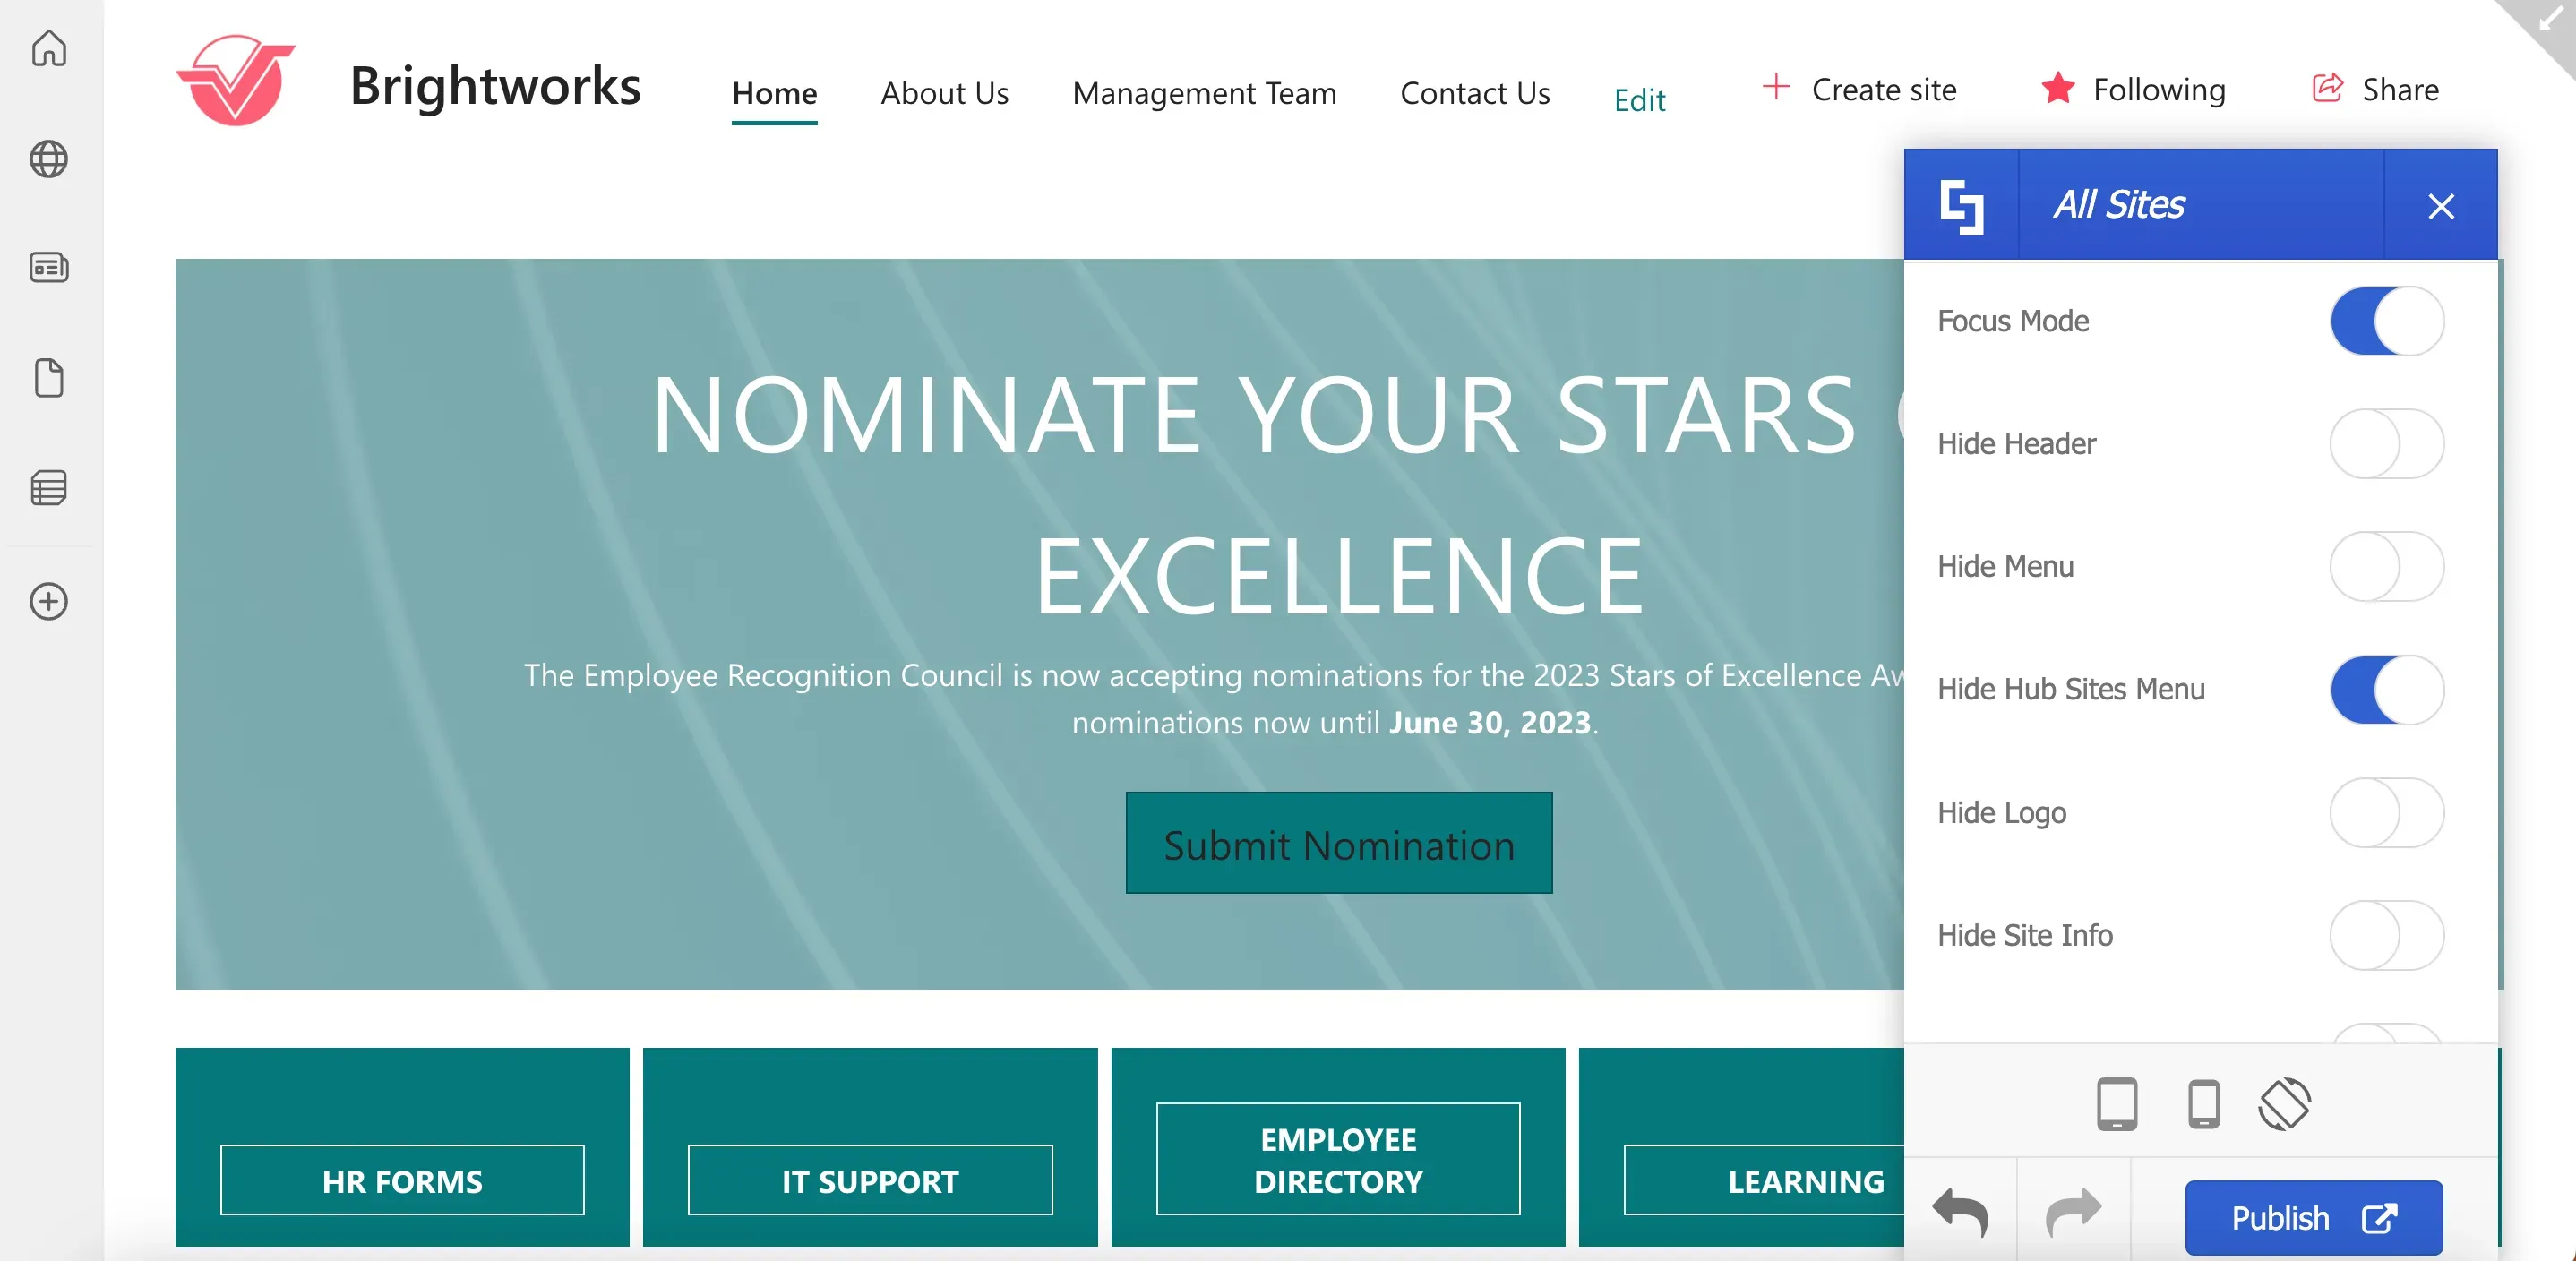
In the Elements section, you'll find a list of pages where you can apply your changes. If you want to modify page elements on the home page only, you can select Home Page and make your changes. For this guide, however, we want to apply changes to all sites, so we will select All Sites.
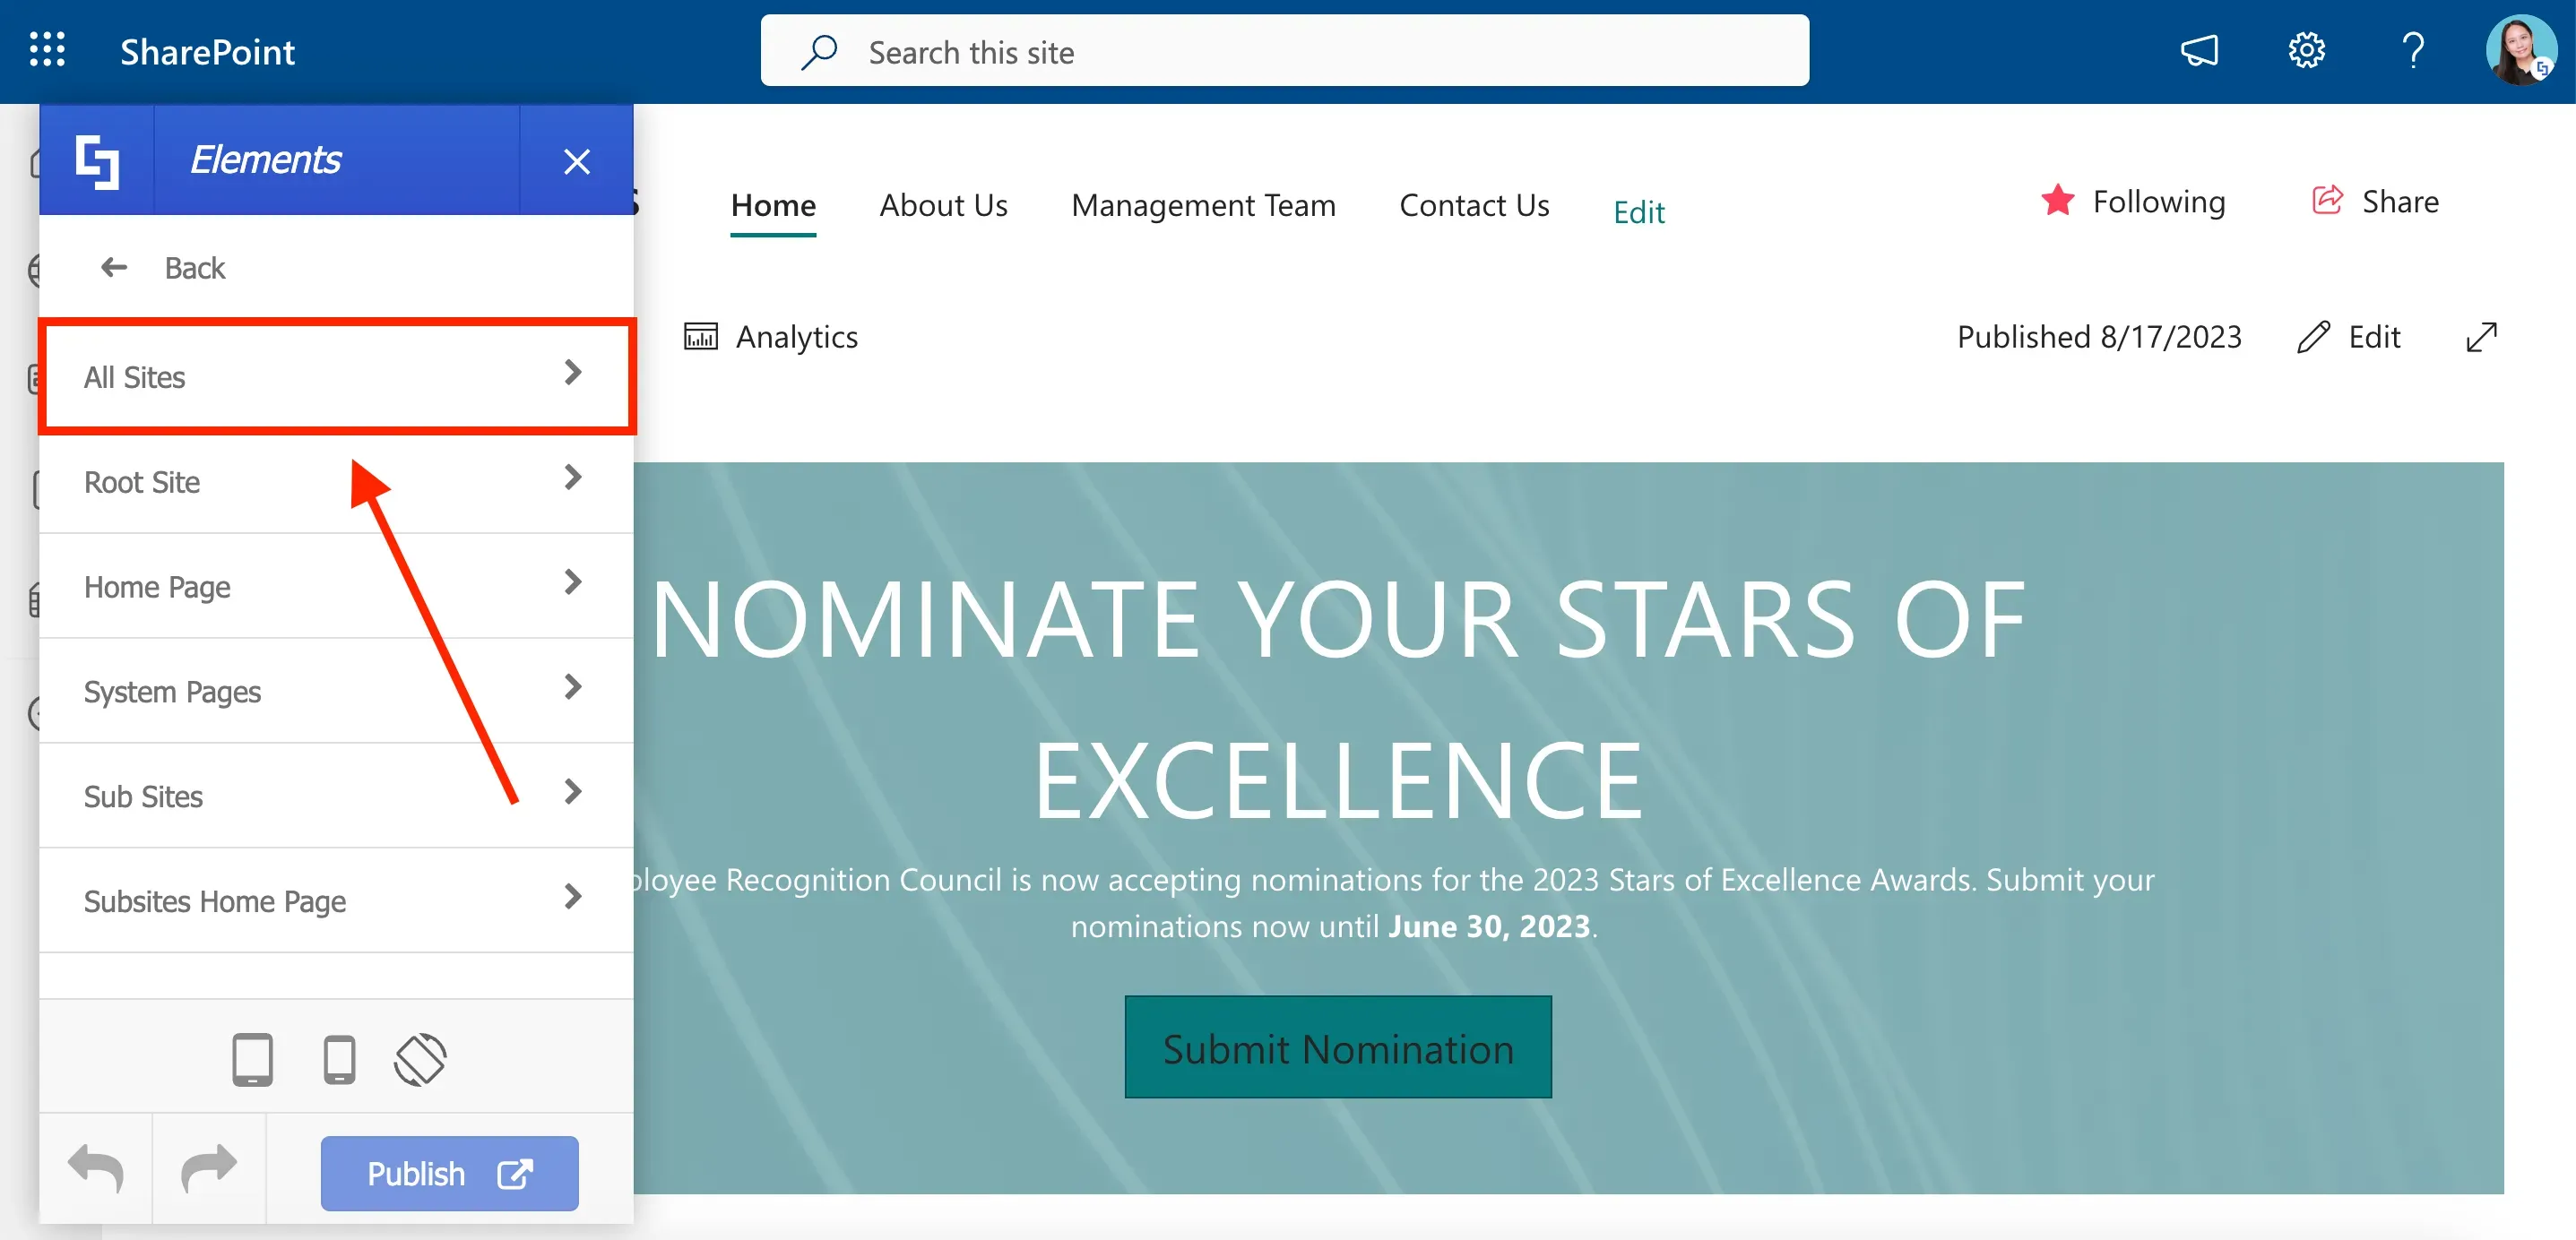
First, we want to hide our page's SharePoint suite bar and action options:
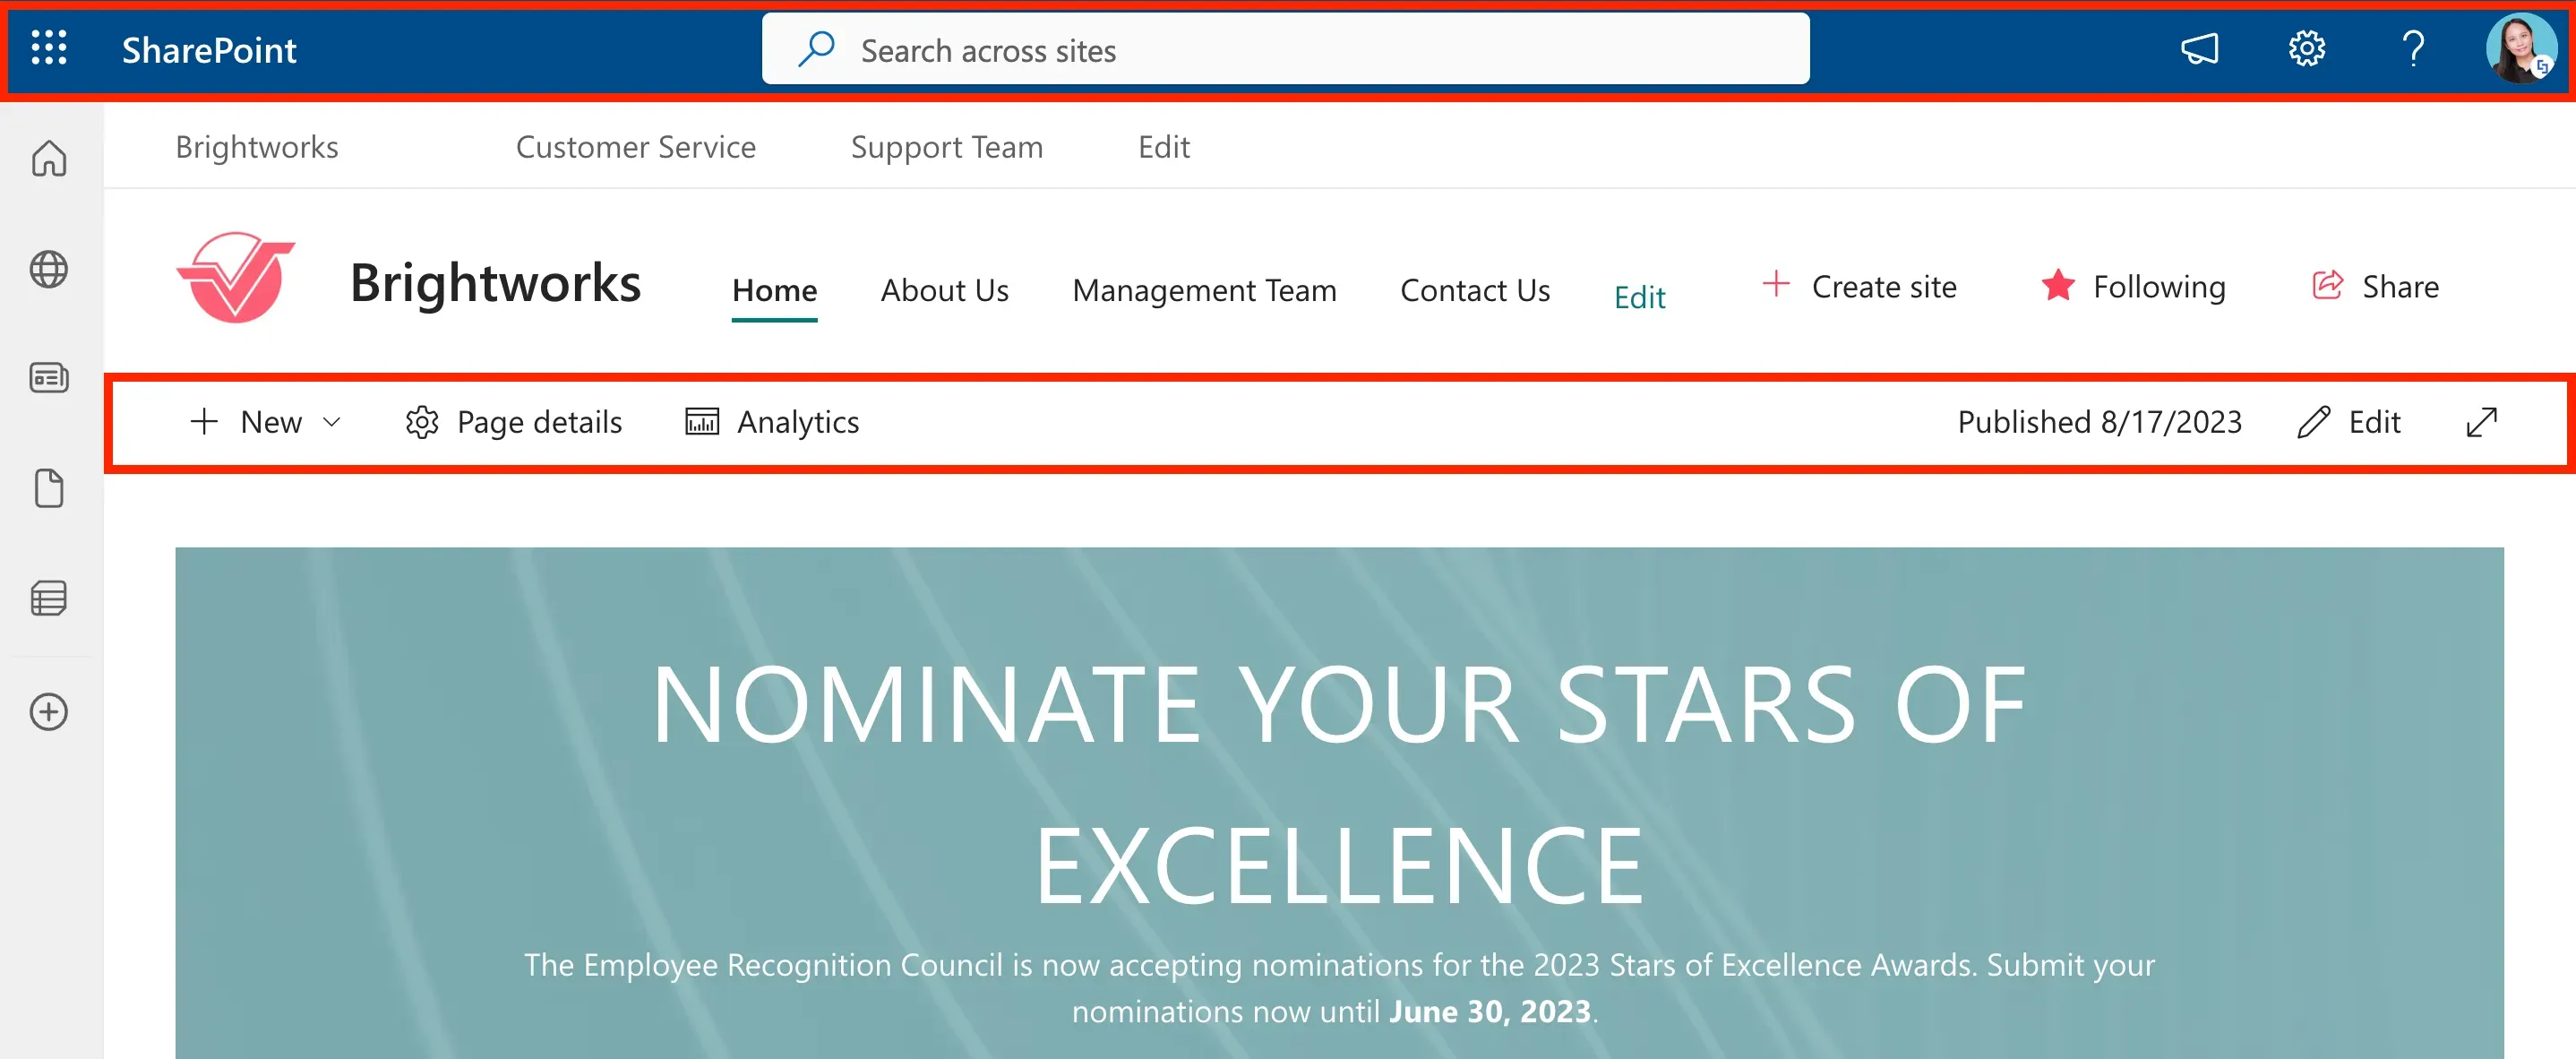
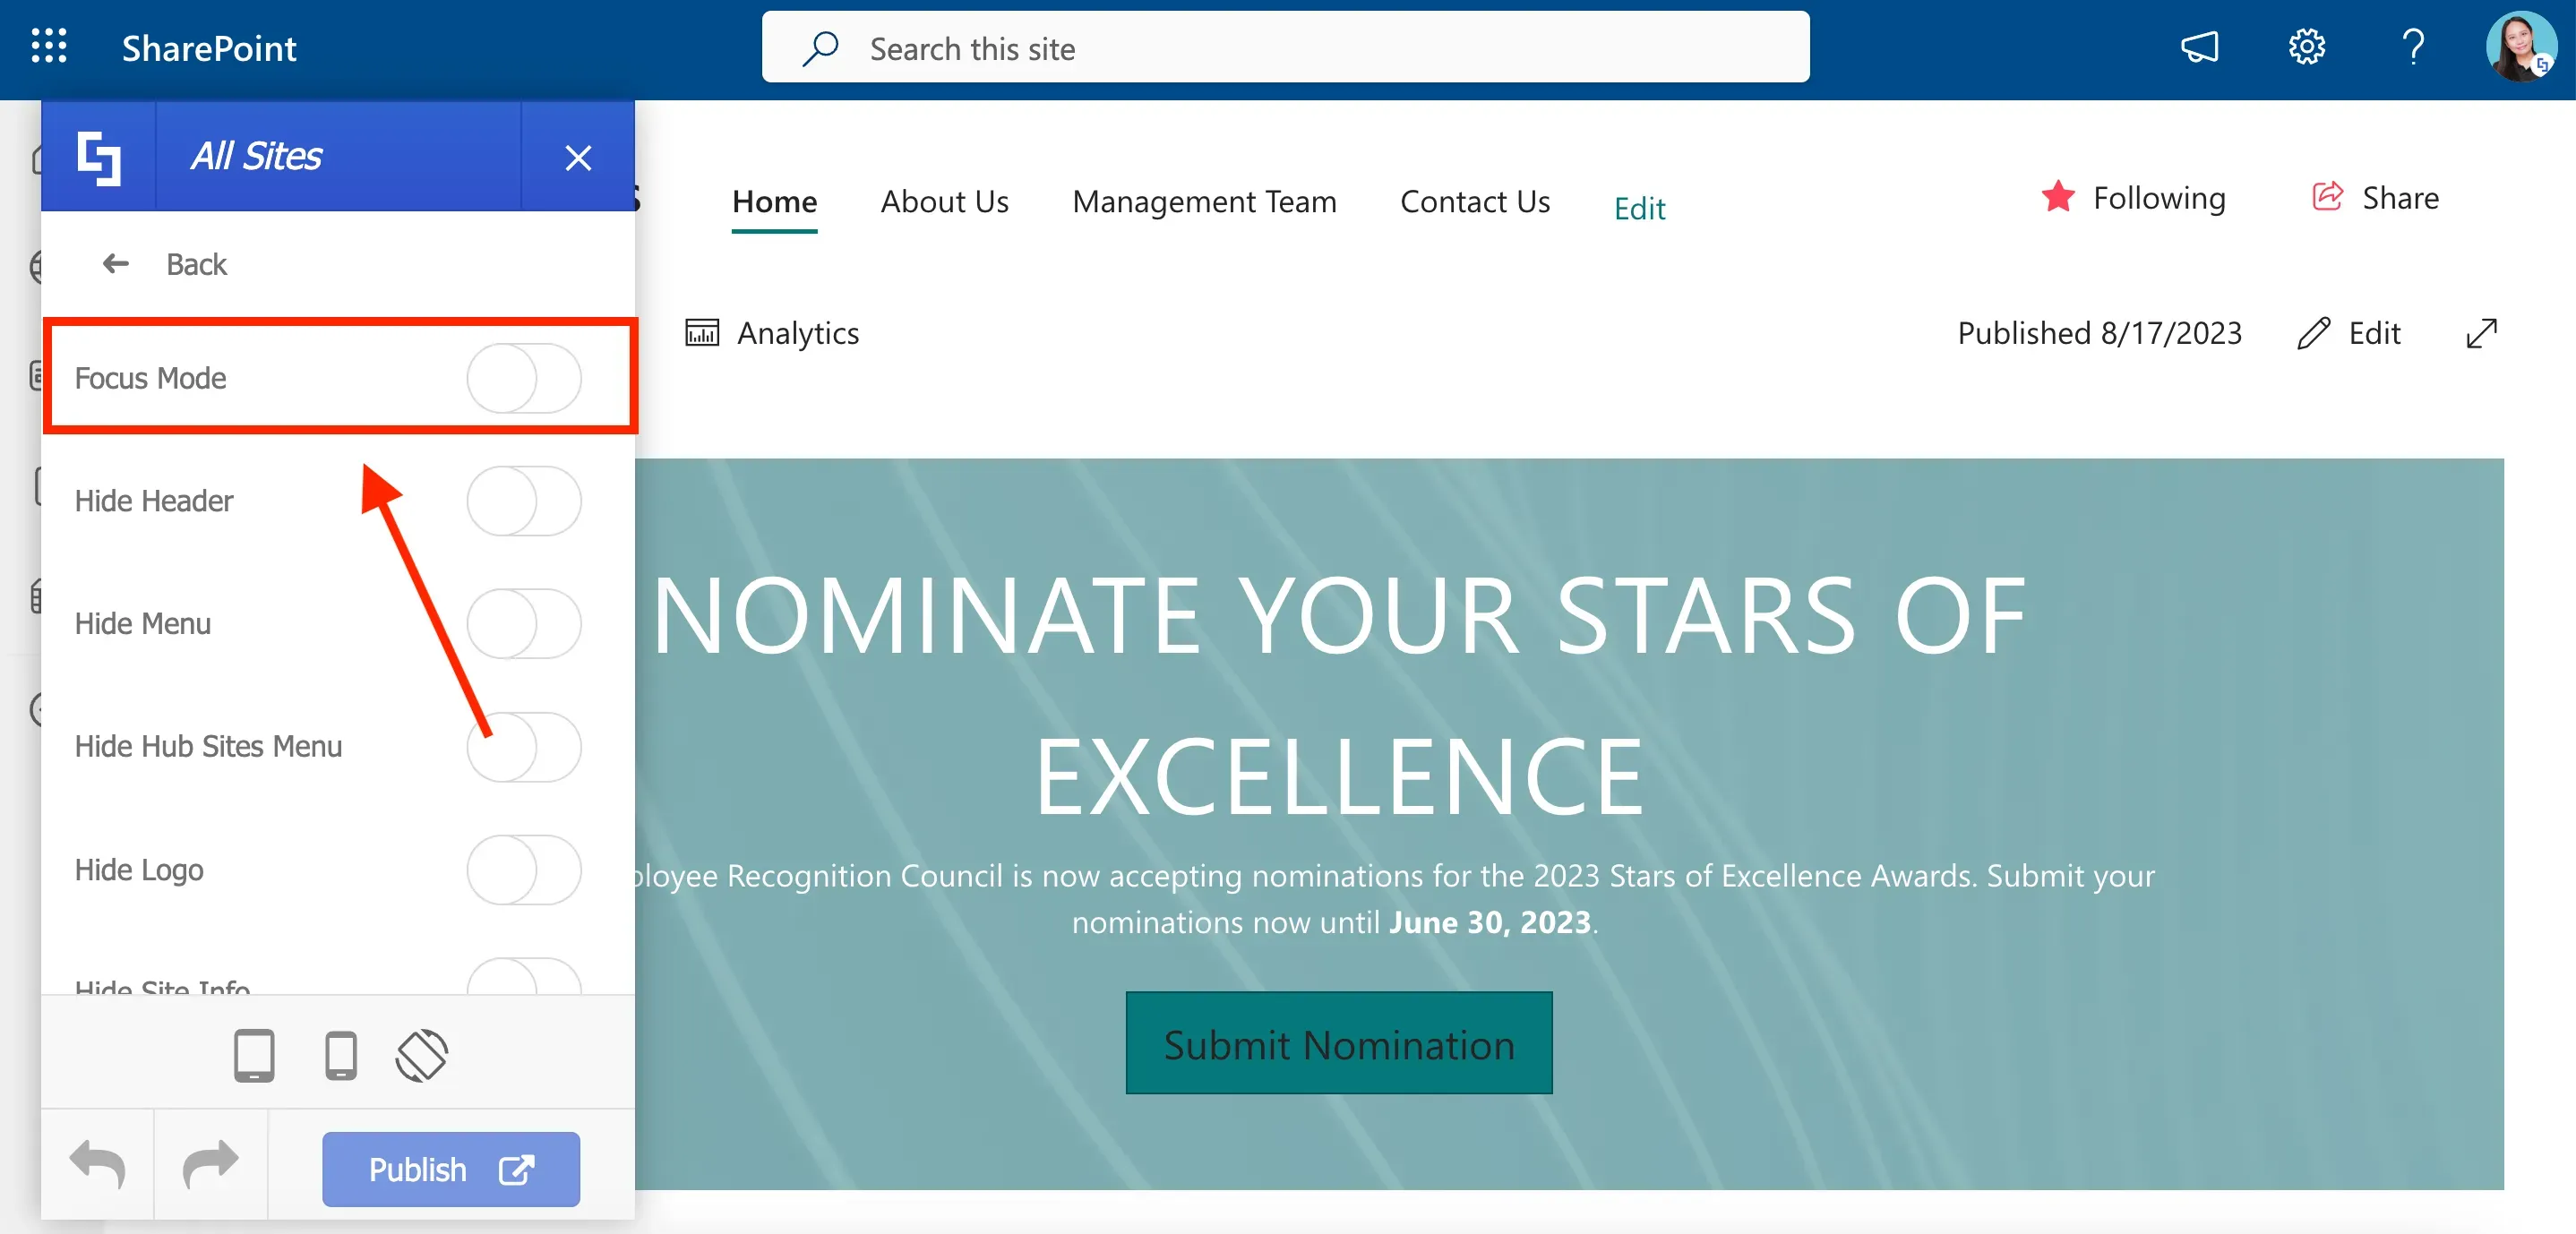
To do this, you must enable Focus Mode.
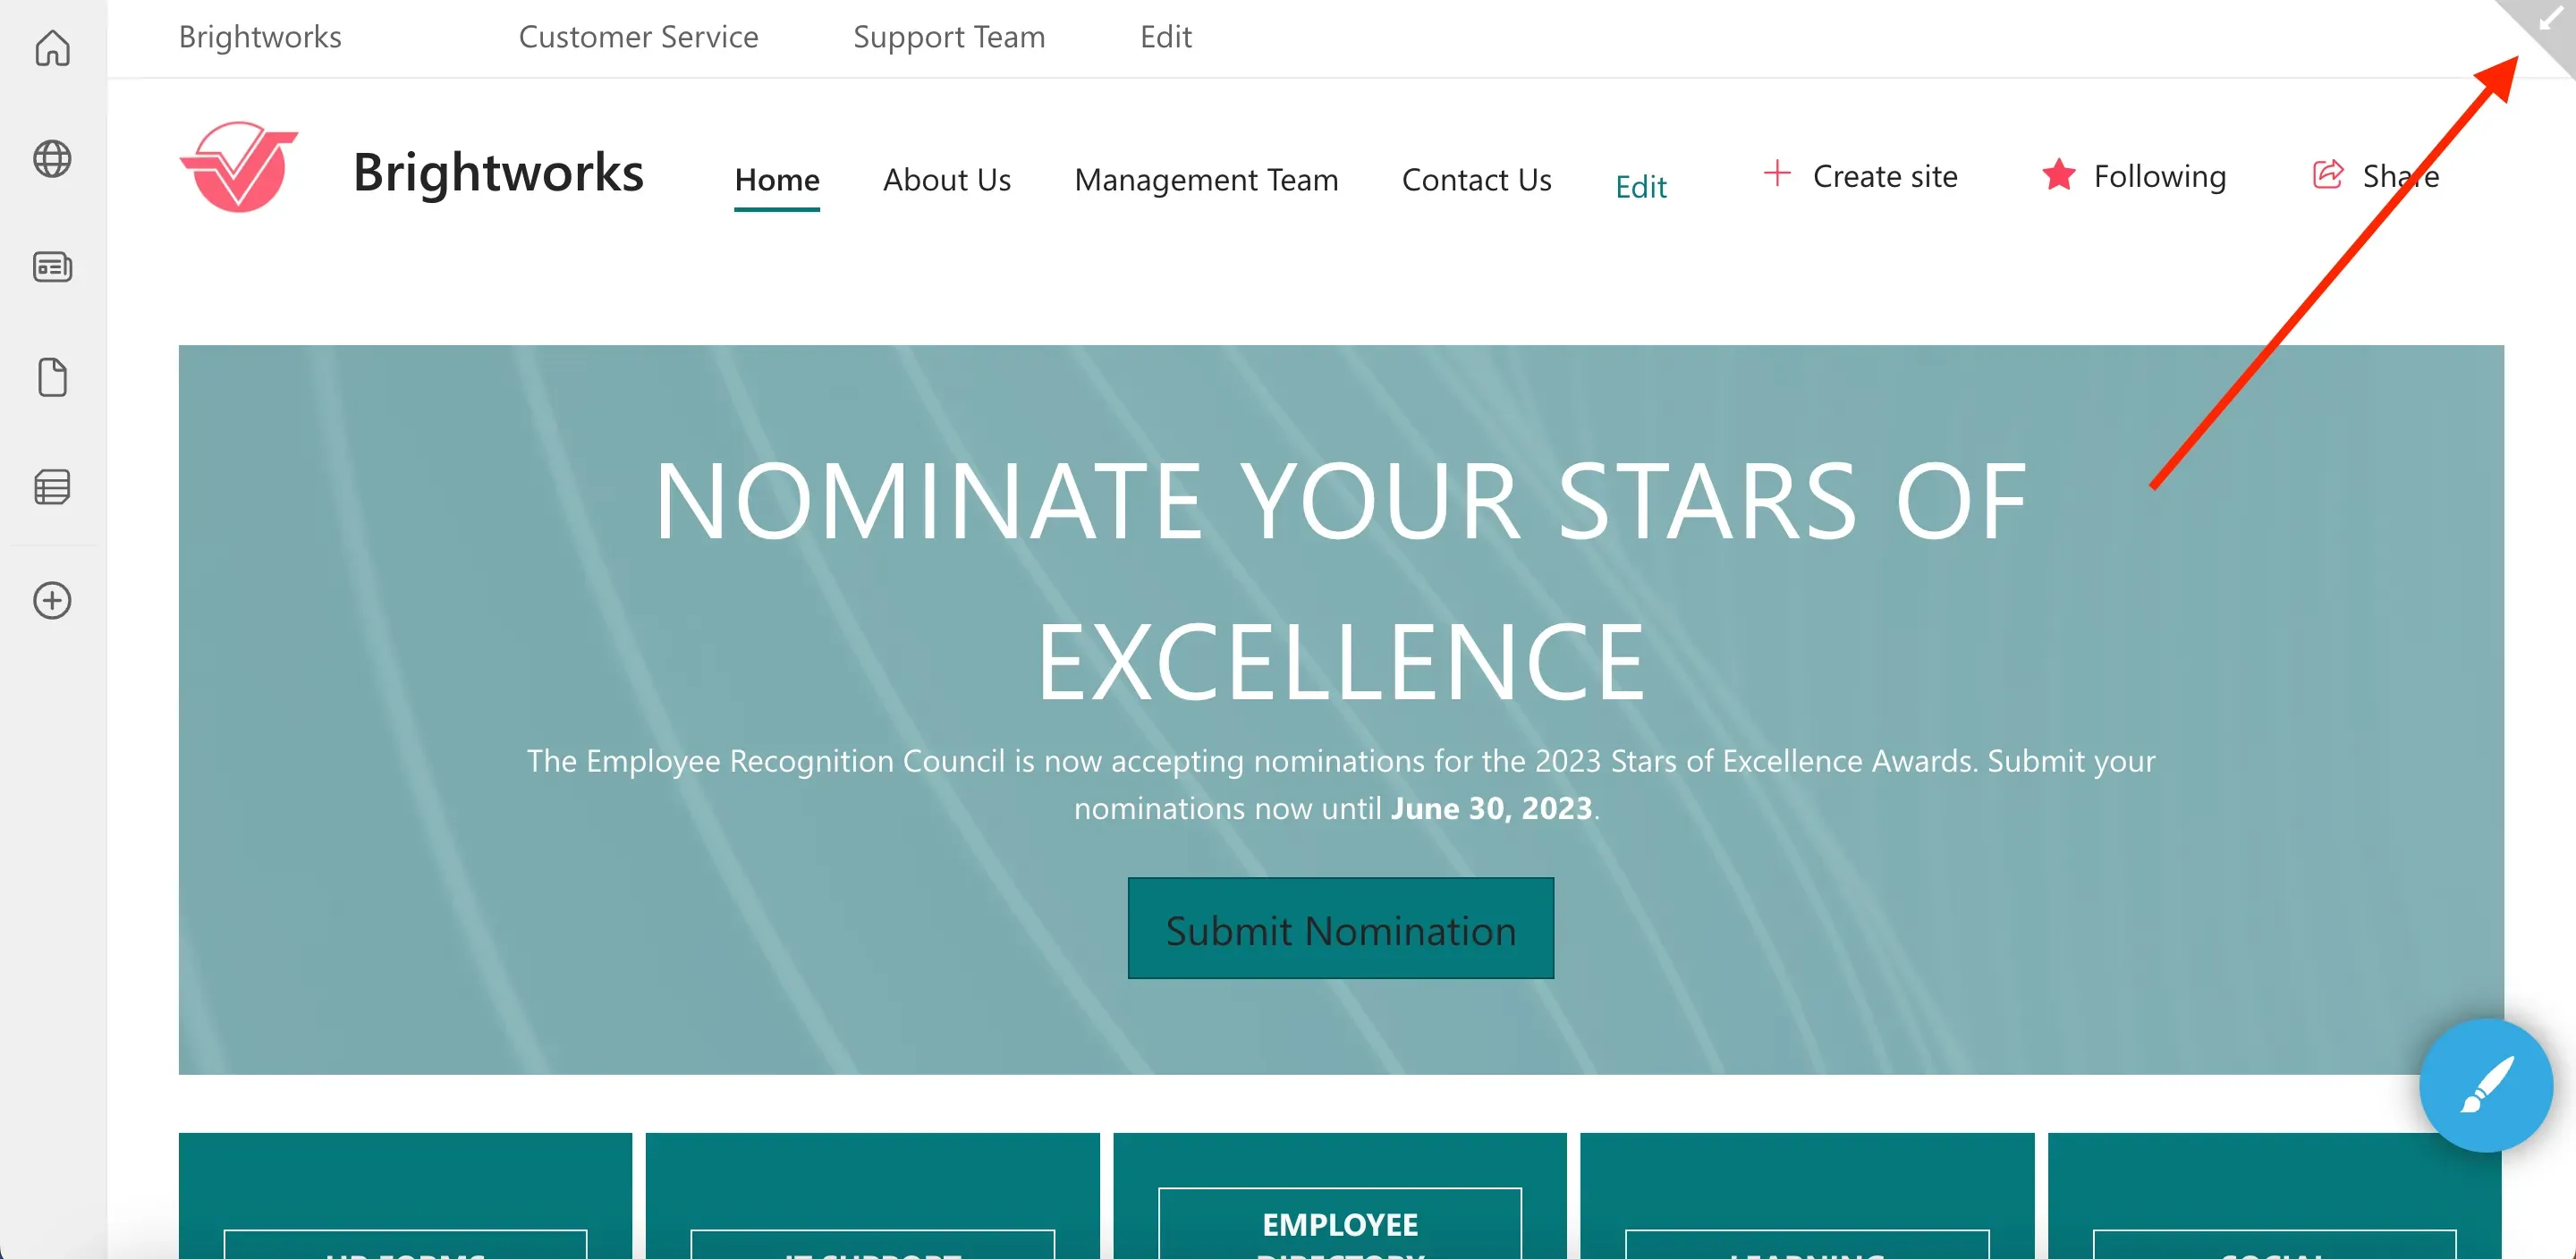
With Focus Mode enabled, your page's SharePoint suite bar and action options will be hidden and you will notice an arrow-down icon on the right-hand corner of your screen. To access the hidden SharePoint suitebar again, simply click the arrow-down icon.
In addition to Focus Mode, the Theme Builder offers the ability to hide specific page elements based on your needs.
Hiding SharePoint page elements
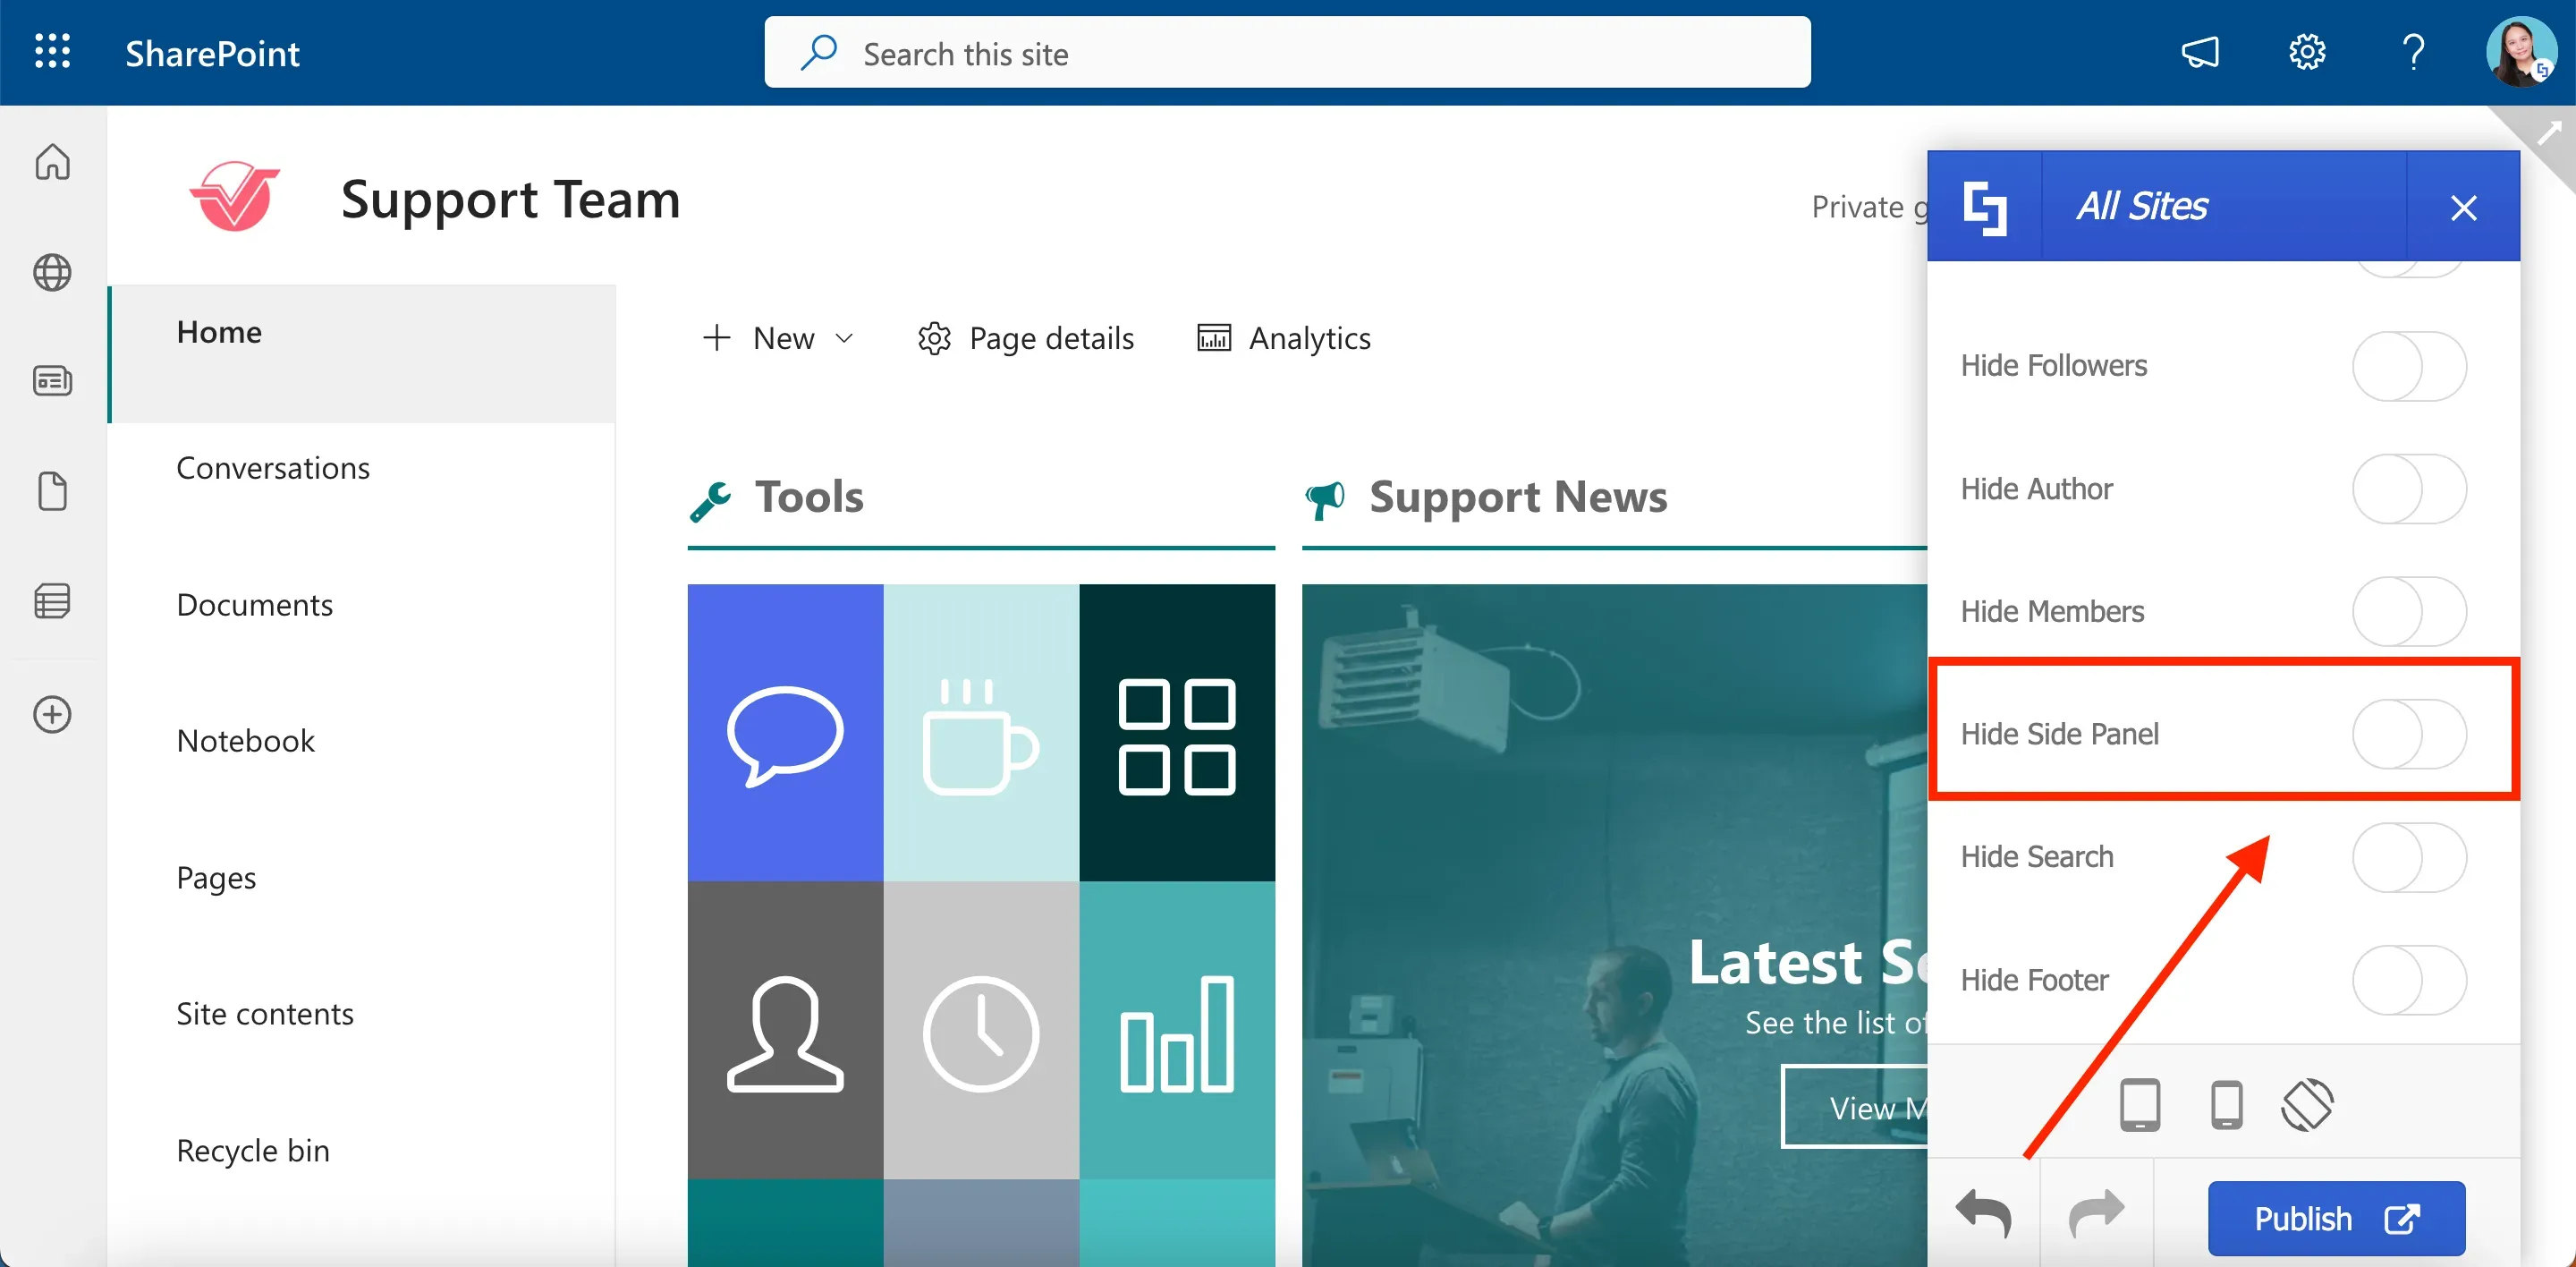
For instance, if you have Teams sites, it typically comes with a side panel navigation.
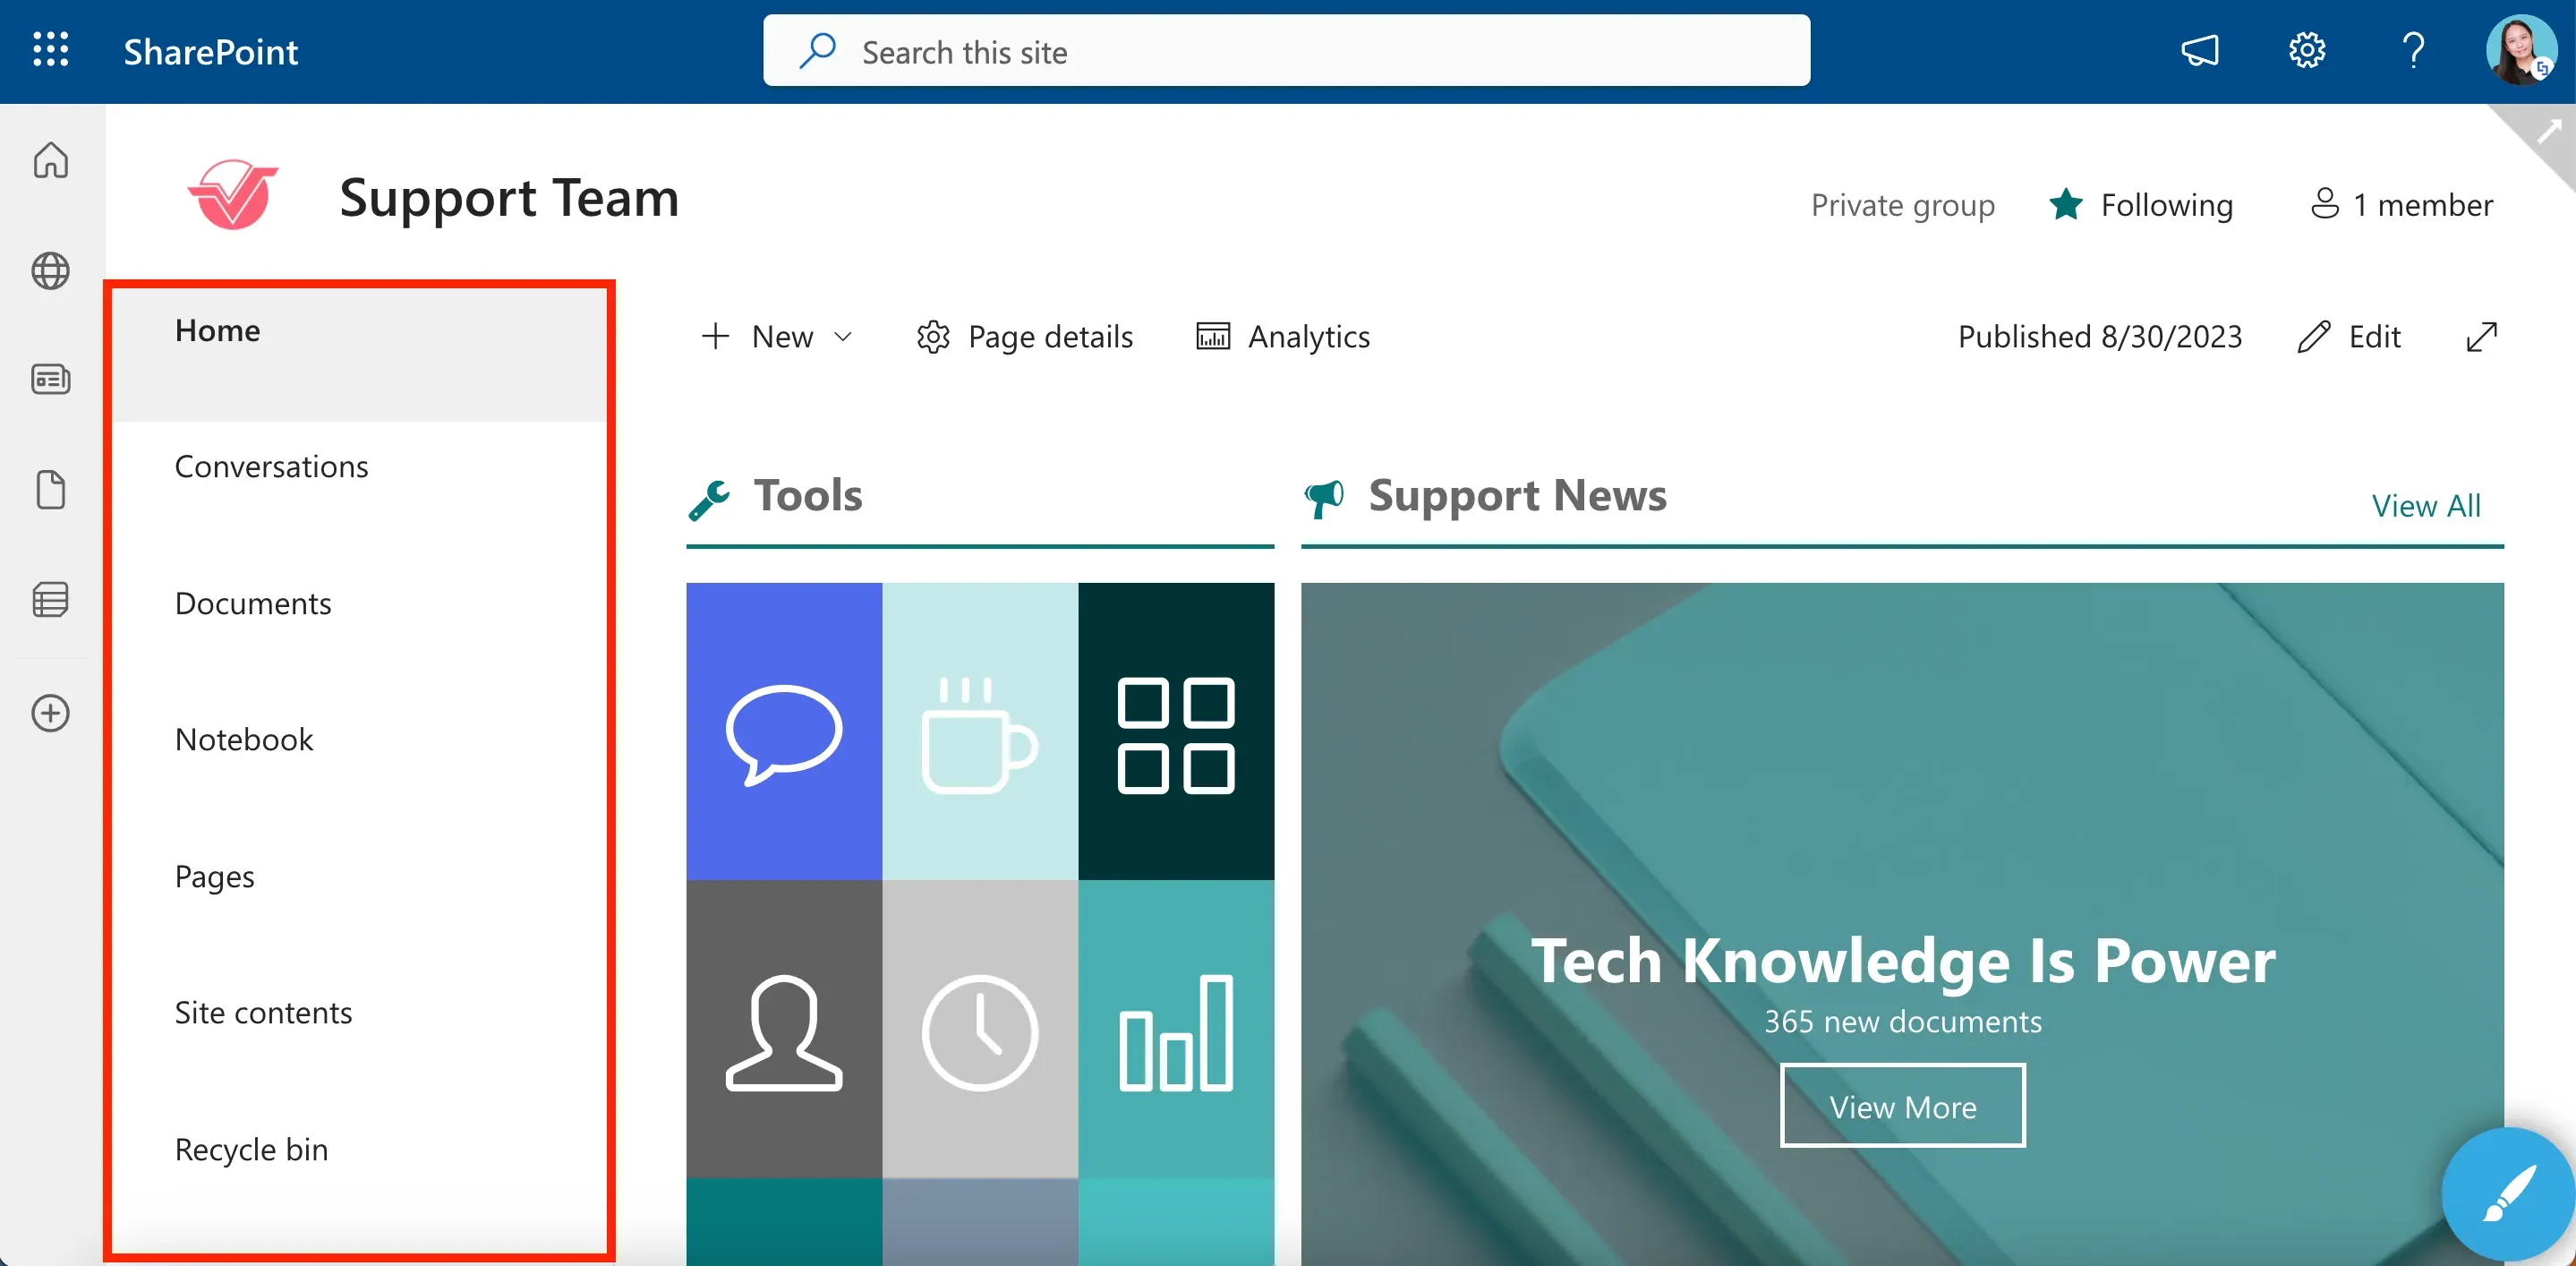
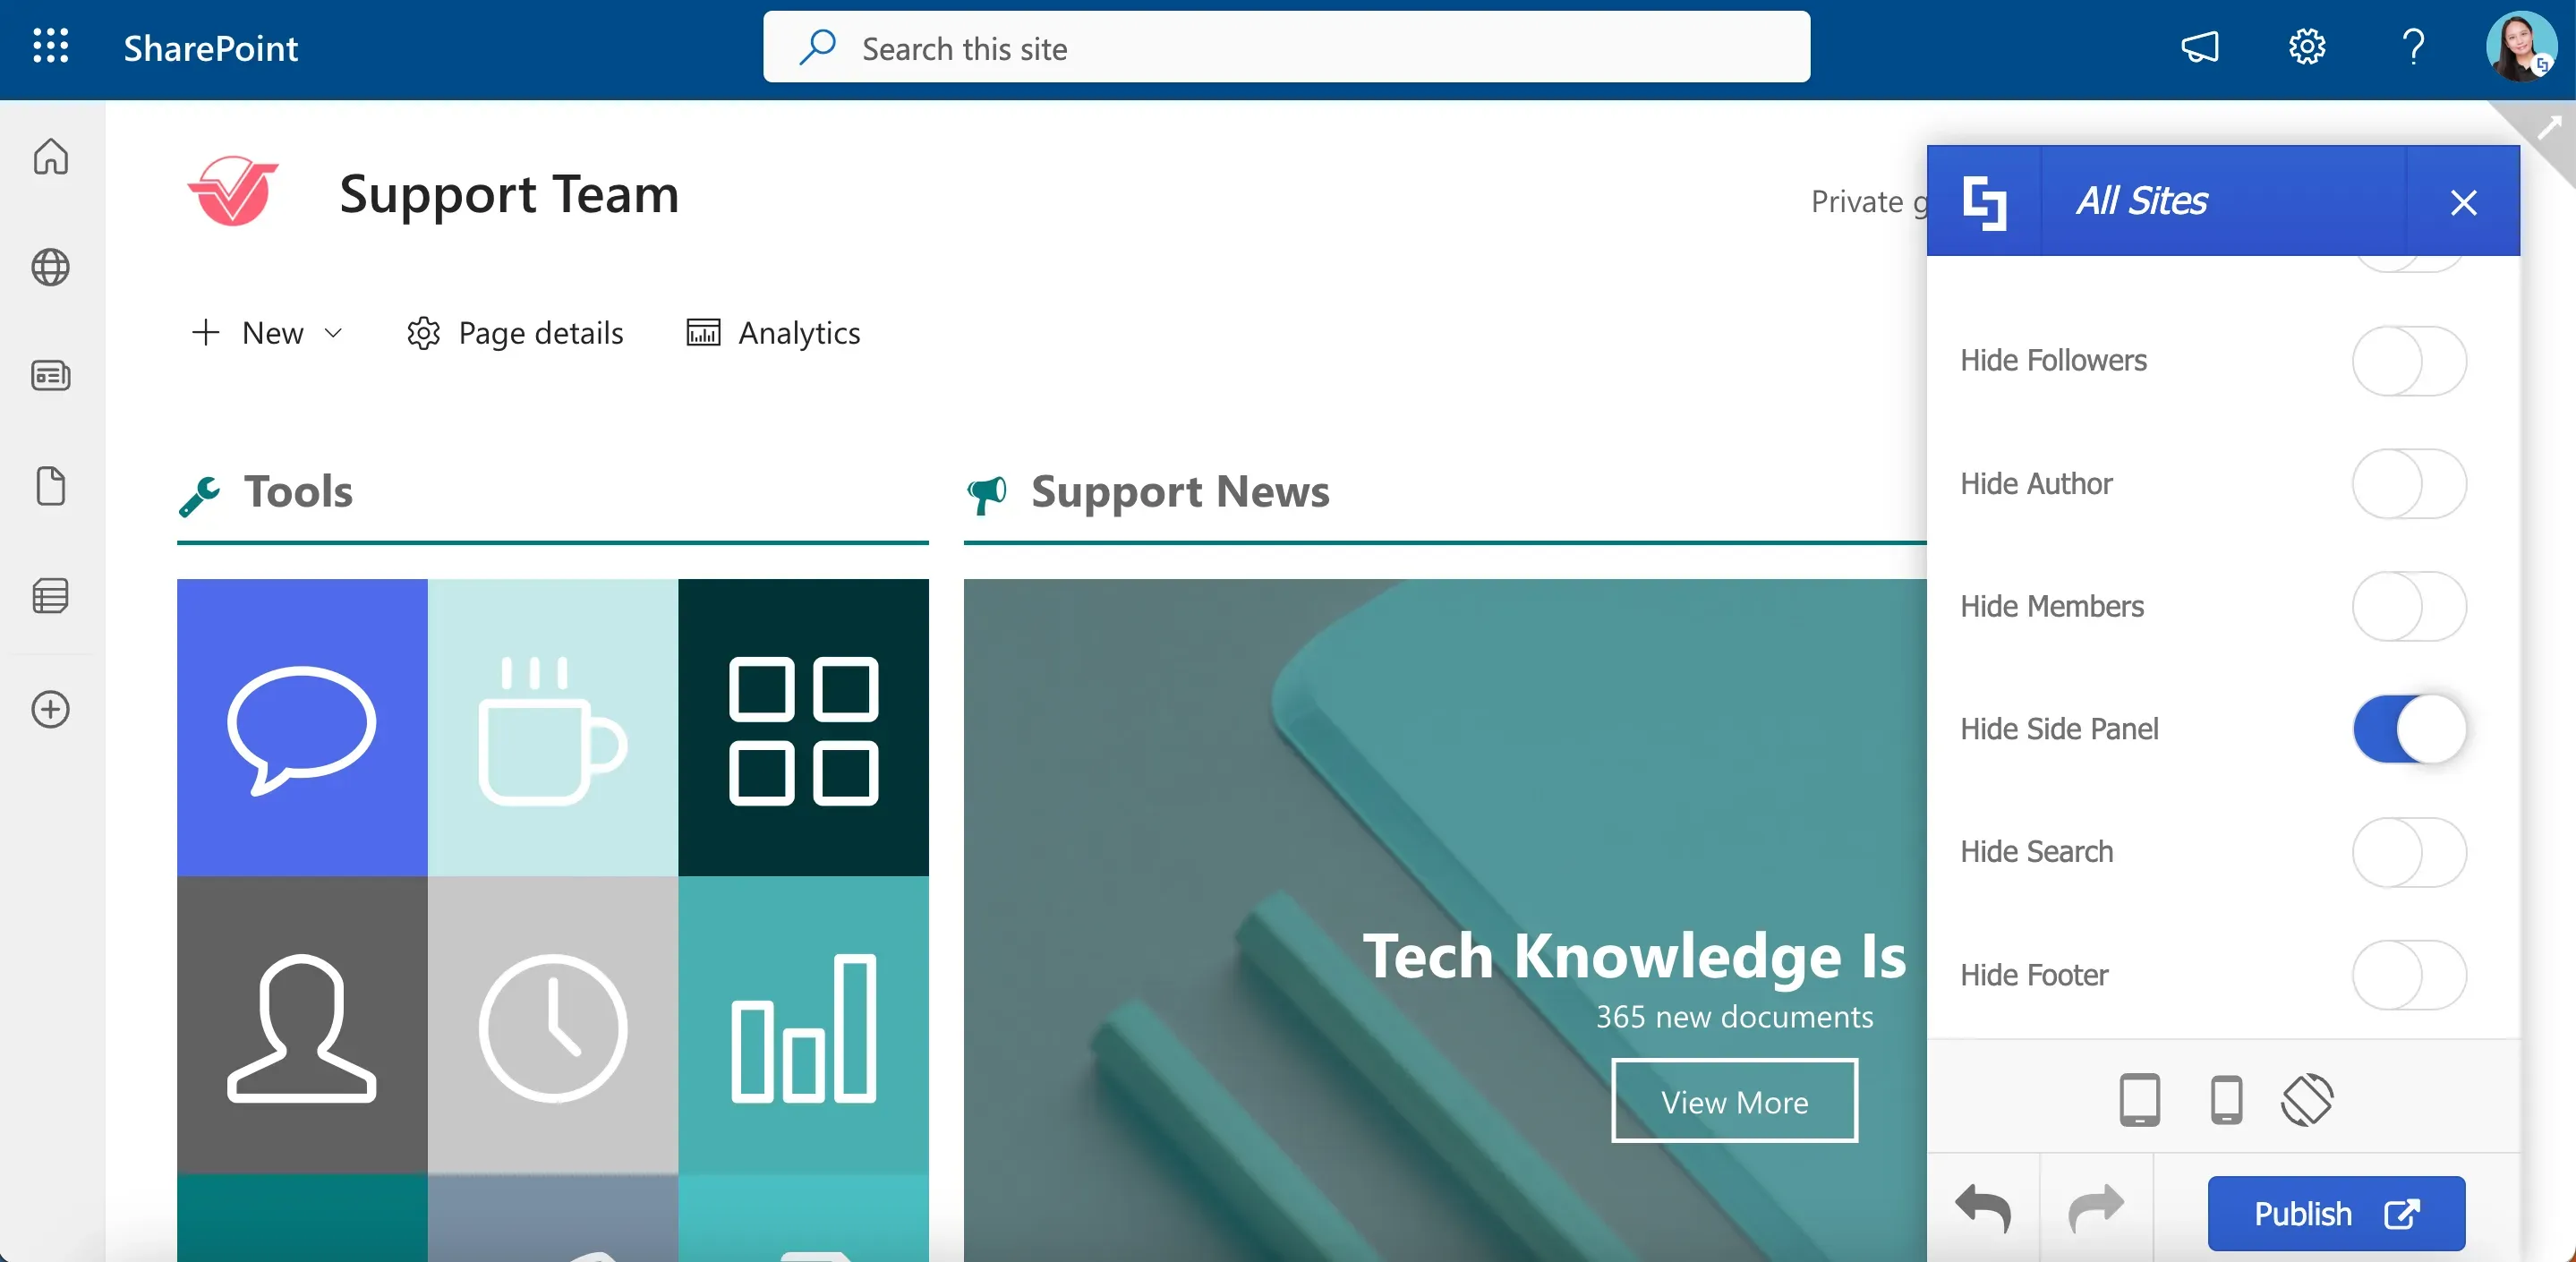
You can easily hide this side panel by enabling the Hide Side Panel option.
Your Teams site will now look like this:
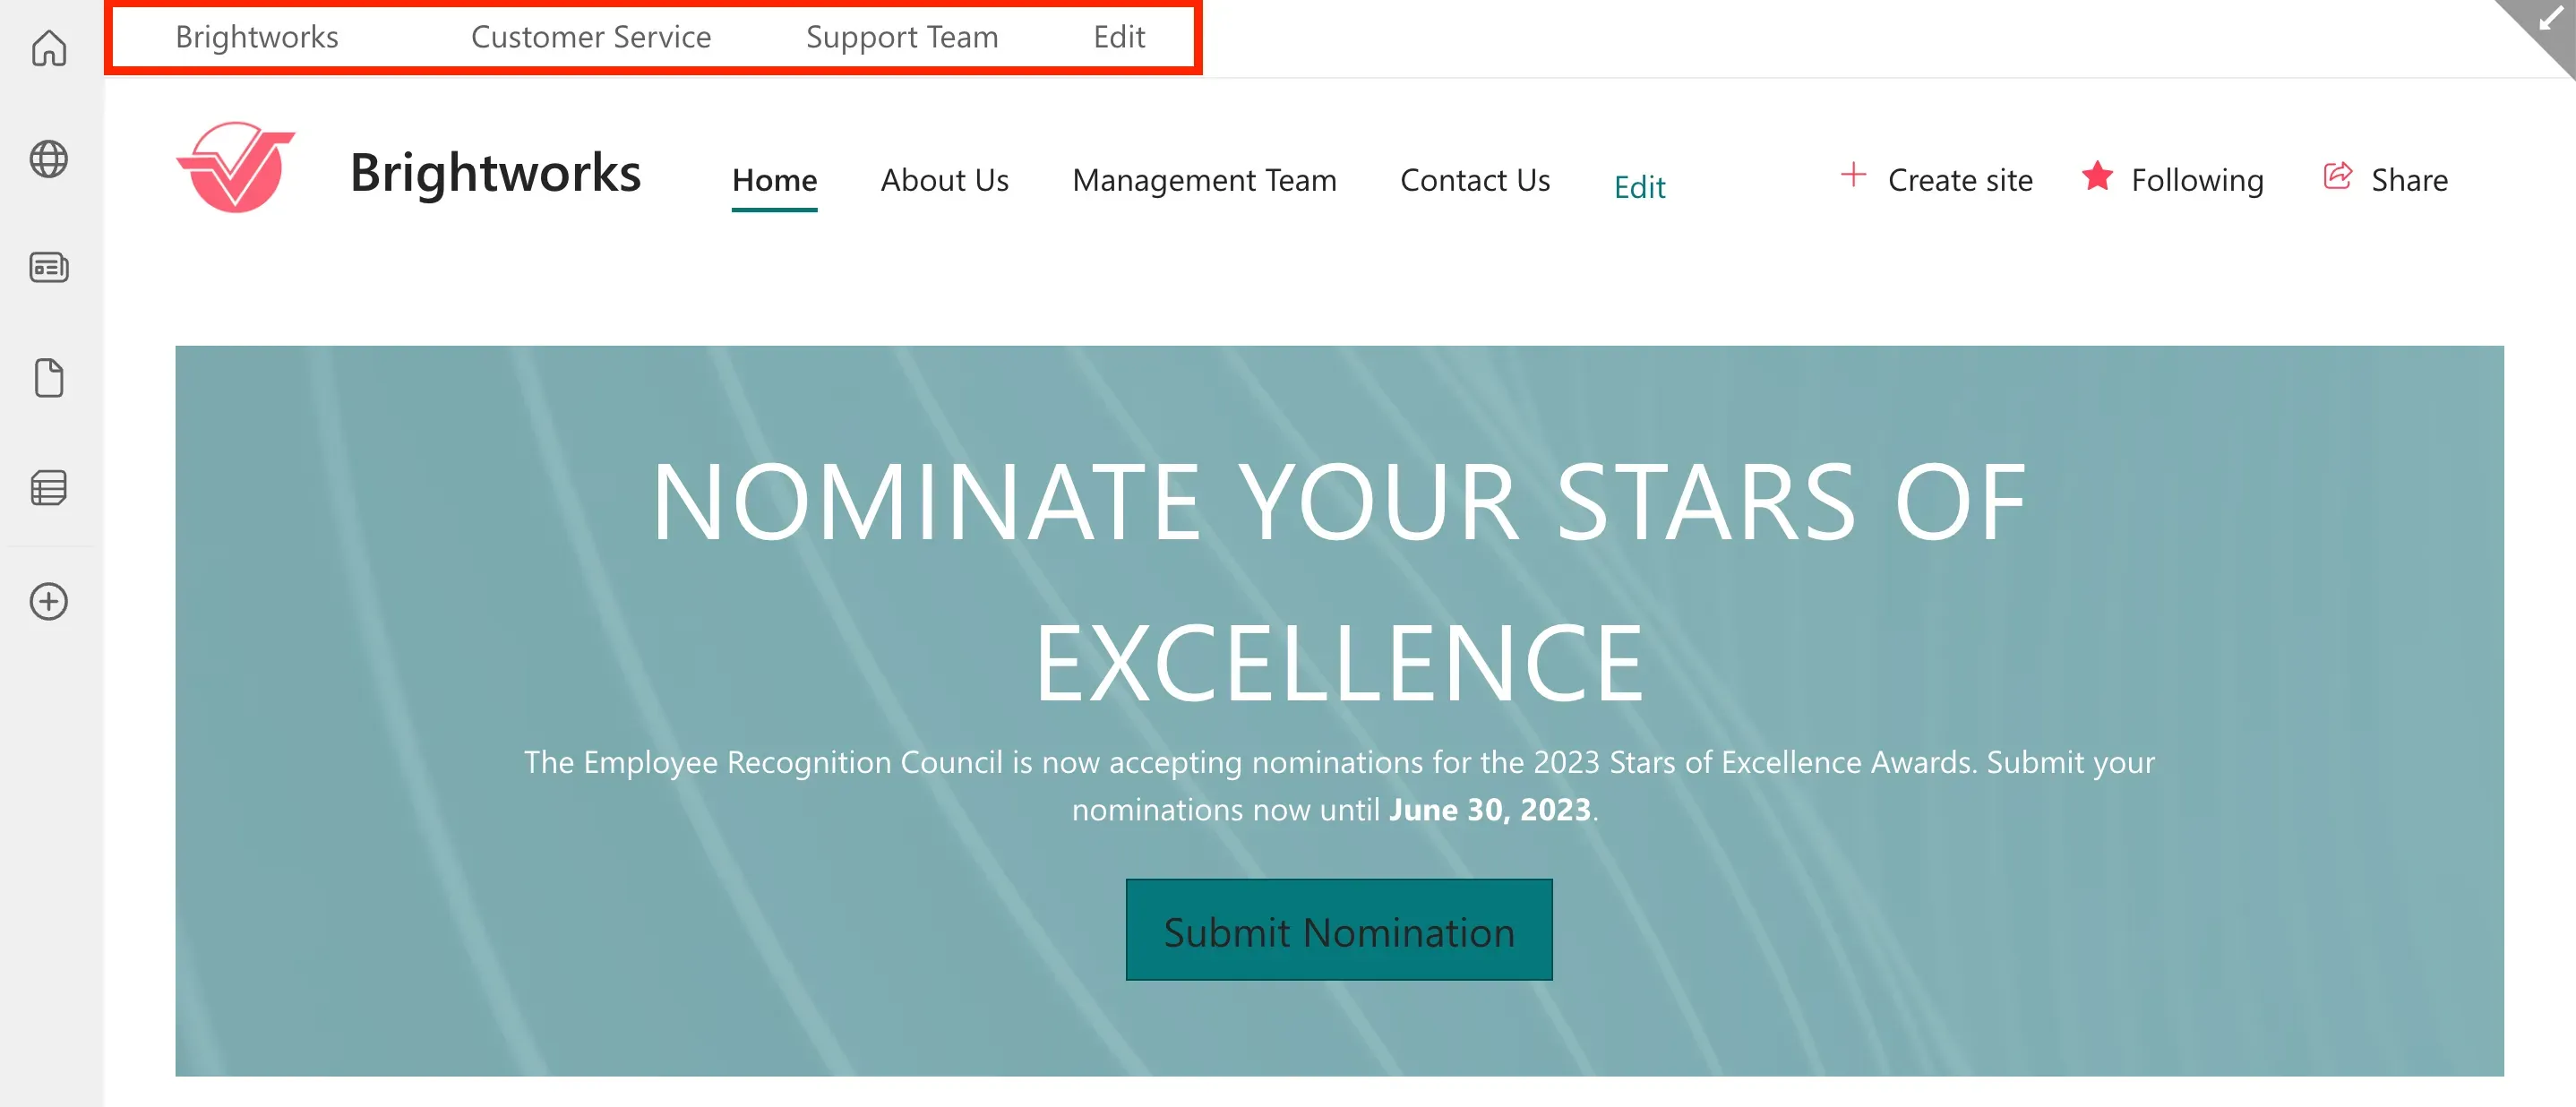
Additionally, if your site is connected to a Hub Site, you will see a Hub Sites Menu:
To hide it, simply enable the Hide Hub Sites Menu option.
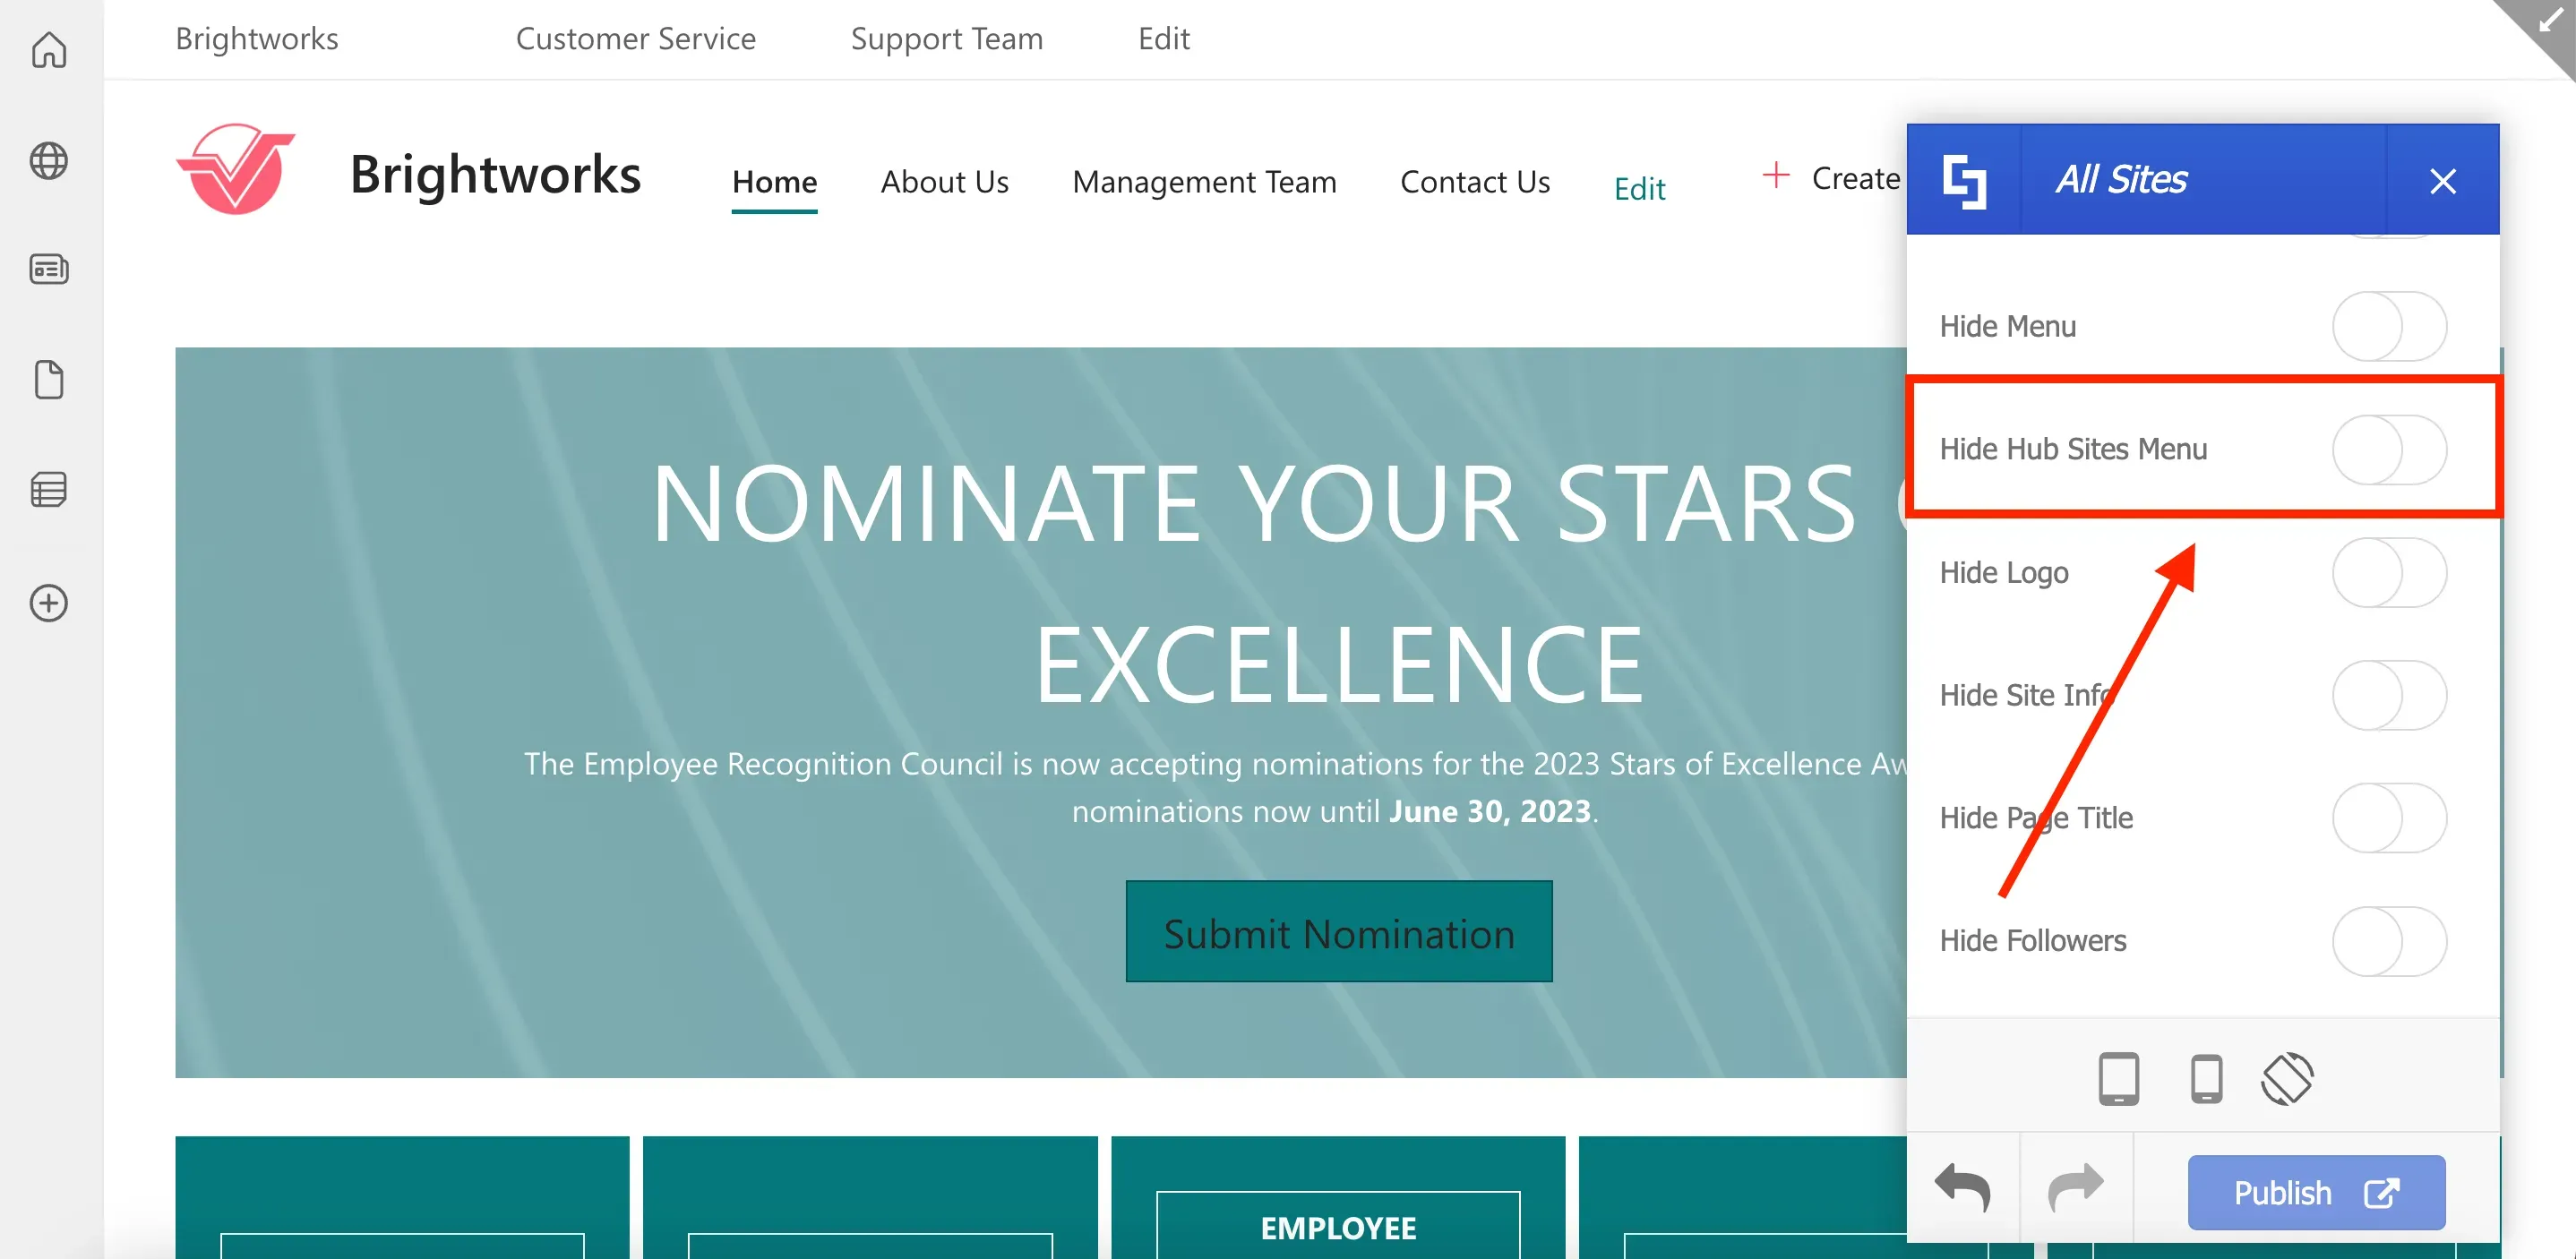
The Hub Sites Menu will now be hidden on your page:
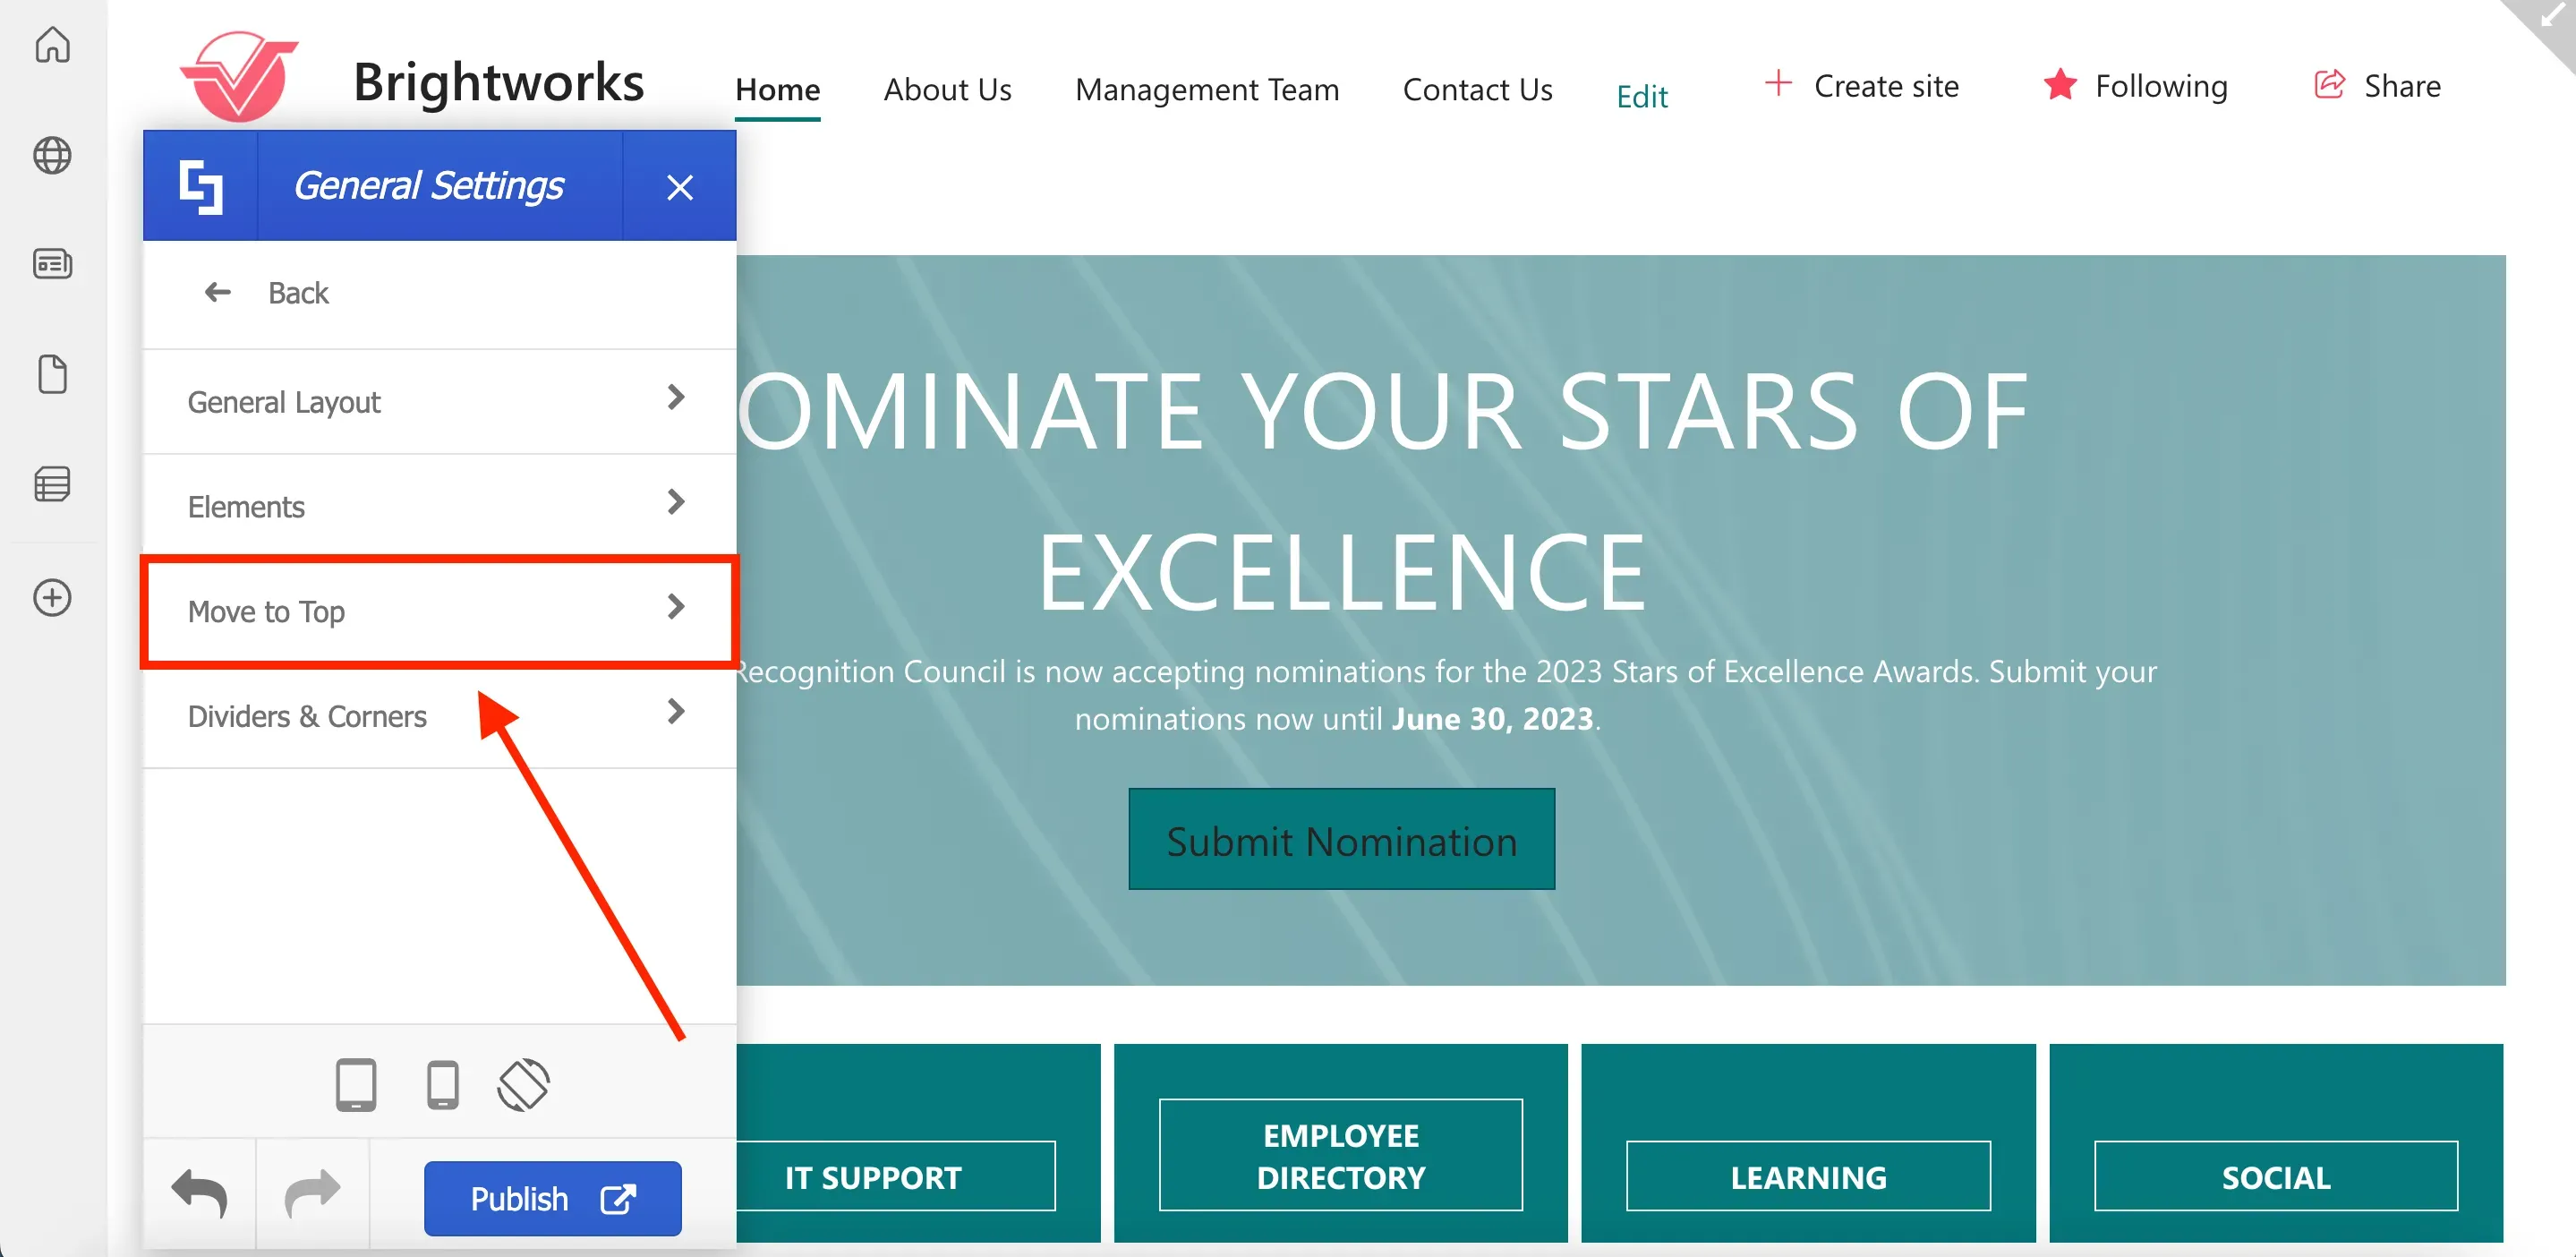
Now, let's revisit the General Settings category in the Theme Builder. Here, you will see the Move to Top option, which allows you to add a small widget that enables users to easily move to the top of the page, removing the need to manually scroll back up.
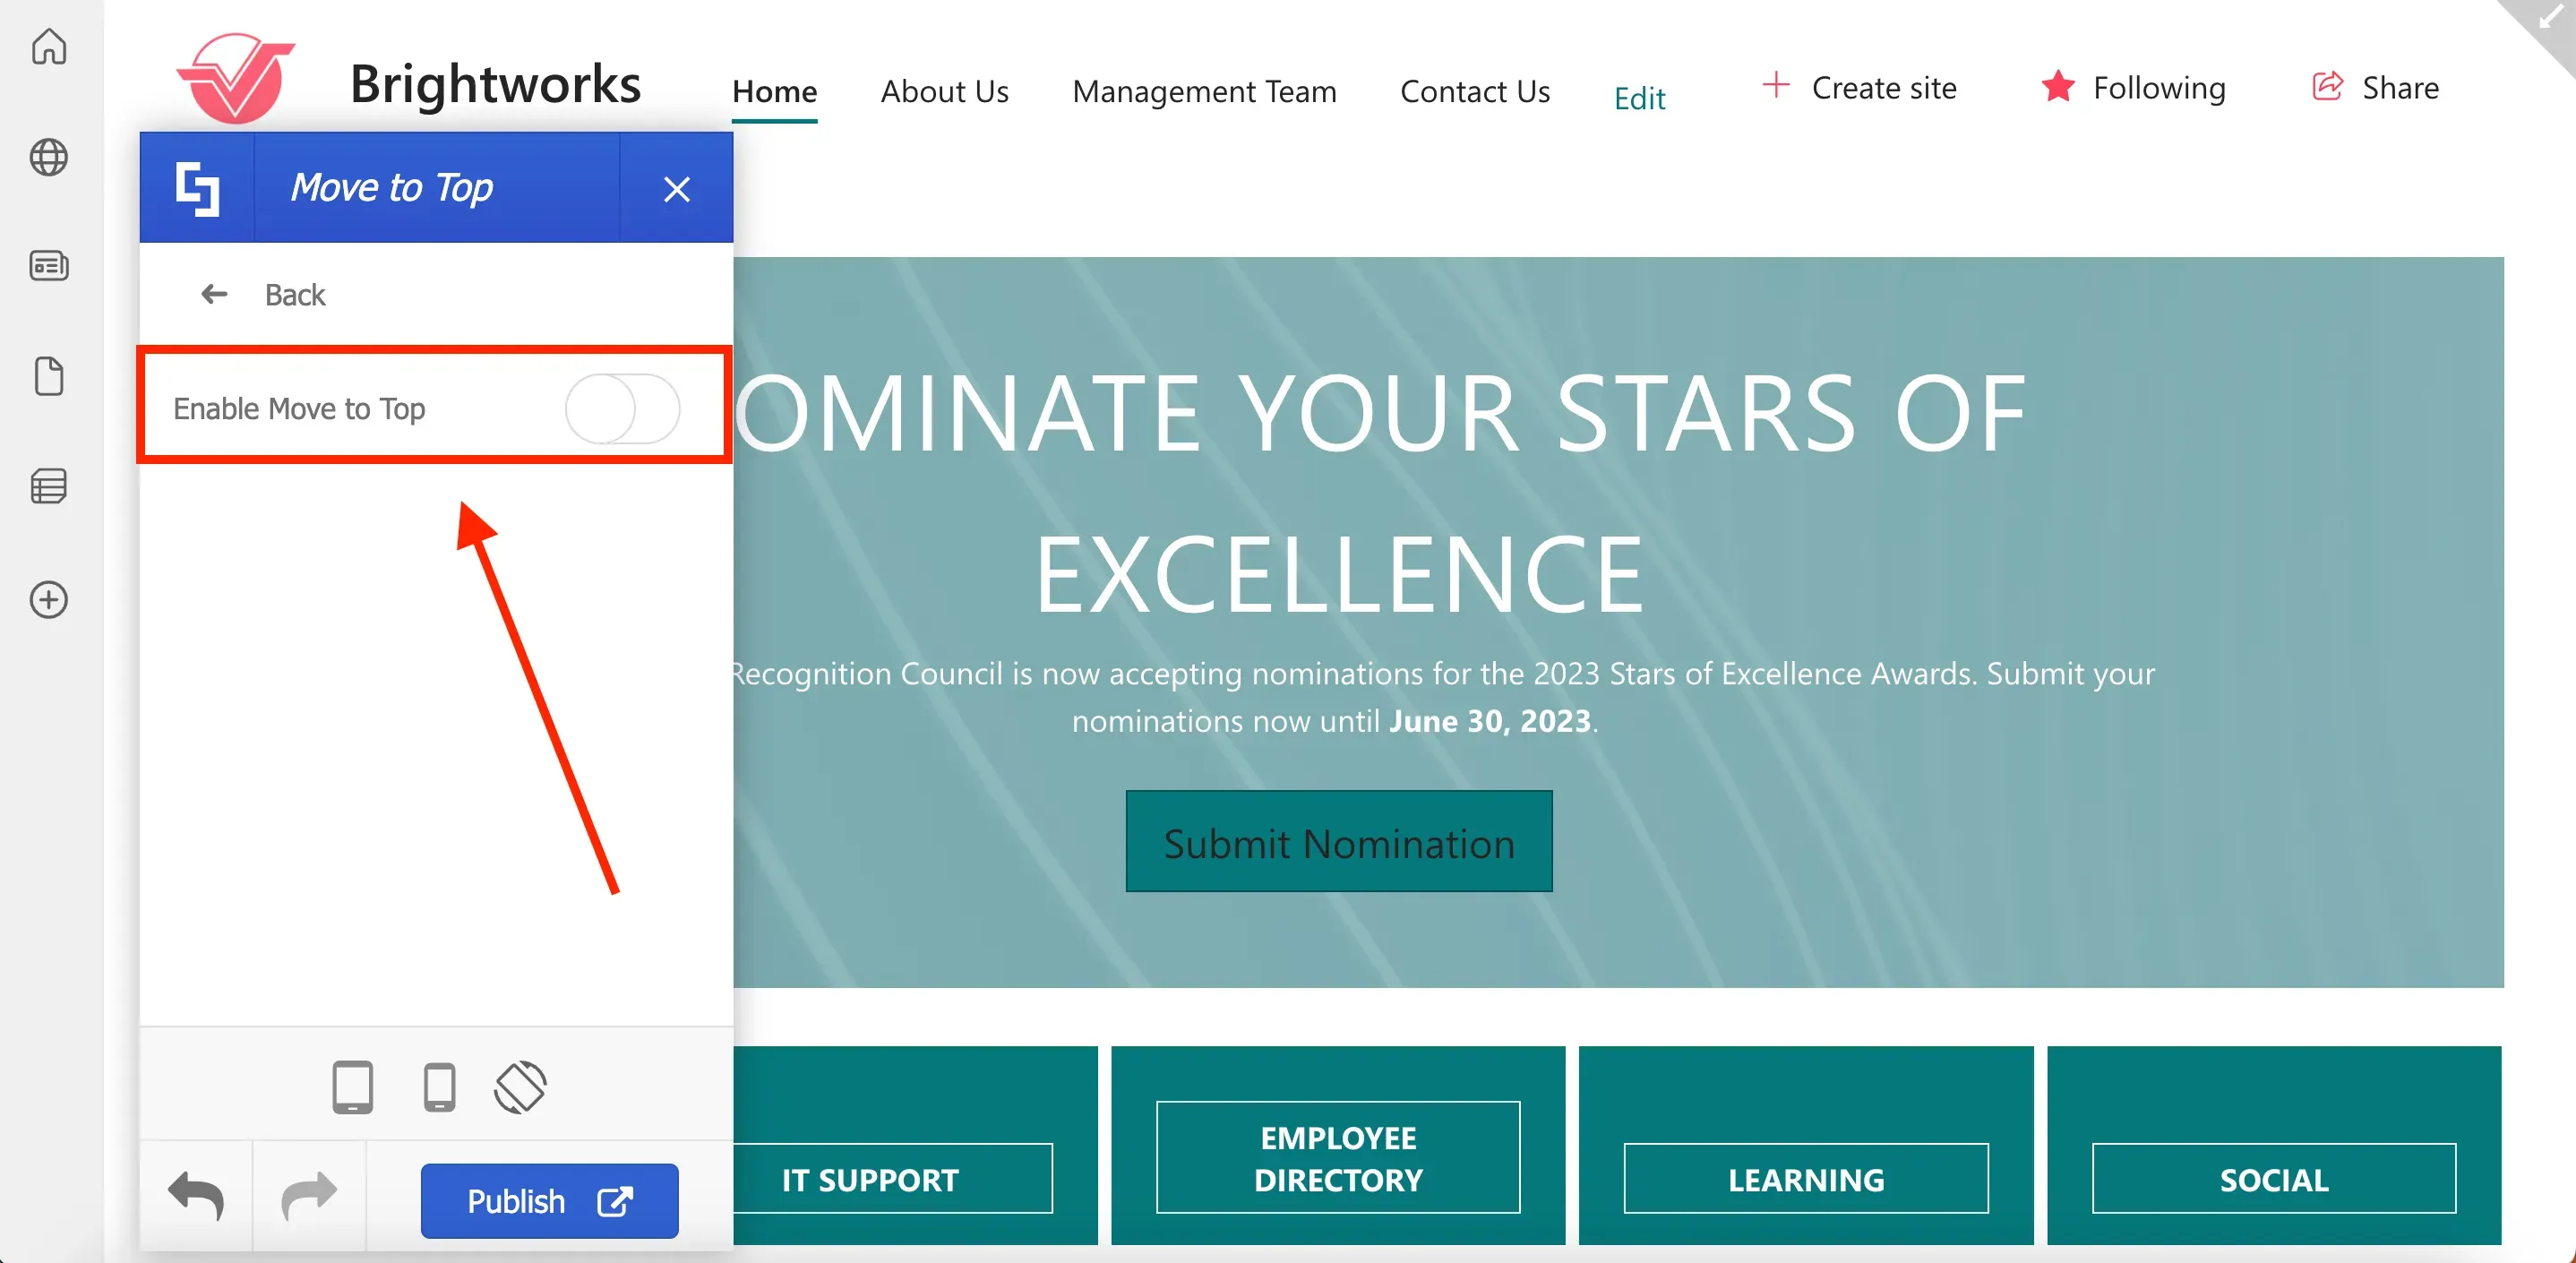
To enable Move to Top, simply toggle on the button.
Enabling Move to top
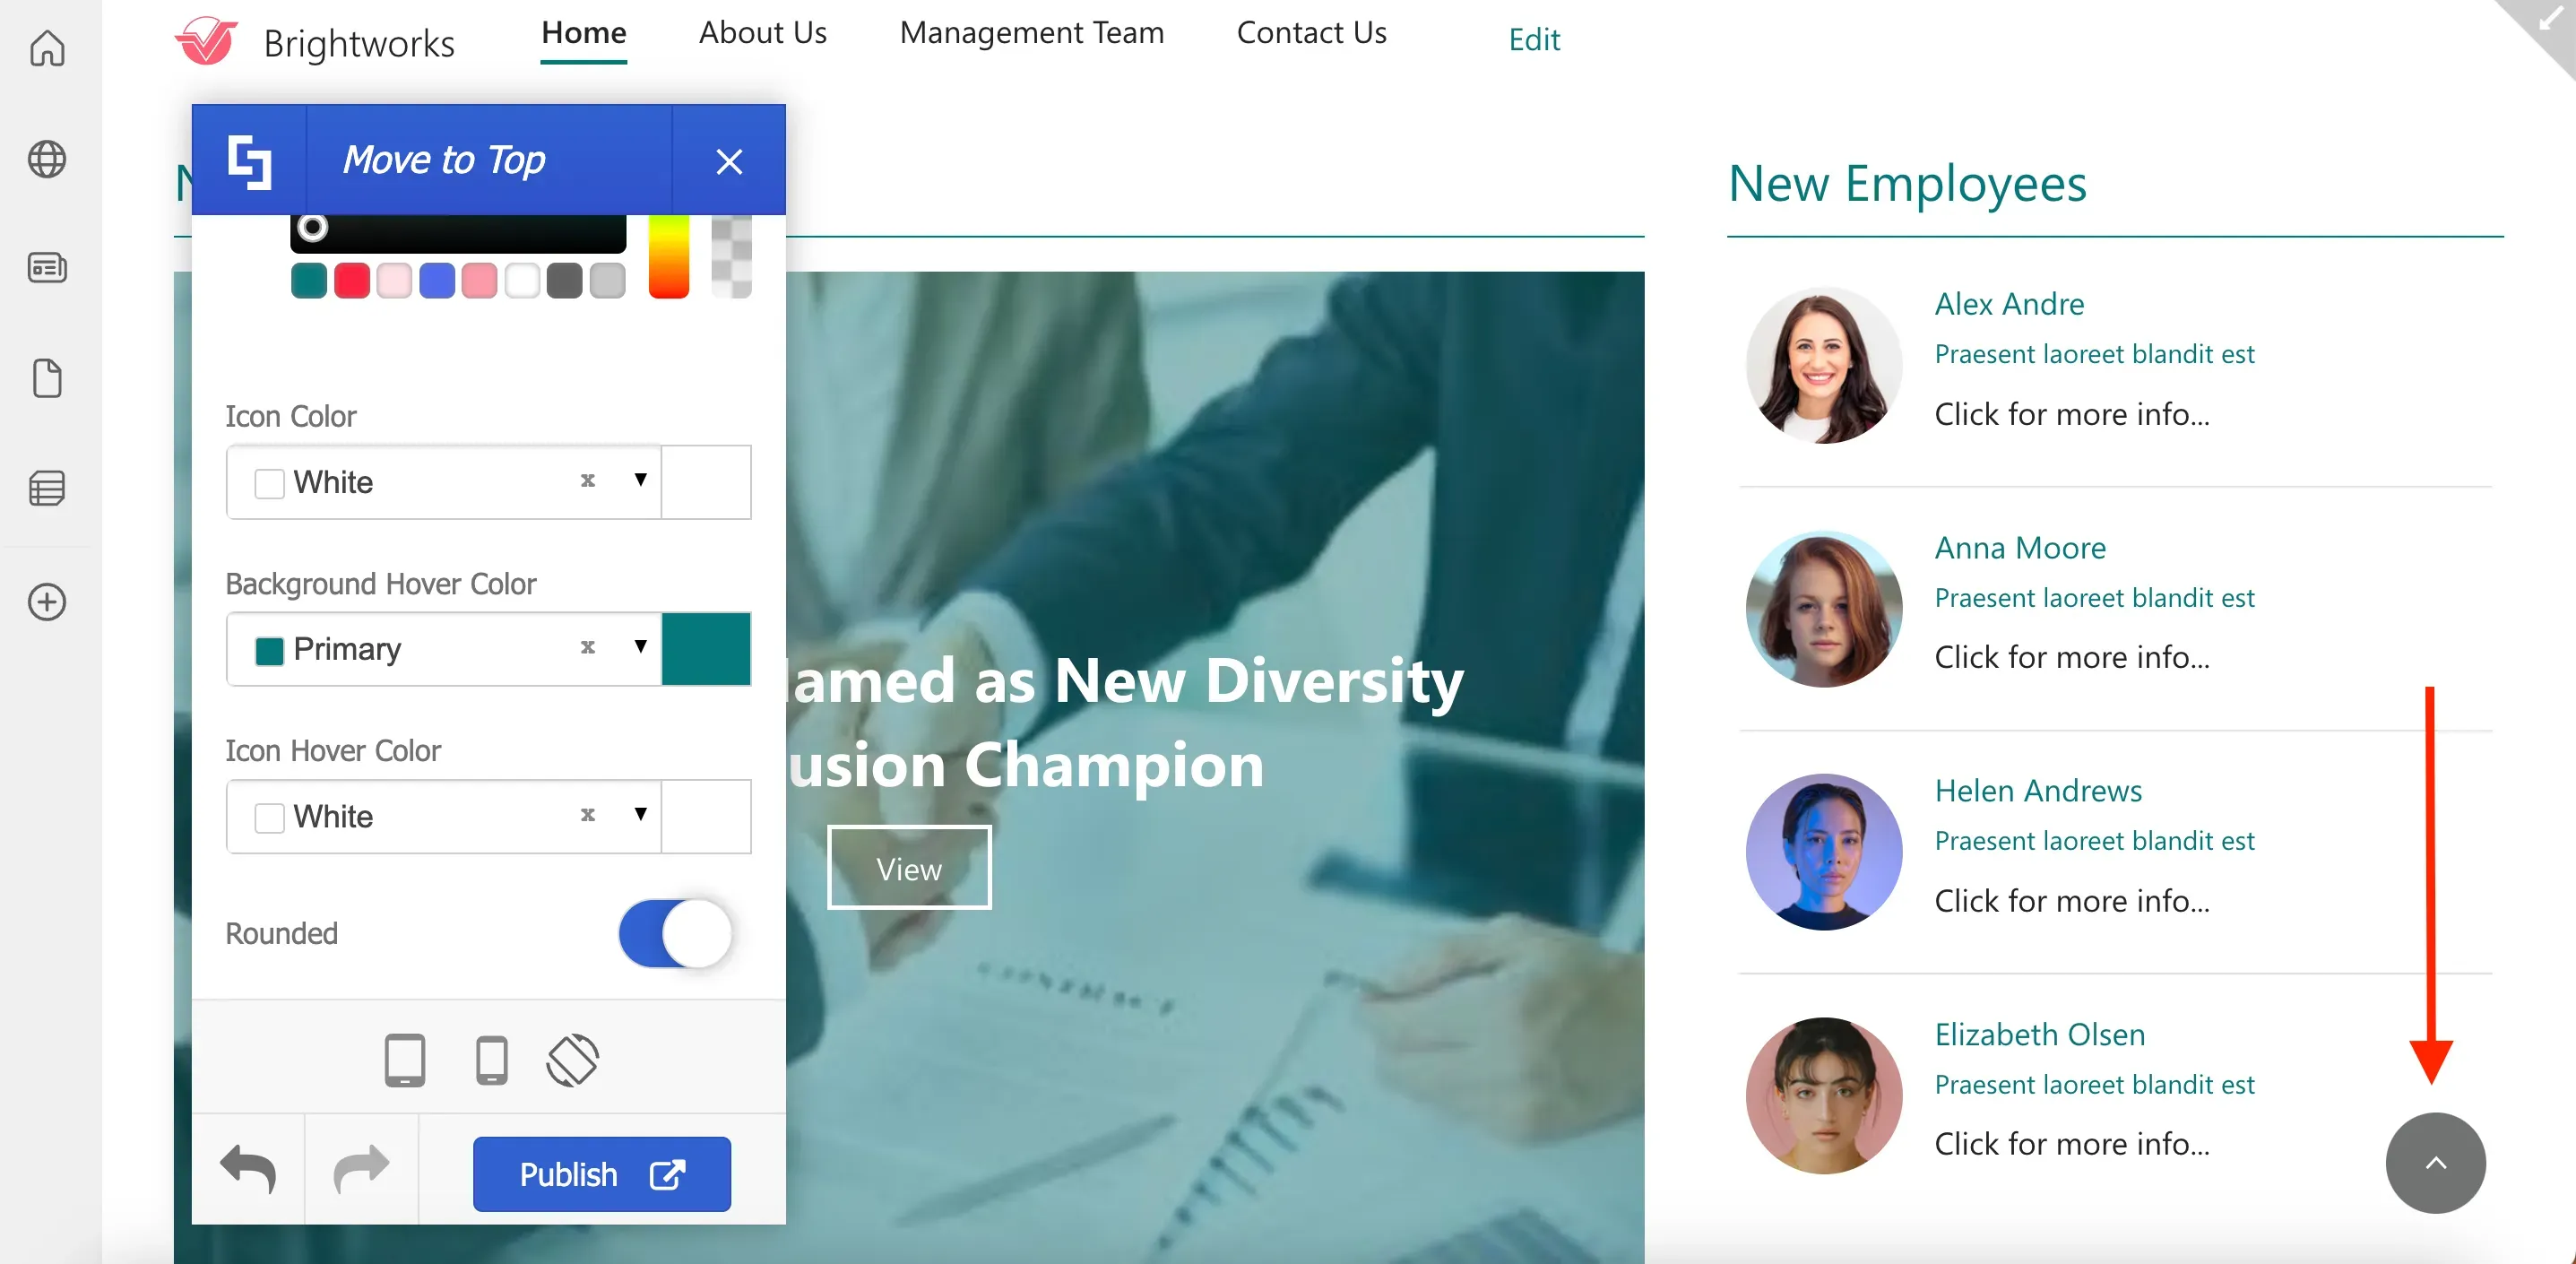
You will now see a small widget at the bottom right corner of the page. When users click on this widget, they will be brought back to the top of the page instantly.
You can easily customize your widget to match your site's design. For example, let us change the style, color, and shape of the widget.
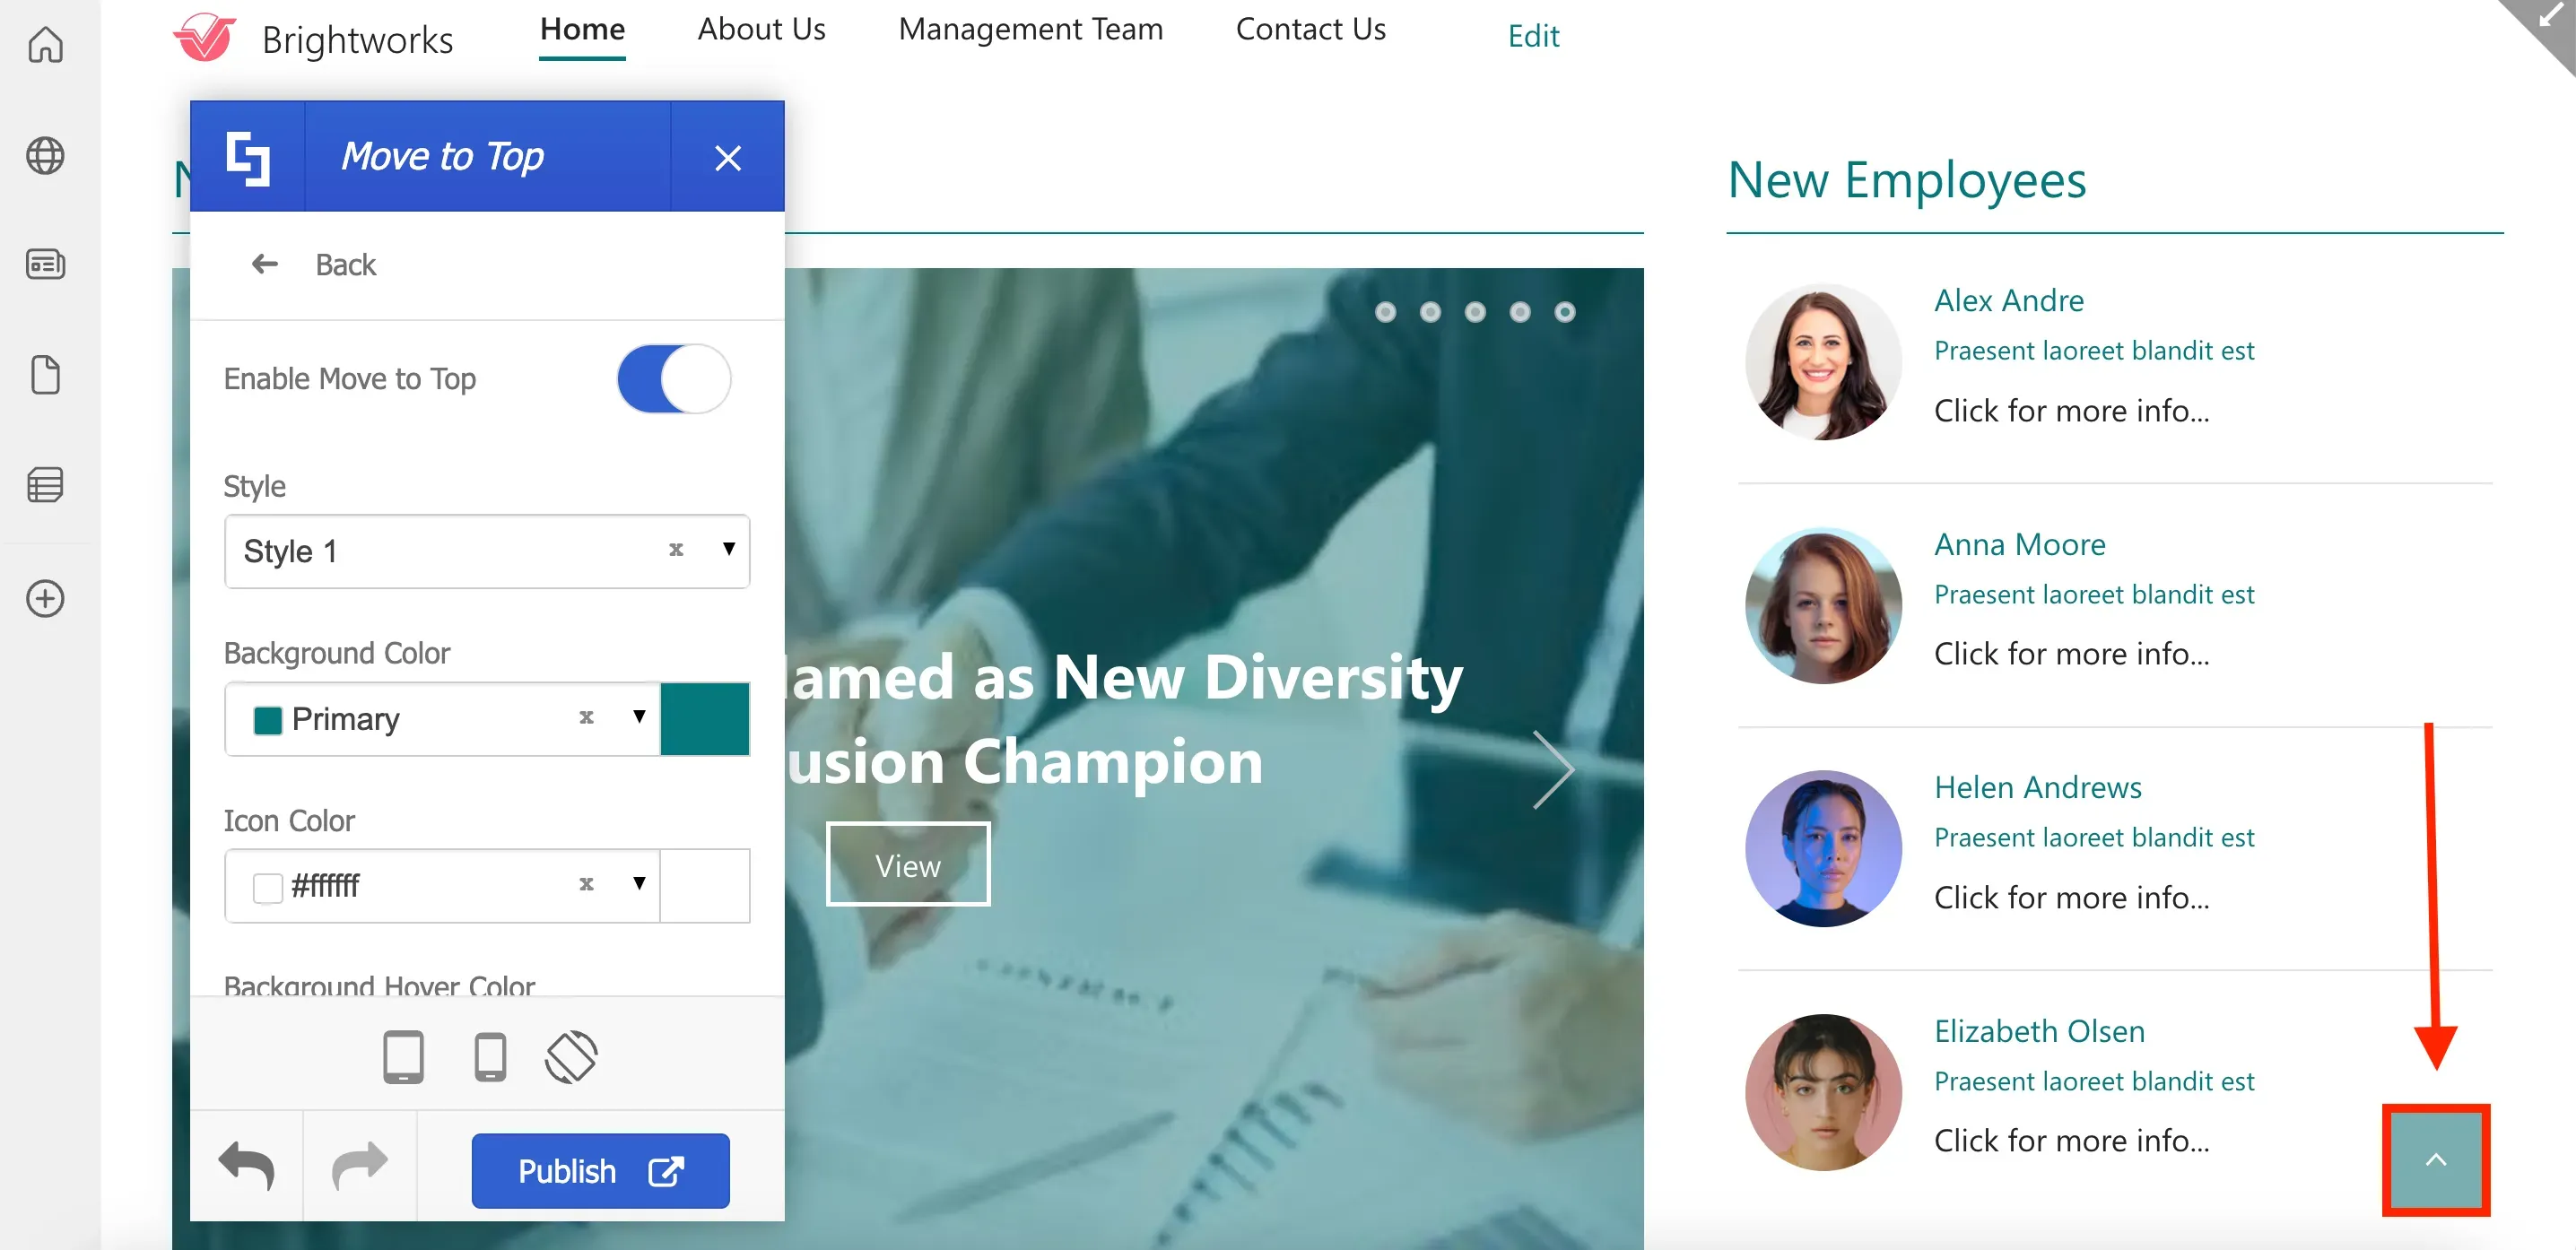
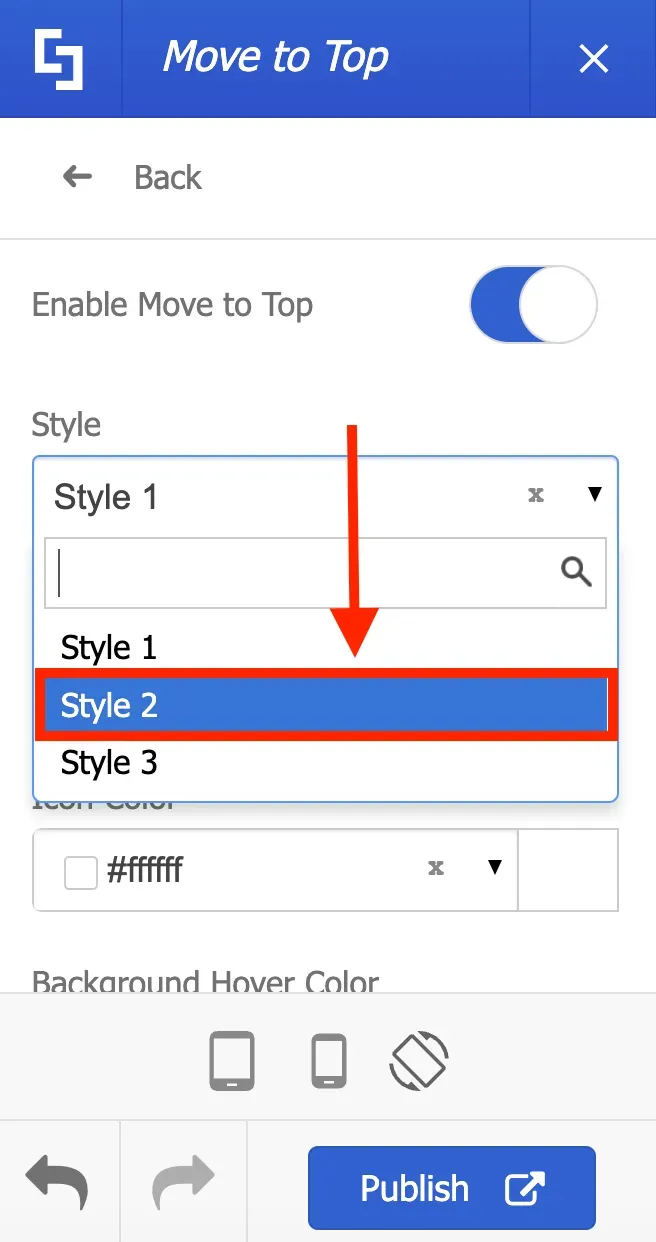
To change the widget style, simply select the Style you prefer from the drop-down. Let's choose Style 2 for this guide.
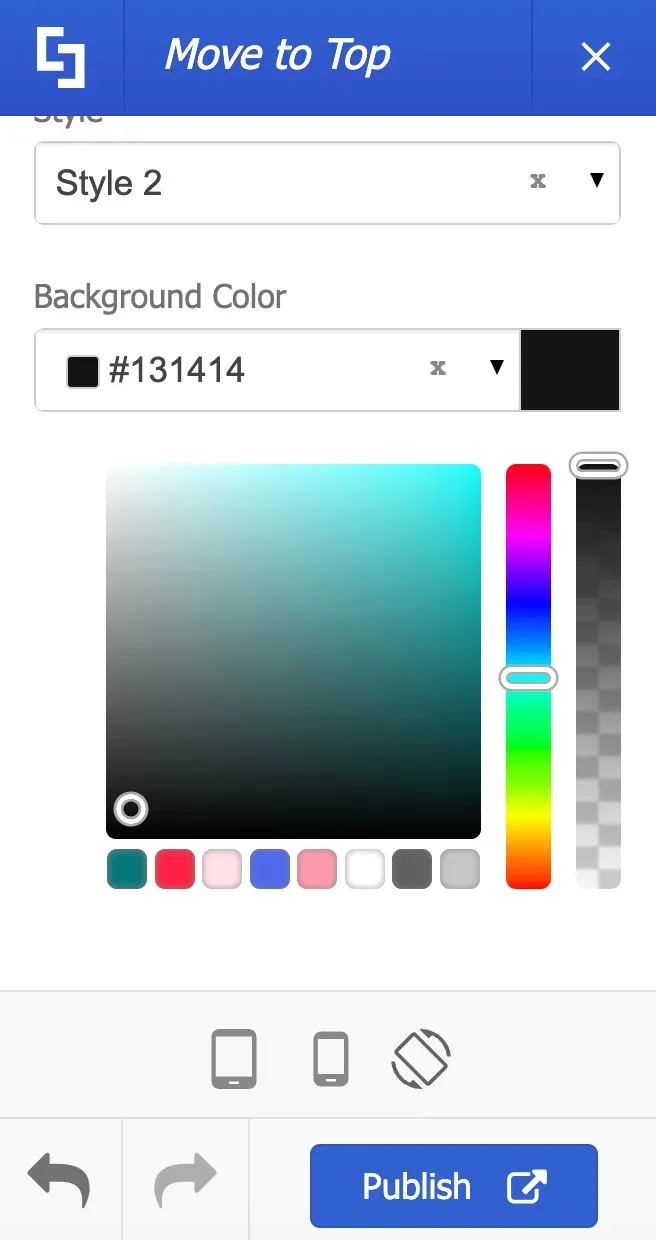
Next, let's customize the widget color. To do this, select a Background Color from the color picker.
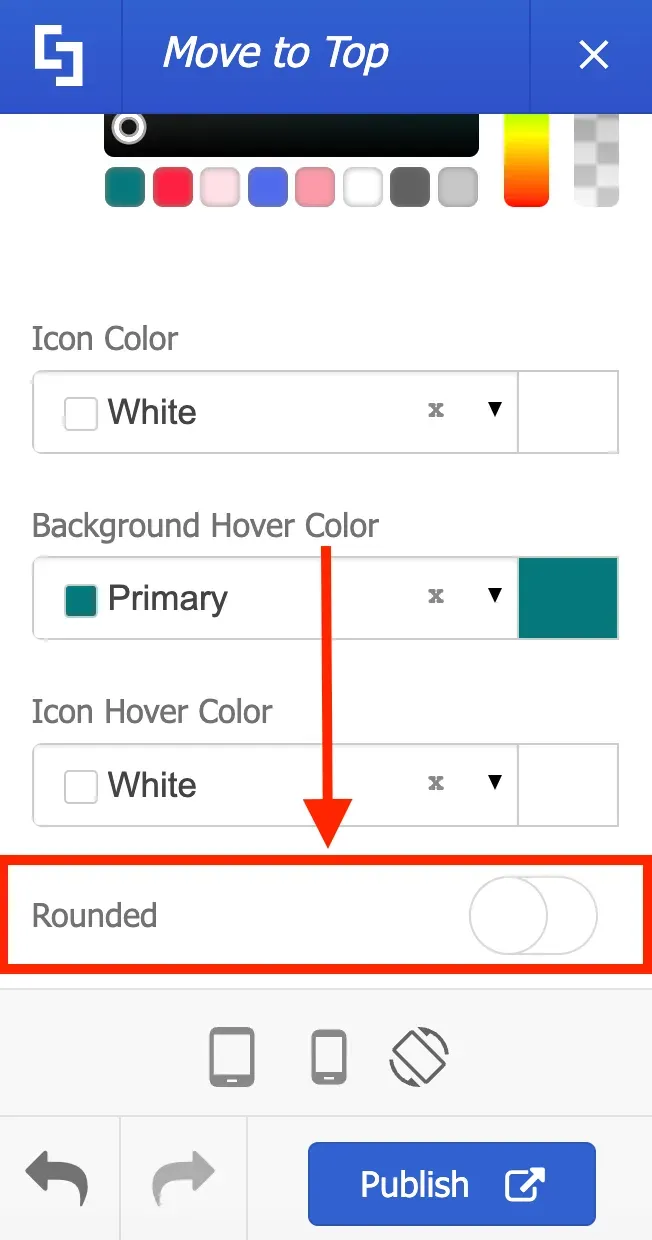
Lastly, to change the shape of the widget, simply enable the Rounded option.
Your widget will now look like this:
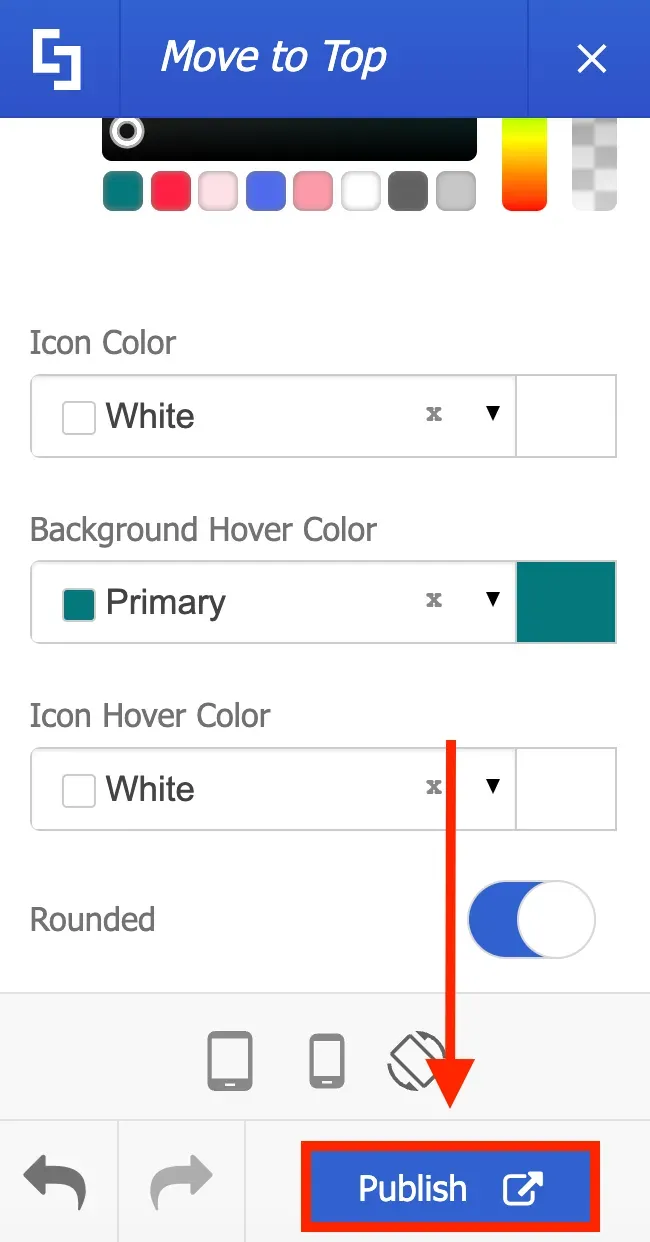
Once you are satisfied with all your edits, click Publish.
That's it! You now know how to apply Focus Mode, hide SharePoint page elements, and enable Move to top. These simple yet impactful customizations will allow you to create a truly engaging intranet experience. Enjoy exploring these options on your own page.