Ever described something to AI, but words just aren't cutting it? You’re not alone! We’ve all found ourselves saying things like "you know, kind of like that but more... professional?” and somehow it still doesn't land.
Well, here's the thing: with AI, you don't always have to find the words. Sometimes you can just show it with images. That's exactly what we’ll show you in this article. We’ll walk you through all you need to know about AI image-to-image prompting, including what it is, how to do it in ShortPoint AI Designer, and why it’s useful.
TABLE OF CONTENTS
- What are the Prerequisites?
- What Is an AI Image-to-Image Prompt?
- How to Use Image Prompts in ShortPoint AI Designer
- Why Are Image-to-Image Prompts Useful?
- Frequently Asked Questions
What are the Prerequisites?
- You must have the latest version of ShortPoint SPFx installed.
- You must be a ShortPoint Designer with a Pro or Enterprise License.
- You must have ShortPoint AI Designer enabled in the ShortPoint Admin page and have AI credits available. For more information, go to How to Enable/Disable the ShortPoint AI Designer.
What Is an AI Image-to-Image Prompt?
An AI image-to-image prompt is when you attach or upload an image alongside your text message to an AI tool, and ask it to use that image as context, reference, or inspiration for its response.
For ShortPoint AI Designer, the image you attach actually becomes part of your prompt. It's not just decoration. The AI actually reads it, interprets the colors, shapes, composition, mood, and content, and uses all of that as context when designing your SharePoint page for you.
How to Use Image Prompts in ShortPoint AI Designer
Here’s an easy-to-follow guide on how to use images in ShortPoint AI Designer.
TIPYou can also paste images from your clipboard and add them to the AI Designer. To learn how, check out How to Paste from Clipboard.
Step 1: Edit the ShortPoint Web Part
- Go to the SharePoint page you want to use and click Edit.
- Close the Toolbox.
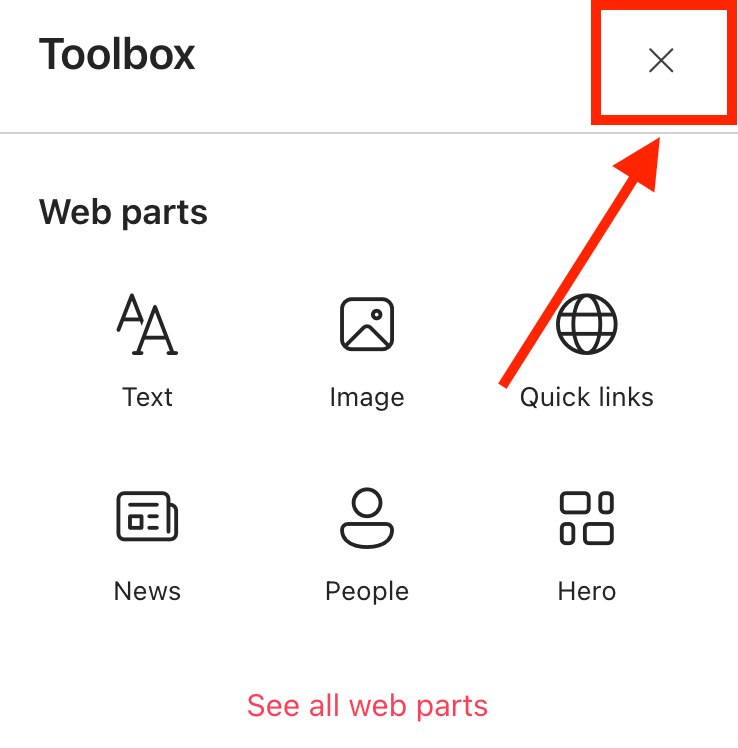
- Edit the ShortPoint web part.

Step 2: Open AI Designer in Page Builder
- Select AI Designer:

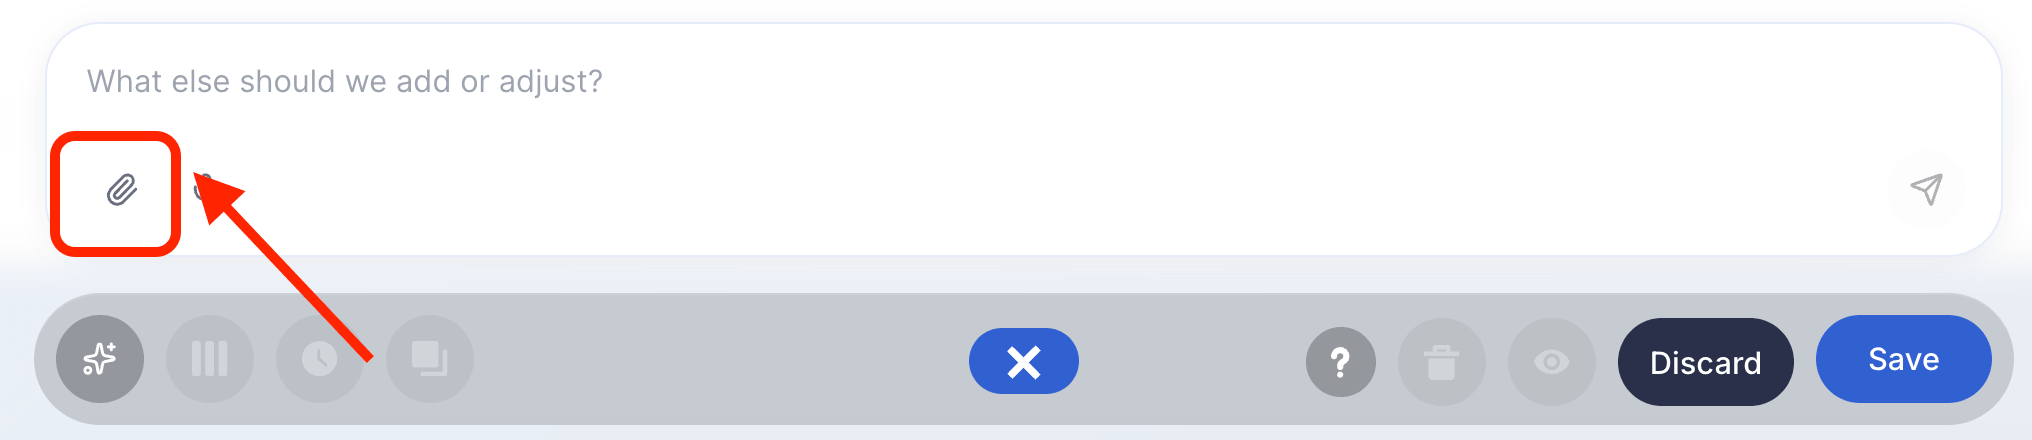
Step 3: Tell the AI What You Need
- Select the attach image icon.
TIPYou can also paste images from your clipboard and add them to the AI Designer. To learn how, check out How to Use the Paste from Clipboard Feature of ShortPoint AI Designer.
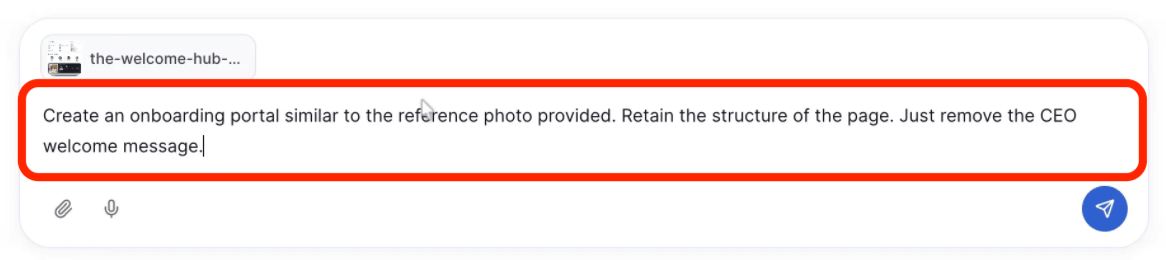
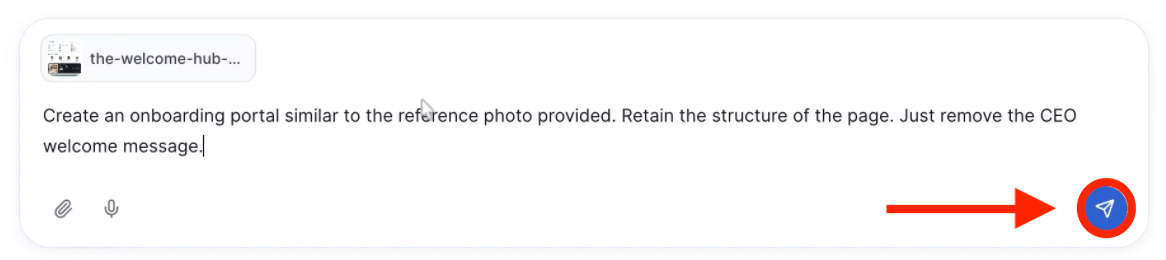
- You can upload image(s) directly from your device or select one from SharePoint using the file picker. For best results, use JPG/JPEG, PNG, or WEBP formats. Doing so will allow the AI Designer to clearly read and interpret your reference image. Take note that you can only upload up to 5 images per prompt.

- Then, in the text box, add further instructions. You can specify which elements to replicate (typography, color palette, card styles, spacing, iconography, navigation patterns, etc.) and clarify what NOT to copy (branding marks, logos, proprietary content, etc).
- Once done, click Enter.
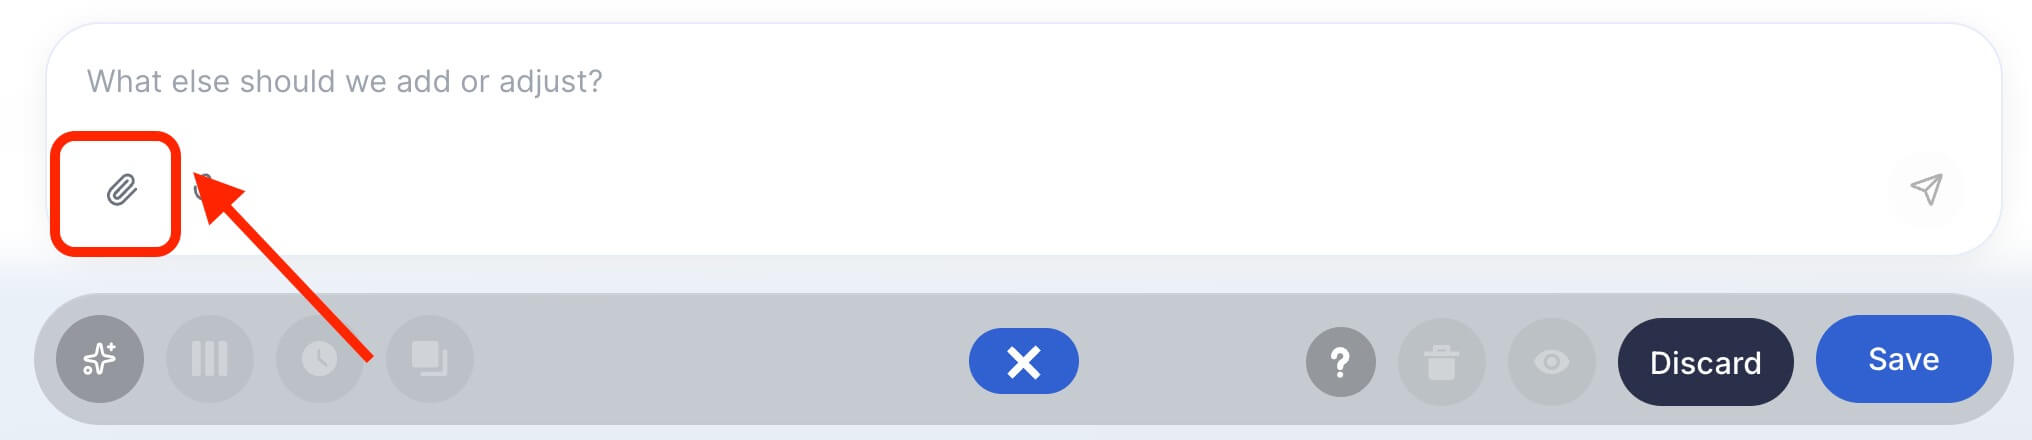
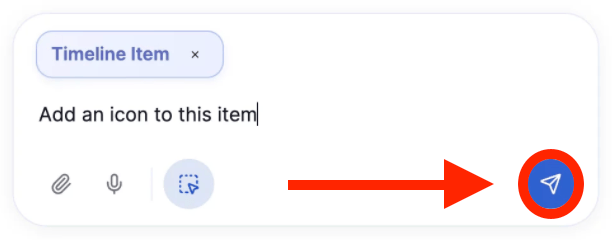
Step 4: Refine
- Once you’ve given your image-to-image prompt, the AI Designer will start designing your page. If you want to make any changes to the design output, simply write down what you want to modify:
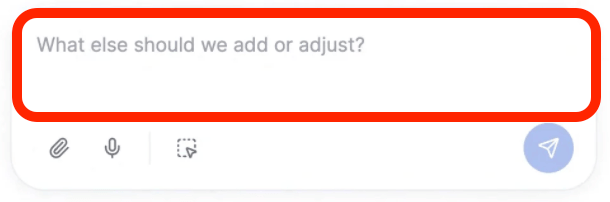
- Then, click Enter:
Step 5: Edit as Usual
- Once you’re done using the AI Designer, you can now start editing your page like usual. Simply close the AI Designer panel and make your changes:
Step 6: Save
- Done editing? Make sure to Save your changes:

- And Publish your page:

Congratulations! You now know how to use image-to-image prompts in ShortPoint AI Designer.
Why Are Image-to-Image Prompts Useful?
Honestly, image prompting might be one of the most underrated features in AI tools right now. Here's why people who discover it tend to never go back to text-only prompting for certain tasks.
Removes the translation problem
Language is imprecise. "Modern minimalist" means different things to different people. "Warm tones" is subjective. When you attach an image, the AI has a concrete visual anchor.
Saves Time
Instead of sending five messages trying to describe your vision and getting five increasingly frustrated follow-ups, you drop one image, and suddenly everyone (you and the AI) is on the same page.
Maintains Visual Consistency
Designers, marketers, and content creators use this to maintain visual consistency across projects. But it's just as useful for someone who has no design background and simply wants help pulling a look together.
Frequently Asked Questions
What kinds of images work best as references?
Clear images tend to work better than blurry or cluttered ones. For style references, a single focused example is usually more effective than a collage with a lot going on.
Can I upload multiple images at once?
Yes, uploading up to 5 image references is allowed in ShortPoint AI Designer. Adding multiple images can be useful when you want to capture a different element from each and want to combine them. Just be clear in your text about what you're pulling from each one, or the AI might try to blend everything together in ways you didn't intend.
What if the AI misinterprets my image?
It happens, and it's usually easy to fix. Just clarify in your next message what it got wrong and what you actually meant. You can also try re-uploading the image with a more specific prompt, or cropping the image to highlight the part you actually want it to focus on. AI tools get better with guidance, so don't hesitate to redirect.
Related articles:
- ShortPoint AI Designer: An Overview
- Quickstart Guide: Generate your first intranet page
- ShortPoint AI Designer Features: What Can it Do?
- How to Use the ShortPoint AI Designer: Detailed Step-by-step
- How to Write Effective AI Prompts for ShortPoint AI Designer
- How to Use Text Prompting in ShortPoint AI Designer
- How to Use Voice Prompting in ShortPoint AI Designer
- How Brand-Aware Design Works in ShortPoint AI Designer
- How to Use ShortPoint AI Designer to Edit an Existing ShortPoint Template
- How to Revert to Previous Prompt Versions in ShortPoint AI Designer
- Prompt Library
- Iterating with Multi-Turn Conversation in ShortPoint AI Designer
- How to Modify Specific Page Elements Using the ShortPoint AI Designer
- How to Queue Prompts in ShortPoint AI Designer
- How to Create Dynamic Design Elements Using ShortPoint AI Designer
- How to Activate the Search & Filter Widgets Using ShortPoint AI Designer
- How to Use the Paste from Clipboard Feature of ShortPoint AI Designer
- How to Copy and Paste Design Snippets from ShortPoint AI Designer to Another SharePoint Site
