

ShortPoint Design Elements
Best Design Elements for Images
"Add images to the page. It'll look better!" You've probably heard your manager say that line SOOO many times while designing your intranet that you can recite it in your sleep. (Trust us, we get the nightmares too—kidding!).

Image Design Element
But we do have to agree with your manager—images do make your intranet MUCH MUCH better. Why? Well, think of the last time you ordered food on an app or a website. Which do you remember better, the photo of that JUICY burger or the description? Most likely, the image, because it appeals to your emotion of craving that burger and wanting to eat it.This doesn't mean though that you can just throw random images on your page and call it a day. Context and how you display the images still matter. Just imagine suddenly adding a photo of your dog (while cute) in the middle of your HR page without any description. It'll confuse everyone on your team!So, to help you display images effectively on your page, we will show you the different ShortPoint Design Elements you can use for images. Let's check them out!
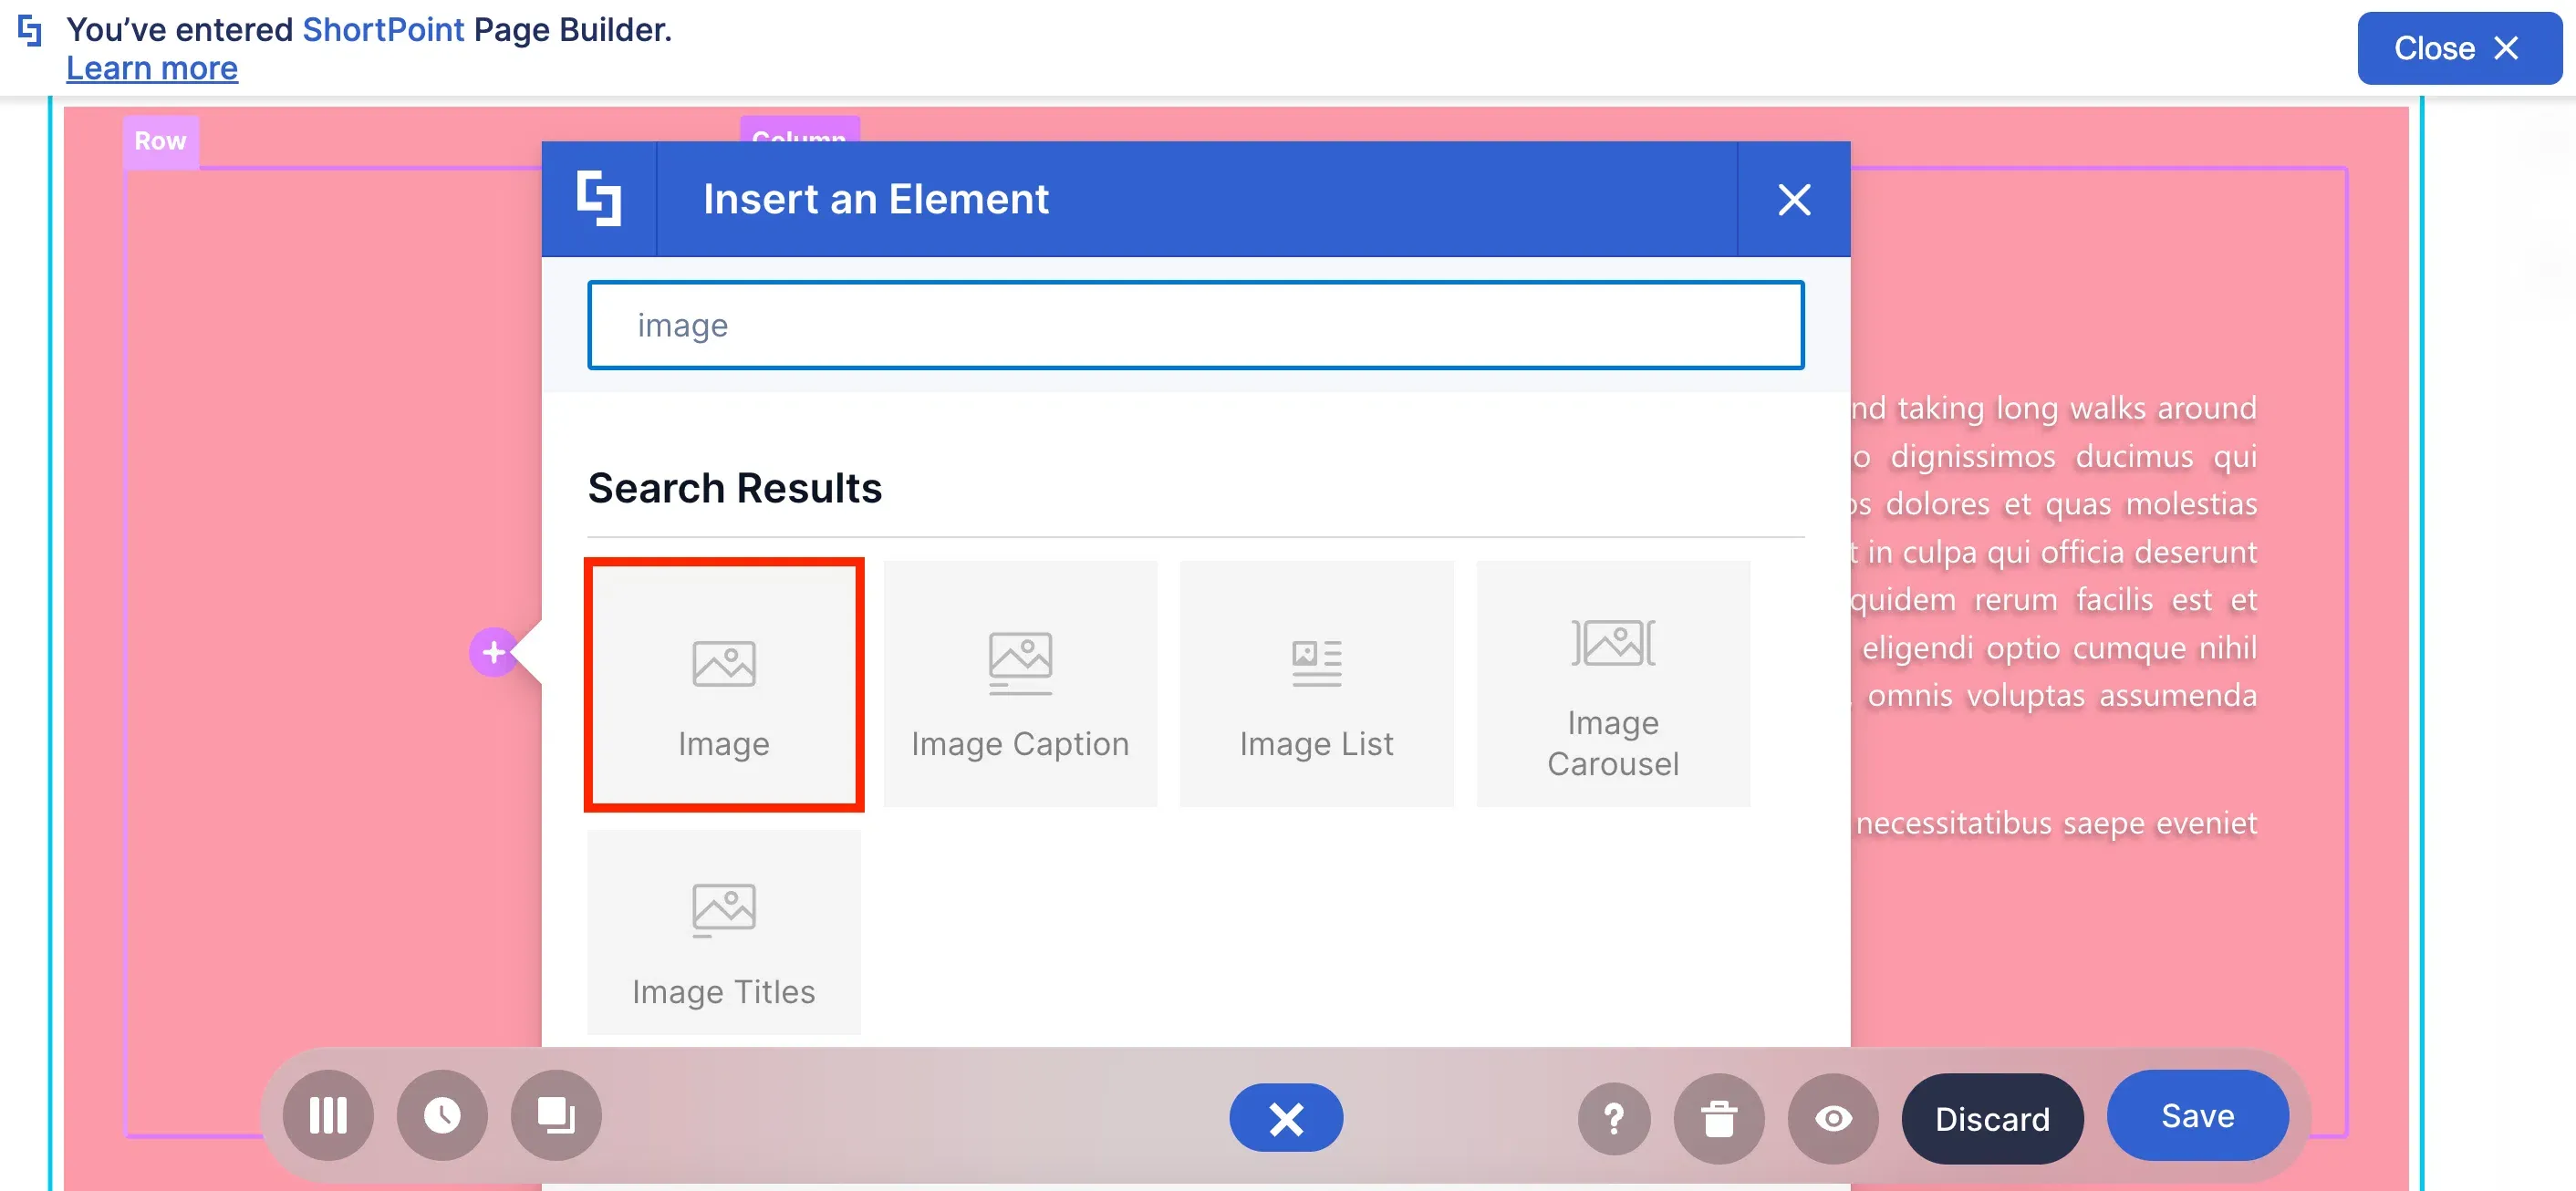
The Image Design Element is the most basic Design Element you can use for images.
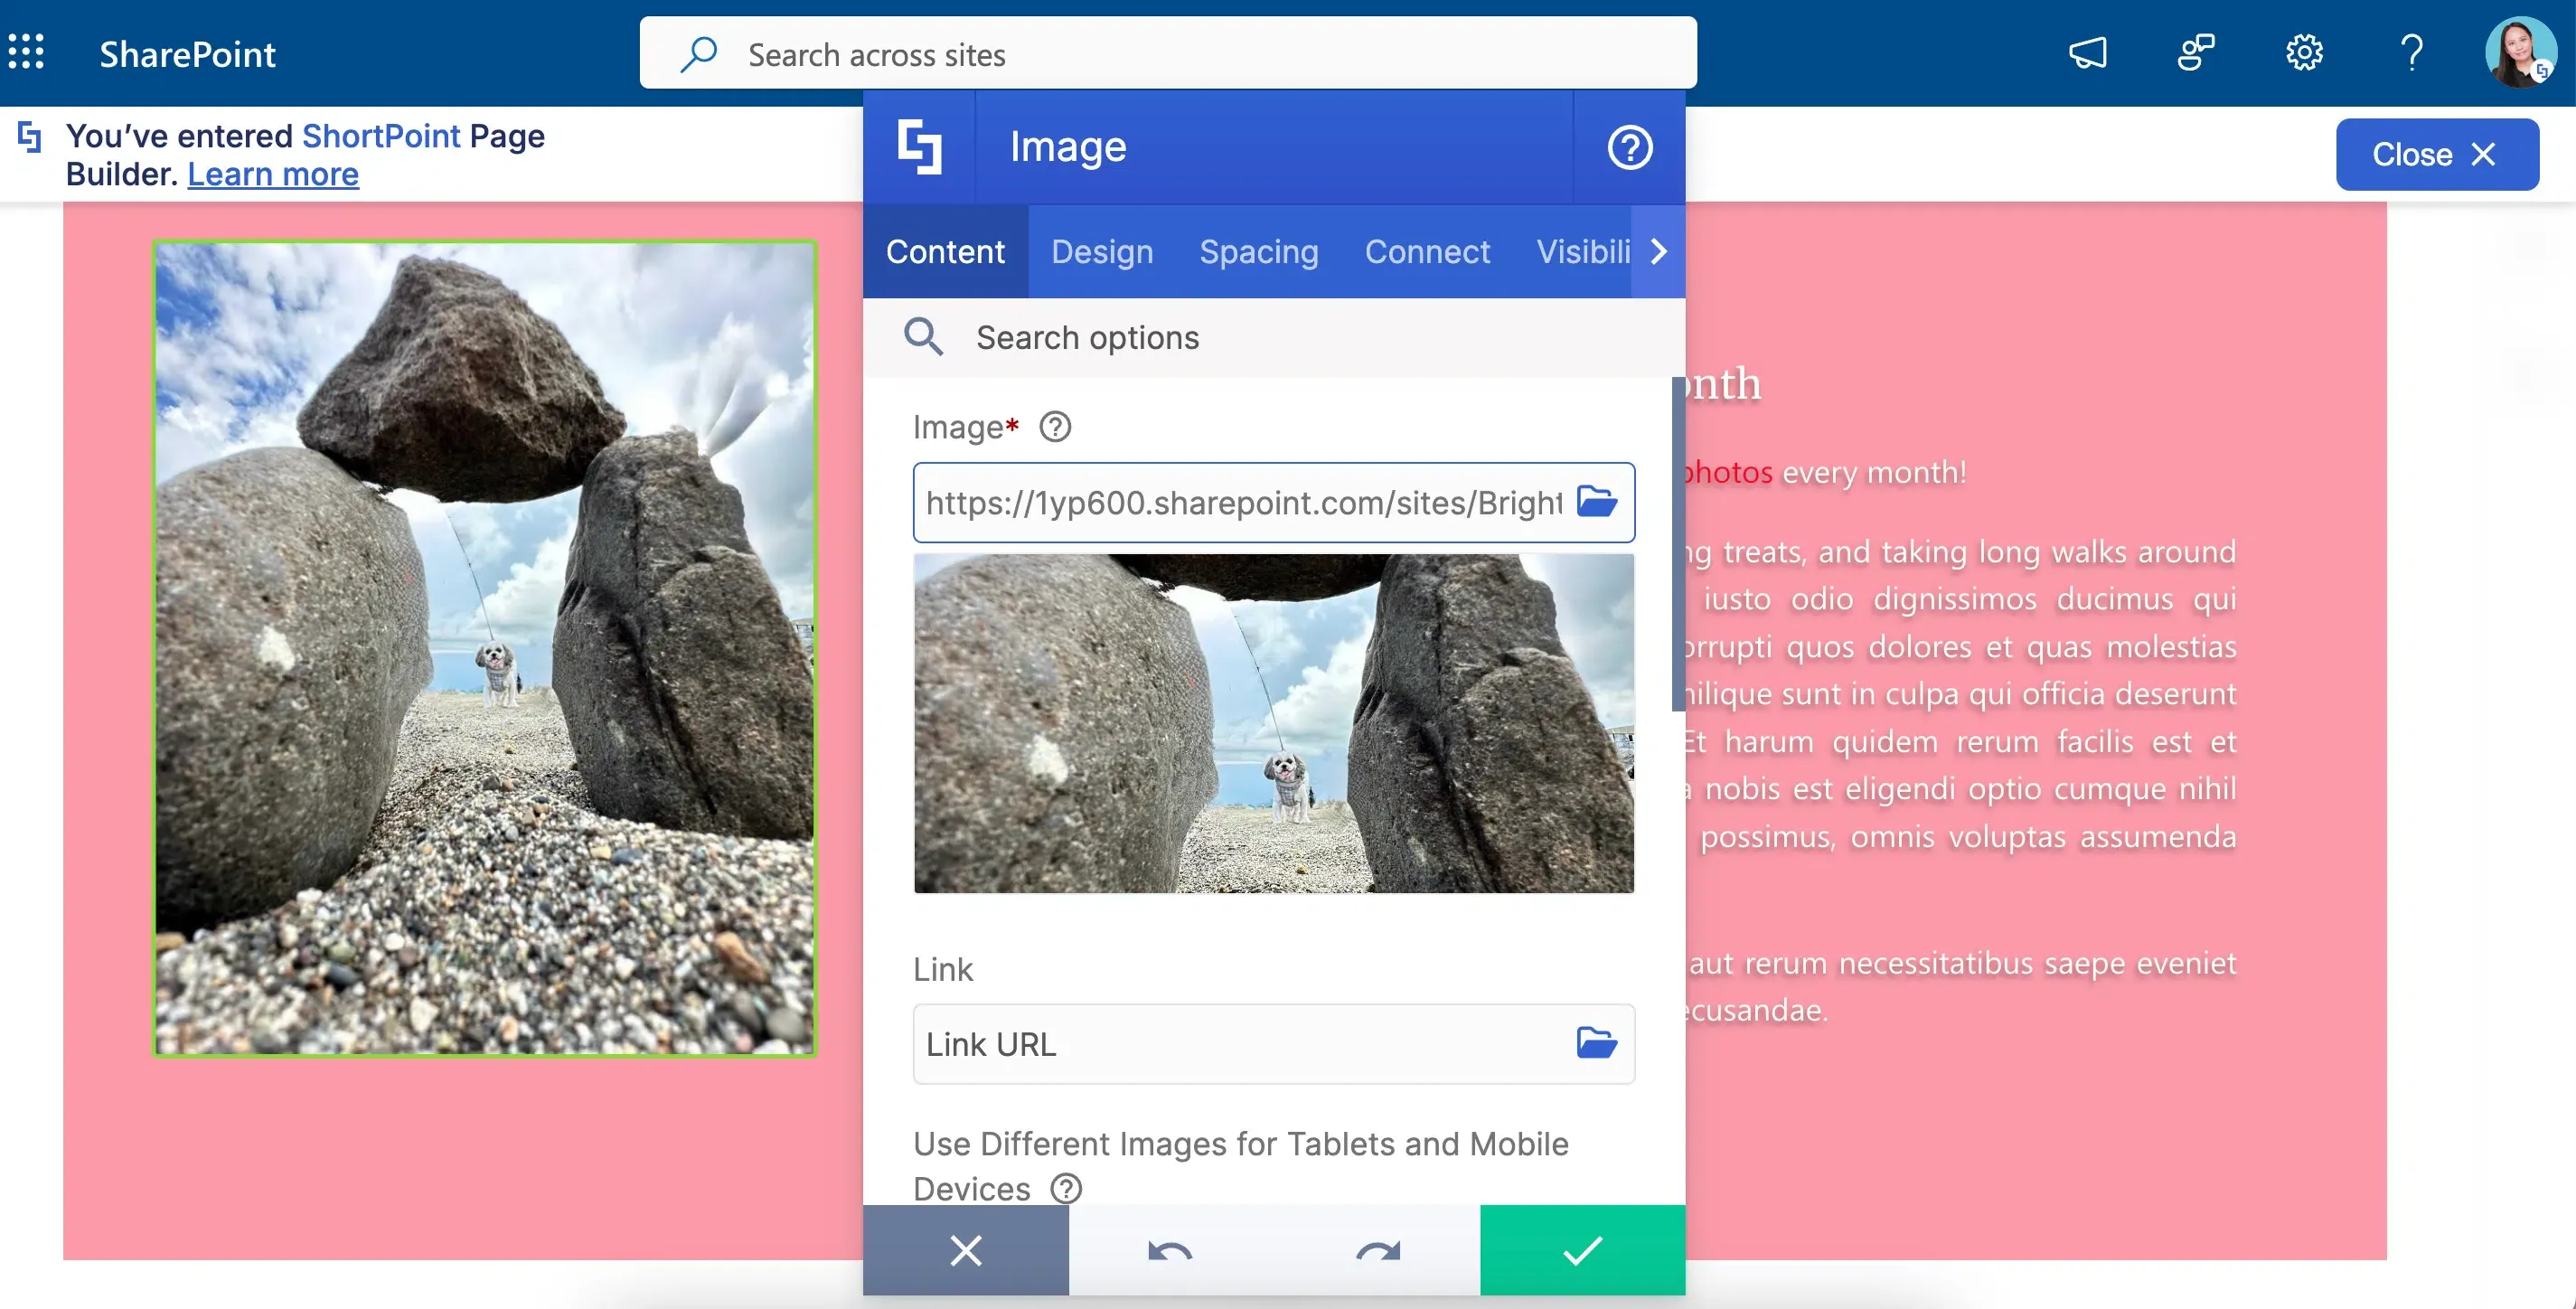
You can use it to add ANY photo you want—be it an employee, your company building, and, yes, even your dog.
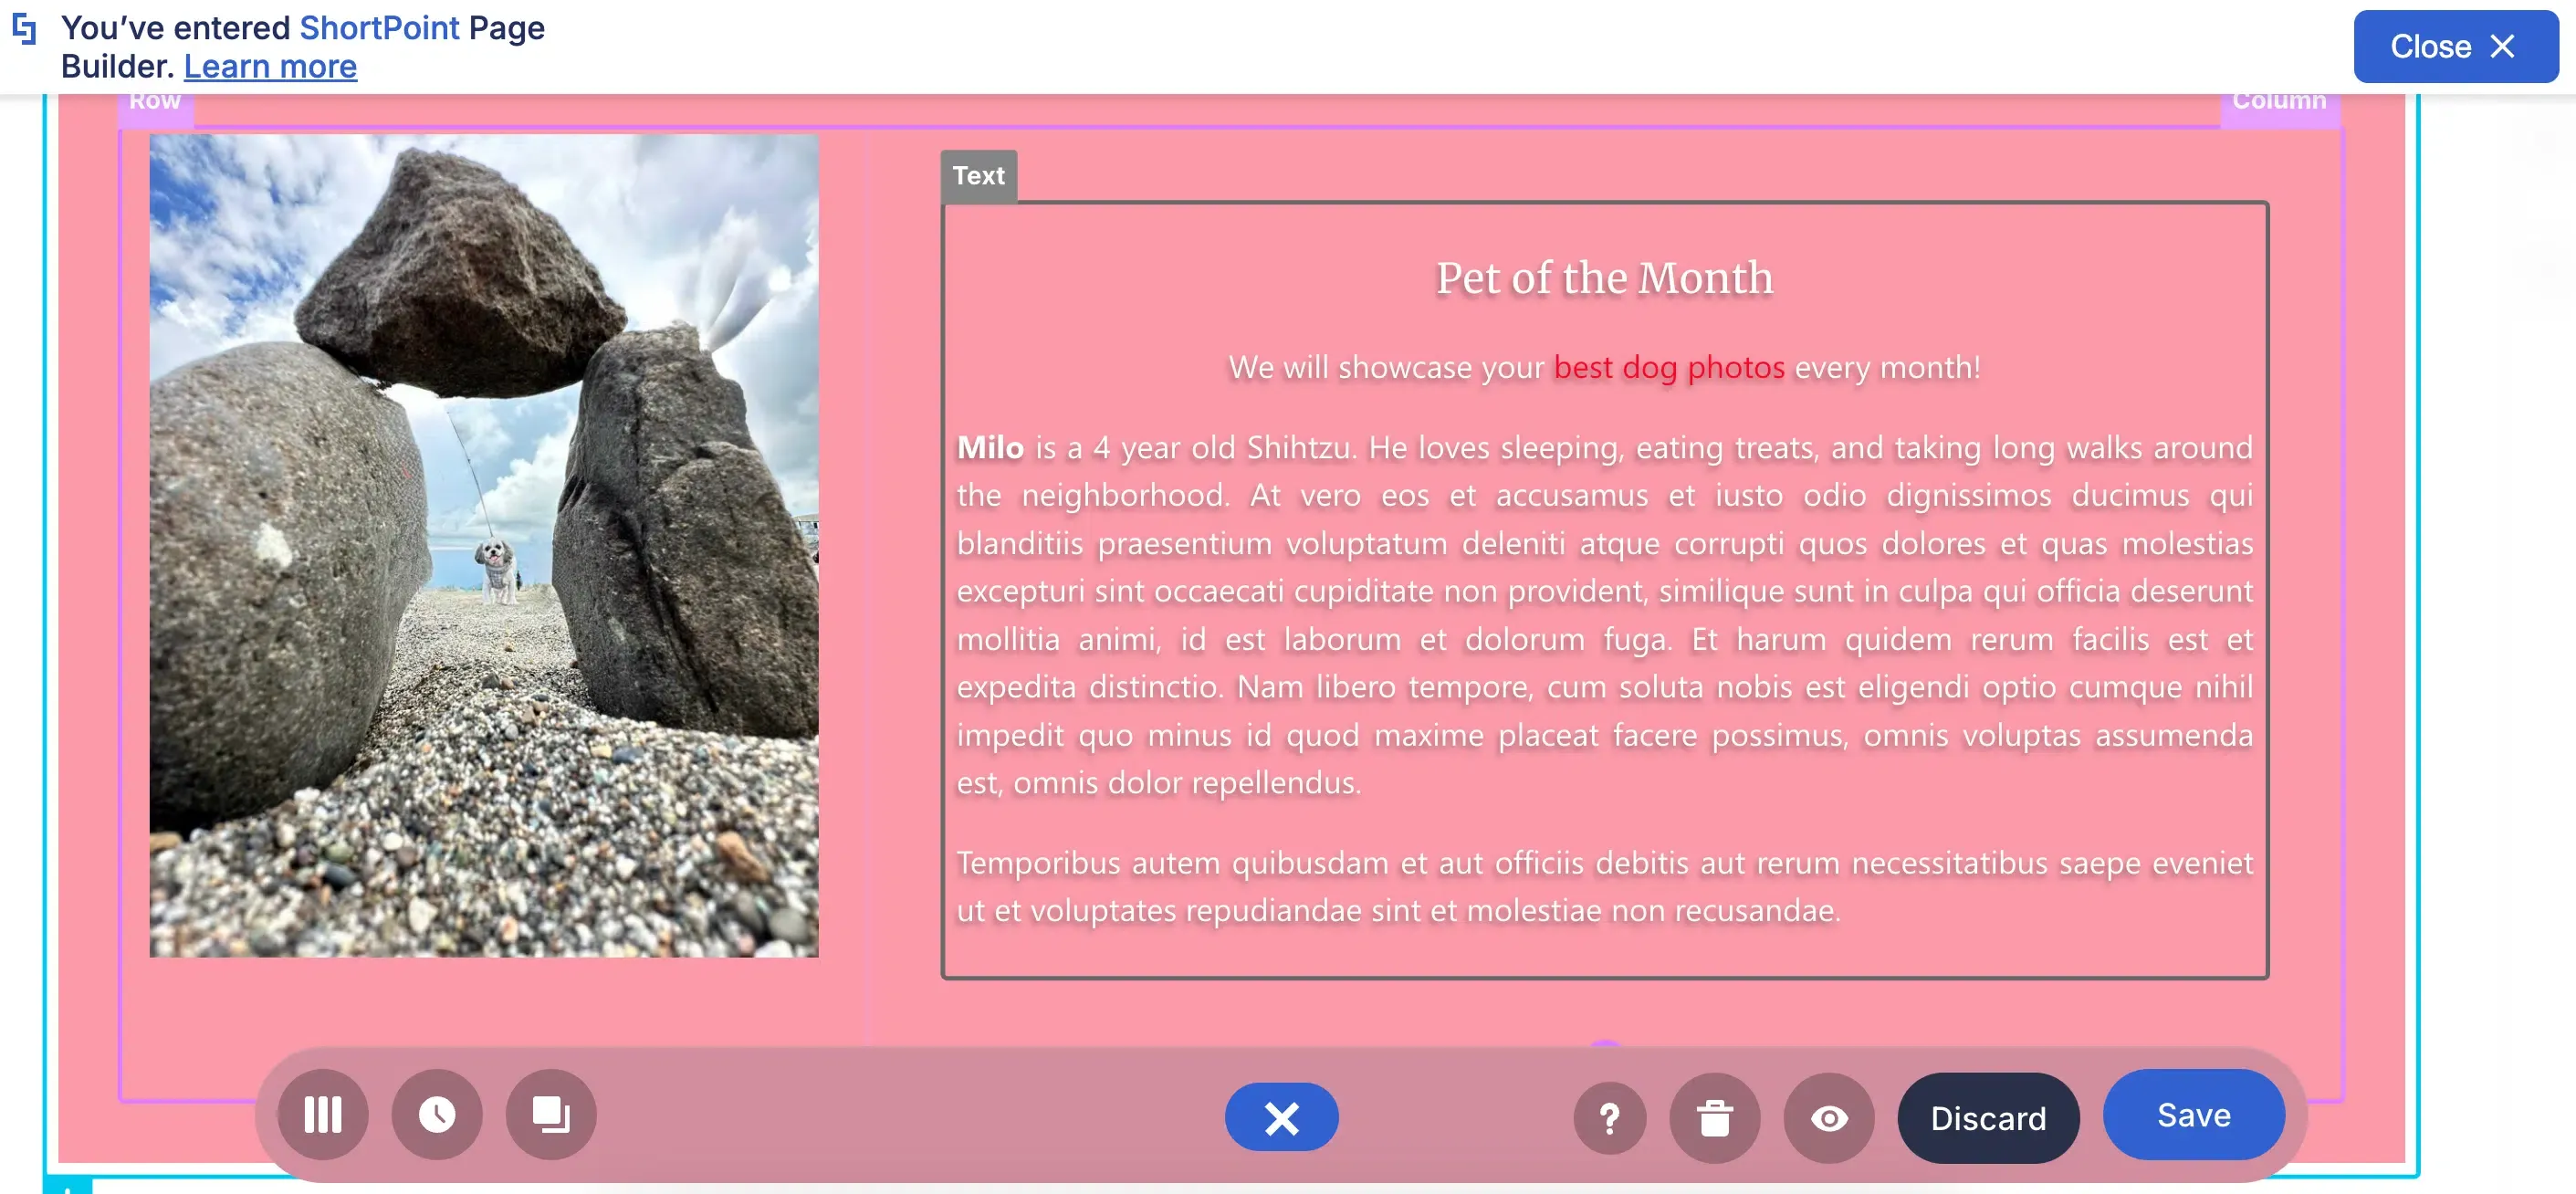
And because context matters, you can pair it with the Text Design Element to add a description. Now, no one will be left scratching their heads wondering why there's a photo of your dog in the middle of your page!
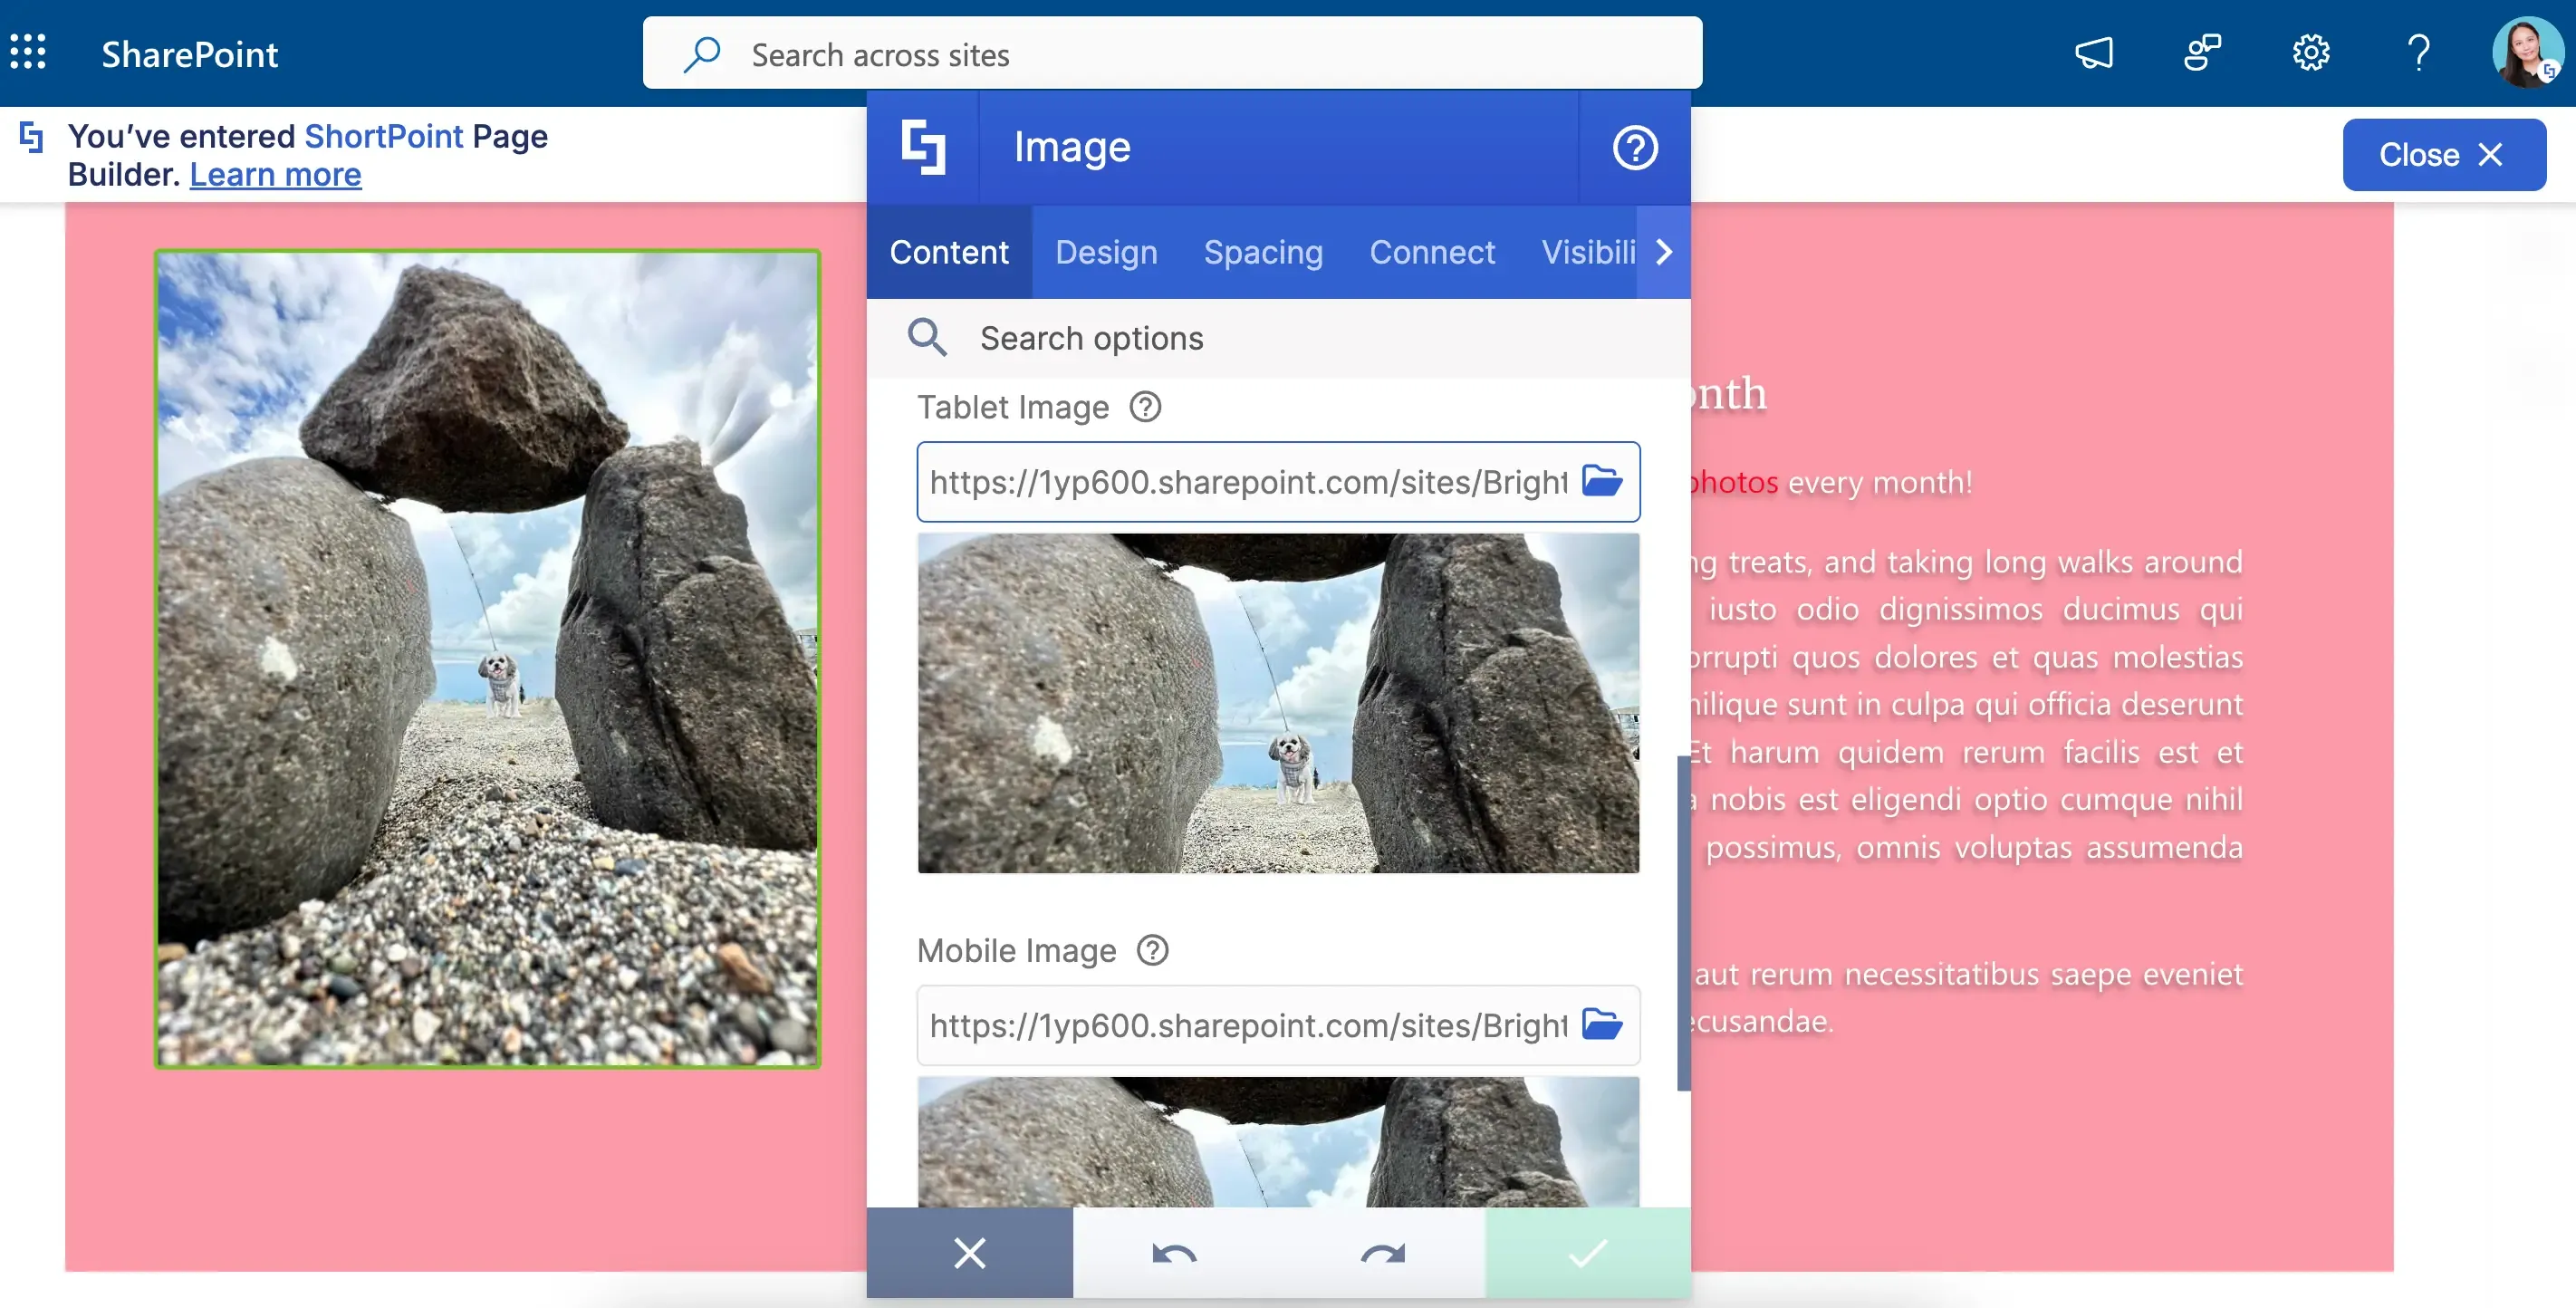
There's more! If your team uses your SharePoint page on tablet or mobile devices, you can add a photo specific to that device. Because of this, your images will not be TOO BIG or too small for these gadgets.
Image Caption Design Element
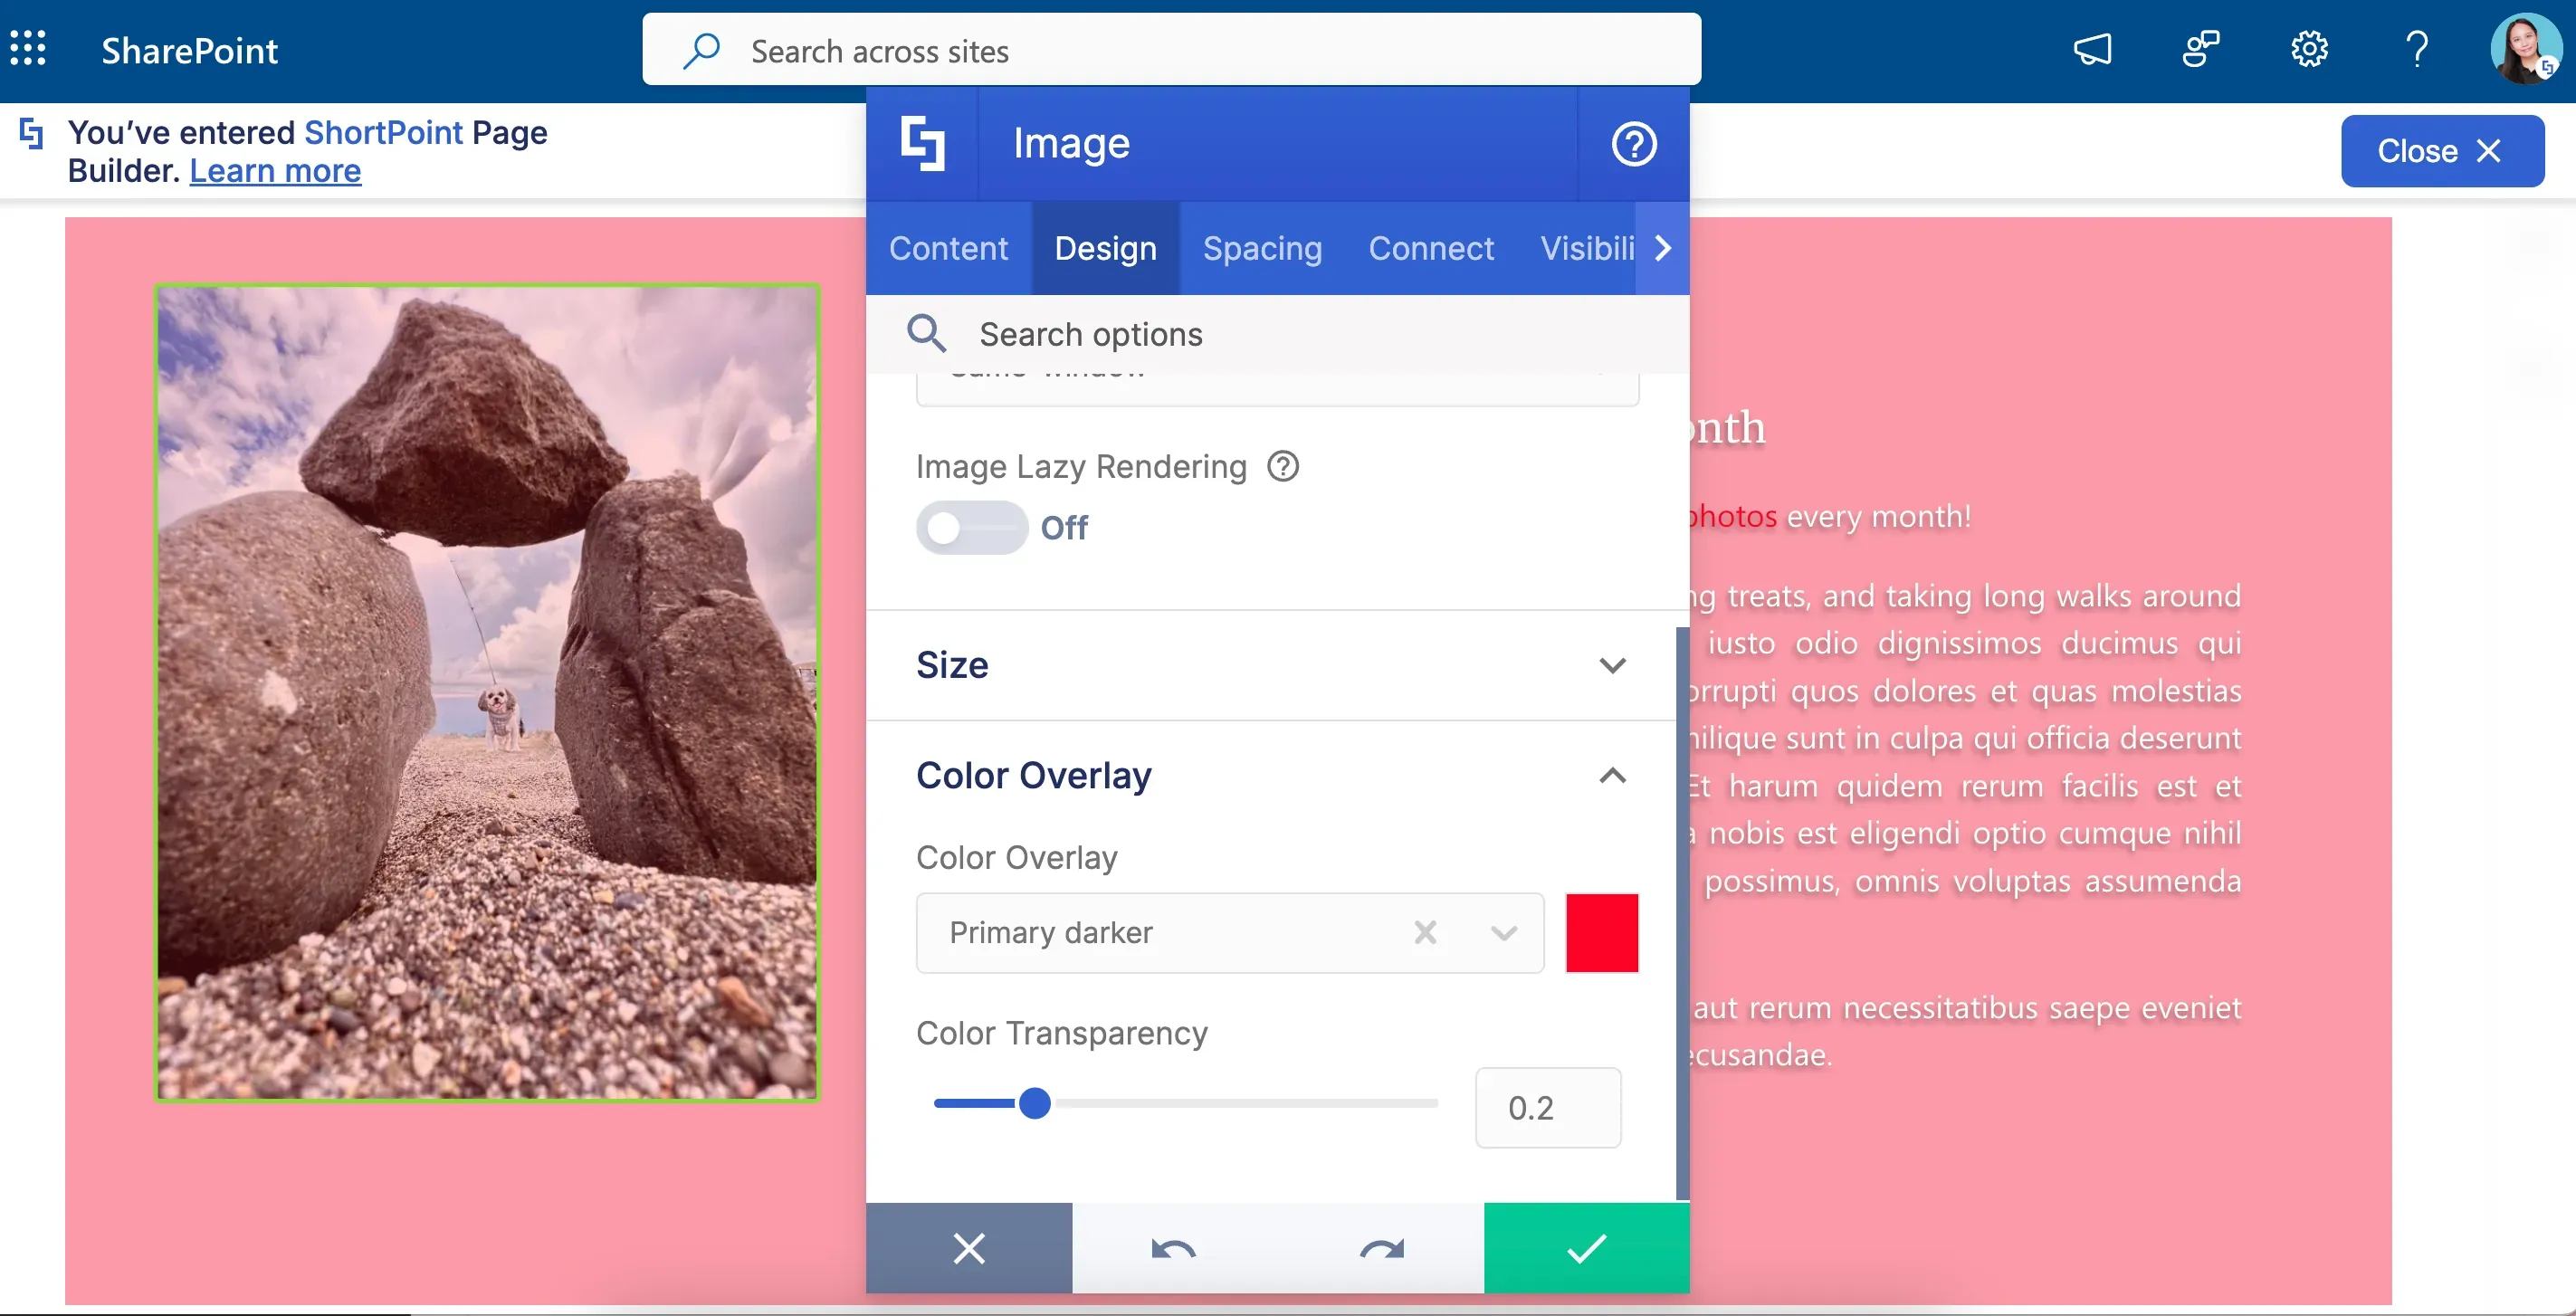
To top it off, you can experiment with the Image's design. You can add a color overlay and even turn an image into a panorama.
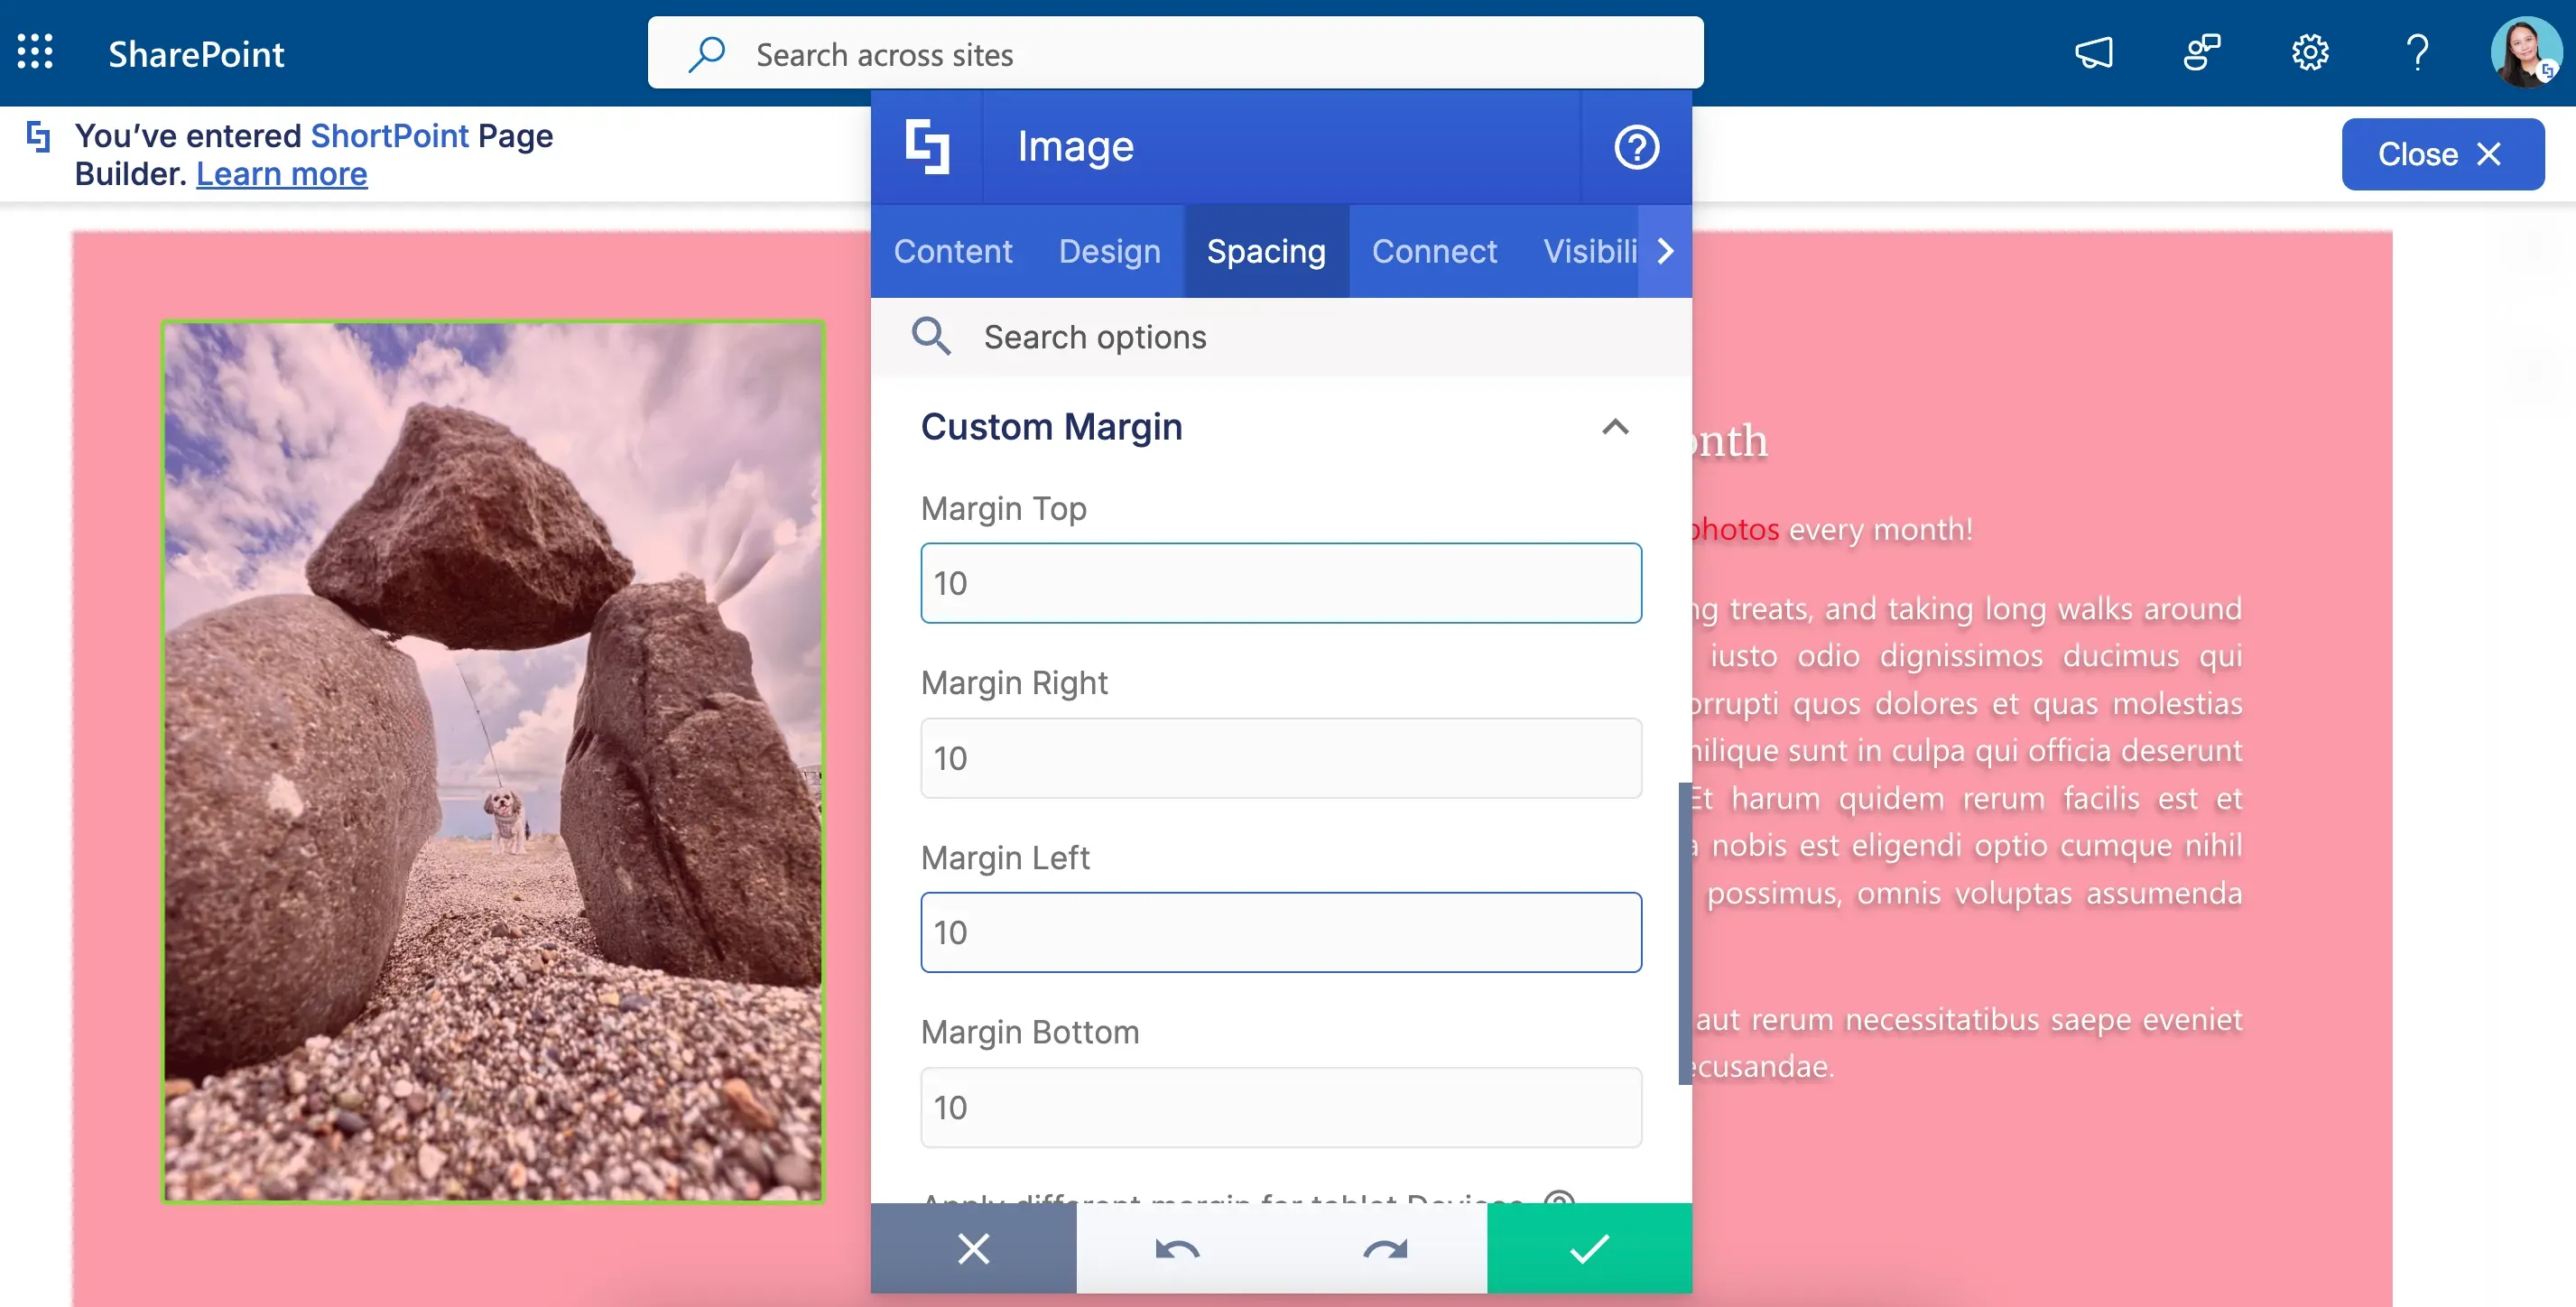
But wait…is it just us or is our image off-center?! You don't have to worry about that too! You can adjust the spaces around your image. This way, you can easily customize the location of the photo. REALLY, everything is up to you!
Want to know more about the amazing features of Image? Check out How to Customize the Image Design Element to learn more.
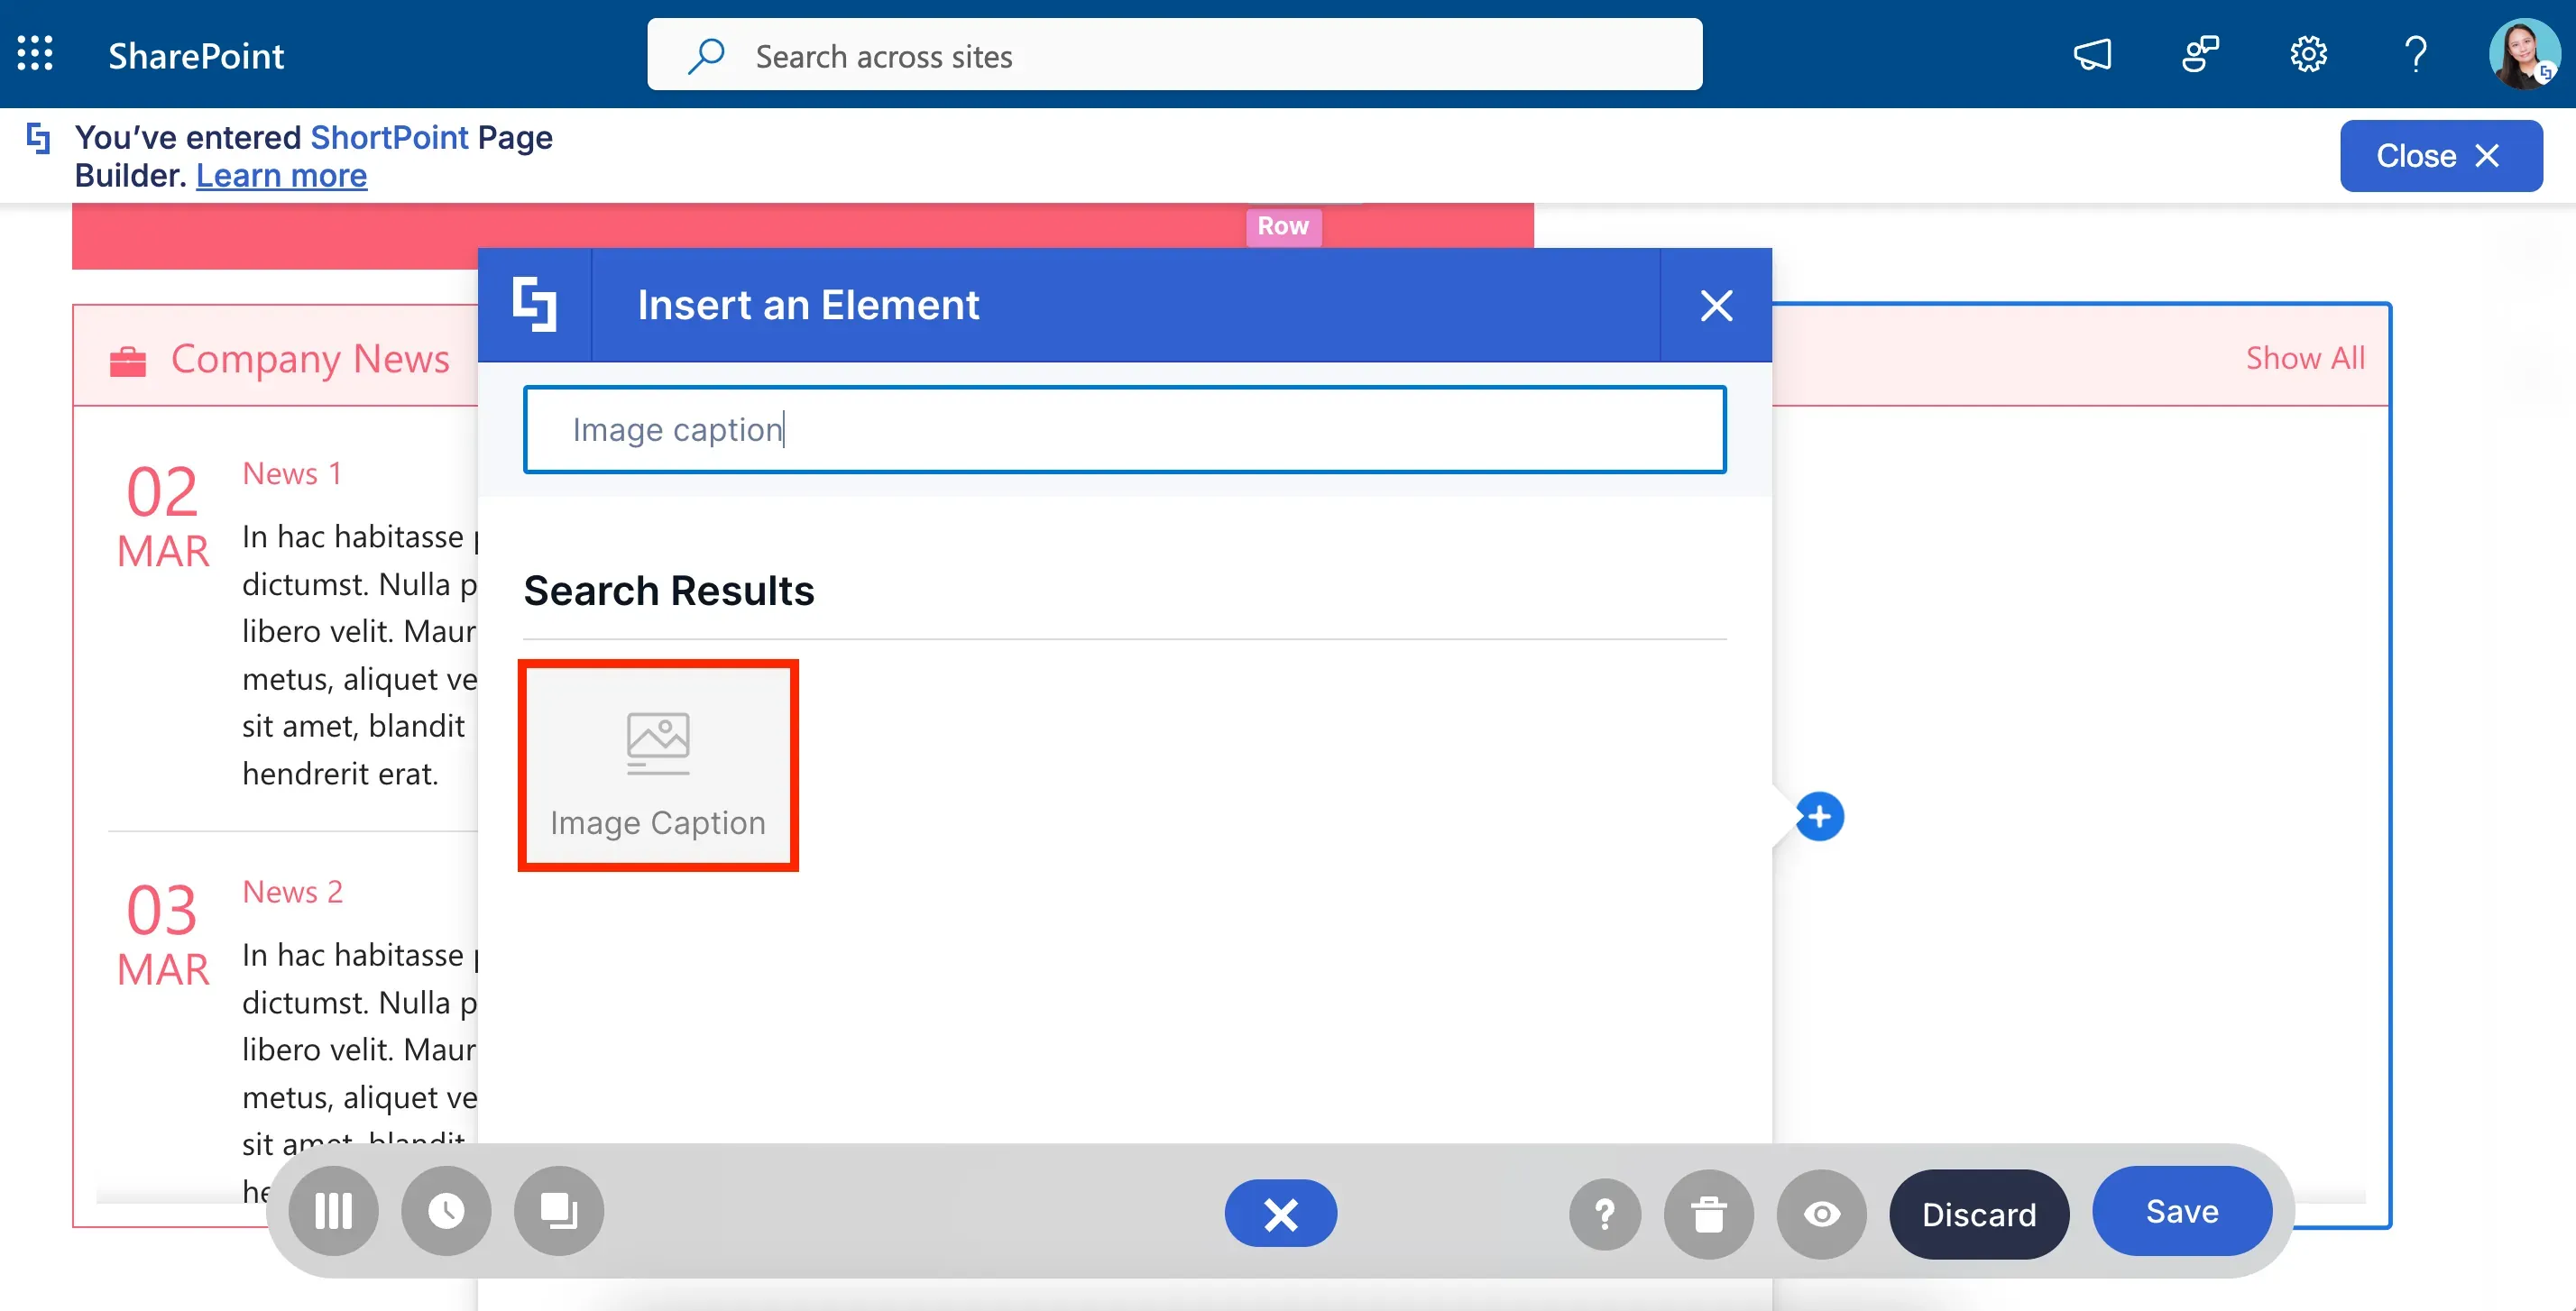
We know you have to squeeze in A LOT of information on your page. So, pairing an image with the Text Design Element to add a description isn't always the best option. If you're running out of space, the Image Caption Design Element is your best alternative.
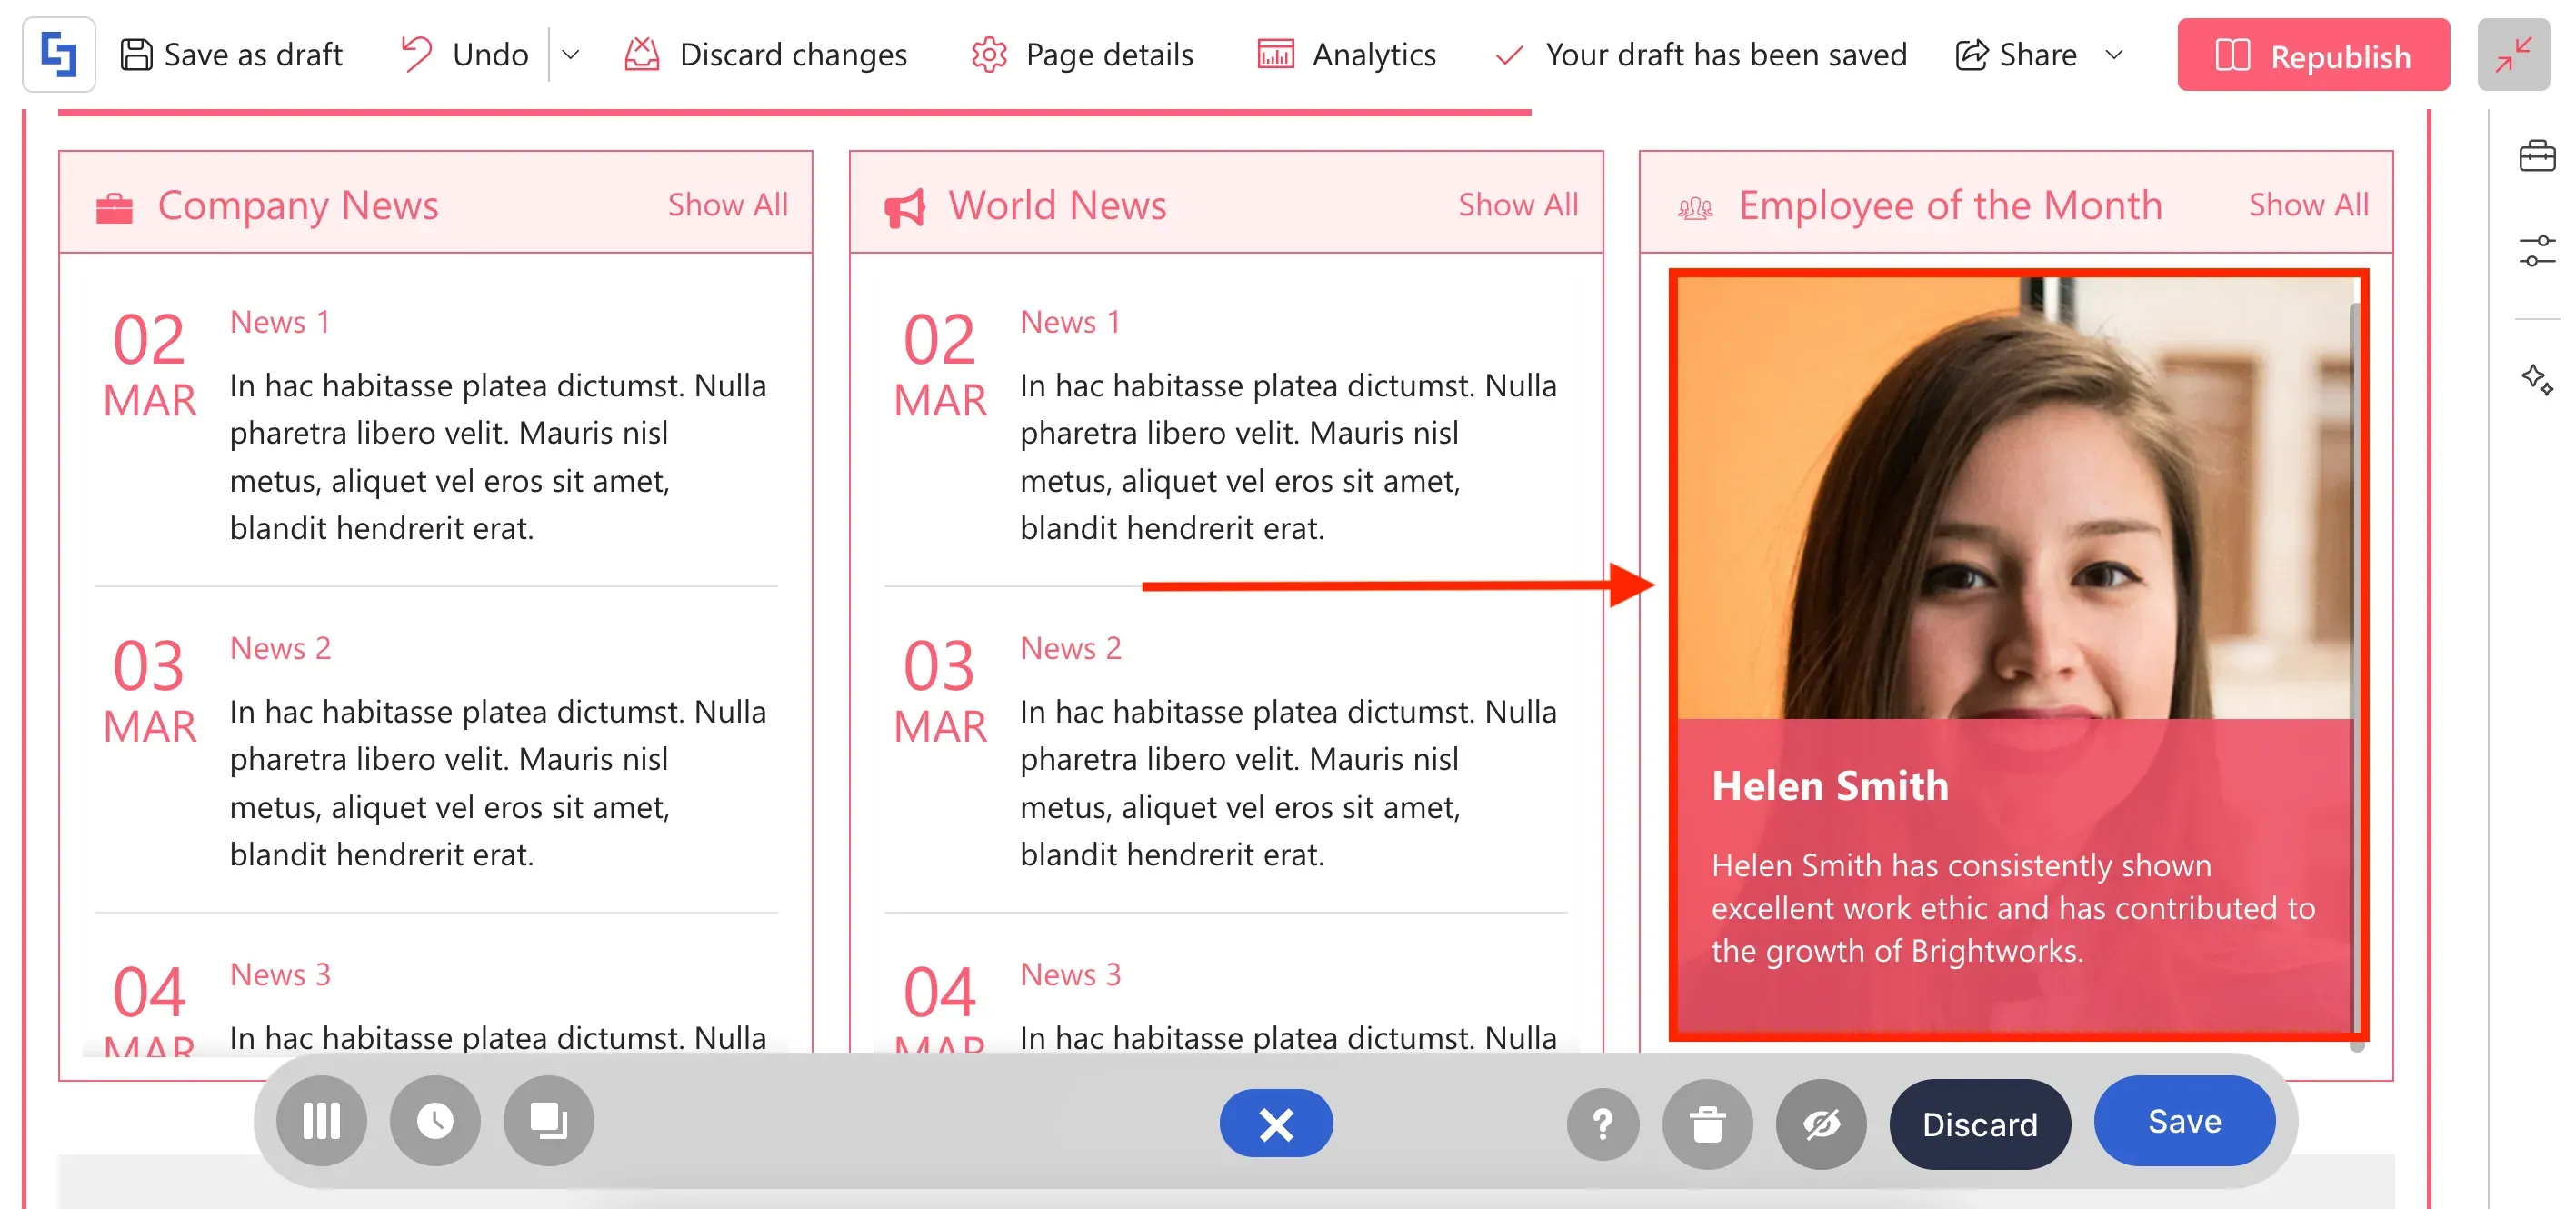
With the Image Caption, all the information your viewers will need for context will be on the photo itself. Truly, a SPACE-SAVER for your SharePoint pages!
Image Titles Design Element
And we're not even on the best part yet! You can also have fun with the animation style of the description. It has 18 interactive styles that your users can enjoy playing with.
Ready to have fun with the Image Caption Design Element? Go through How to Customize the Image Caption Design Element to see all its features.
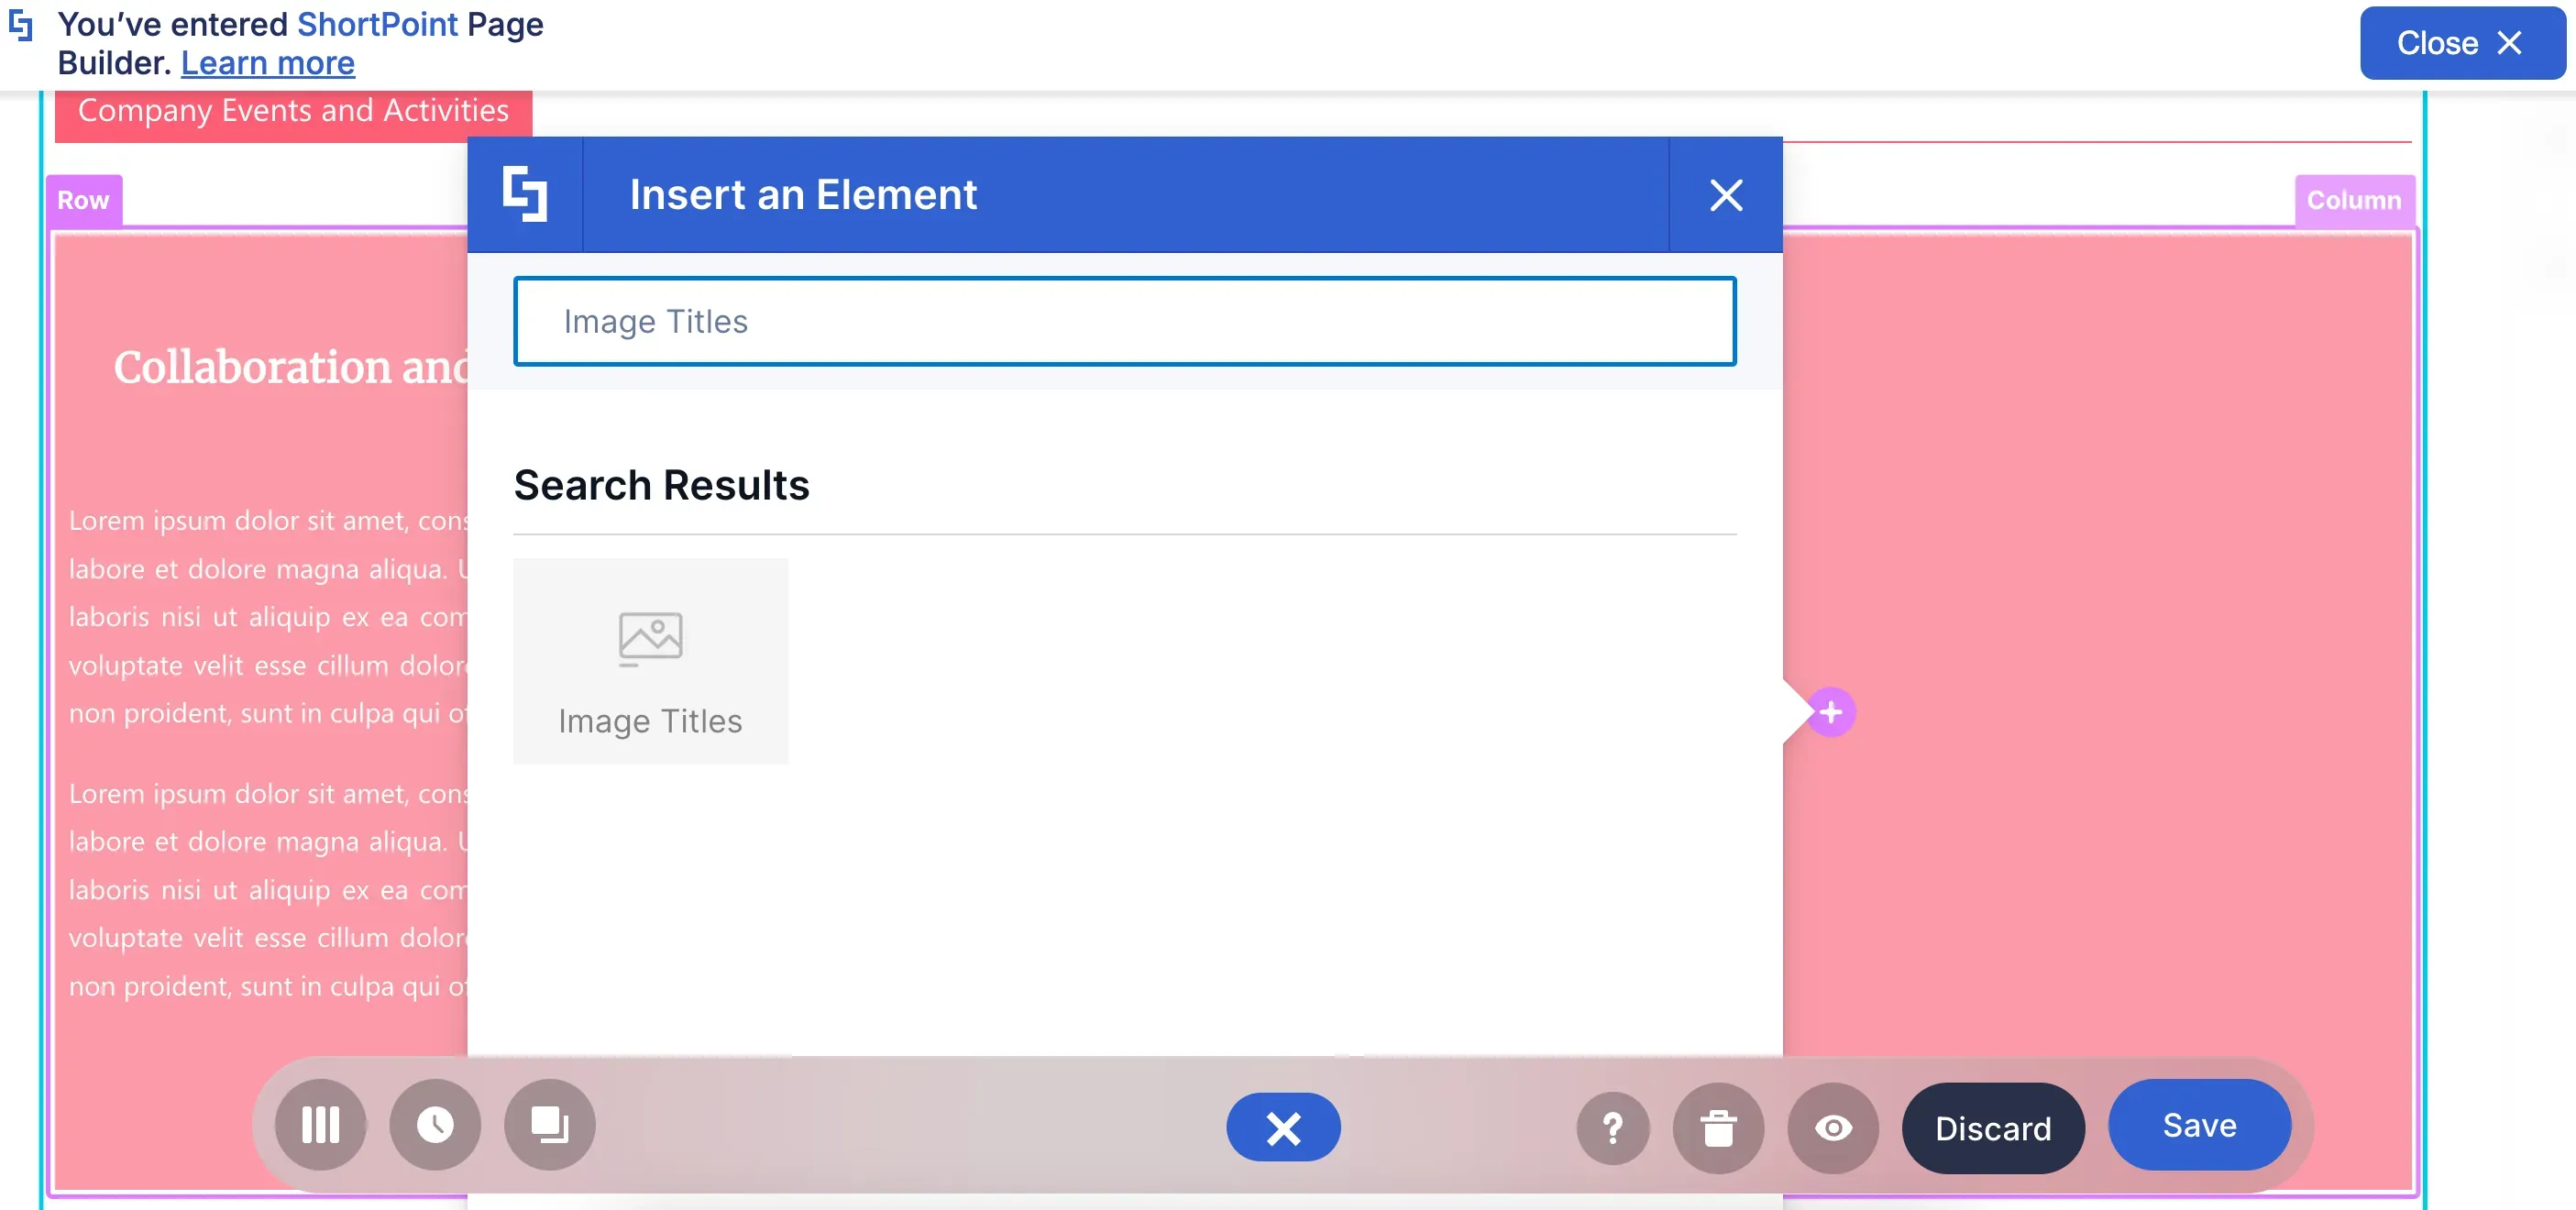
What if you have two, three, four, five, six…fifteen (and we can still keep counting) images to show on your page? You can display multiple images at once using the Image Titles Design Element!
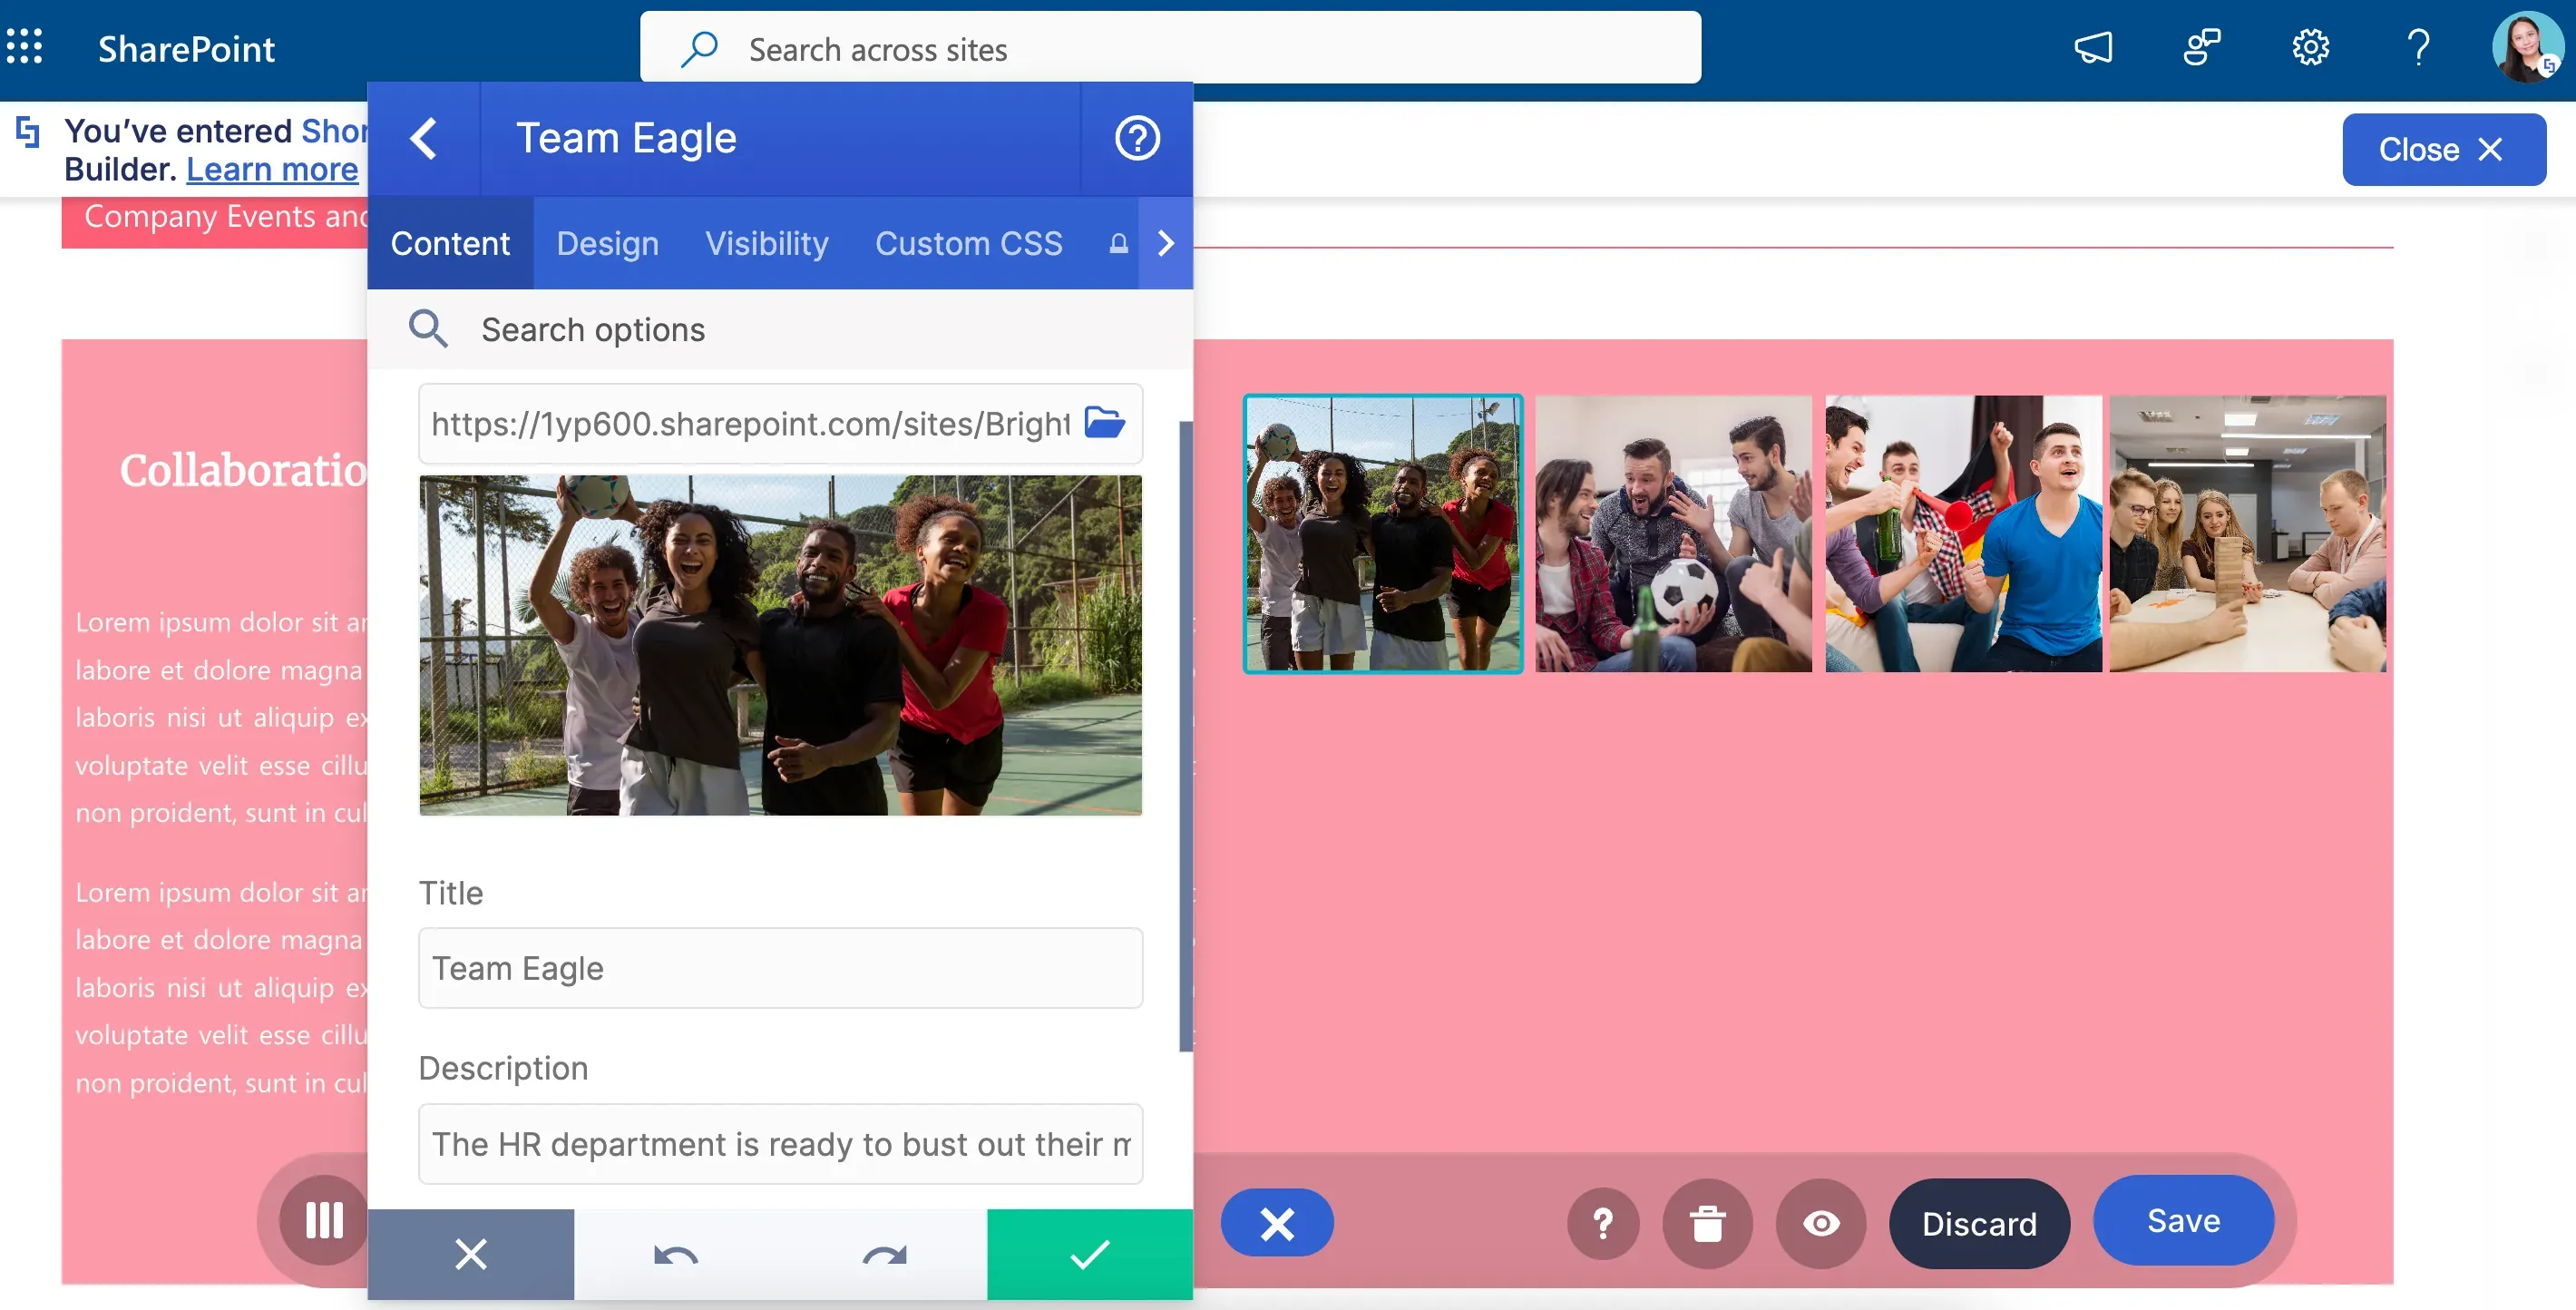
It works like the Image Caption but with MANY images. You can also add a Title and a description for each photo.
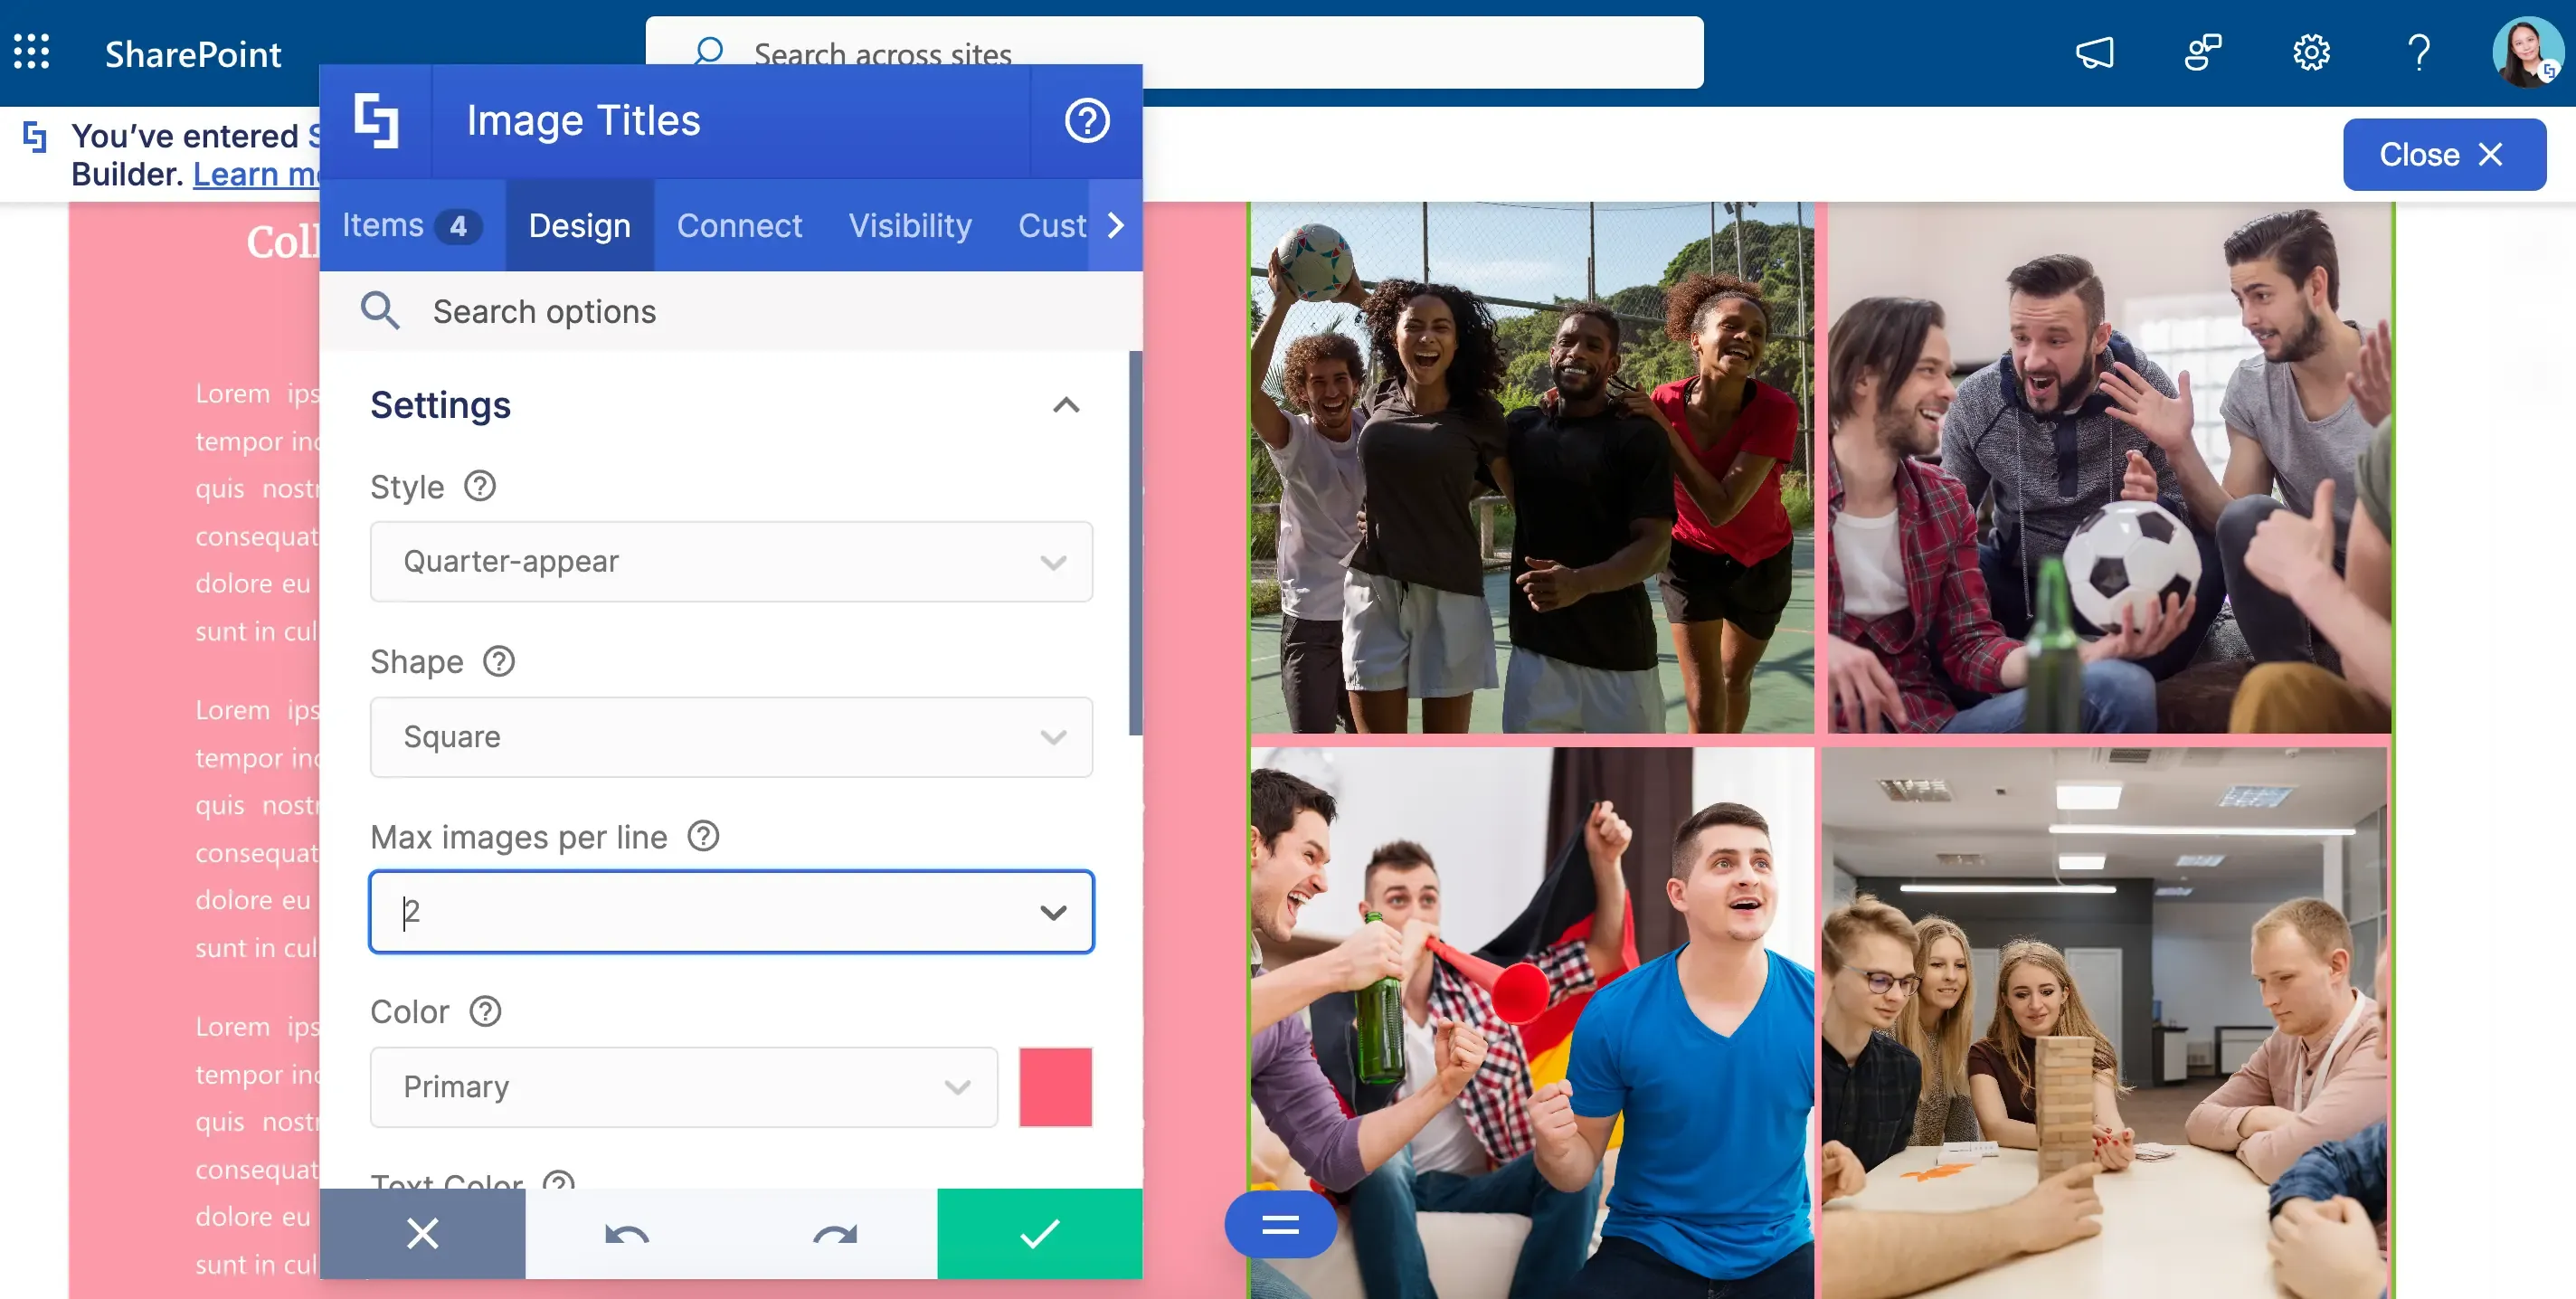
But don't you think something's off? We can probably guess what you're thinking—the photos are too crammed together! Good thing, you can set the maximum number of images shown per line. This allows you to arrange the pictures in the best possible way.
Slideshow Design Element
And, like the Image Caption, you can choose from 18 interactive animation styles. Such a cool way to engage your page viewers!
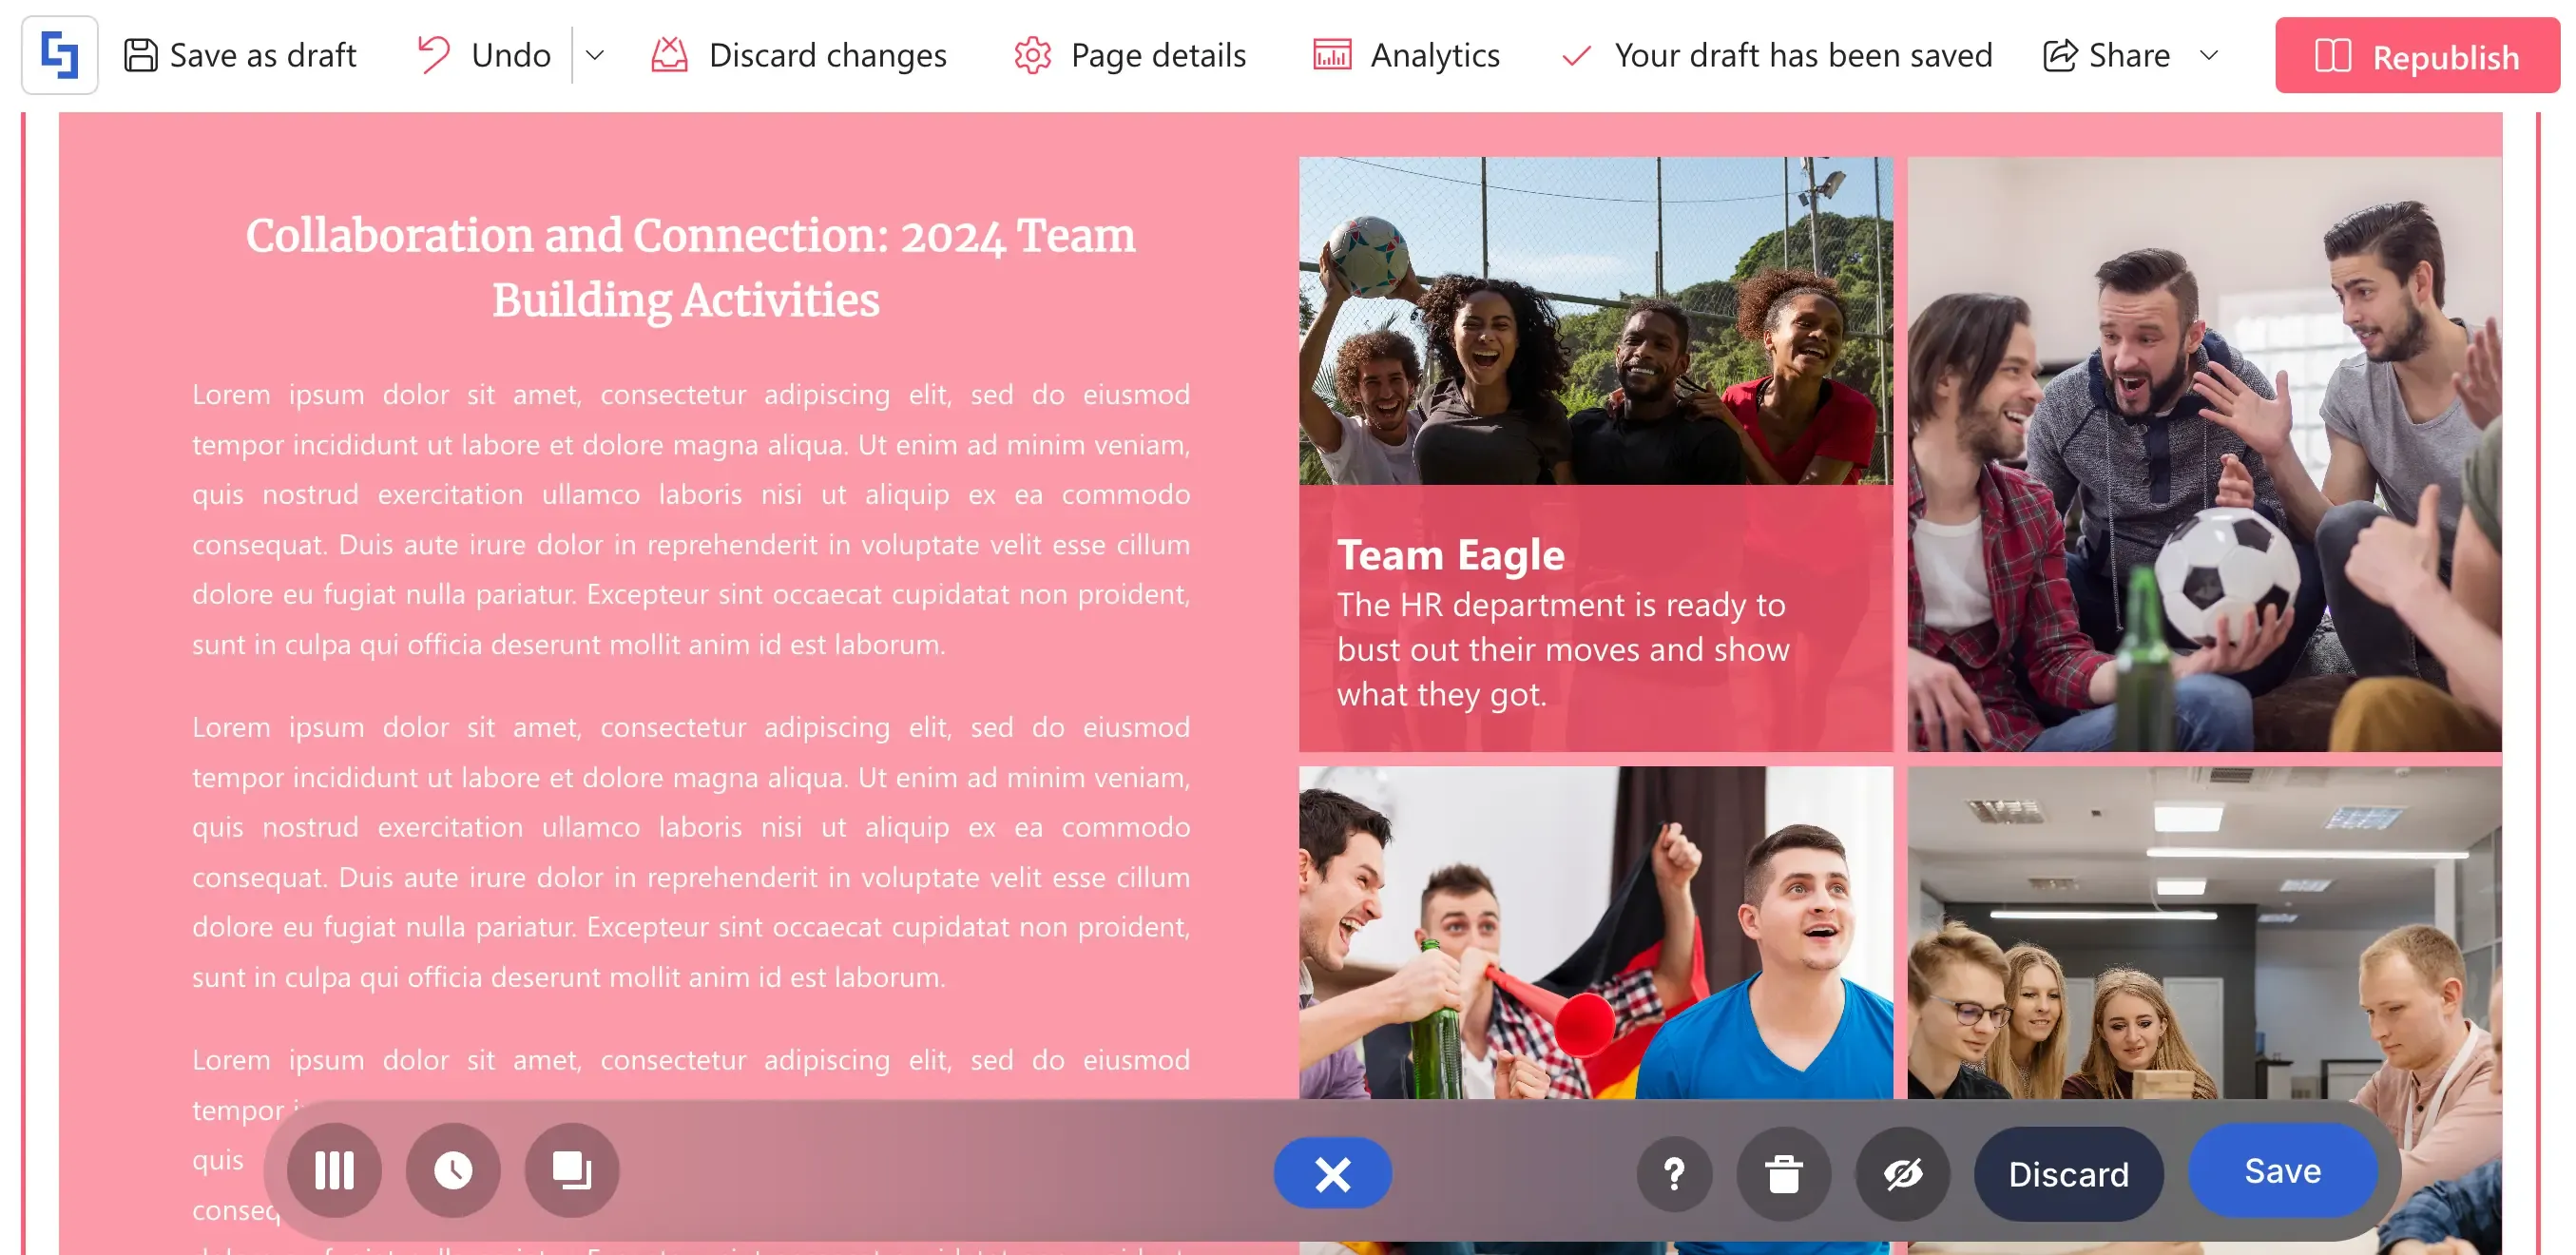
Want to give it a try? Go to How to Customize the Image Titles Design Element to learn how to add it to your SharePoint page.
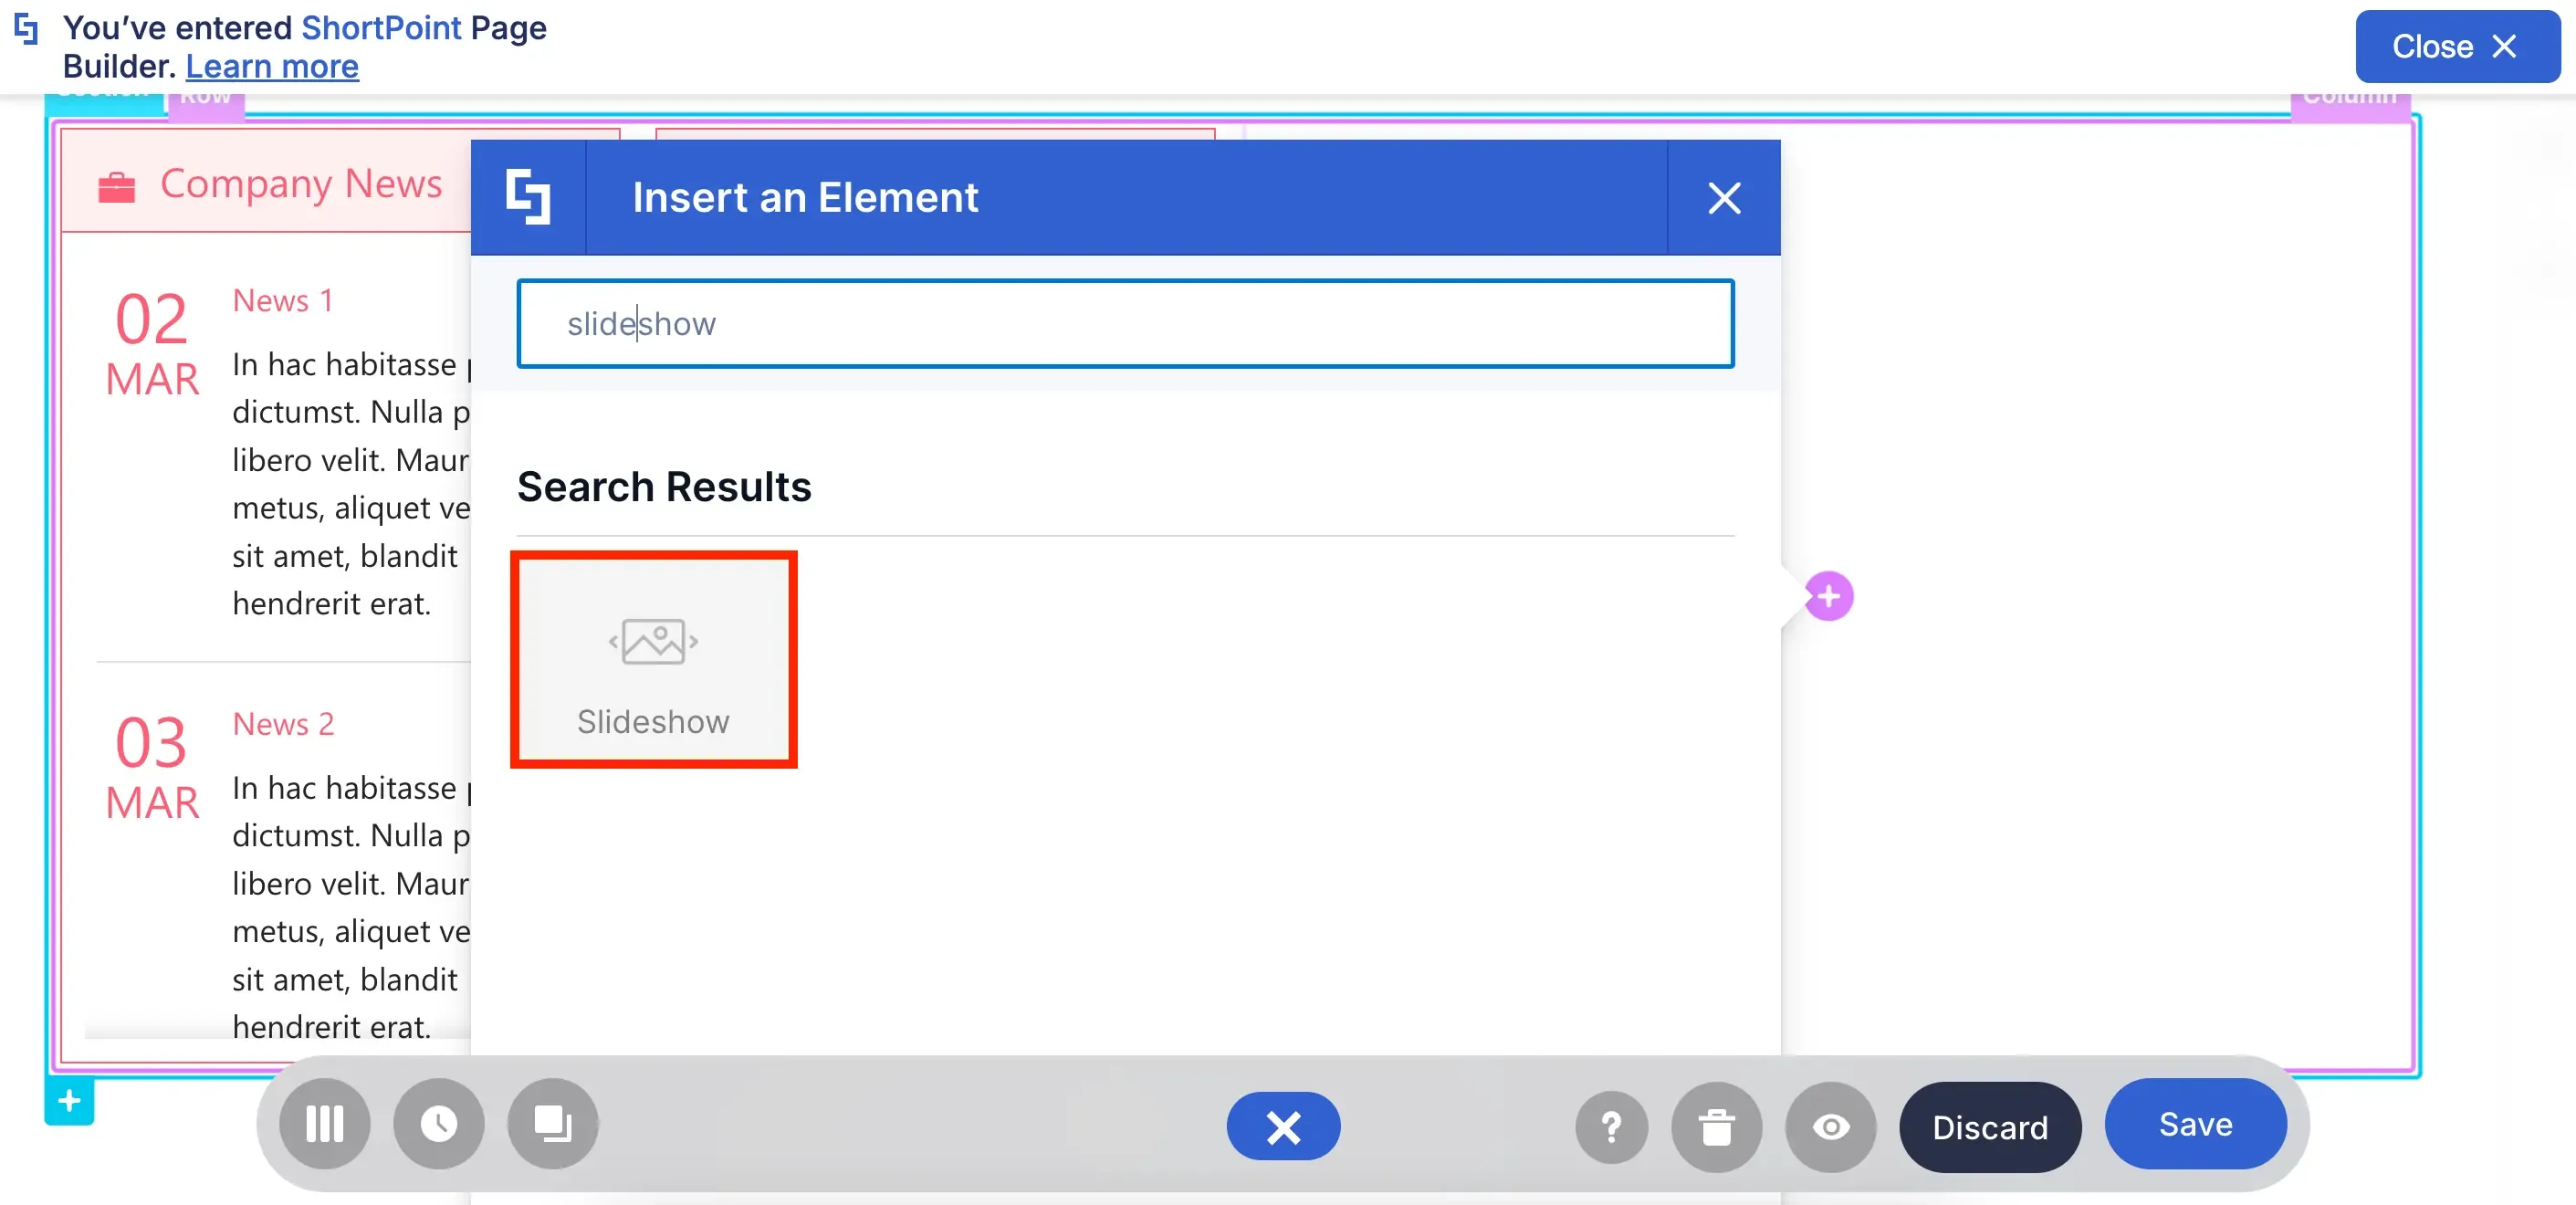
But what if you want to give each of your images its shining moment? Slideshow is the best Design Element for you!
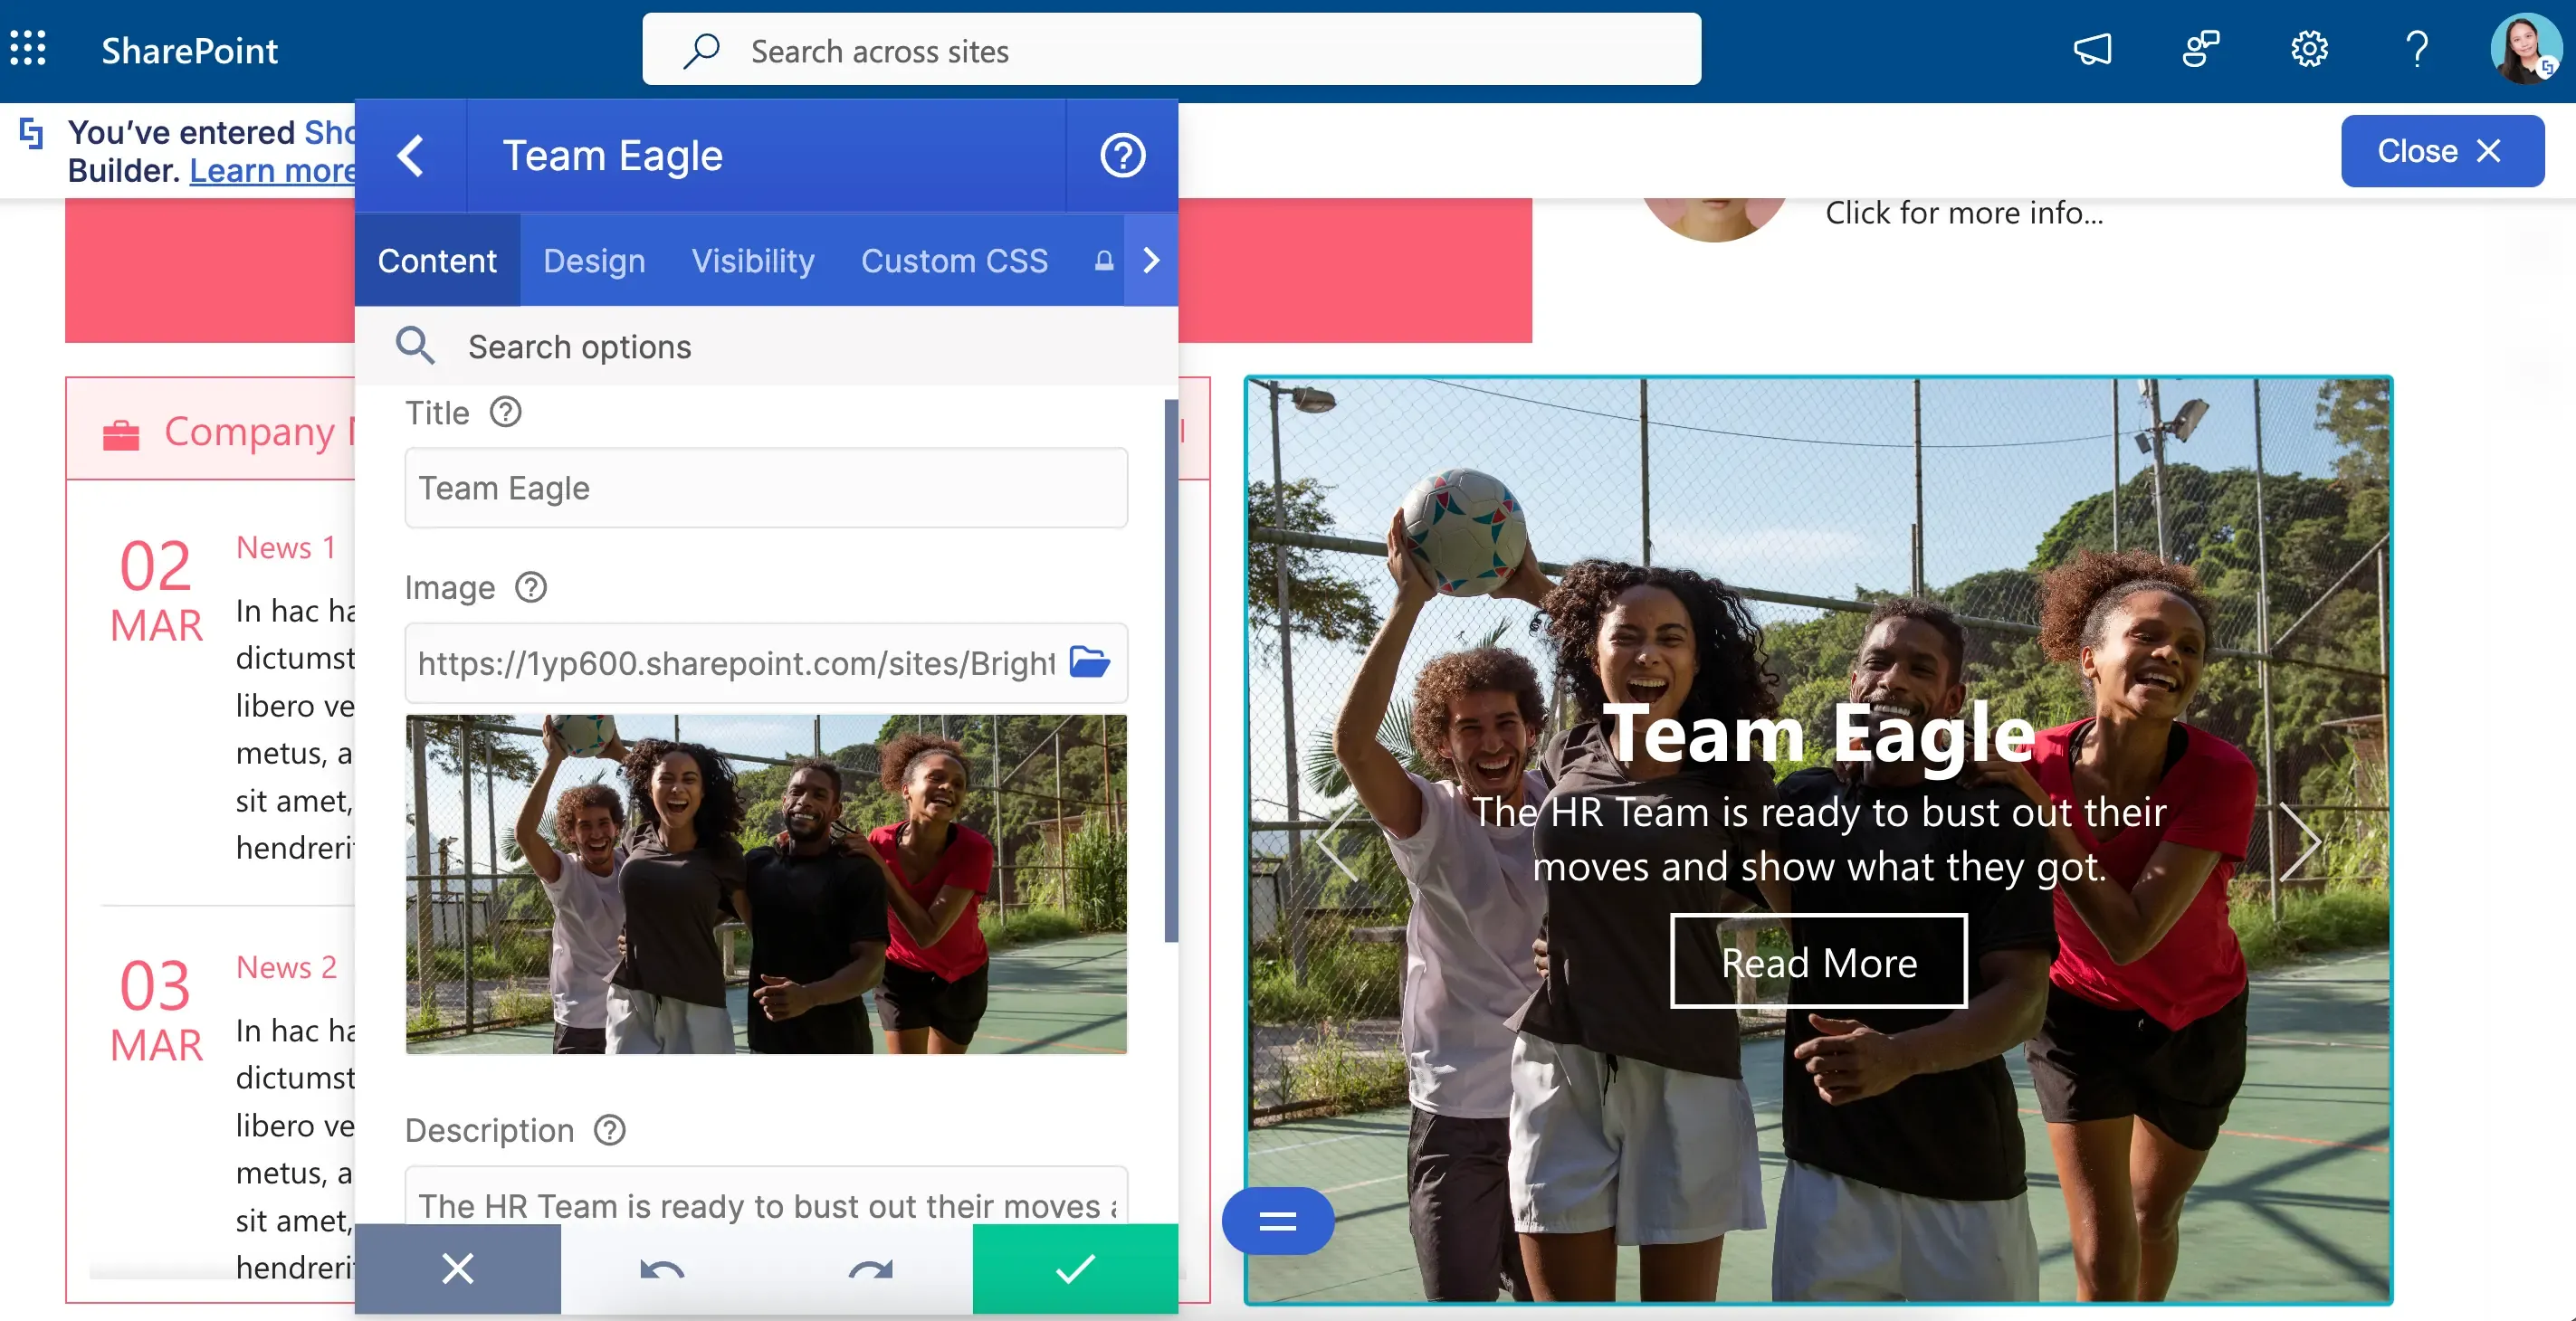
How exactly does the Slideshow give each photo a shining moment? Well, think of a Slideshow like a PowerPoint. When you present it, only one slide appears at a time. The same goes for Slideshows too. Every image you add will have its solo moment!
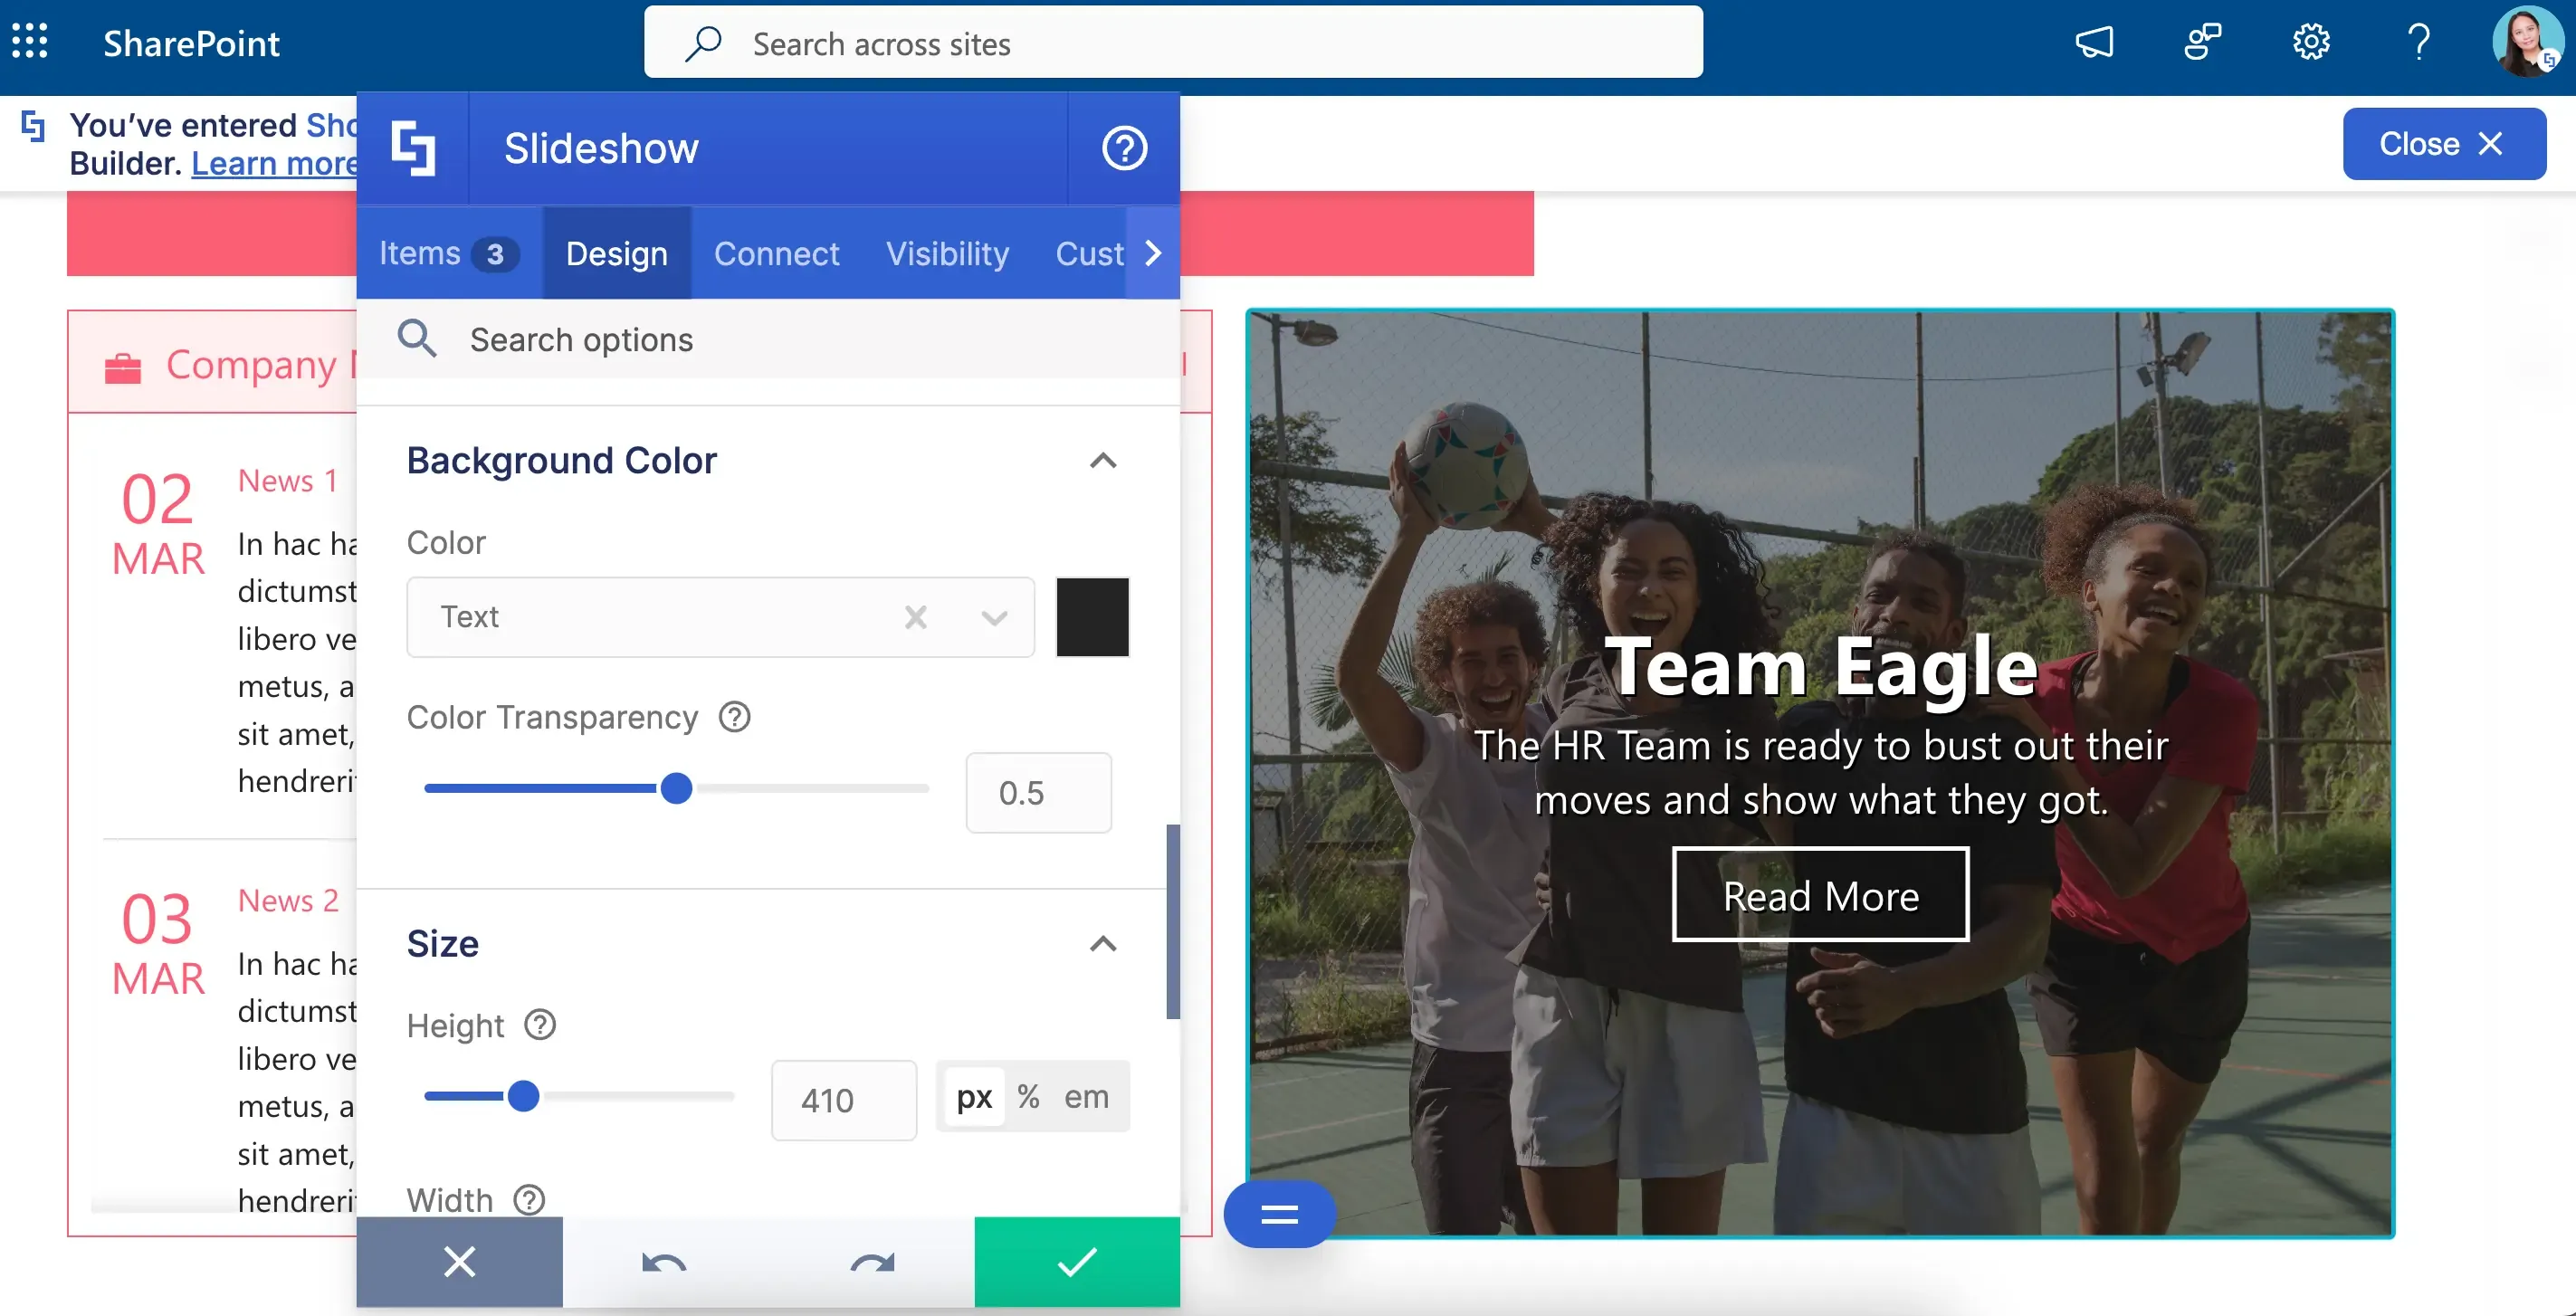
And, of course, you get to pick the design too! You can add a background color, adjust the height, and even choose the loop speed. Just SOOOO many ways to make your Slideshow look the best there is.
Image Carousel Design Element
Need to have a Slideshow on your page? Check out How to Customize the Slideshow Design Element to get you started.
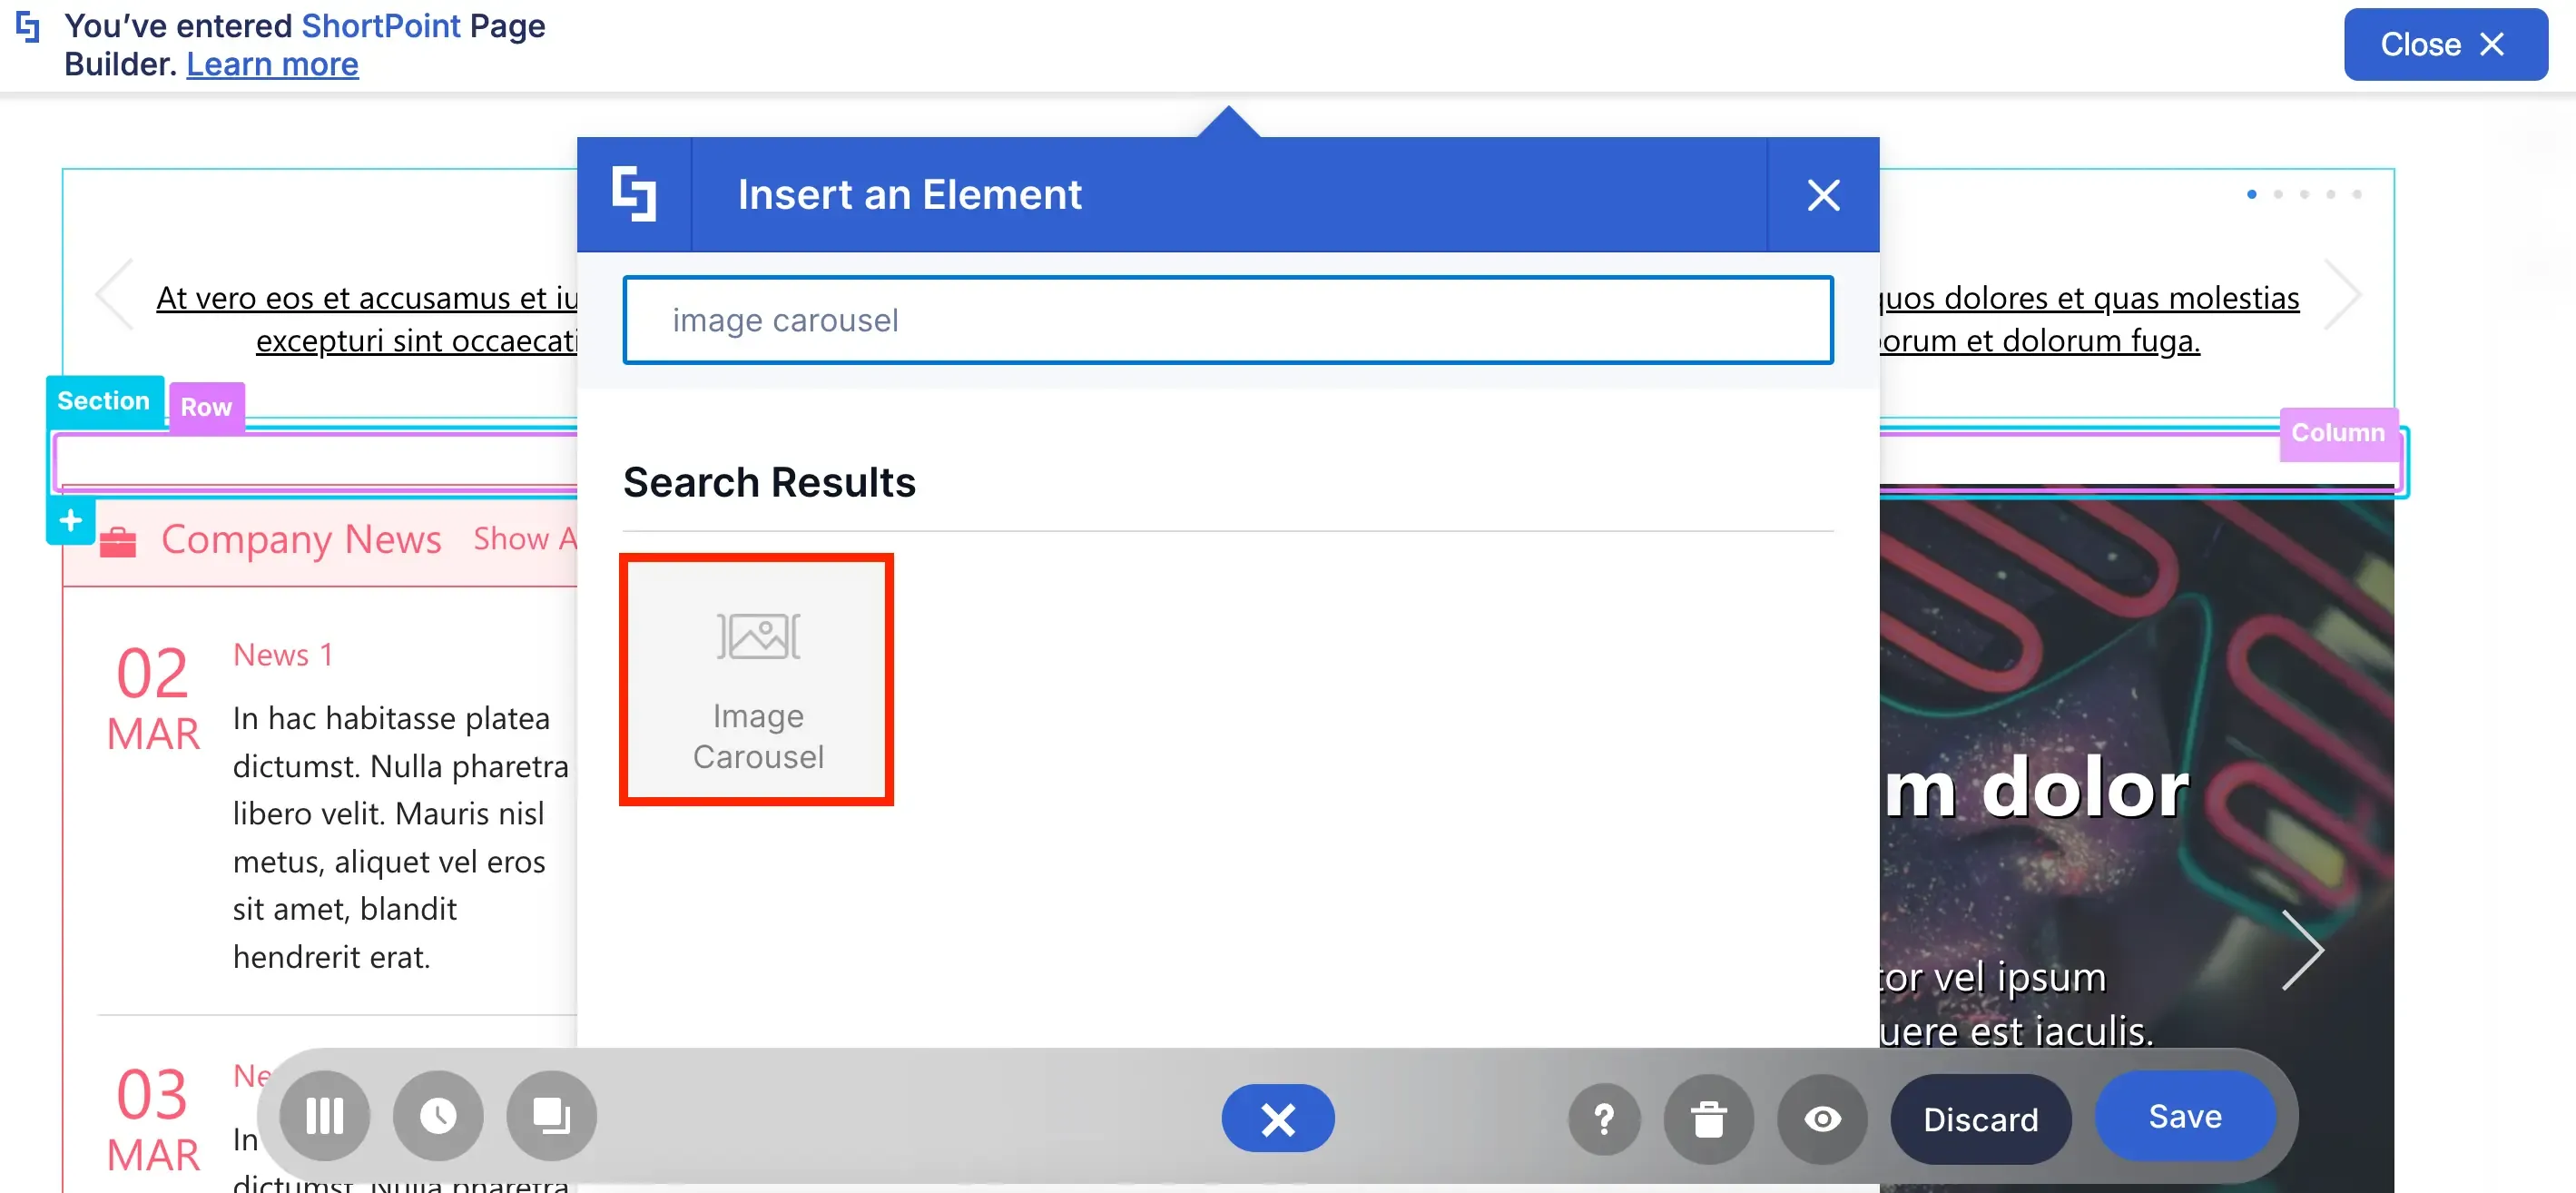
You don't have to settle for only one image feature. You can also have two, three, four, five, six, or more with the Image Carousel!
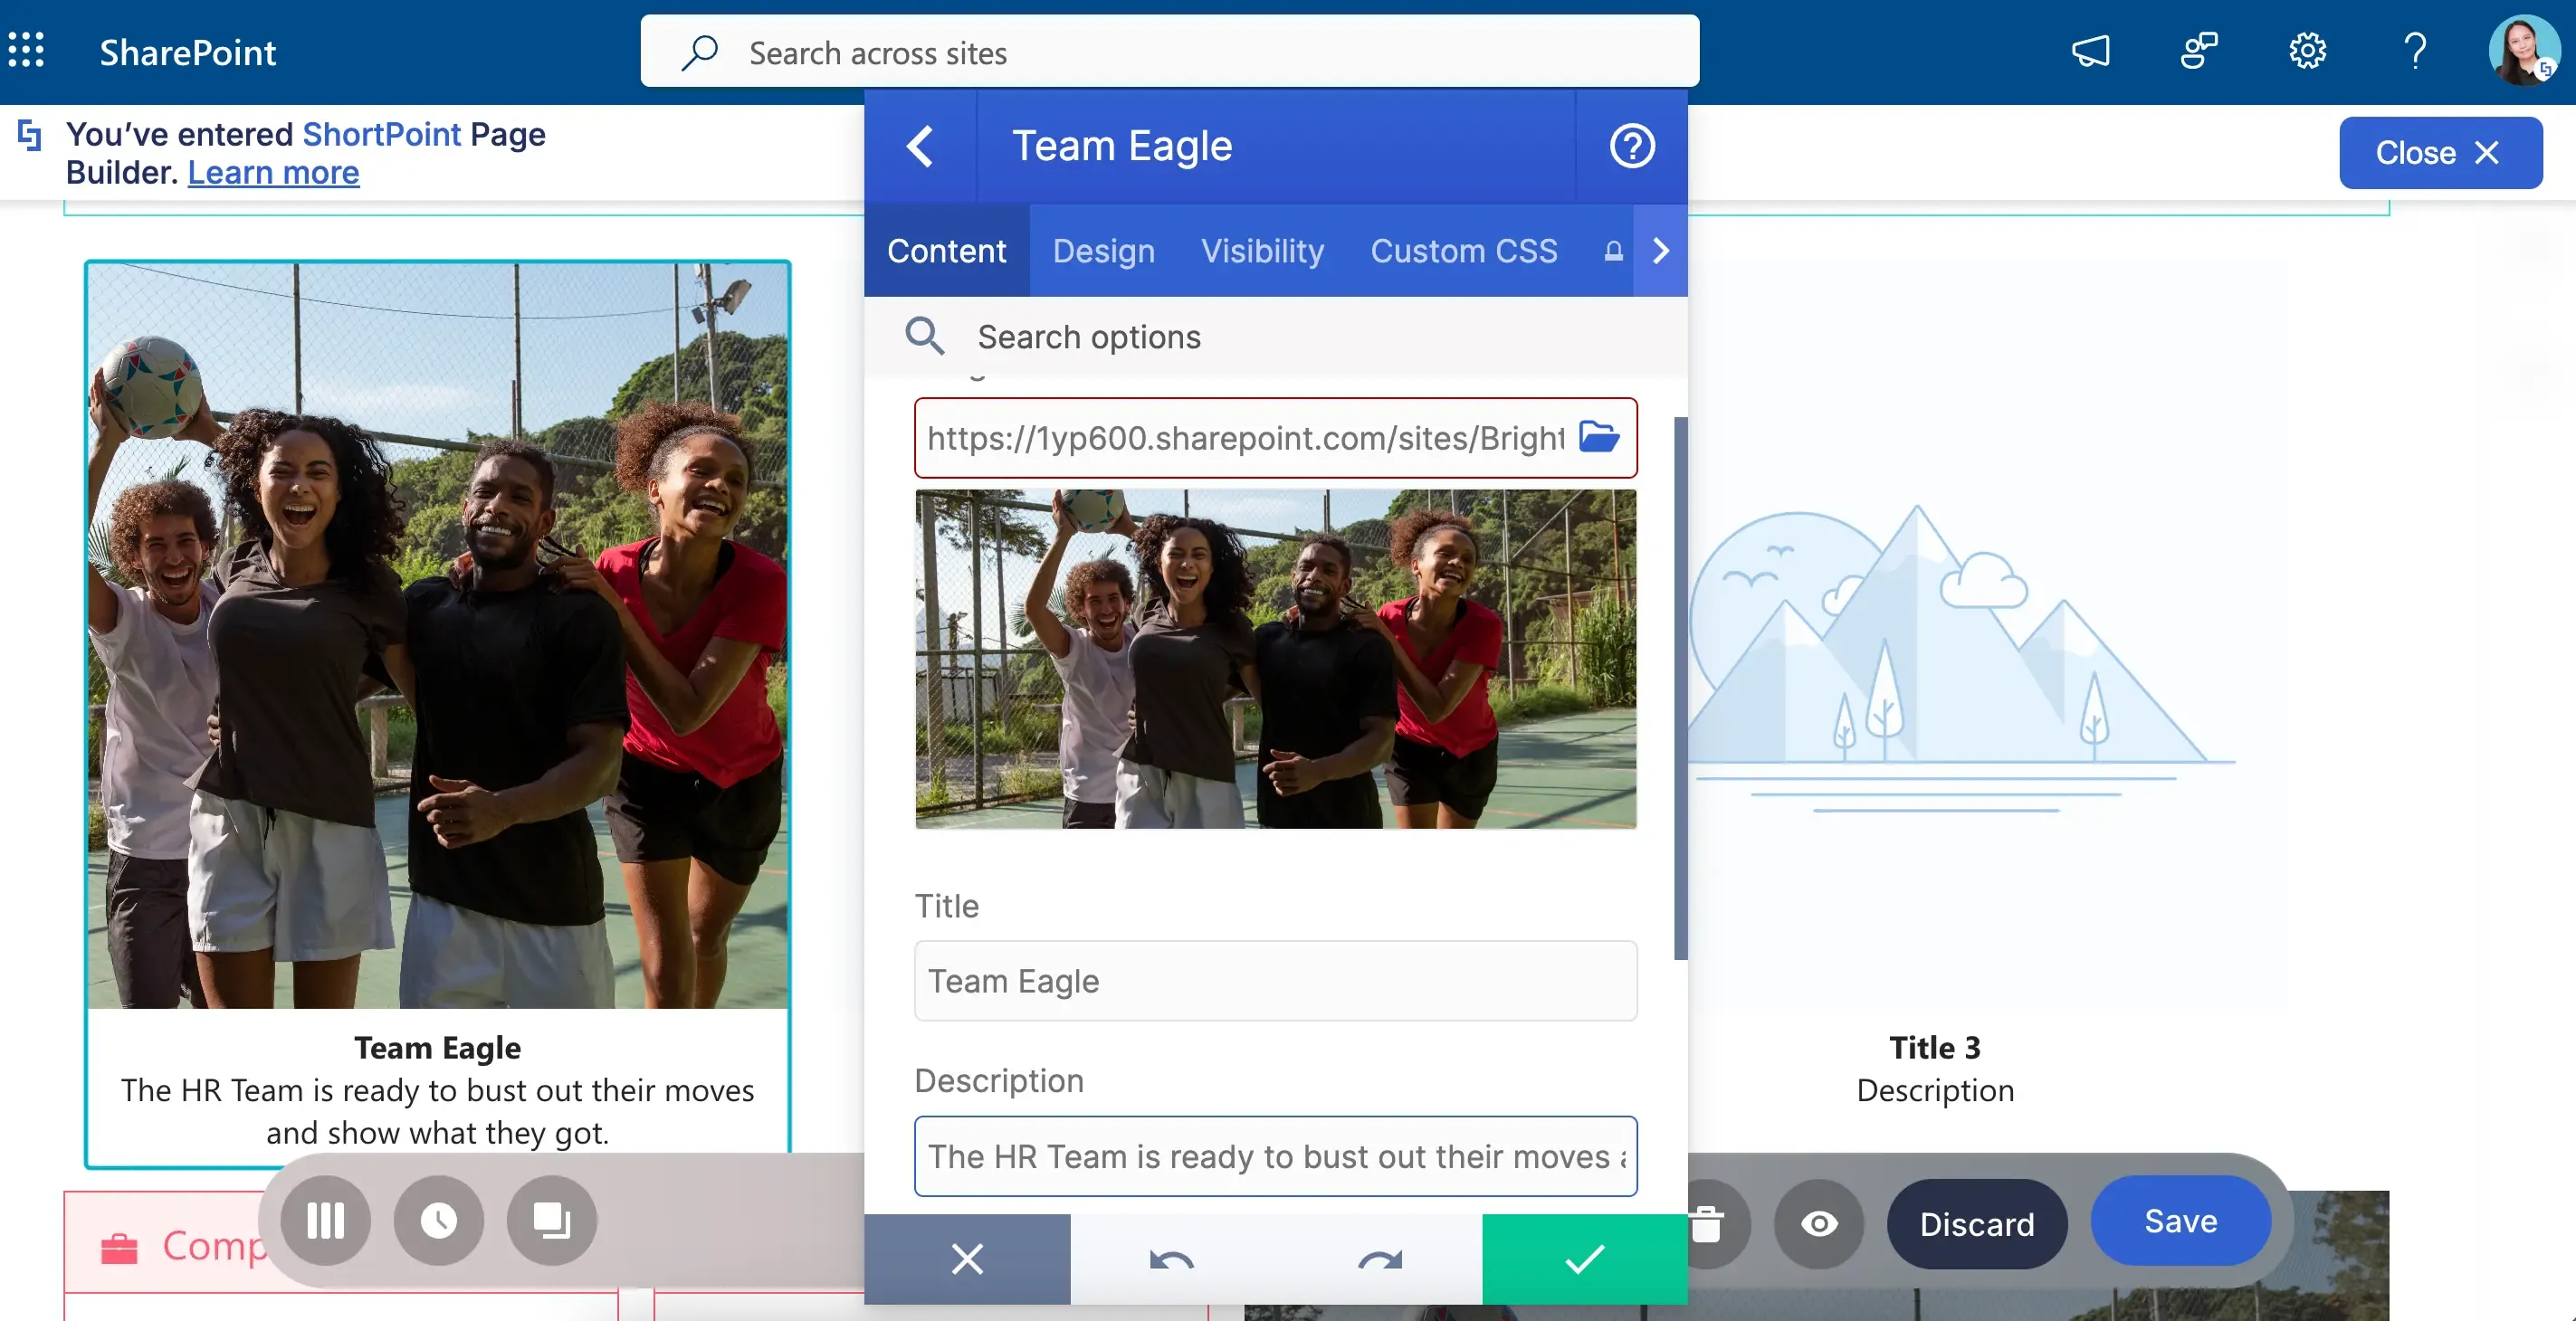
Image Carousel works like the Slideshow. You can add a title and a description for each photo.
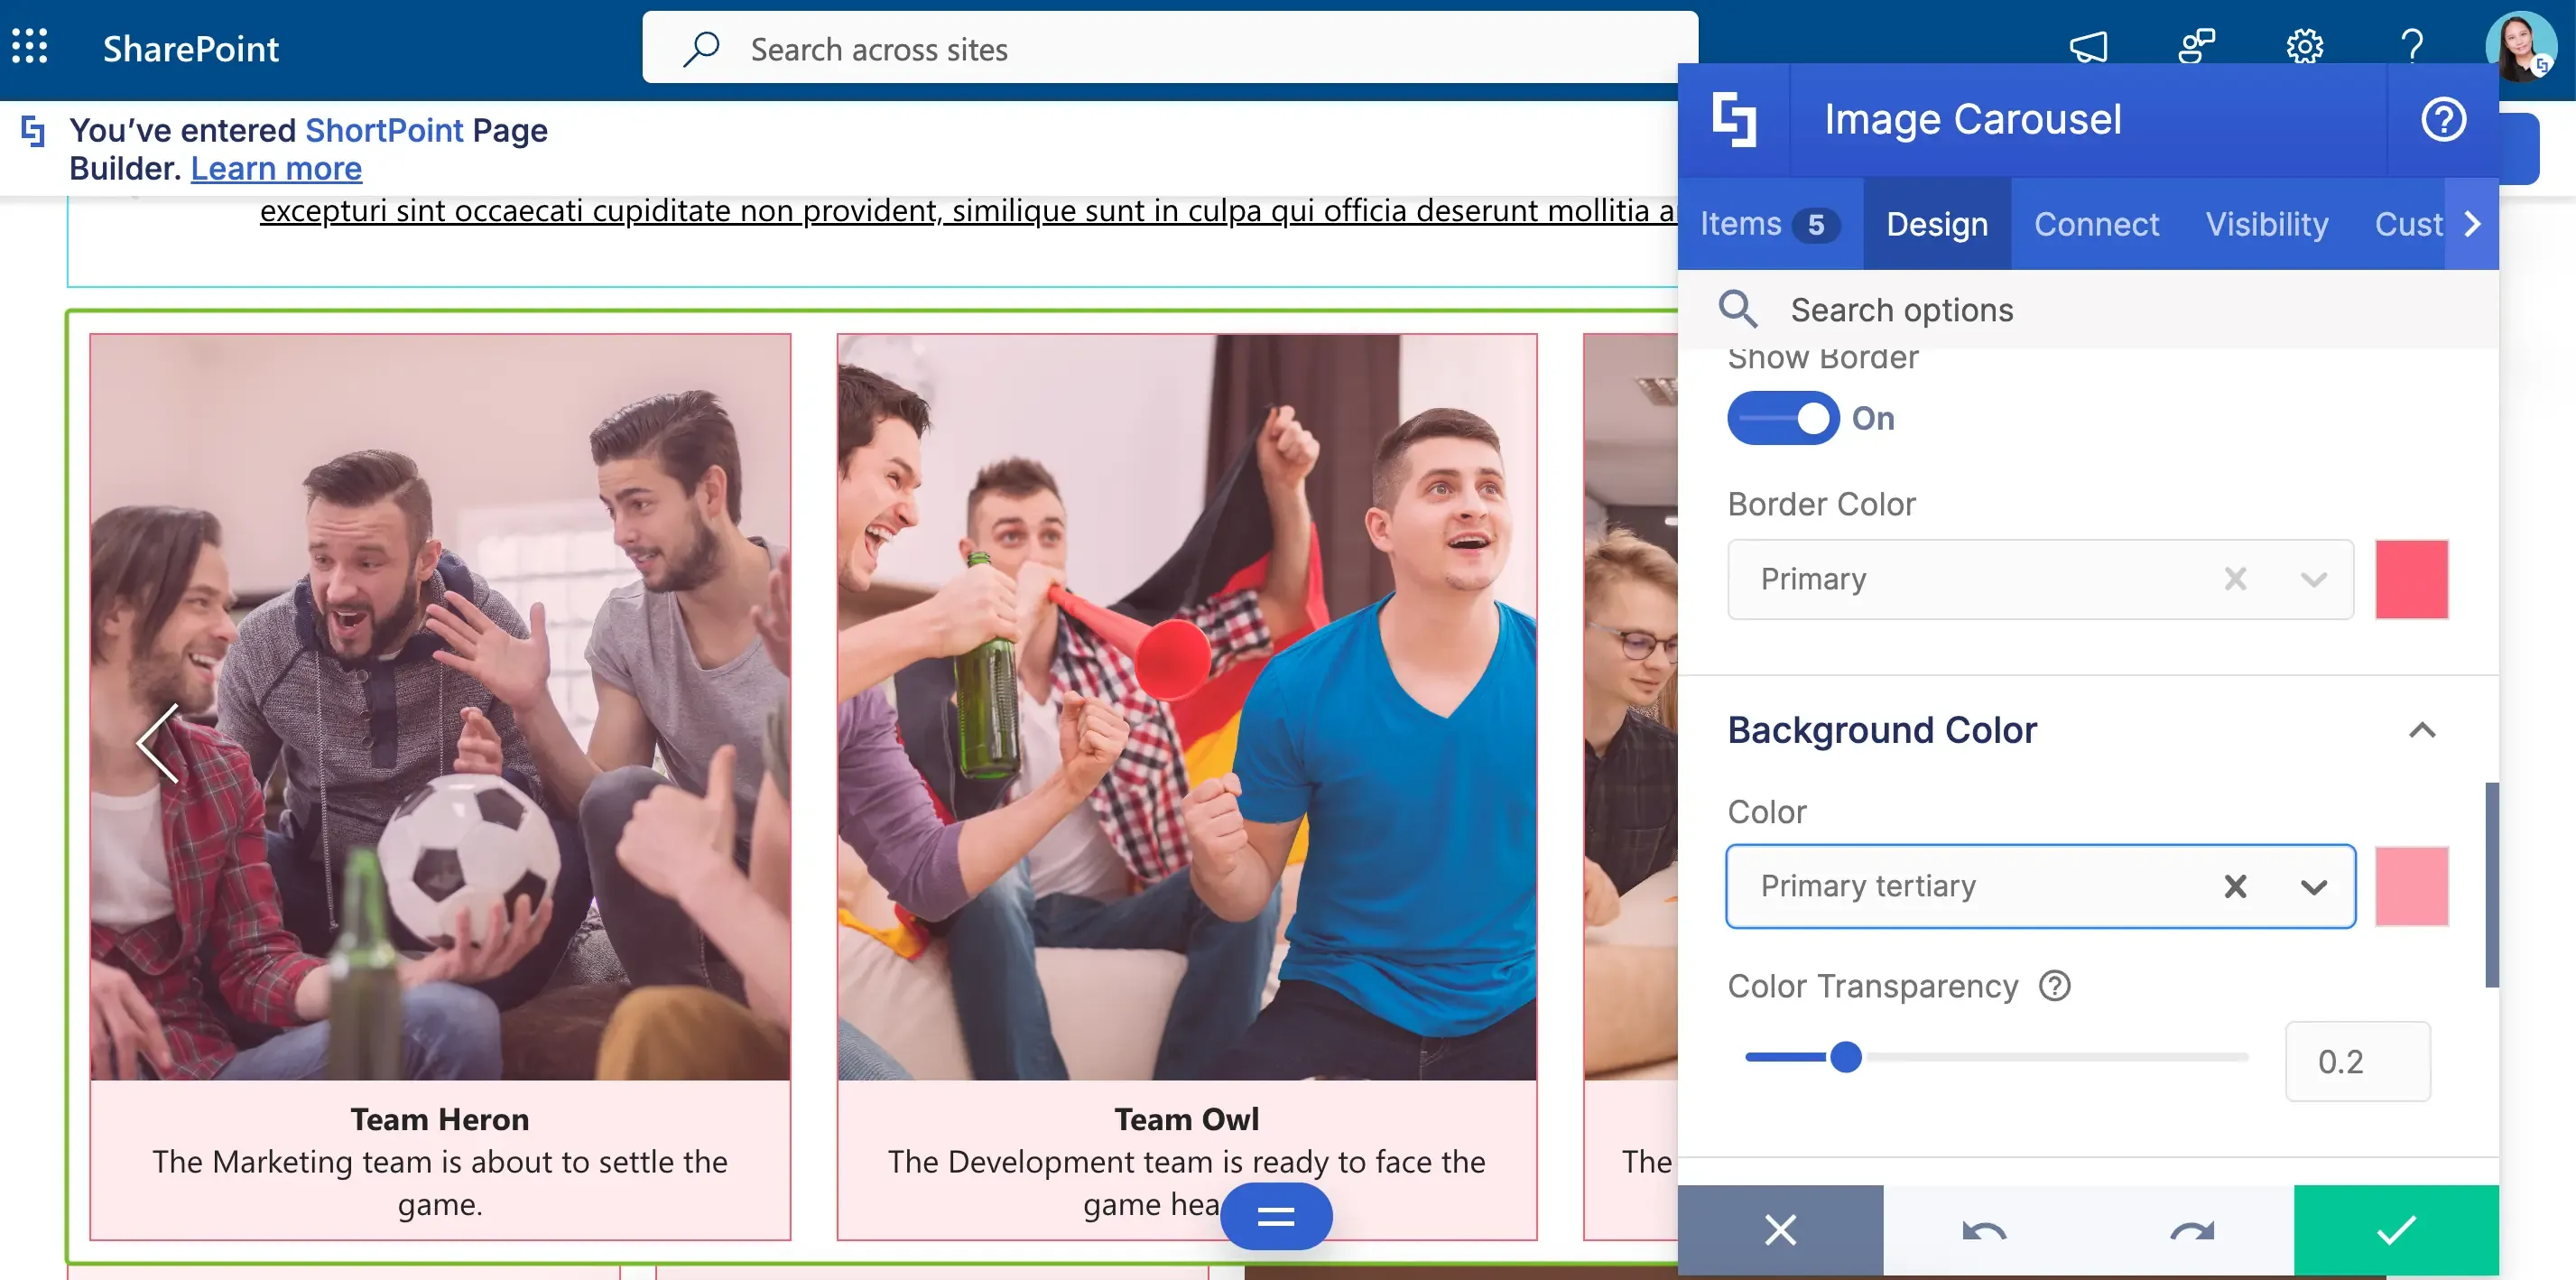
You can also give its design its unique twist! You can choose a background color, add a border, and even customize the border color.
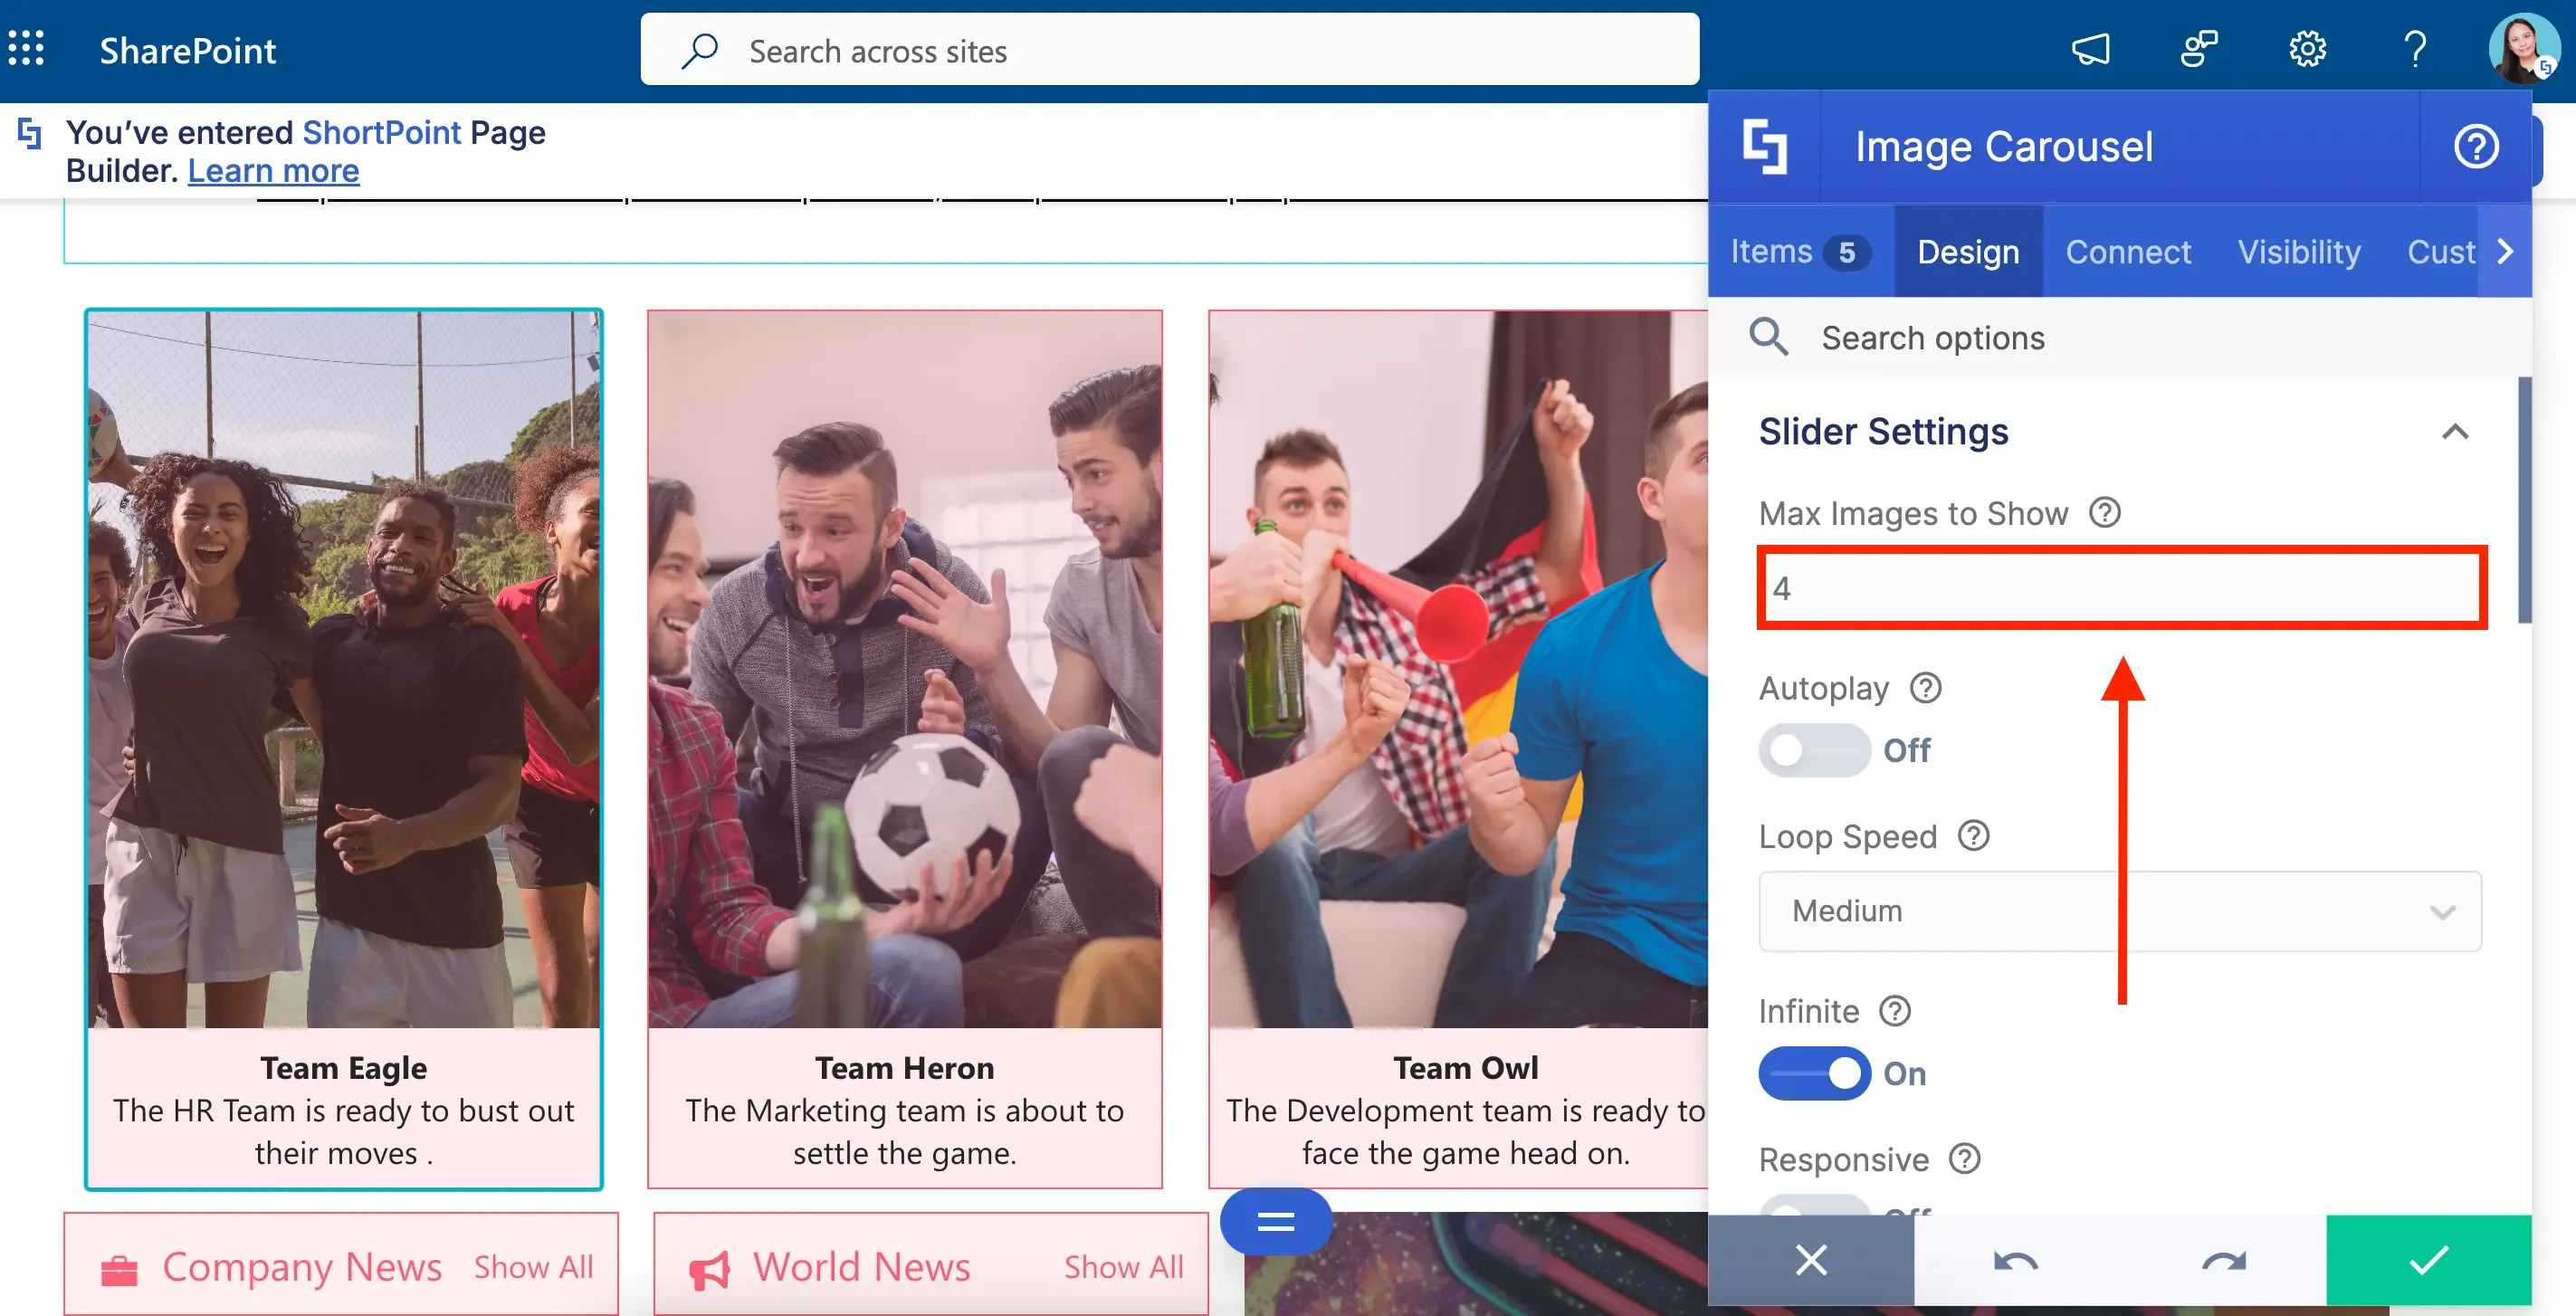
But what sets it apart is the Max Images to Show feature. With this, you can choose how many images to show per slide. No matter how many photos you want to highlight, no one will stop you!
Connect for Images
So, you up for some Image Carousel on your page? Learn more about it in How to Customize the Carousel Design Element.
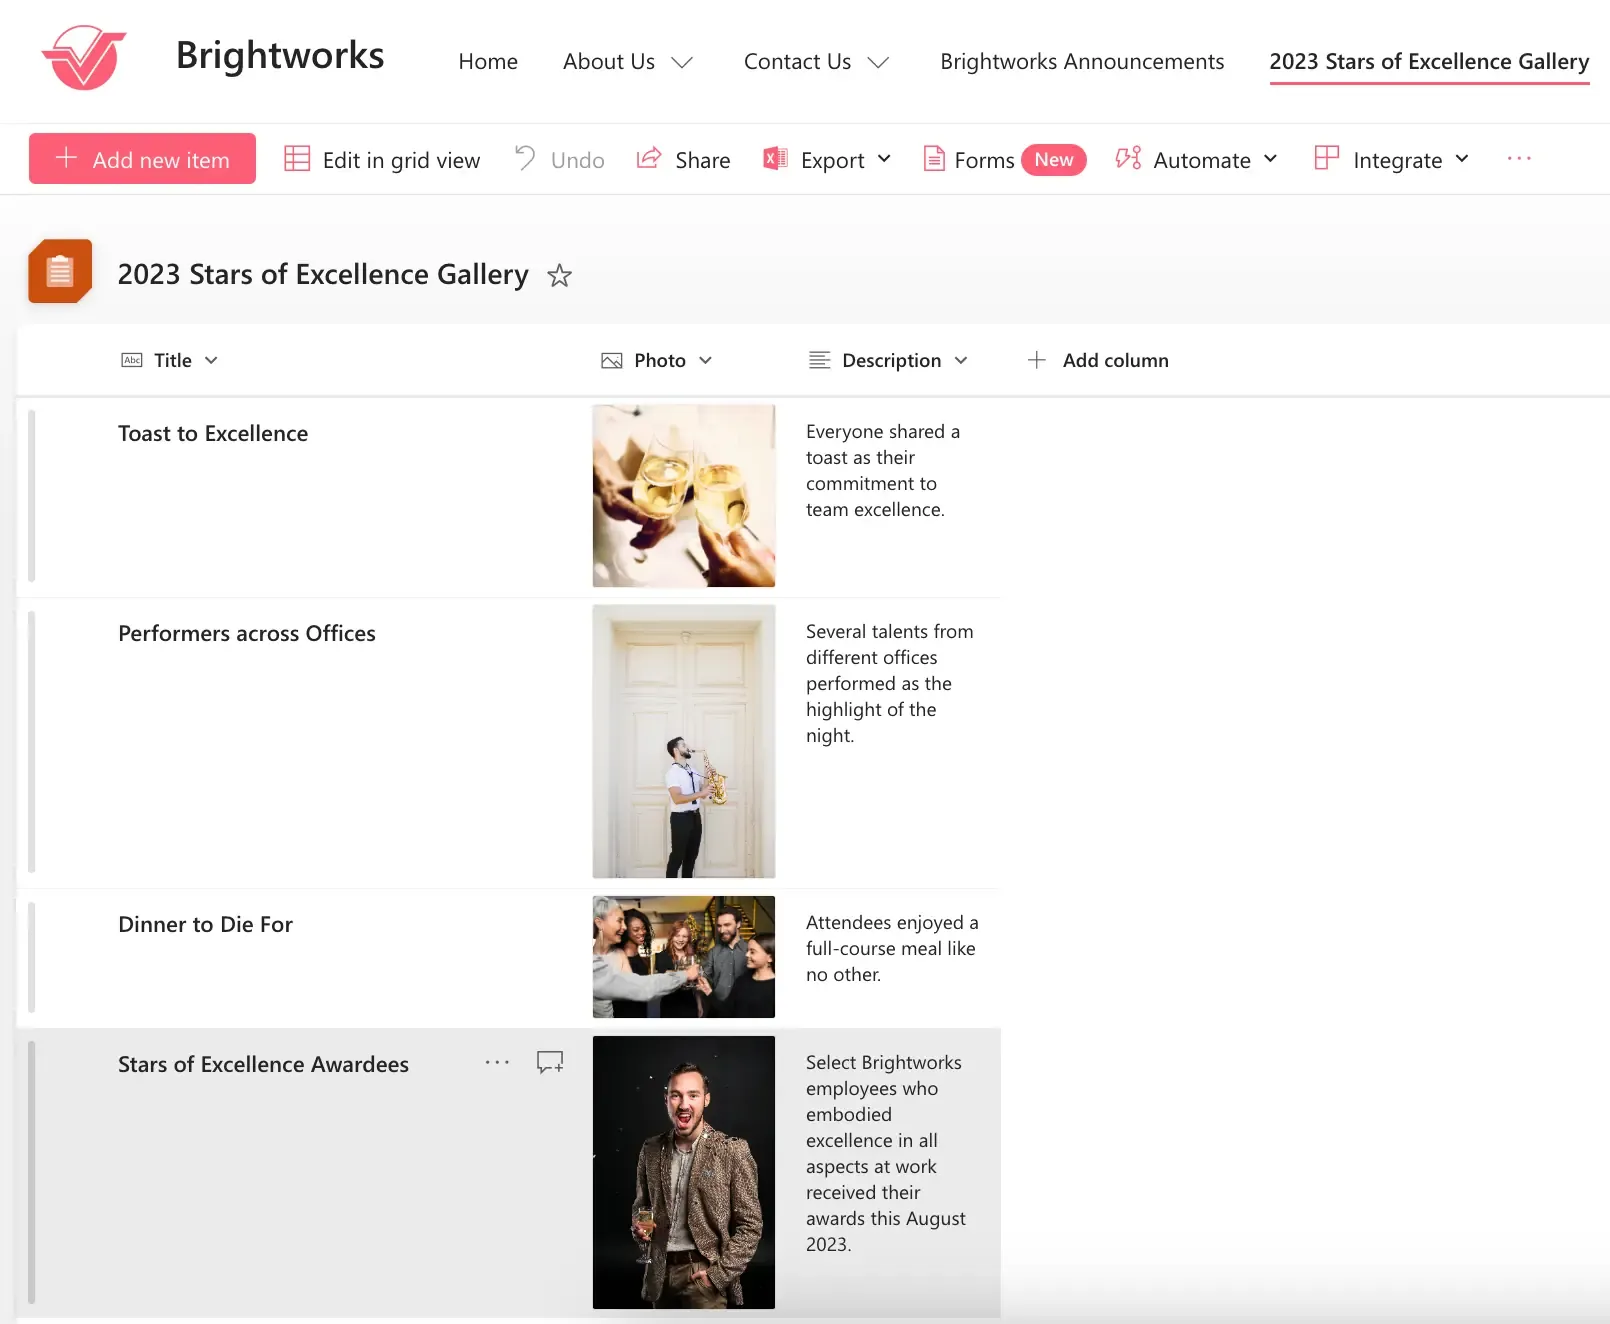
Remember ShortPoint Connect for Text? You can do the same with Images! Just take a look at this SharePoint List we made. We will connect this to our Image Carousel.
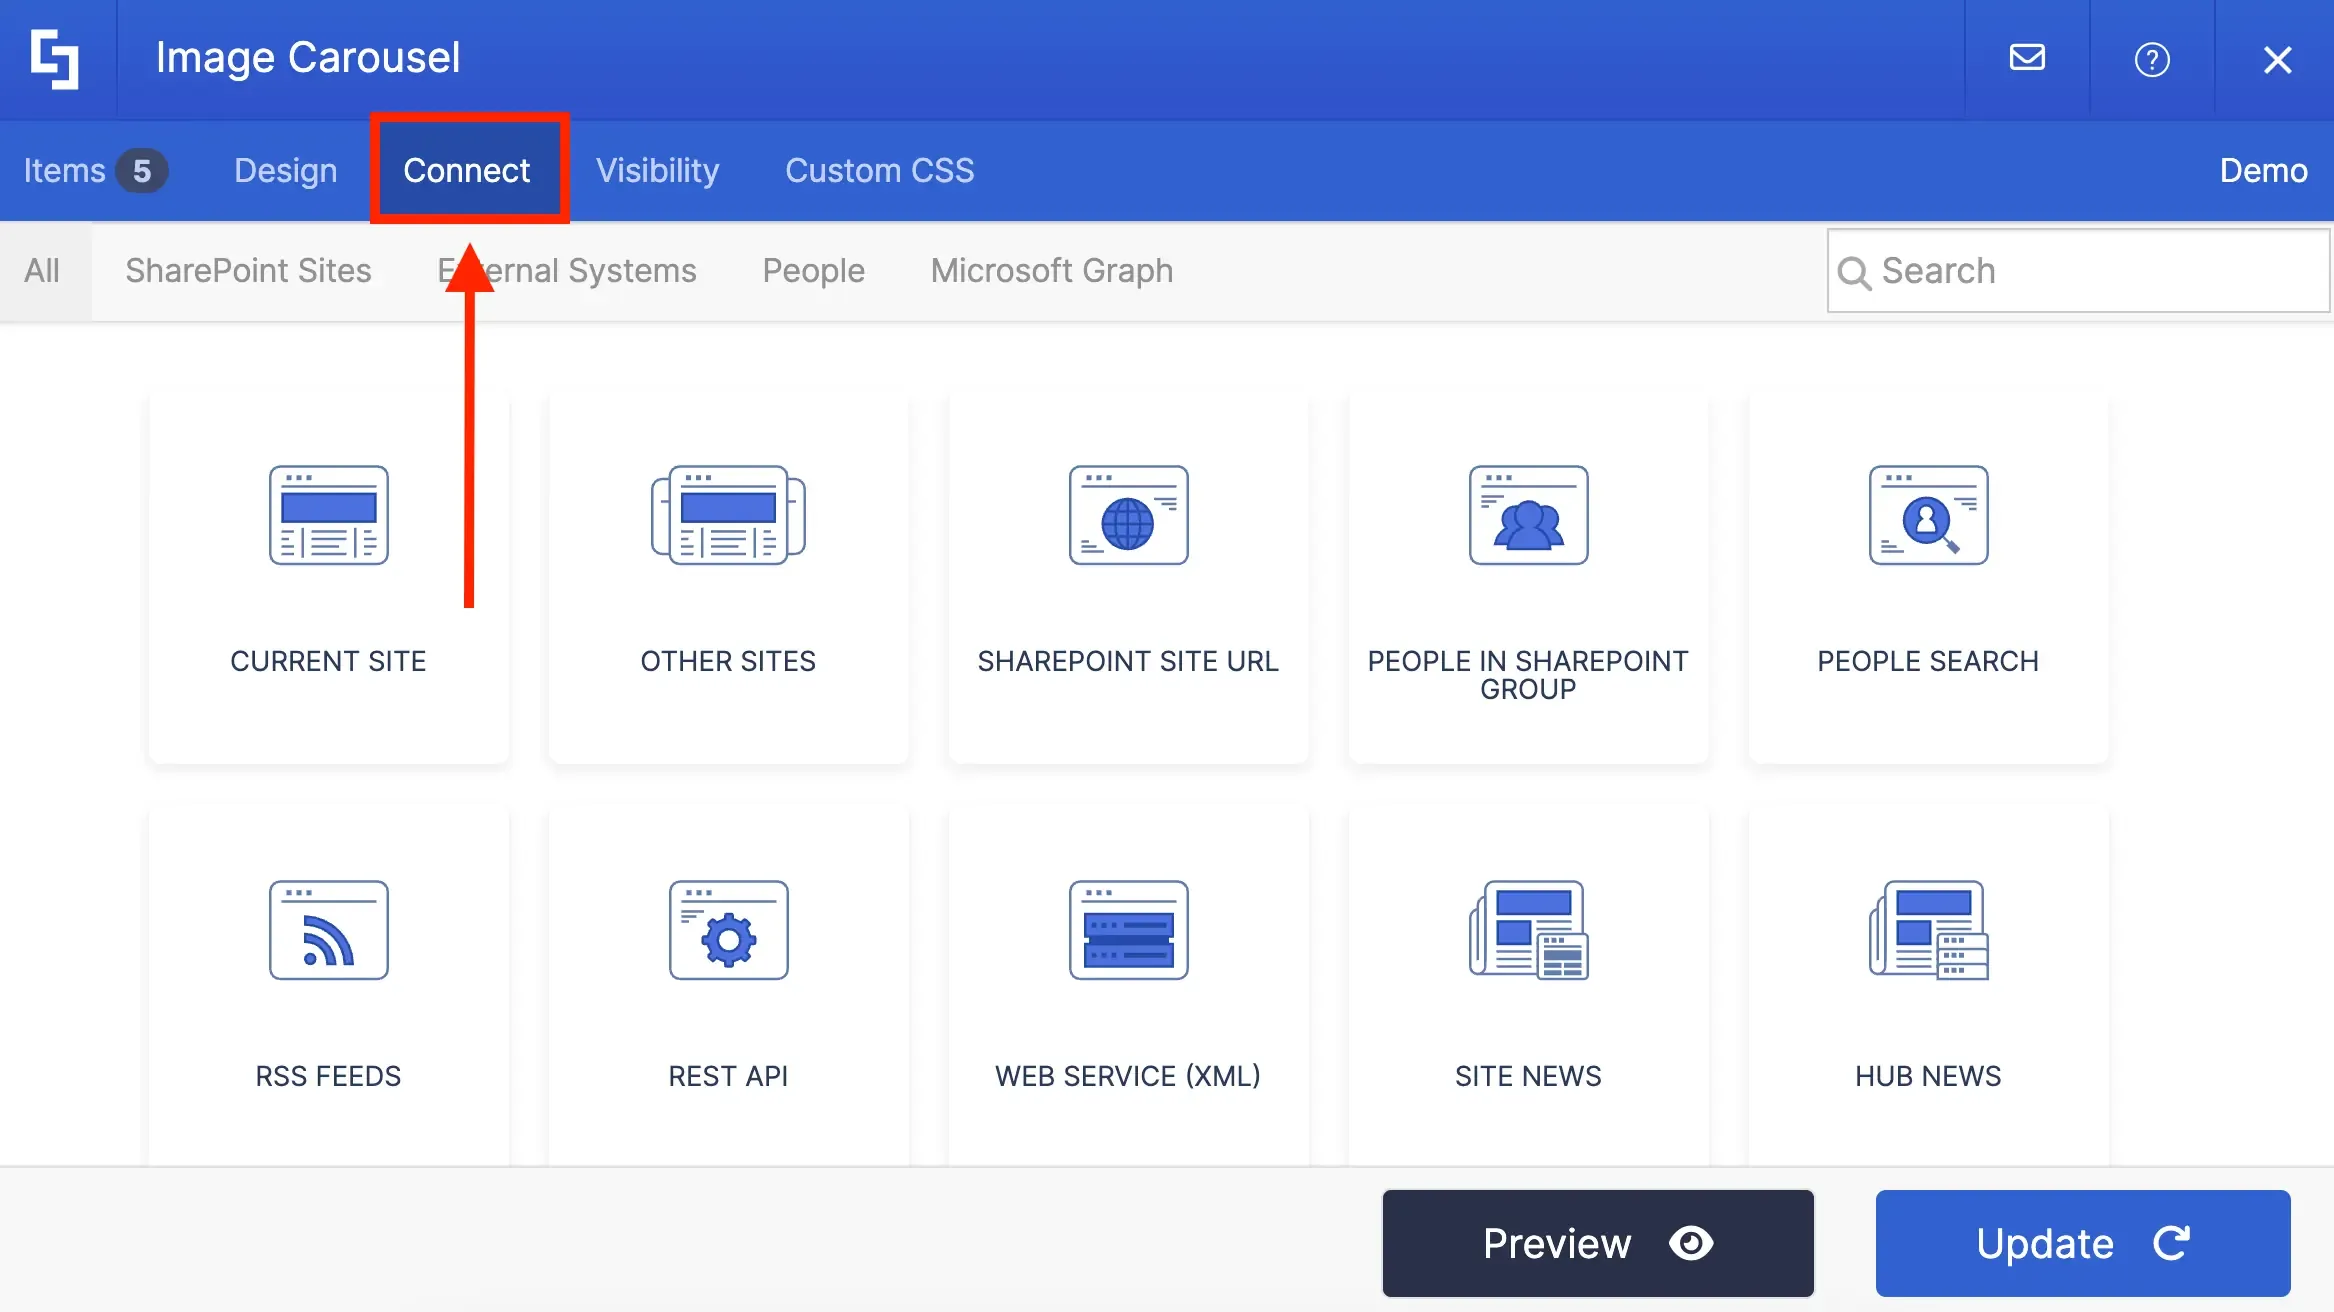
Like the Design Elements for Text, you can also find ShortPoint Connect in the Connect tab of the Design Elements for Images.
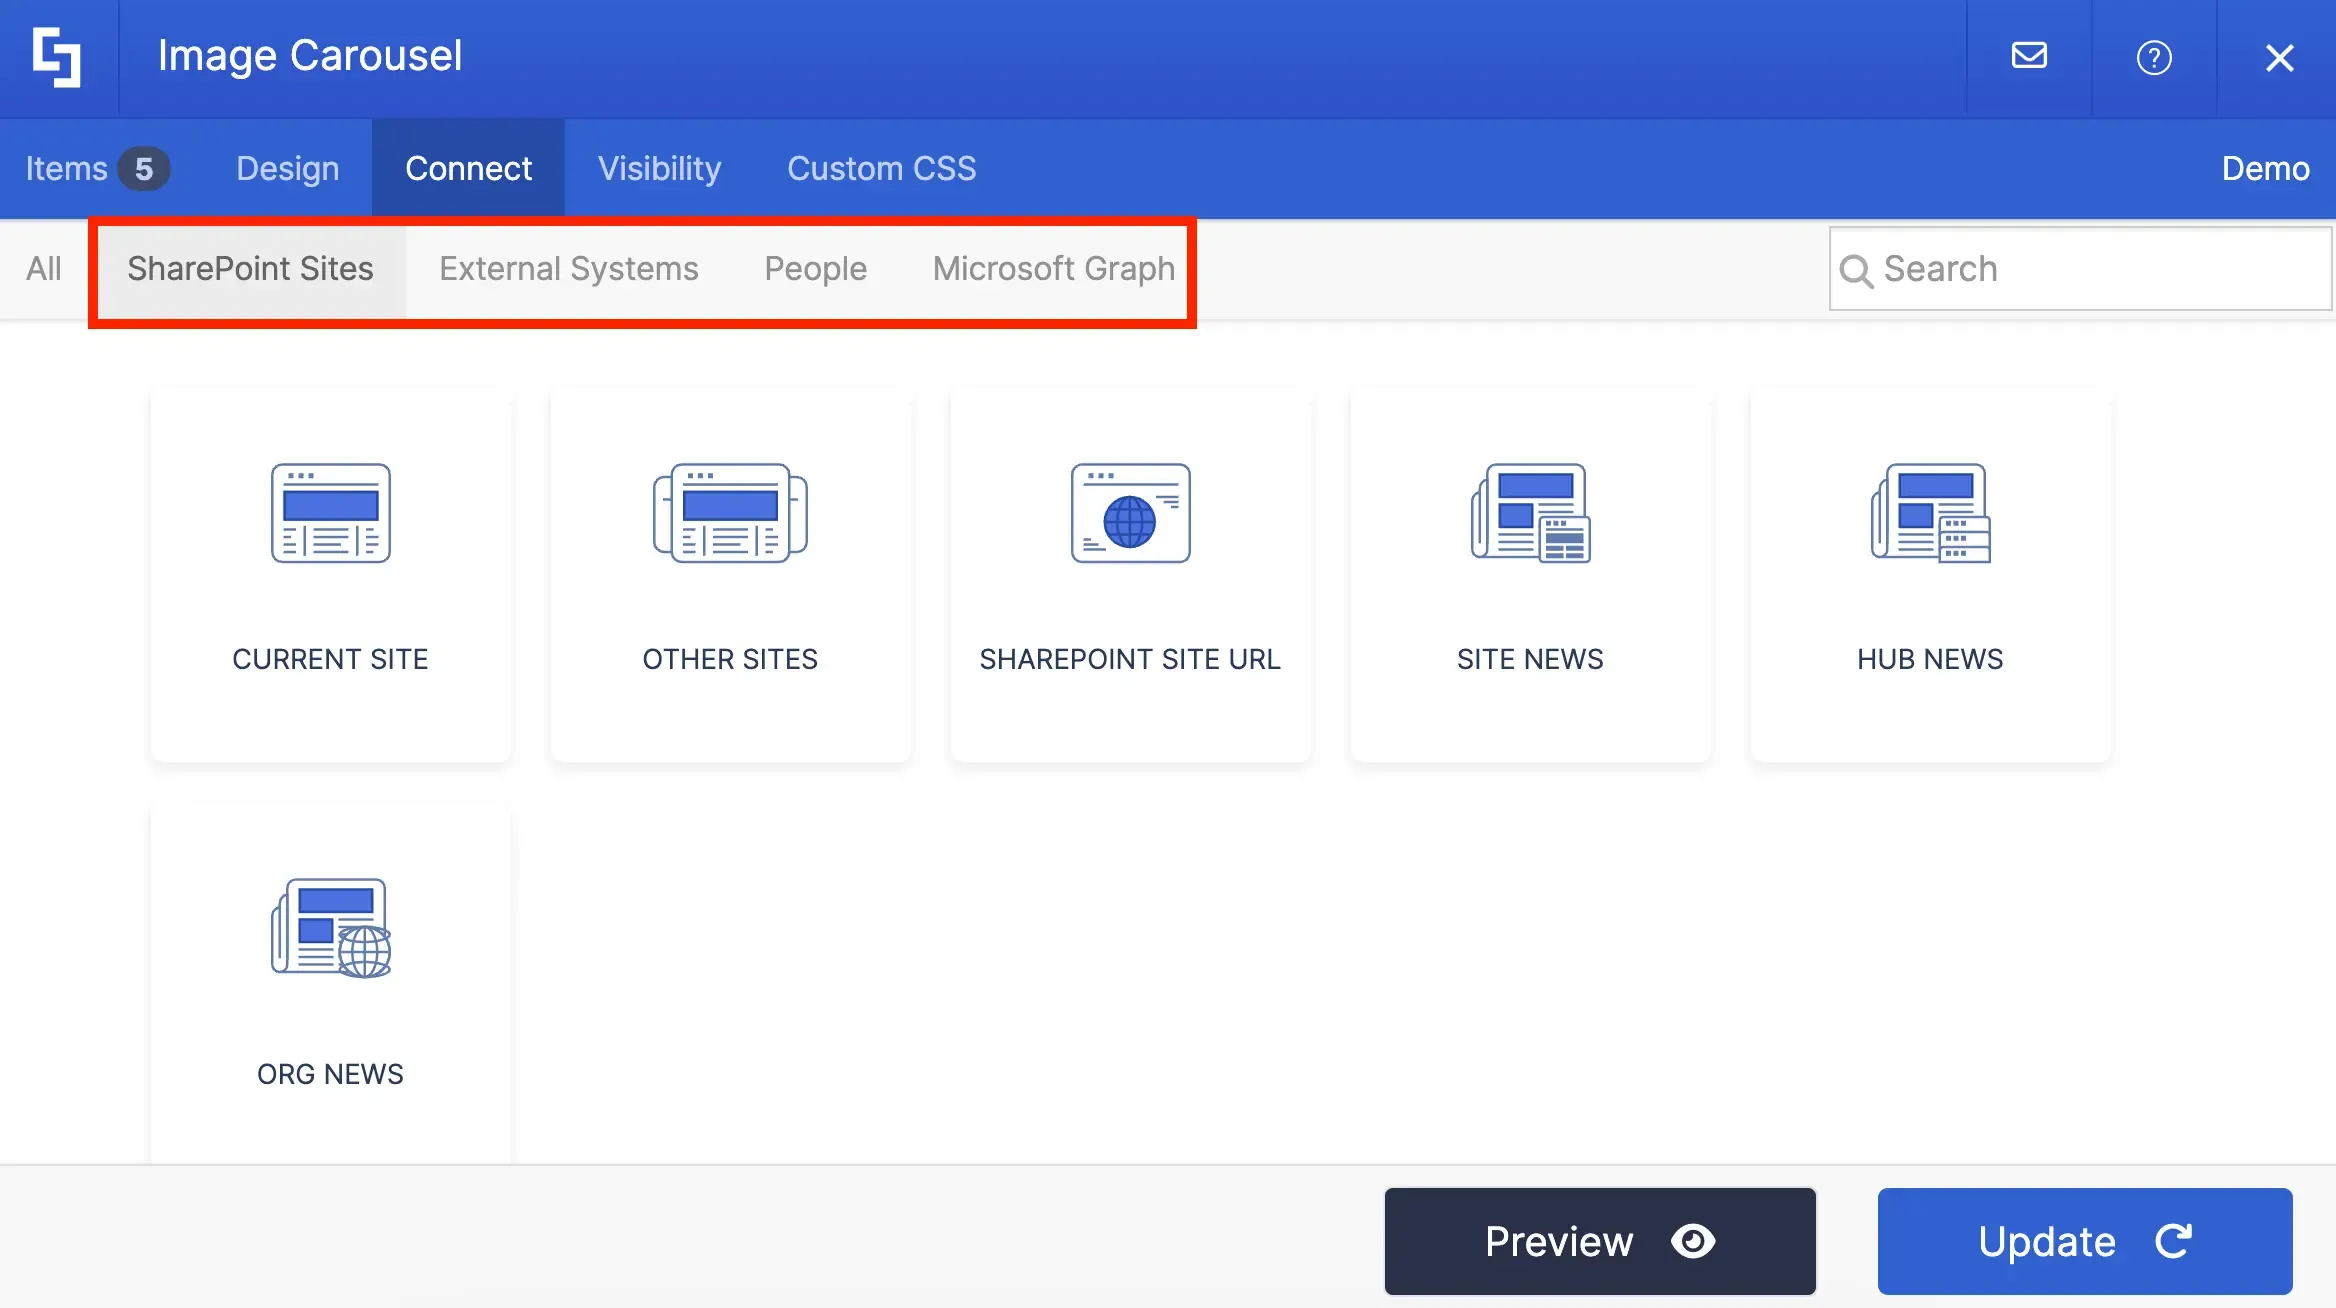
And you will also notice the same ShortPoint Connect options. You can connect to your own SharePoint sites, your Outlook calendar, or even other external sources (like RSS feeds or Rest API).

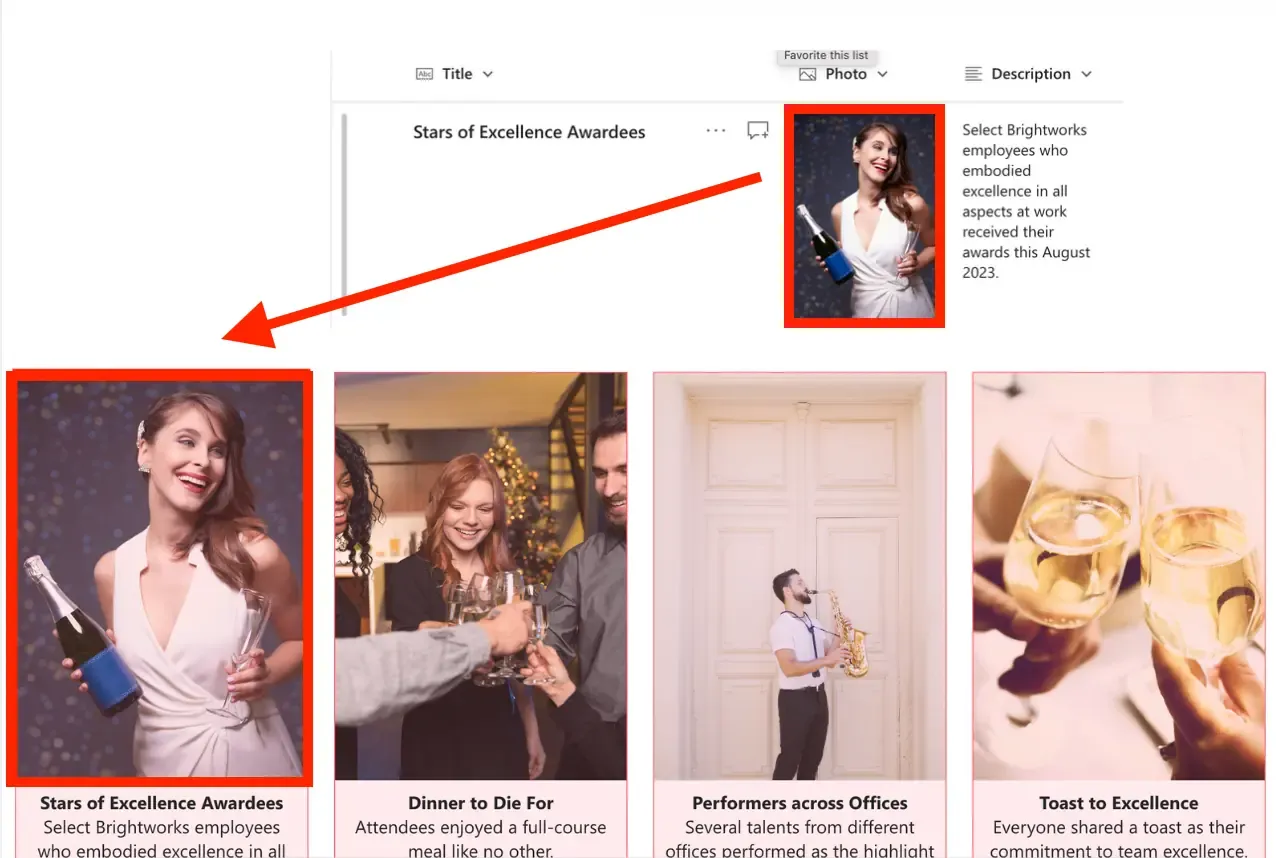
Here's what you're waiting for though! When we connected the Image Carousel to our SharePoint List, EVERYTHING on our SharePoint List is now shown on our Image Carousel—no exception. You can even check back on the SharePoint List if you're doubting us.
Best Practices for Images
And to make it EVEN better, any changes you make in the SharePoint List or external source will automatically reflect on your connected Design Element. See how when we changed the picture for Stars of Excellence Awardees, the photo on our Image Carousel changed too. Now, that's what you call CONVENIENCE!
Excited to use ShortPoint Connect? Check out ShortPoint Connect: Basic Tutorial to get a step-by-step guide on how to use ShortPoint Connect.
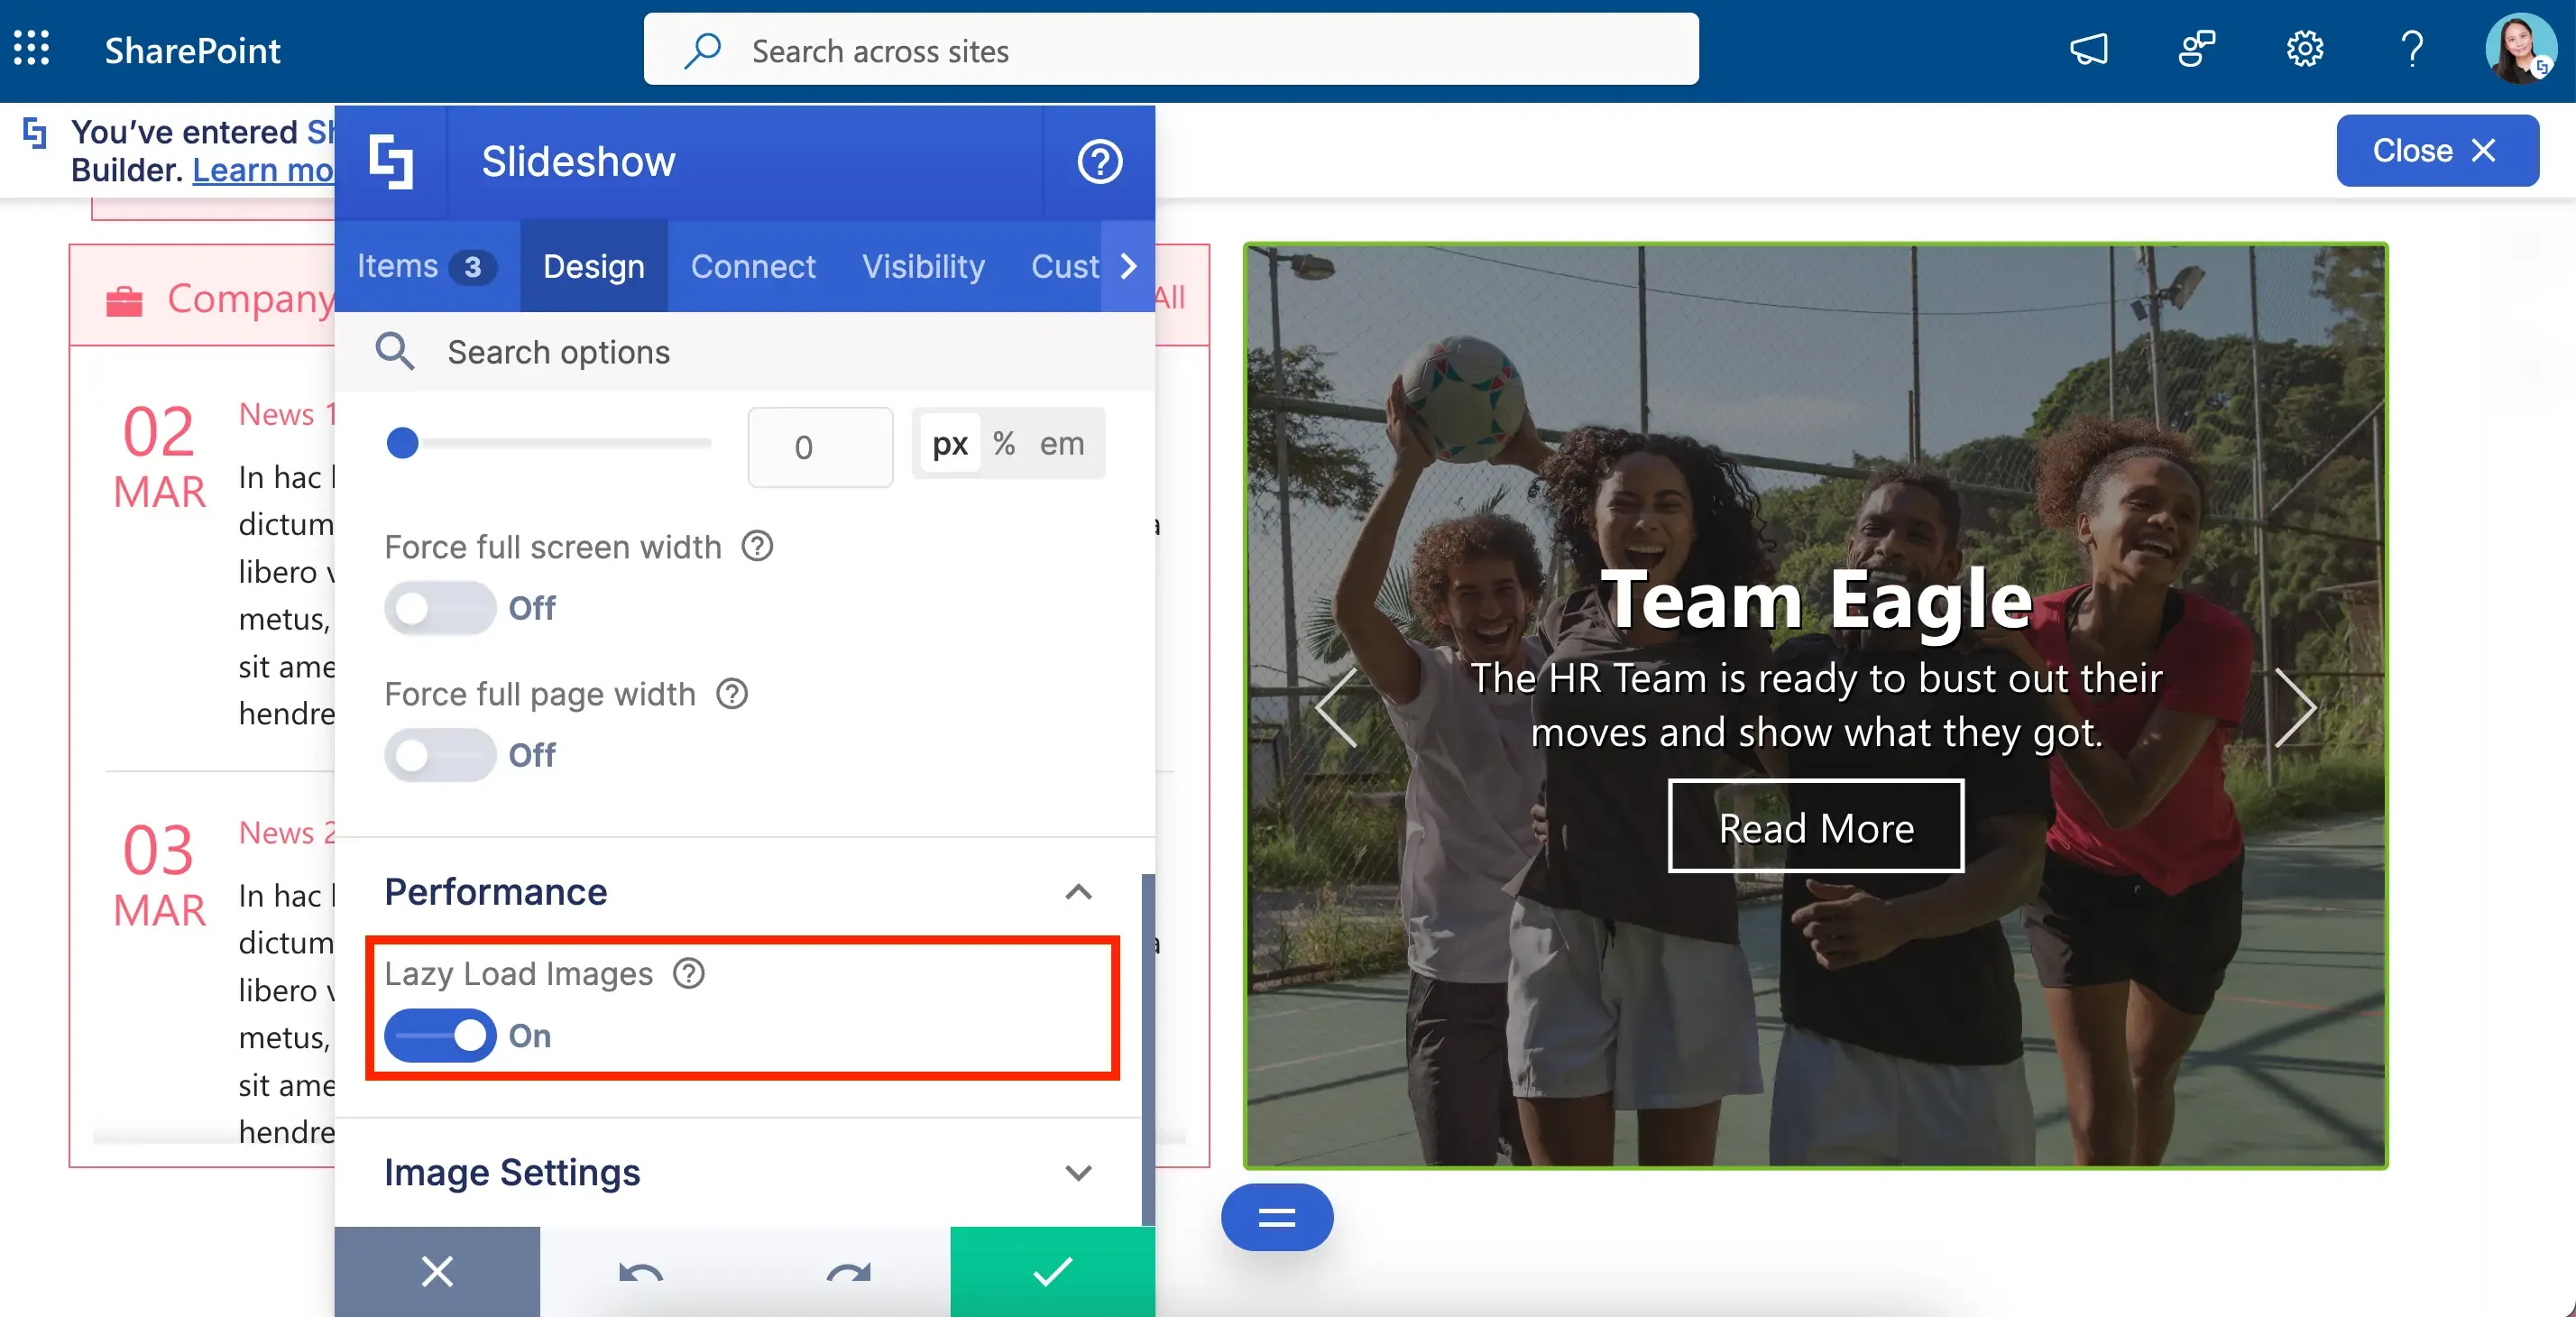
When choosing images to show on your page, you've probably gone with the HIGHEST quality possible. Of course, you can't settle for blurry images!But did you know high-quality images can make your pages load slower? Well, now you know! This is because high-quality photos tend to have higher file sizes. It's a good thing though that ShortPoint has two features that can help you improve page load time.The first one is the Lazy Load Images feature. You can find it in the Design tab, under the Performance section. When it's enabled, your images will only load once your users scroll to them. This makes your page load MUCH faster.Ready to try Lazy Load Images? You can learn more about Lazy Load Images in Enable Lazy Render / Lazy Loading Options on ShortPoint Elements.
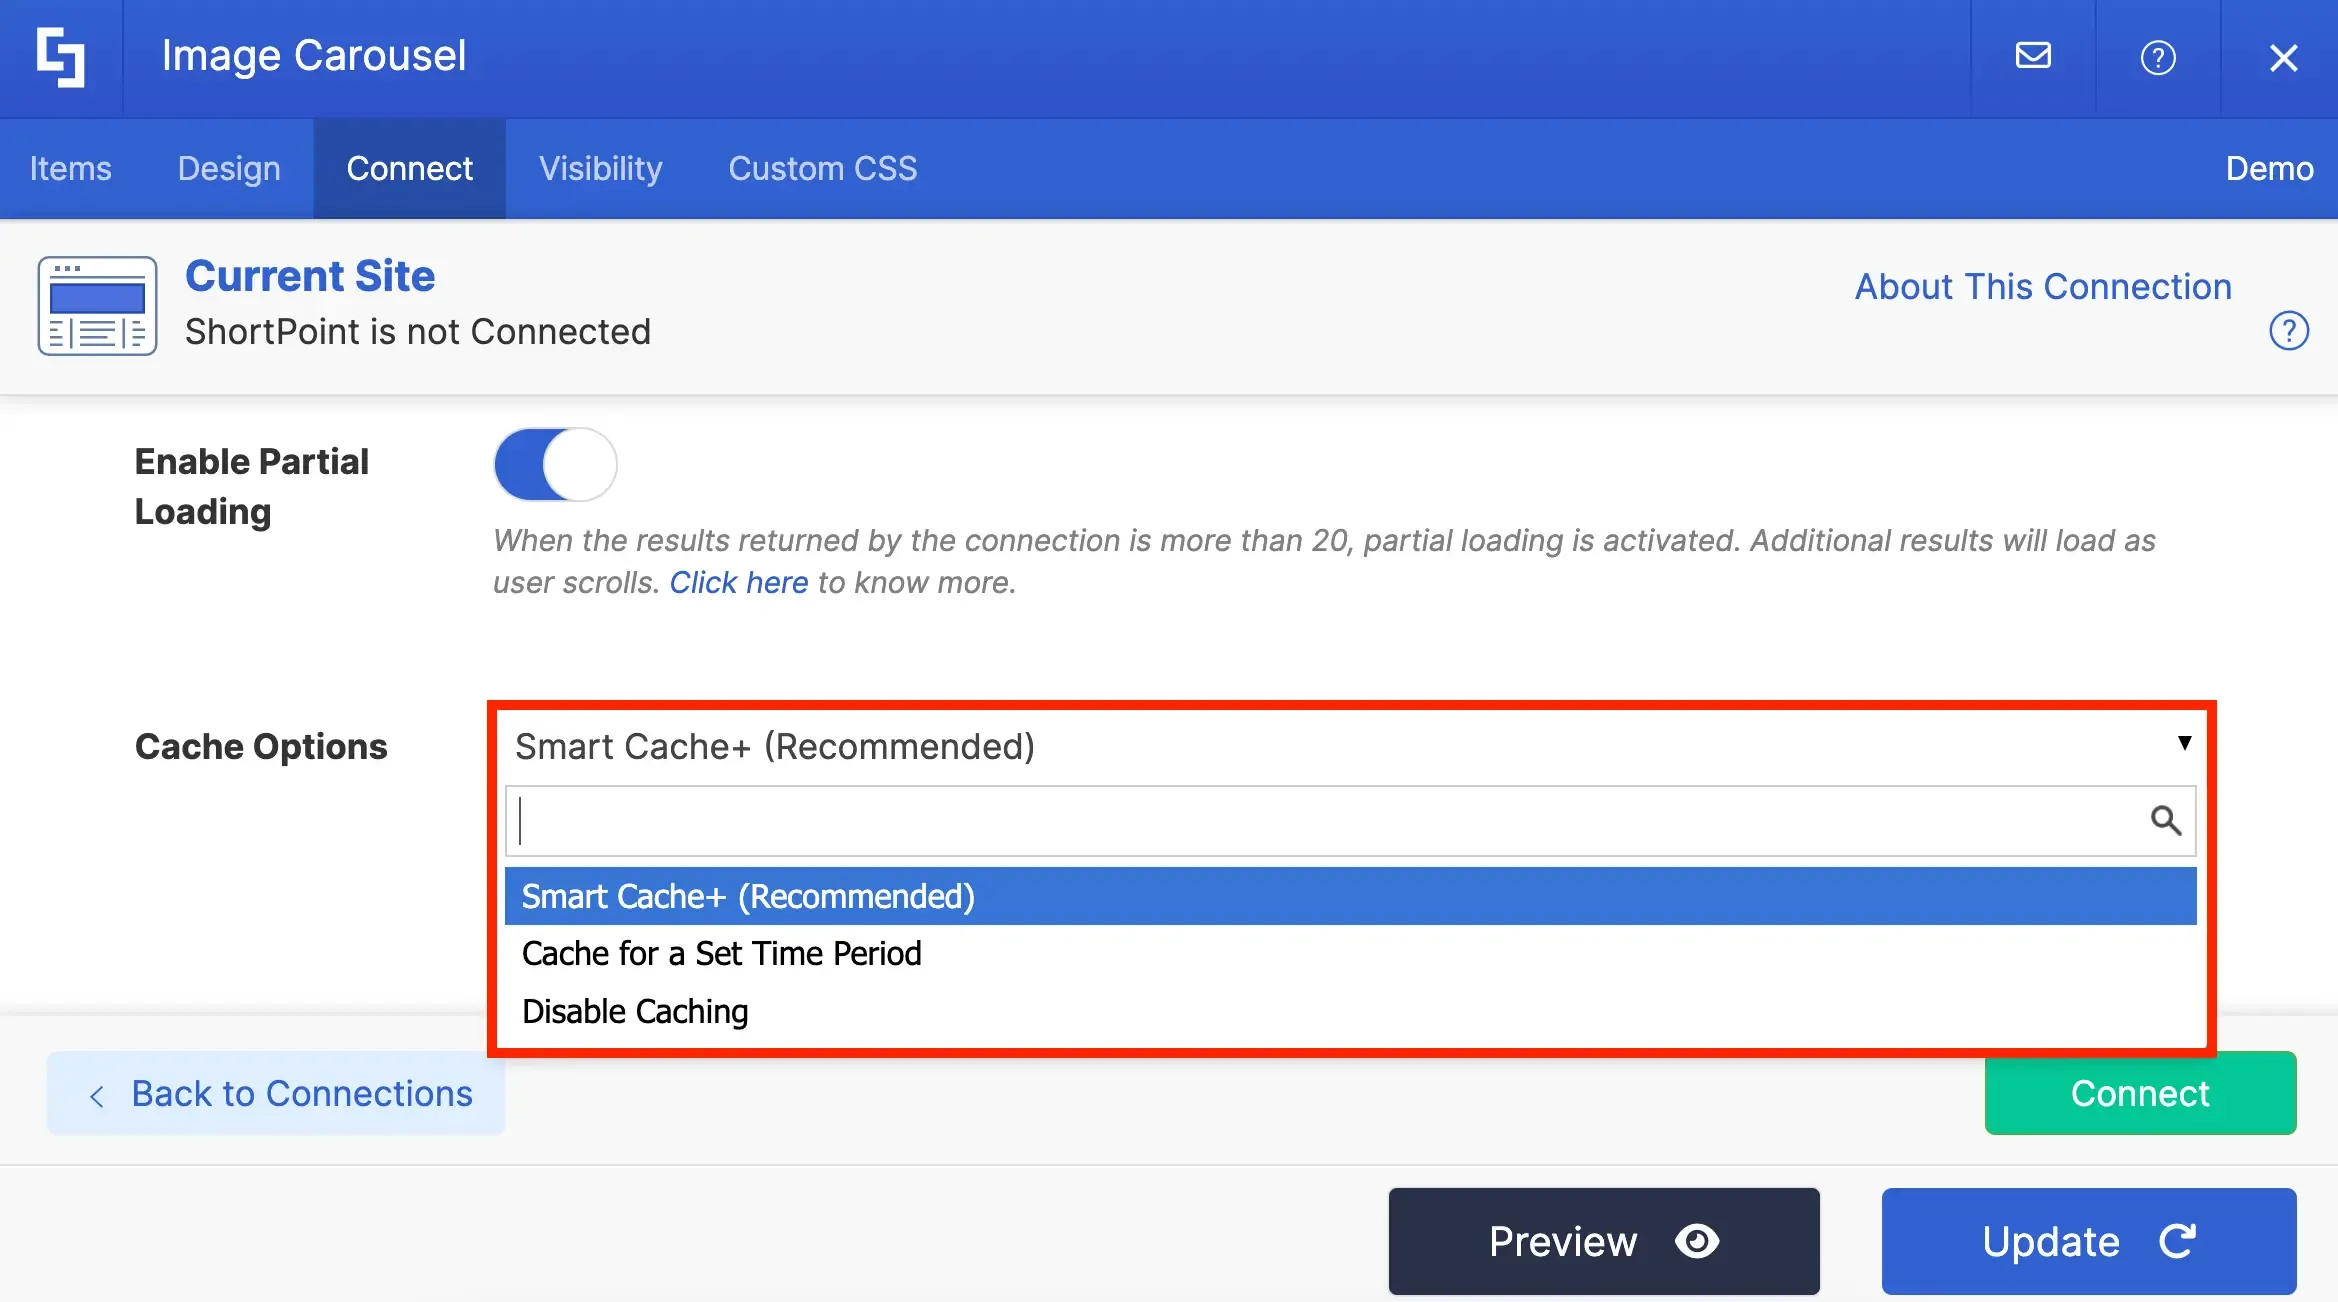
The second one is the Caching options for connected Design Elements. Your connected source can have A LOT of data. Retrieving all that data at once can make your page run slower. To avoid that, you can select from any of the caching options available.Want to see how each Caching options work? Go to Caching Options for Dynamically Connected ShortPoint Design Elements.
Now, you're ready to showcase images on your page in the BEST way possible! We're sure your viewers will ENJOY the new and creative ways you've shown your photos.