

ShortPoint Design Elements
Best Design Elements for Text
So, you're told to design your company's intranet BUT you don't know where to start? There's just TOO MUCH text—announcements, product information, company bio, forms, blog posts, and all that important "stuff" (that your manager told you to add). Now, you're out here thinking, "How exactly will it all fit on a single SharePoint page?!"

Text Design Element
Honestly, we get you! We get that problem too. You can't exactly put a big block of text in the middle of your SharePoint page. (Well, you can…just don't expect your users to stick around and read that novel.) From YEARS of helping ShortPoint Designers, like you, we found that how you display and arrange text on your page can impact how your users engage with your content. That's why ShortPoint has a library of Design Elements that allows you to present different text types in unique ways. What exactly are those Design Elements? Let's go through each one right now!
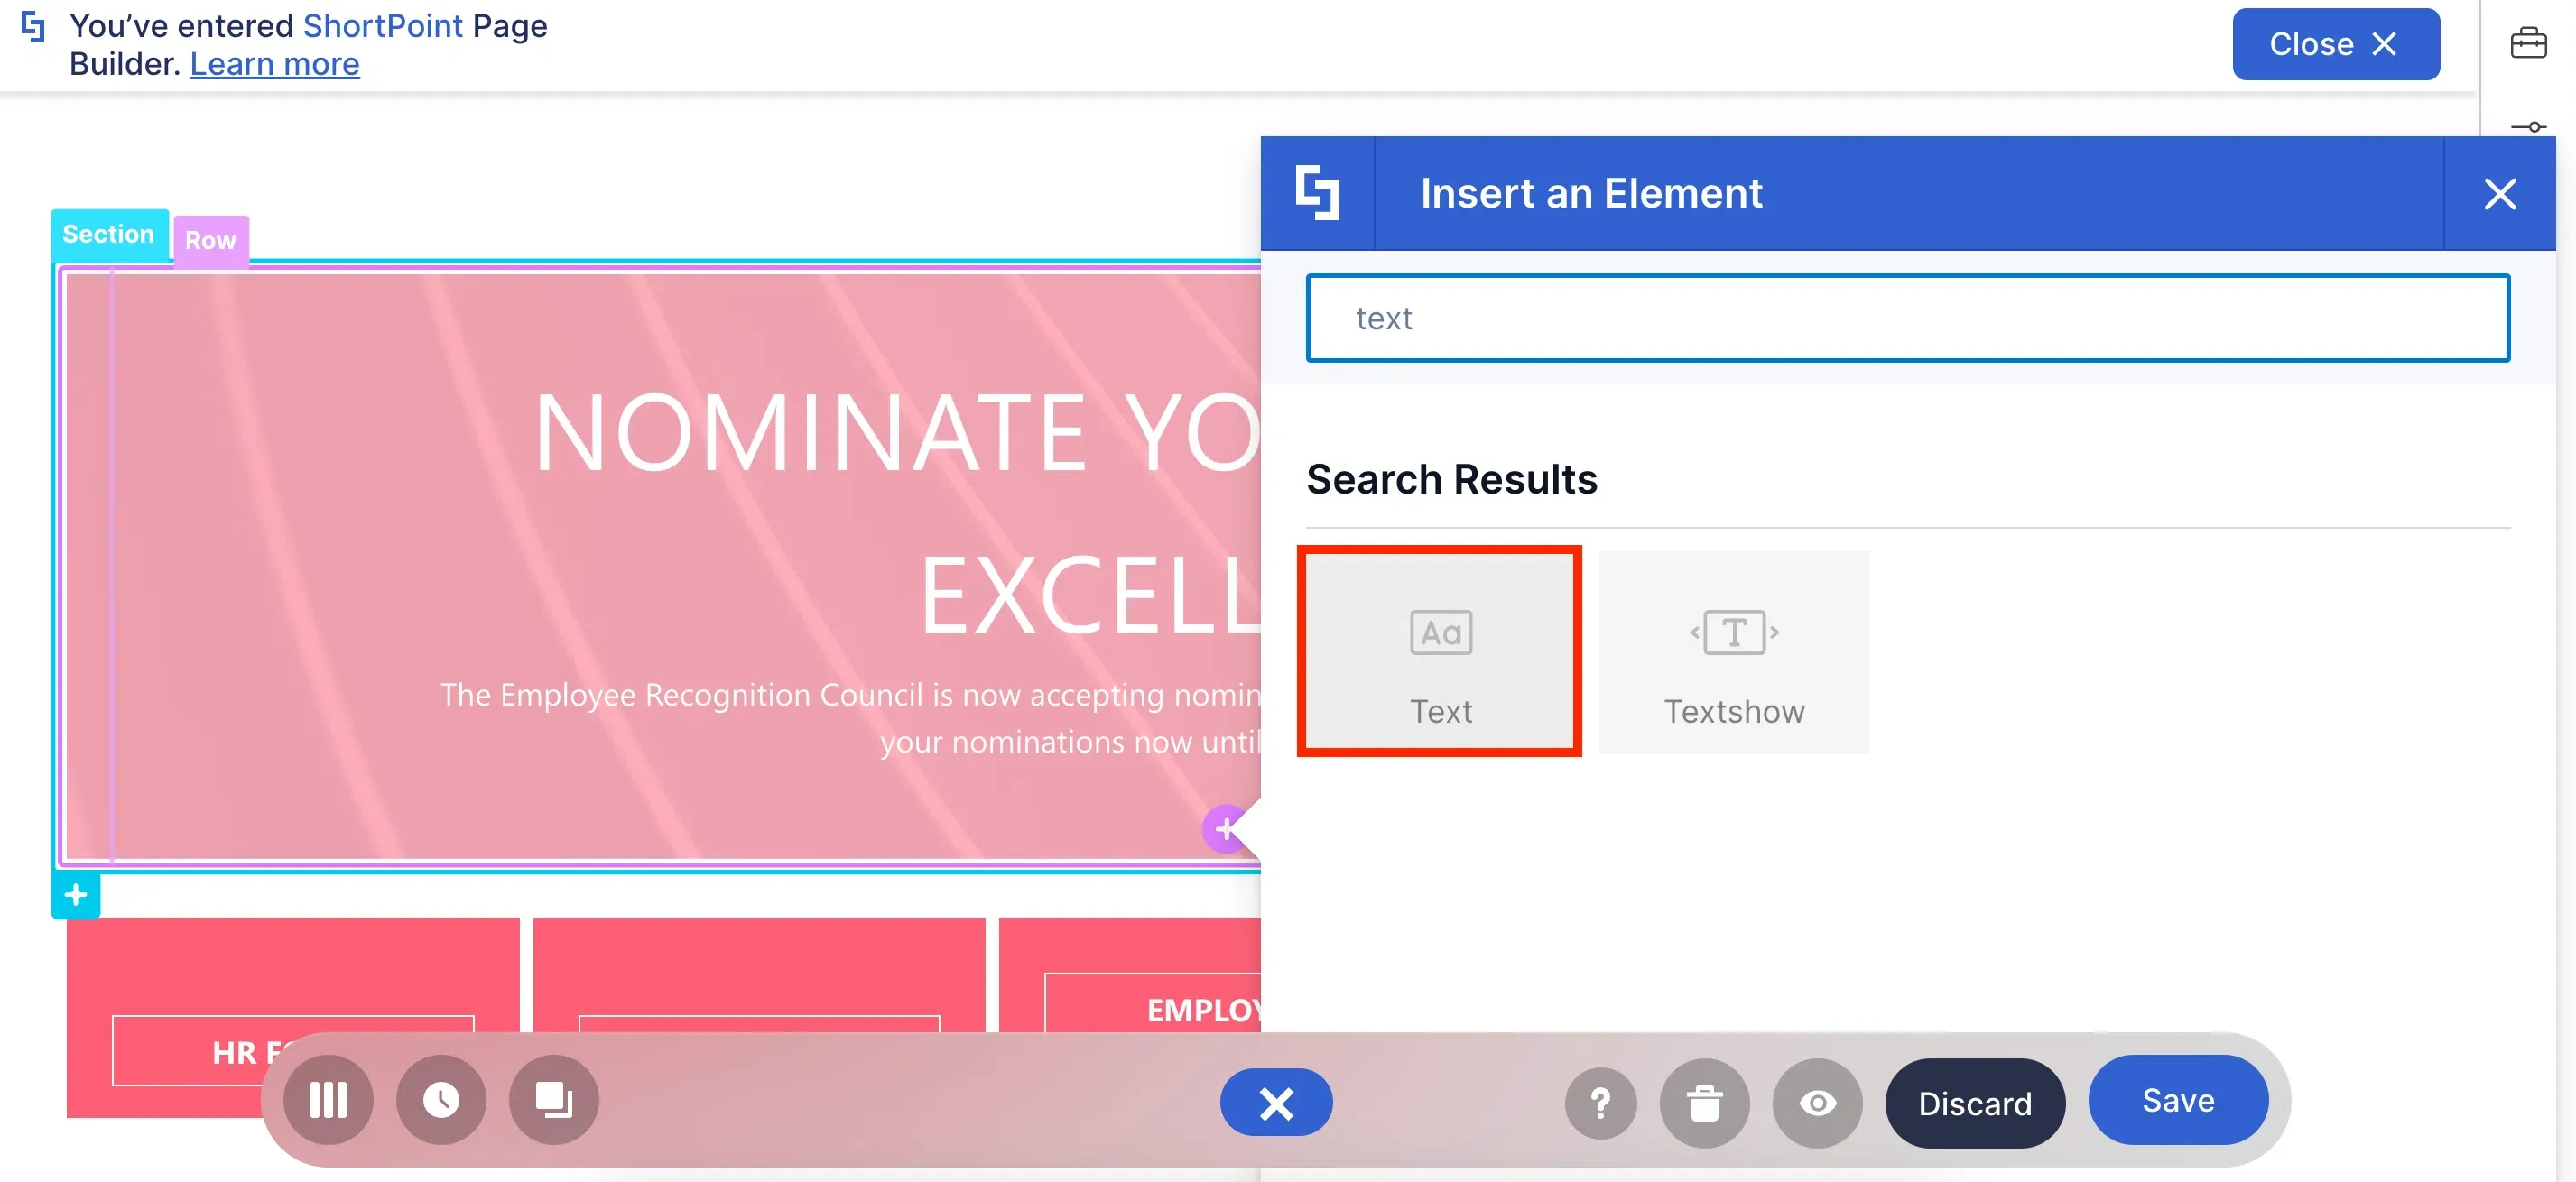
In ShortPoint, the Text Design Element is the go-to Design Element for adding text content to your page. Why? Well, that's because its basic function is literally to add text. Think of it like a notepad that you can insert into any part of your page.
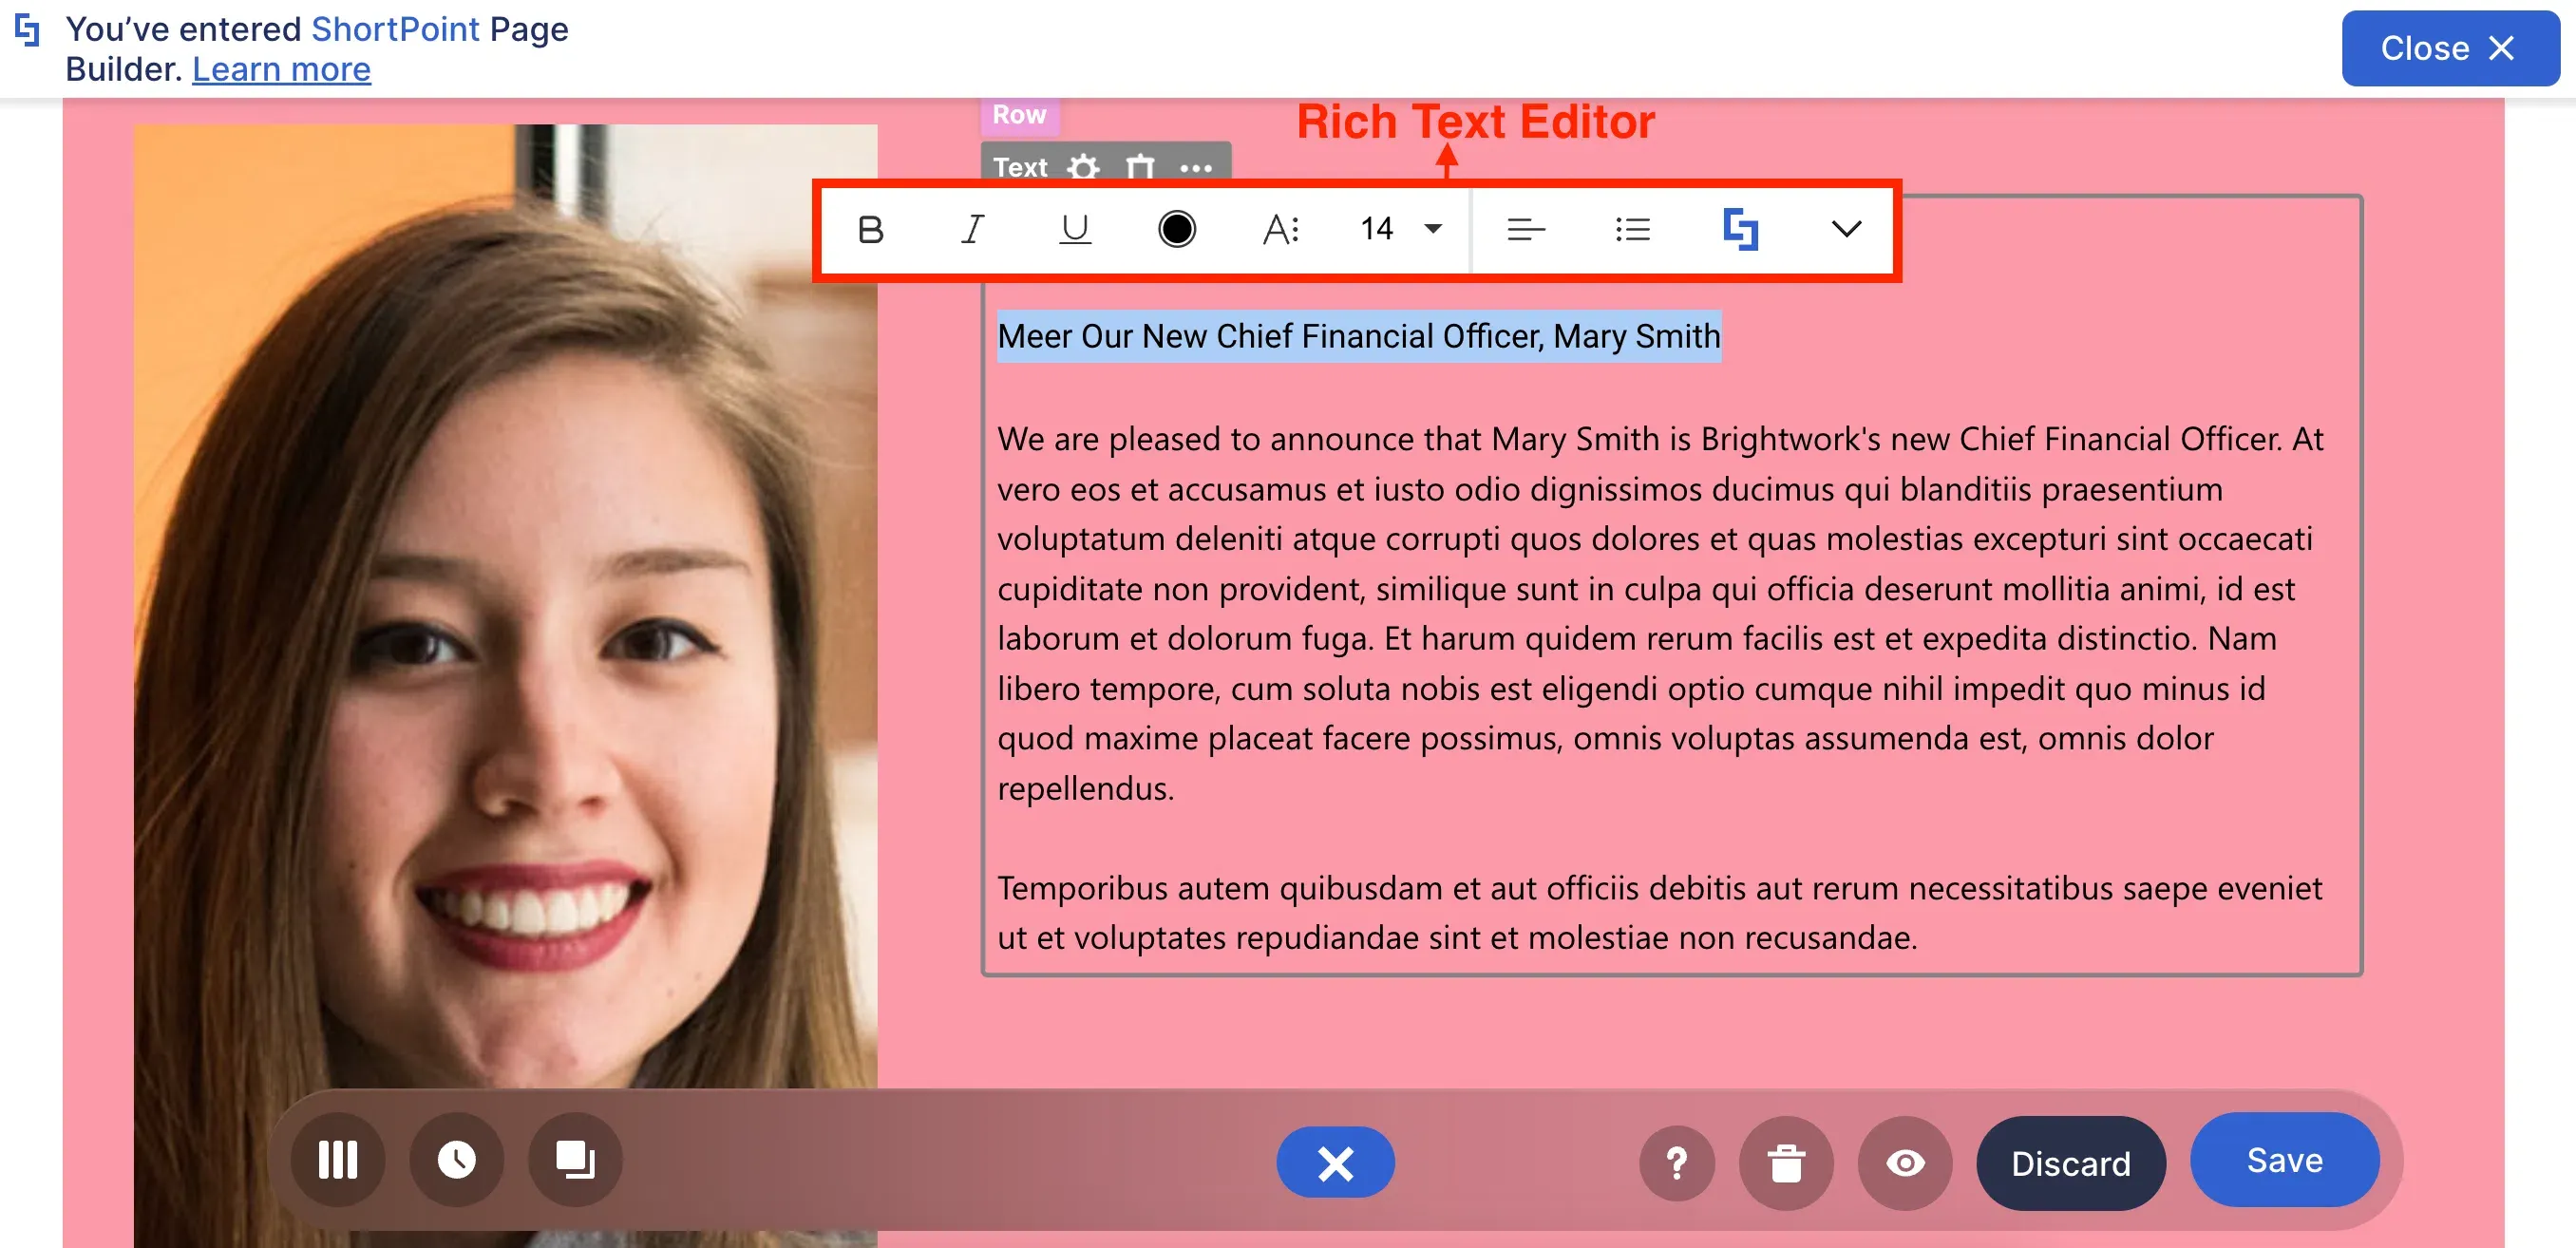
But what makes it special is the Rich Text Editor. With the Rich Text Editor, you can turn this BORING block of text from this:
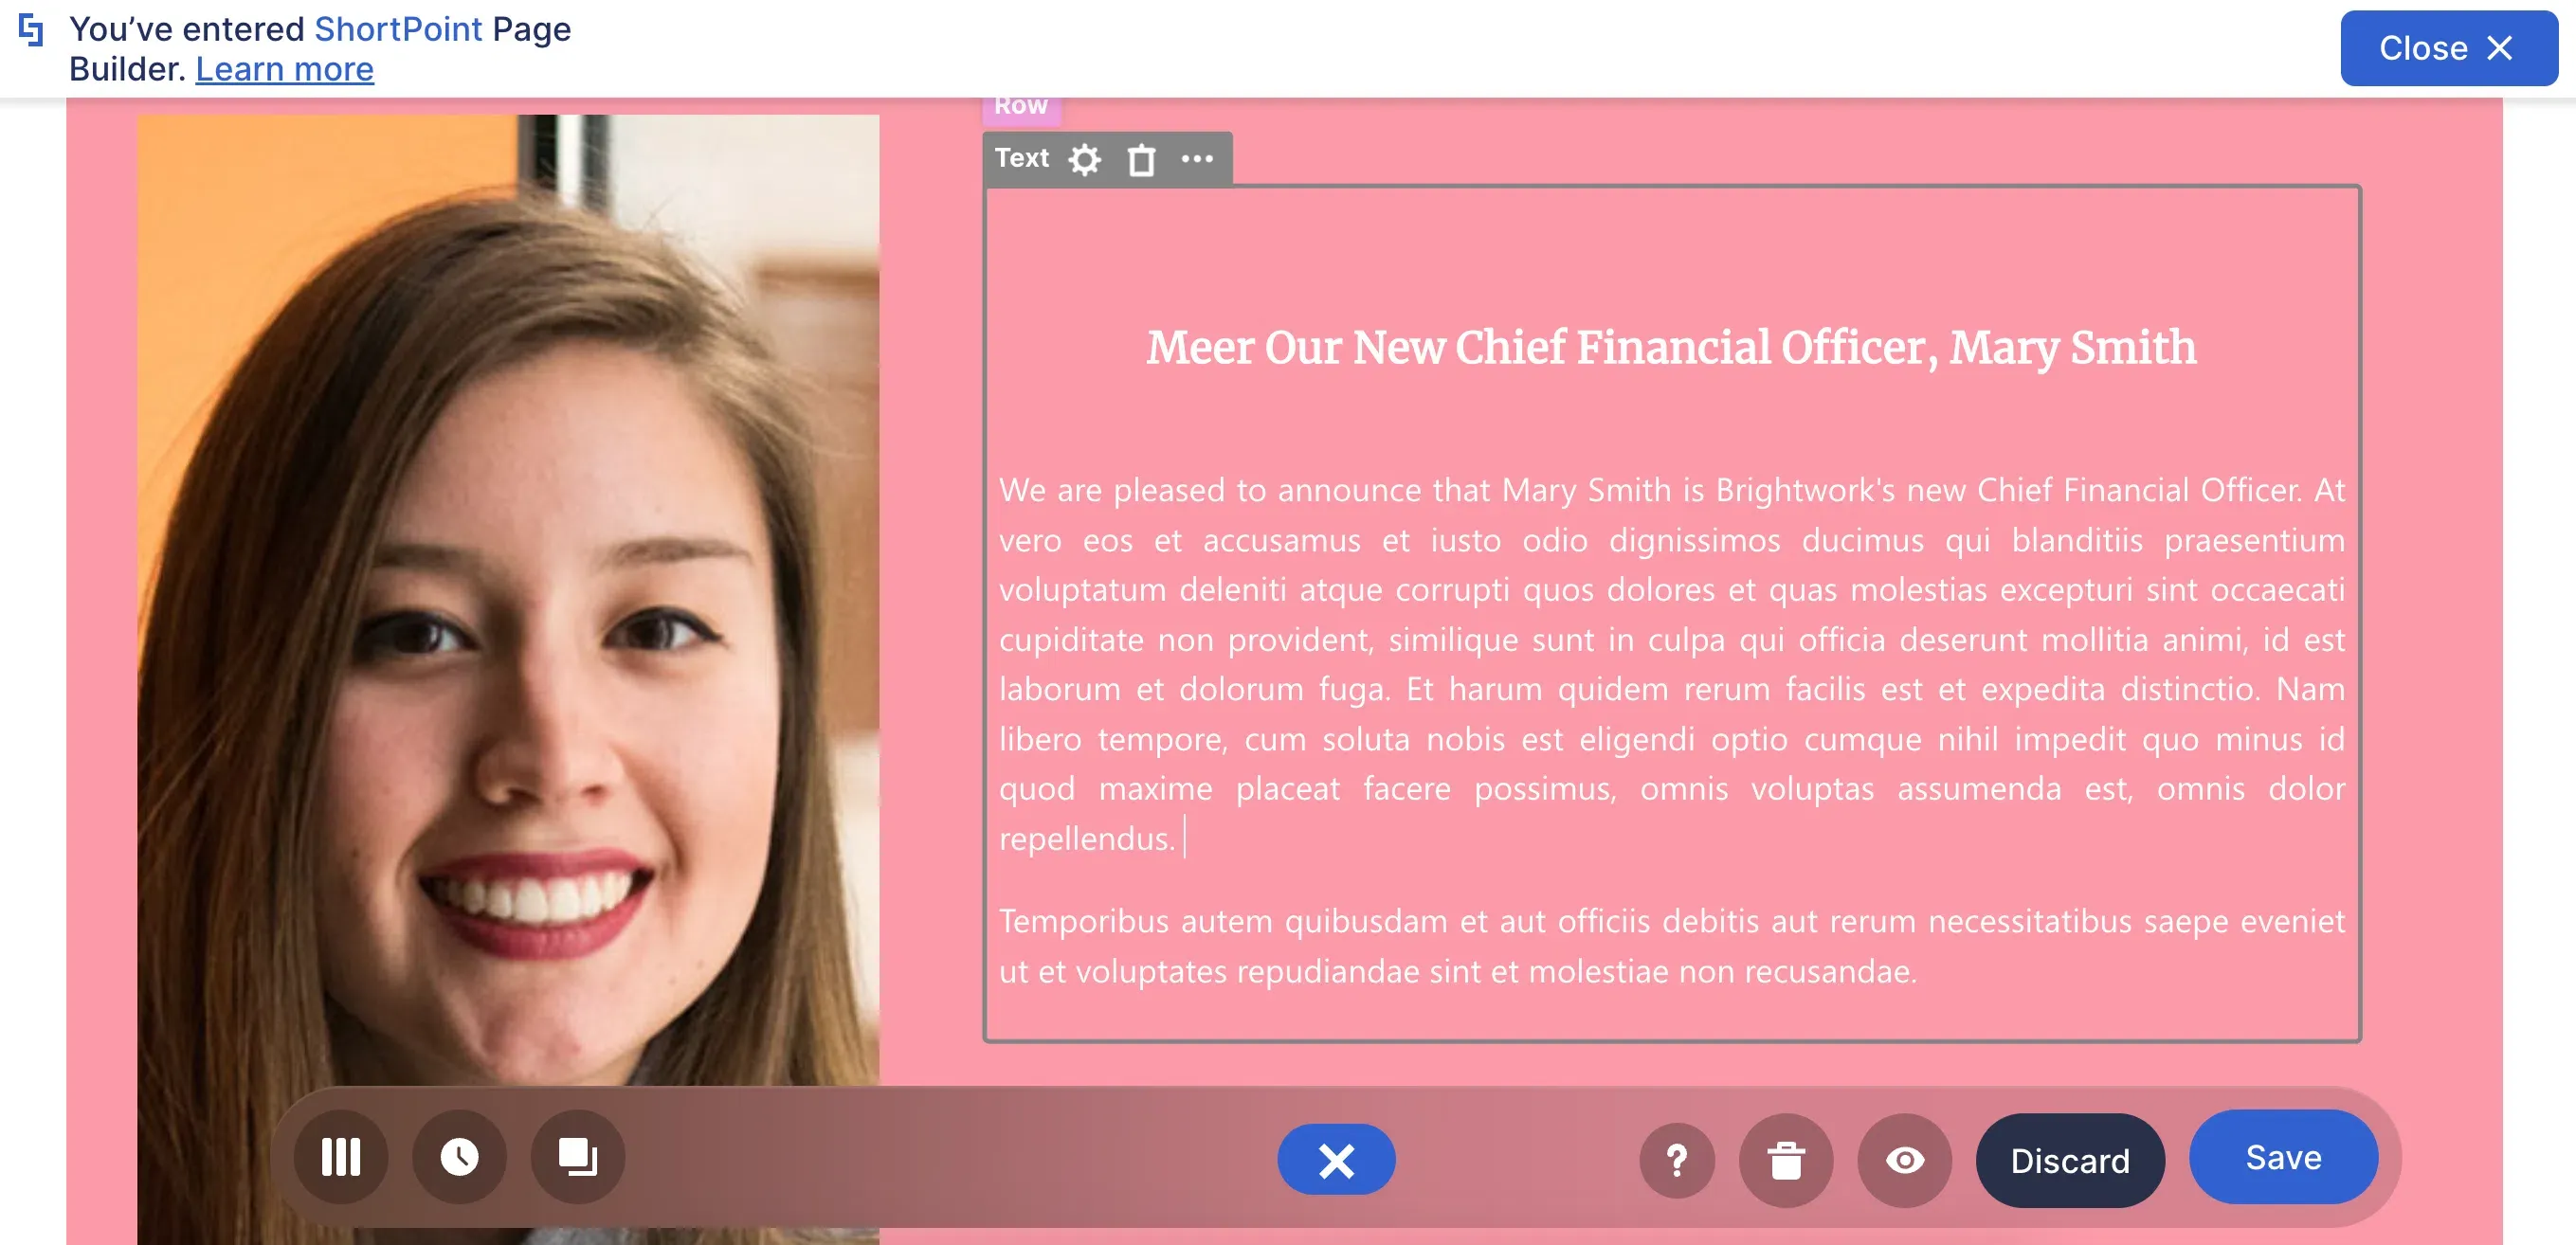
Into this! See how the font, font size, font color, and alignment are transformed? That's all done using the Rich Text Editor. Now, you'll probably agree that the text is easier to read and look at.
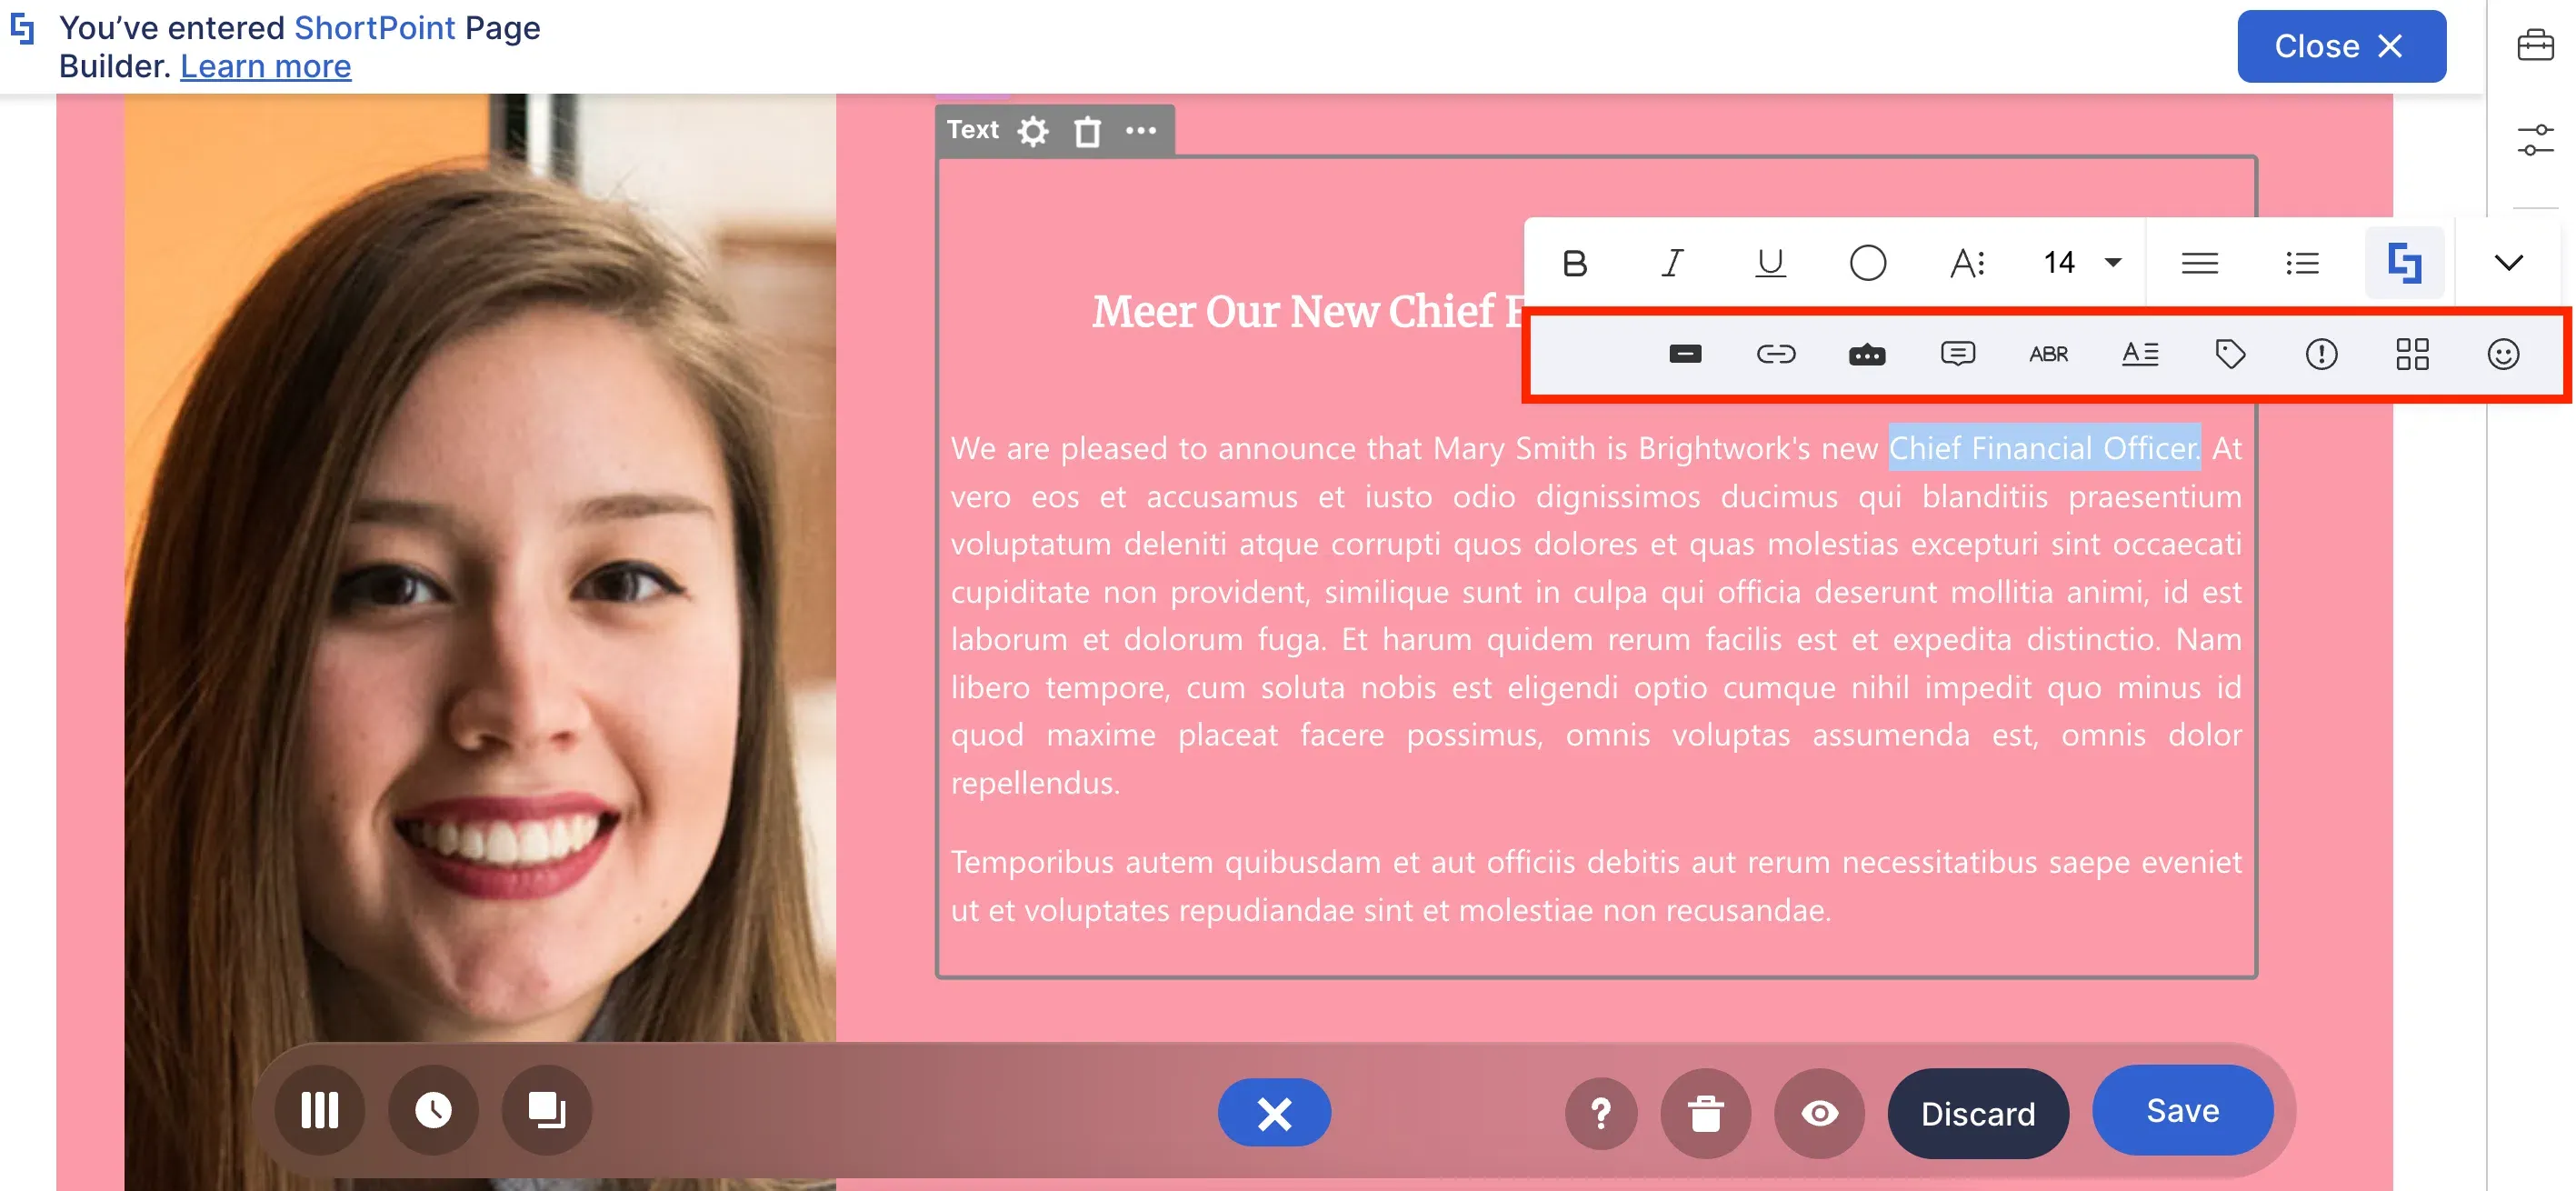
There's more, though! The Rich Text Editor also gives you access to a wider range of Design Elements, called Inline Design Elements. With it, you can turn any text into a button, a link, an abbreviation, and so MUCH MORE.
Button Design Element
Need proof? Notice how "Chief Financial Officer" changed into "CFO". MAGIC?! No, just the amazing work of the Rich Text Editor and how it allows you to create interactive text content.
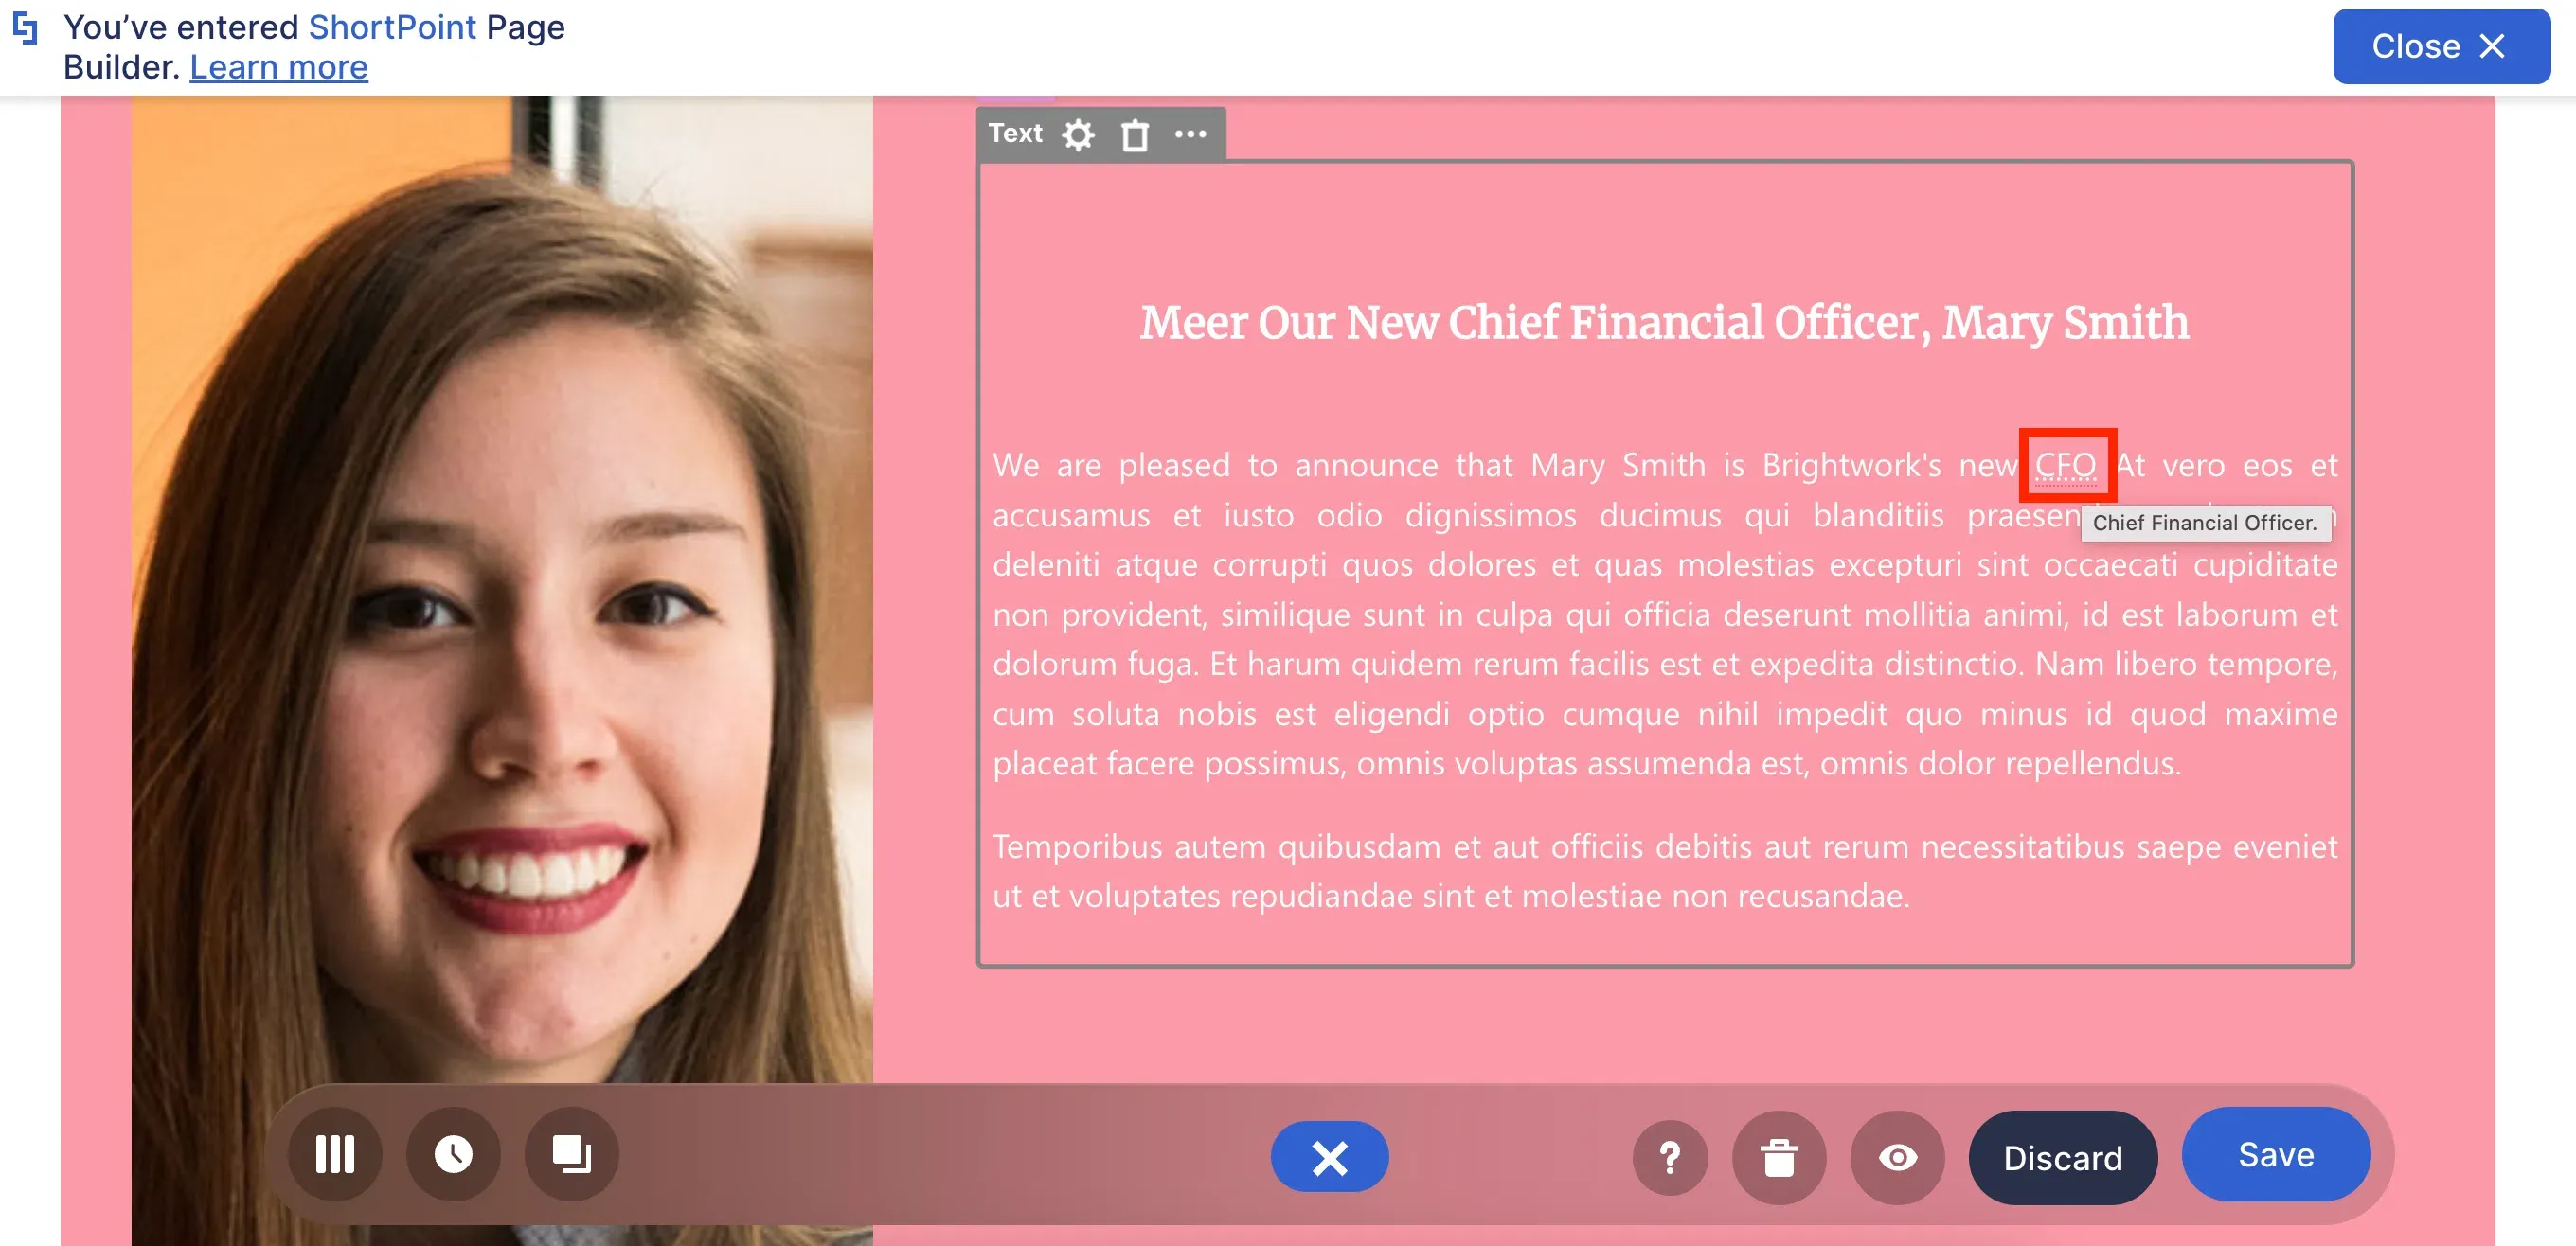
Wait…don't go yet! There's more to the Text Design Element. It has a Settings window with many useful tabs. Here, you can customize EVEN MORE how your text will look—like adding a shadow to make your text POP OUT.
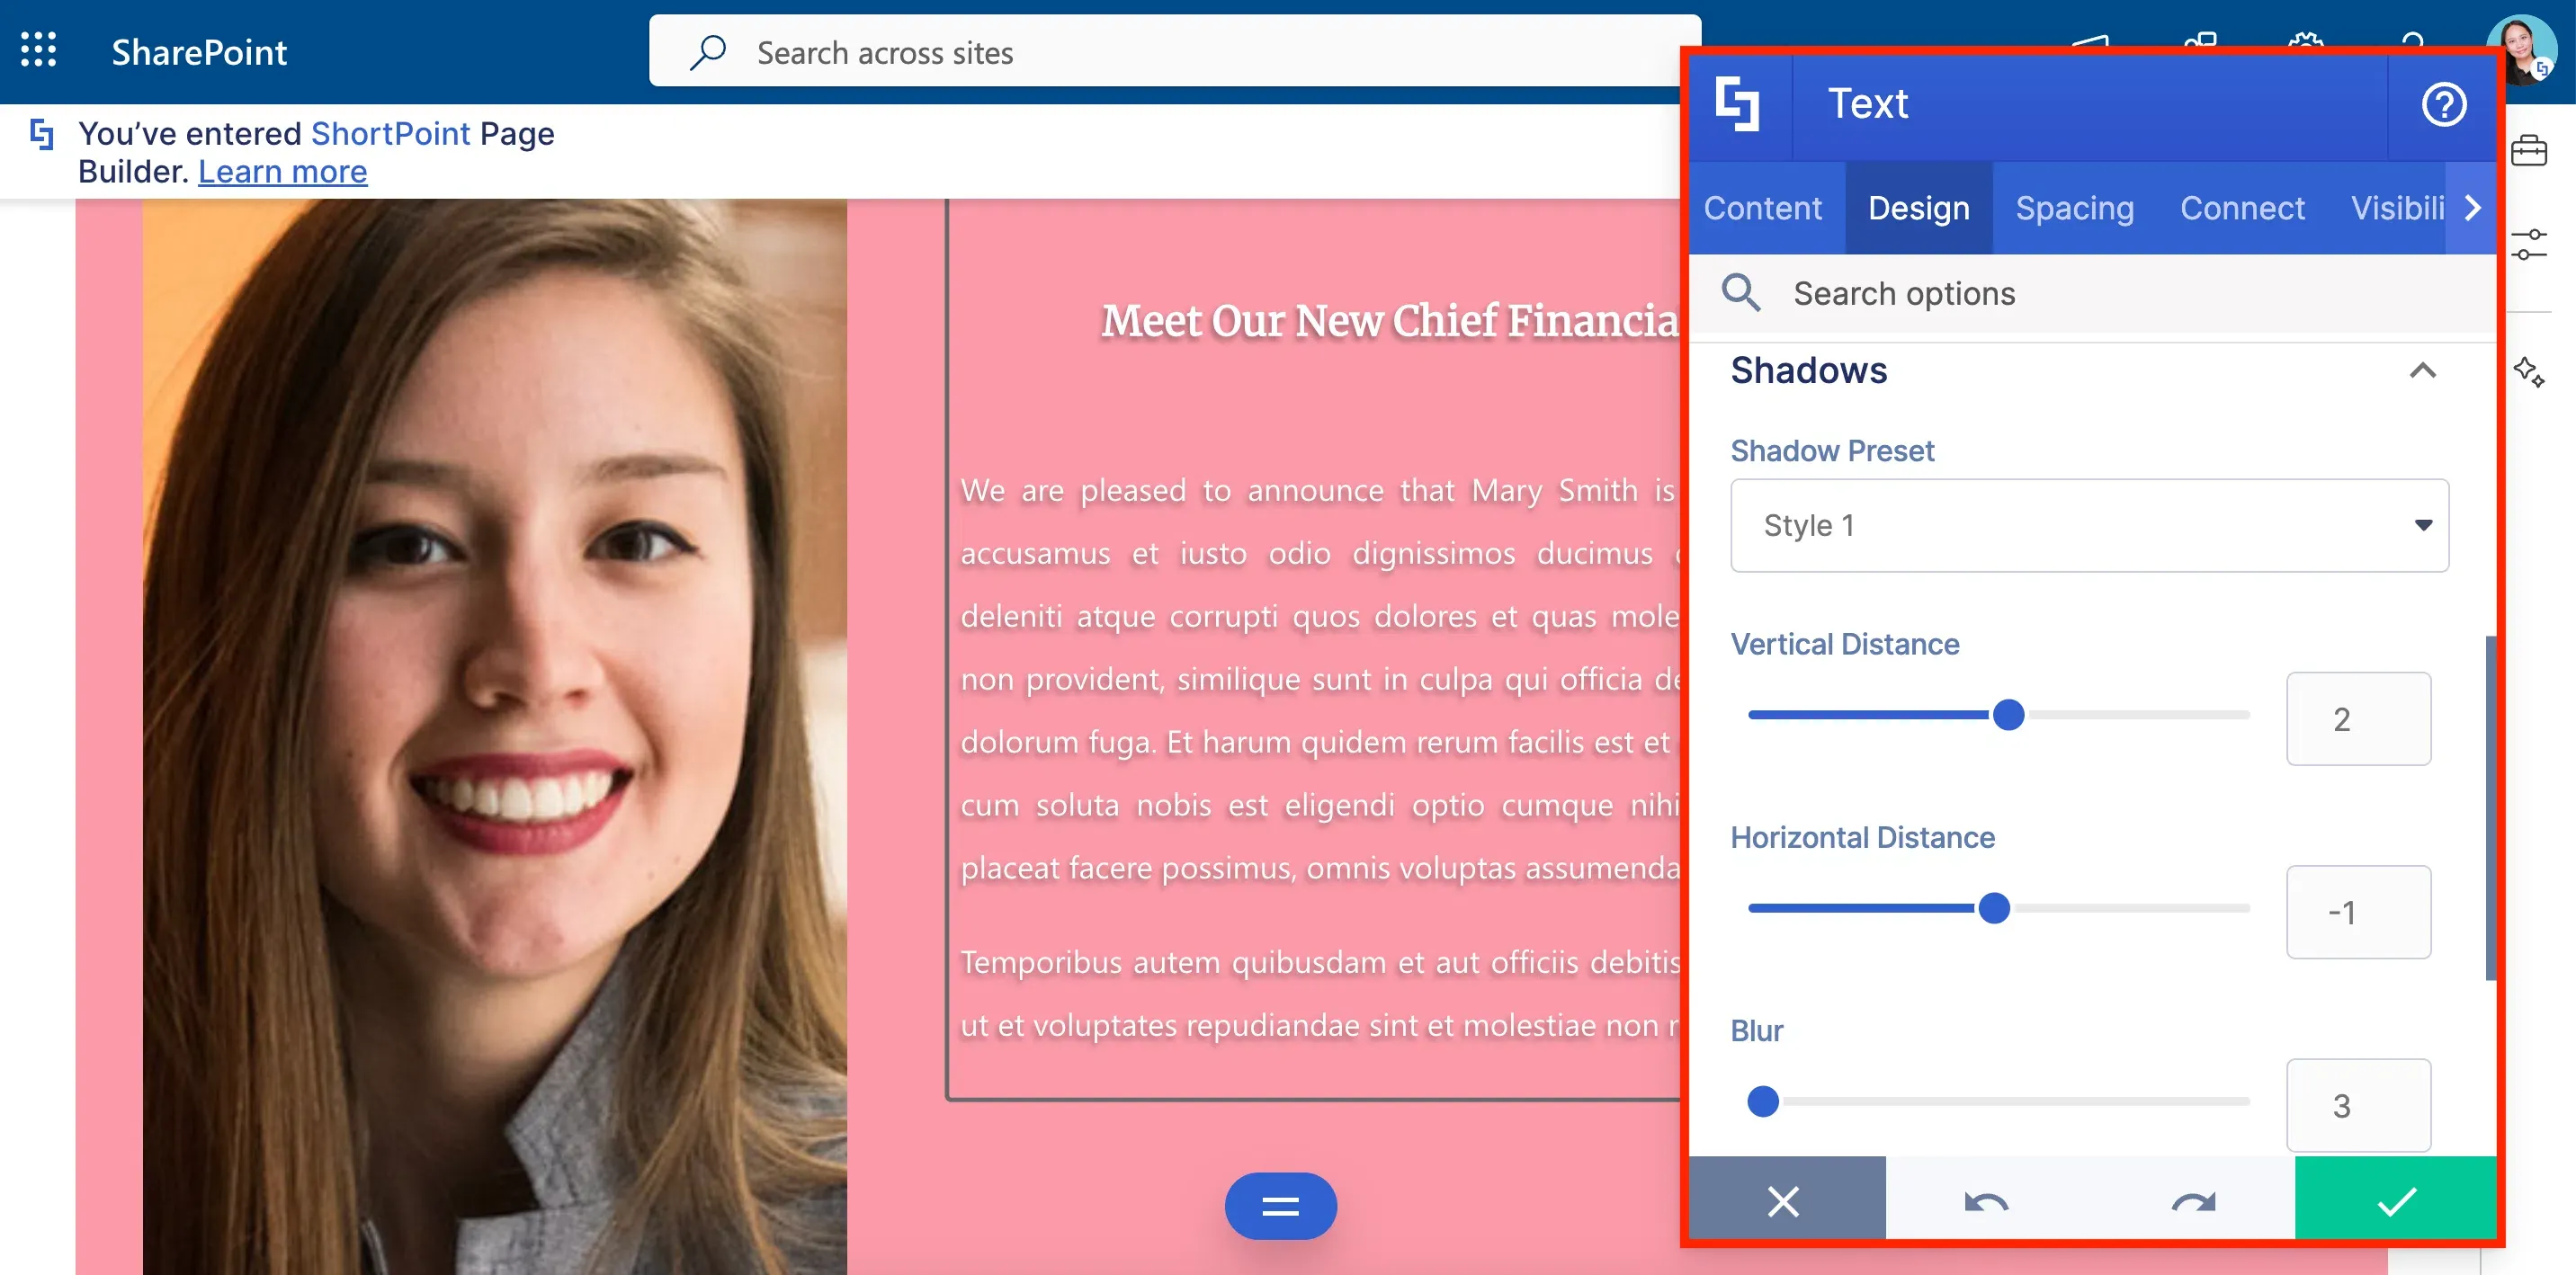
We know we keep saying it…but there is REALLY more to discover! You can check all of it in How to Customize the Text Design Element.
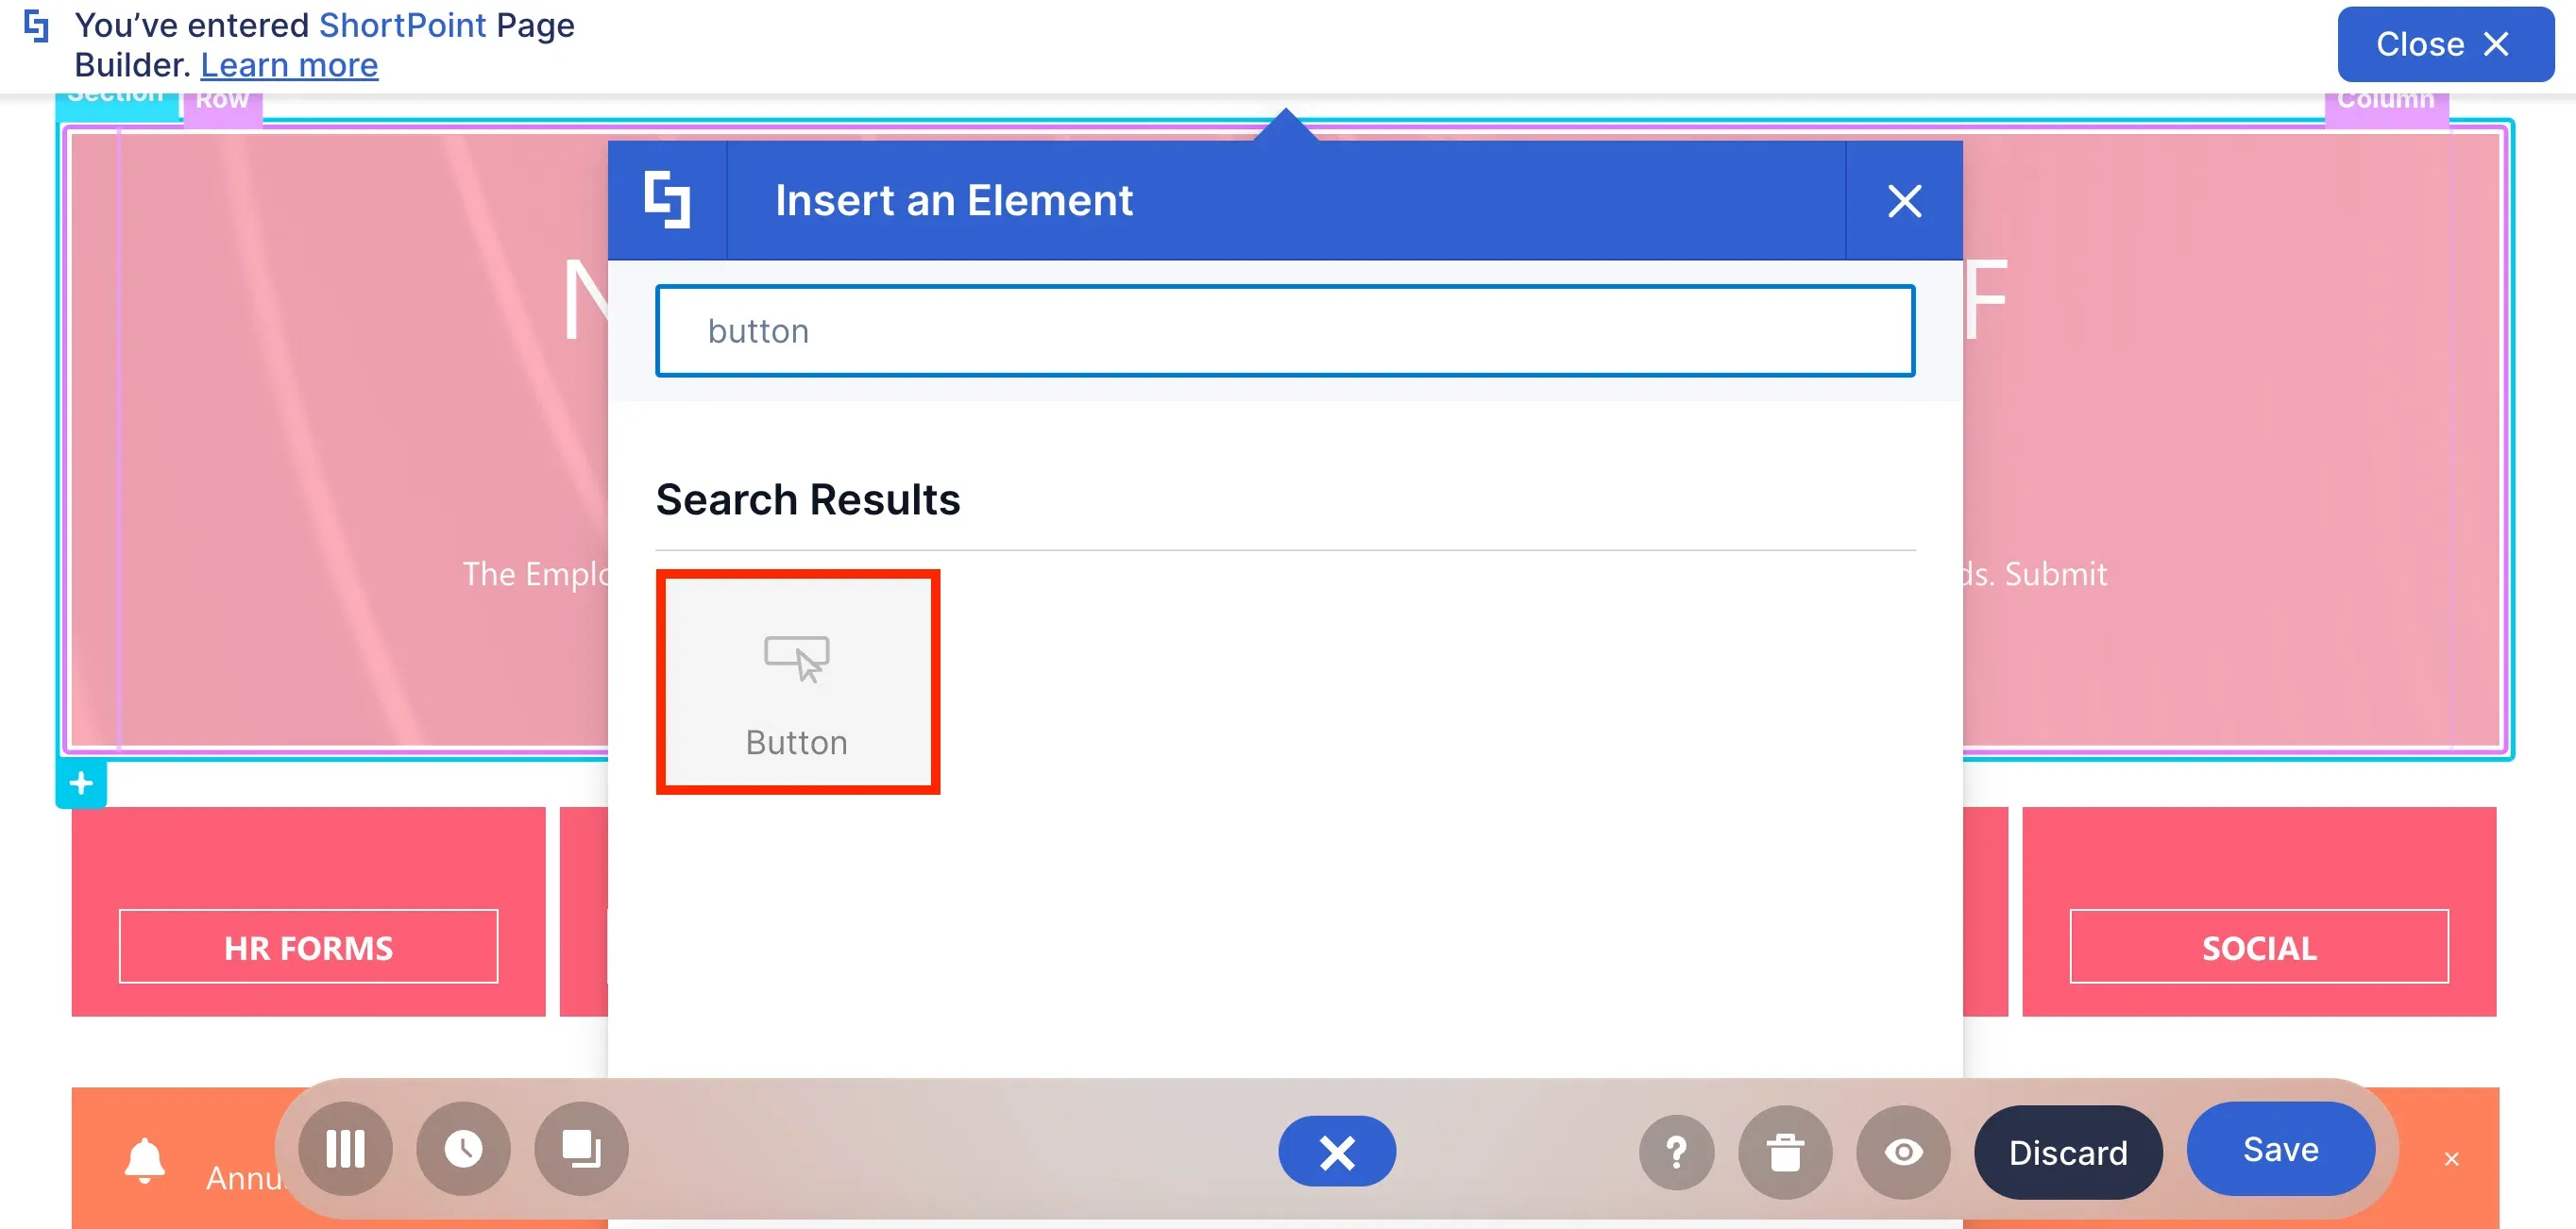
Who says all your text content should be on a single page?! Certainly, not the Button Design Element! With it, you can redirect your users to the other important "stuff" your manager told you to add—like the submission form or the questionnaire they need employees to answer.
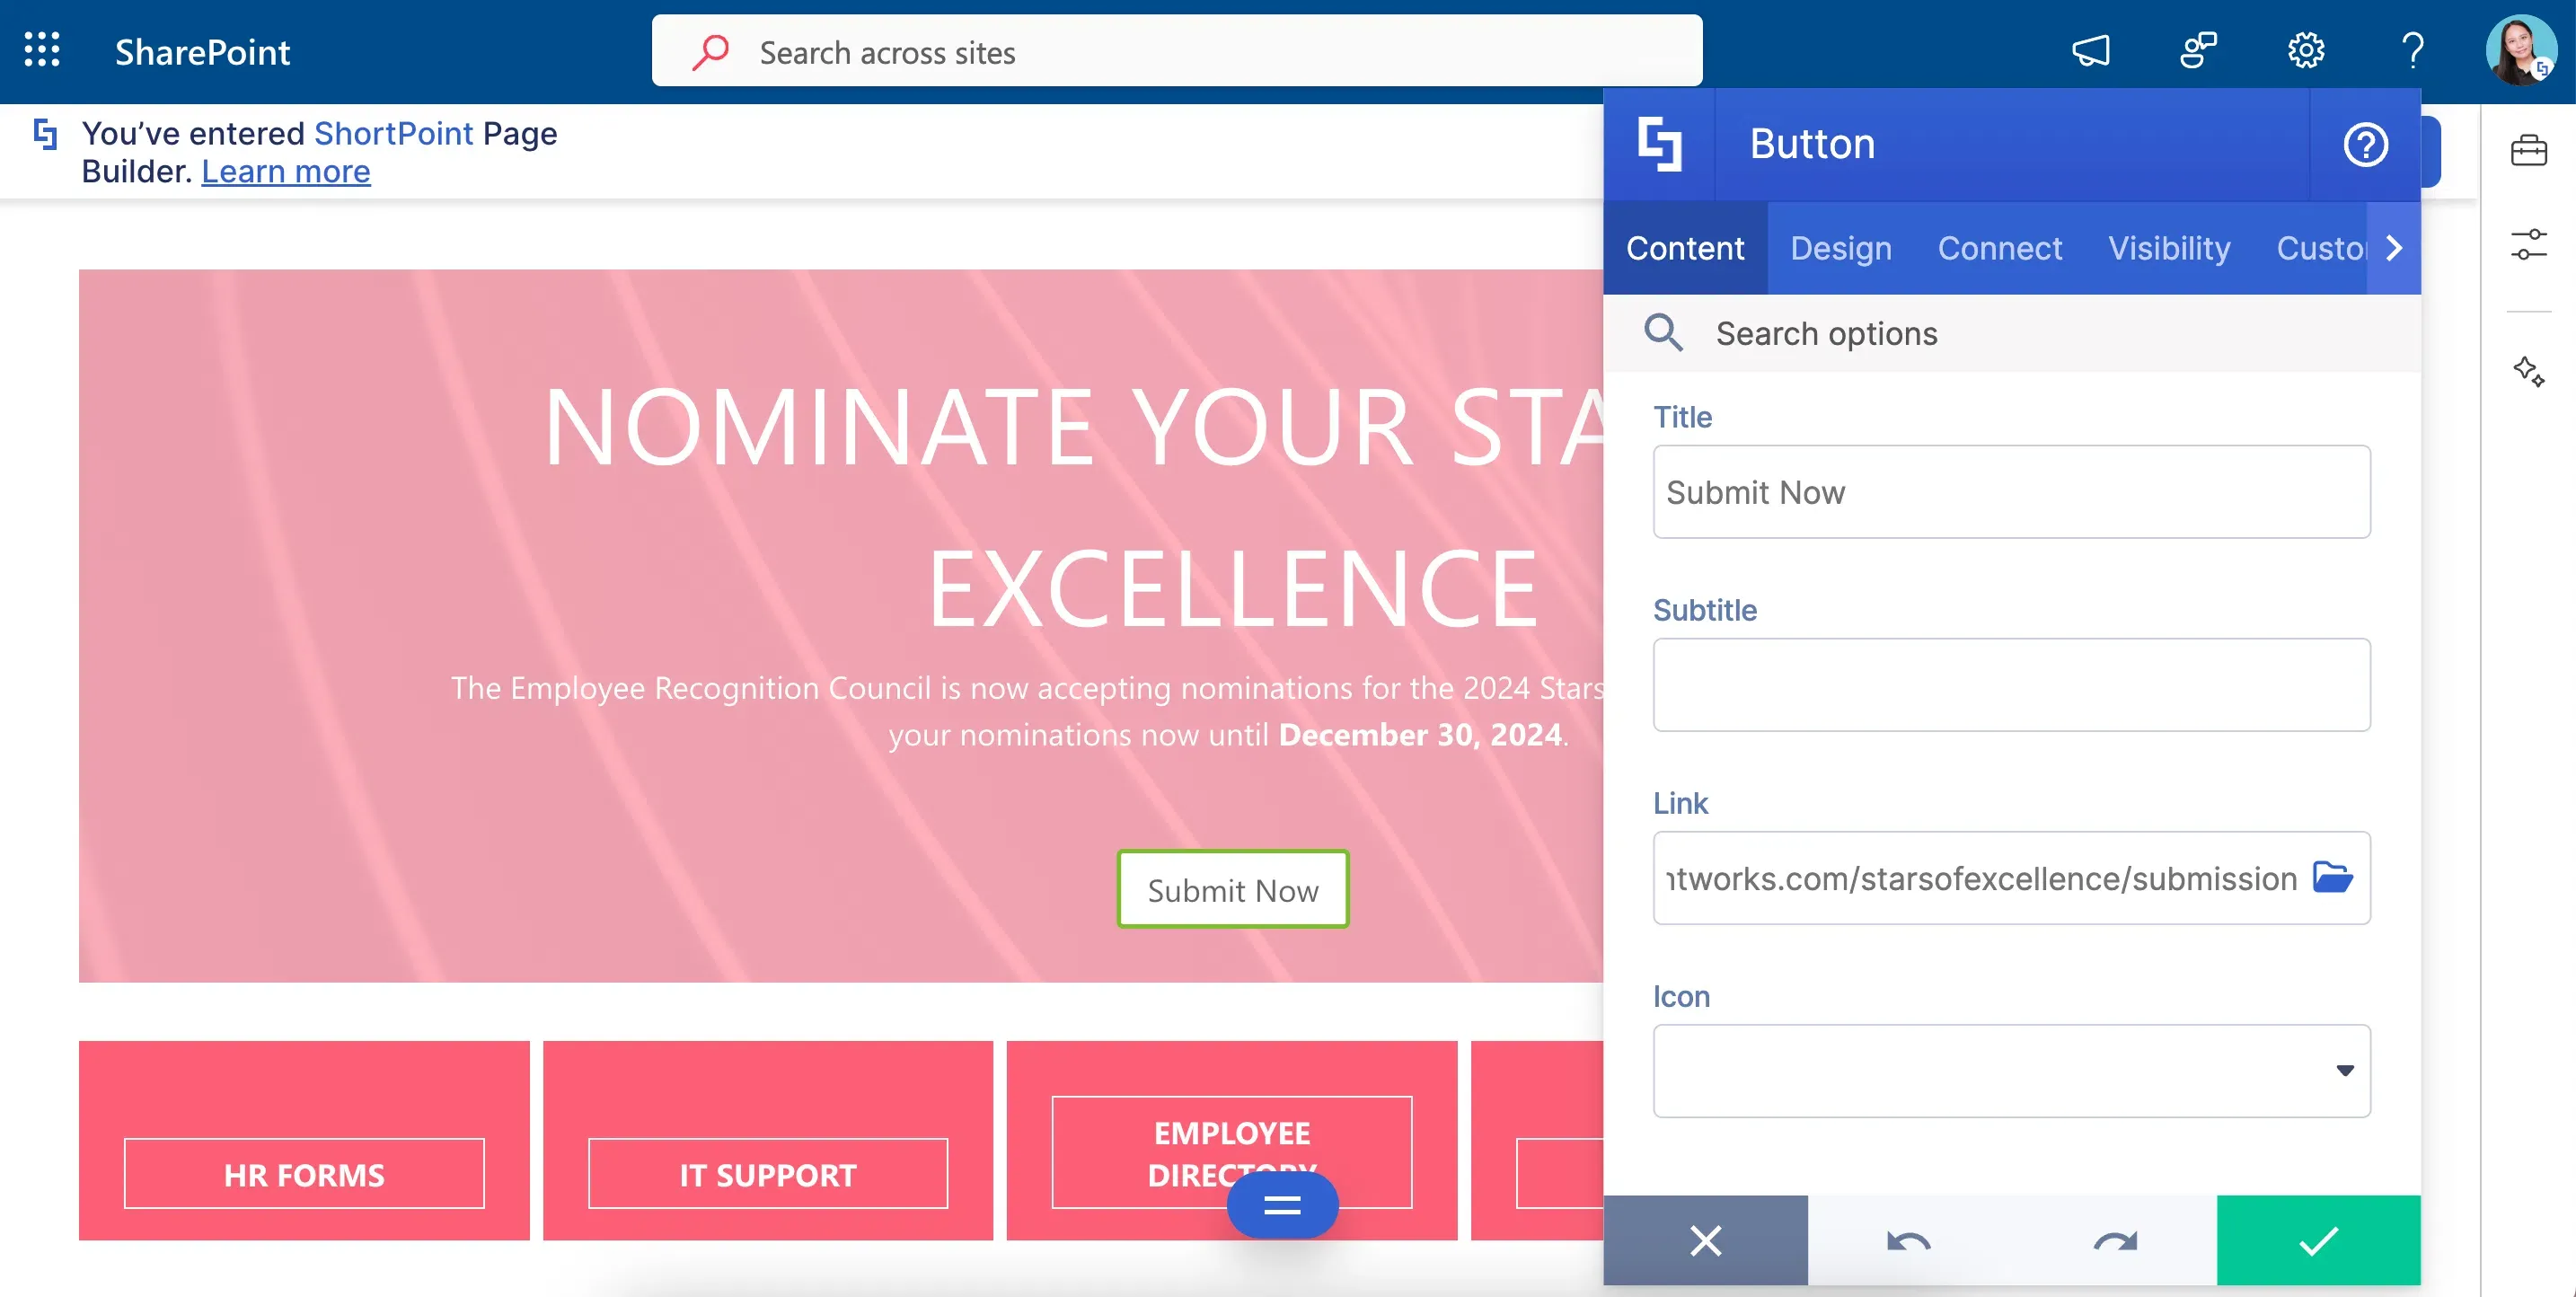
You can easily change the title of the button, add a subtitle, change the redirection link, and even add an icon.
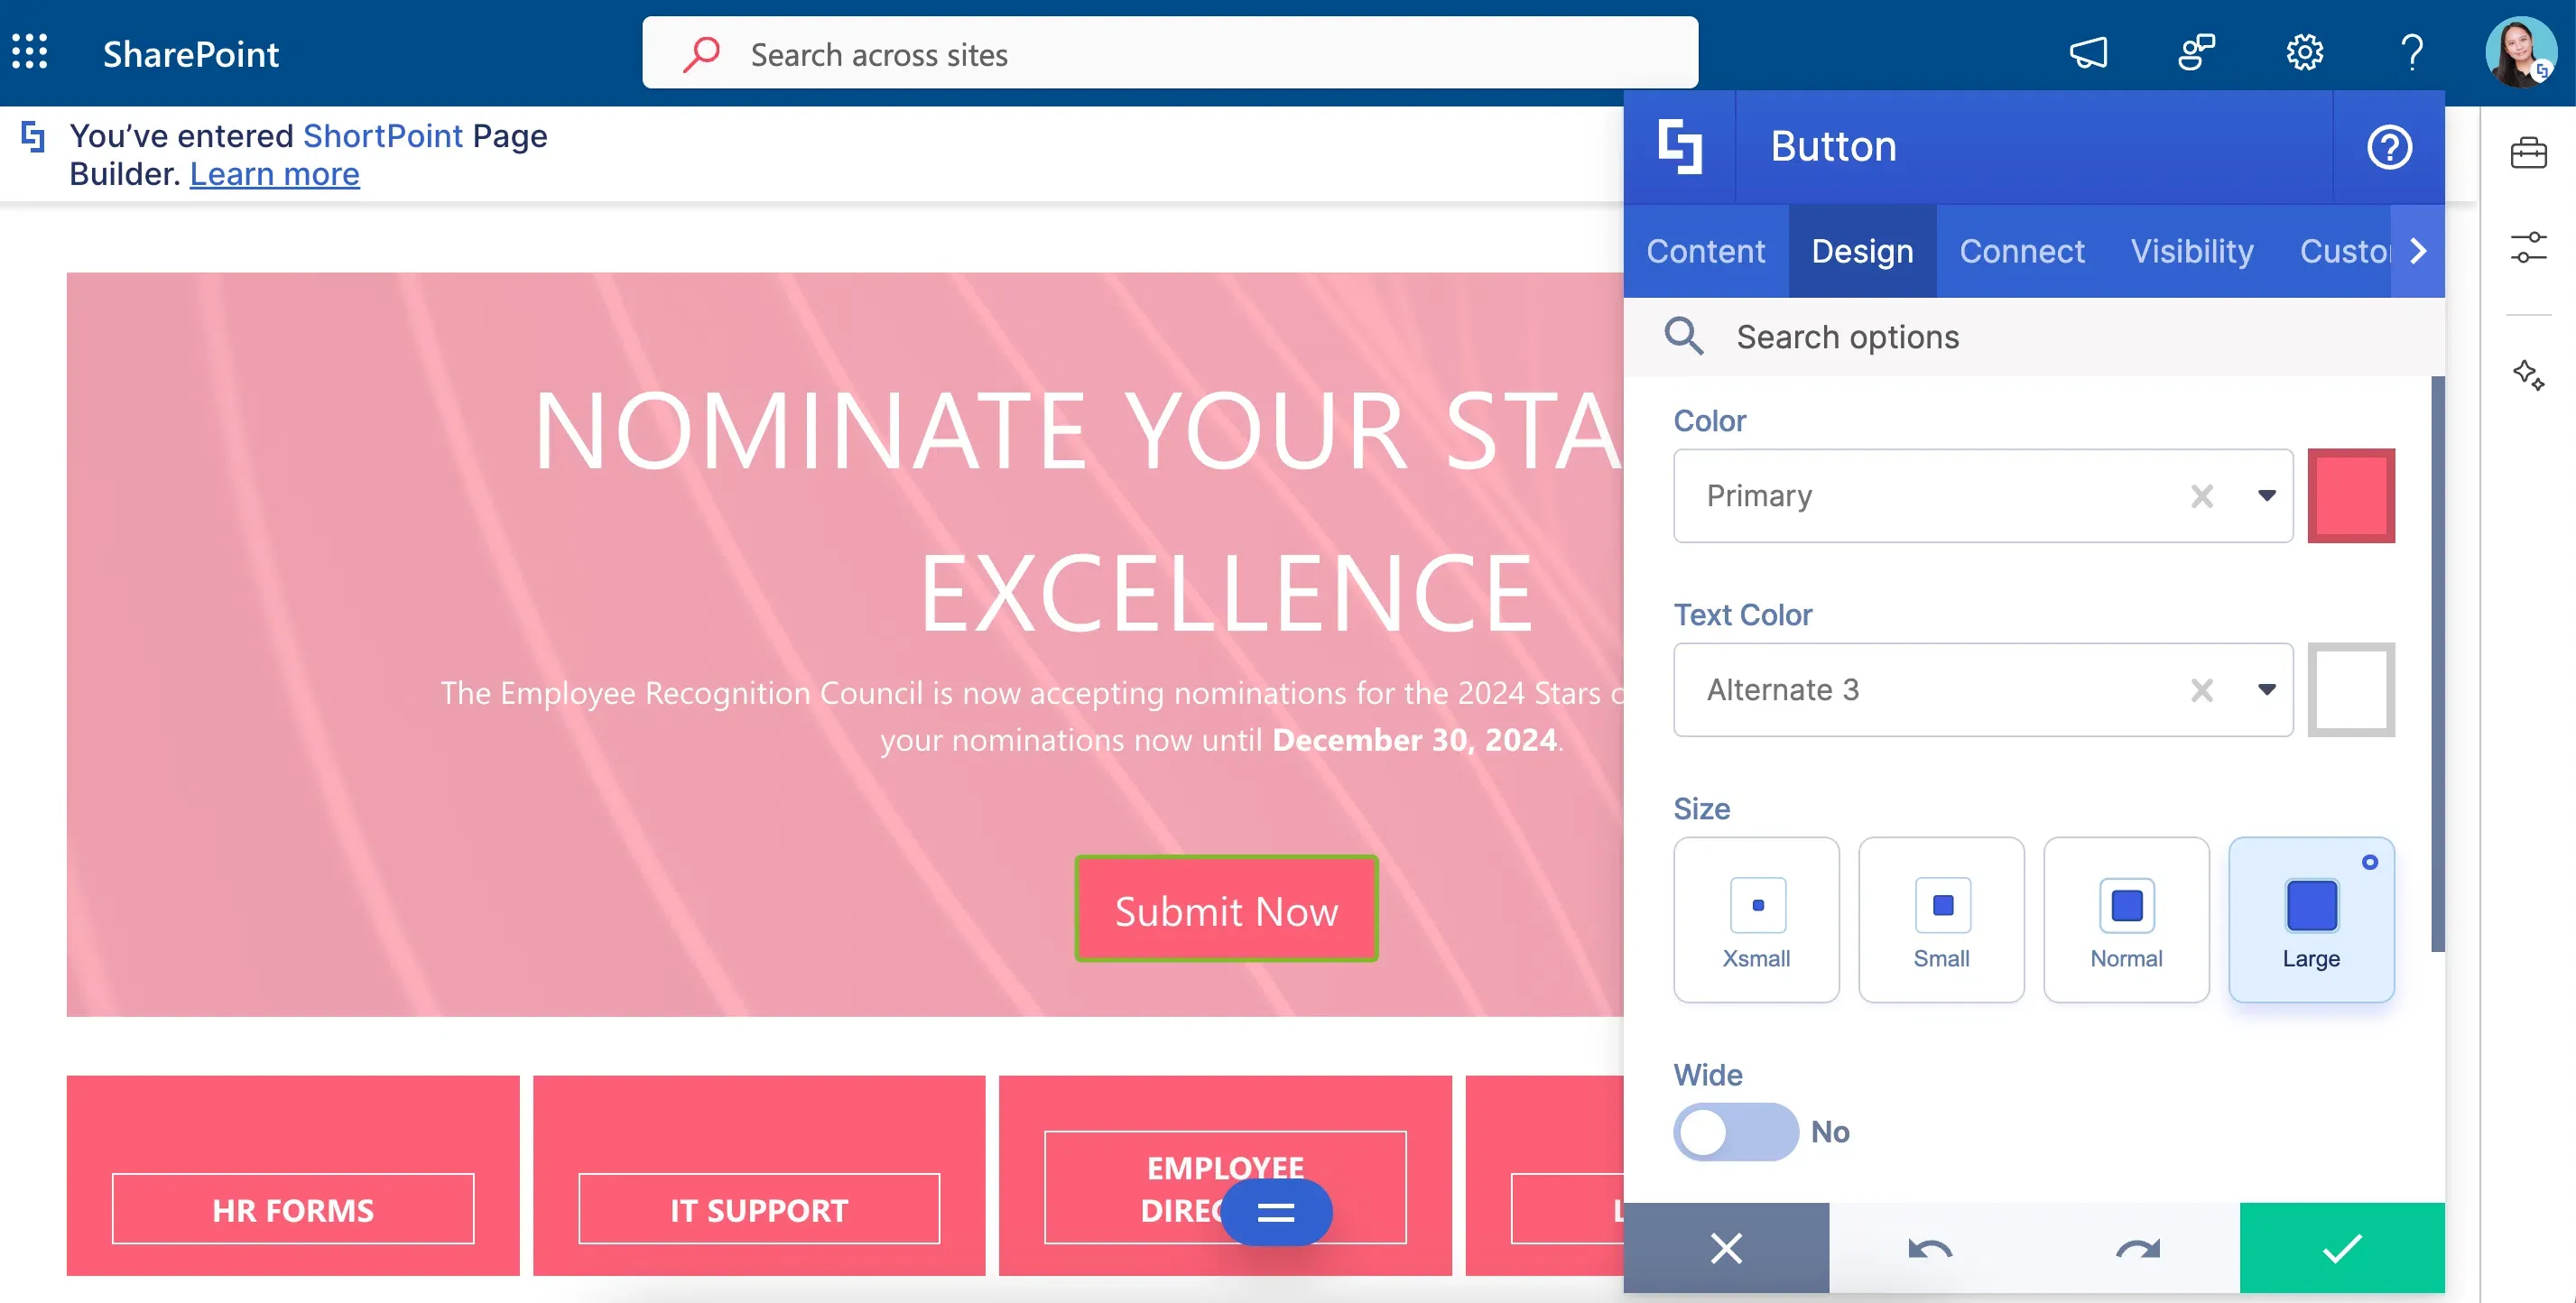
And to make it more interesting, the Button's design is also up to you! You can change the color, the size, and even how the page linked to the Button will be opened.
Link Design Element
Eager to see more of the Button's features? You can check out How to Customize the Button Design Element for a detailed guide on all the customizable features.
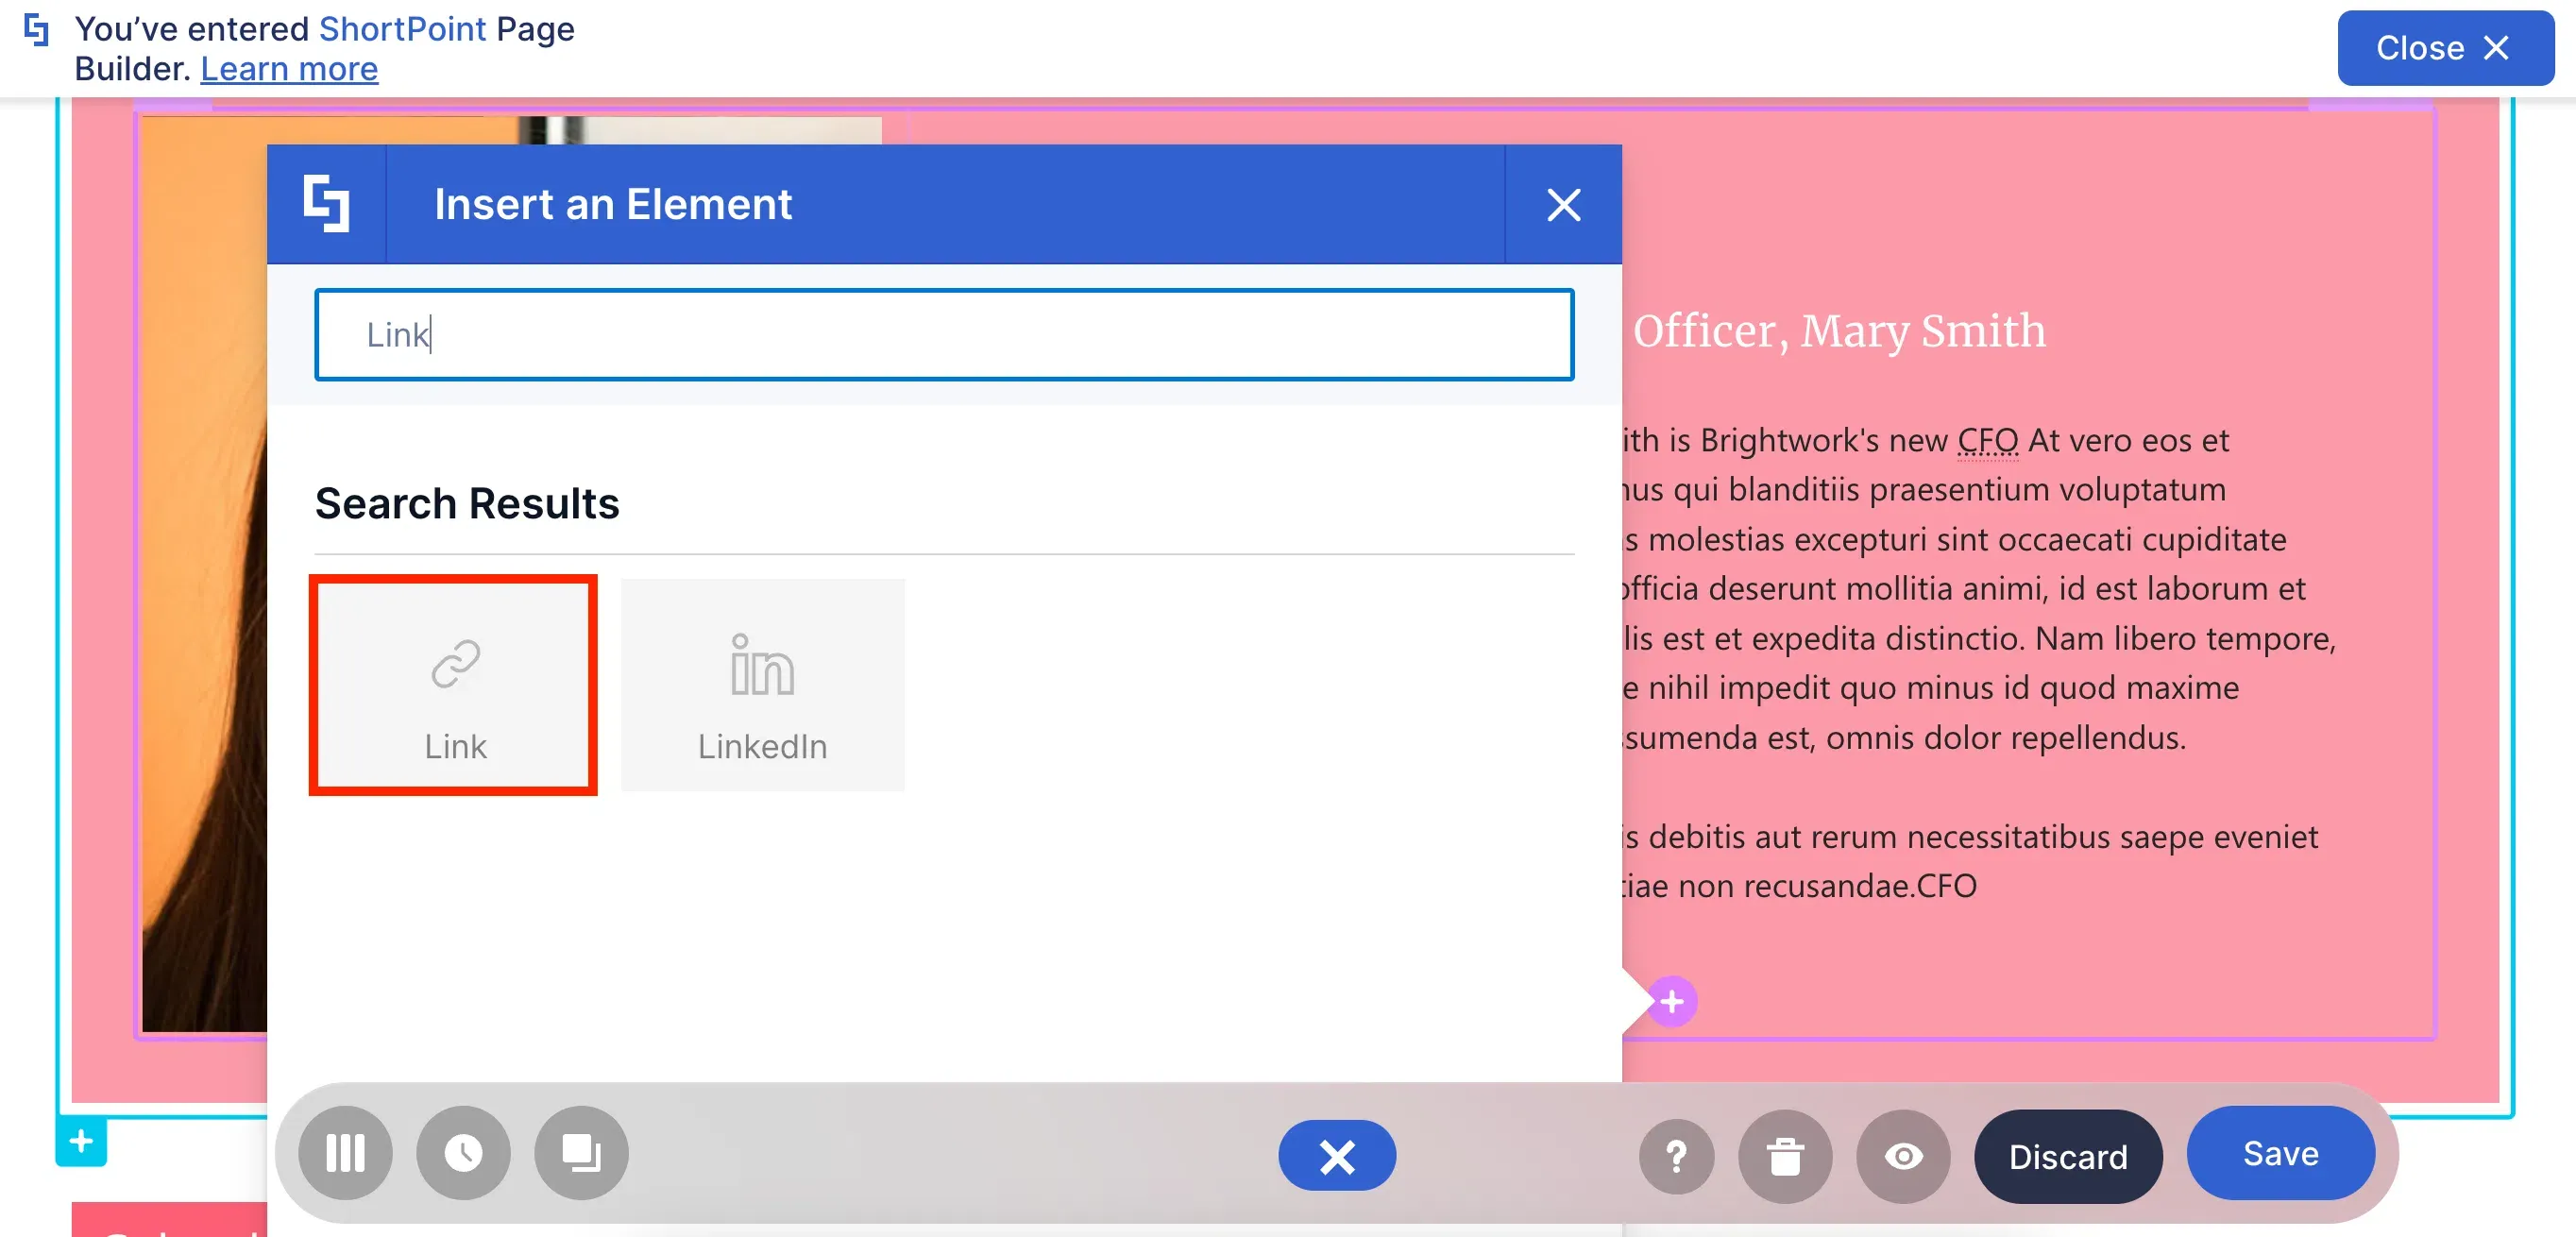
Think the Button Design Element is too IN YOUR FACE? The Link Design Element is here to save your day!
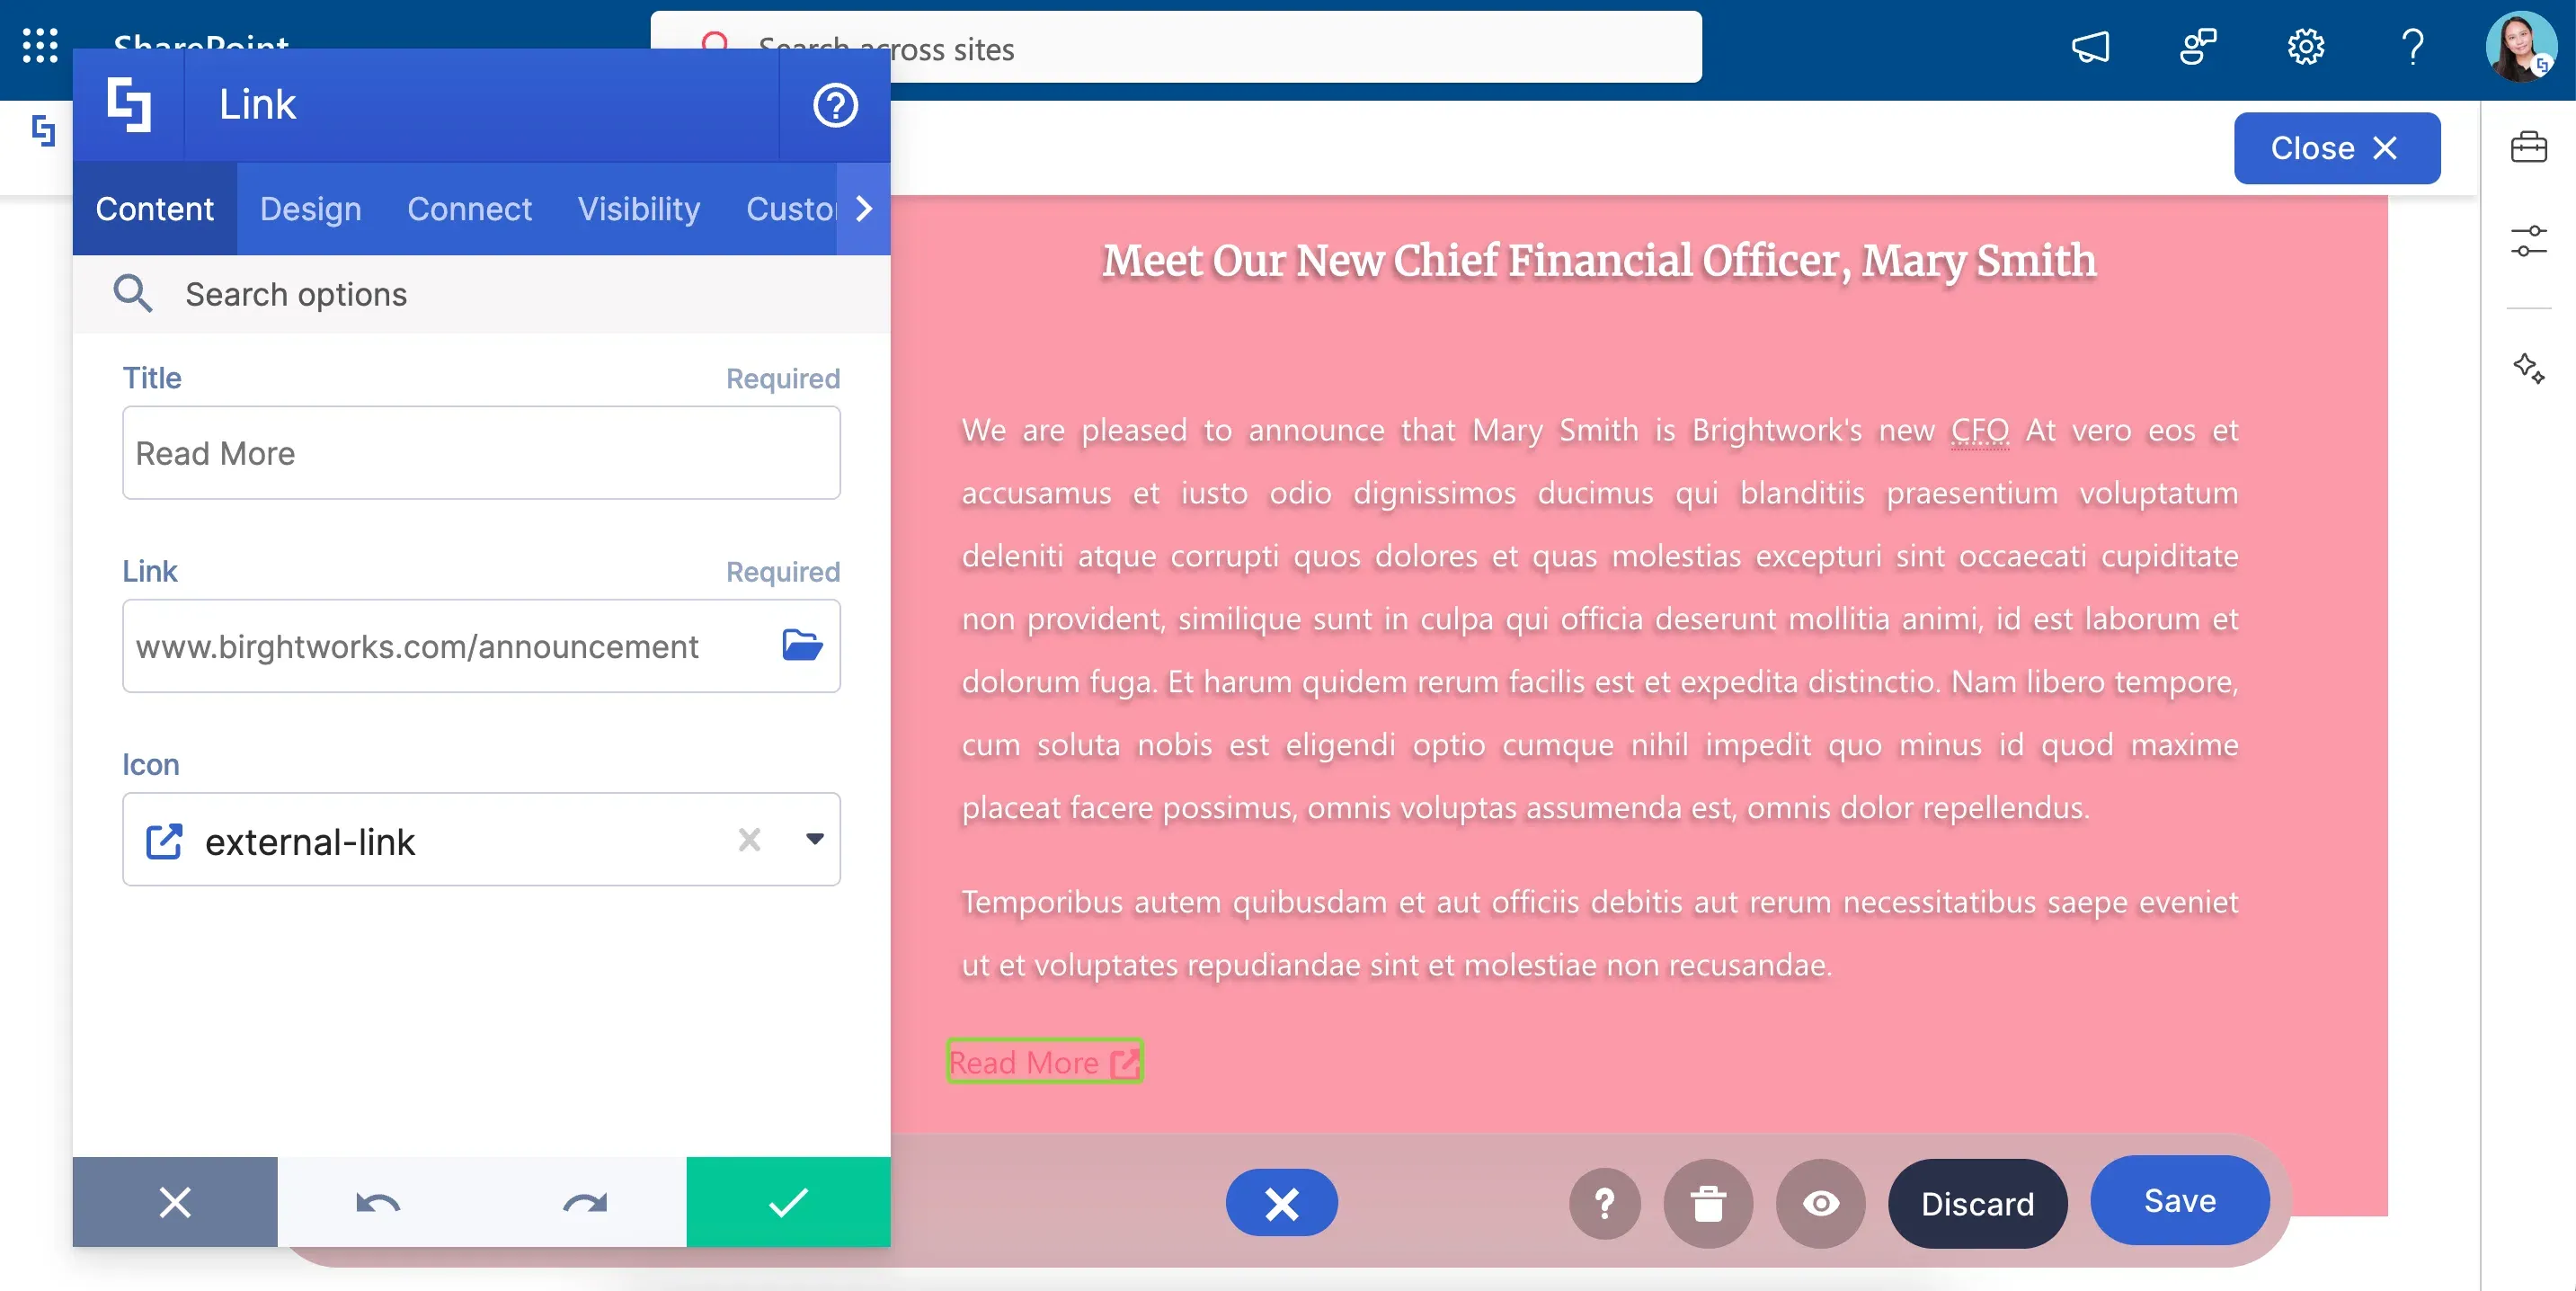
The Link Design Element works like the Button Design Element. It redirects your viewers to another page. Even its customizable features are mostly the same. What makes it different is its subtle look. While the Button screams, "NOTICE ME", the Link says "I'm here if you need me."
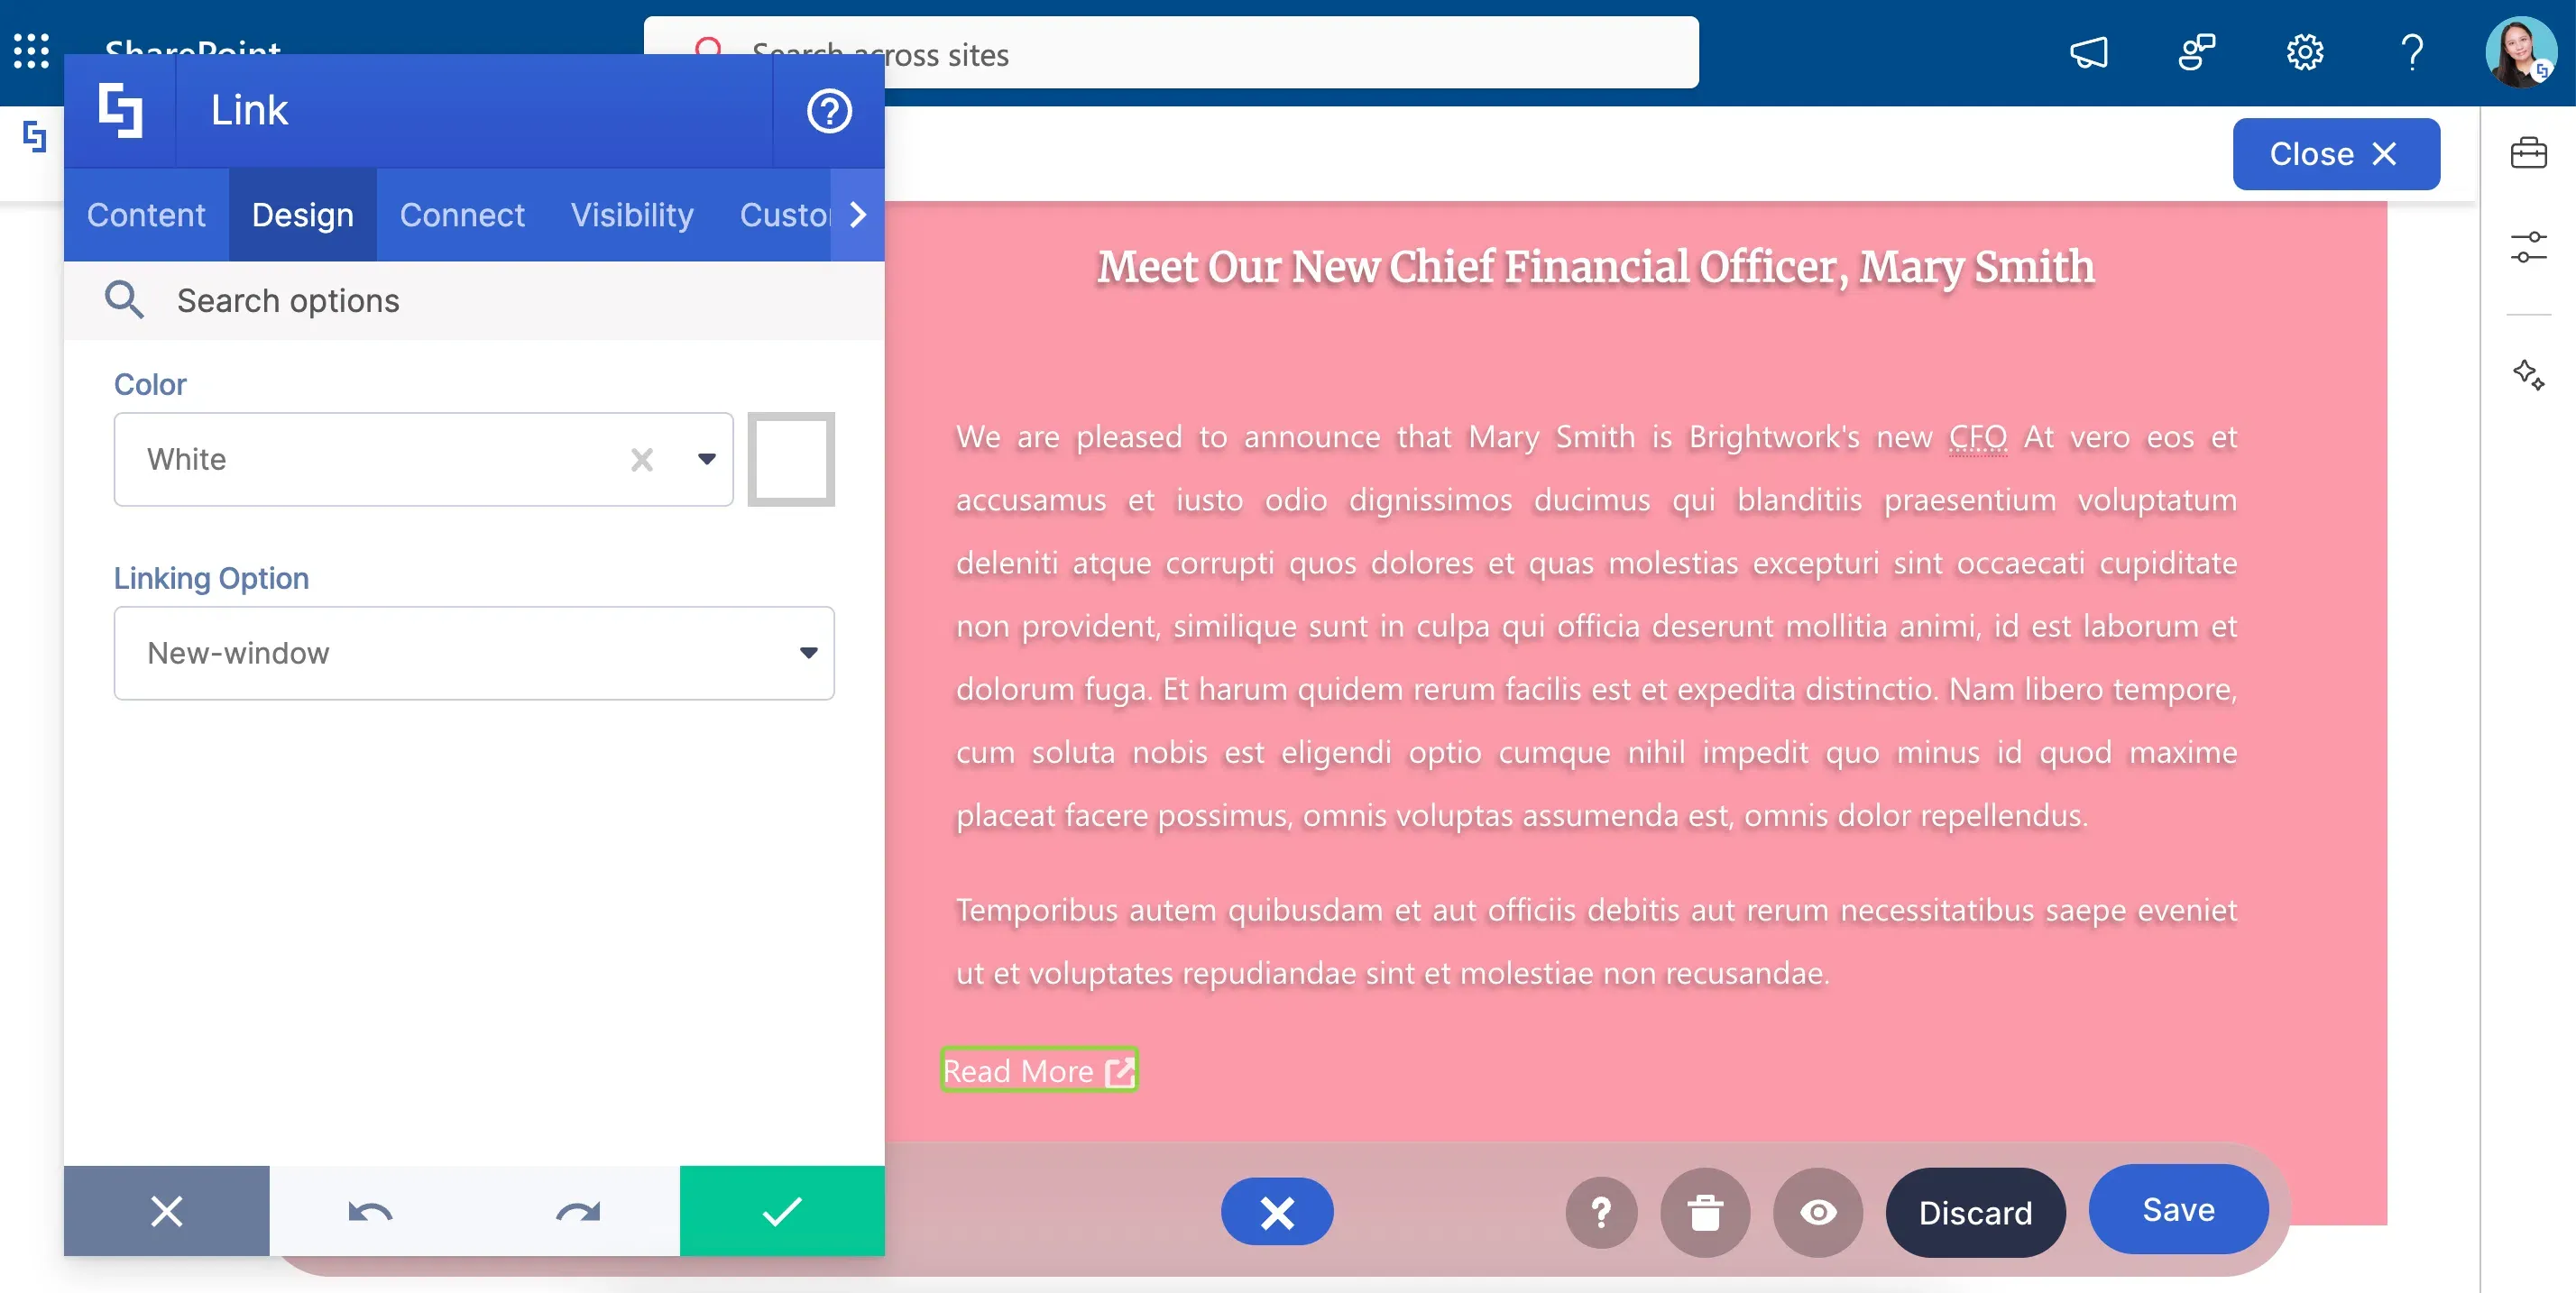
The Link's design is also your choice! You can change the color and how the link will be opened.
Care to know more? To get more details, check out How to Customize the Link Design Element.
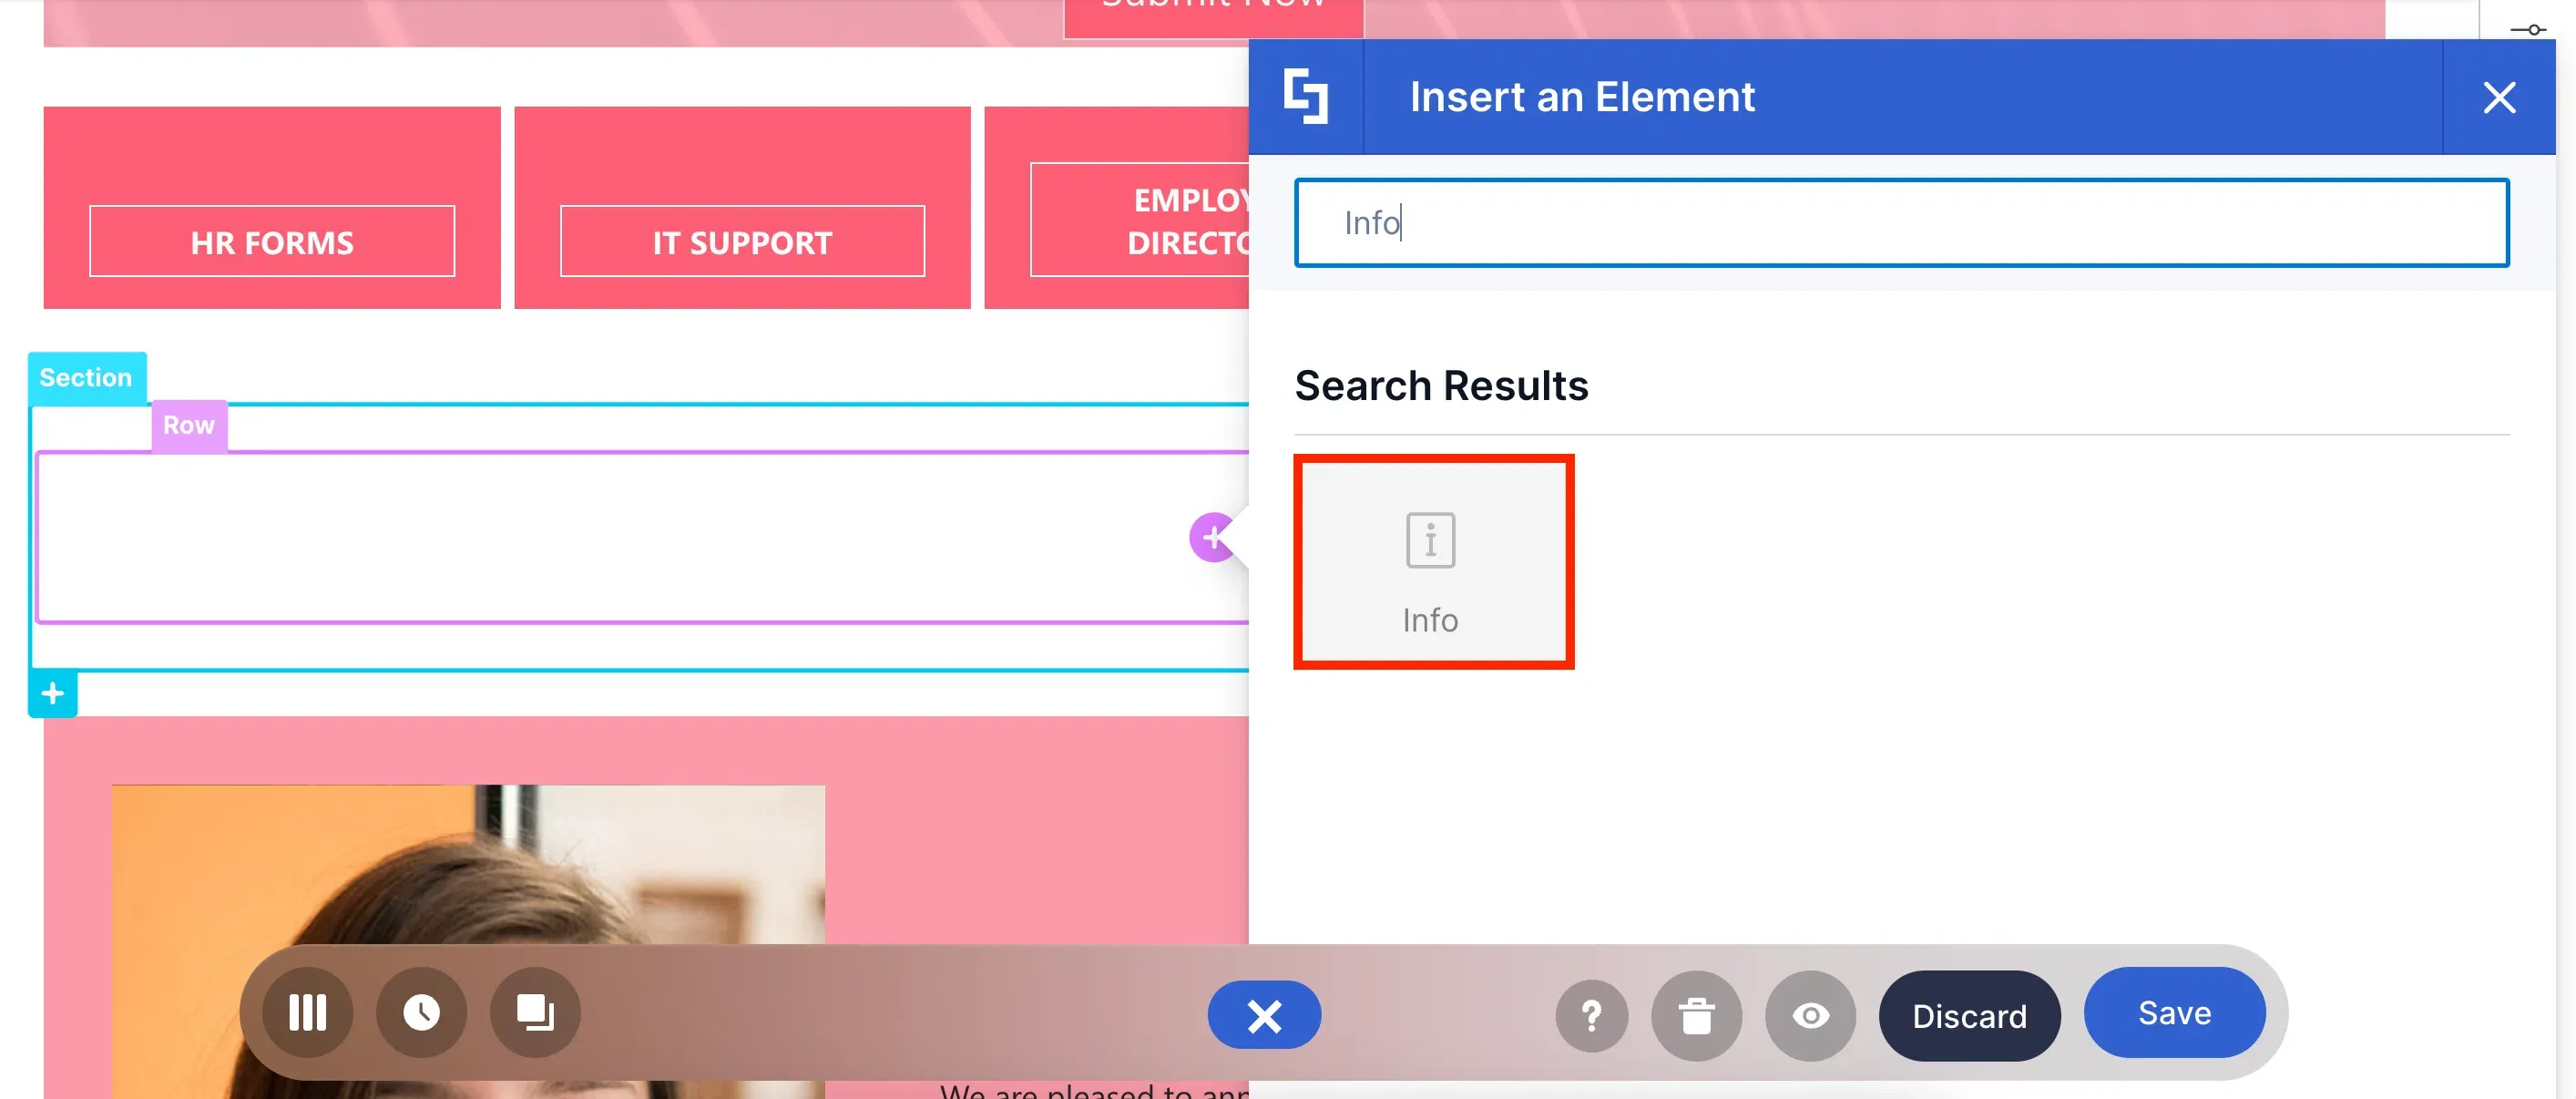
Info Design Element
Imagine going to a meeting and right after, you suddenly have a BUNCH of announcements you need to deliver to all your employees. Now, how will you do that? The Info Design Element, of course!
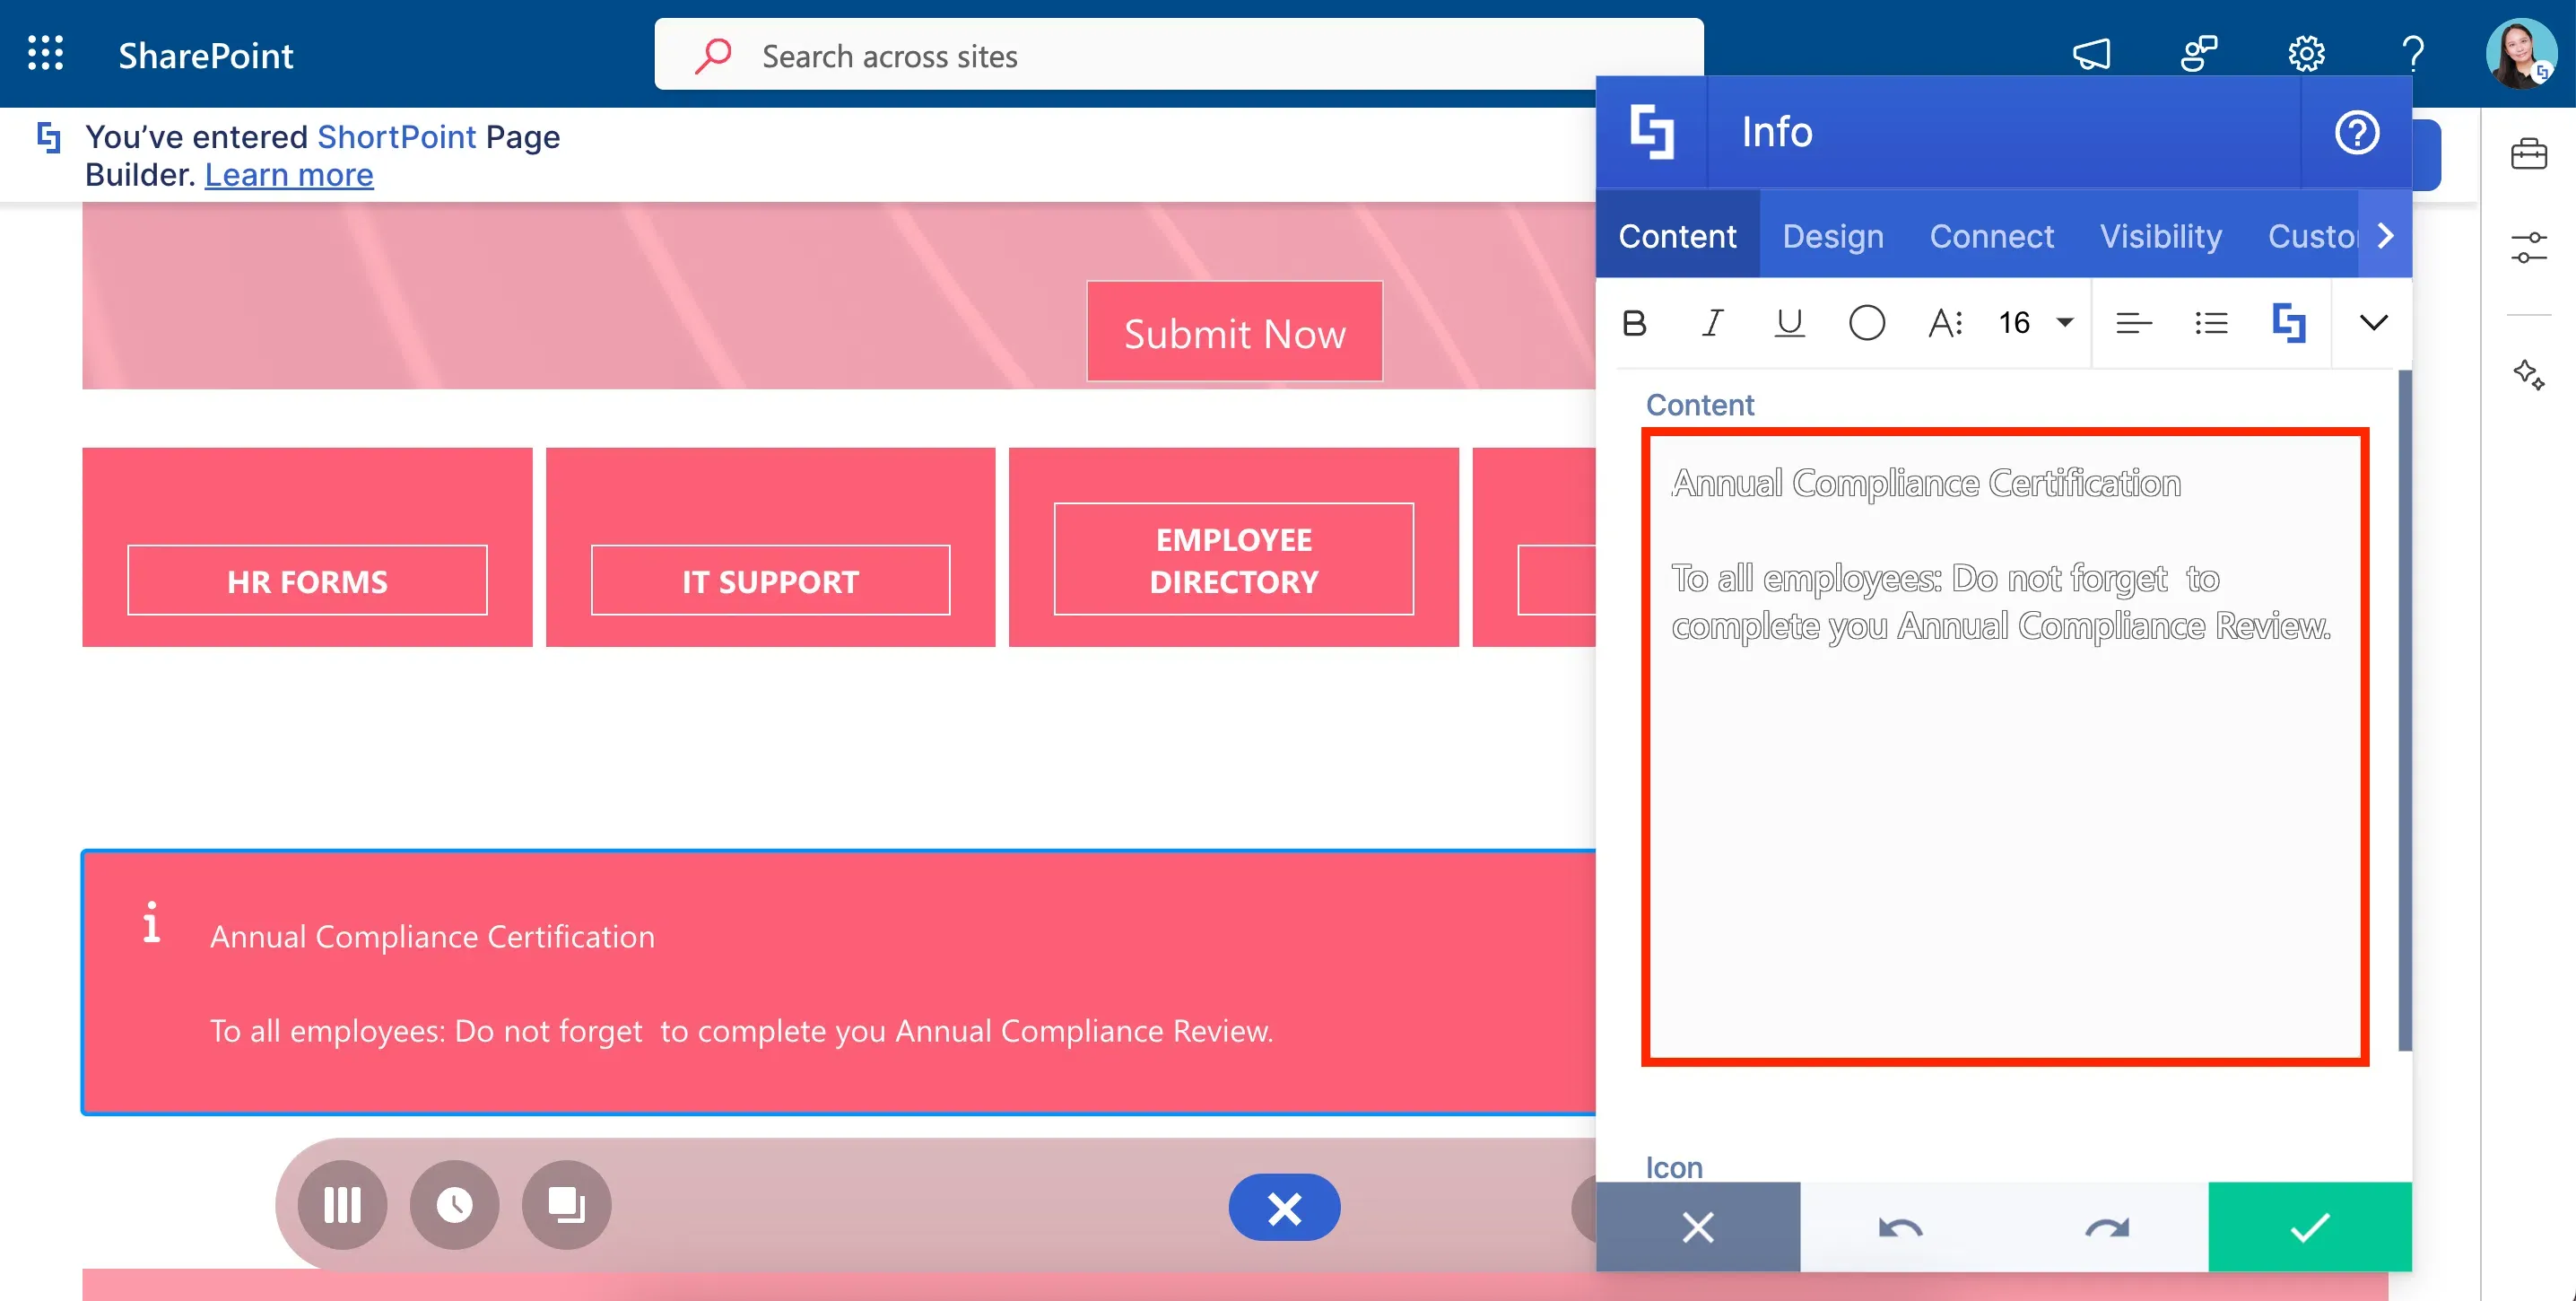
With it, you can craft any announcement you want—whether it's about the Annual Compliance Certification or about your upcoming Vacation Leave (if you still have any).
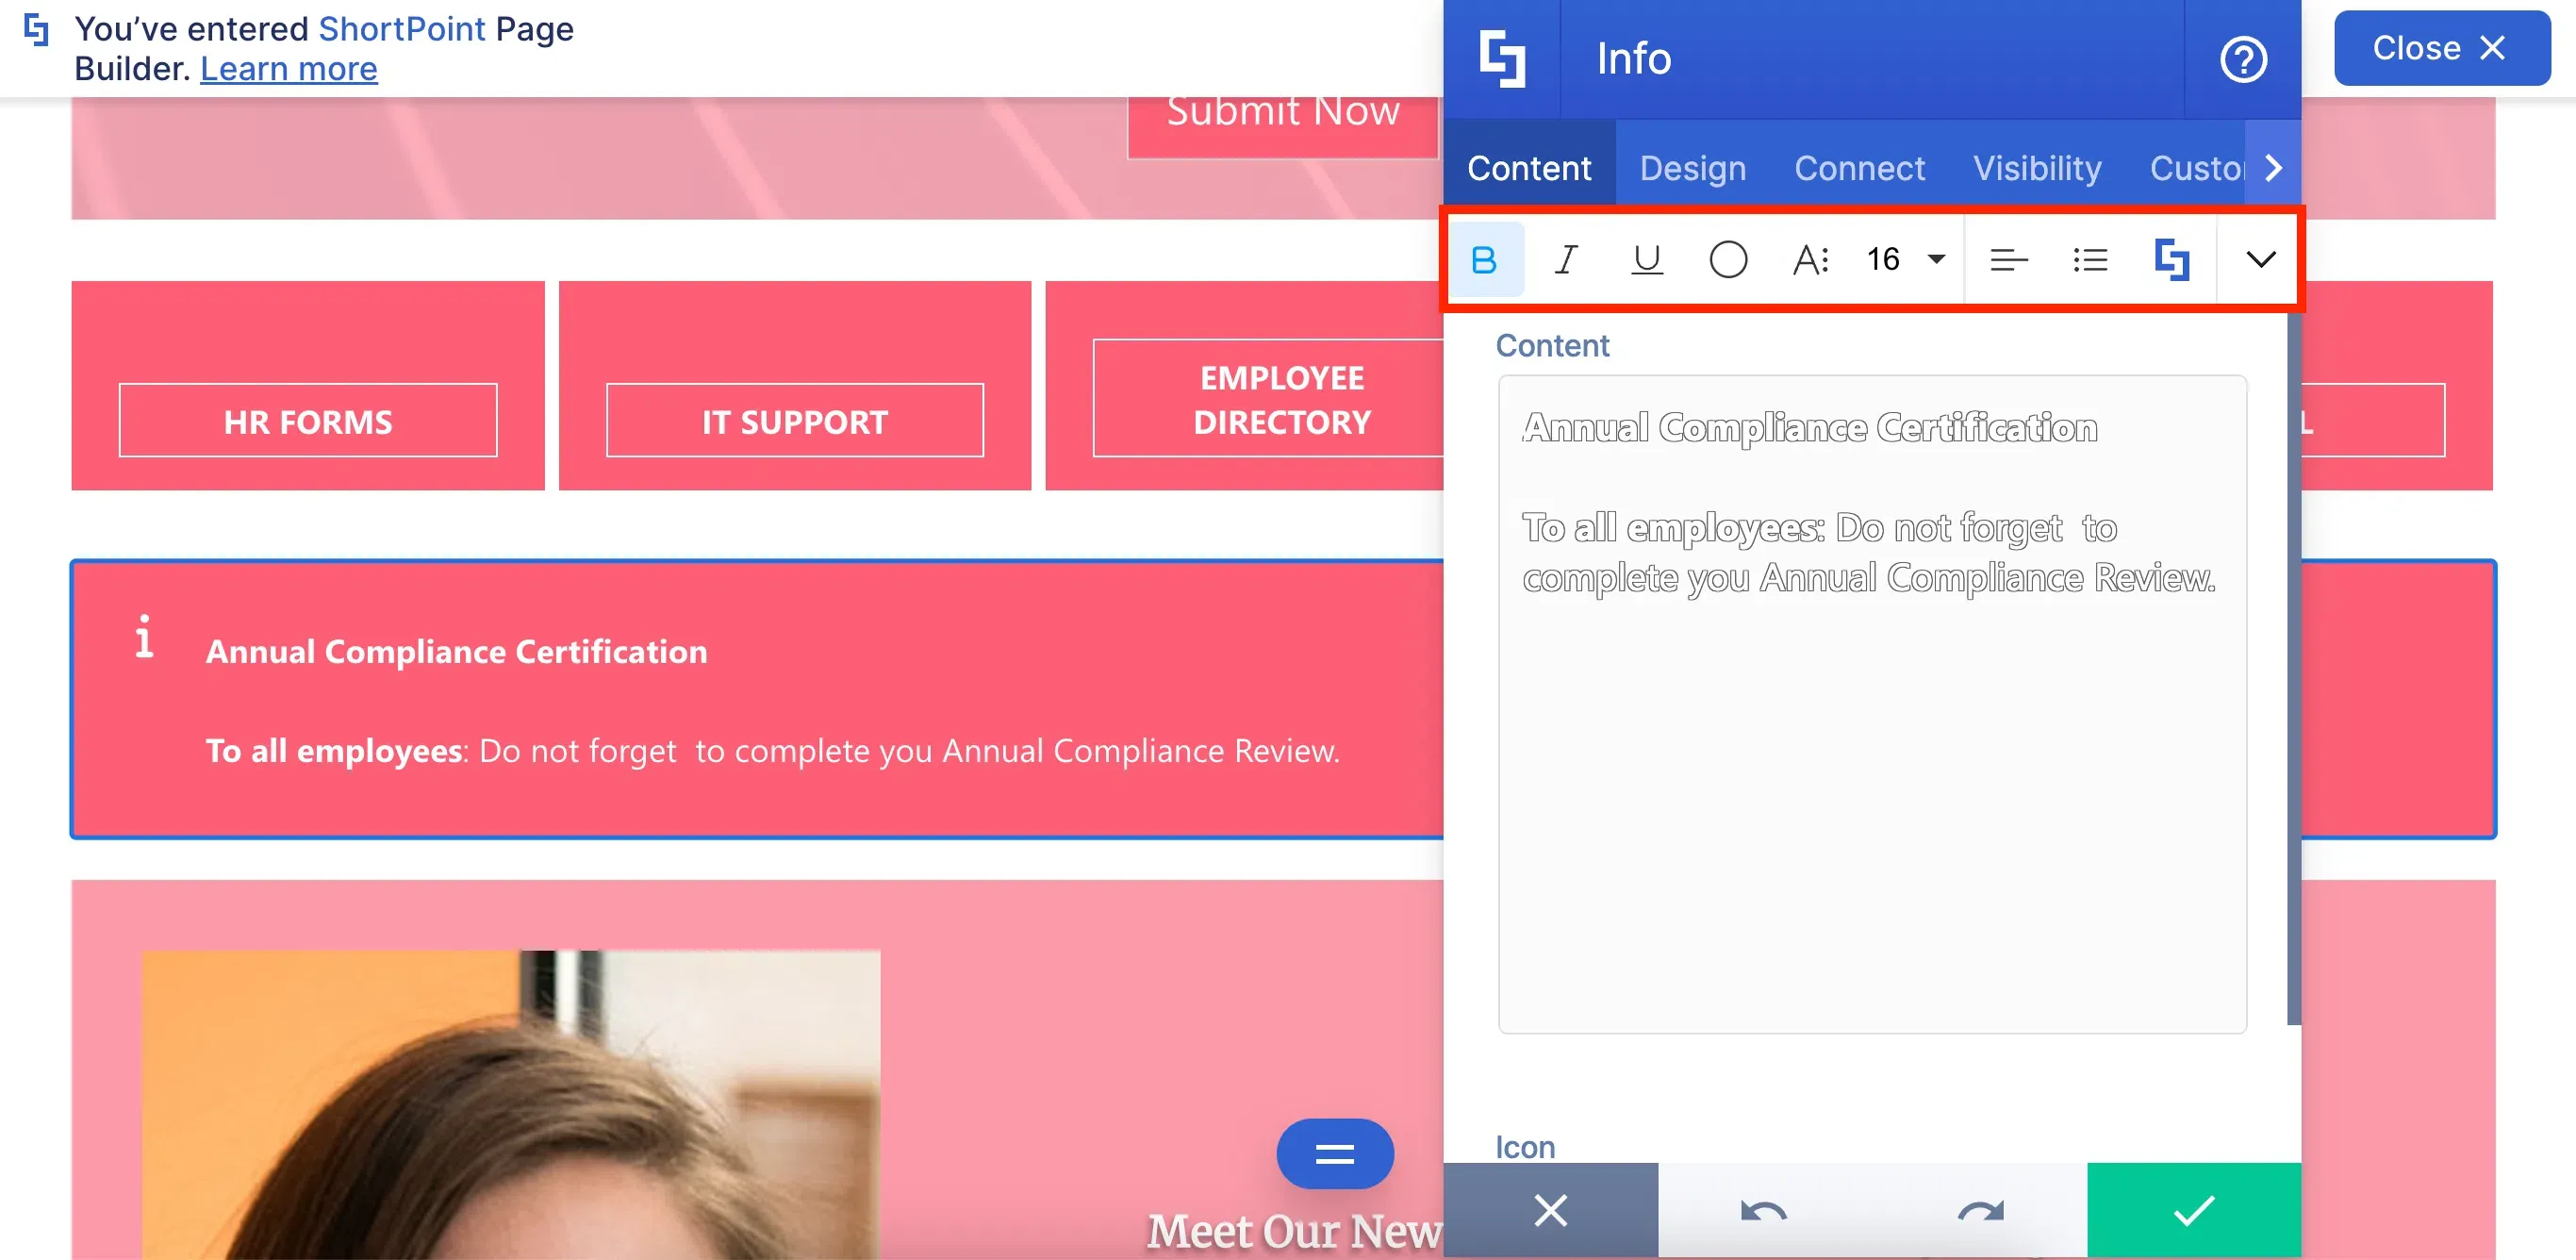
You will also notice that it has a Rich Text Editor. It works just like the one we used in the Text Design Element.
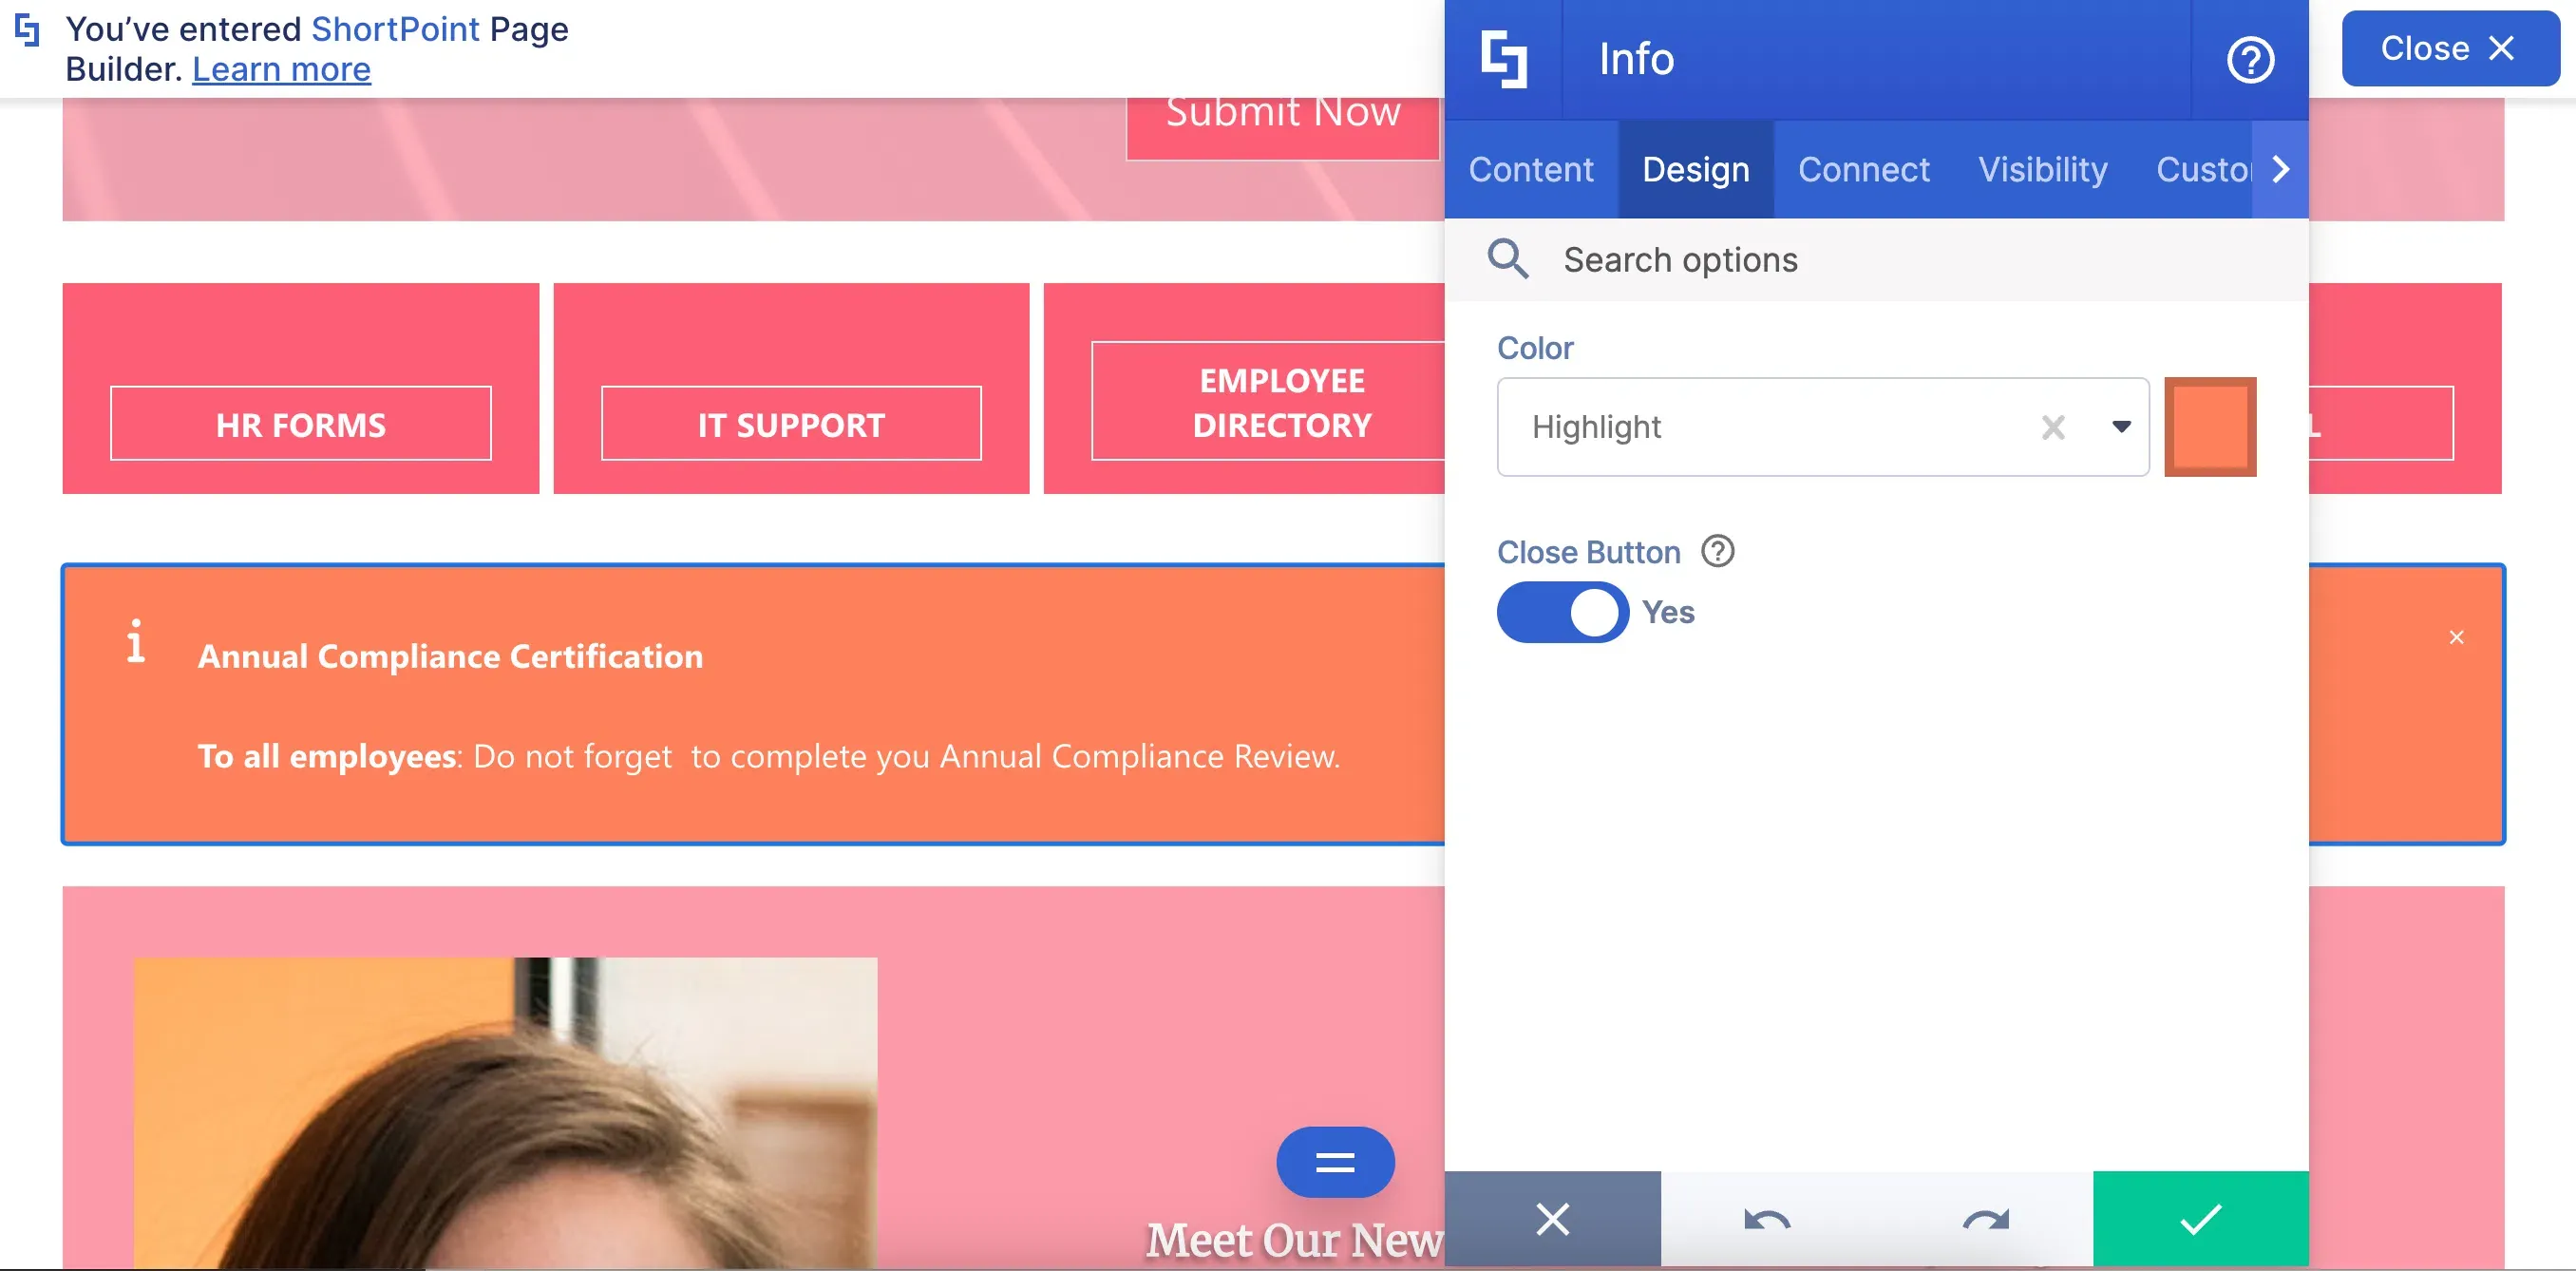
And of course, the look of the Info is your own adventure! Choose whatever color you like. You can even add a close button to have the option to dismiss the Info.
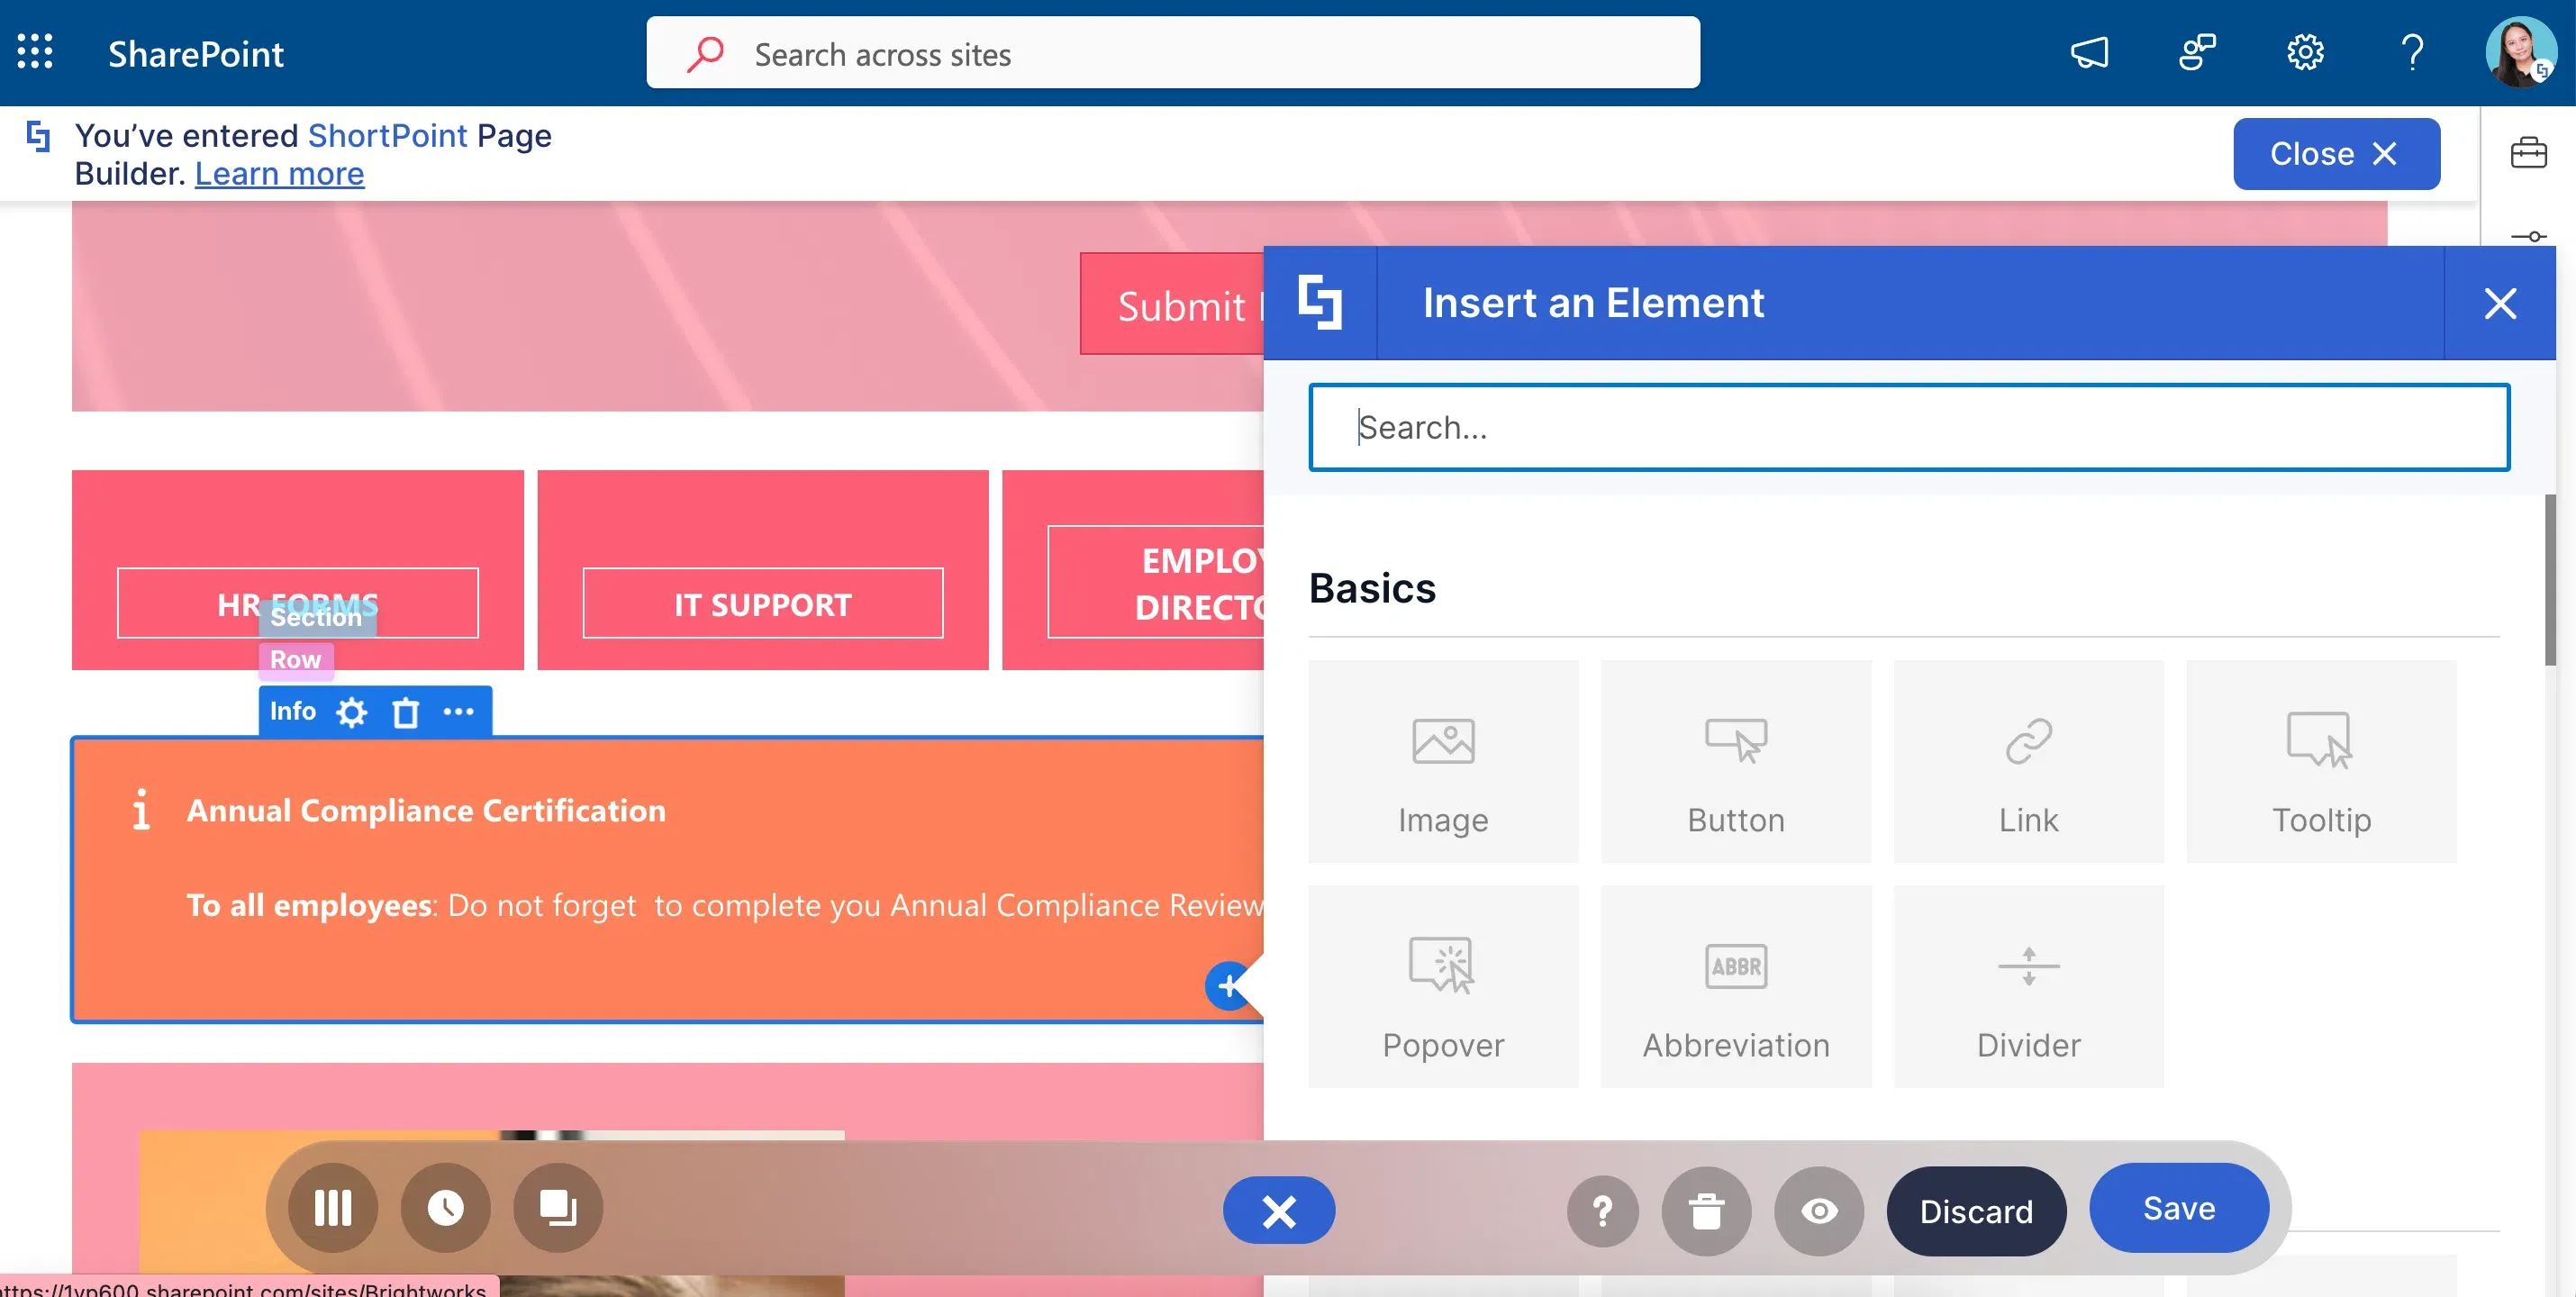
Want to know something EVEN MORE impressive? You can add other Design Elements inside Info. This is because Info is a Content-holder Design Element. All it means is you can add Images, Links, Buttons, and more inside if you want to.
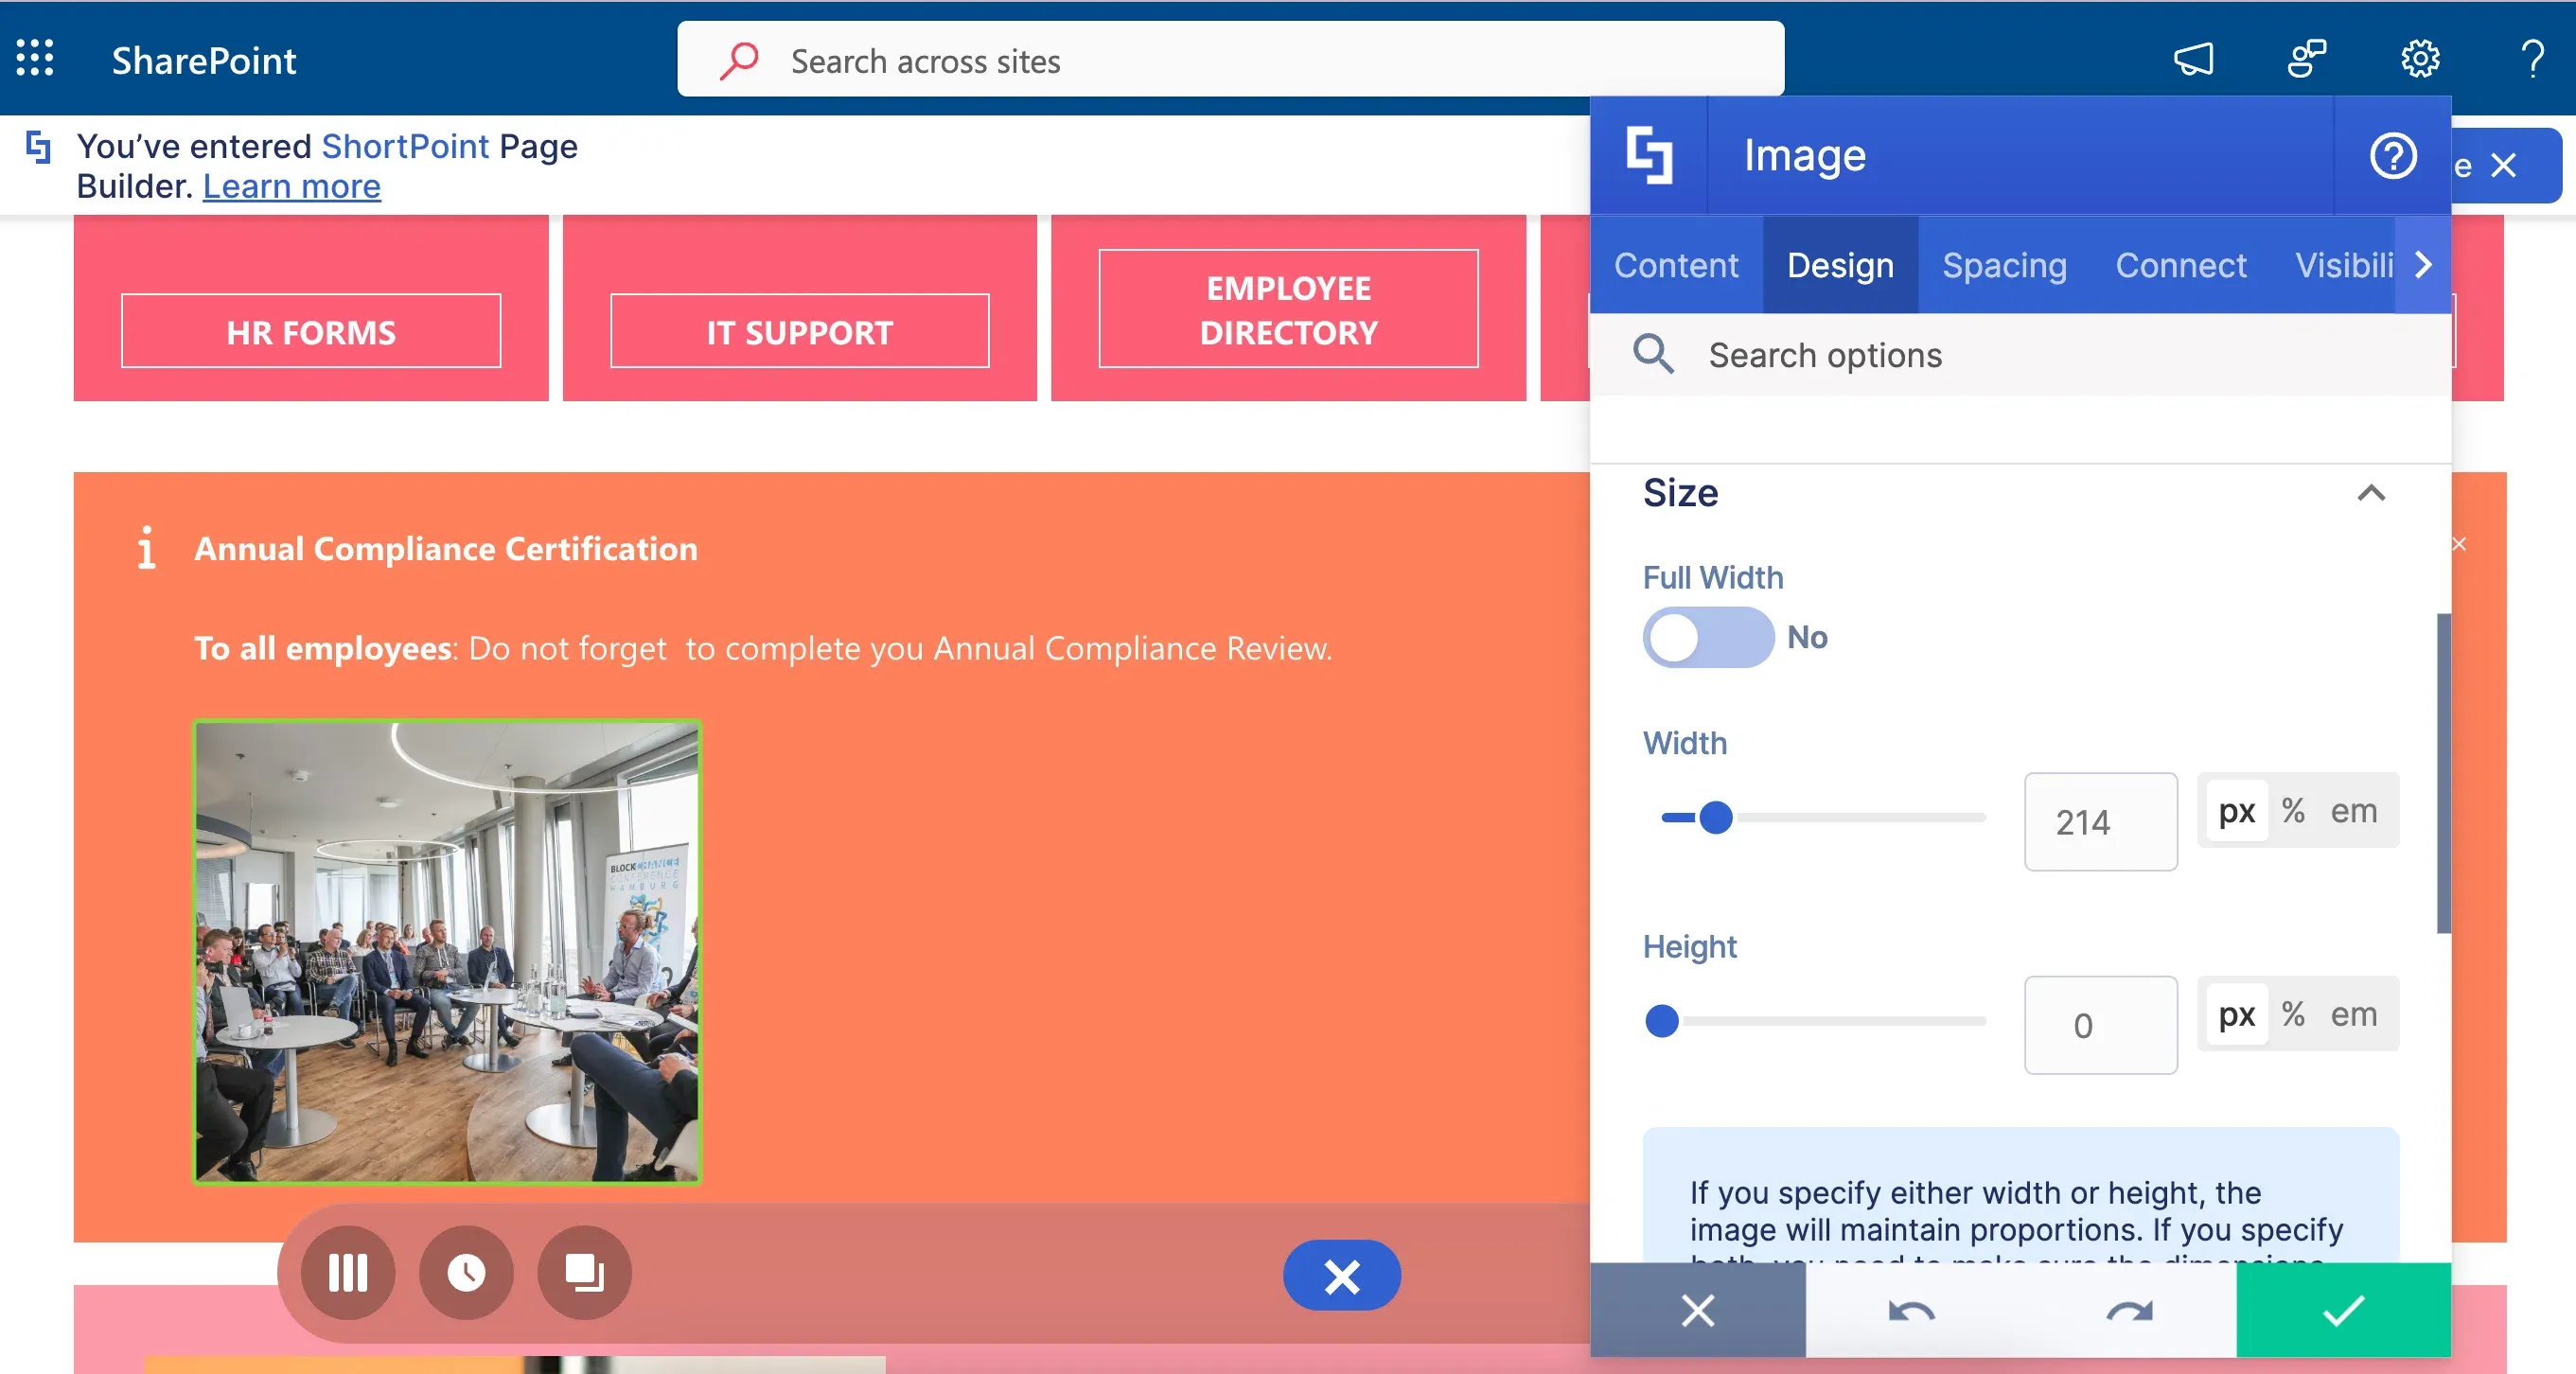
Here's how it looks with an image inside:
Alert Design Element
Ready to make an announcement? Check out How to Customize the Info Design Element before you do to learn more about the features you can tweak.
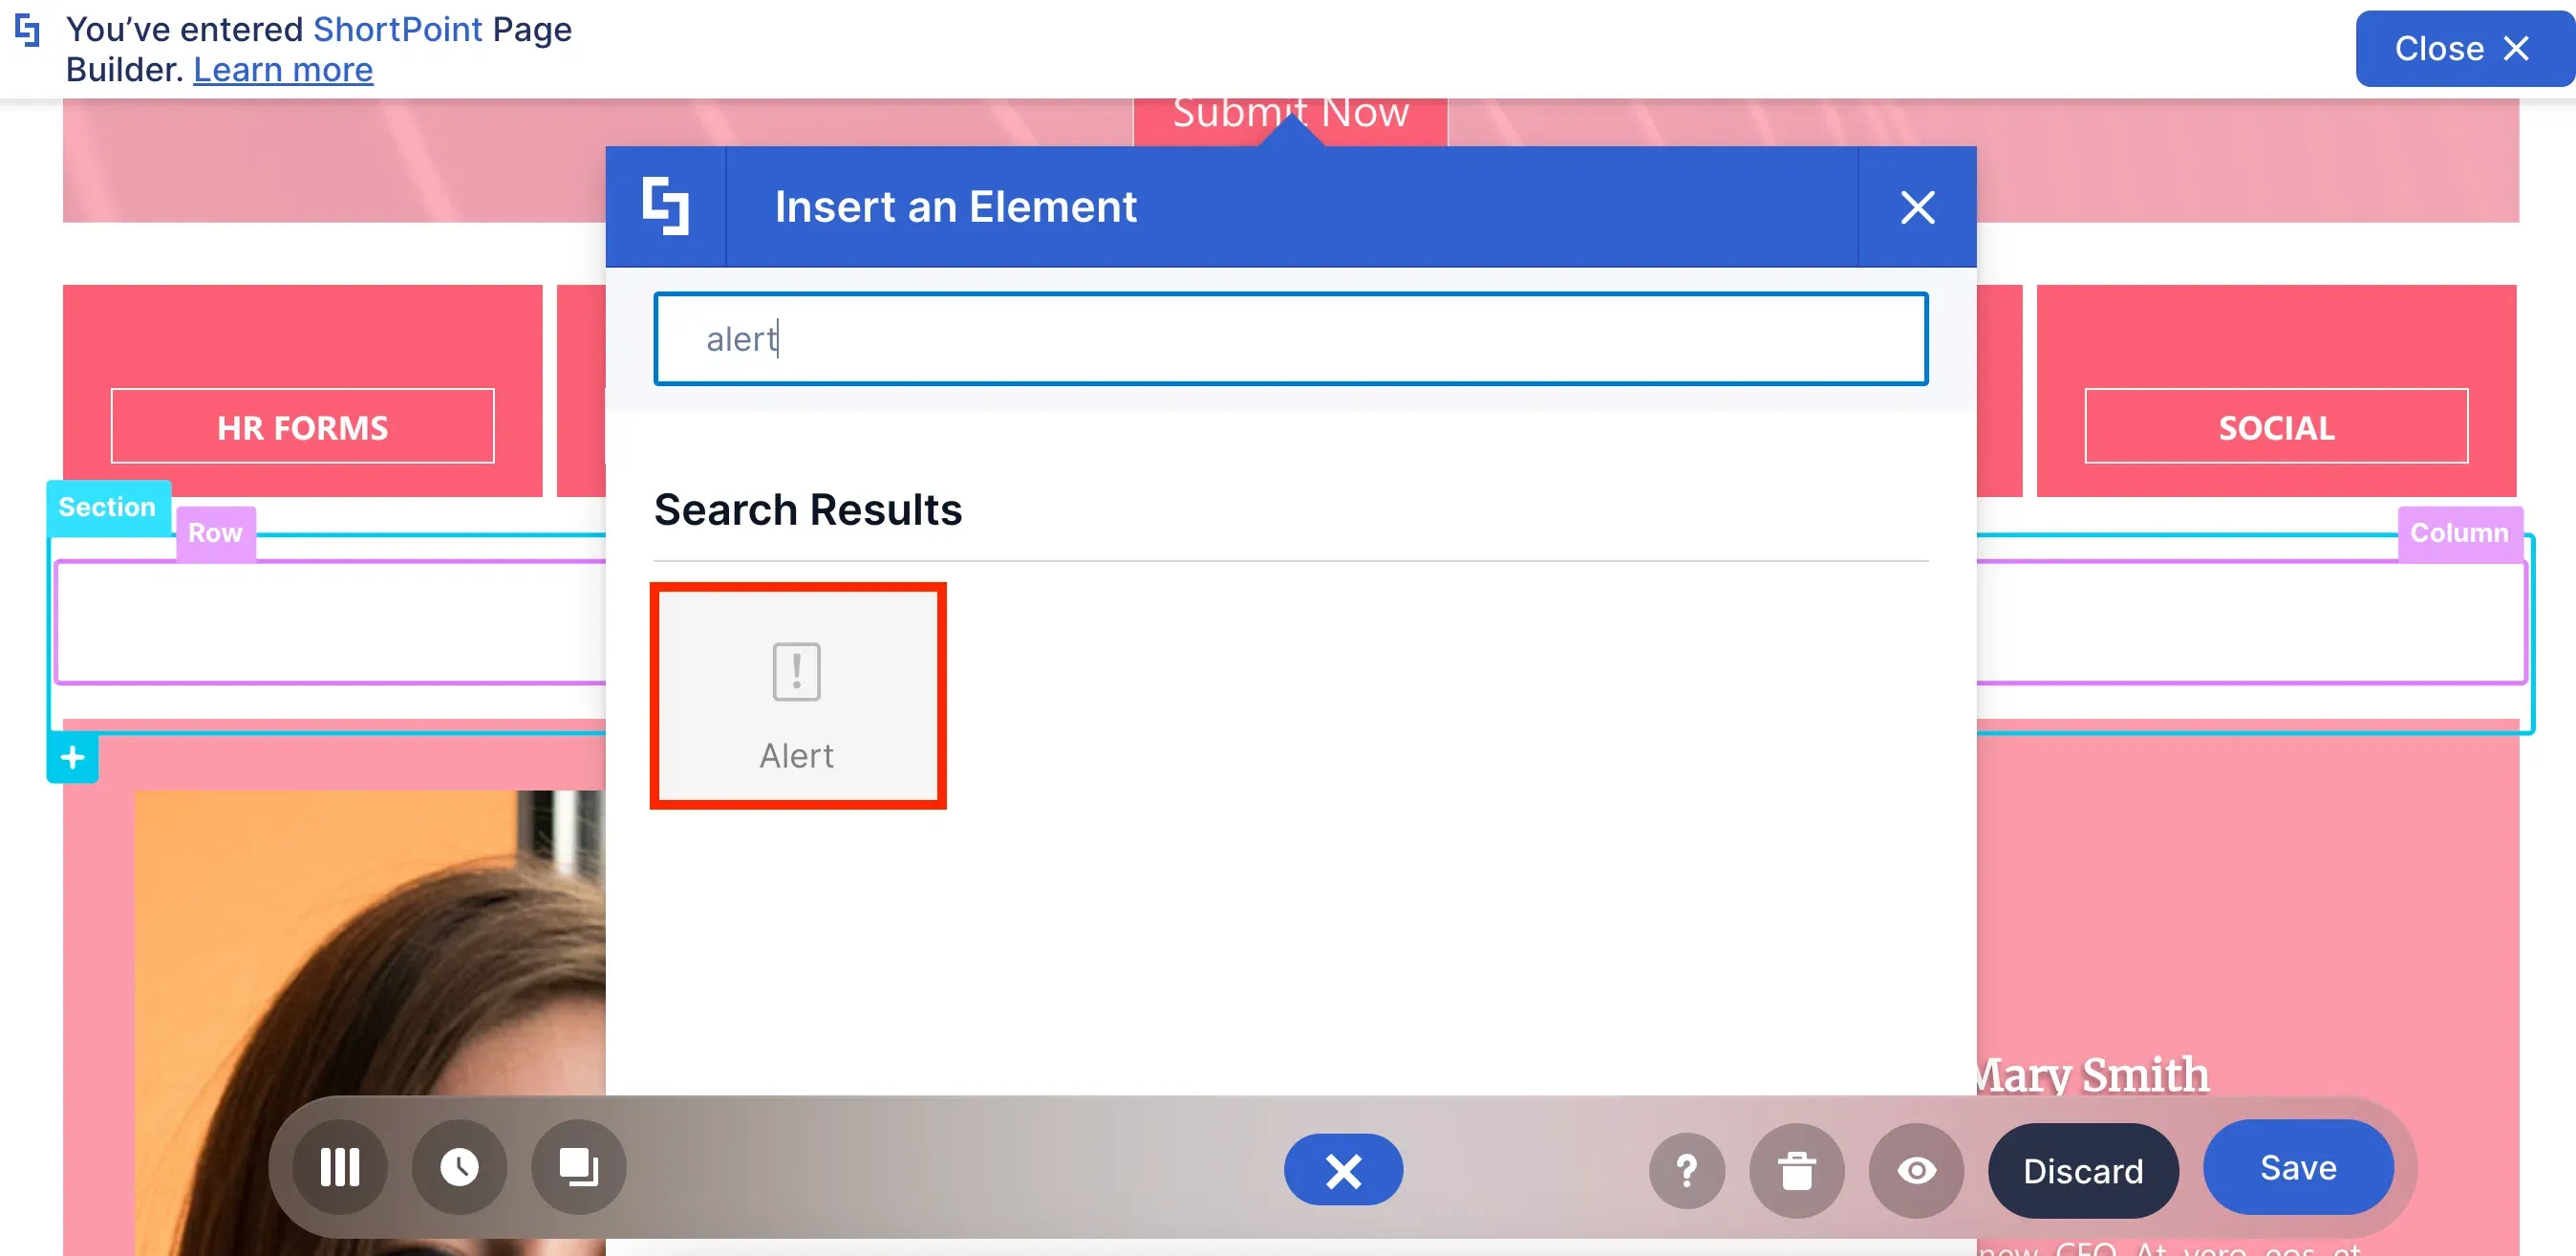
What if you don't want your announcements to be repetitive? Use the Alert Design Element, instead!
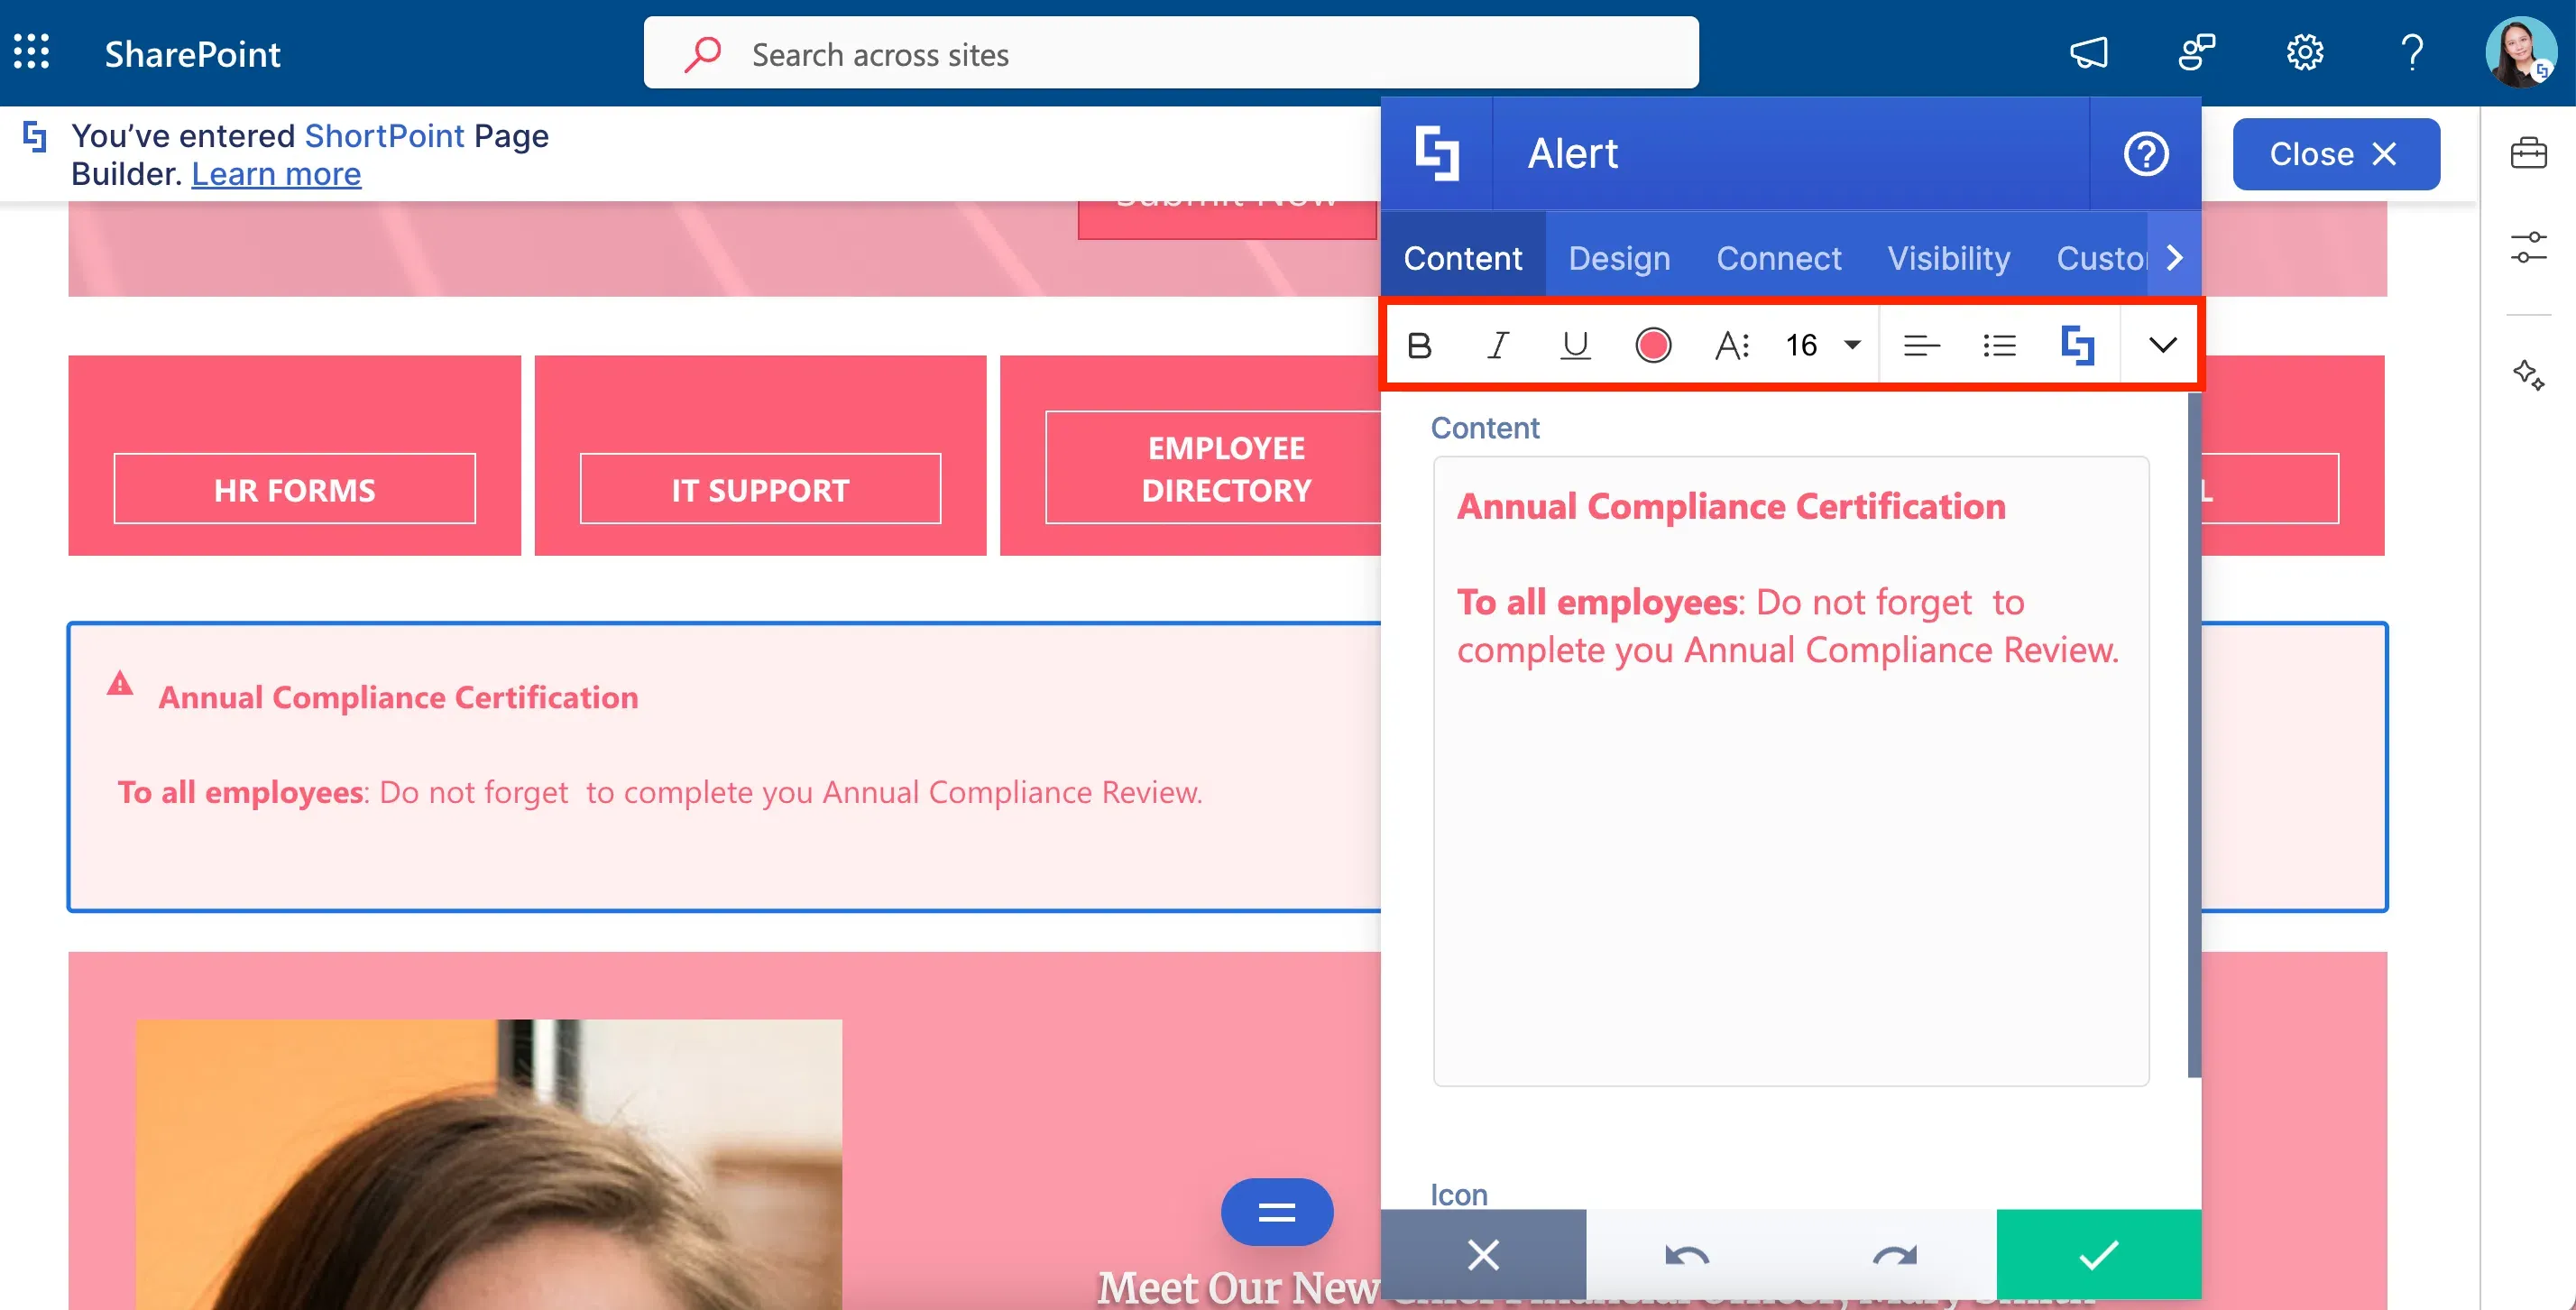
Like the Info Design Element, it is mainly used to announce important company information. It also has the Rich Text Editor which you can use to format the text inside the Alert.
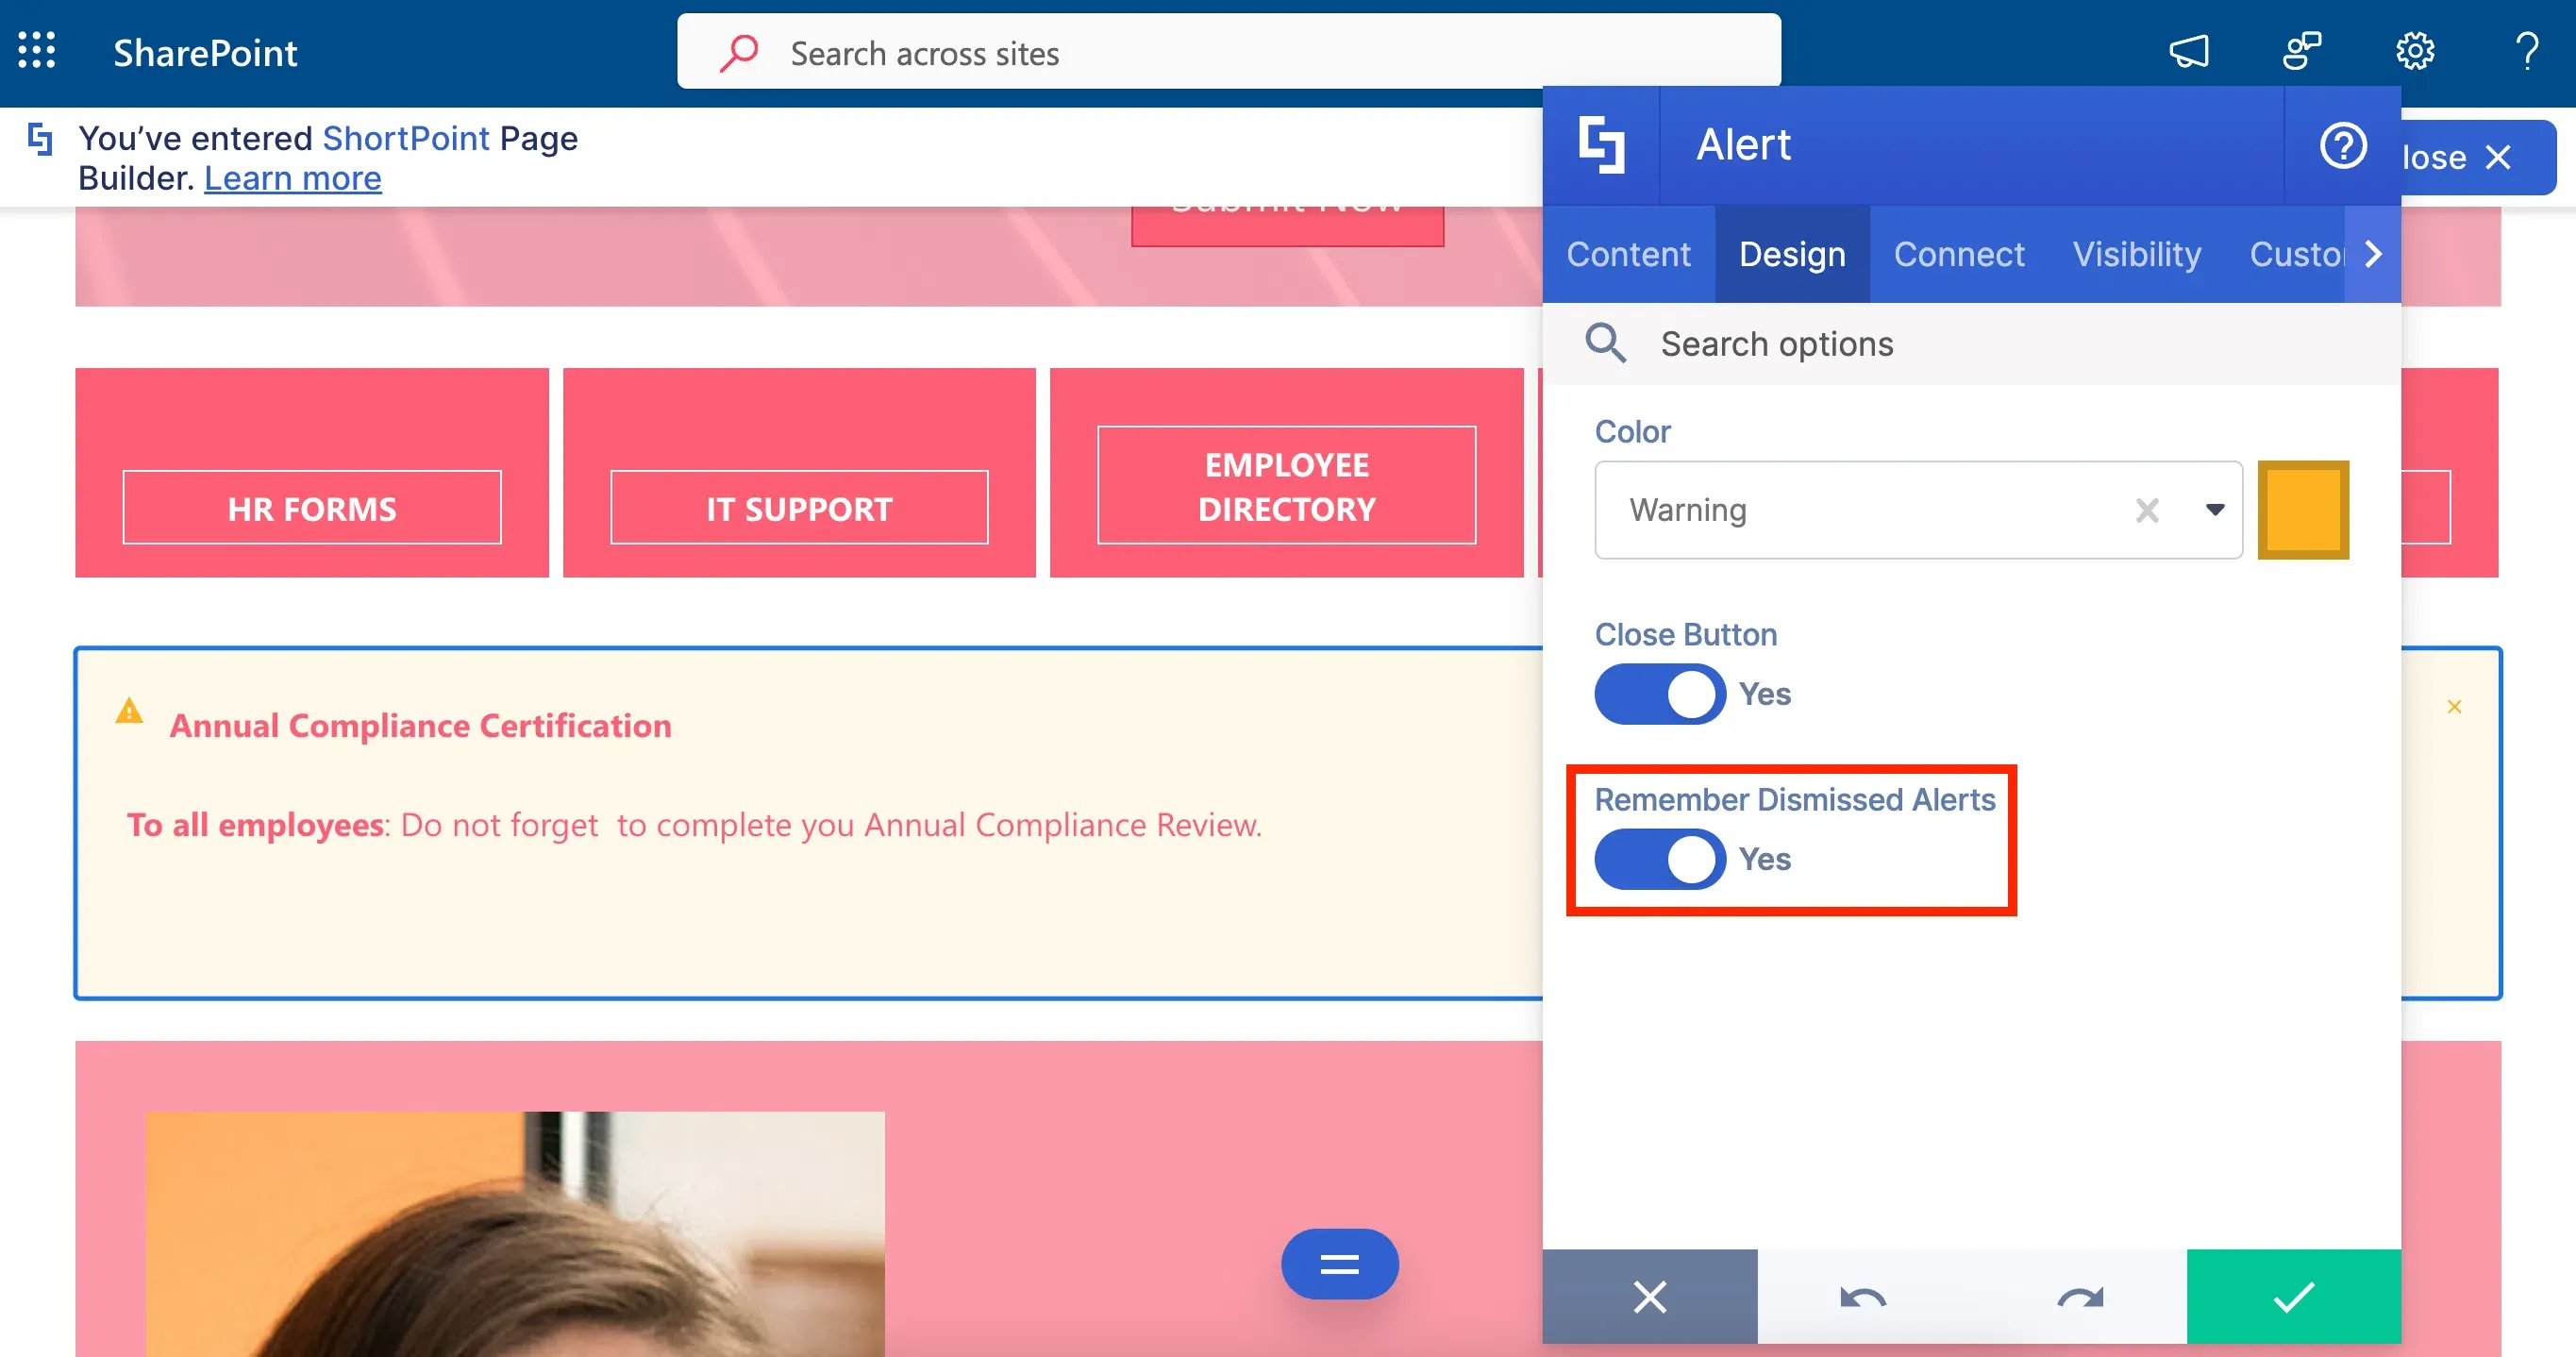
You can also change the background color and add a close button. But then, if it's SO similar to Info, why should you even bother to use the Alert? Easy, to make announcements less repetitive! After all, no one likes seeing things over and over and over and over (see what we did there) again. Unlike the Info Design Element, Alert has the Remember Dismissed Alerts option. This option remembers when your users dismiss an alert and prevent it from reappearing when the page reloads.
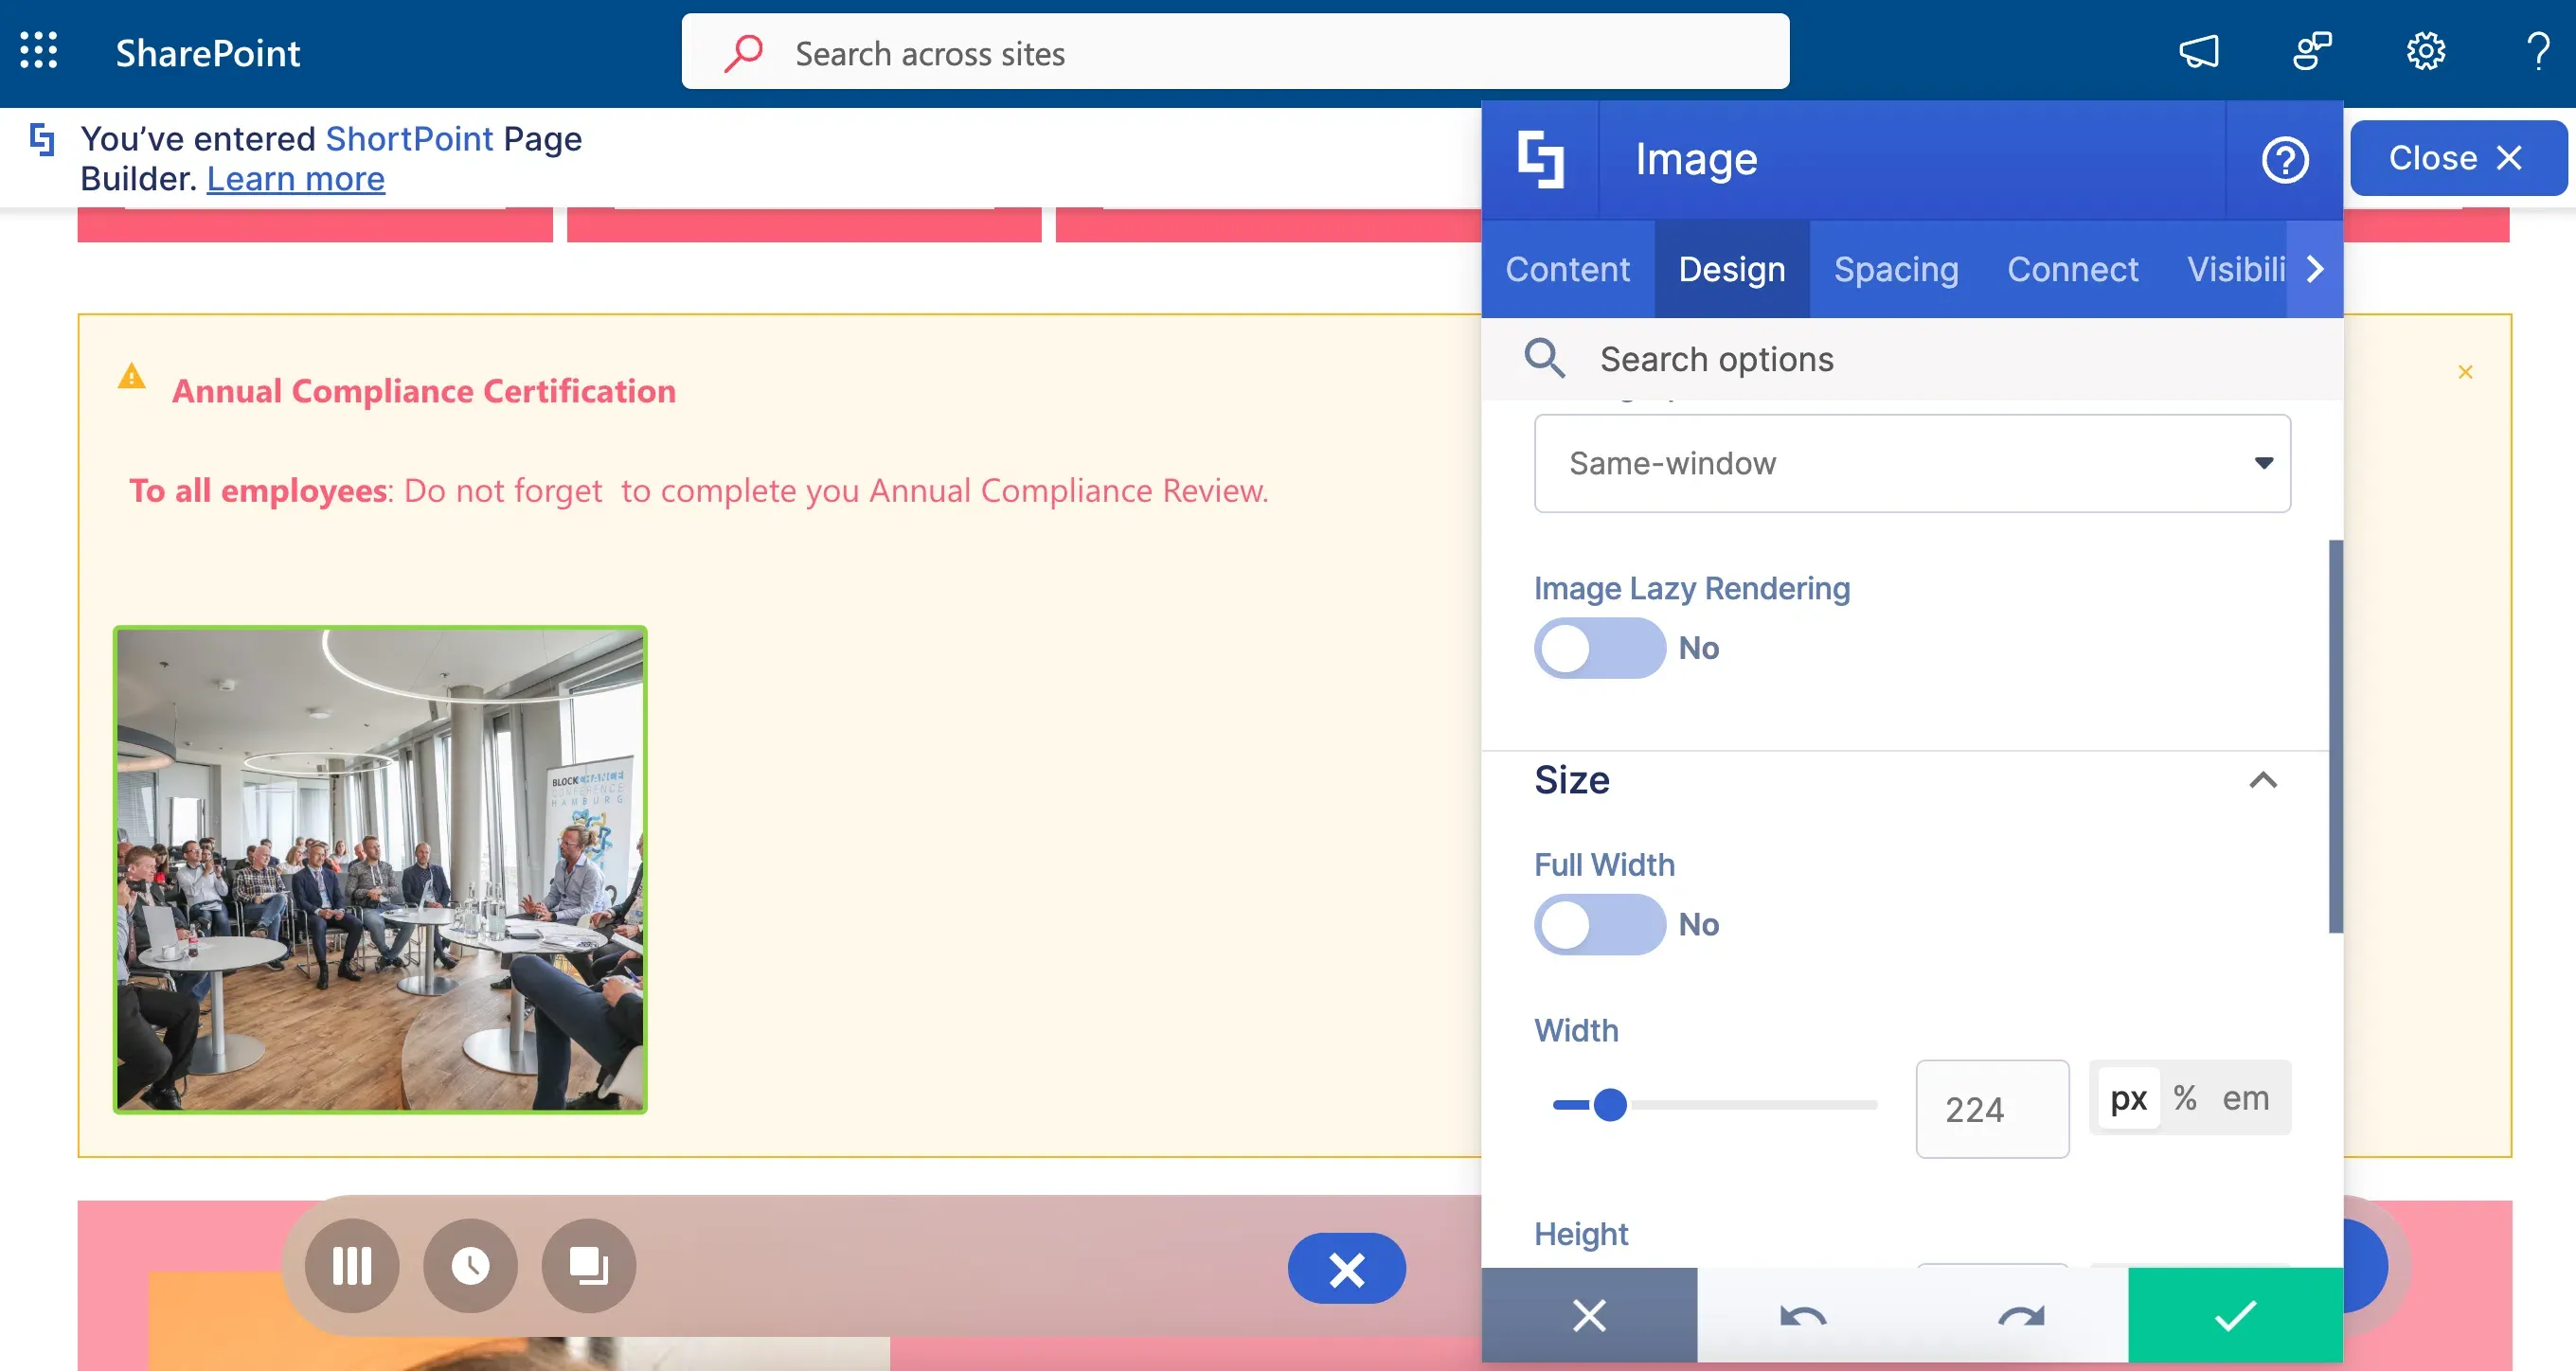
Alert is also a Content-holder Design Element. You can choose to add other Design Elements inside to make it look more eye-catching.
Textshow Design Element
To start creating Alerts, check out How to Customize the Alert Design Element.
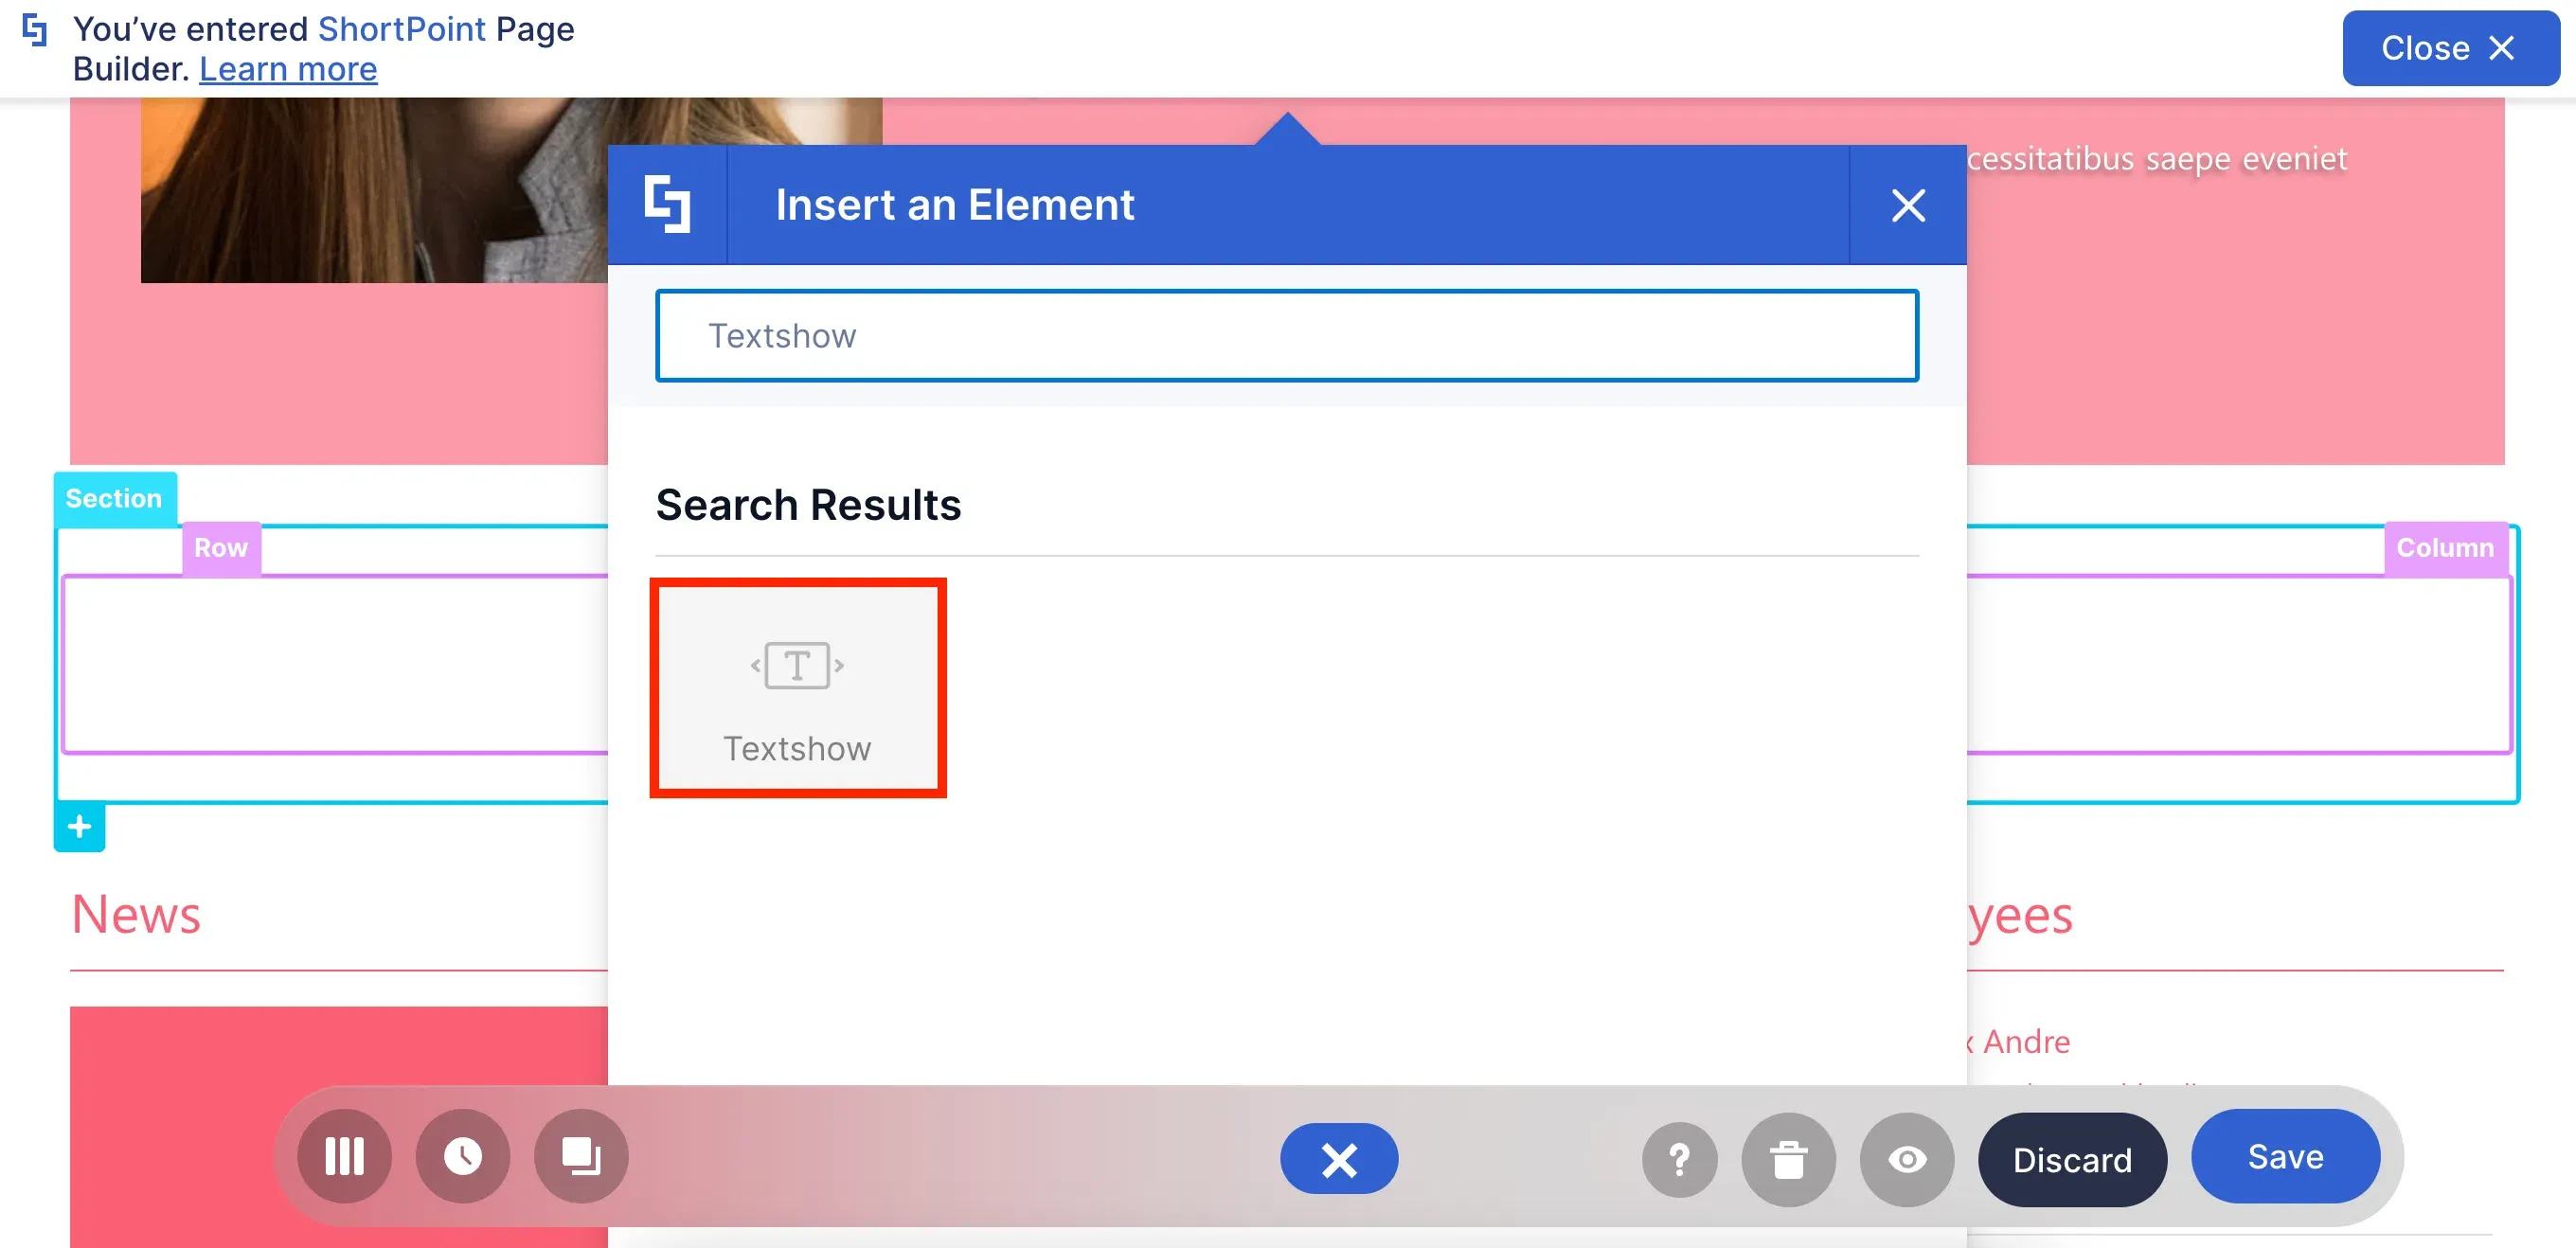
Worried about that LOONGGGG blog or news post you need to add to your page? The Textshow Design Element is your saving grace!
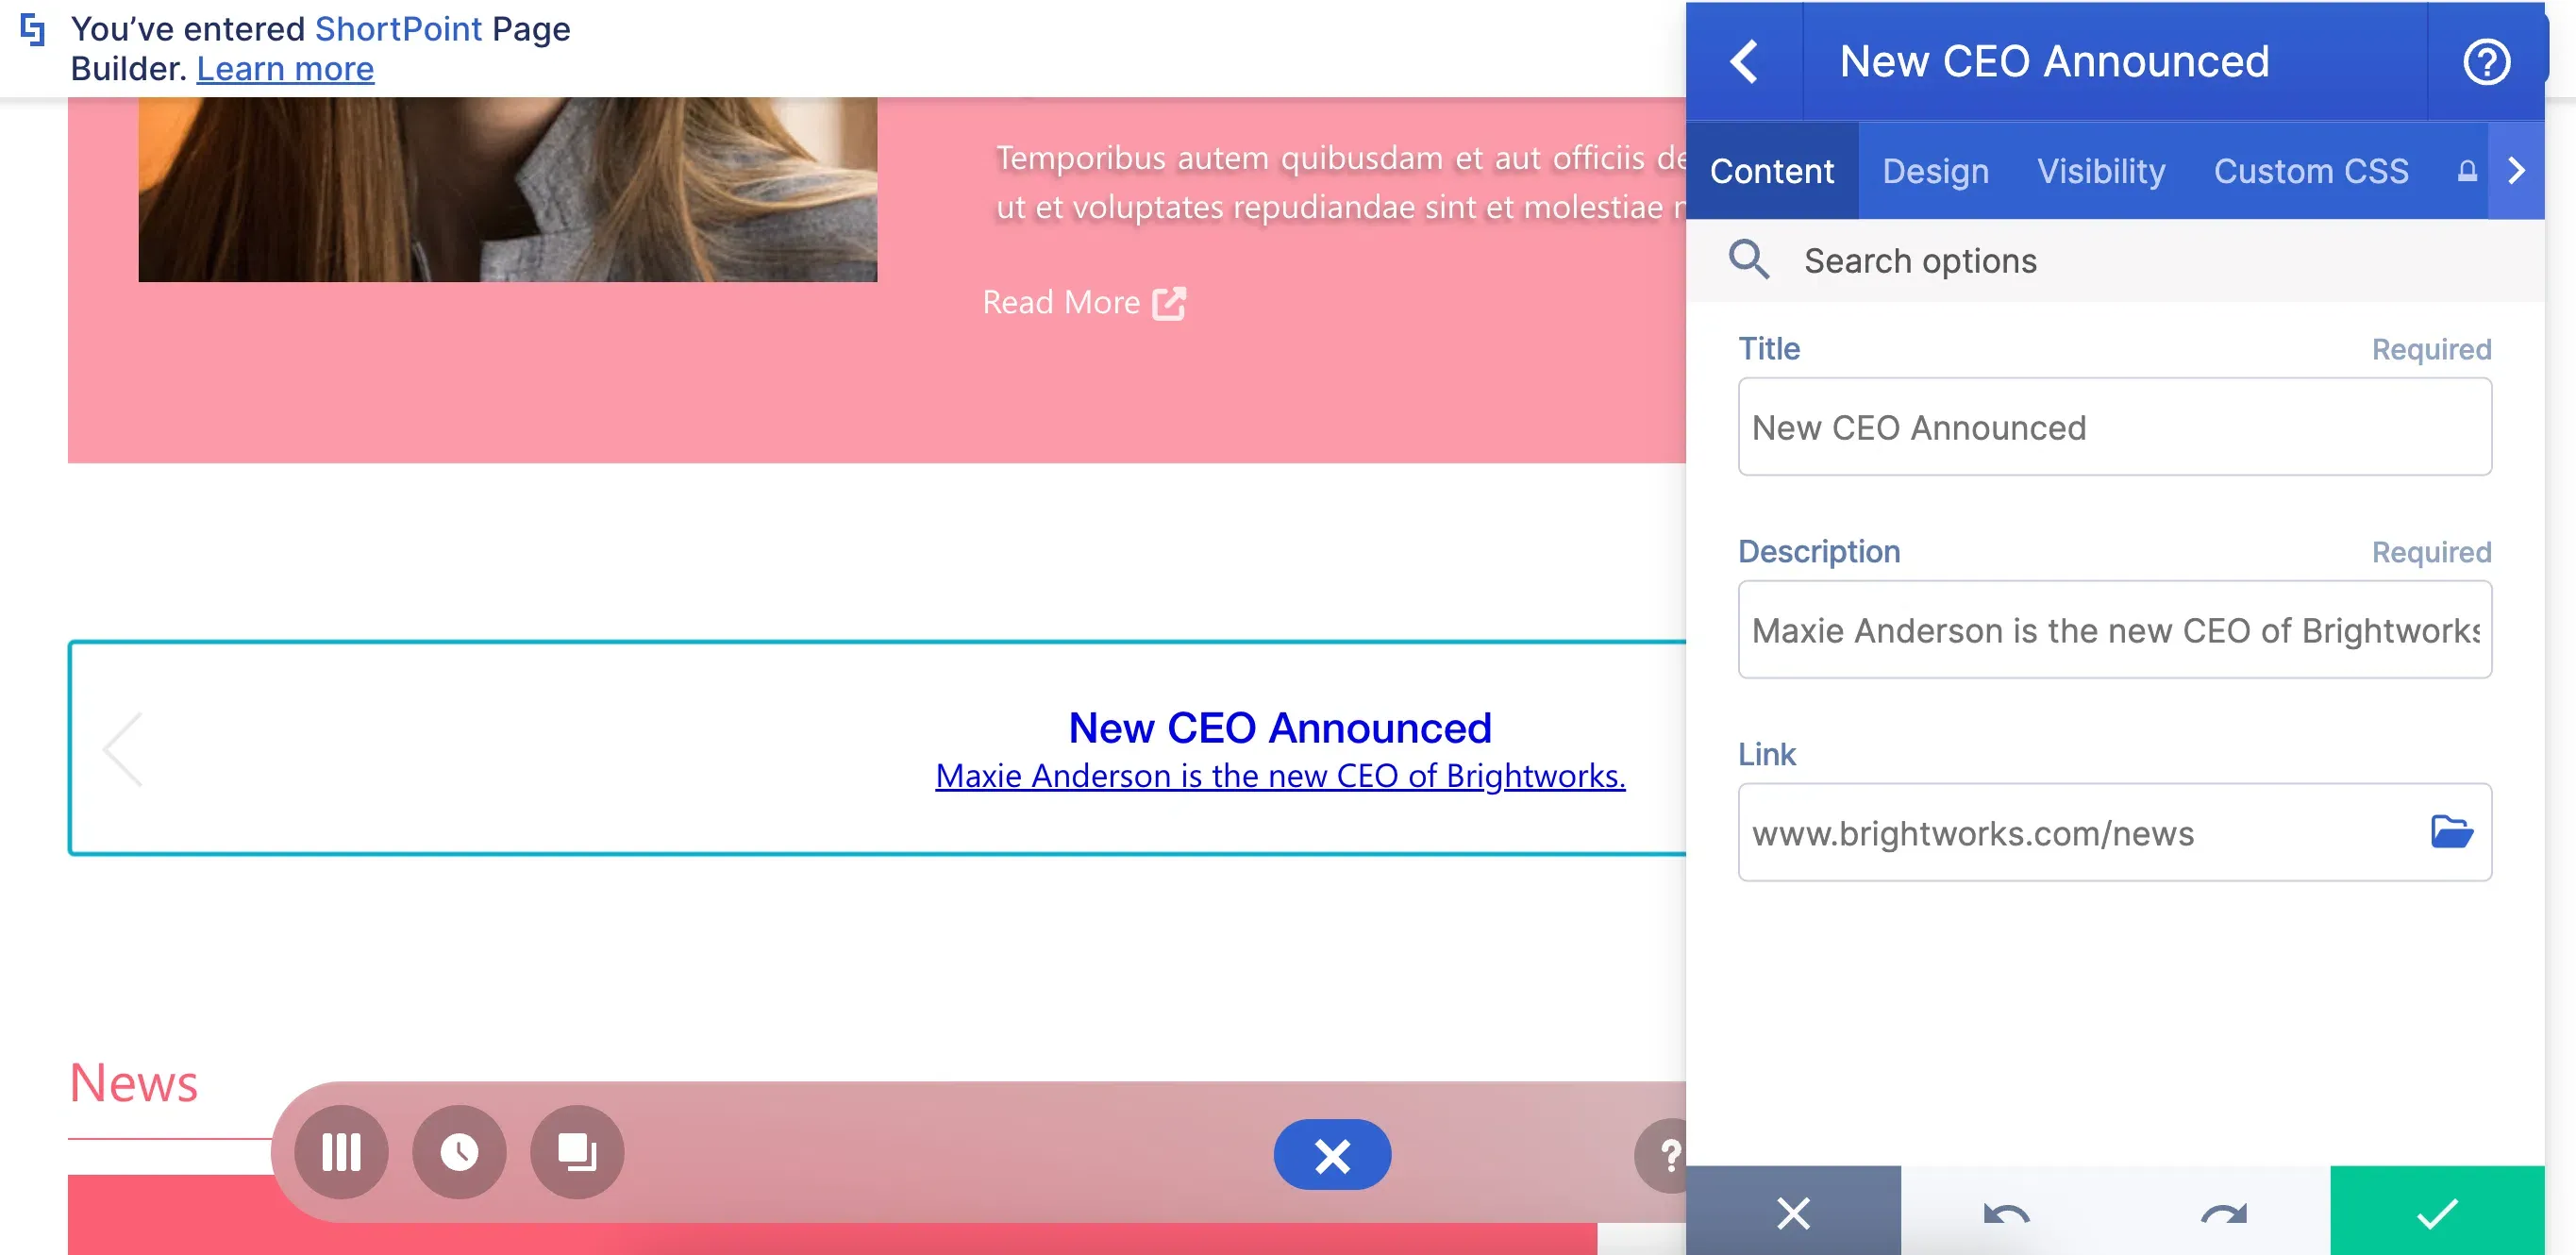
With the Textshow Design Element, you can simply link that LOONGGGG blog post to your main page. All you need is a title, a brief description, and a link.
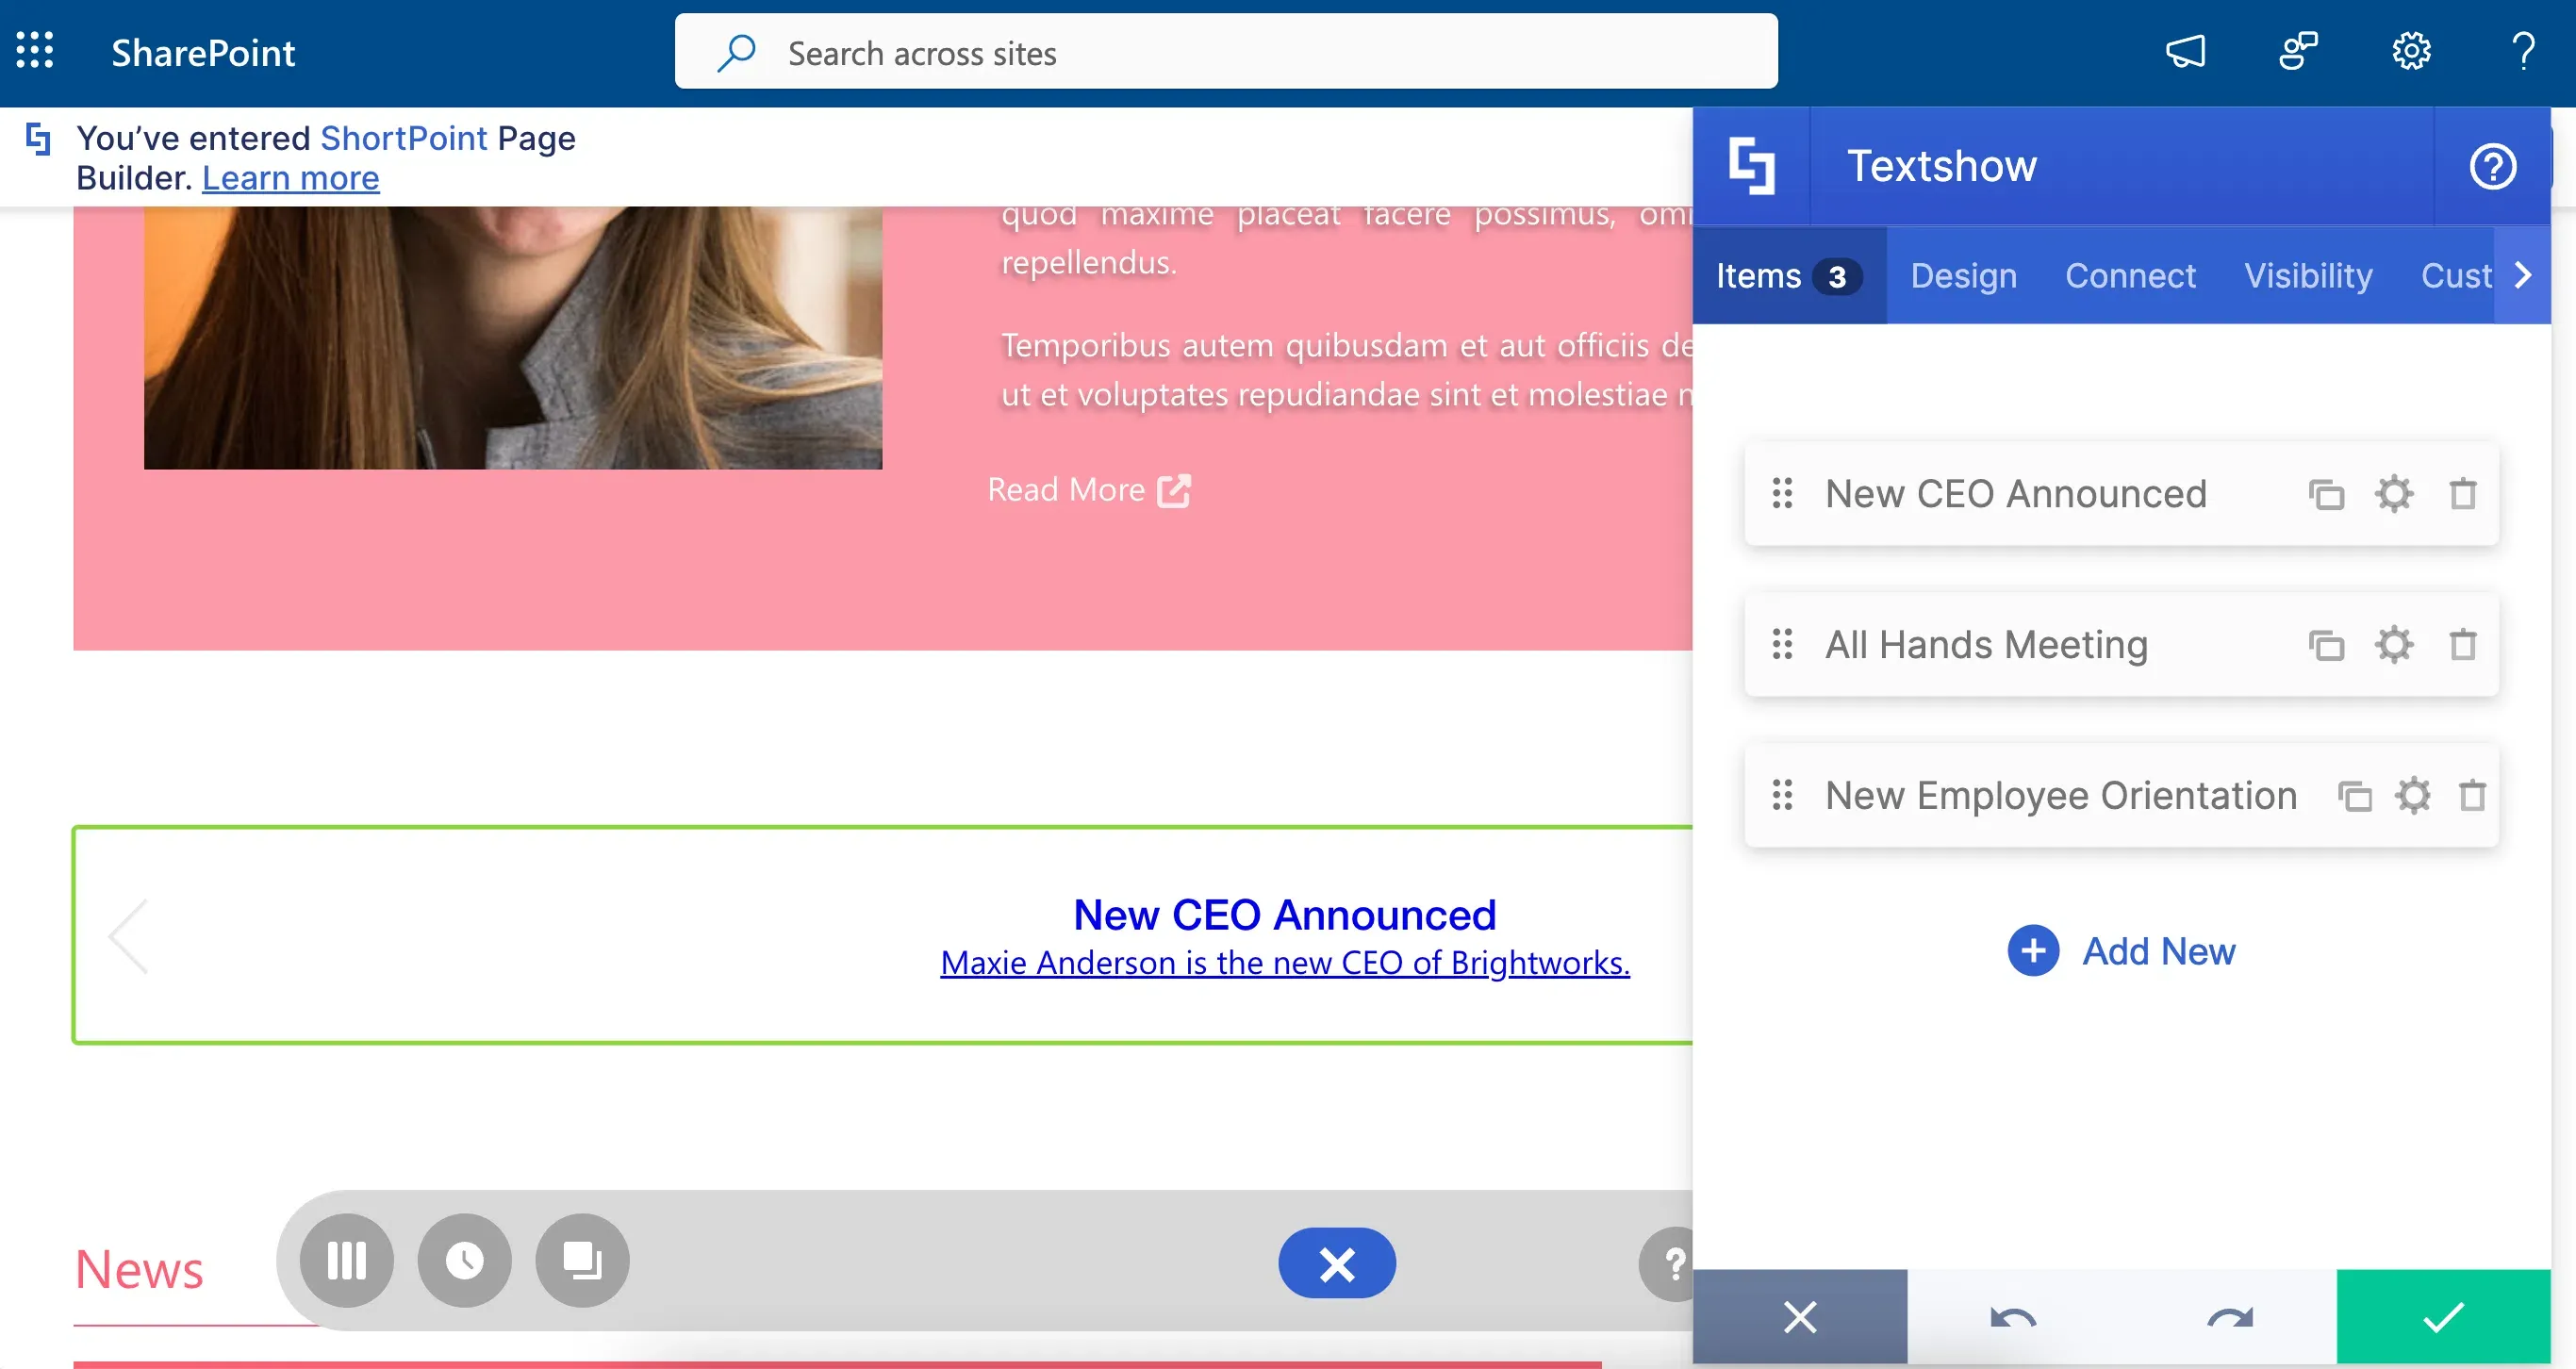
The best part is you can link multiple posts! With this, your users won't have to go through a novel just to stay updated. And if they REALLY need to read that post, all they need to do is click on the Textshow.
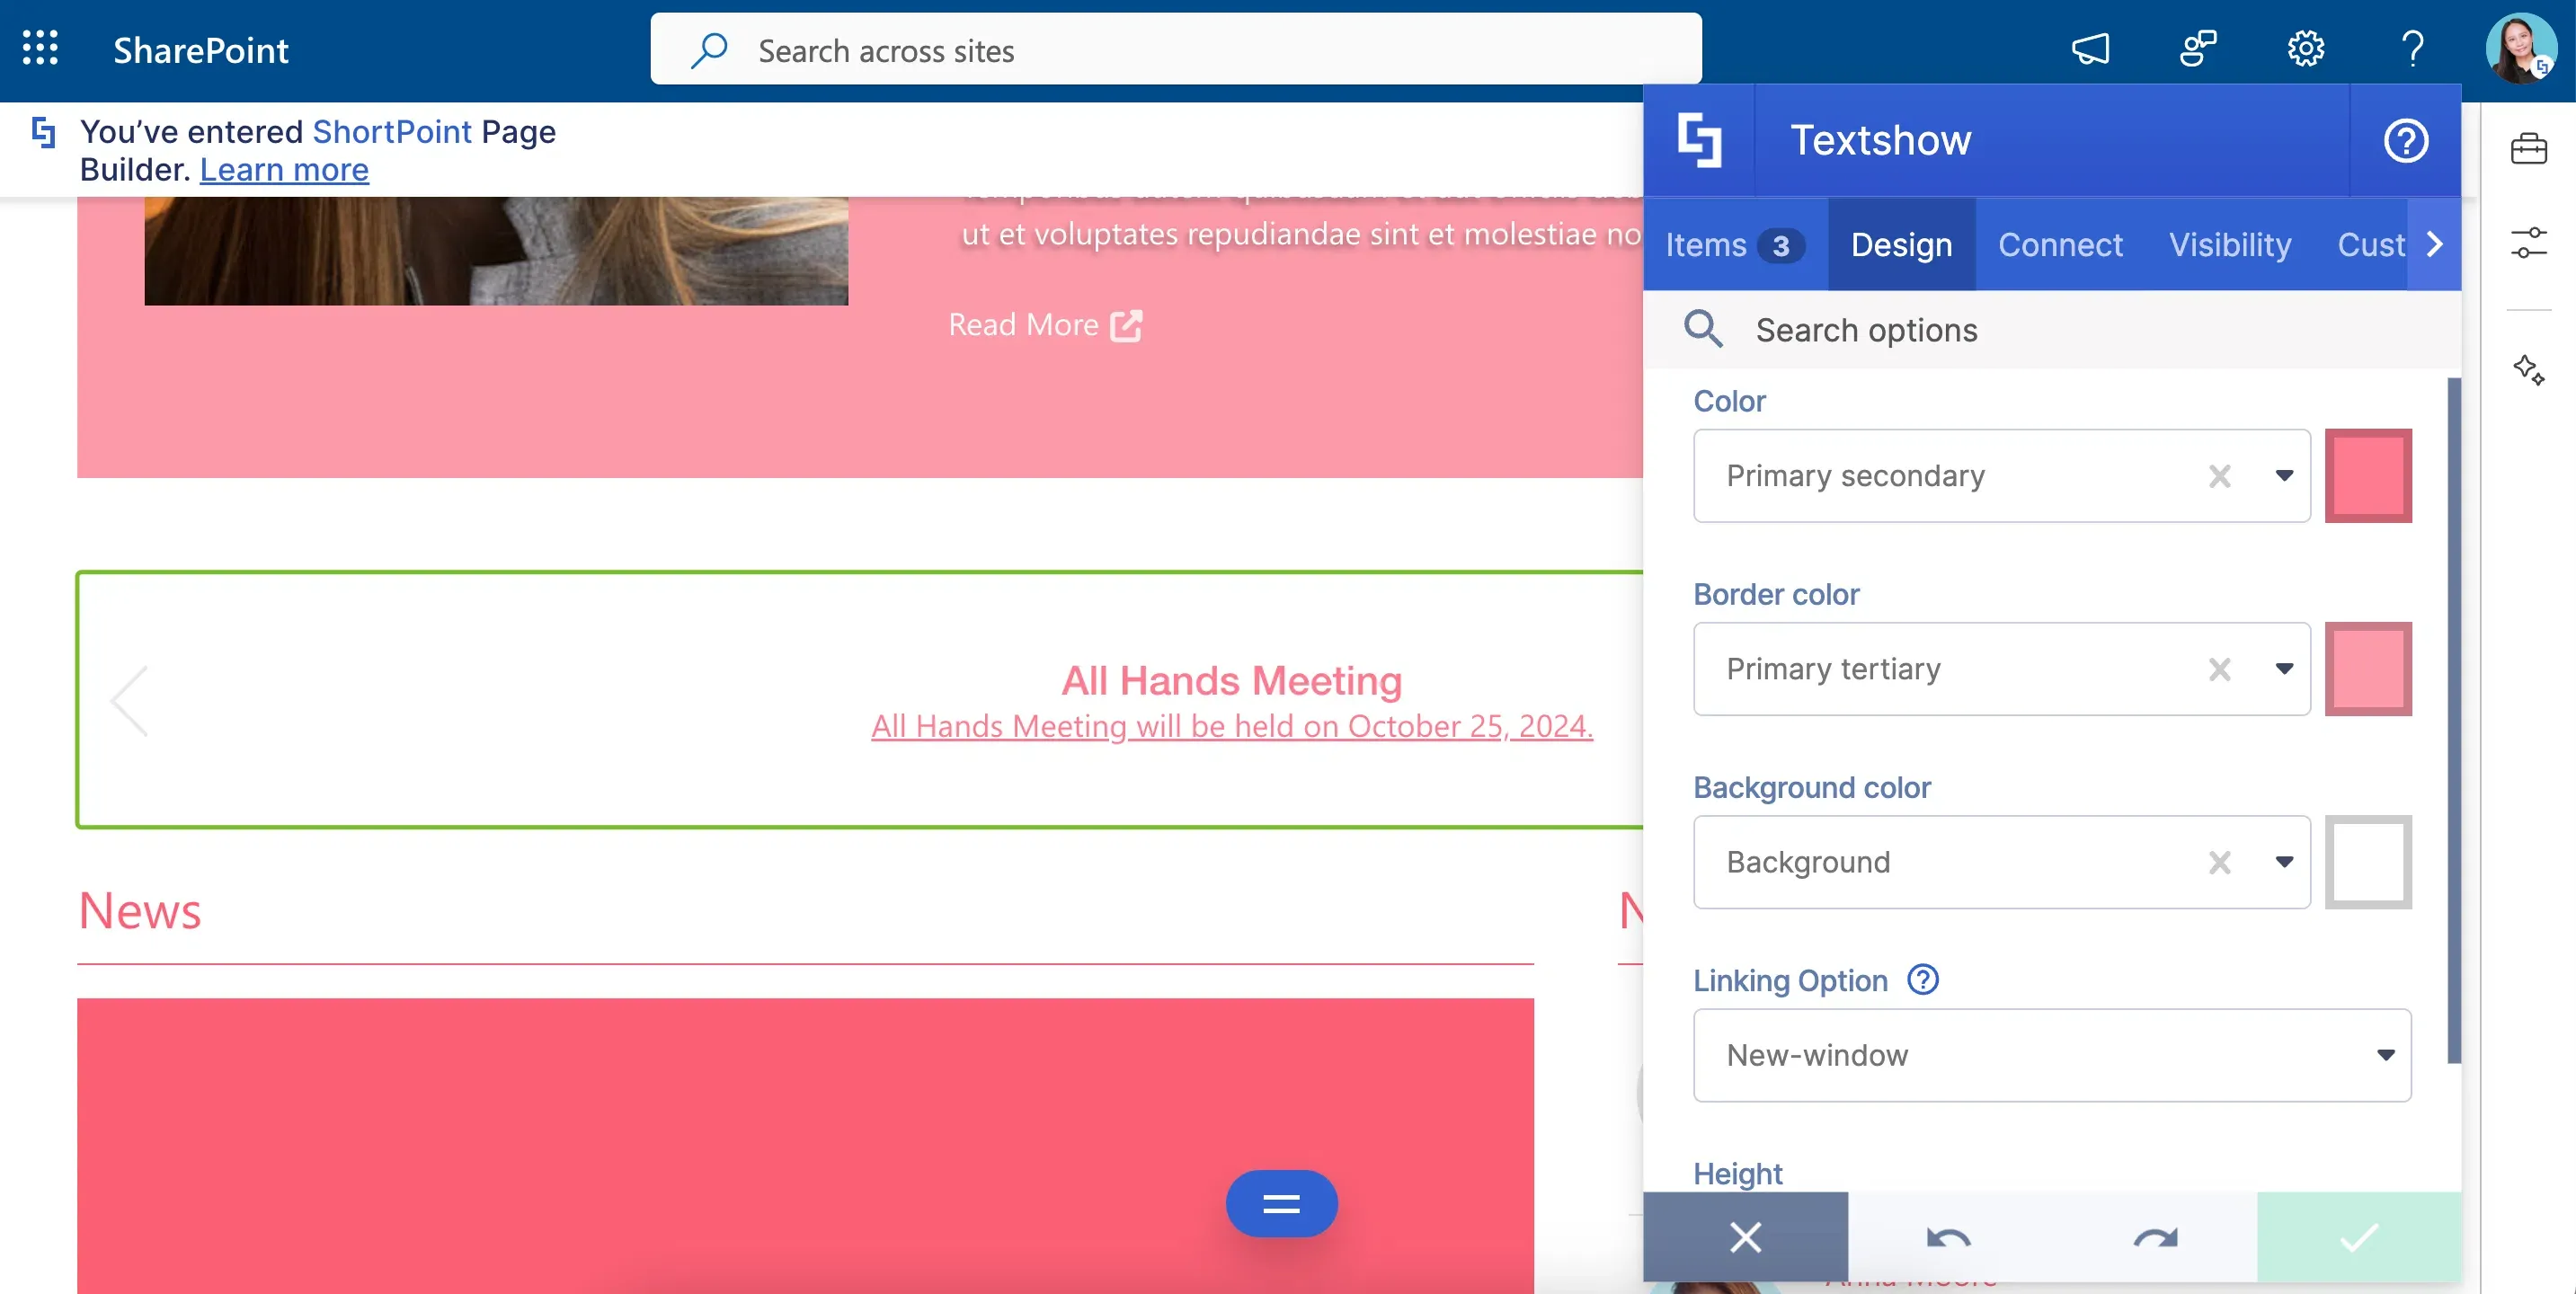
The Textshow's design is also your choice. It's your Textshow, after all! Play with the colors and the height all you want.
Tickers Design Elements
What are you waiting for?! Add a Textshow to your page now! Check out How to Customize the Textshow Design Element for more details.
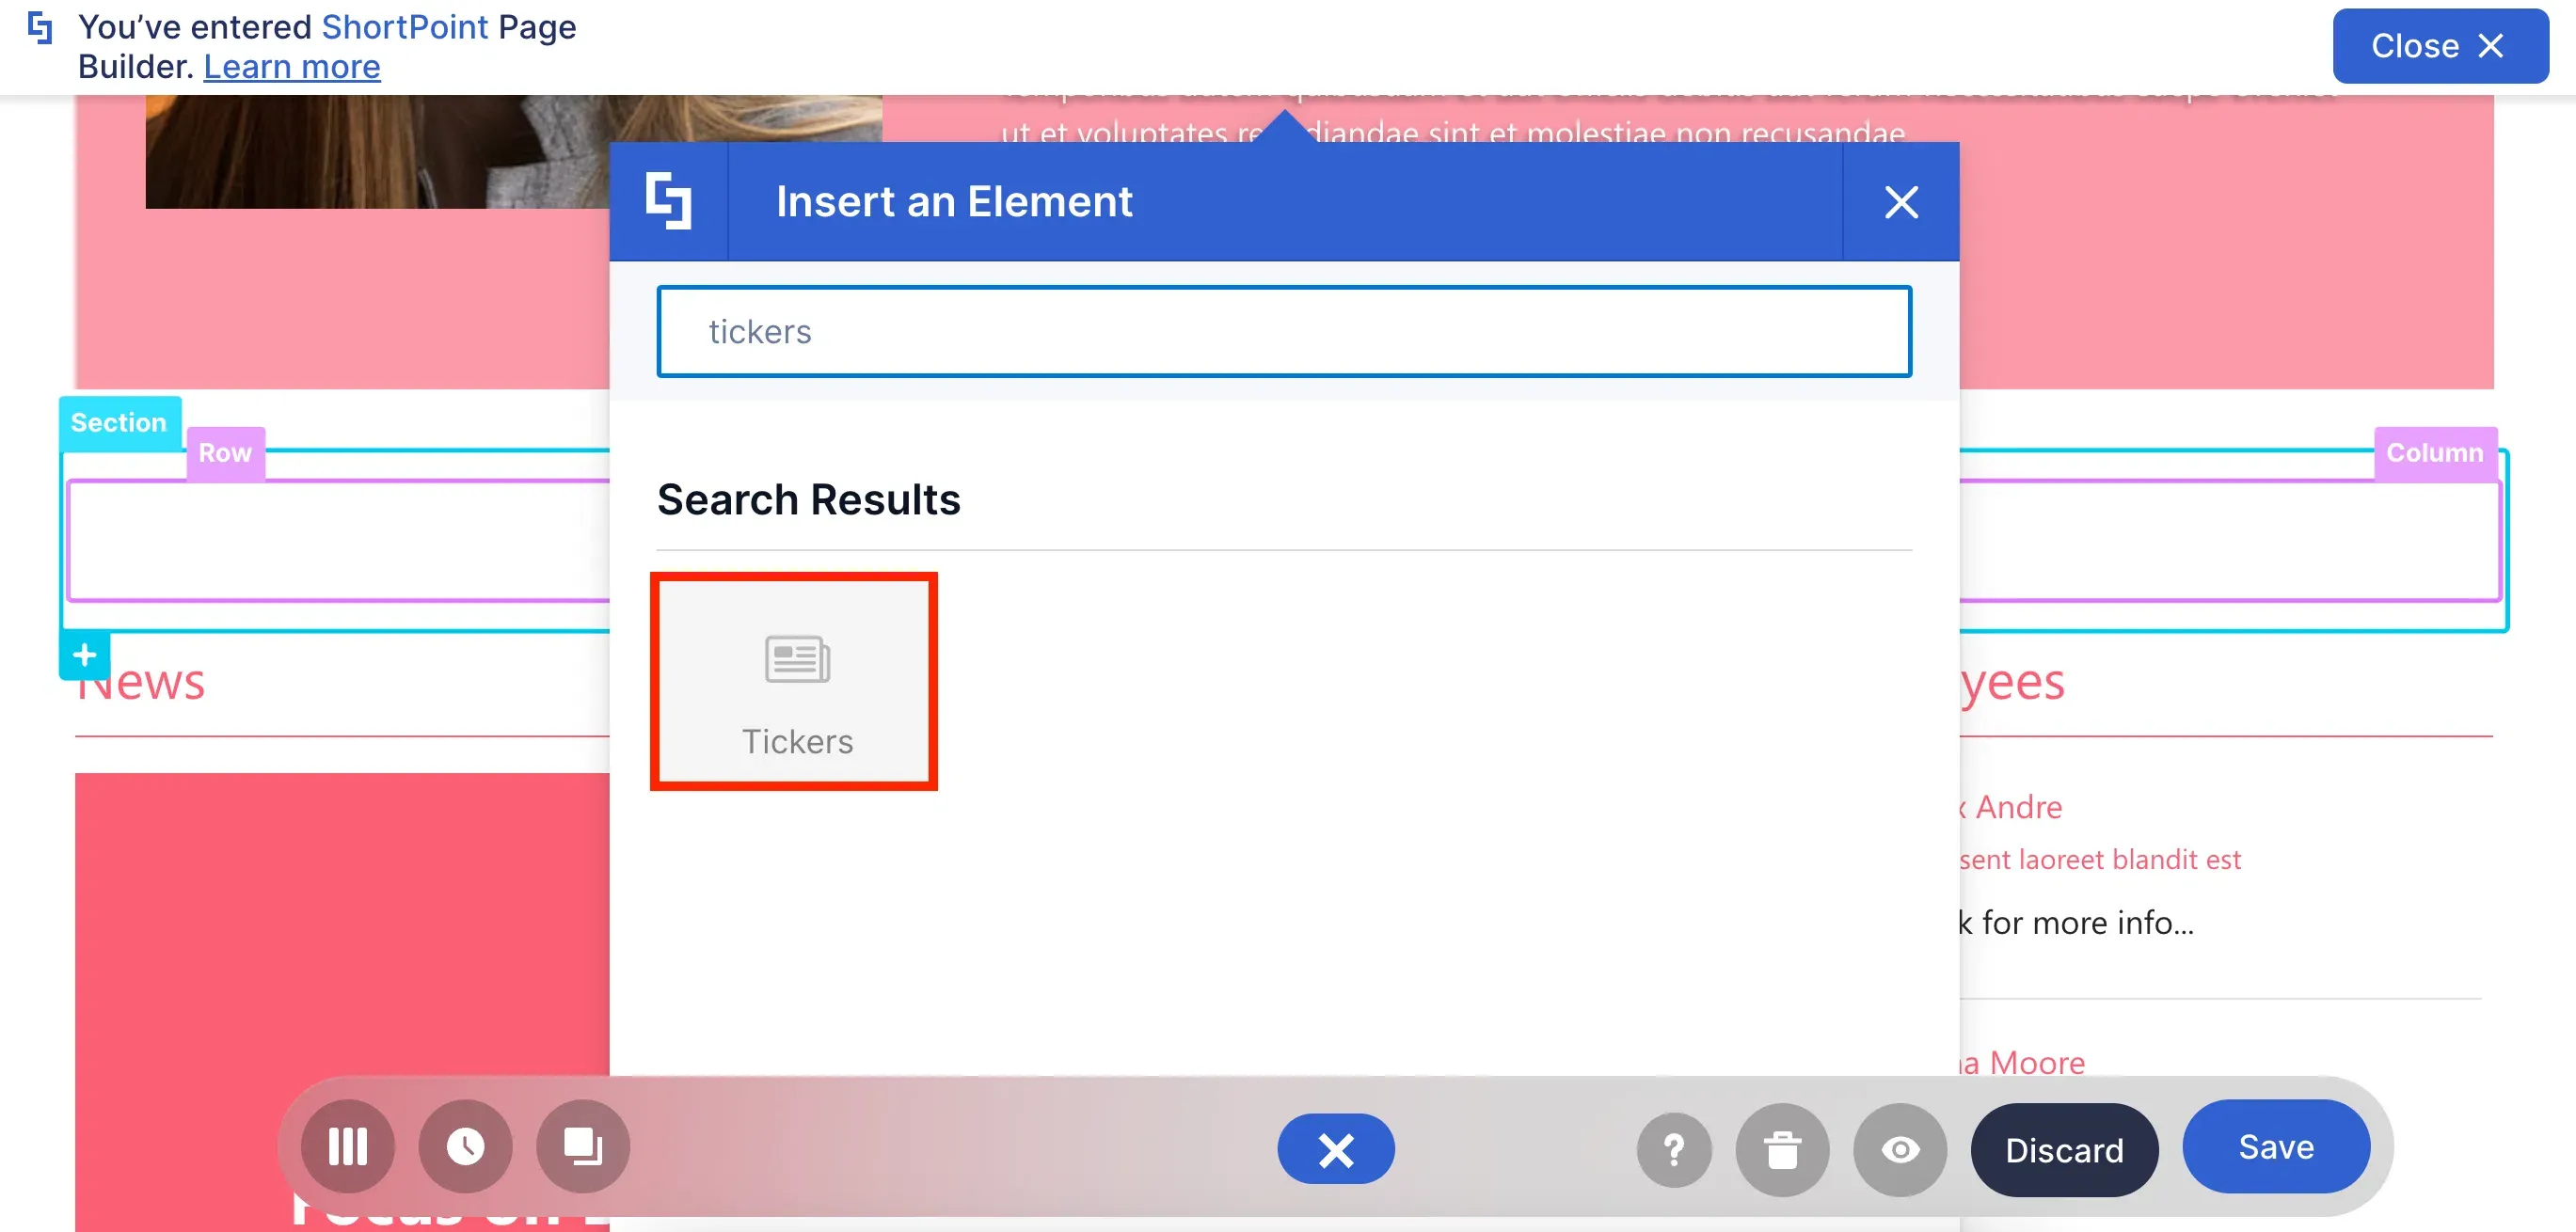
Do you need to show more than one announcement? The Tickers Design Element is perfect for this!
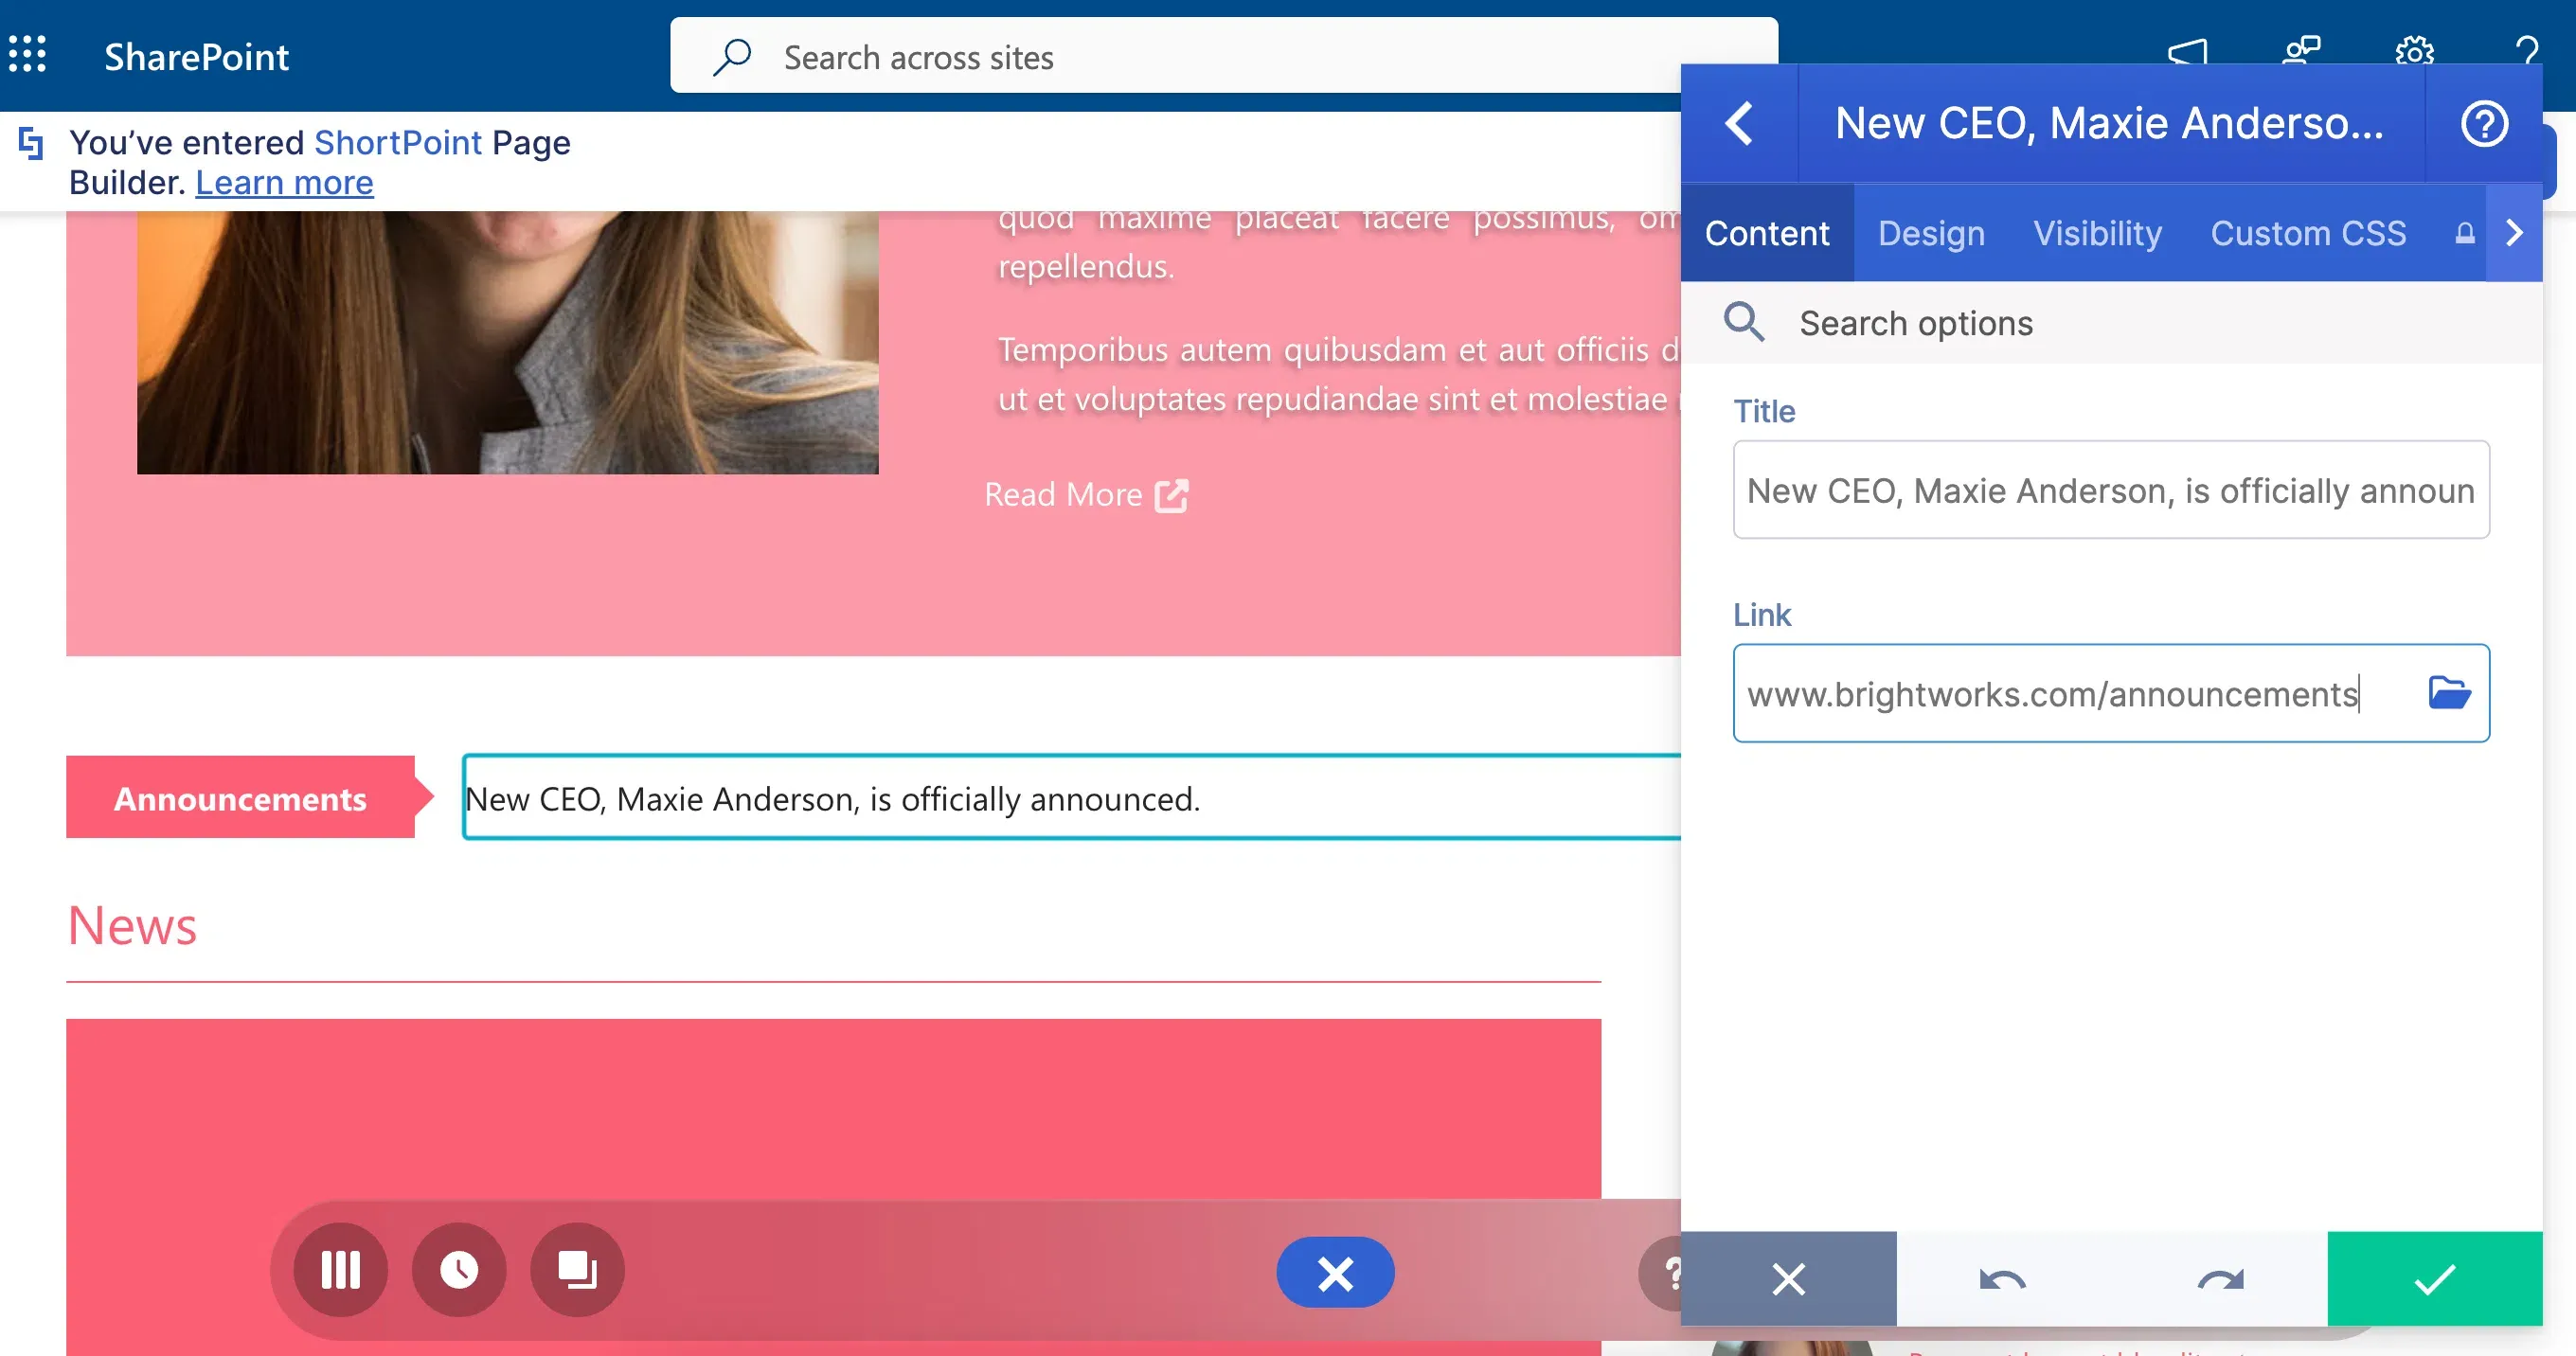
No one likes reading LOOONG lines of text. So, we're sure your users will LOVE your short and fast-paced updates using the Tickers. All you need is a title and a link.
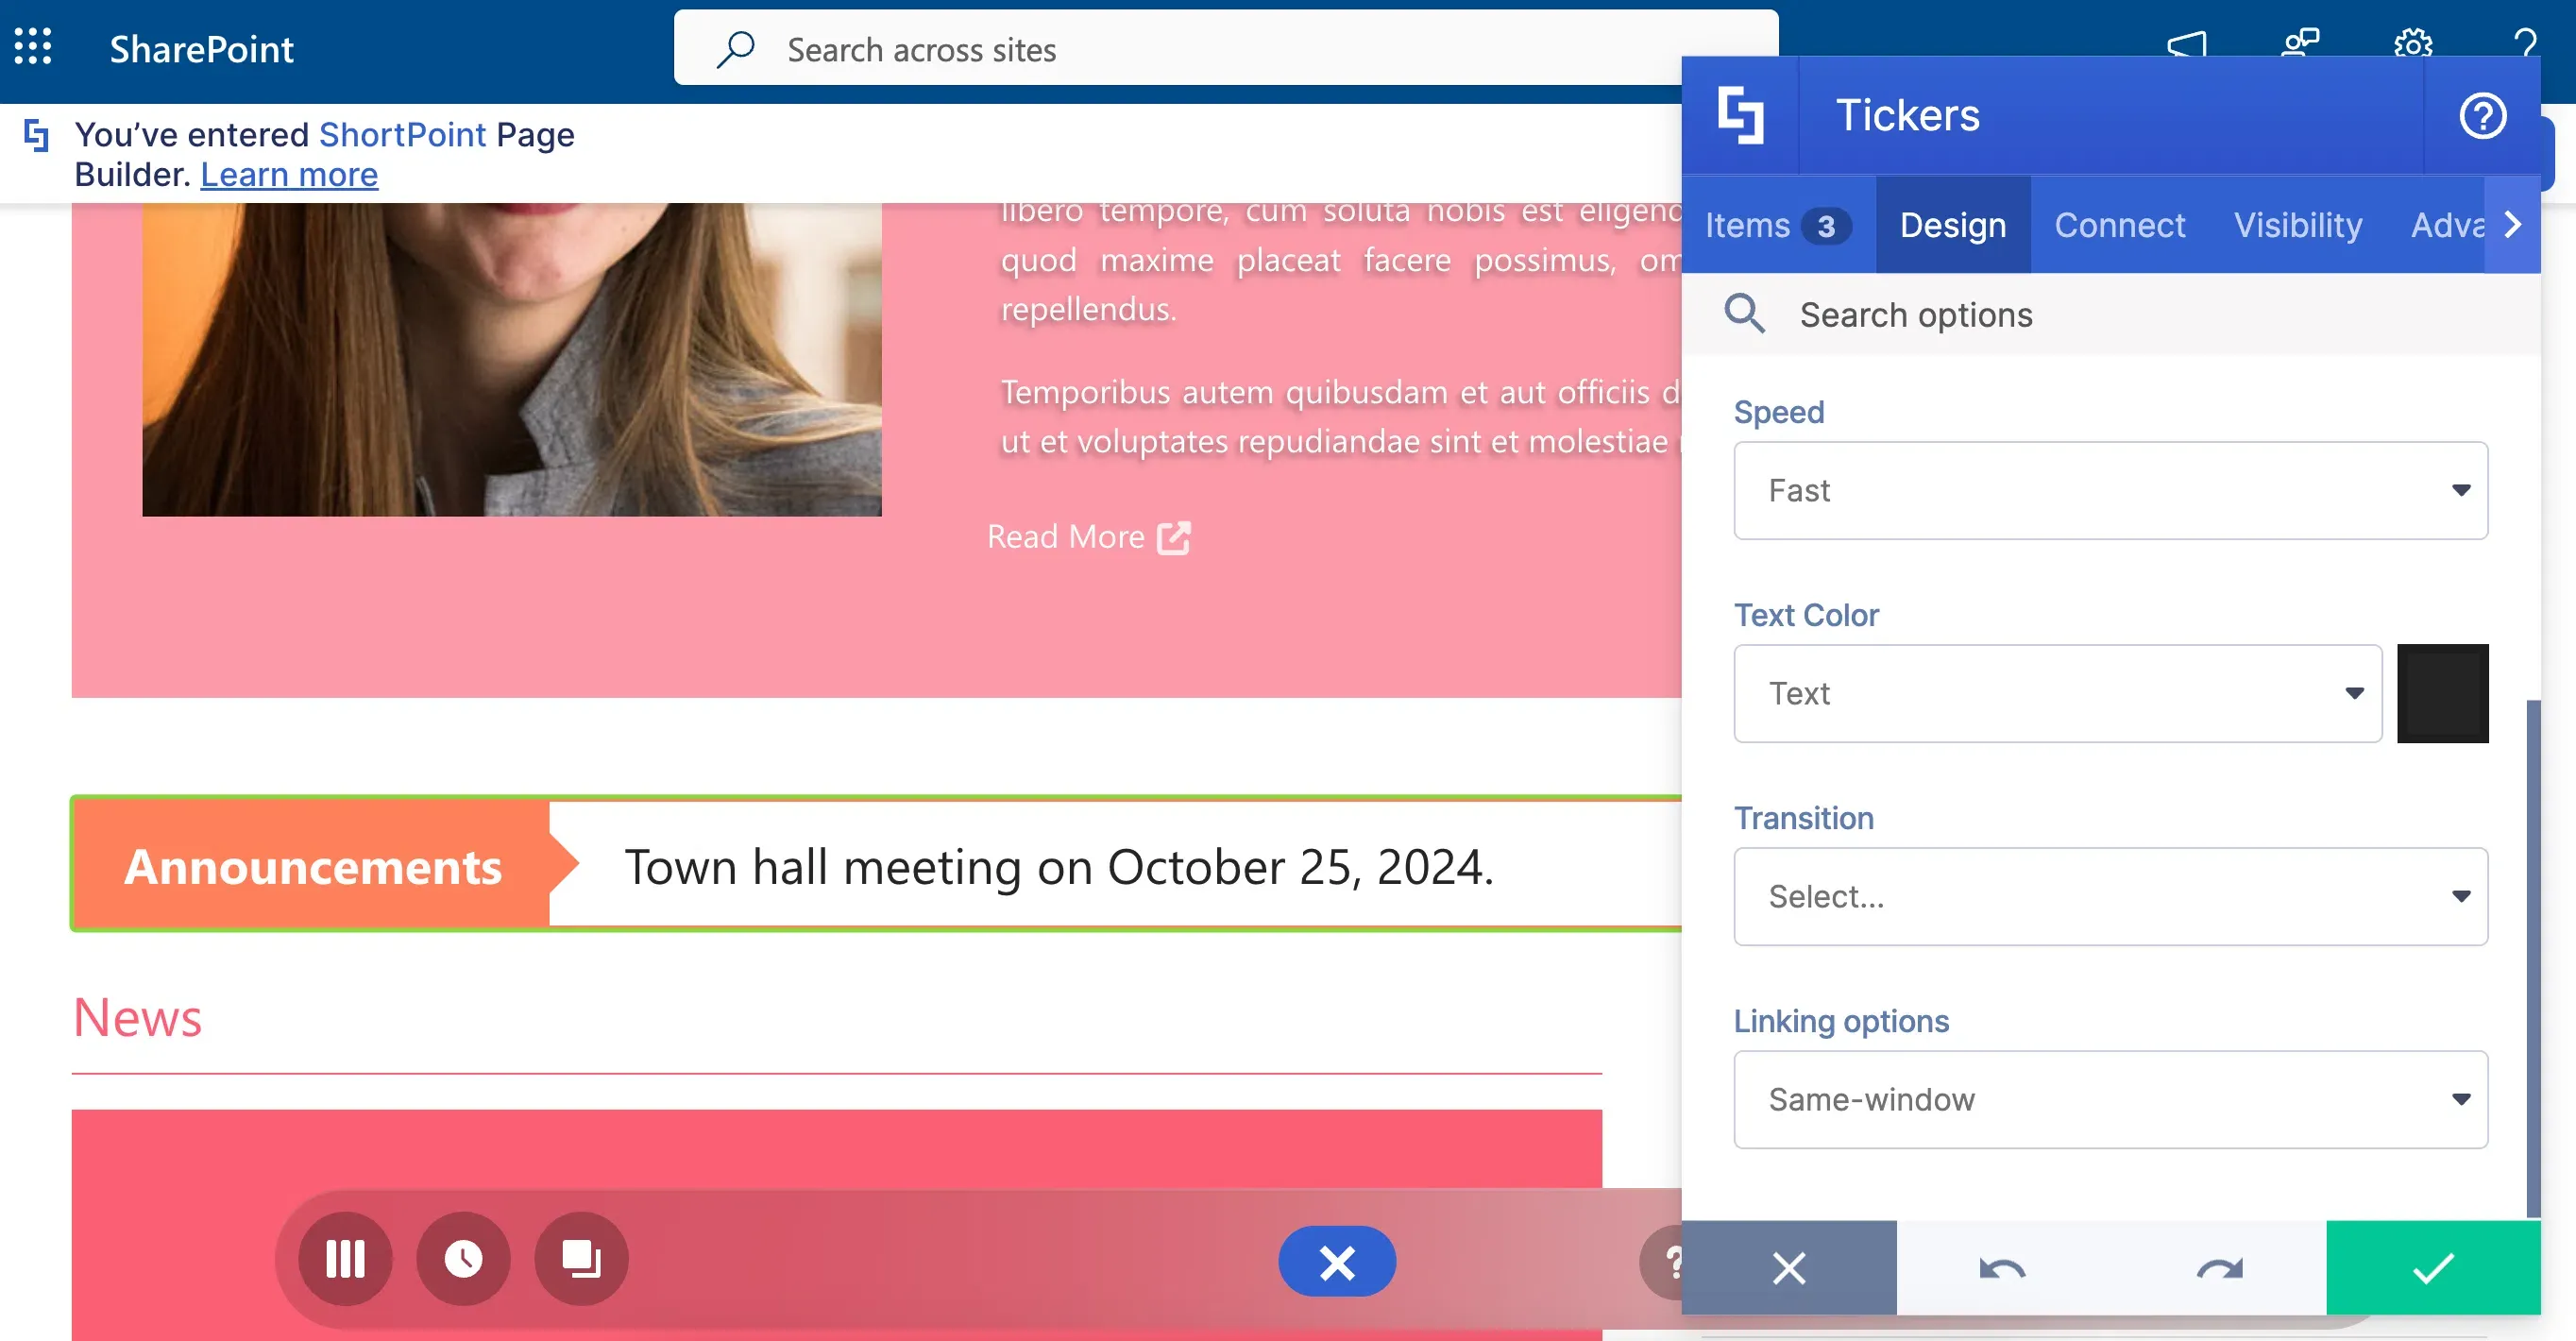
You can also play around with the Tickers' style, color, size, speed, and even transitions. There are just sooooo many options to make the Tickers' design your own!
Excited to use Tickers on your page? Check out How to Customize the Tickers Design Element to get started.
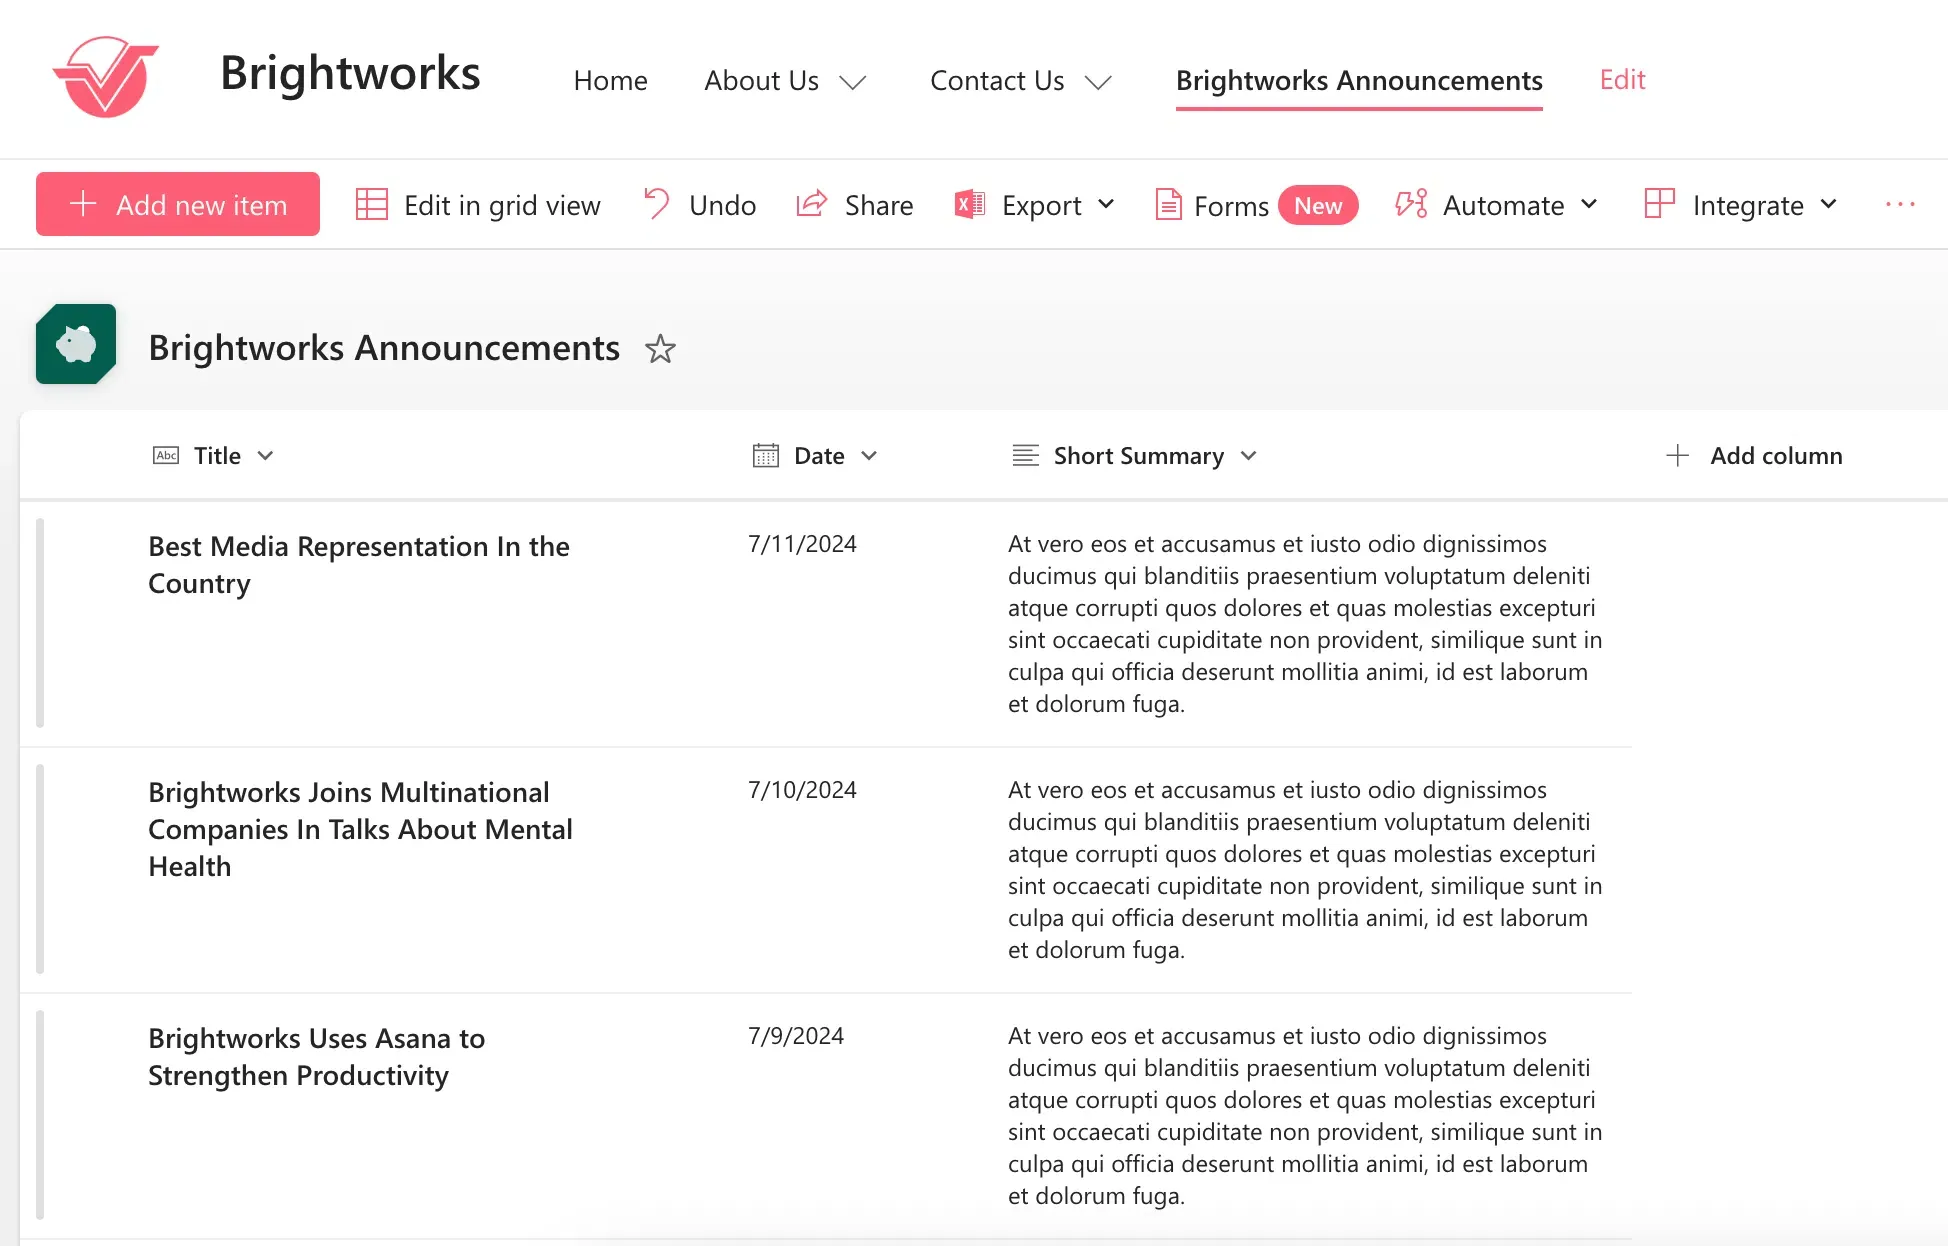
Adding text directly to ShortPoint Design Elements is good, AMAZING even! But what if you want to show text from another source, like a Document Library or a SharePoint List?
Connect for Text
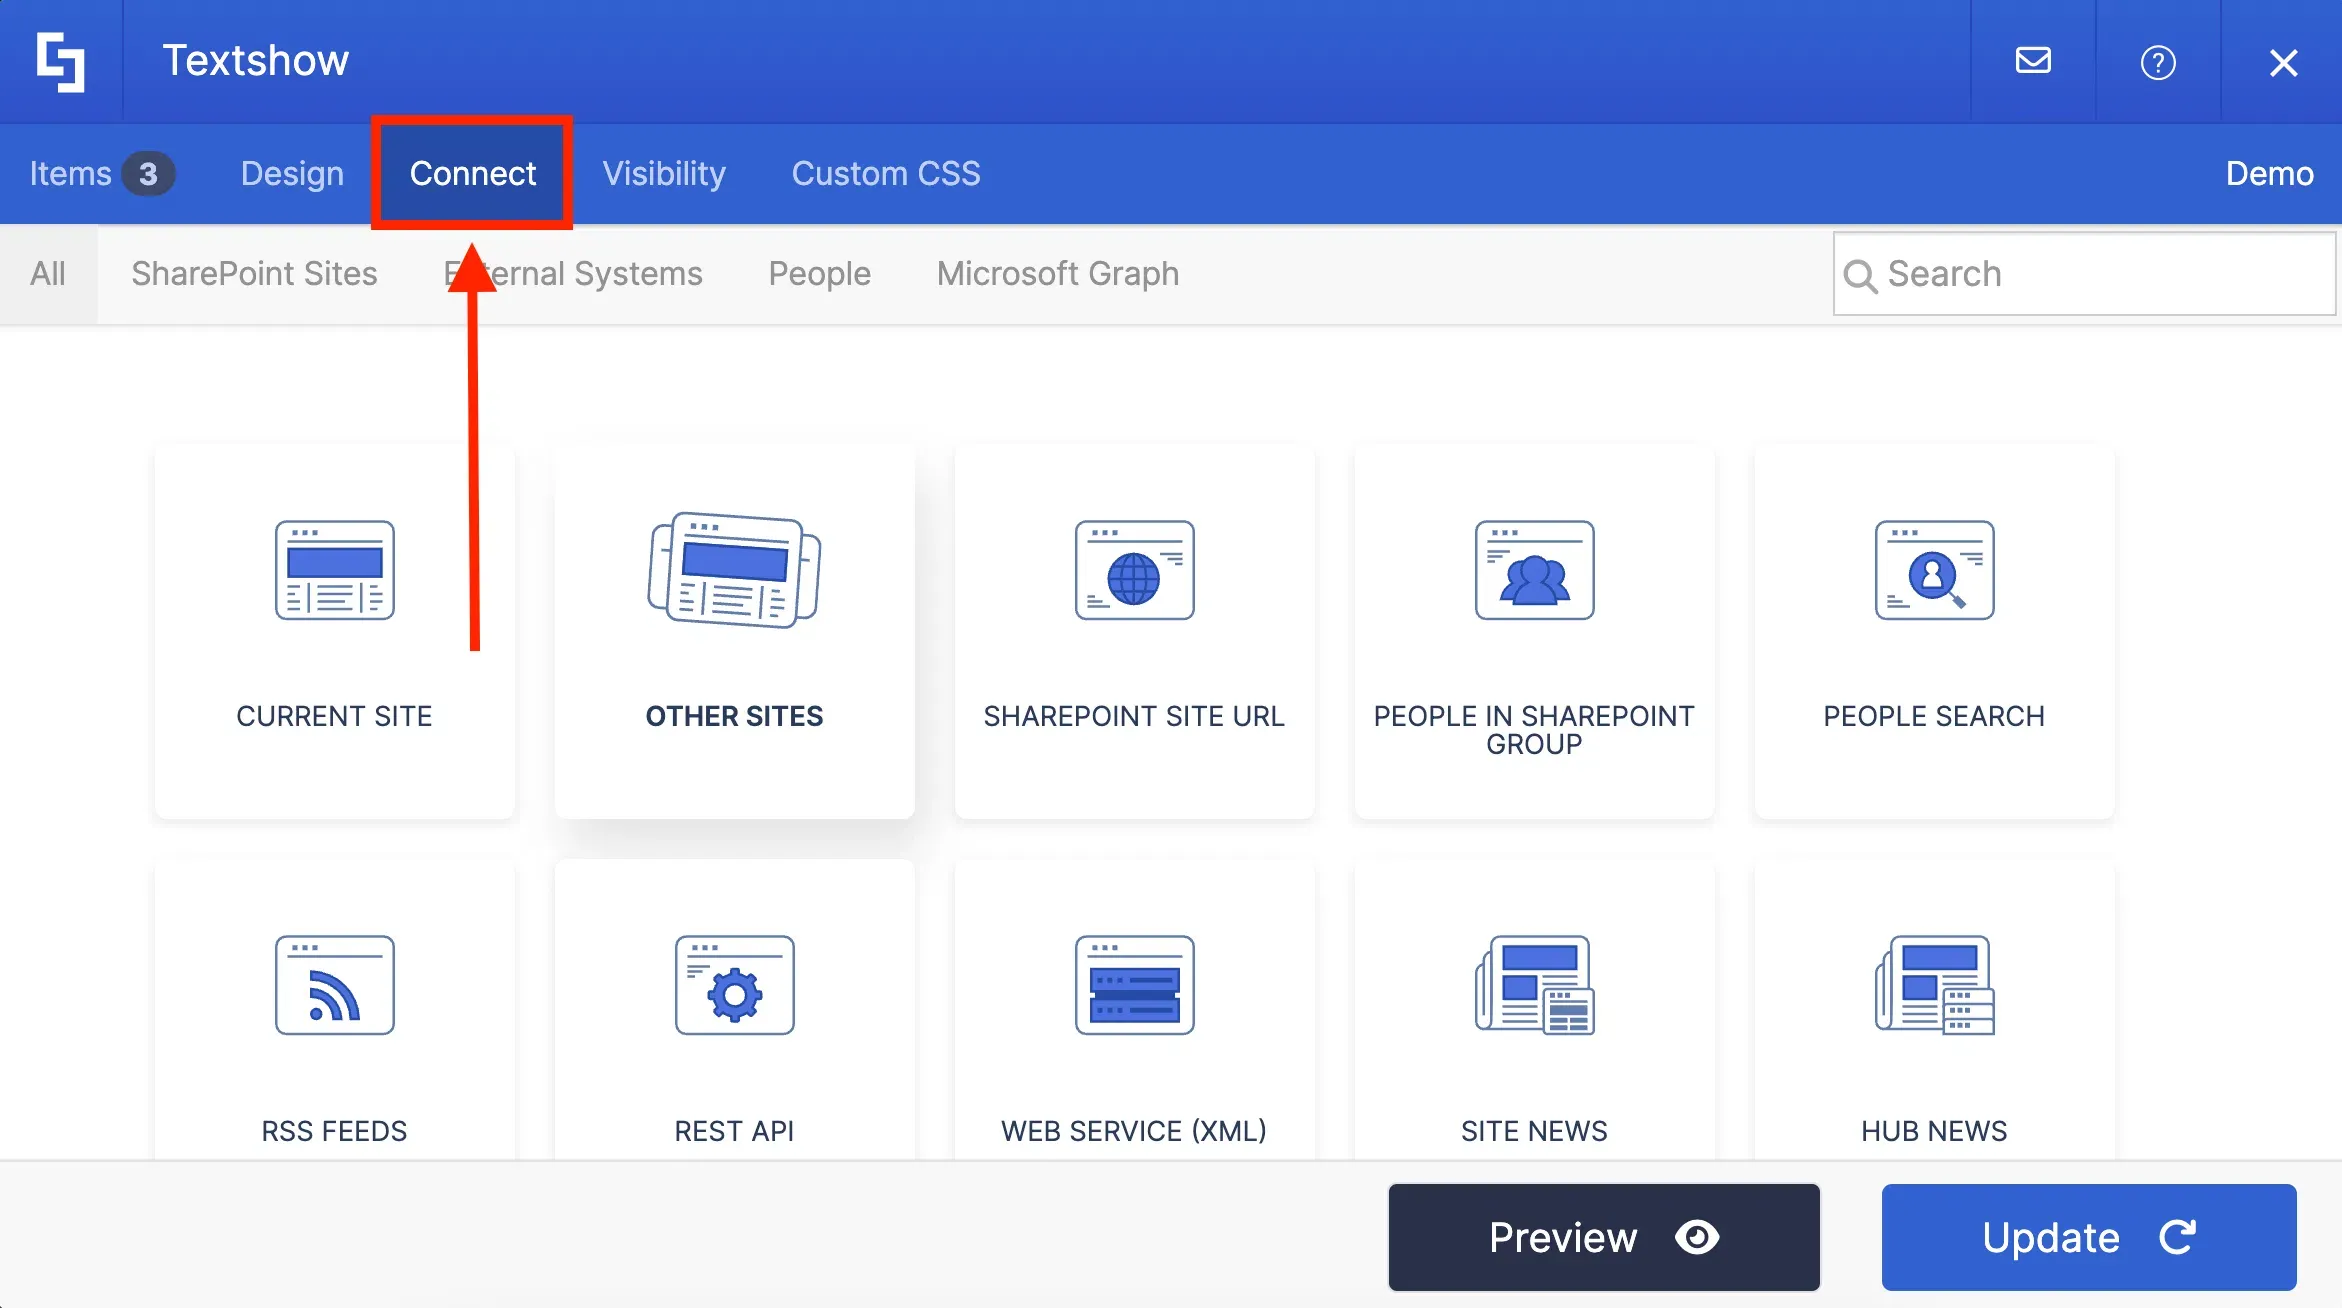
ShortPoint Connect is your best bet! You can find it in the Connect tab of all the Design Elements we talked about.
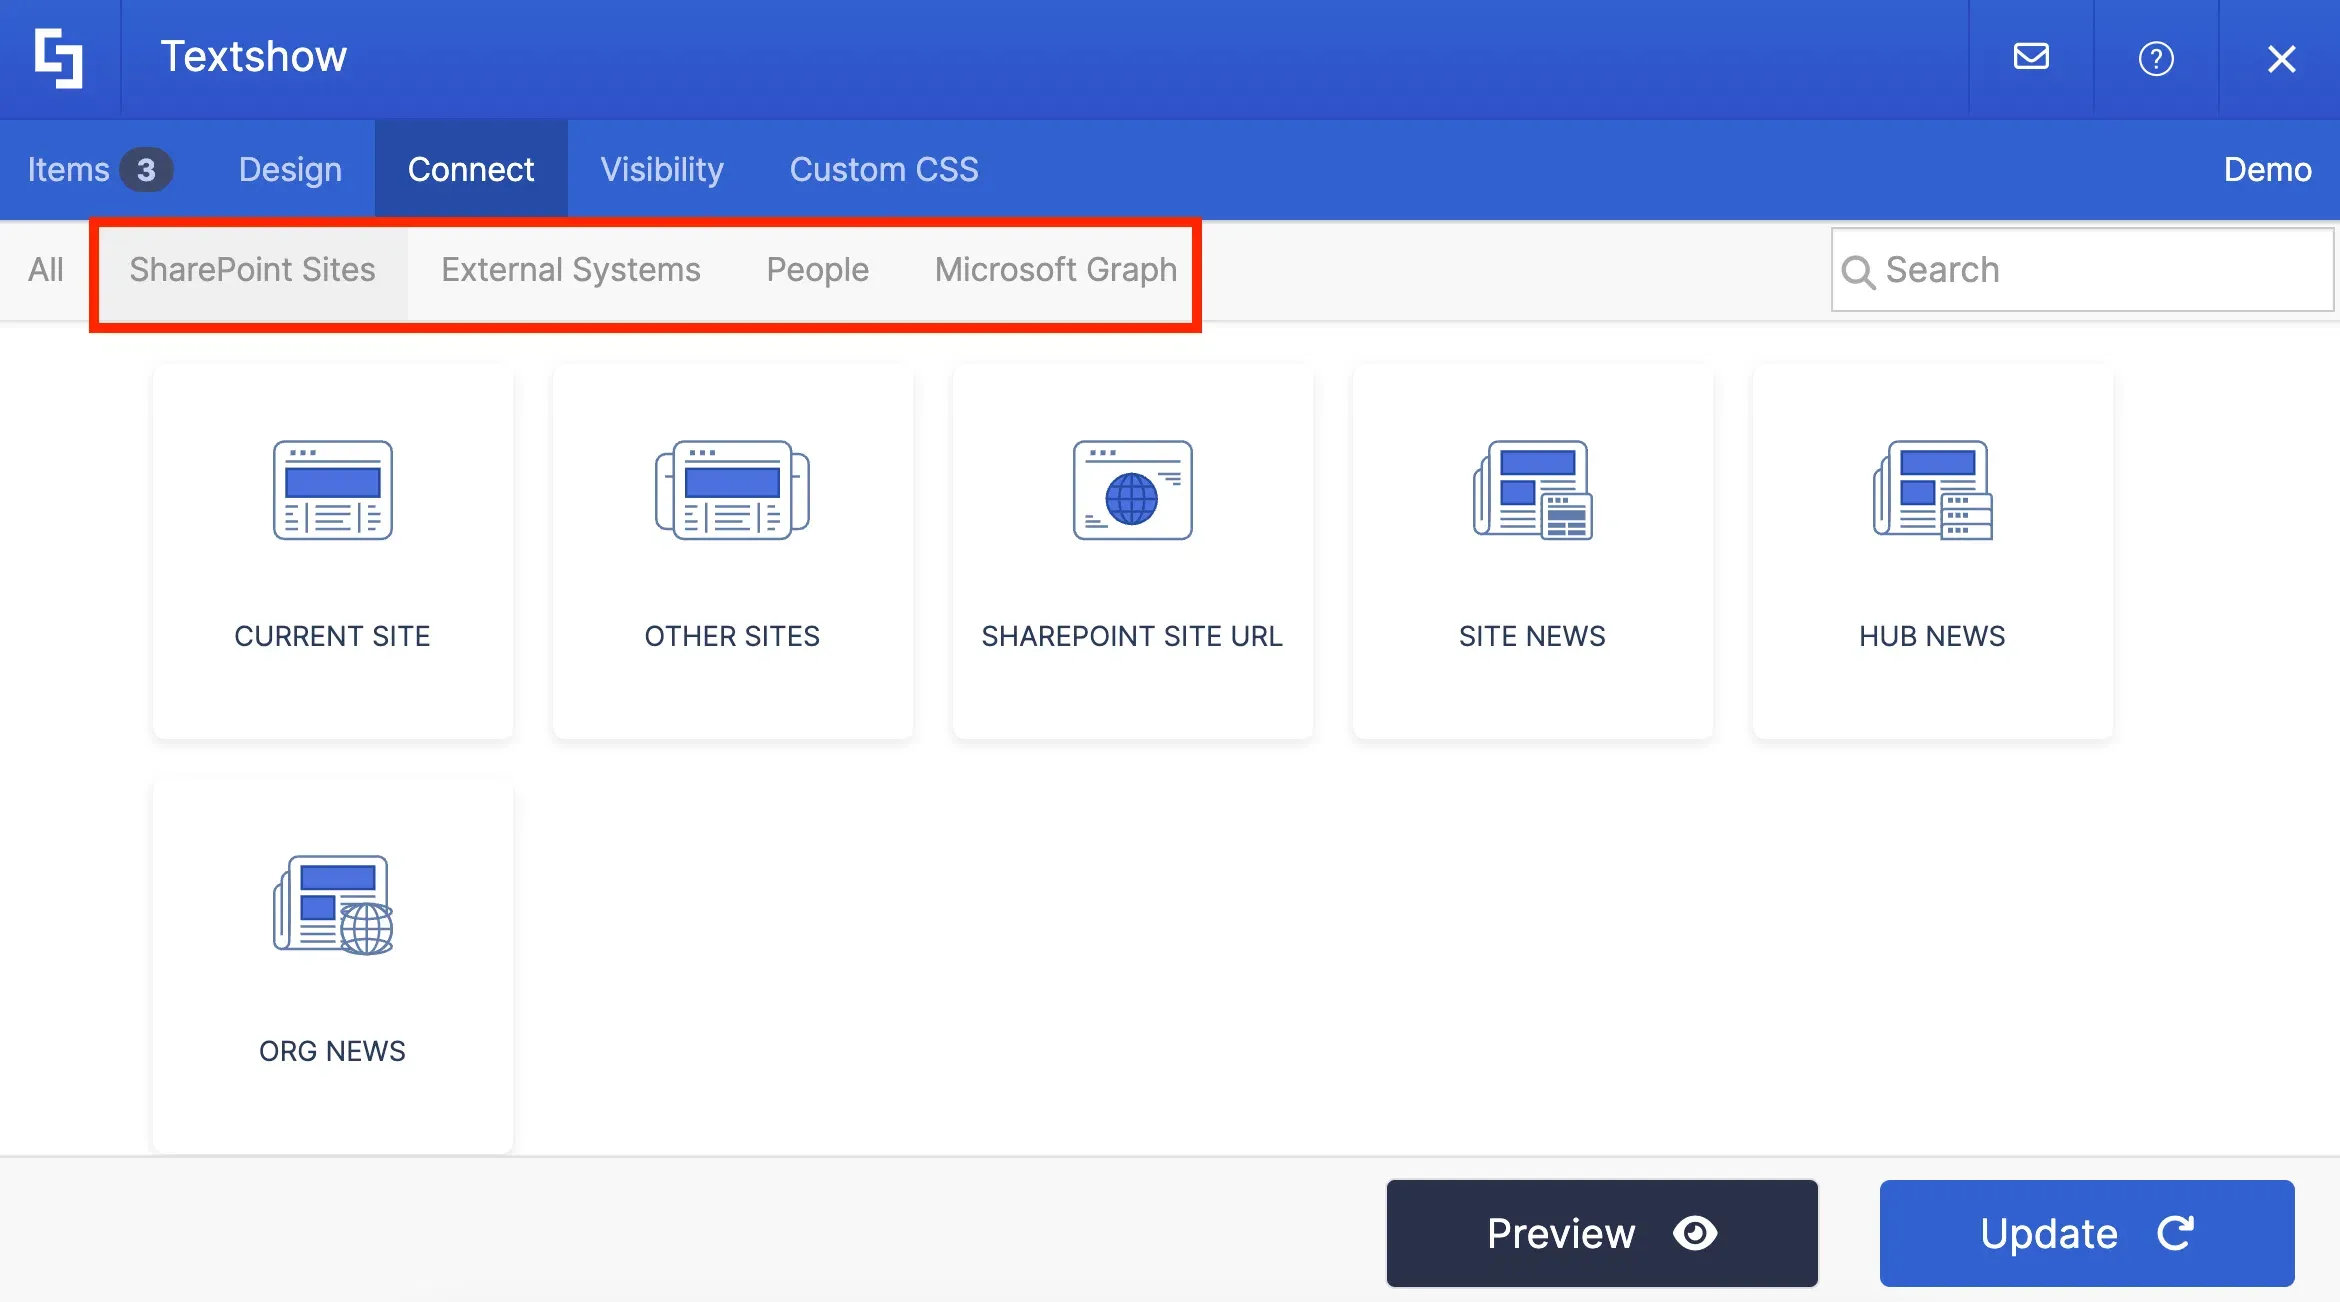
You have MANY options to connect. You can automatically pull text from your SharePoint sites, your Outlook calendar, and even other external sources (like RSS feeds or Rest API).
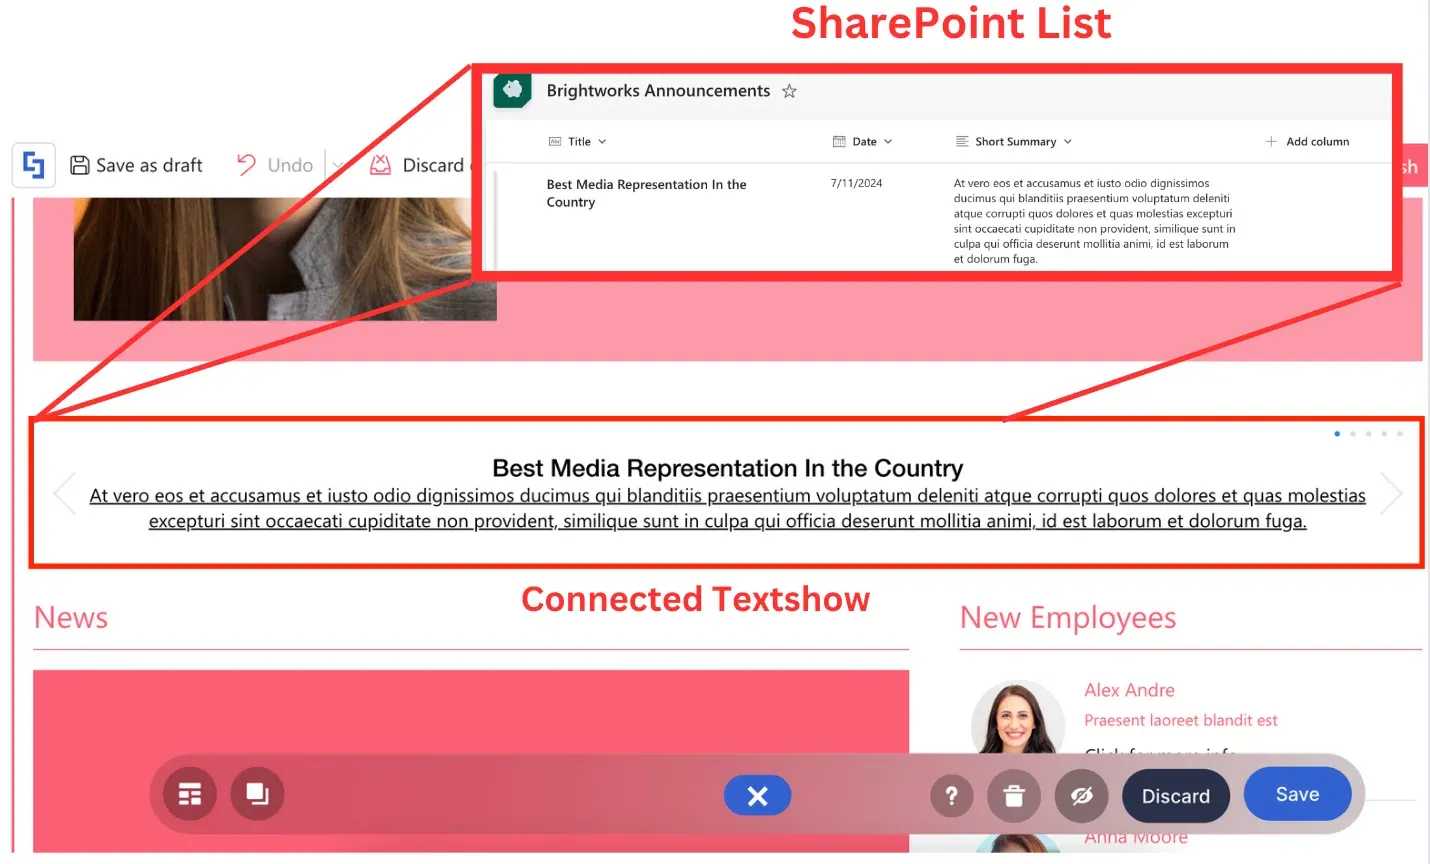
Want to see how it works? Let's connect the SharePoint List we showed earlier to the Textshow Design Element. Notice how the items are copied WORD for WORD. That's the power of ShortPoint Connect!
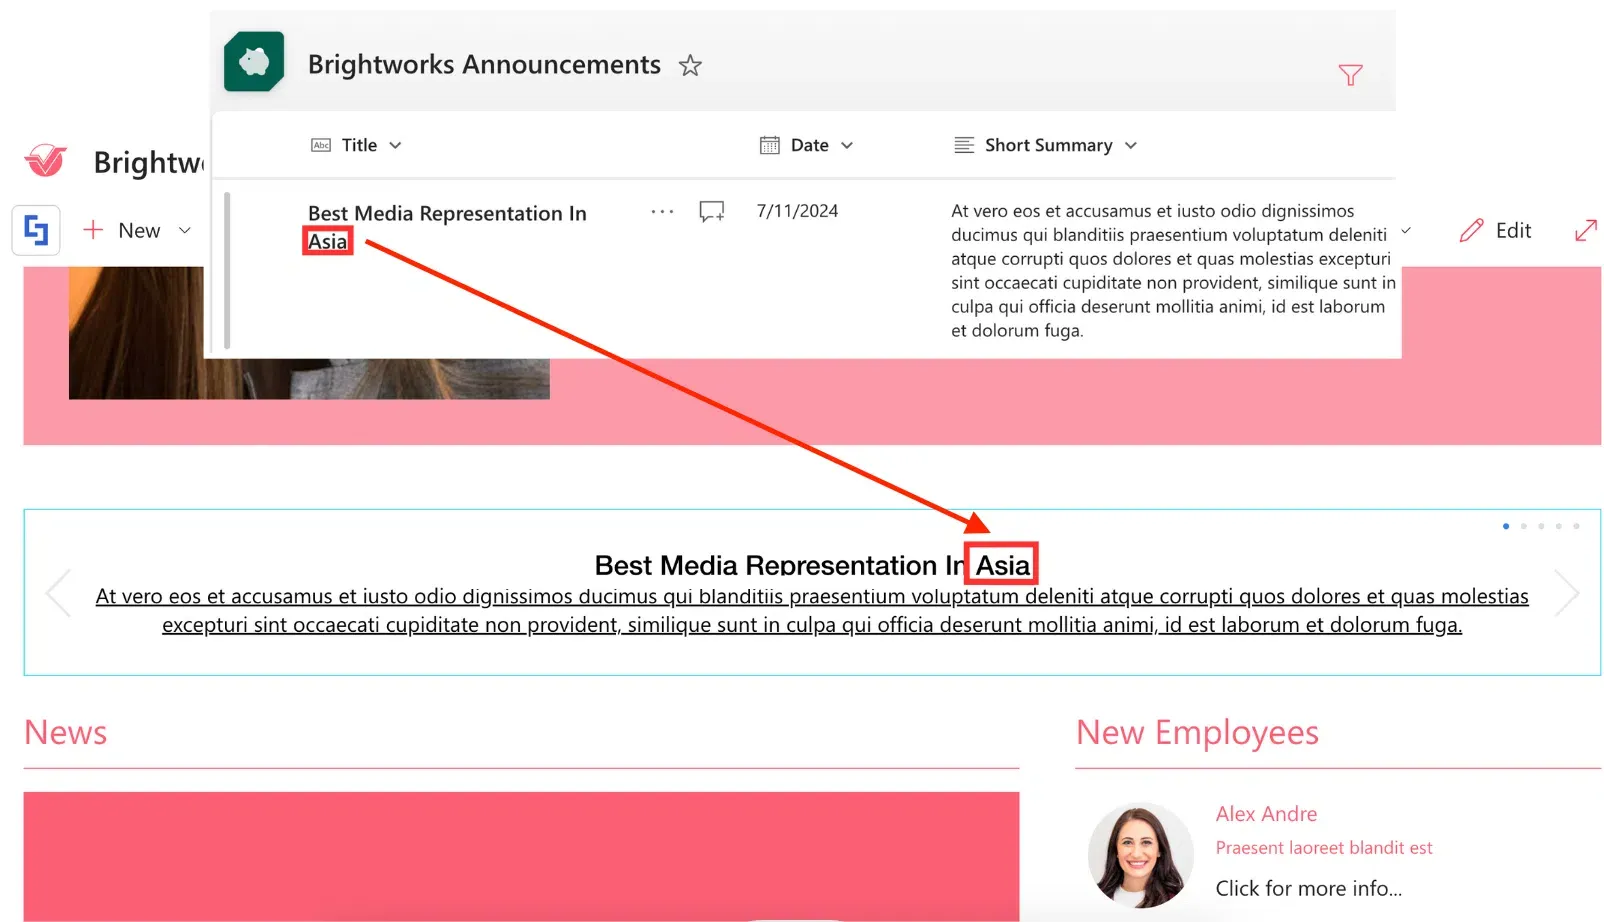
But what if you updated the SharePoint List? Do you have to go back and update the connected Design Element too? The answer is NO! We want to make the ShortPoint Connect experience as convenient as possible for you. Any changes you make in the SharePoint List or external source will automatically be reflected on your connected Design Element. For example, when we changed "Country" to "Asia" in our SharePoint List, it automatically changed on our connected Design Element too.
Want to start connecting? Check out ShortPoint Connect: Basic Tutorial to get a step-by-step guide on how to use ShortPoint Connect.Now that you know all the Design Elements you can use to show different text content, you're ready to start designing! Just remember all the features we showed you and your users will surely LOVE reading your content.