
Building the page
Add and edit a Design Element
In this tutorial, you will learn how to add a new Design Element to your page and use it to display your content. You will also learn how to modify its settings to meet your design requirements.

Adding a Design Element
First, let's go back to the SharePoint page we are editing. When you add a Section to your page and select the Choose Layout route, you will find a black plus icon. Click it to add a Design Element.
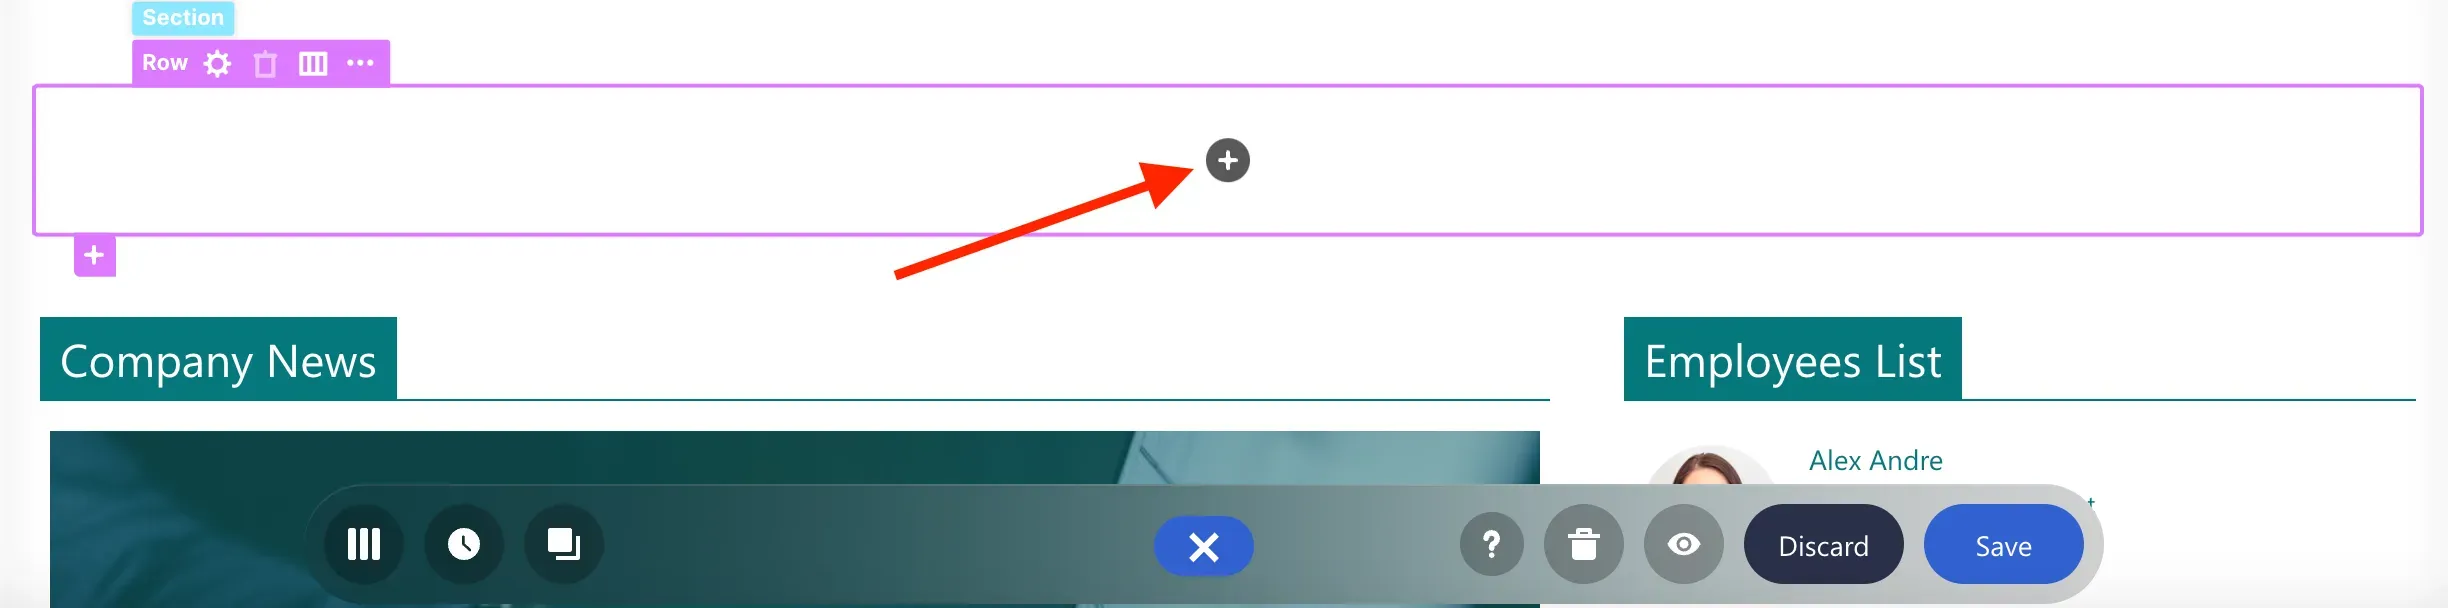
A popup window will appear where you will see a selection of Design Elements available for your use. They are divided into different categories from Basics to Lists and Socials.
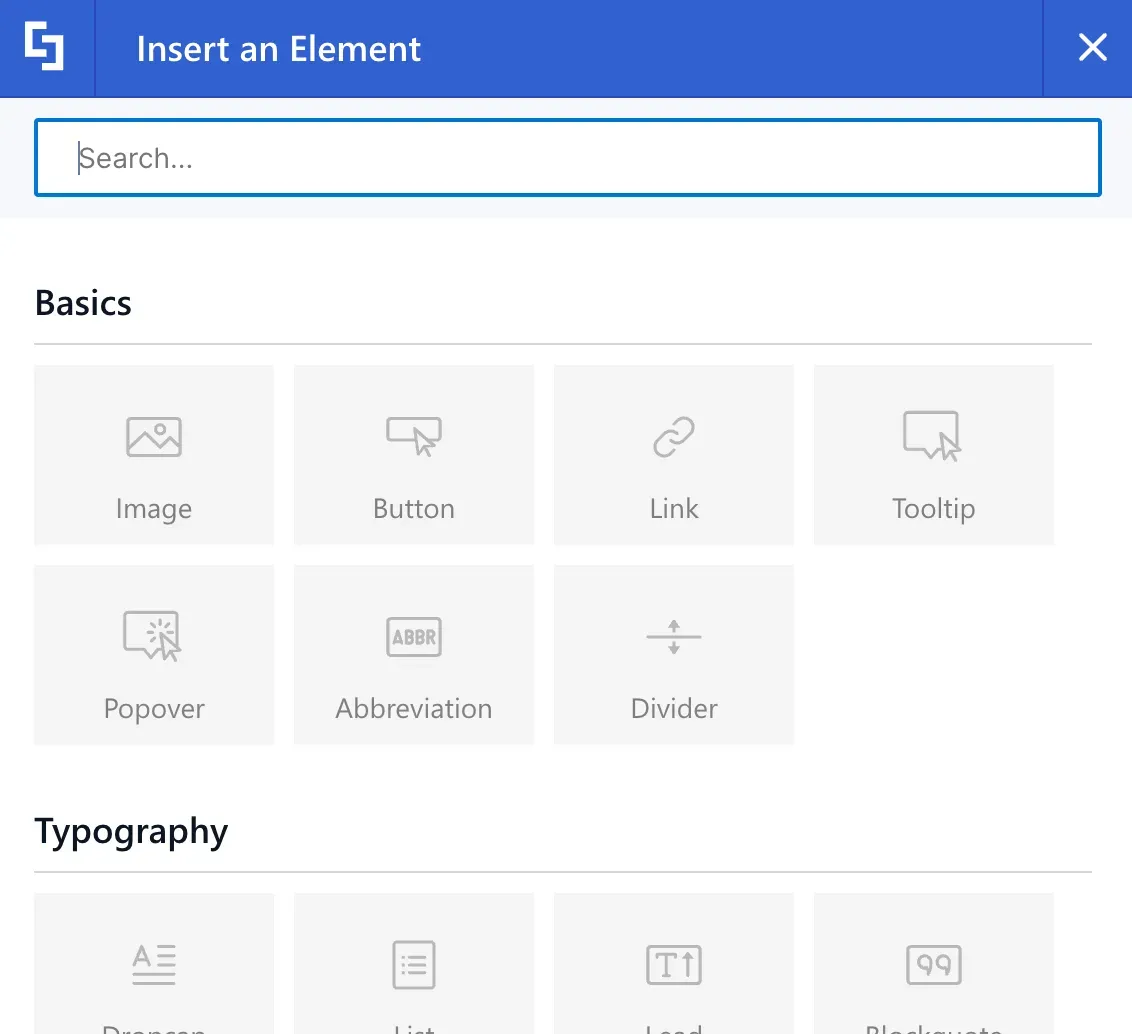
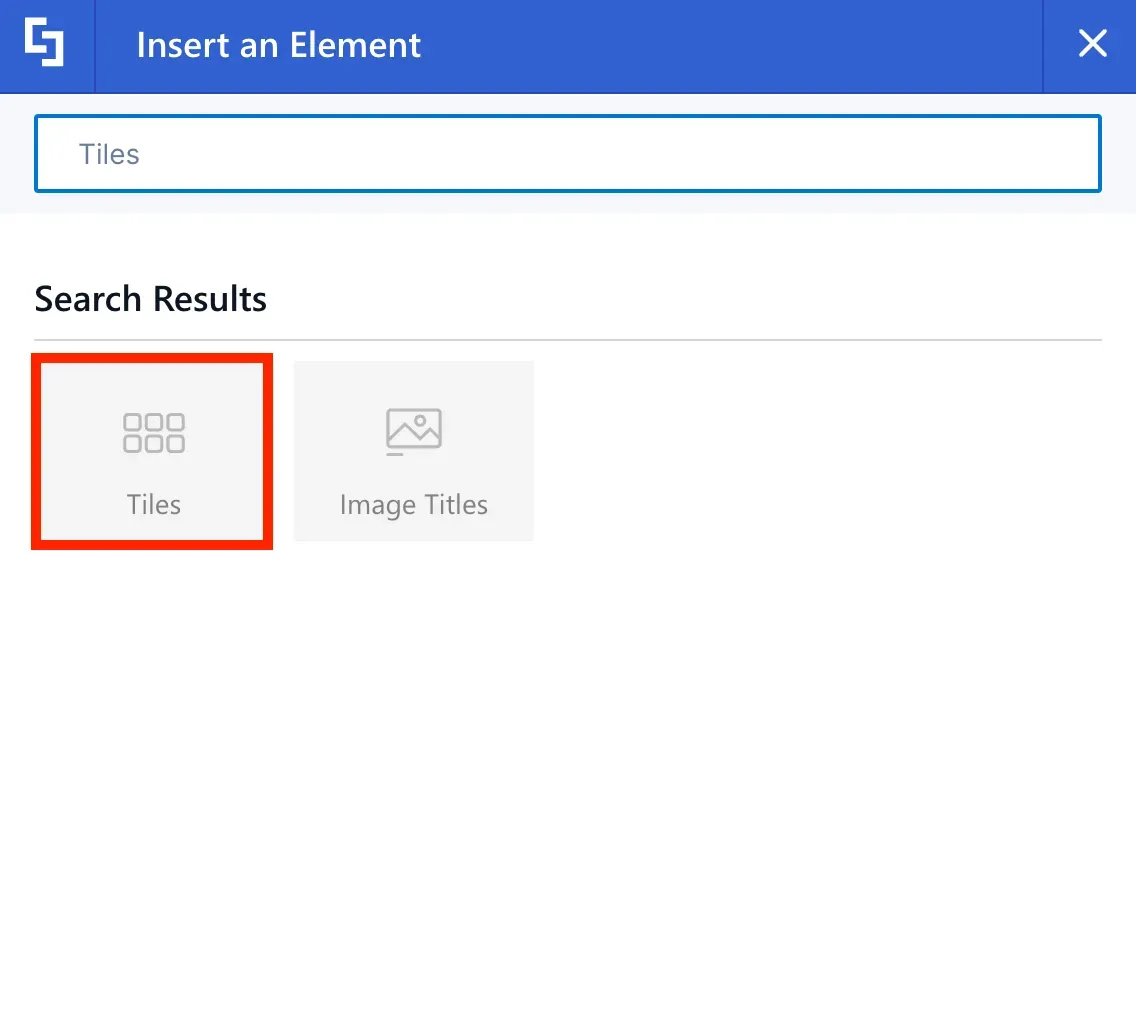
To look for the Design Element you want to use, you can either scroll down or use the search field. Let's use the search field to find the Tiles Design Element. We will use it to create quick links to different resources in your organization.
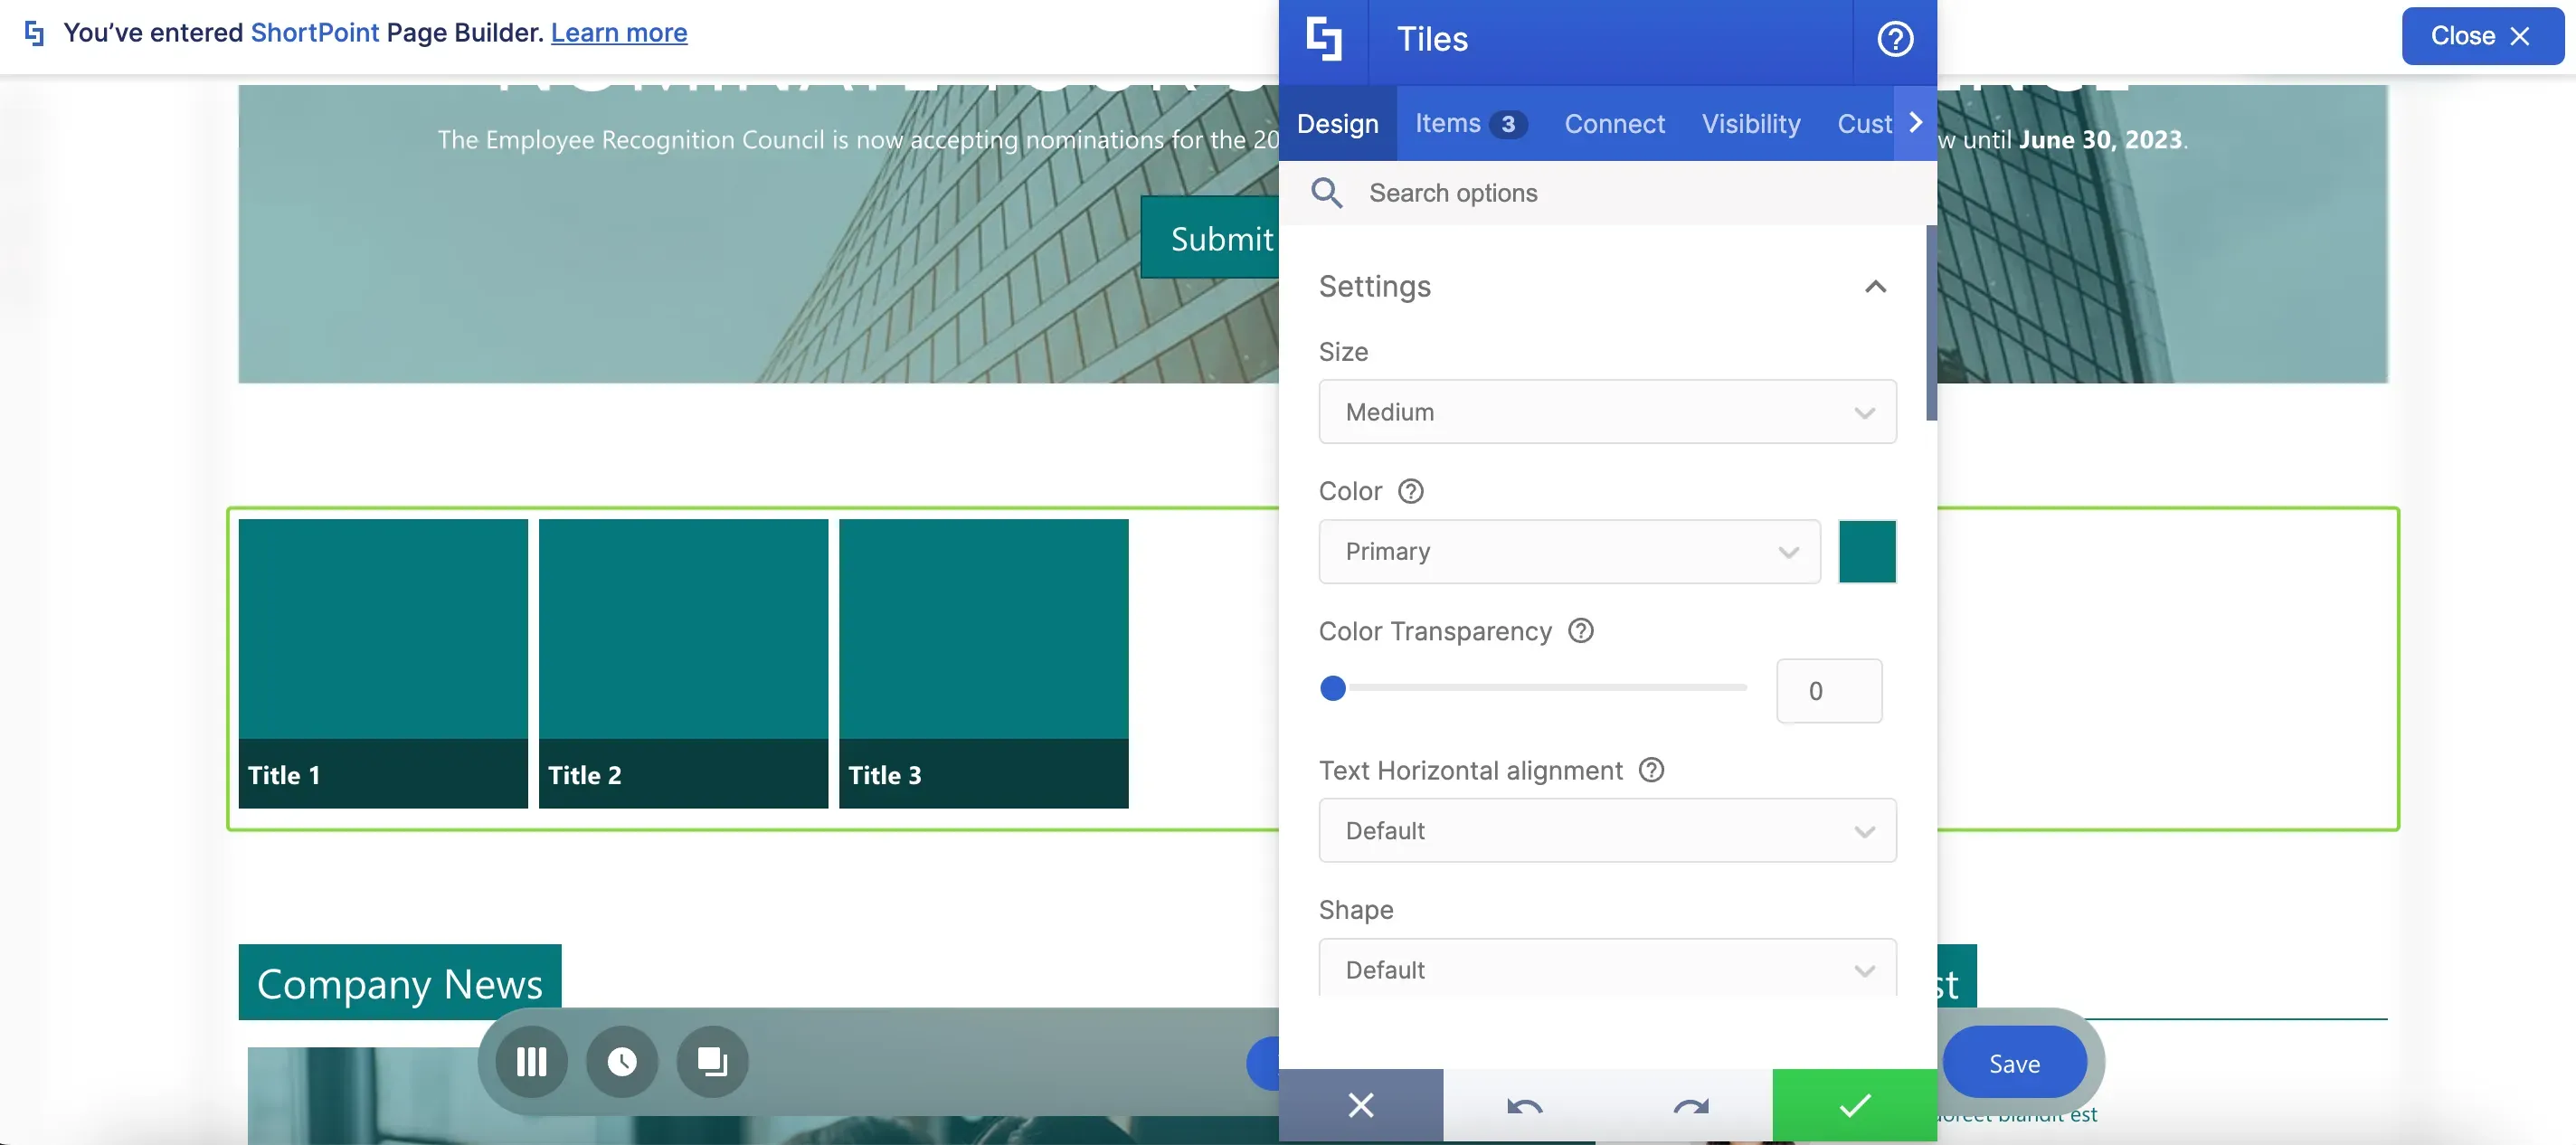
Once added, the most basic form of the Design Element will be inserted into your page, and it will have placeholder content.
Editing content
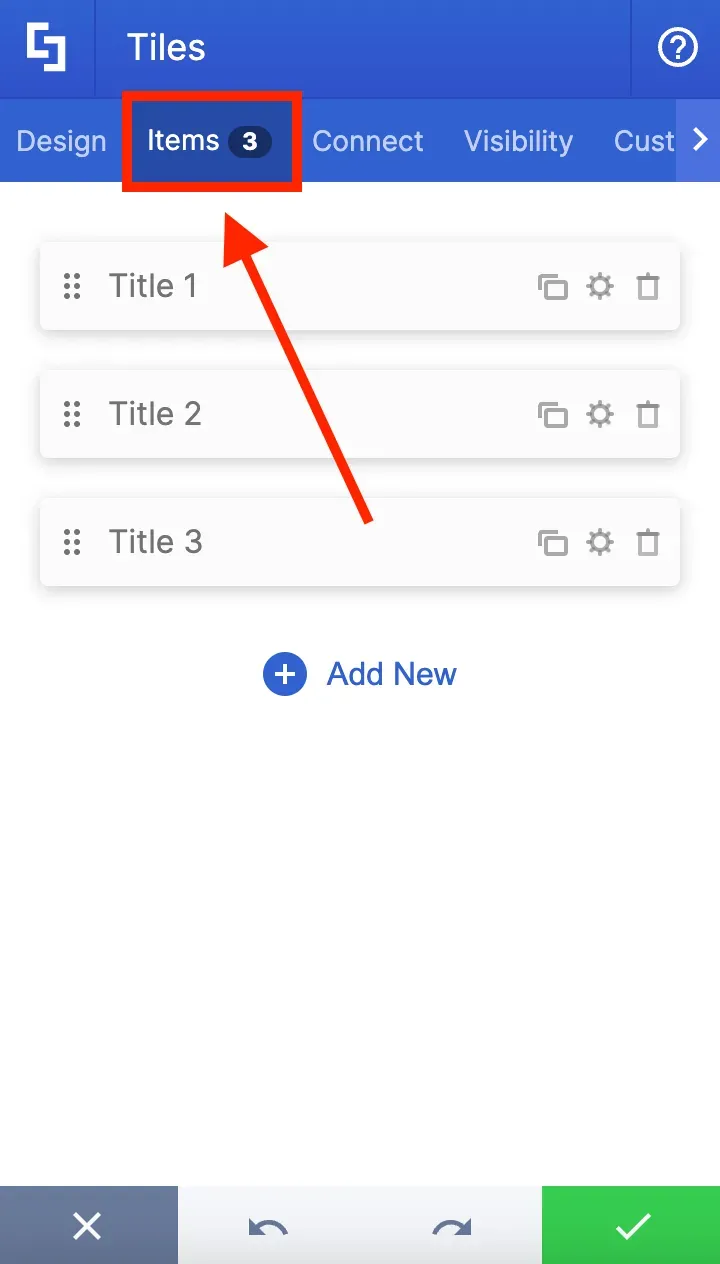
To edit the content, go to the Items tab. Here, you will find the three default tiles that you see on your page.
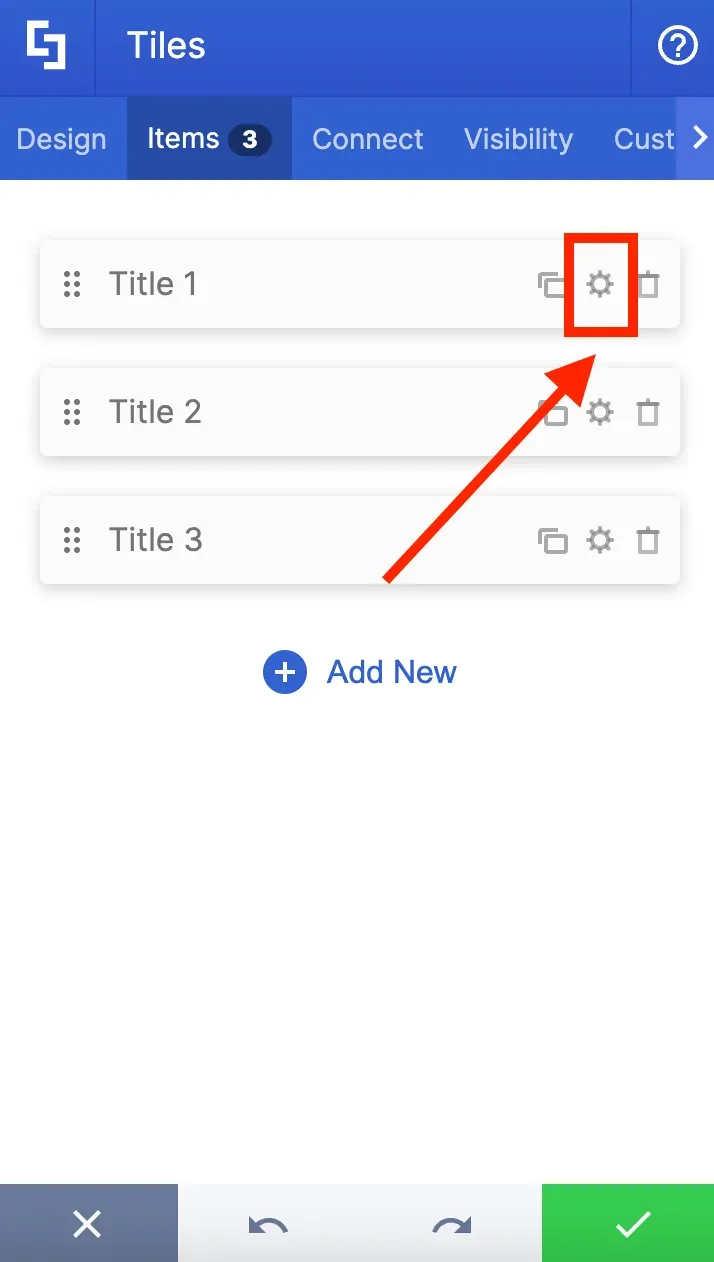
Press the cogwheel icon on the first item to edit the content of the first tile.
Change the name in the [1] Title field to show the first resource you want to add. You can also add a [2] description, [3] a link to where your users will be directed, and a [4] linking option.
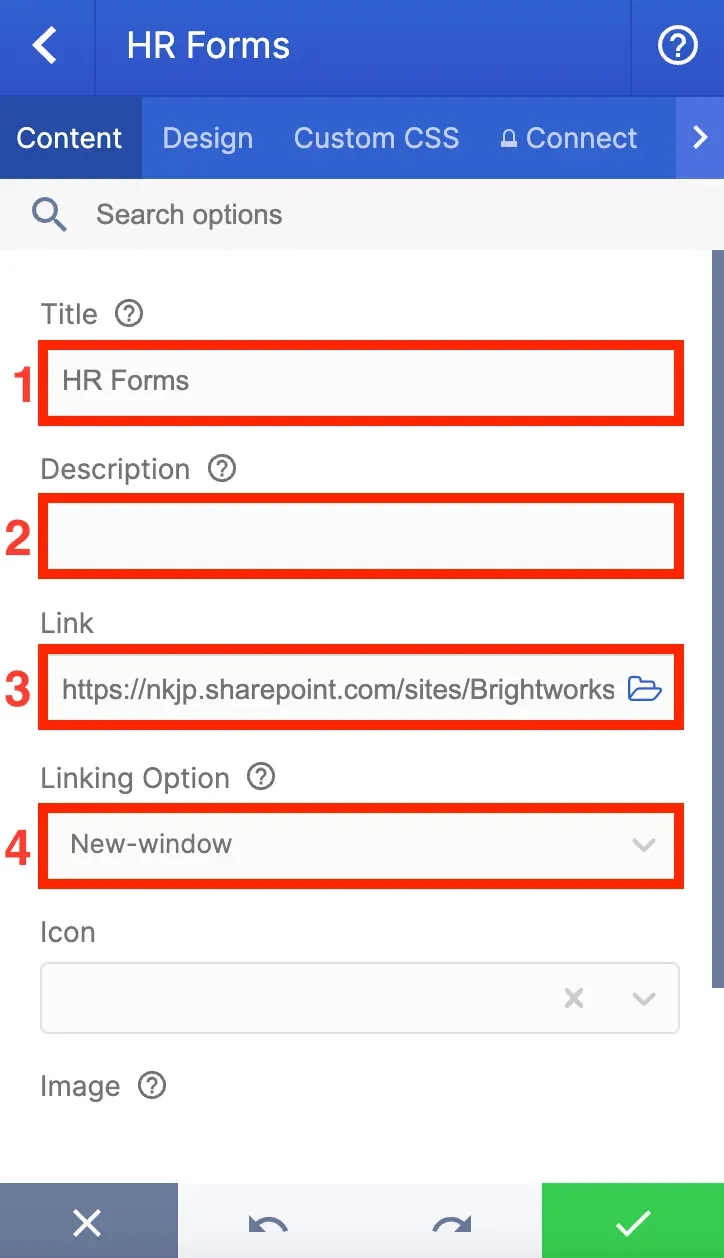
There are other items you can add to each tile, such as an [1] icon or an [2] image, but let's keep it simple for now.
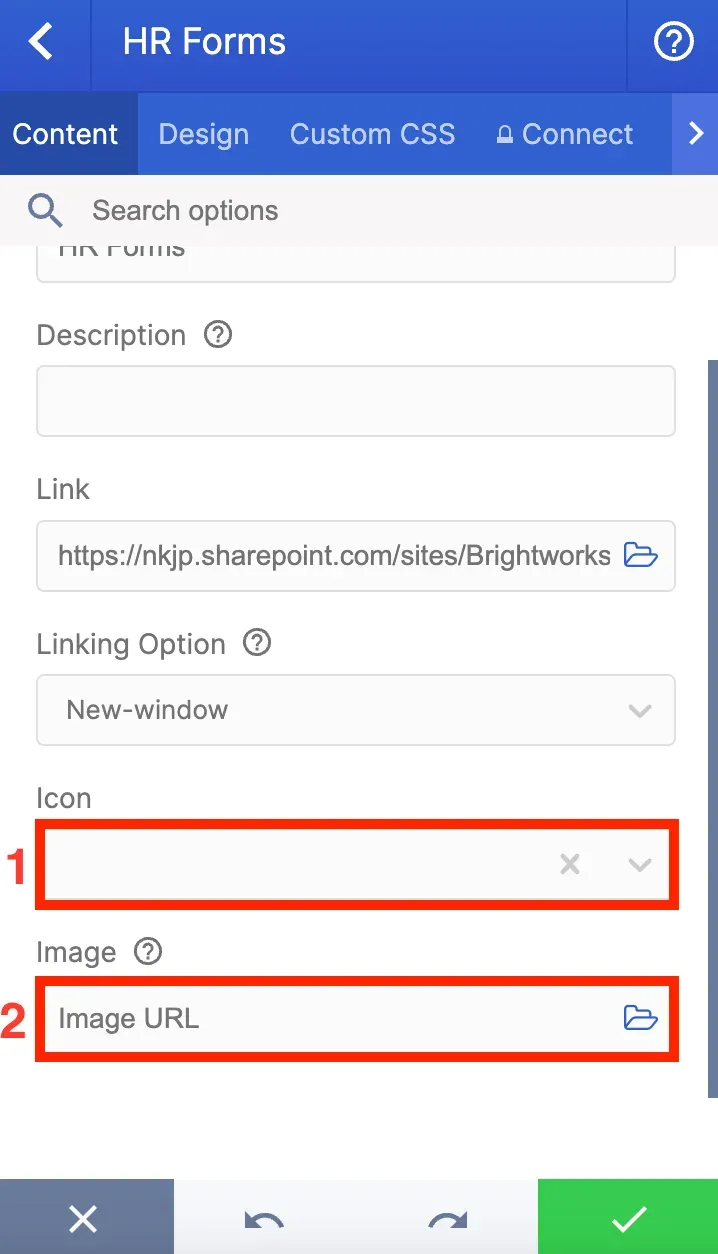
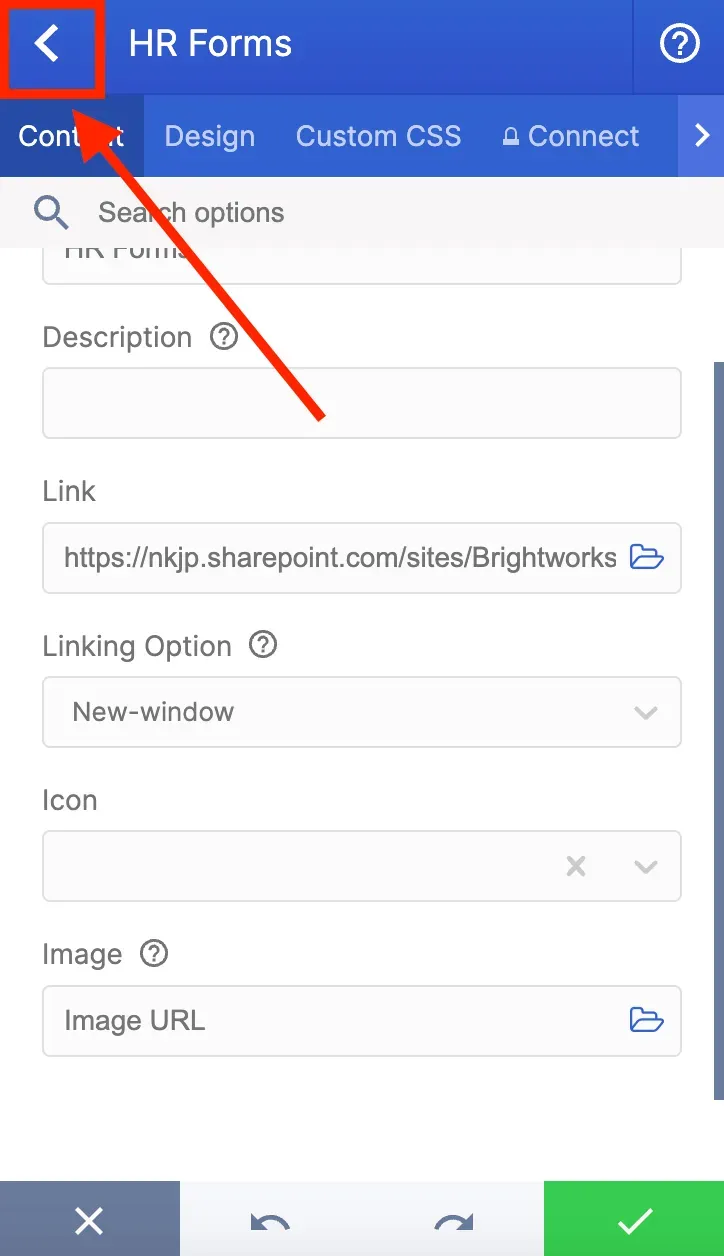
Once you are done editing the tile, click the back icon to do the same for the other tiles.
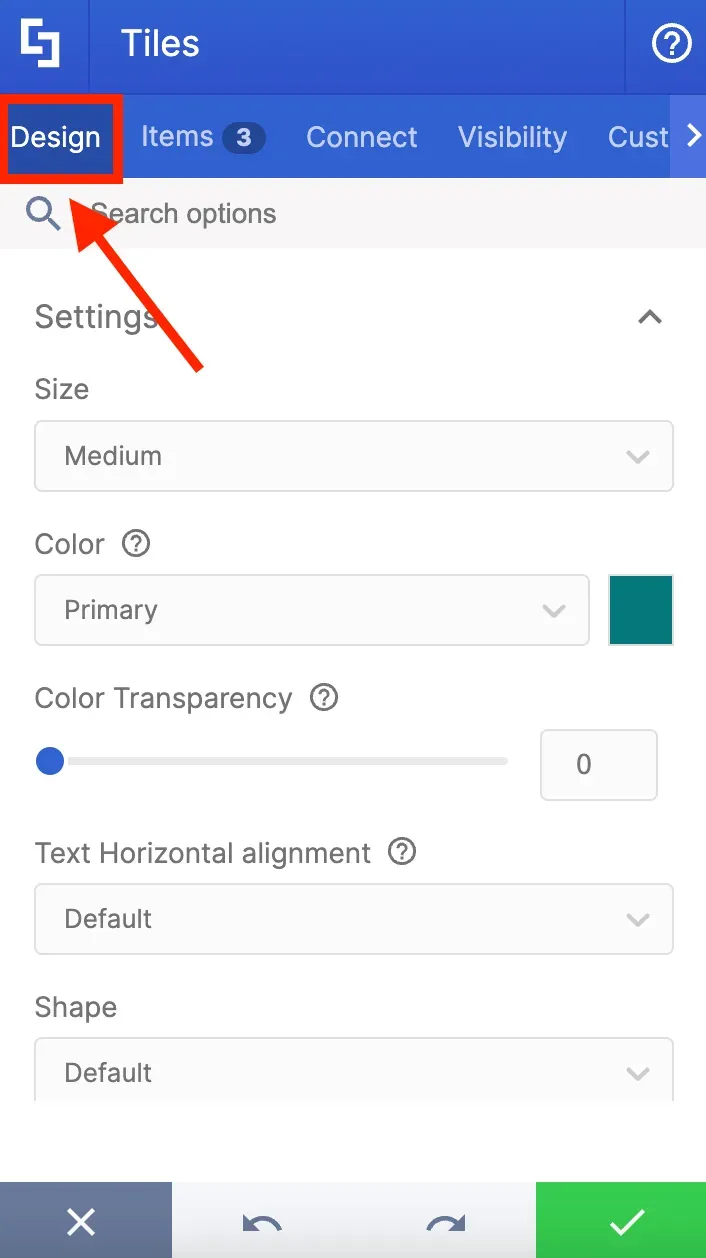
Modifying settings
Now let's customize a few settings of the Tiles Design Element using the Design tab. Here, you will find different style options specific to Tiles that you can modify.
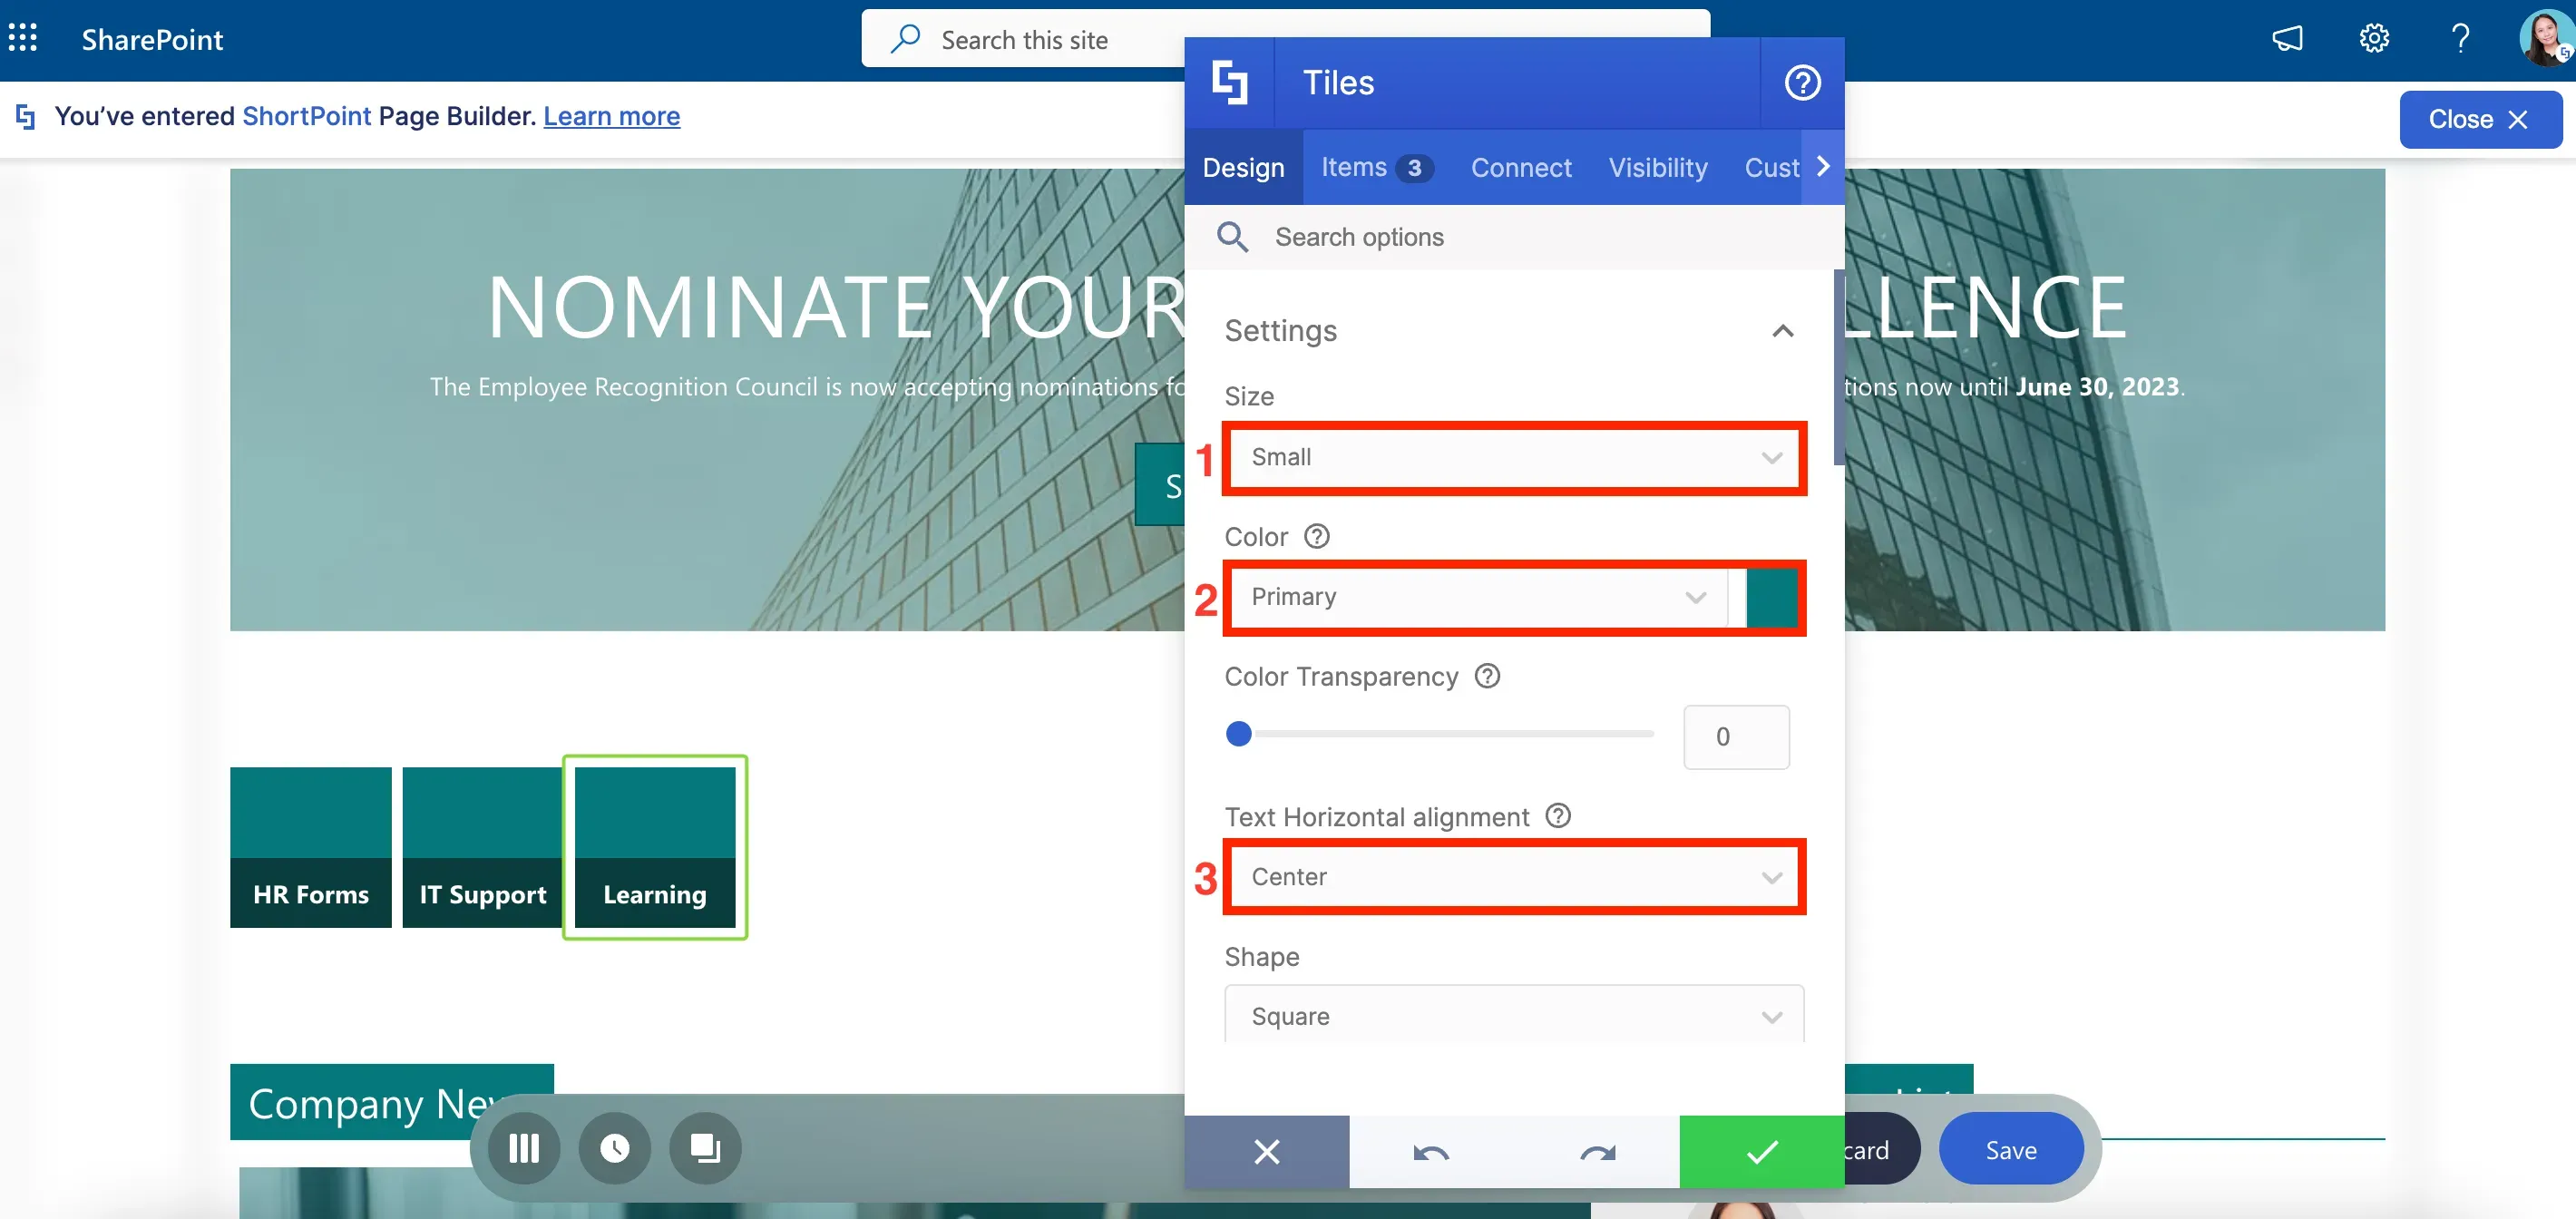
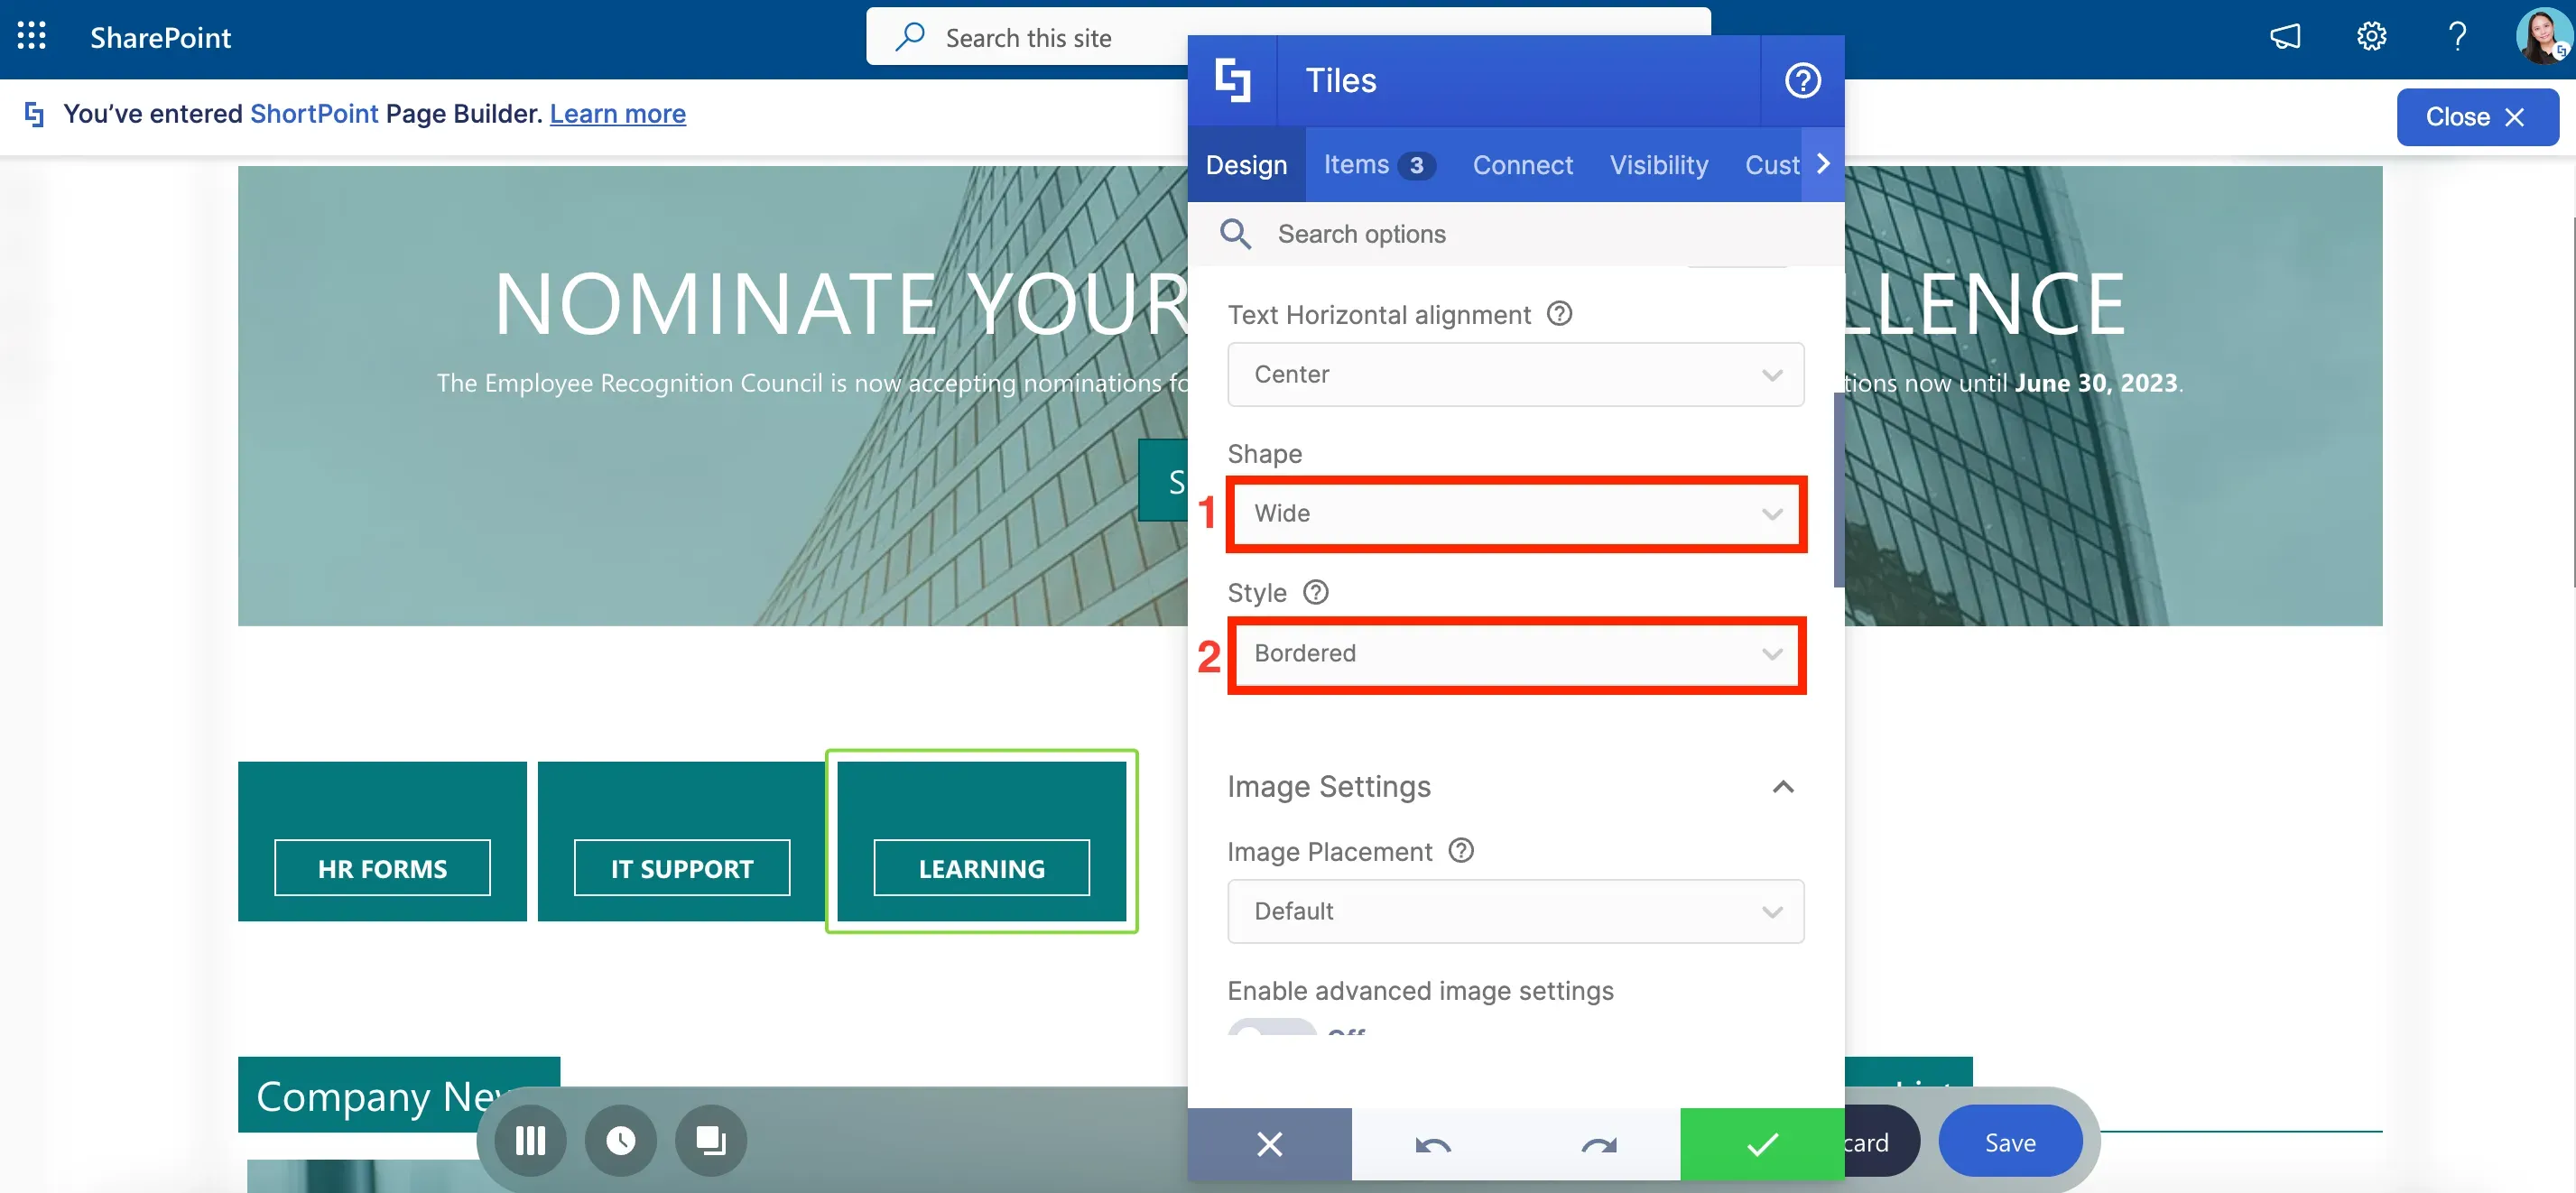
You can change the [1] size, [2] color, and [3] text alignment of your Tile.
Other design settings like [1] shape and [2] style can also be modified.
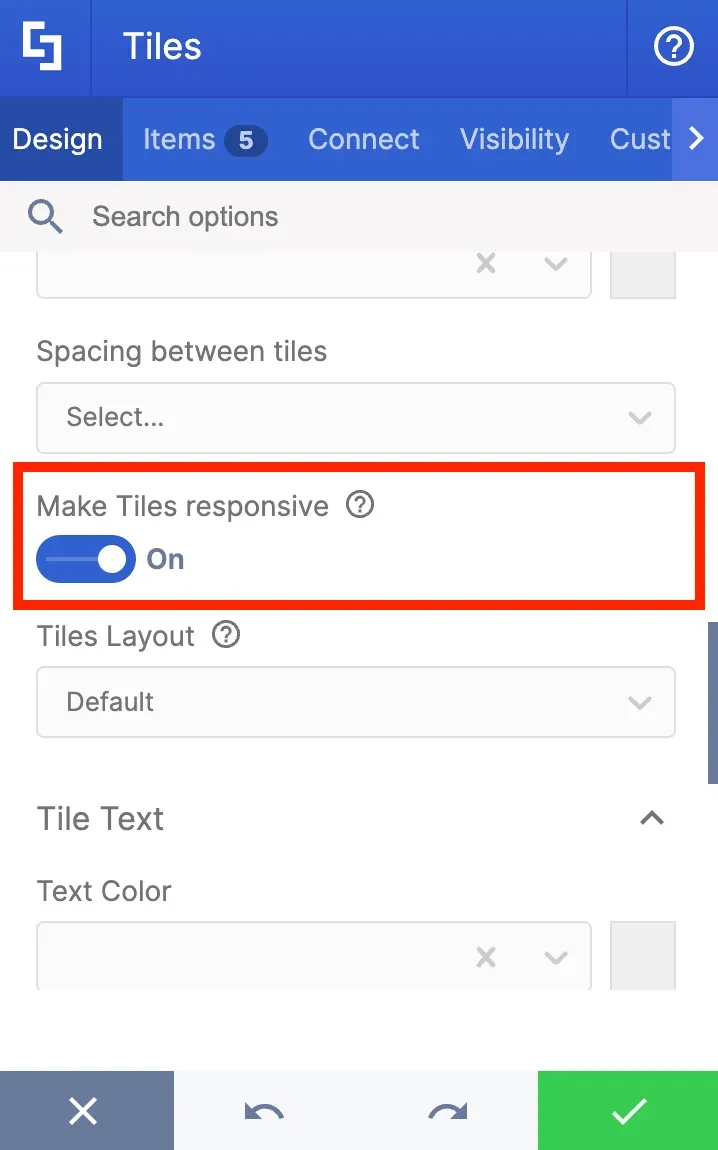
You can also scroll down to find more options like Make Tiles responsive which will automatically resize all tiles to fit the Section.
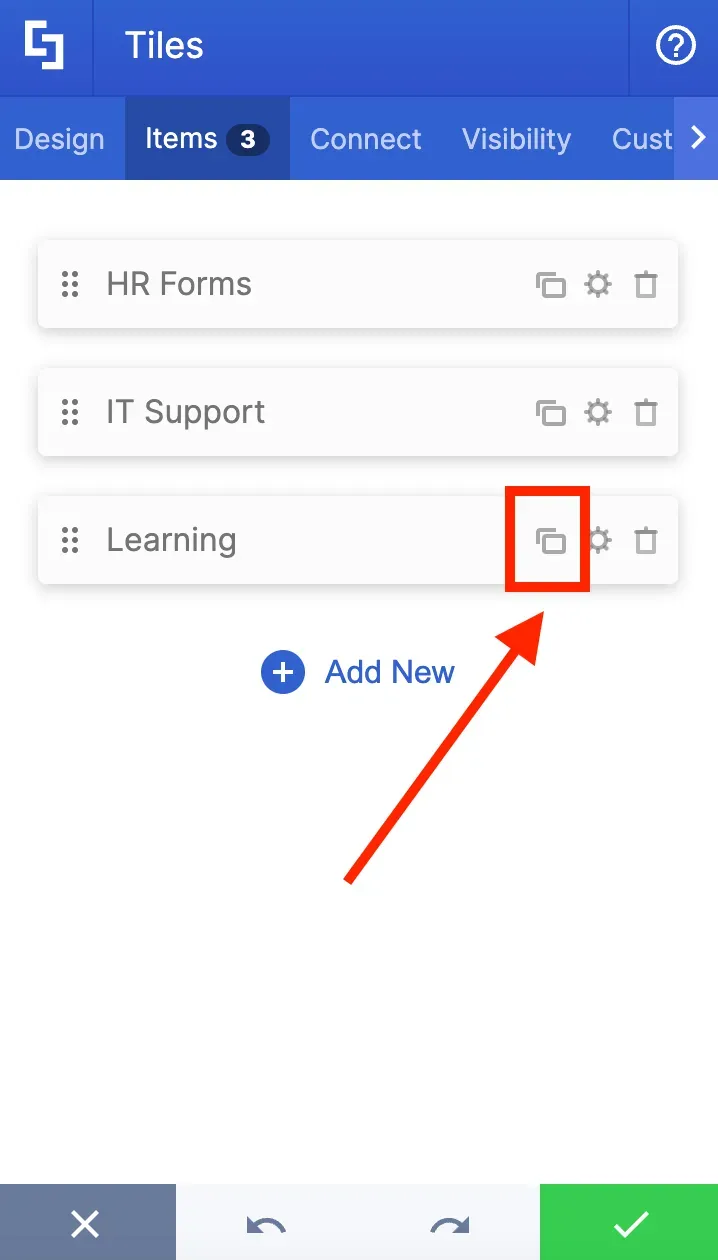
Now, let's go back to the Items tab to add more tiles since we have more resources to link to. You have the option to duplicate a tile using the duplicate icon.
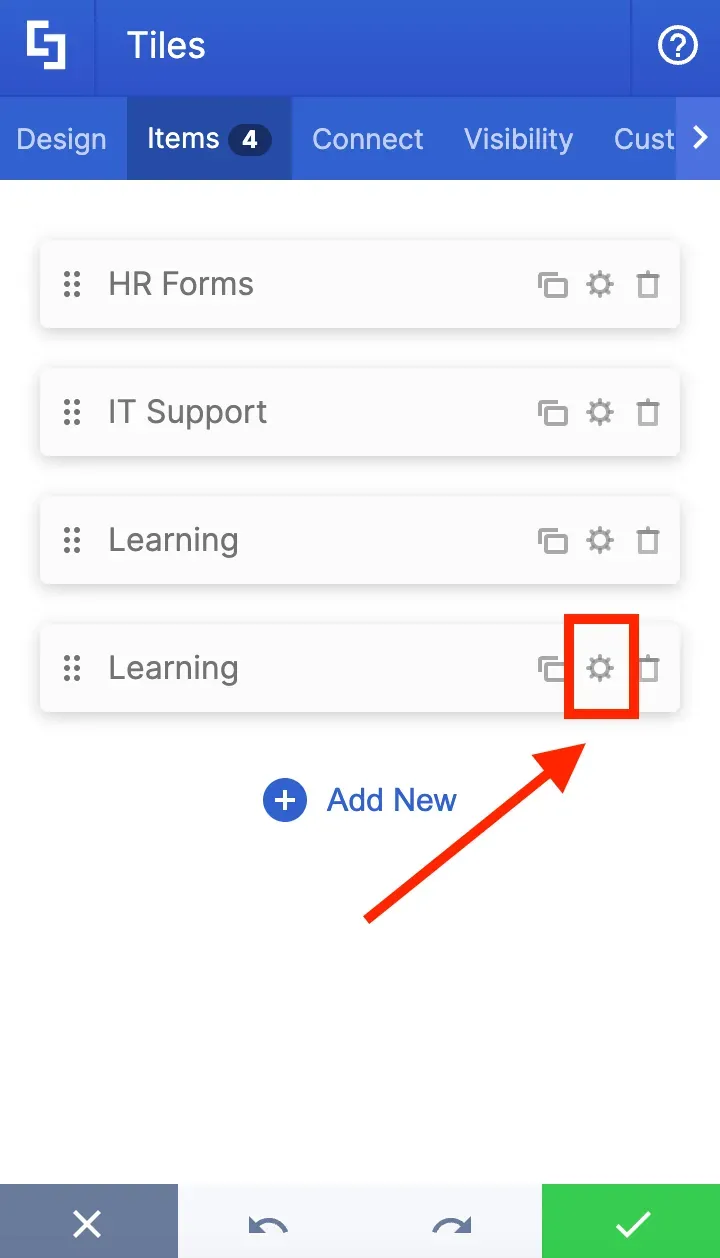
You will now see the duplicated tile. Click the cogwheel icon of the duplicated tile to change some details.
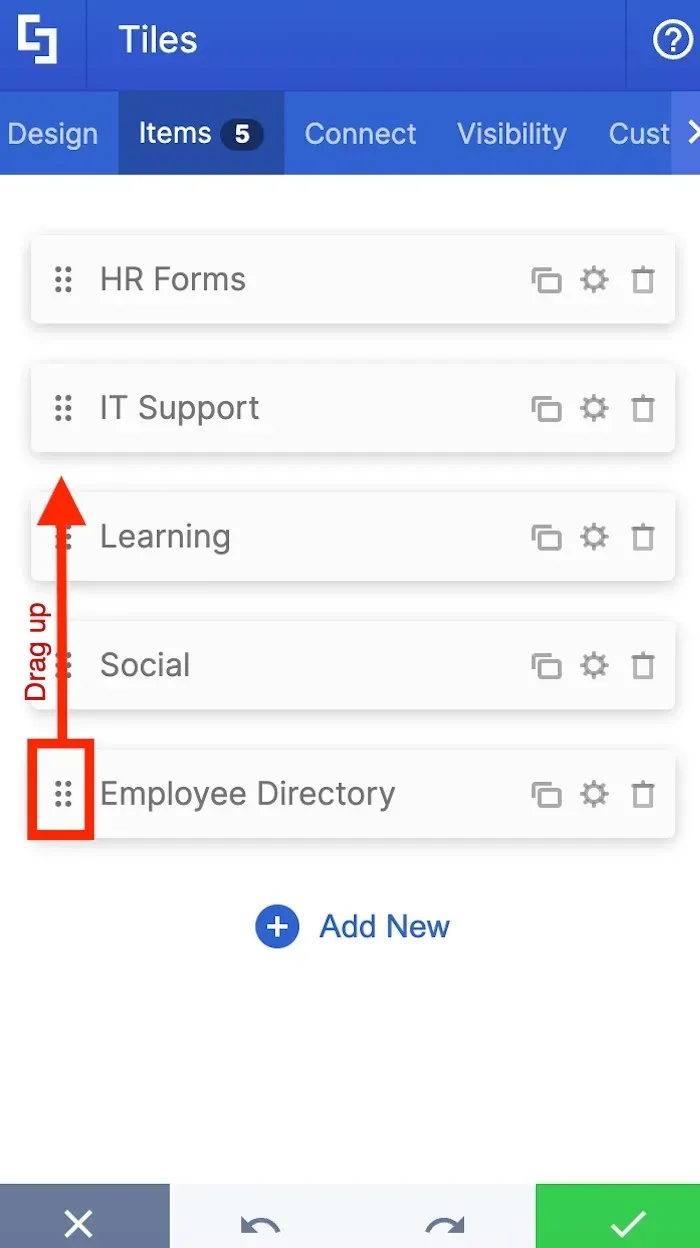
Now that we have all the tiles we need, let us rearrange the order of the Tiles. We want to place Employee Directory in between IT Support and Learning.
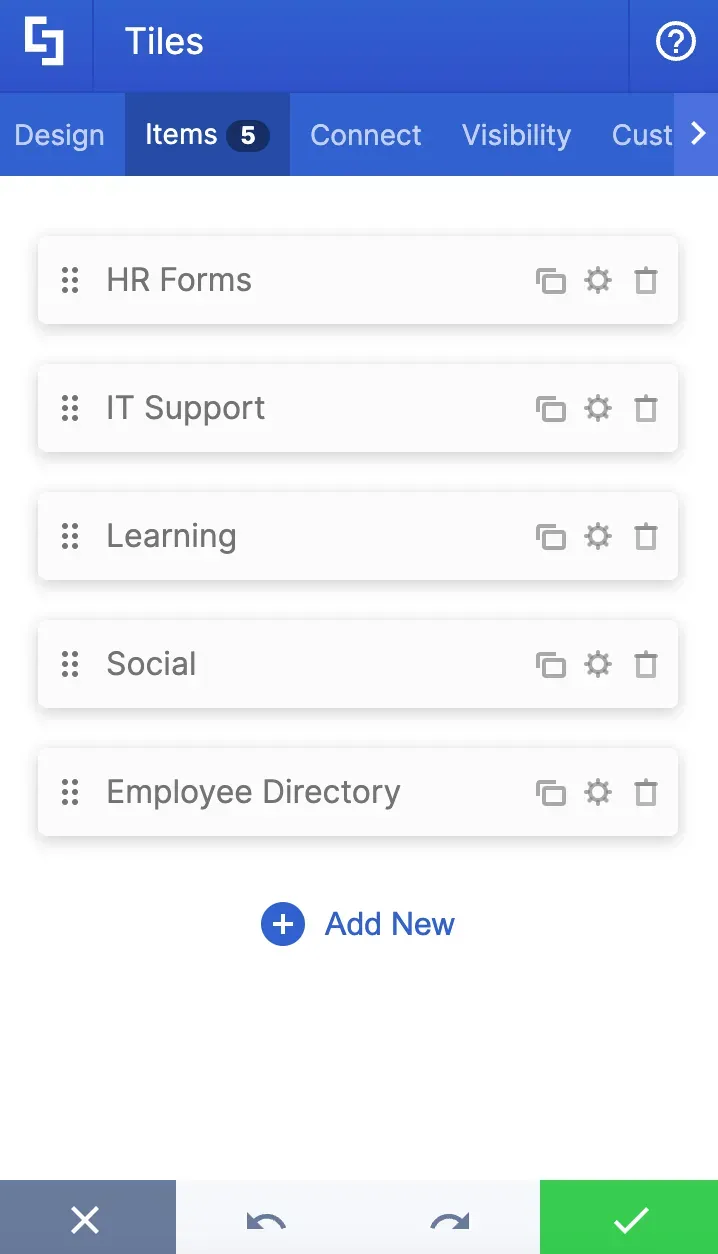
To do this, click the dots icon and drag it to your desired position.
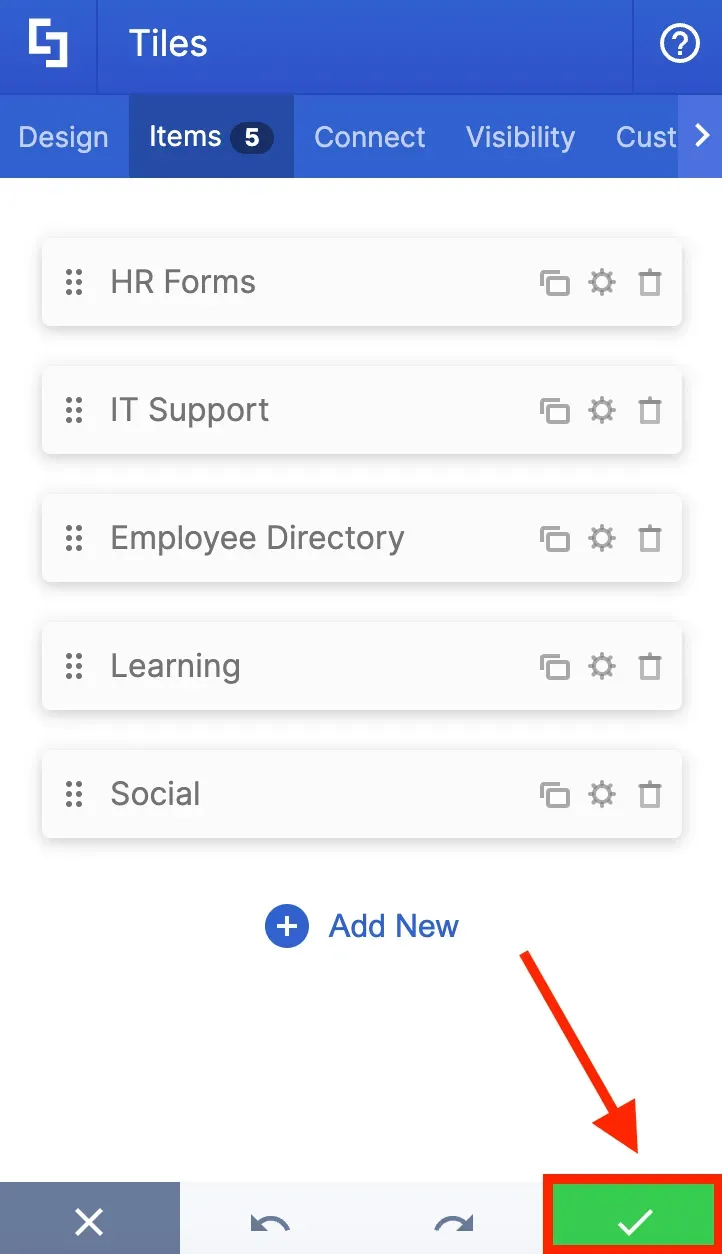
Once you're satisfied with your edits, hit the green checkmark.
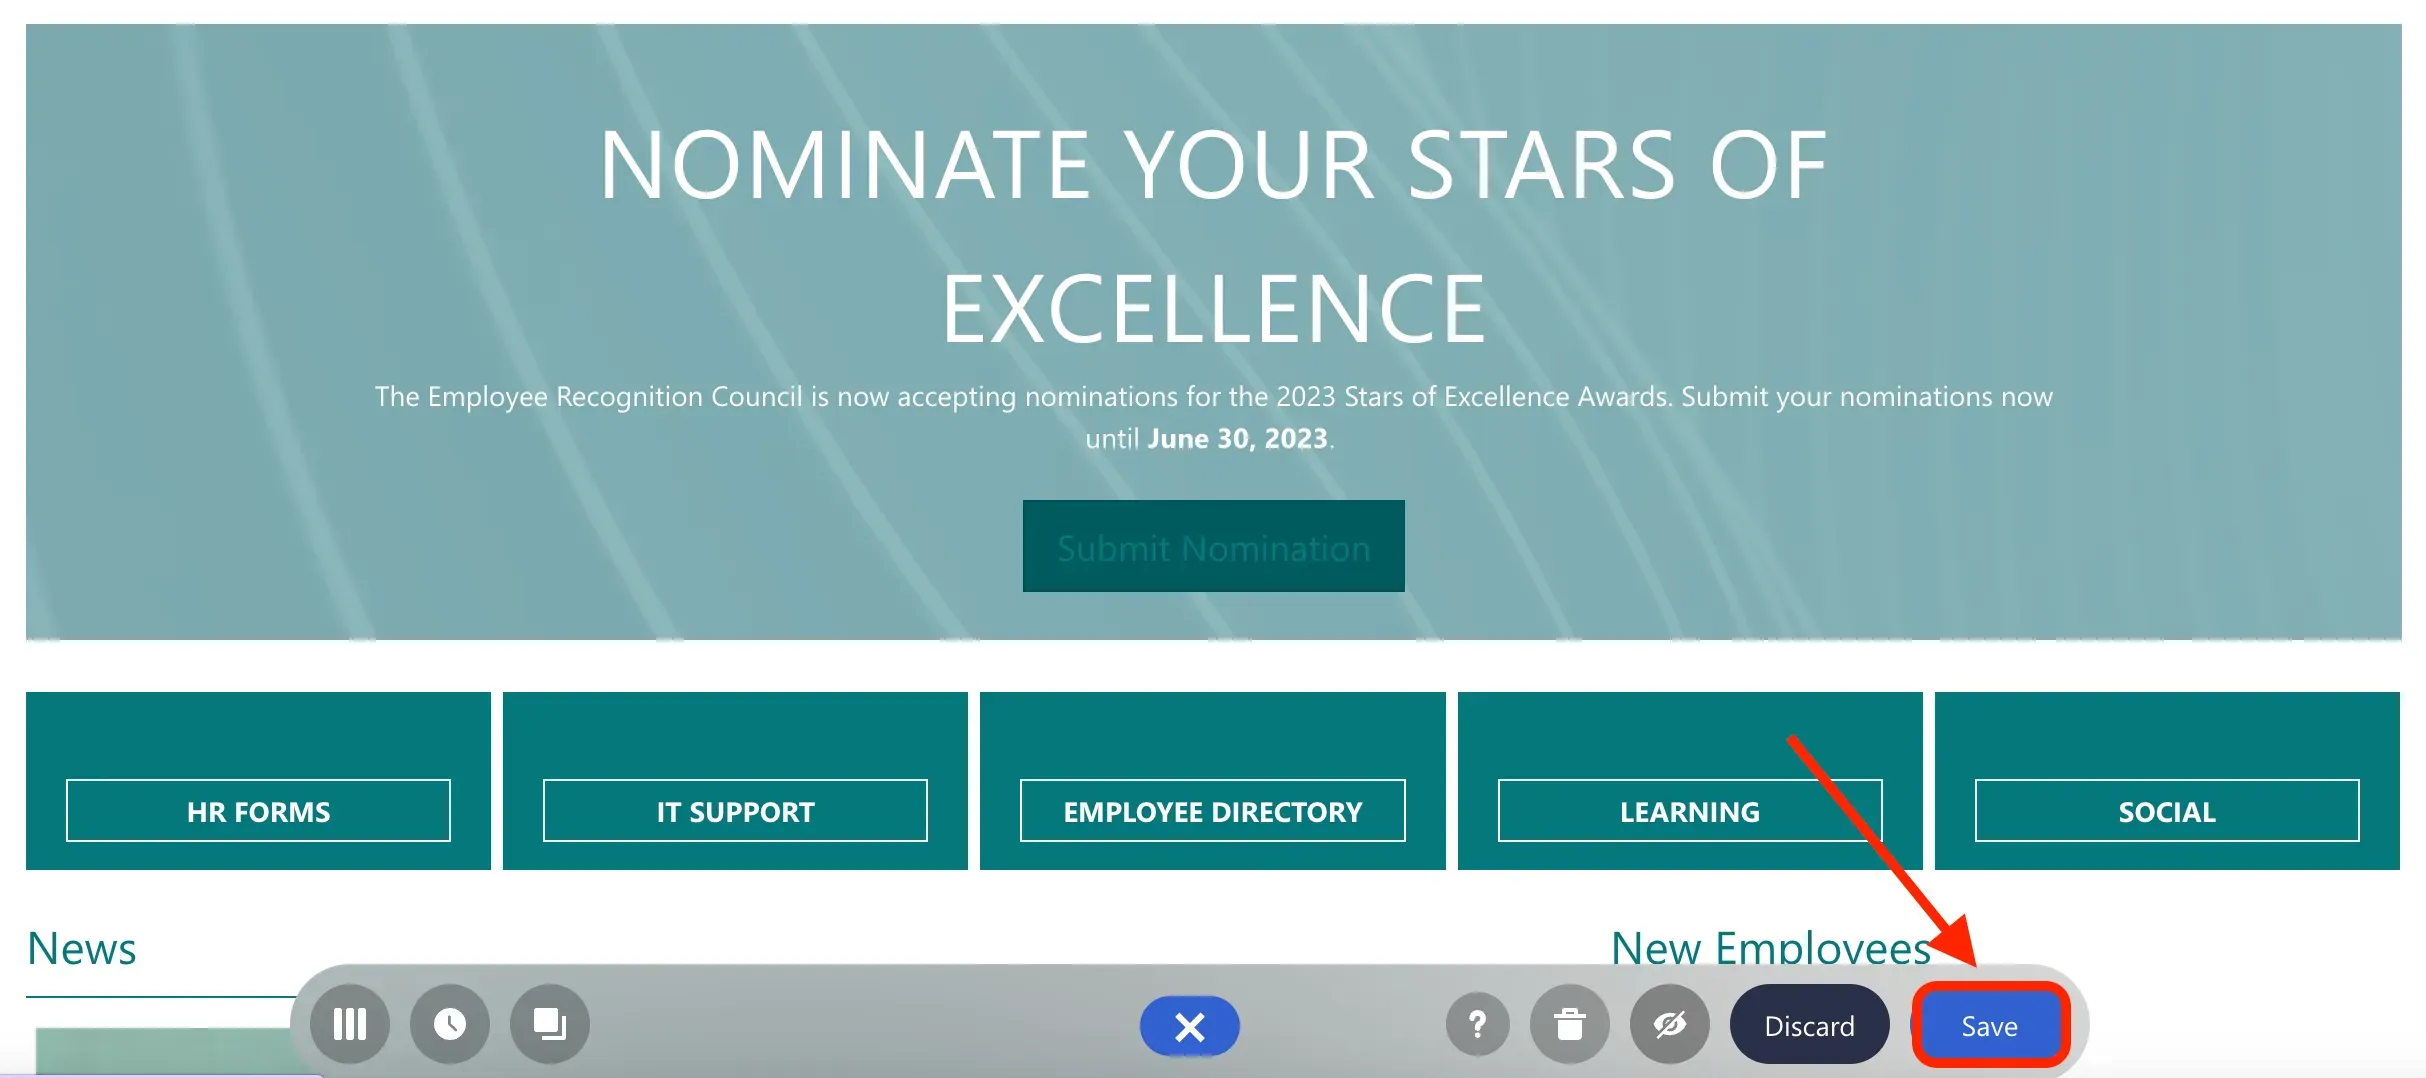
You will now have the Design Element on your page. Click the eye icon to preview how the design will look on your site.
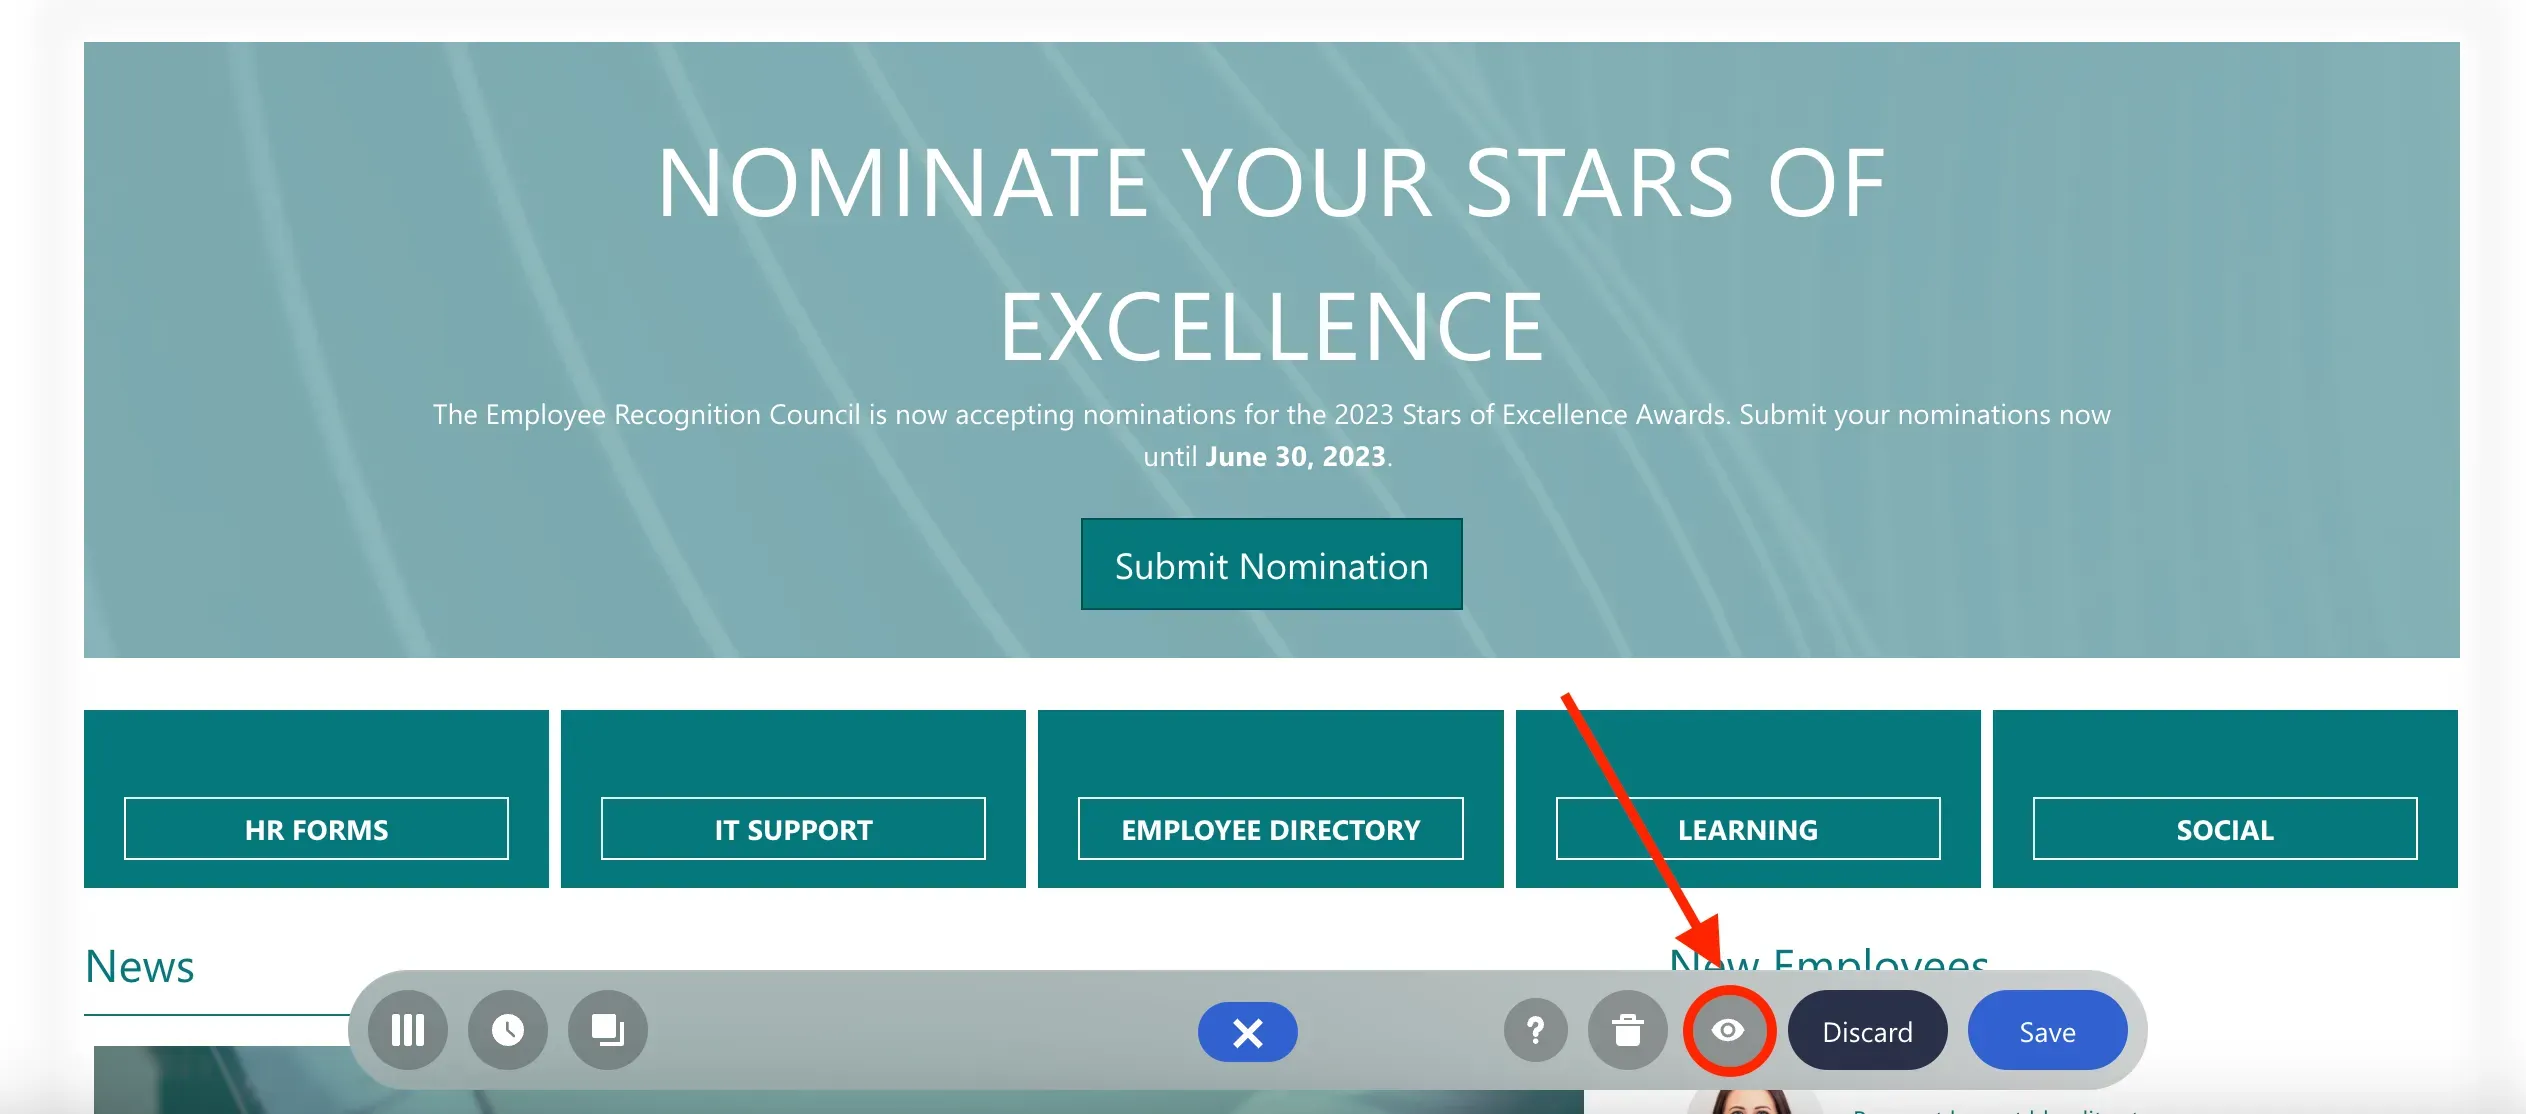
And click Save to keep all your changes.
Congratulations! You now know how to insert a new Design Element and how to customize its content. ShortPoint has over 60 Design Elements that you can explore to present all the different types of content useful for your Intranet visitors.