

Building the page
Customize page layouts
In this tutorial, you will learn how to access the Hot Actions feature and use it to edit the spaces within and between Design Elements. You will also learn how to add and edit layout options in Sections and Rows.

Accessing Hot Actions
First, let's edit the SharePoint page where we added the ShortPoint template.
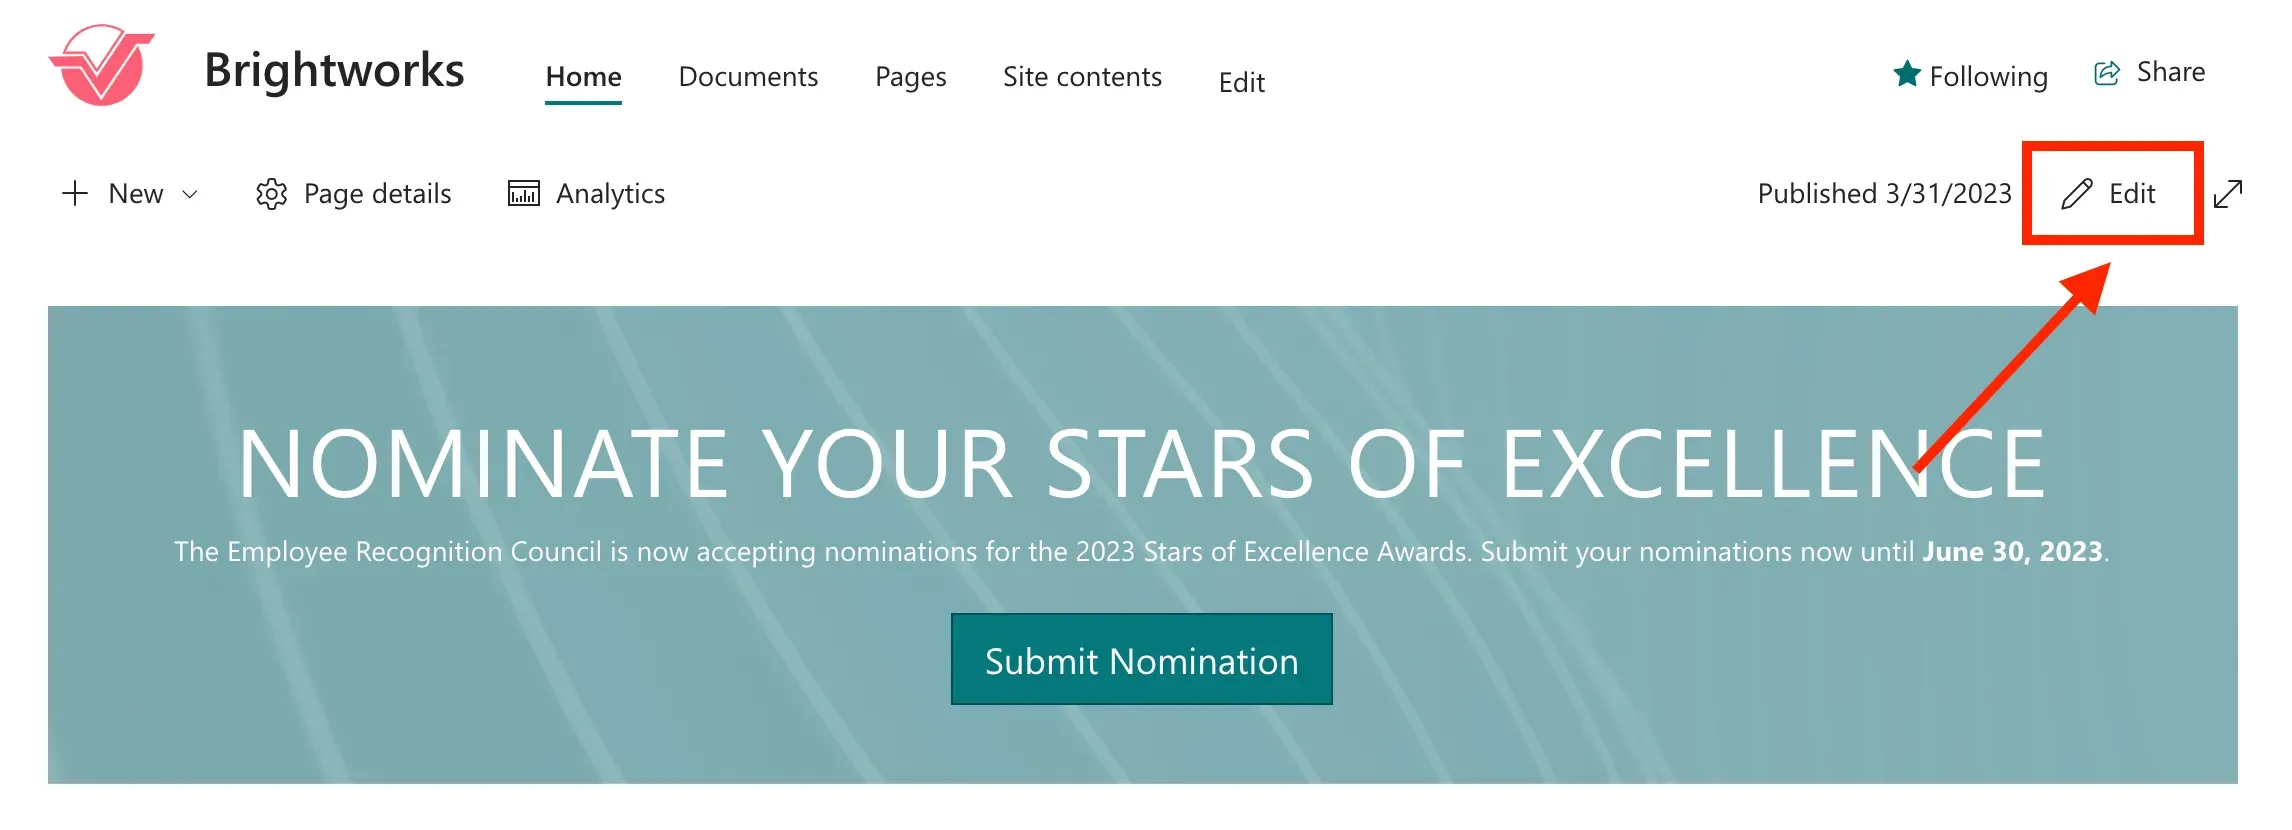
Then, click the ShortPoint web part and select the pencil icon.
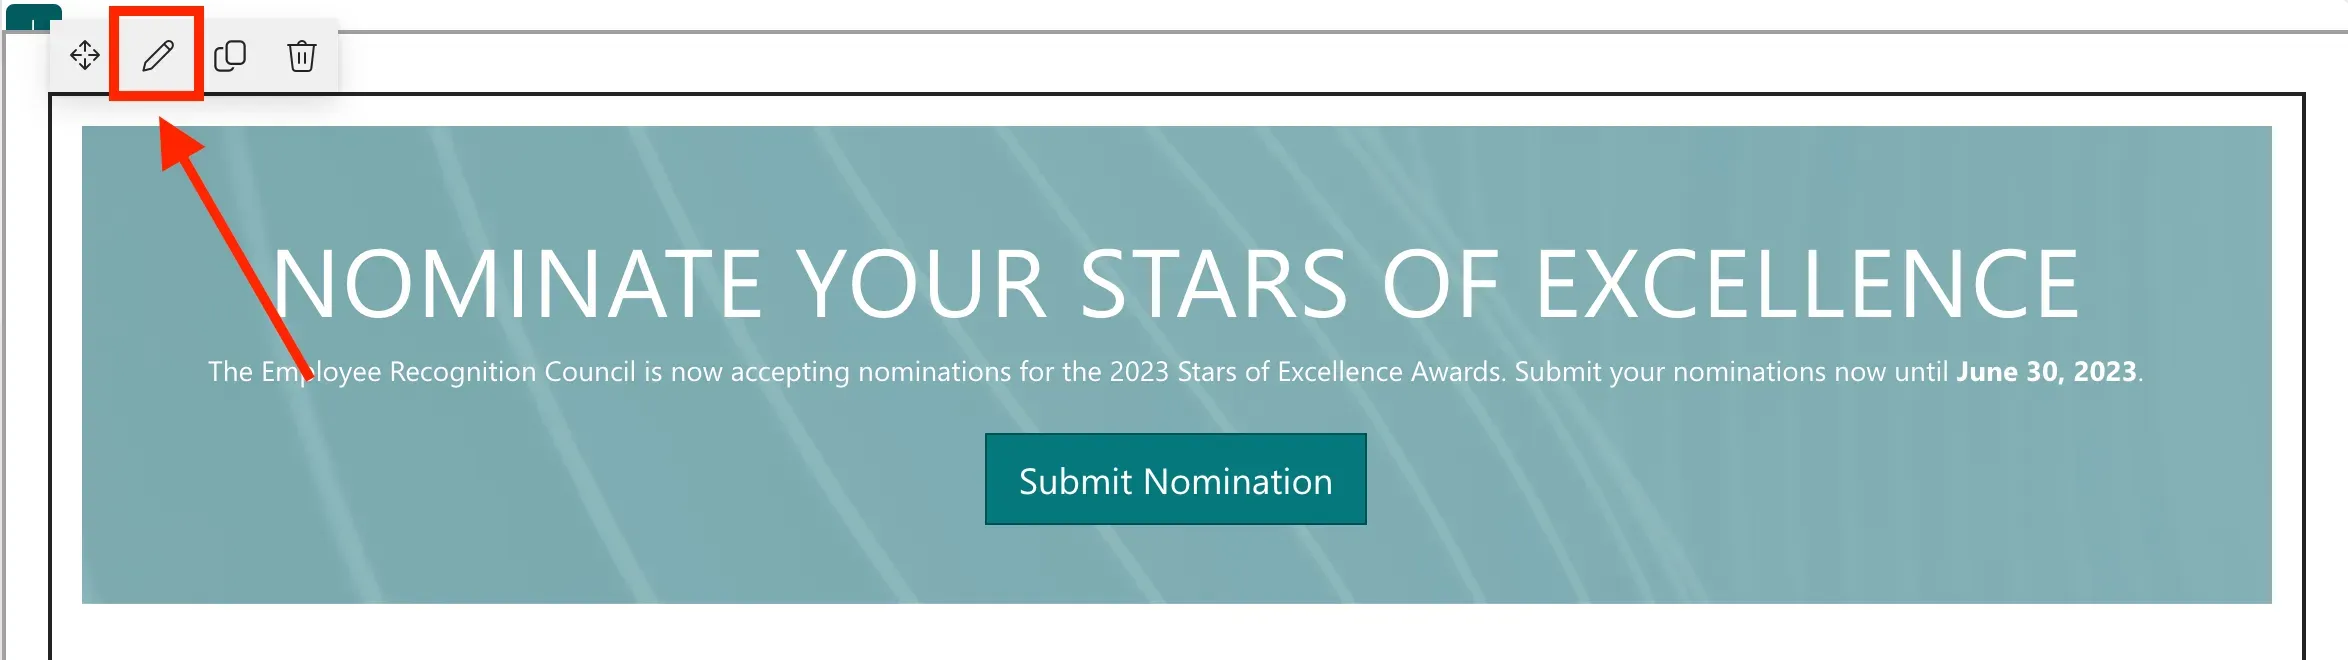
In ShortPoint Page Builder, there is a feature called Hot Actions. Hot Actions allows you to quickly adjust margins and paddings for each Design Element and see the changes in real-time.
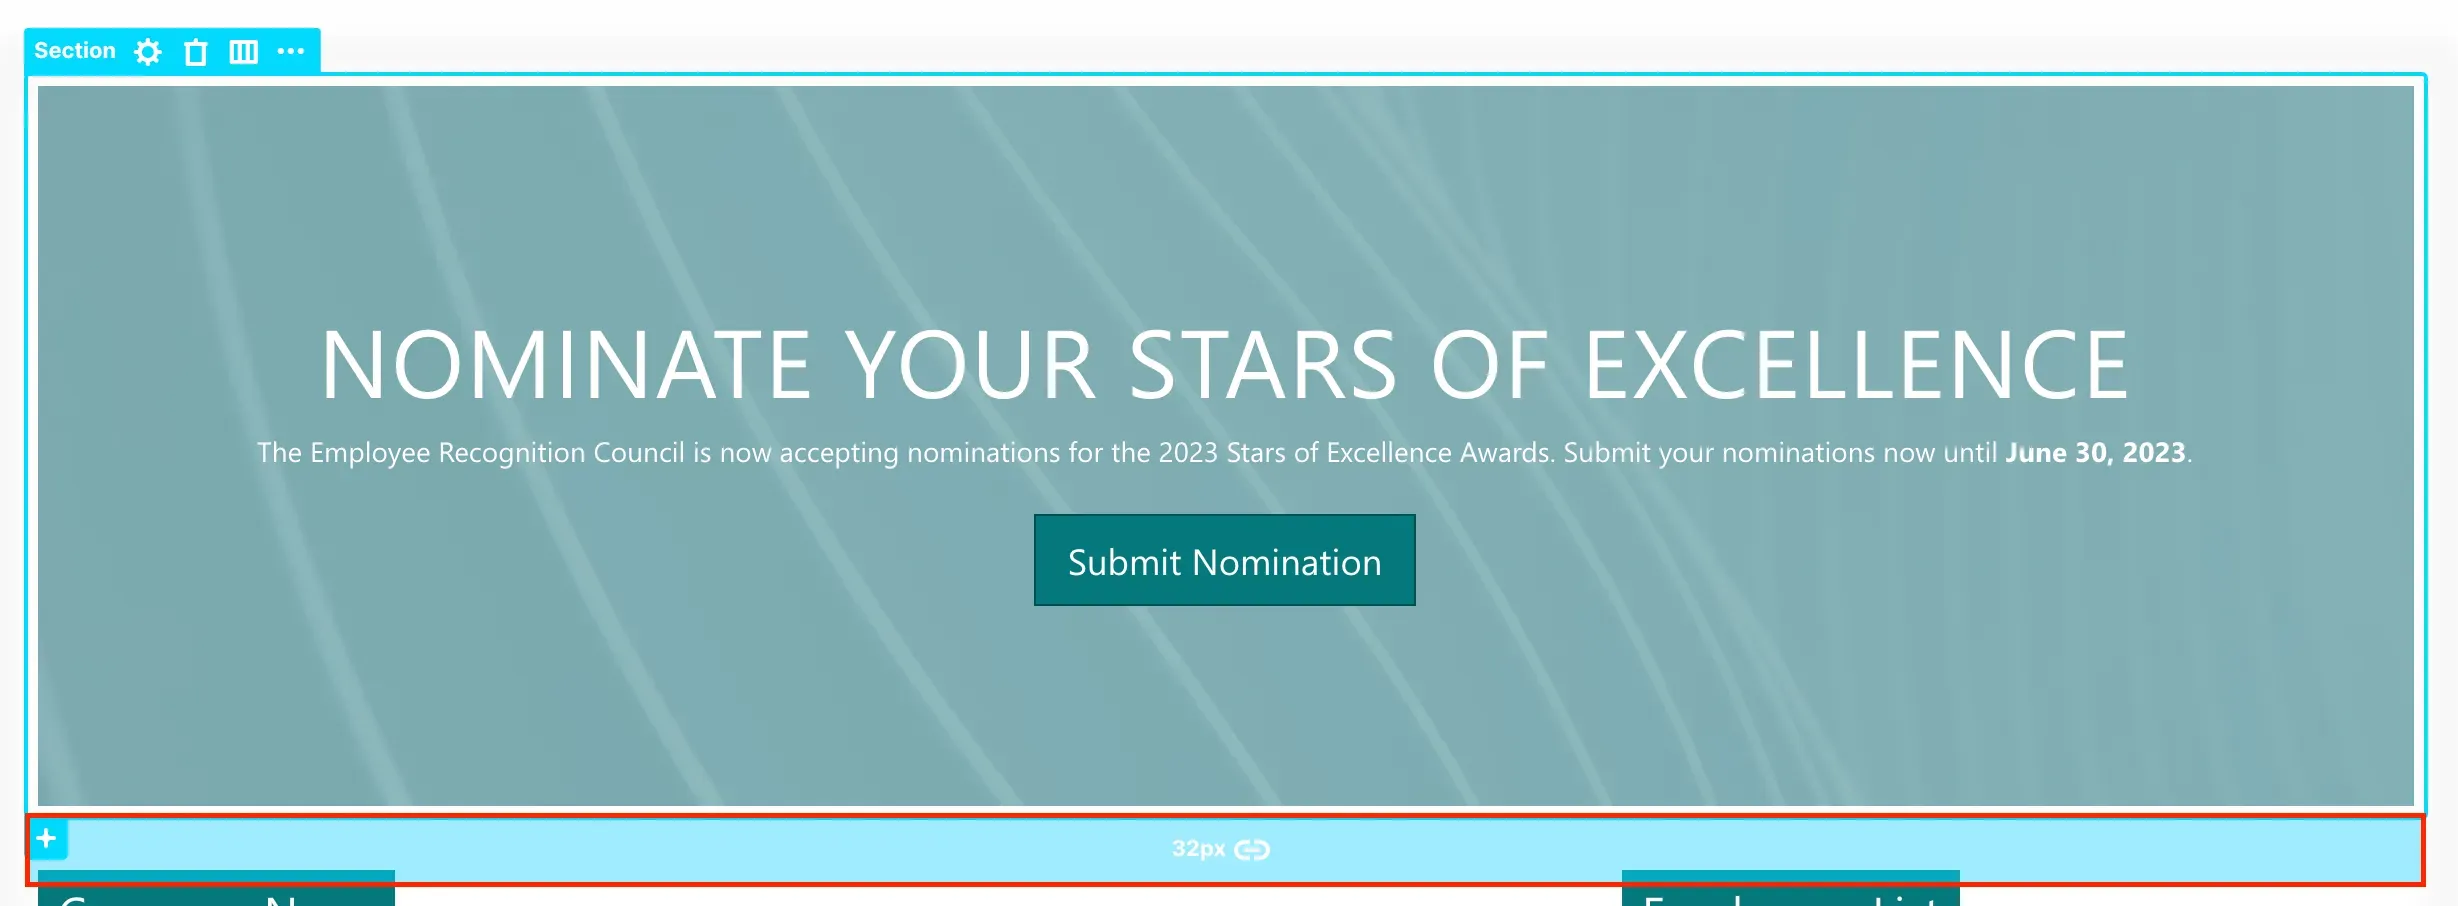
To access it, select the label of a Design Element and hover over its borders. You will notice highlighted spaces around the selected Design Element.
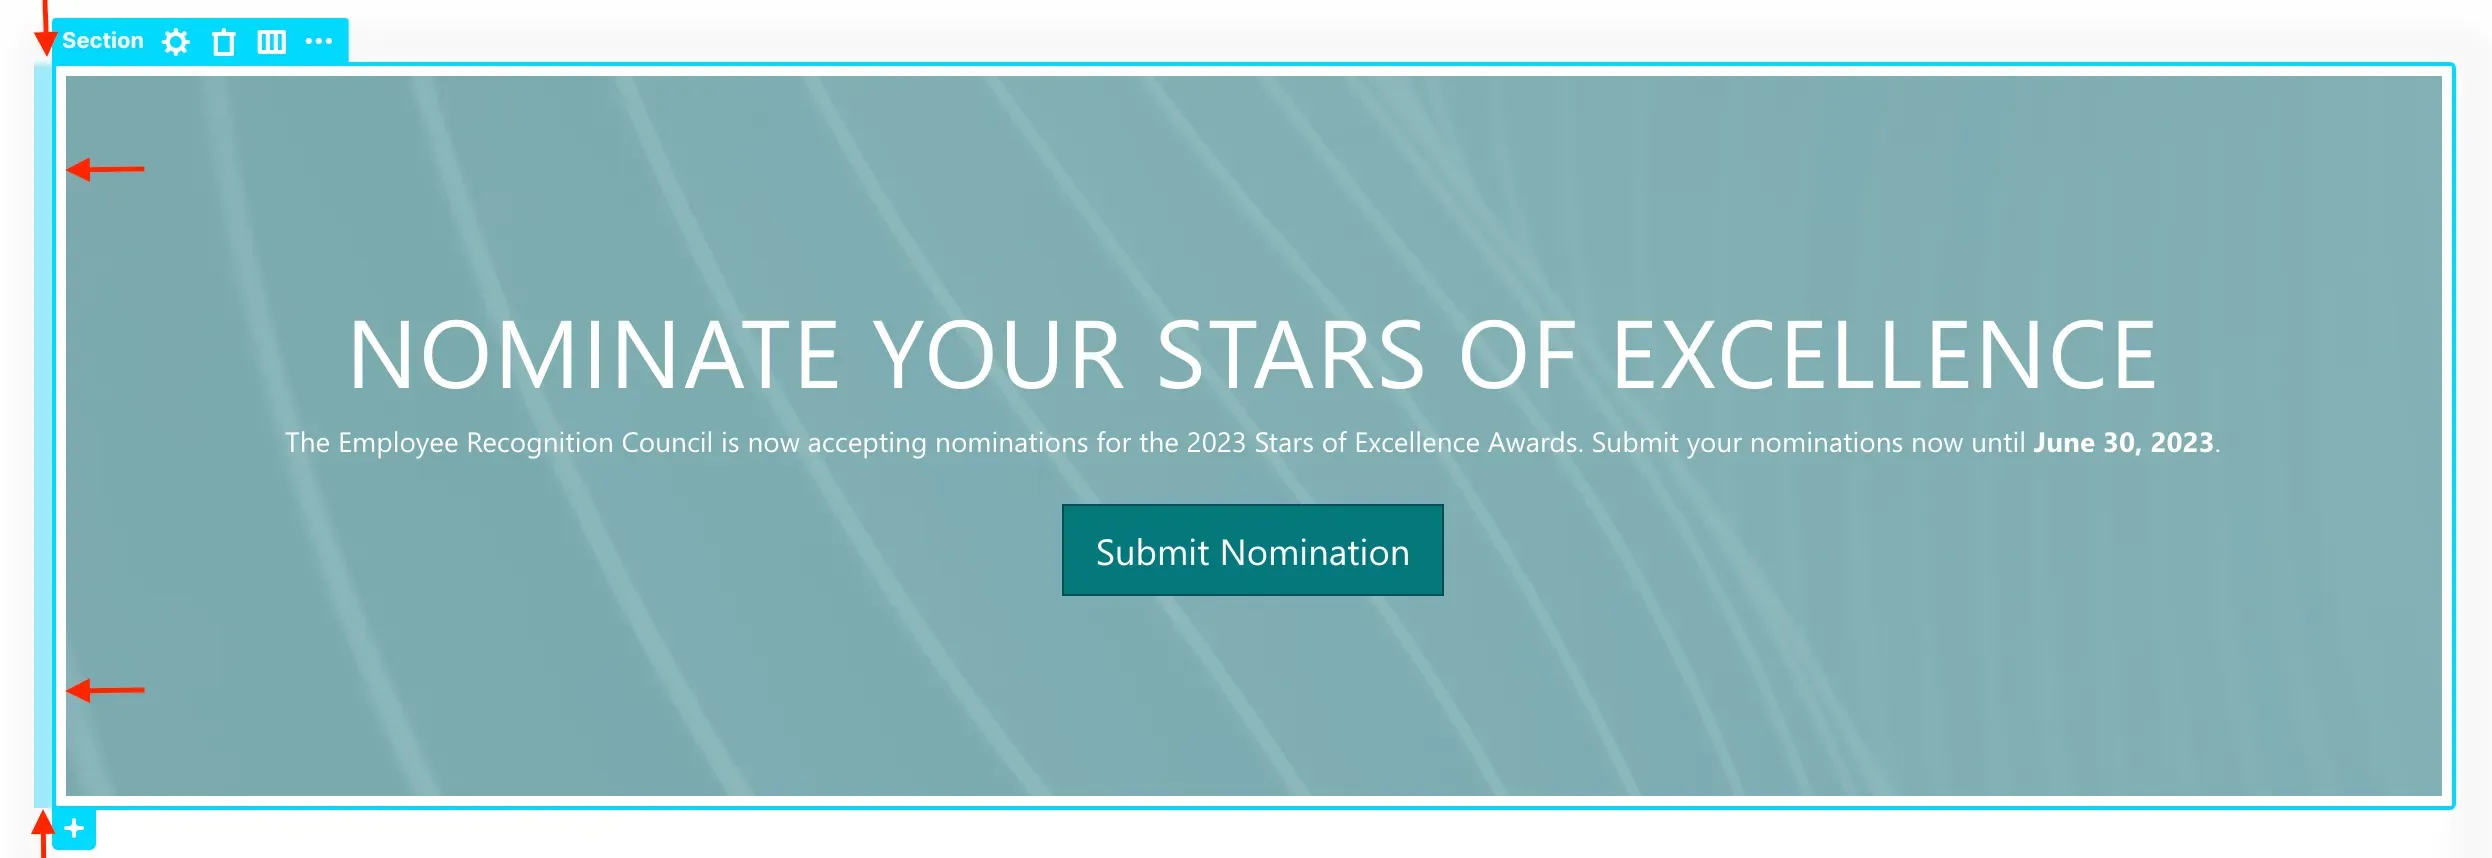
Margins are the spaces outside the border of the Design Element.
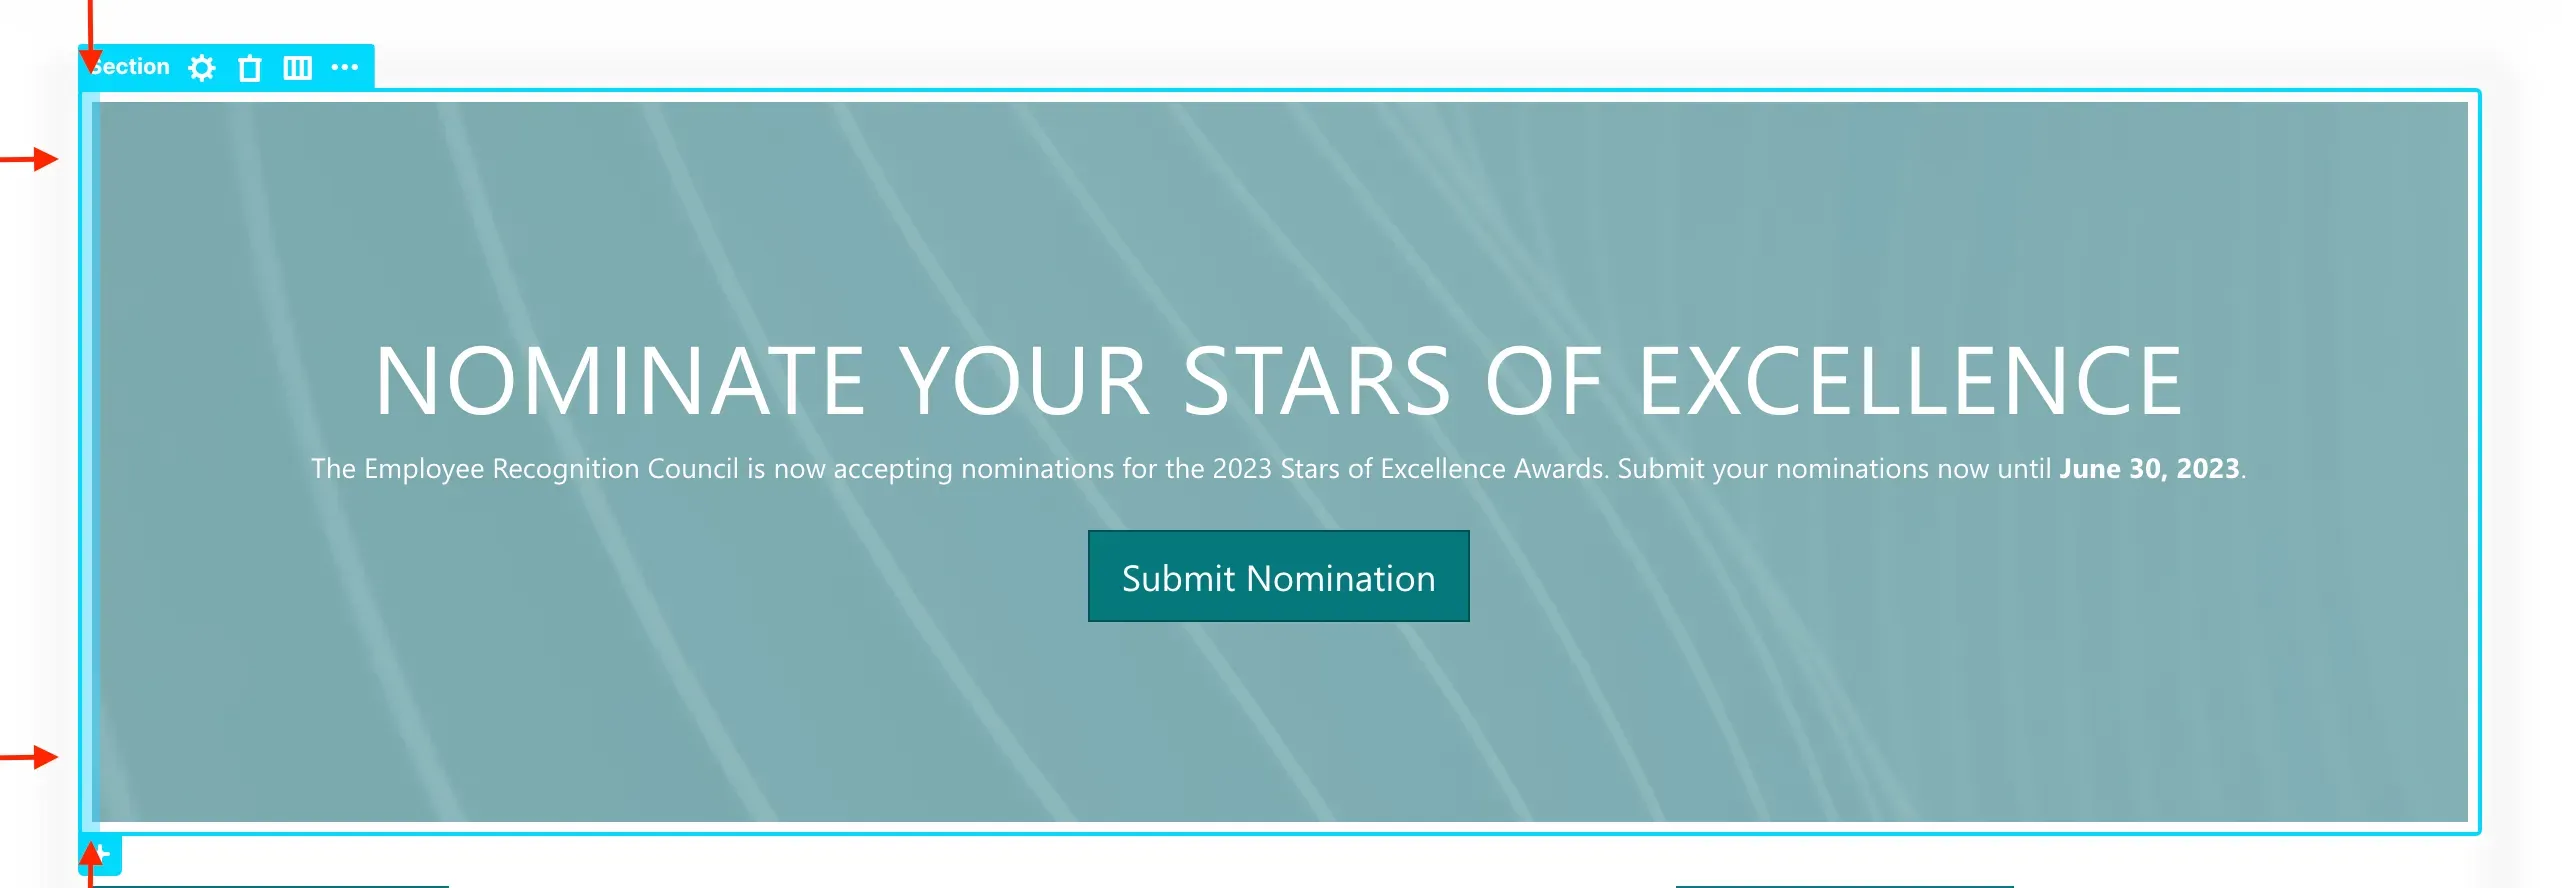
Paddings, on the other hand, are the spaces within the border that separate it from the content.

You can modify margins and paddings by clicking and dragging.
Editing spacing
For example, let's use Hot Actions to edit the spacing of this Text Design Element.

To adjust the padding, hover over the left padding and drag the mouse to the right.

This is how it will look after dragging the left padding:

To add equal padding on the other side, click the link icon. This will lock the padding values, so changes made to the left will be mirrored on the right, ensuring perfect balance.
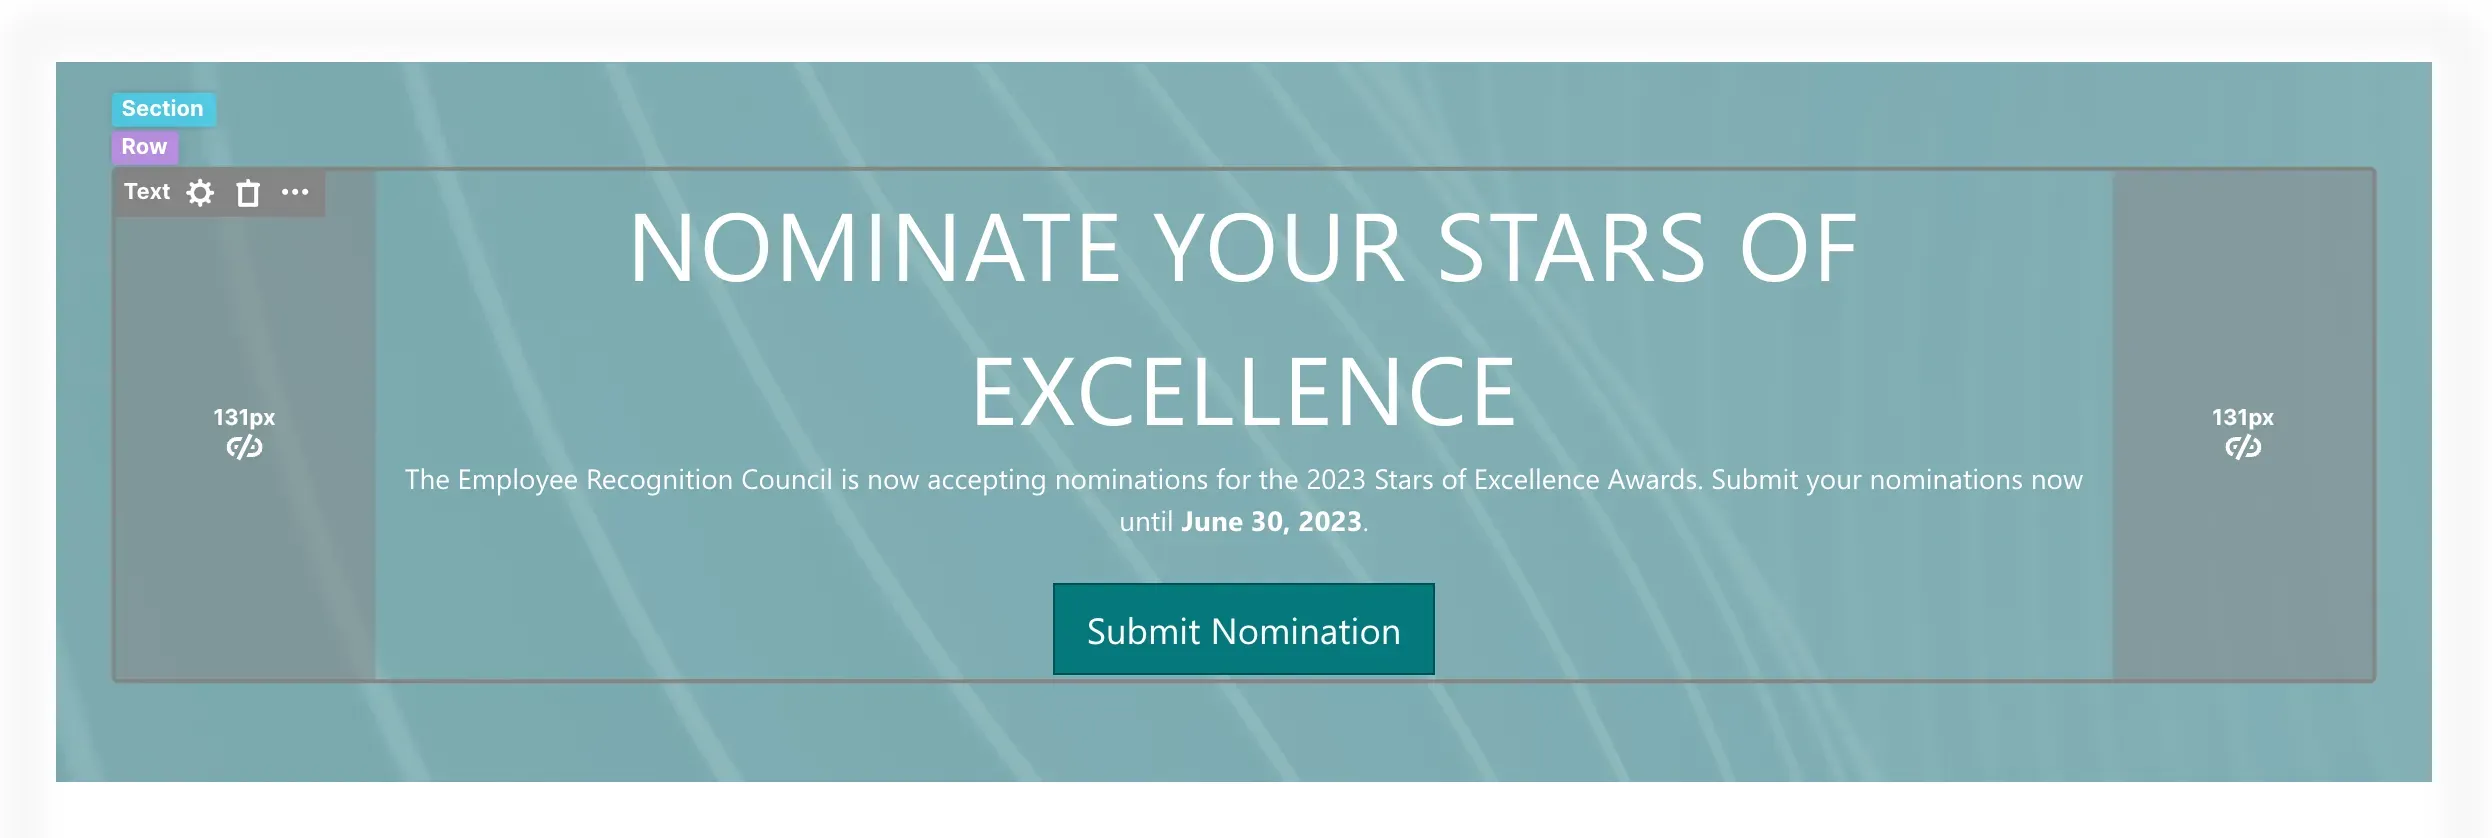
Now, both paddings have the same size.
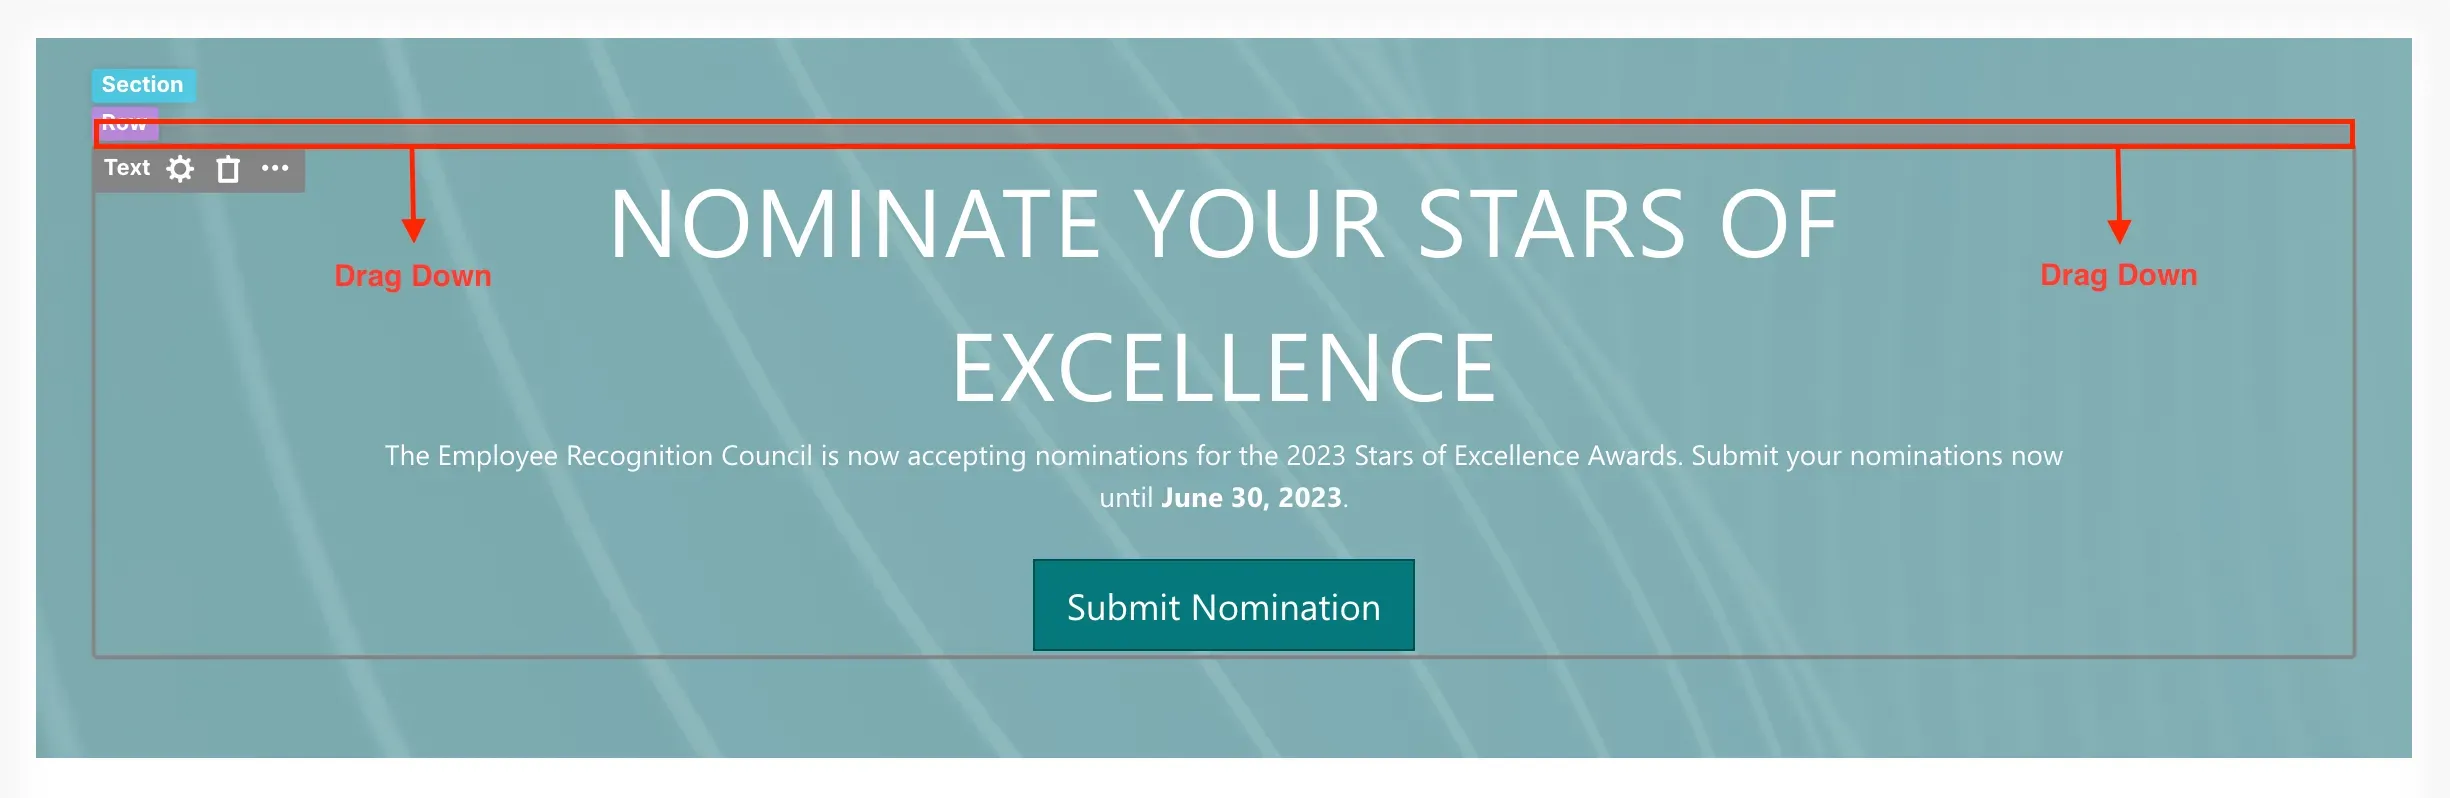
We can also increase the top margin of the Text Design Element. Let's increase the top margin by hovering over the top margin and dragging it down.
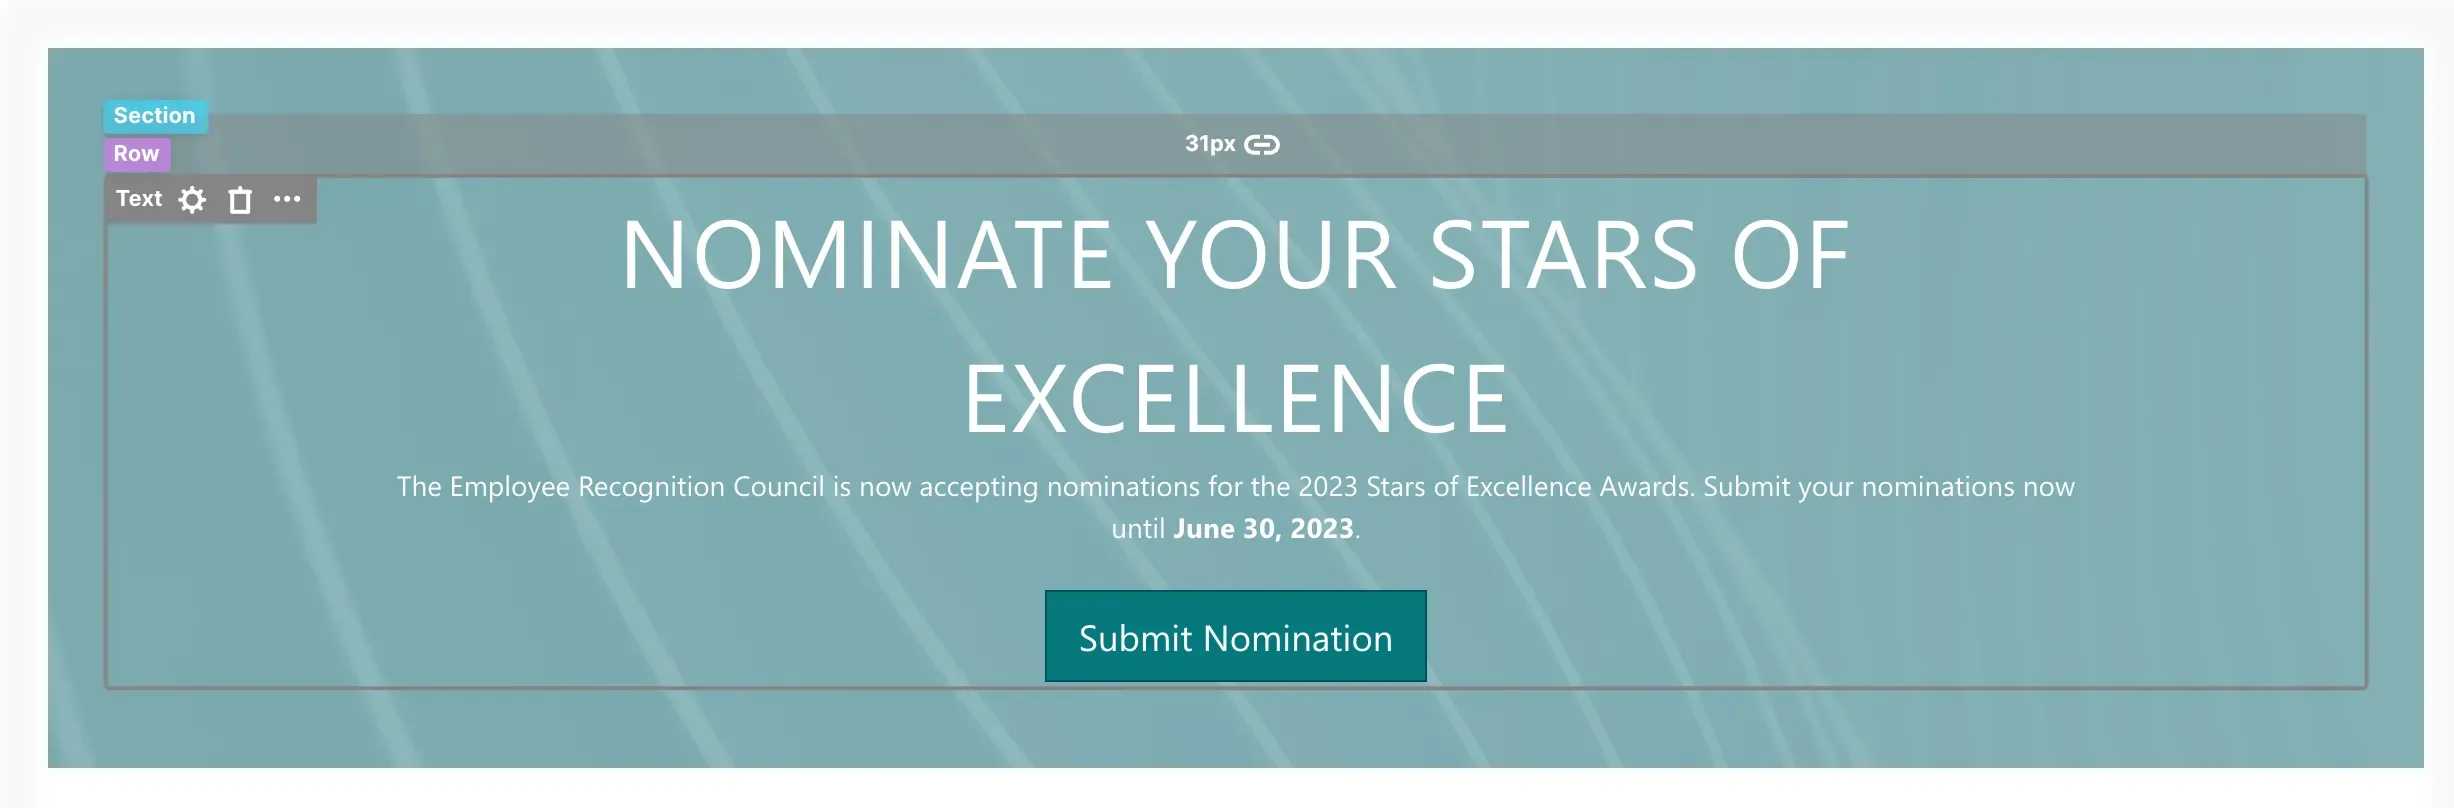
Your page will now look like this:
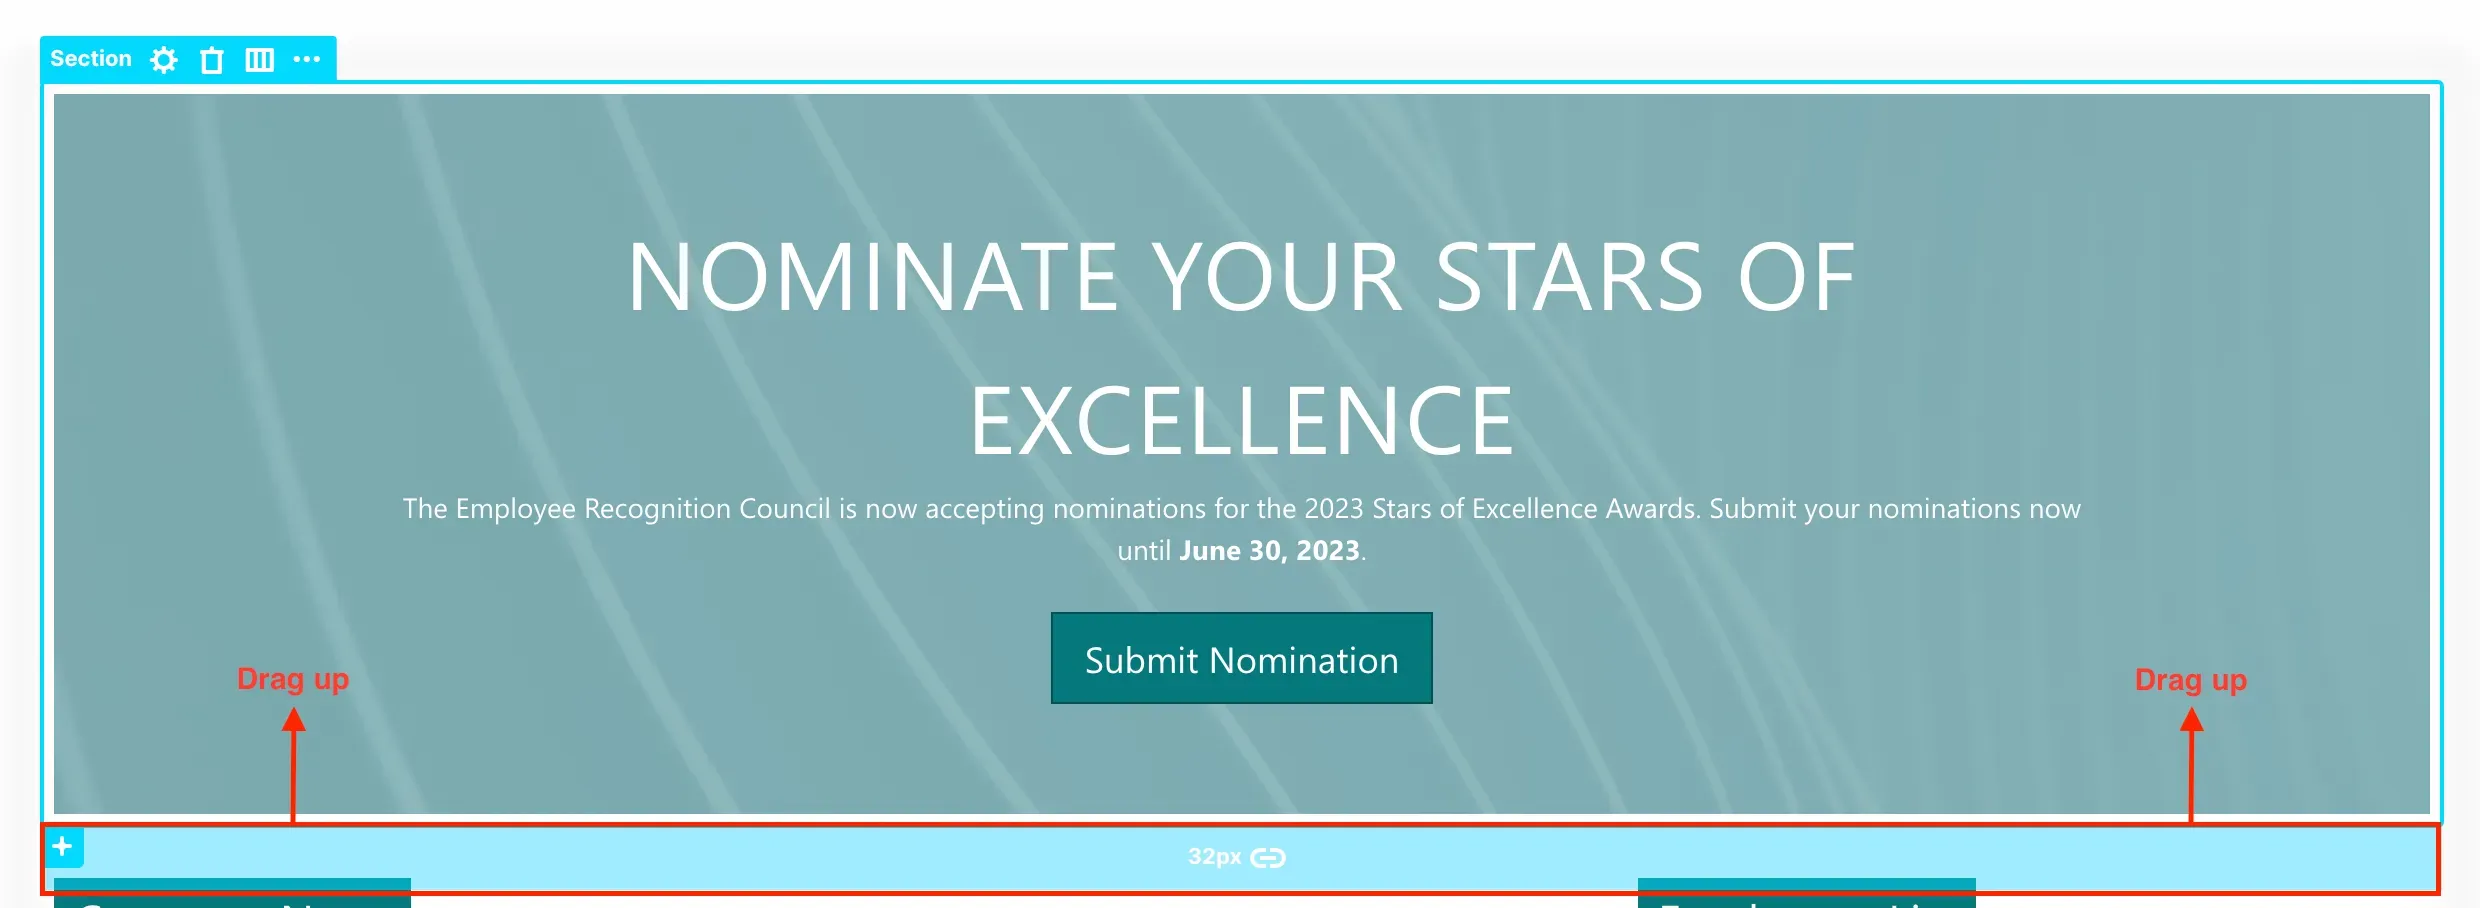
You can also use Hot Actions to add or reduce white spaces between Sections of your page. To do that, click a Section tag, hover over the bottom margin, and drag it up.

Your page will now look like this:
Adding and editing layouts
ShortPoint also offers more options to customize page layouts.
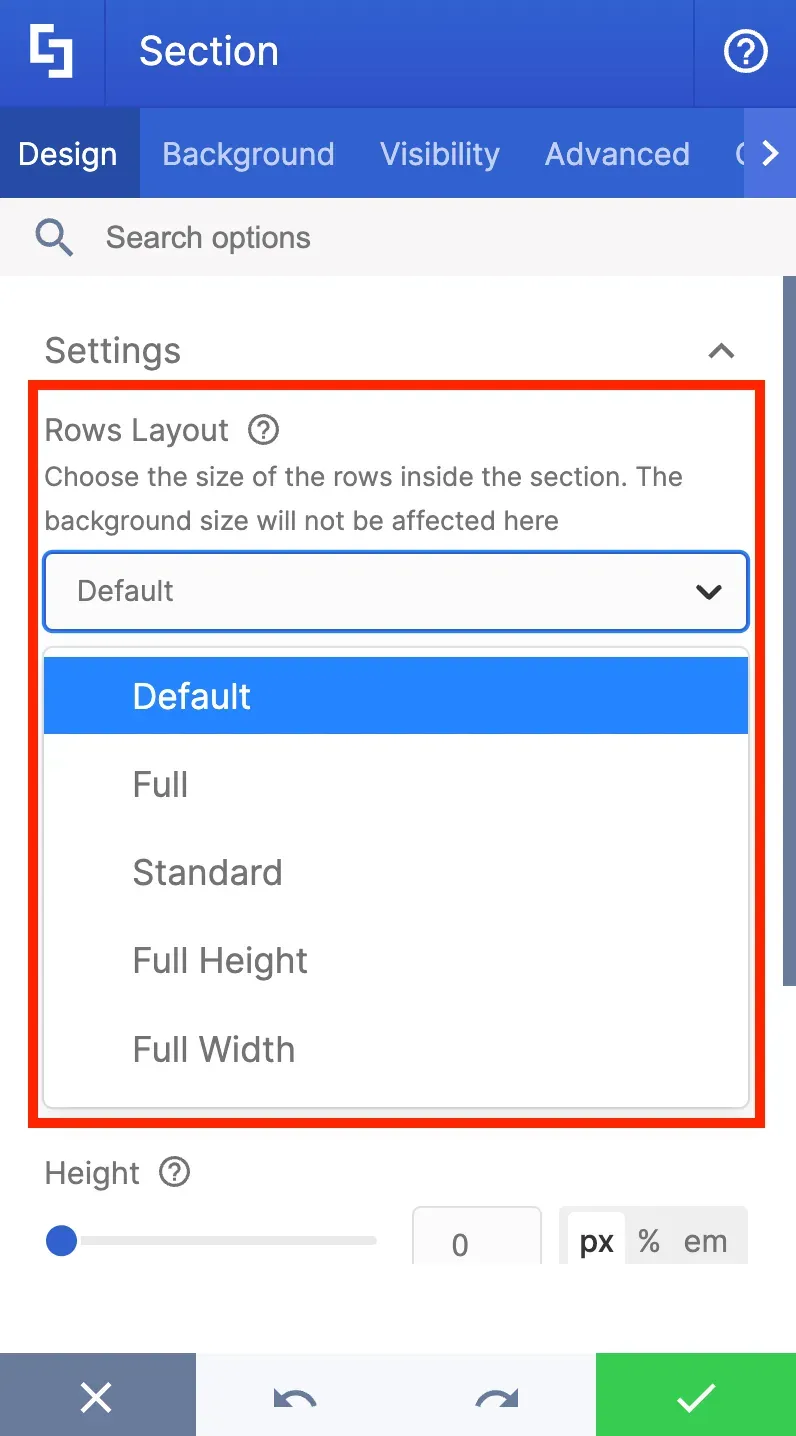
In the design settings for Section, Row, and Column, there are four layout options that are particularly important for determining how their contents will occupy the available space.
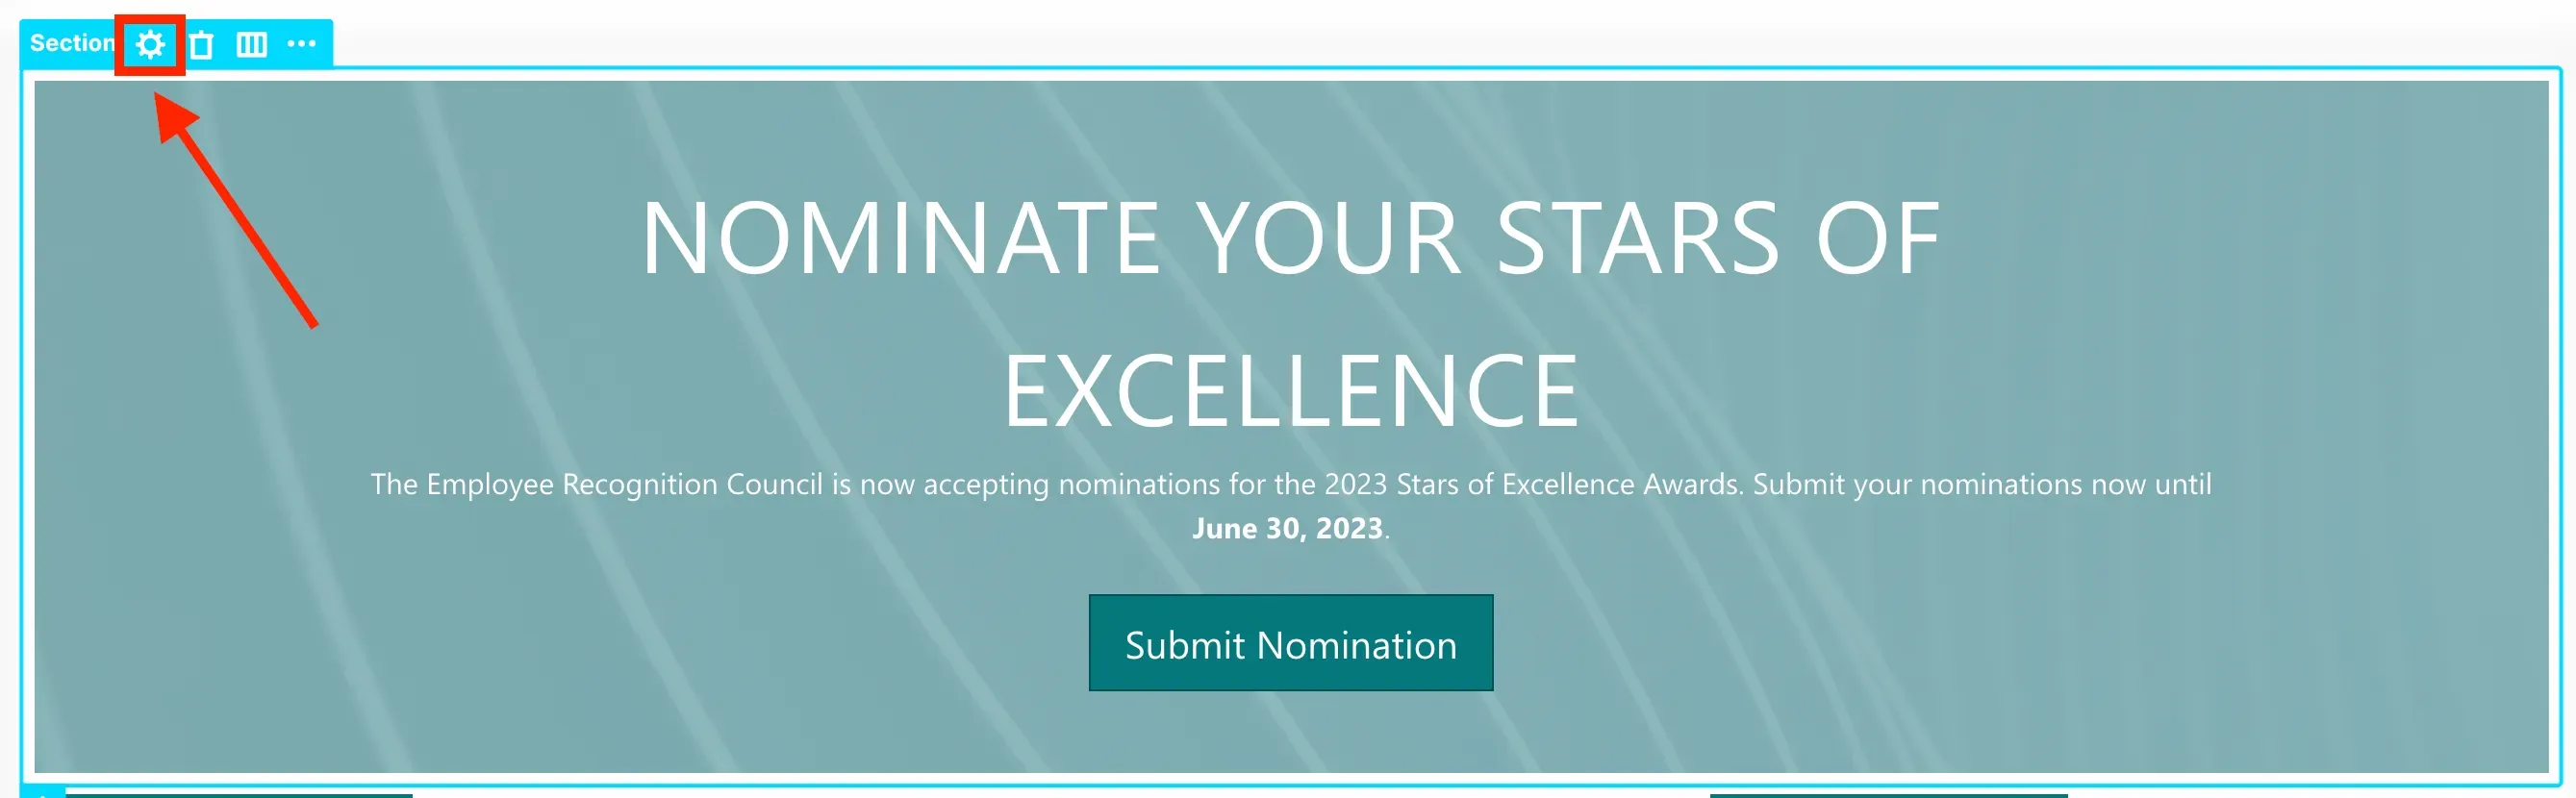
To see it, click a Section tag and select the cogwheel icon.
In the Design Tab, you will see the Rows Layout field where you will have the following choices:
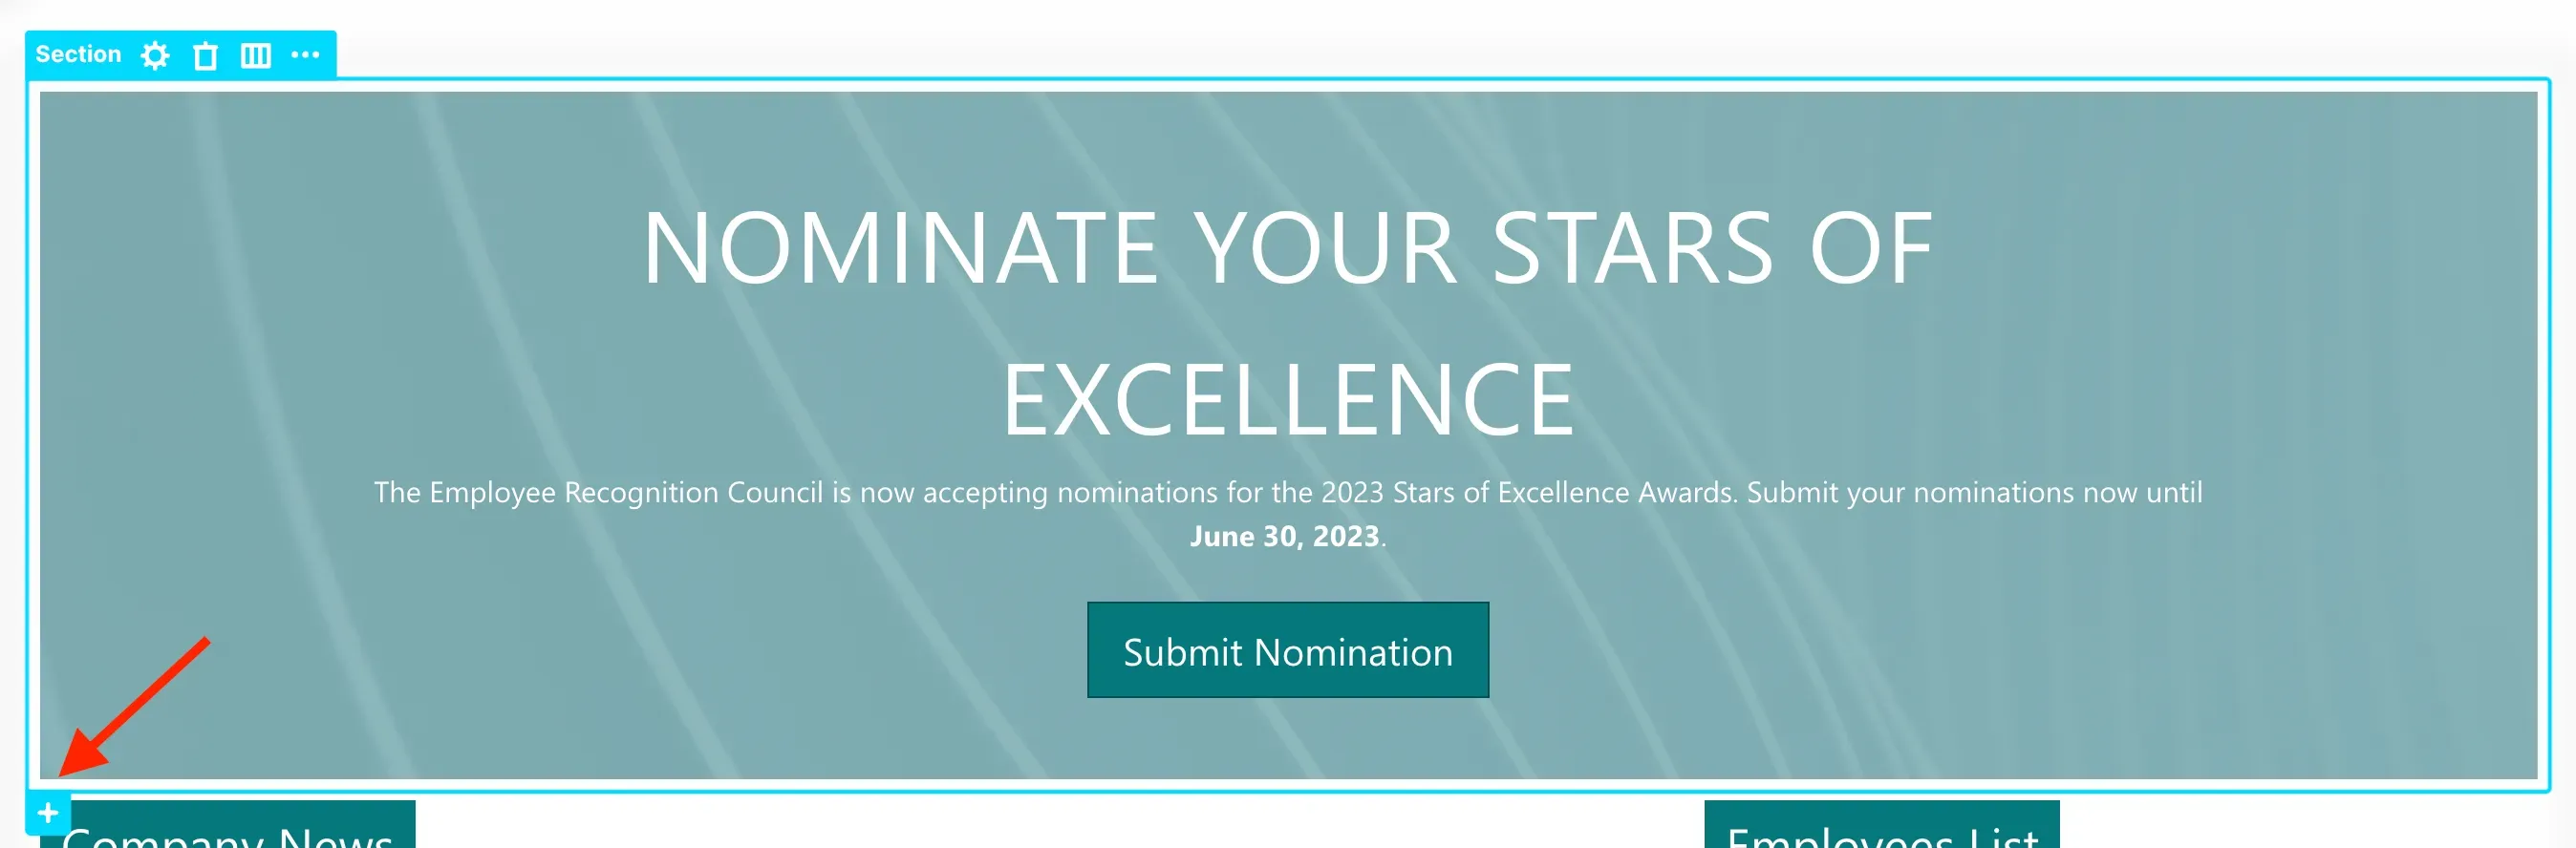
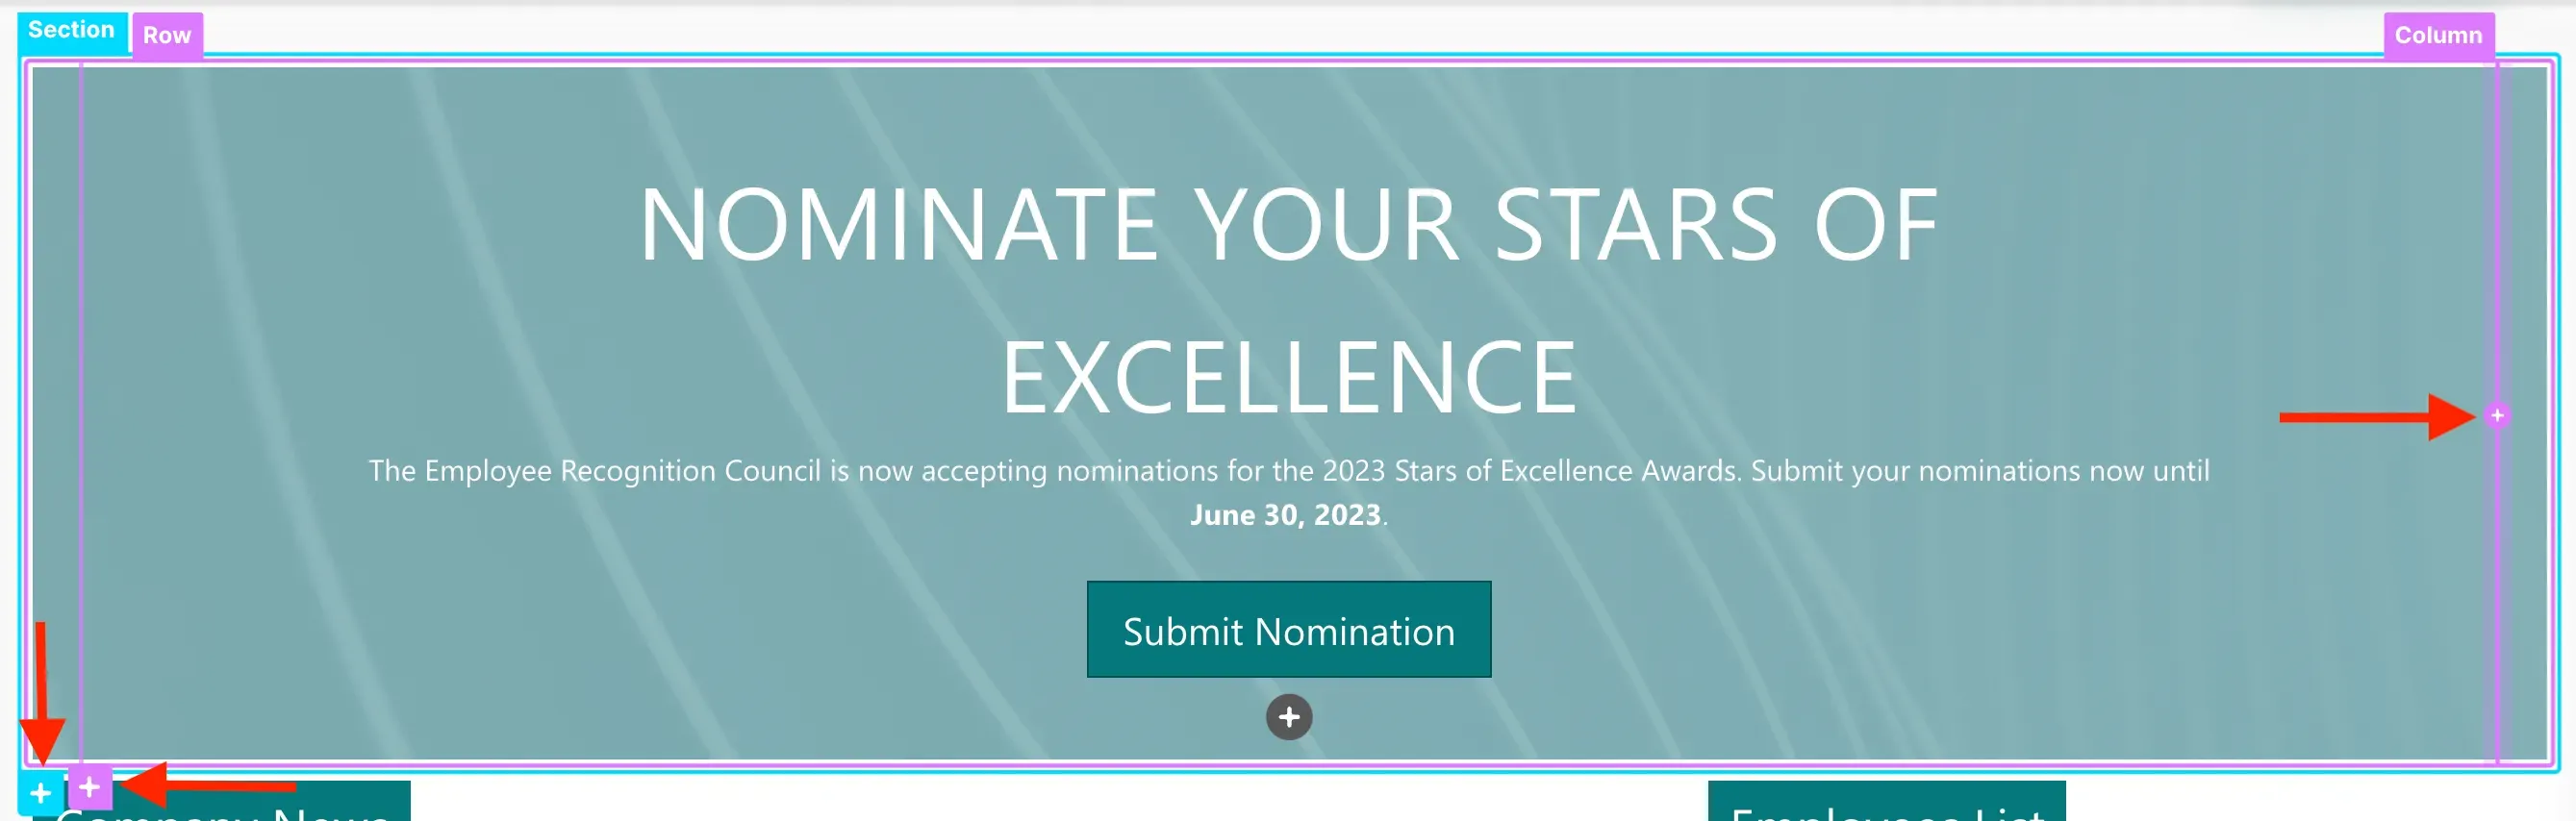
As you edit the page, you will also find blue and pink plus icons on your page. These plus icons are used to add new Sections, Rows, and Columns.
To add a new Column, Row, or Section, simply select its tag and click the plus icon.
For example, let's try to add a new Section. To do this, click the Section tag and select the plus icon.

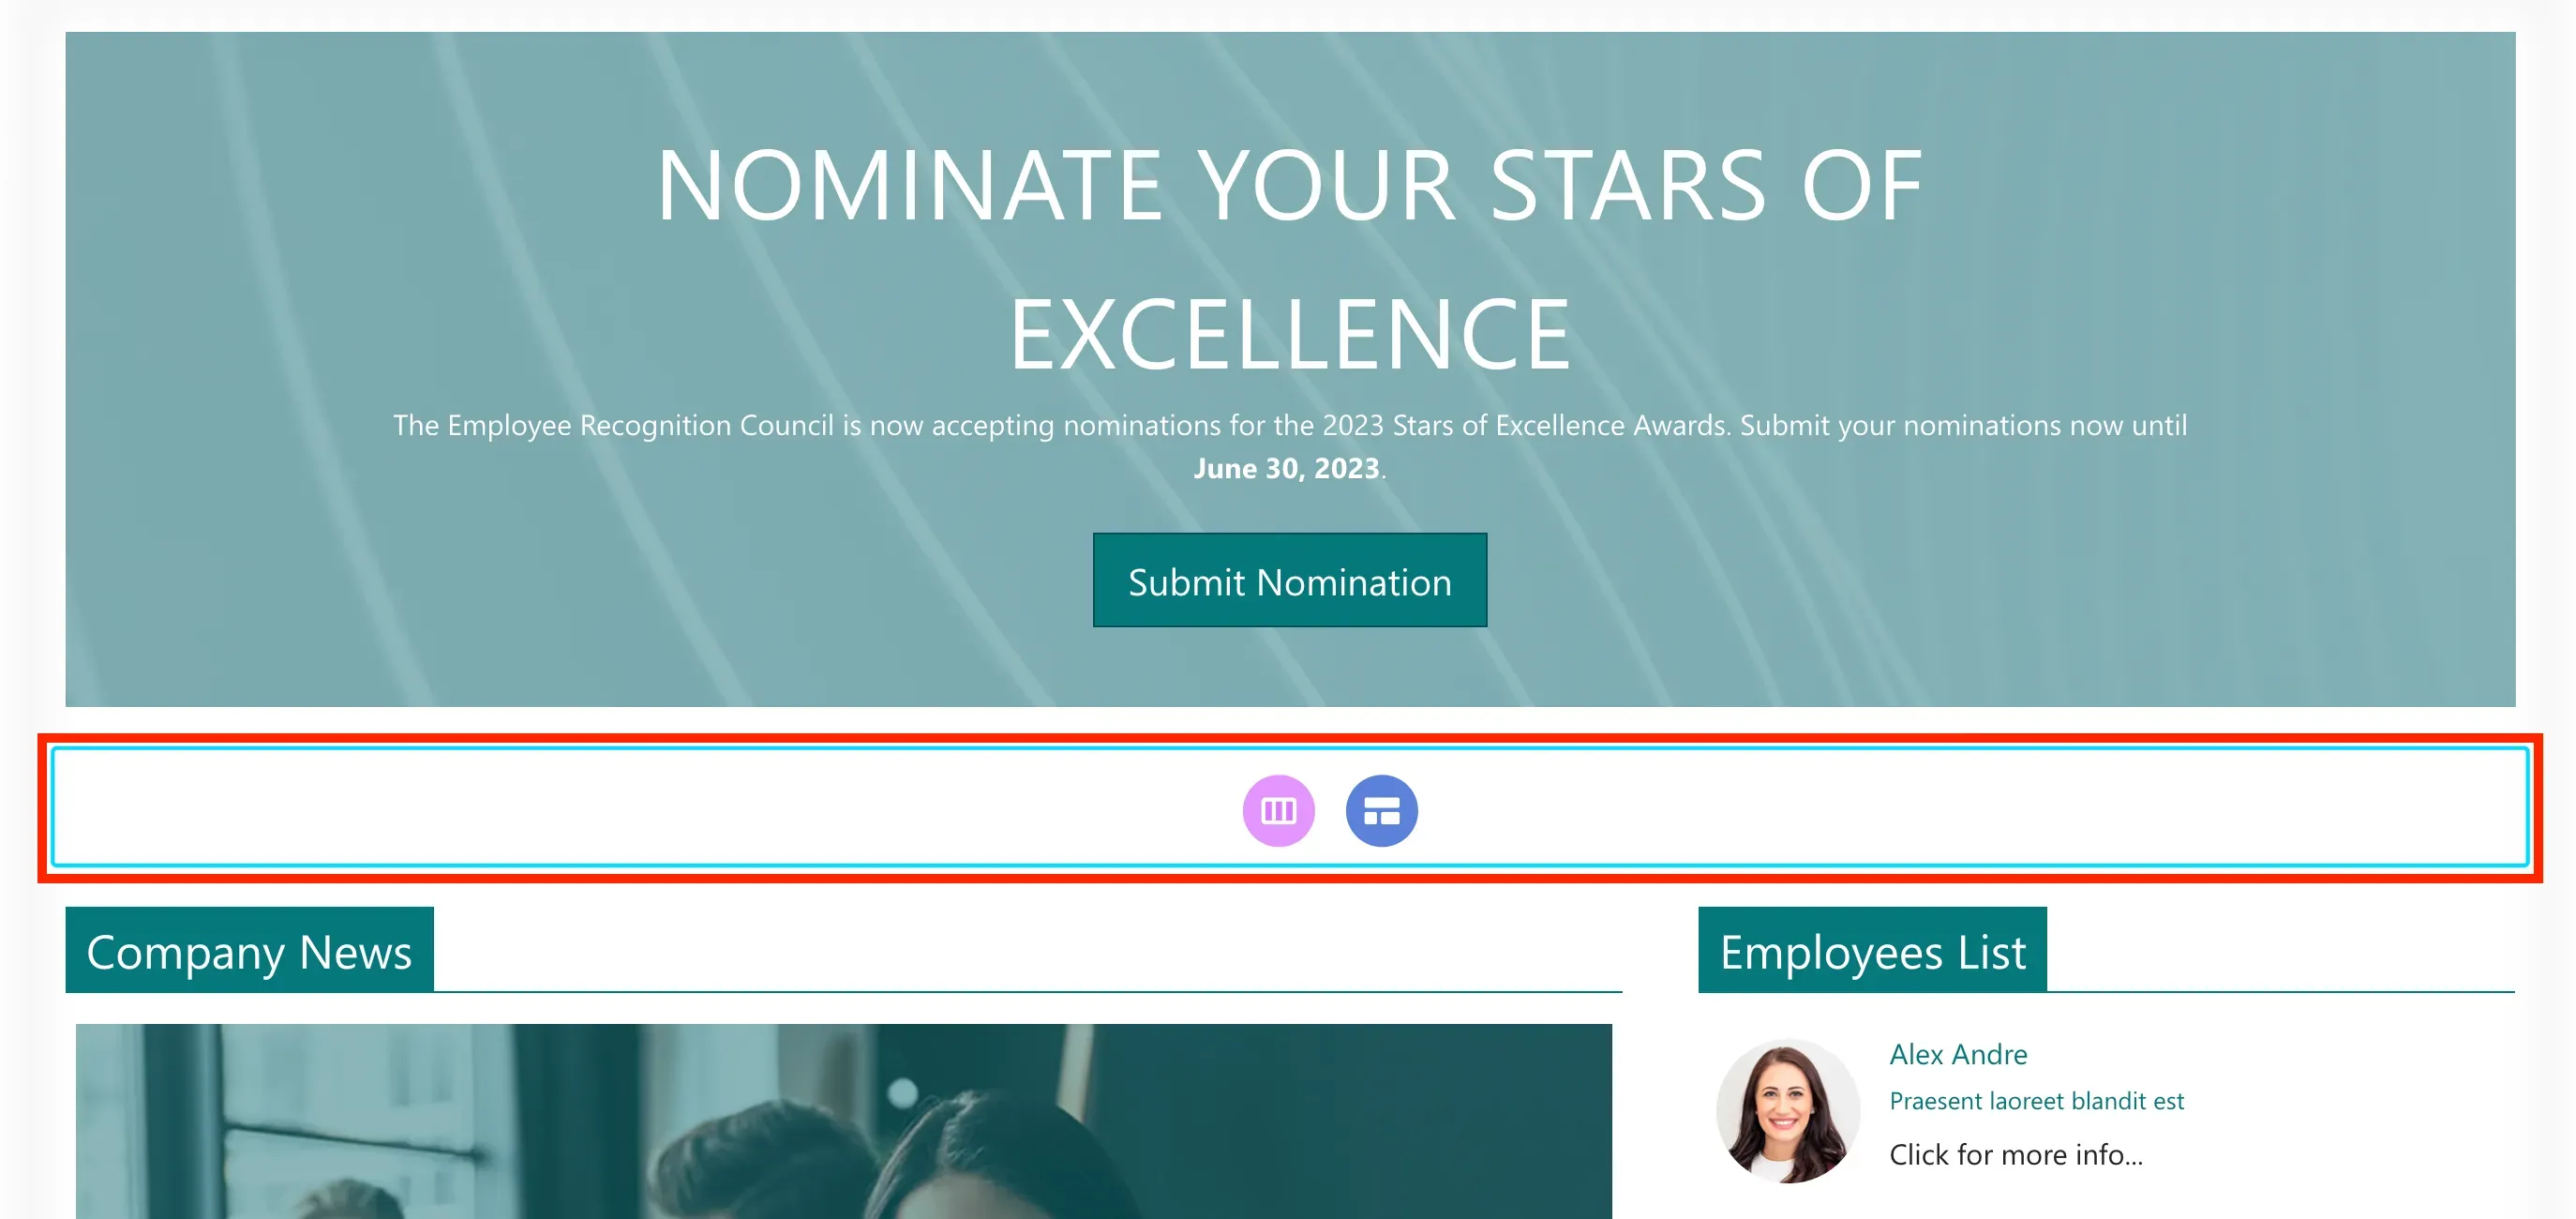
The new Section will appear below the original Section.
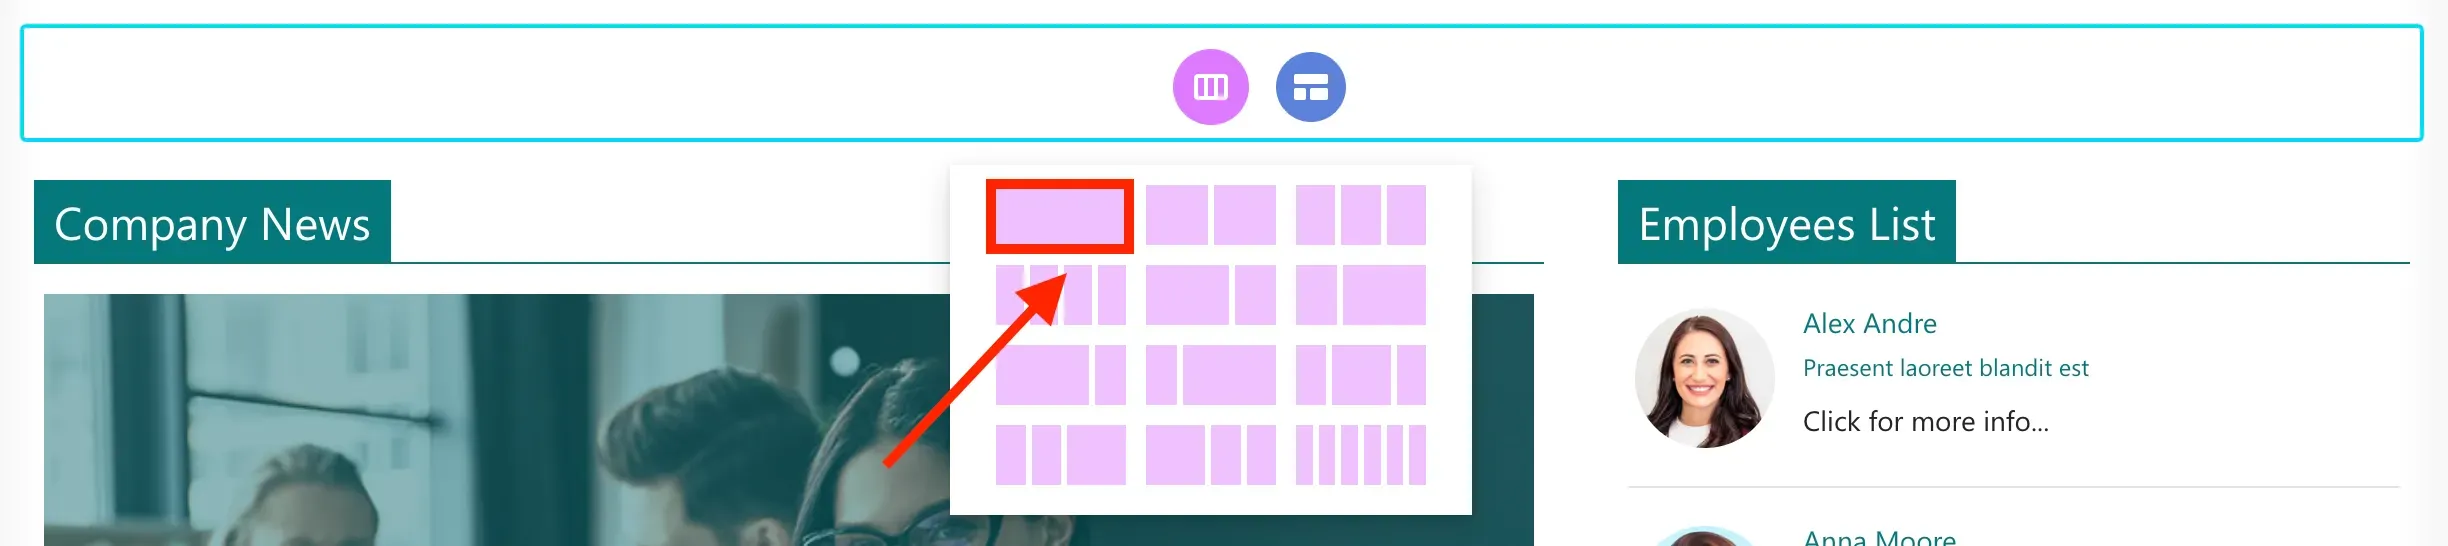
For every Section you add, you will find the familiar two-button options. Since we want to create our own layout, we will select the Choose Layout icon.

Upon clicking, you will be prompted to select the layout you prefer. For example, the option we will select will give you a single-column, single-row layout within the Section.
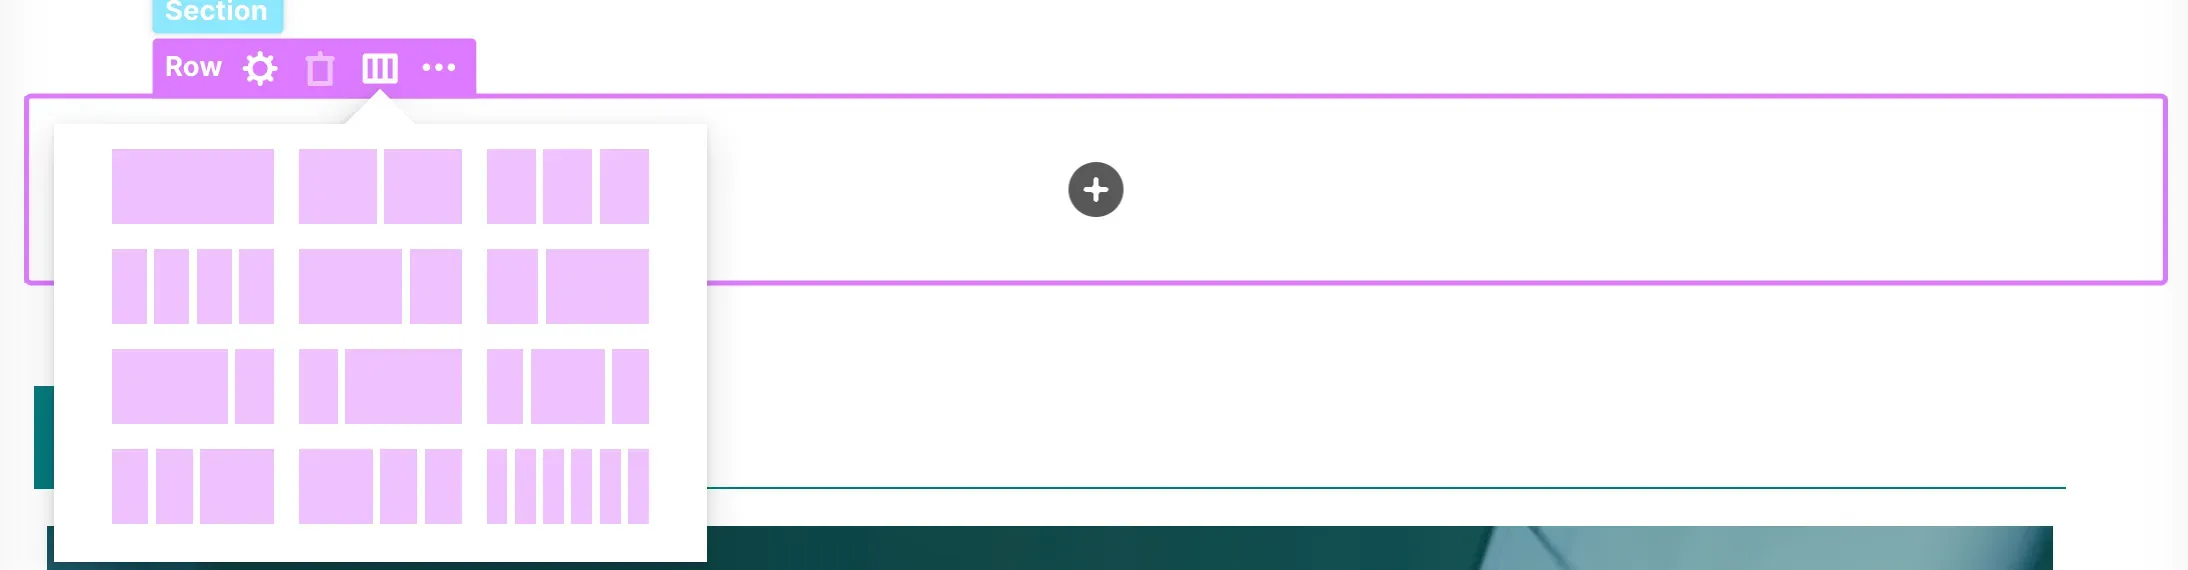
If you want to modify the layout you selected, you can go back to the layout selection by clicking the Row tag and selecting the Show Layouts icon.
Then, choose the layout you prefer.

You can also change the width of the columns to fit your content. To do so, select the Column tag and click the left arrow to decrease the width of the Column or the right arrow to increase the width of the Column.

Adding new Rows inside Sections is also very easy. Simply click the pink plus icon.
All of these options provide you with more control and flexibility in designing your page.
Congratulations! You've now mastered the art of managing spaces and layouts on your intranet page. With this knowledge, you can seamlessly bring together different pieces of content to create a polished and professional-looking page.