

Connecting to content
Connect to an Outlook calendar
In this tutorial, you will learn how to set up connection to an Outlook calendar and how to select the event details you want to feature on your page.

Choosing a connection type
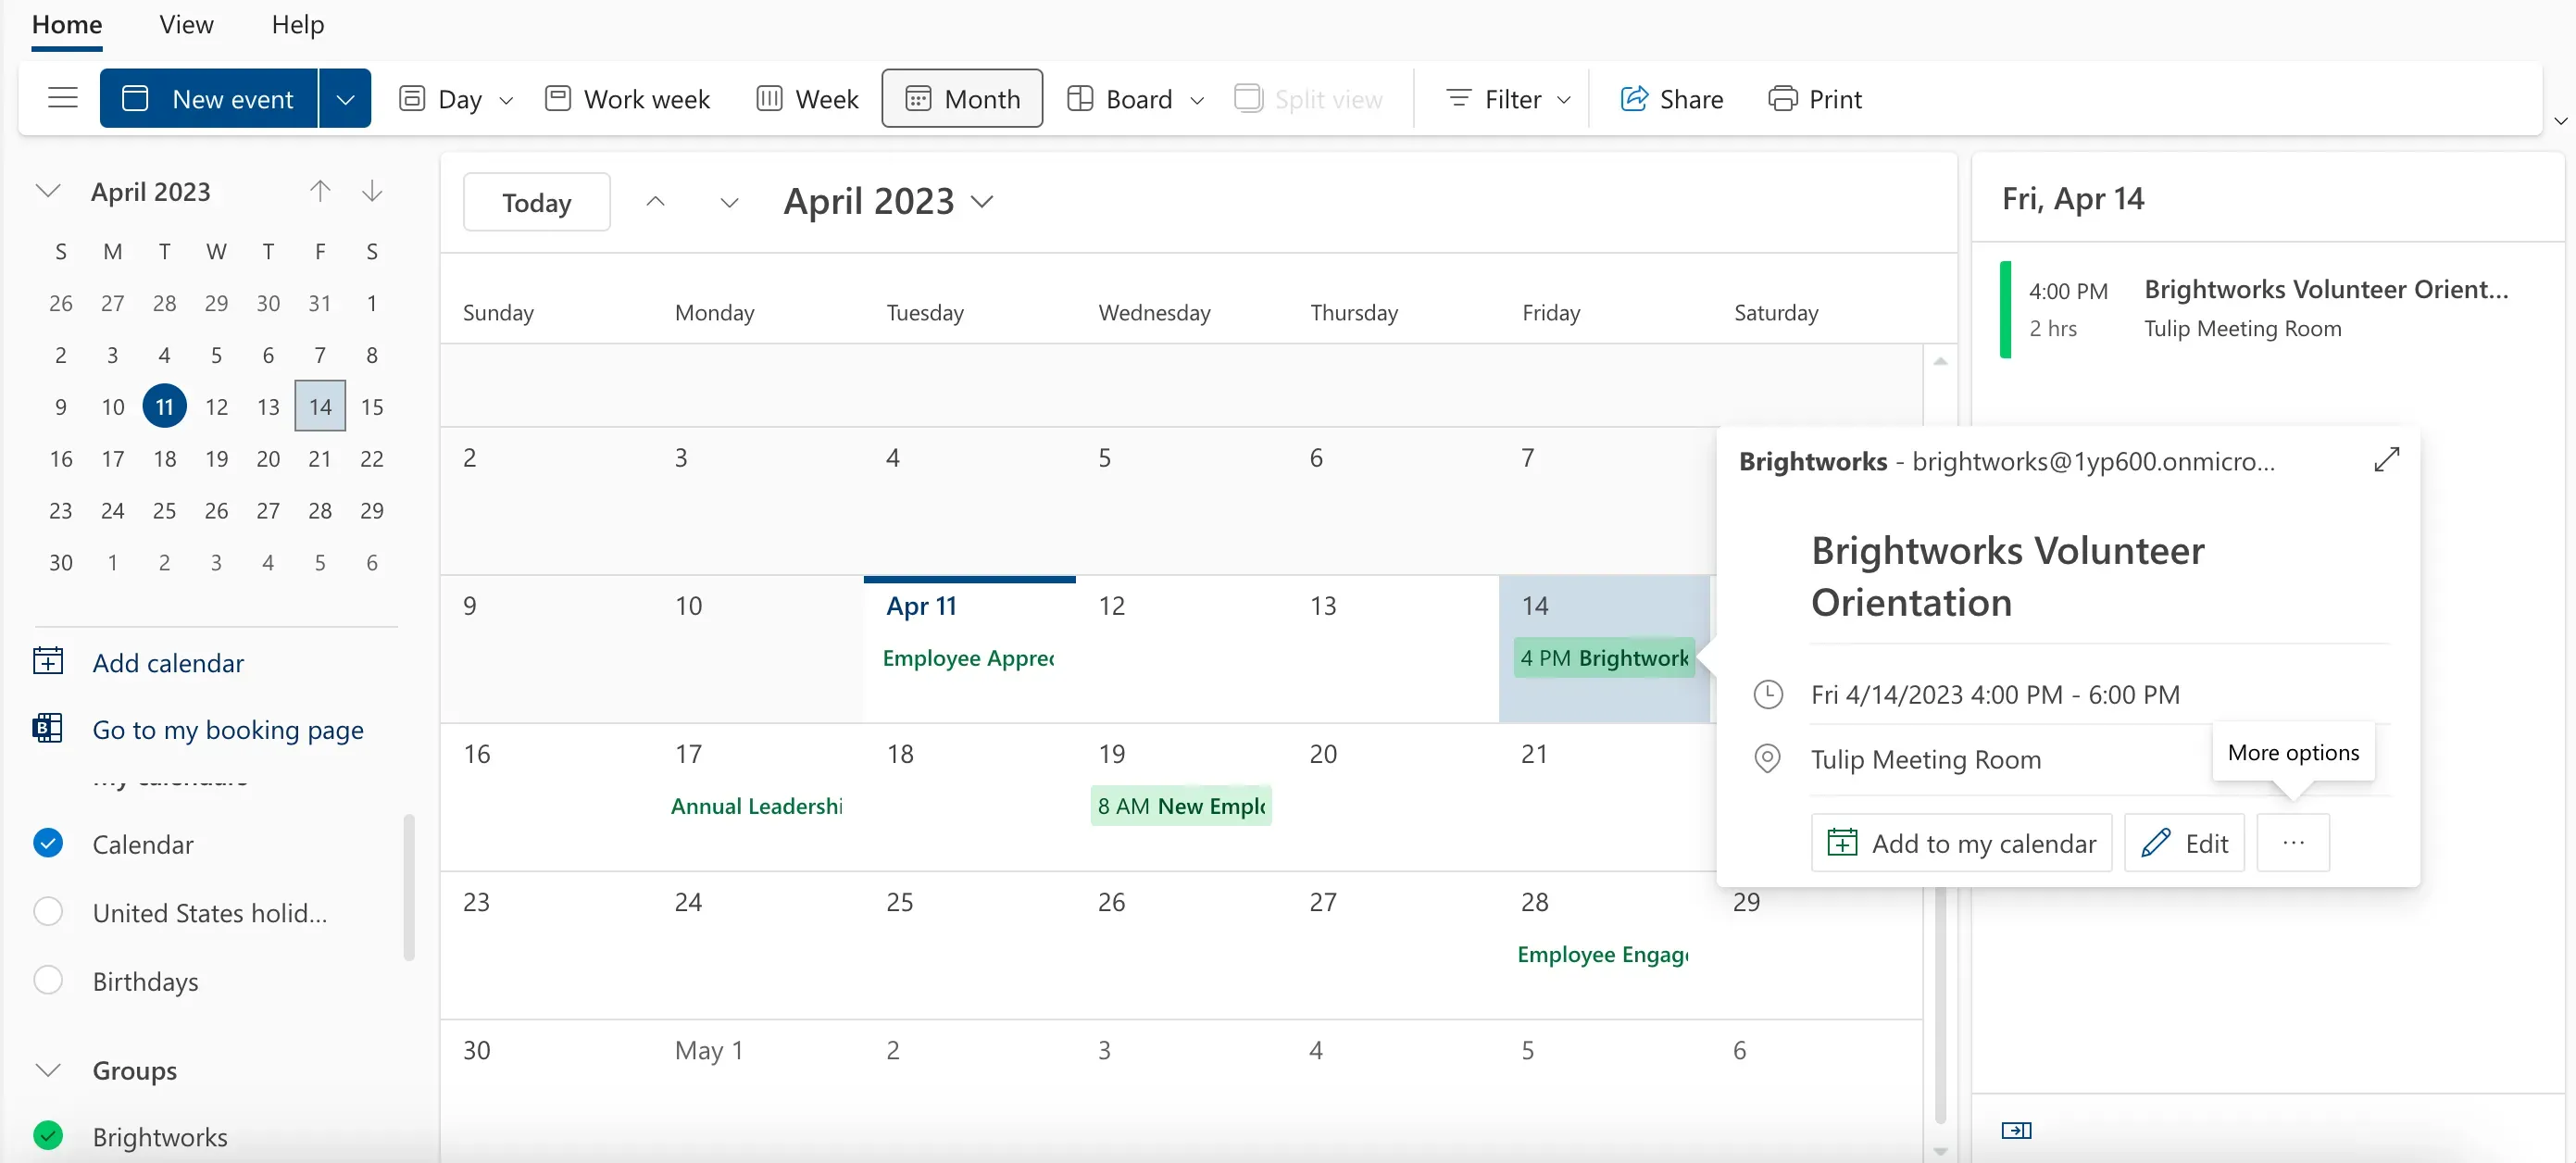
Organizing events and scheduling them using an Outlook calendar is common for teams and individuals at an organization. And displaying these events on your intranet page is important to keep everyone up to date. Fortunately, with ShortPoint Connect, it's easy to do.
First, let's go back to the SharePoint page we were using.
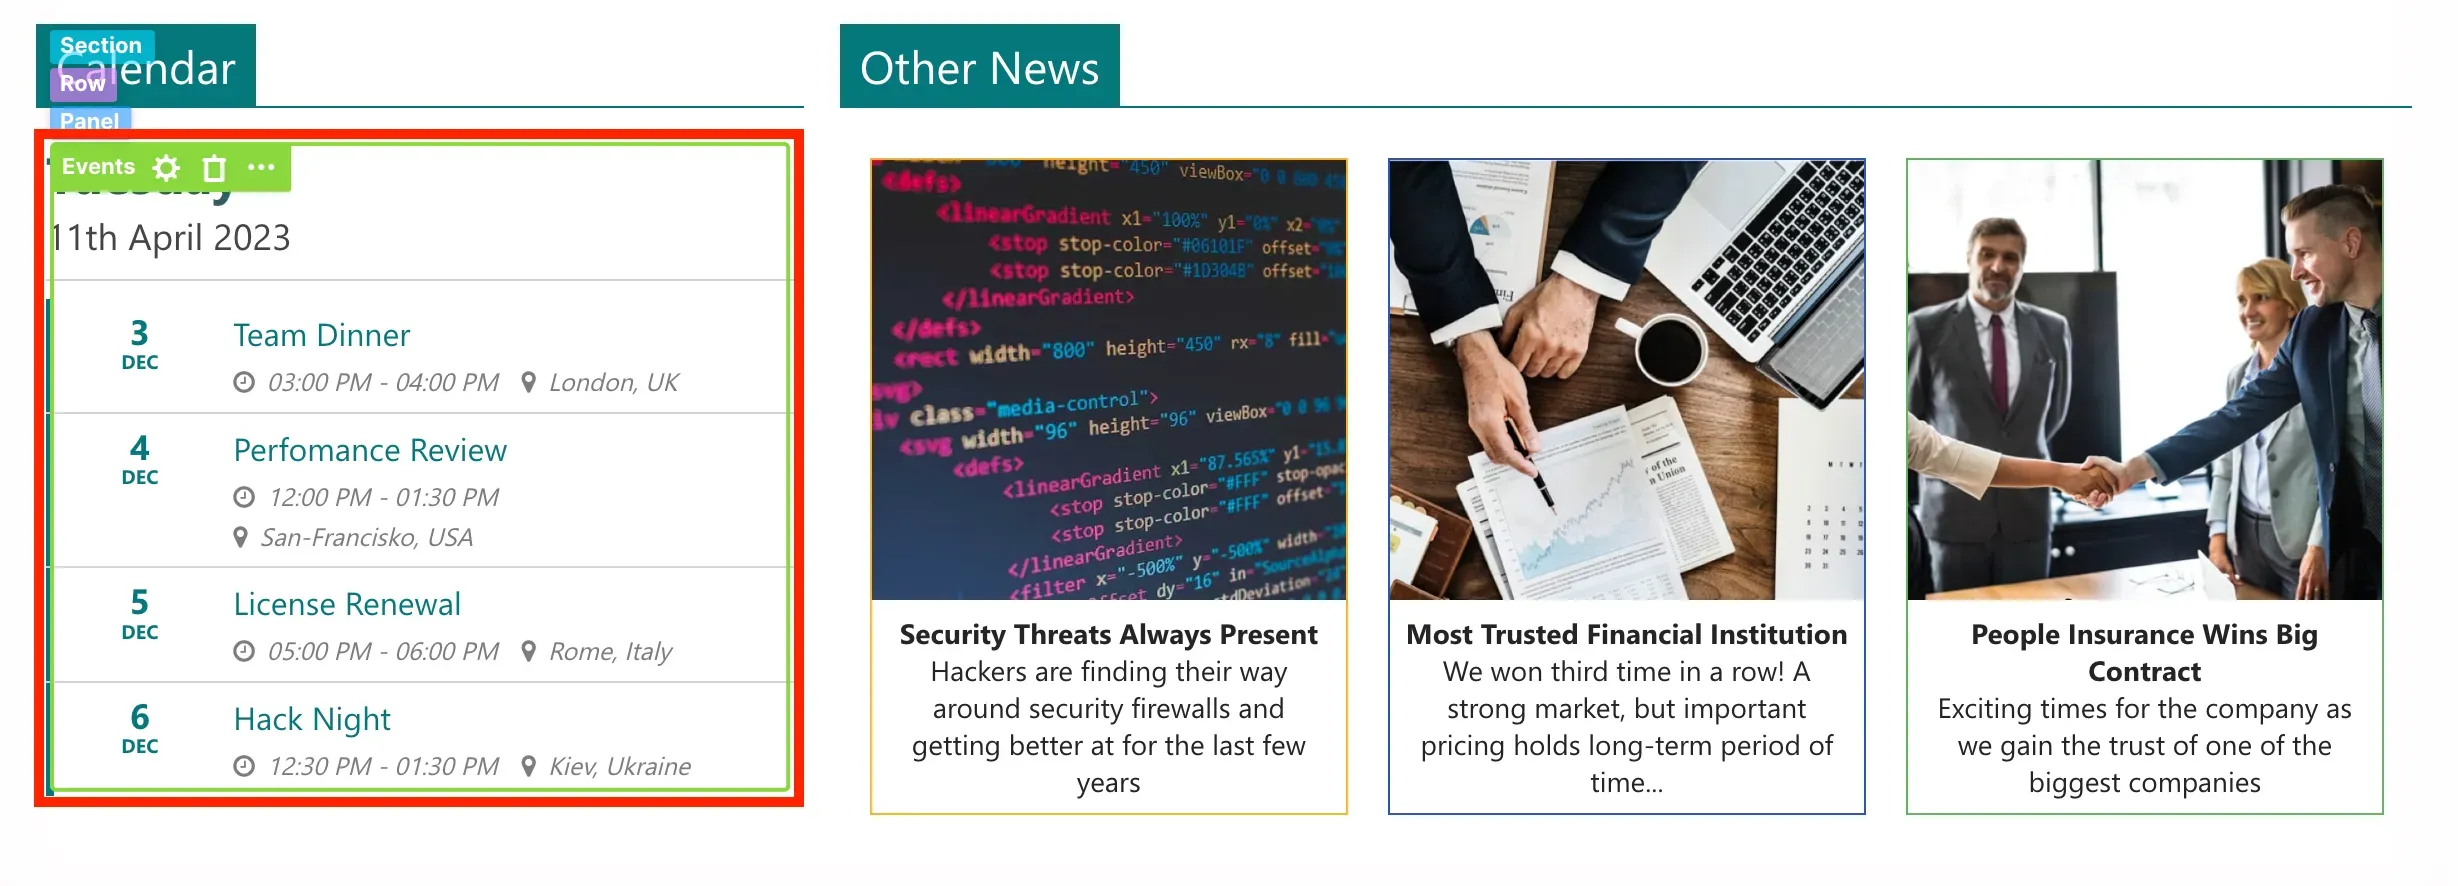
When you scroll down, you will notice that an Events Design Element came with our template. You can edit this Design Element so that it shows events from your Outlook calendar.
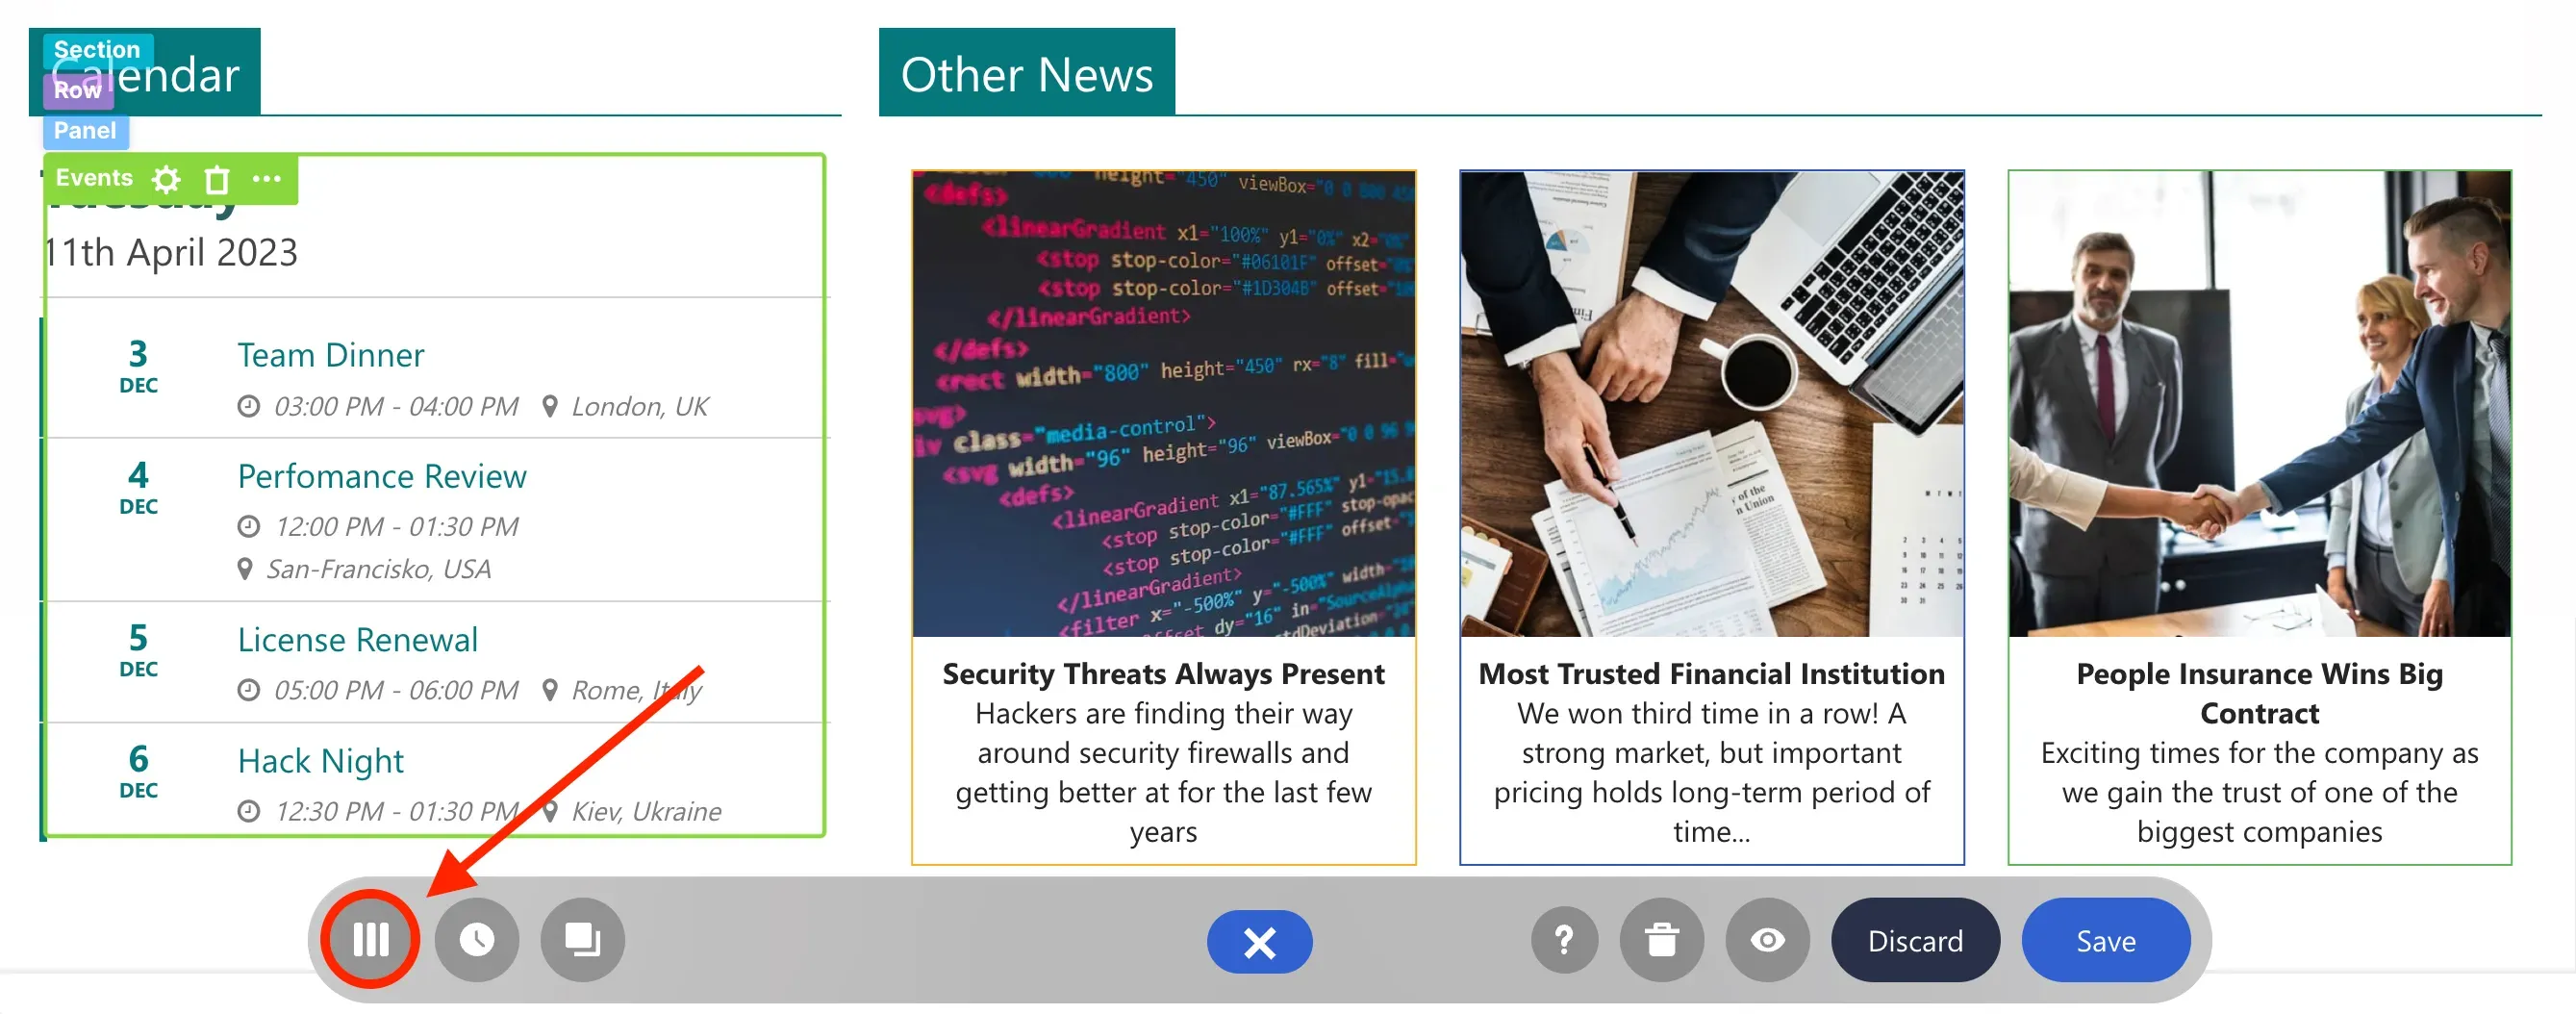
To establish the connection, you must open the page in the Grid Mode editor. You can do this by clicking the Switch to Grid Mode icon in the floating bar.
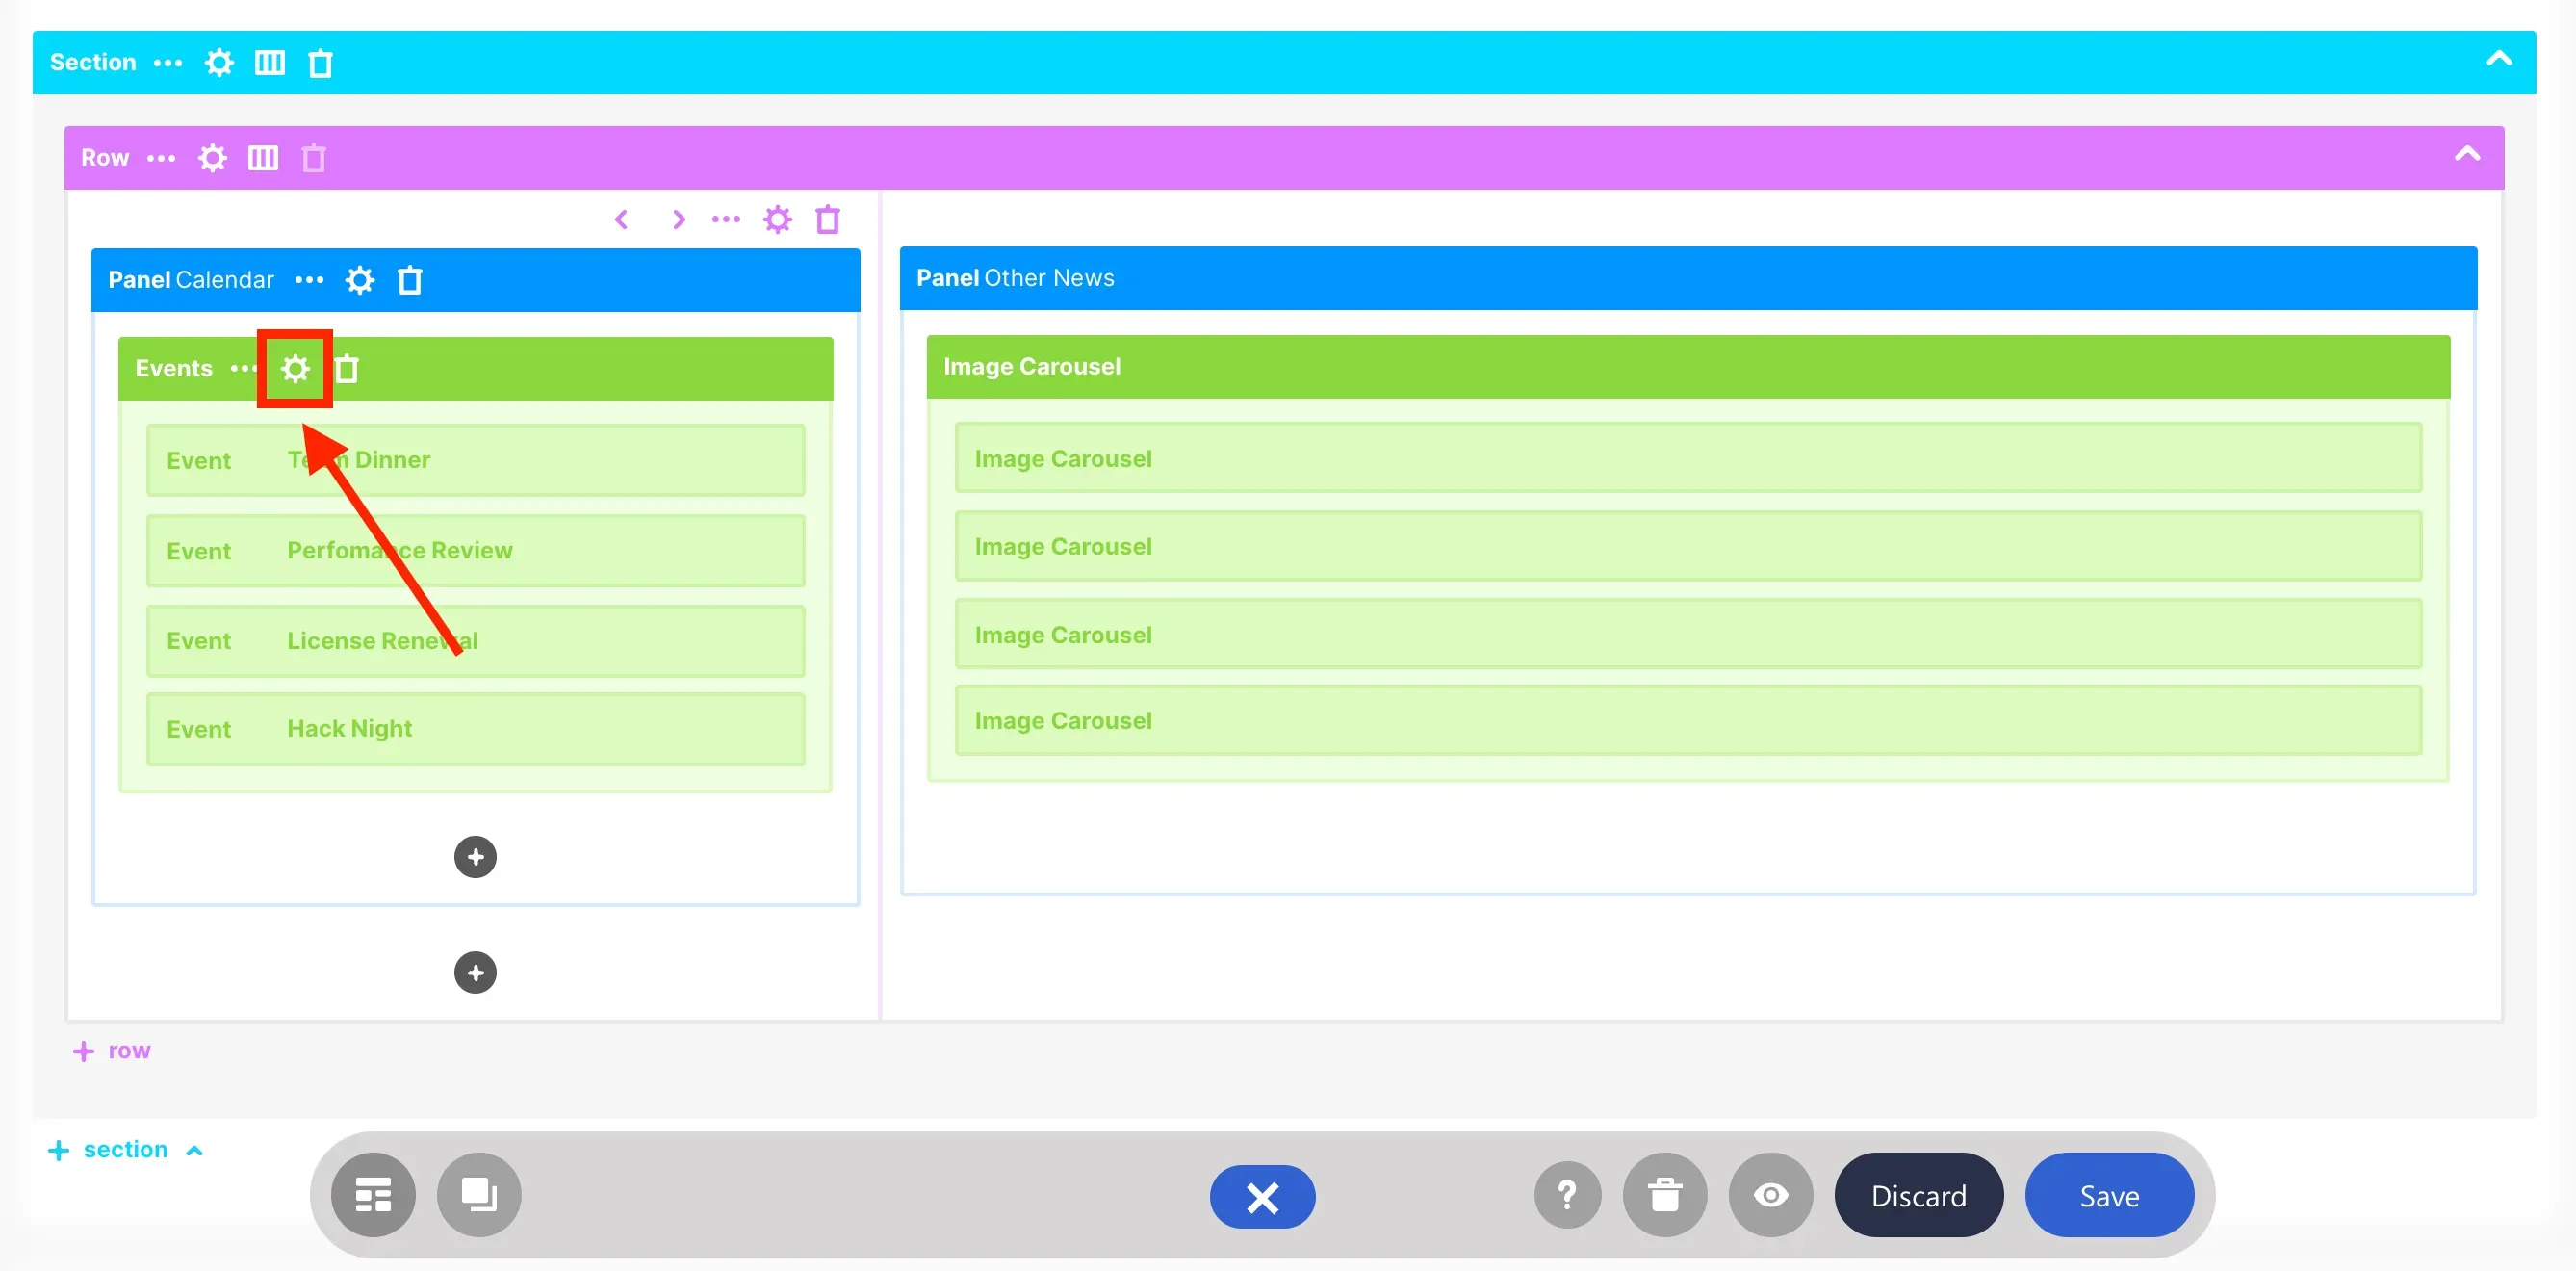
Once you are in Grid Mode, scroll down until you see the Events Design Element. Then, click the cogwheel icon to open the Settings window.
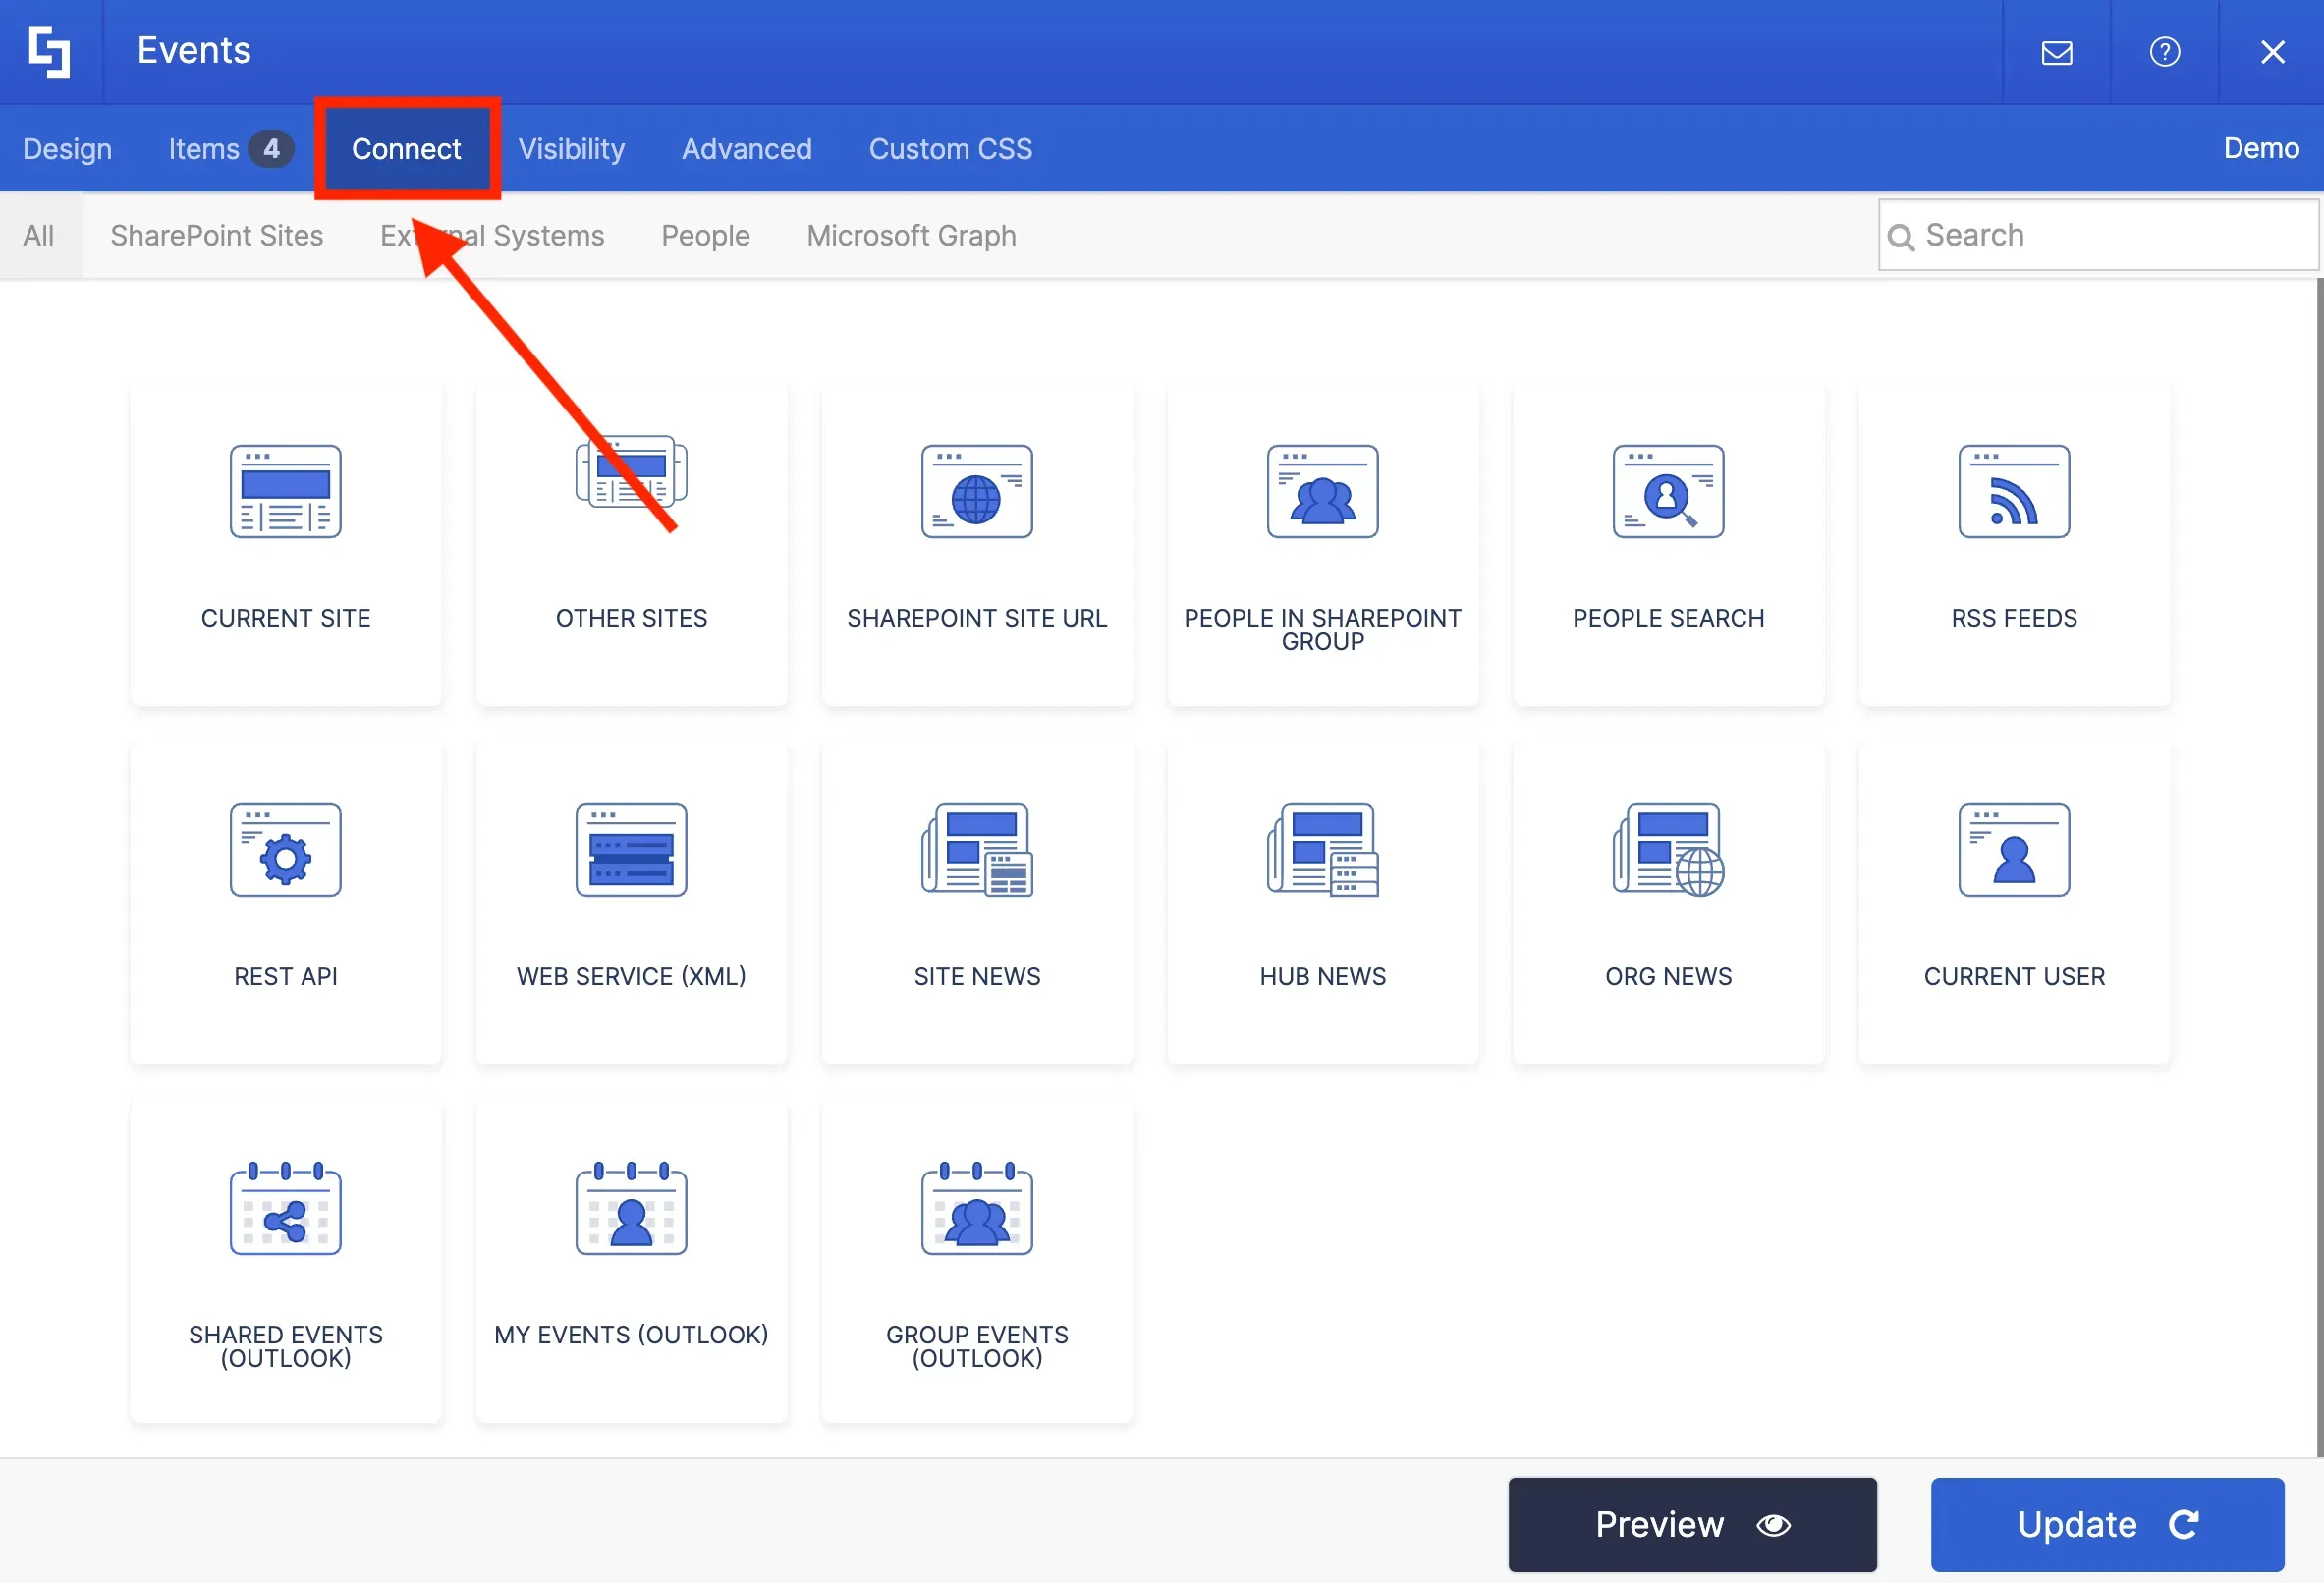
Go to the Connect tab to select a connection type.
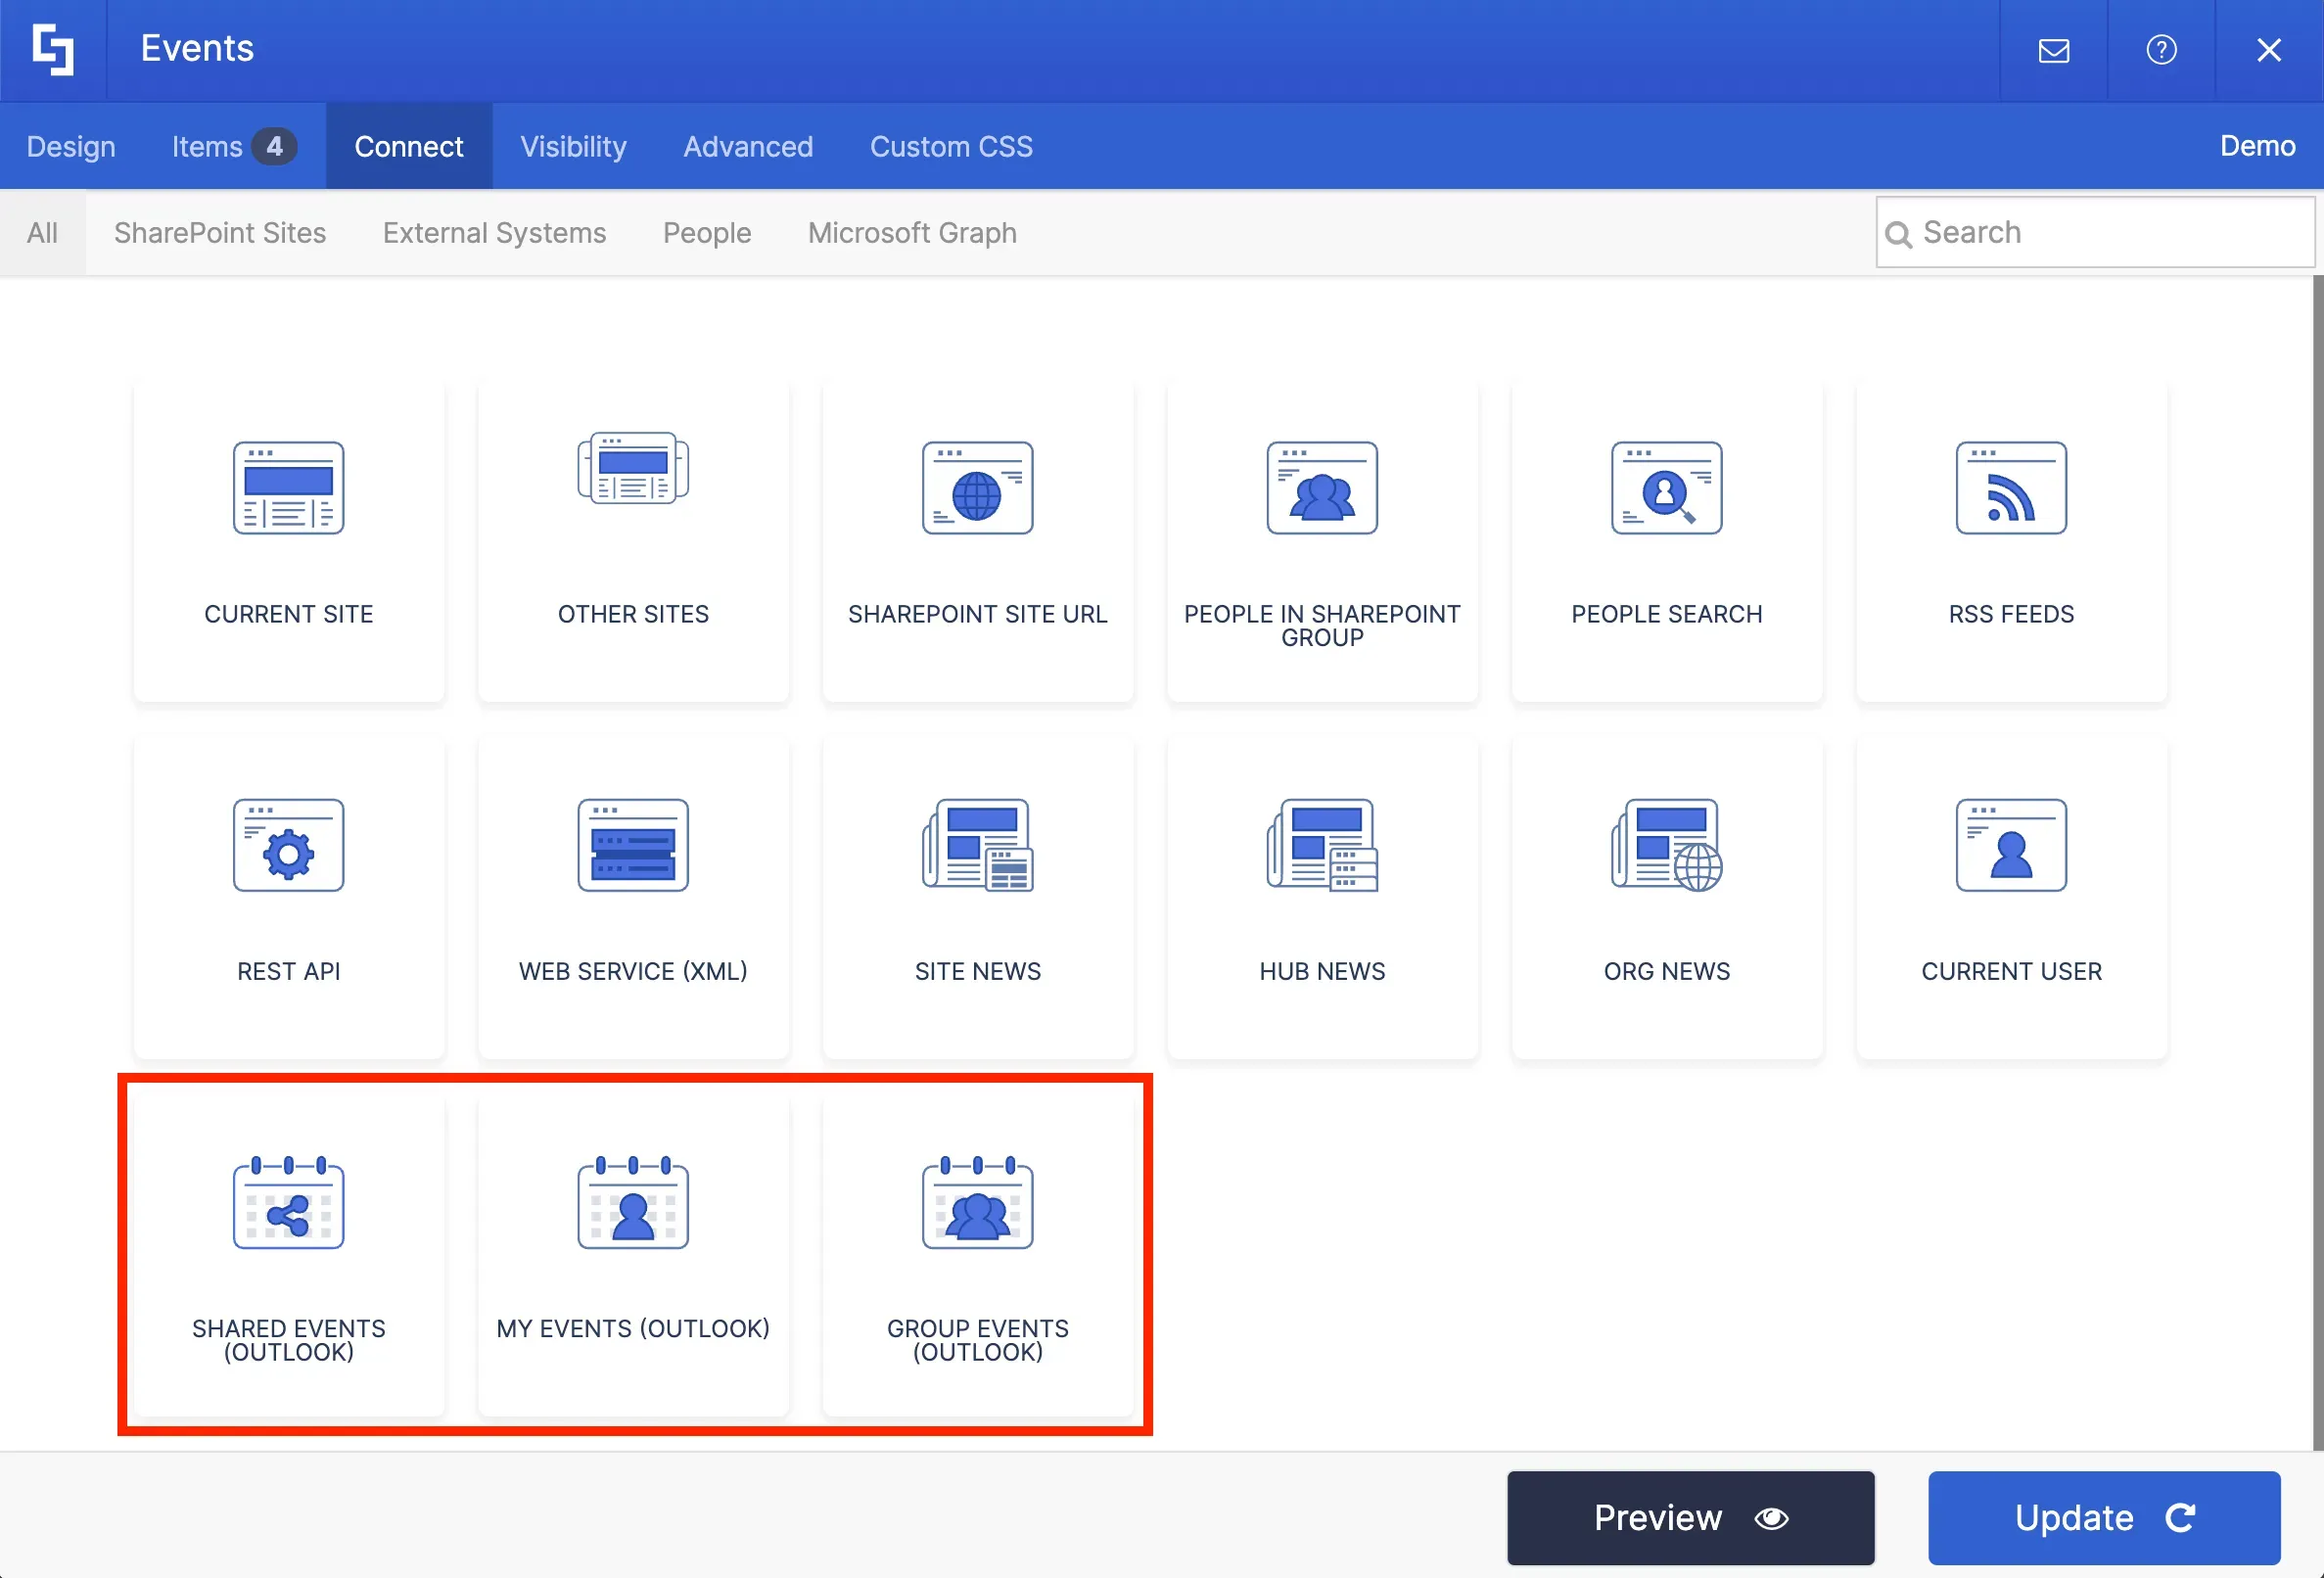
Here, you'll find three options to connect to an Outlook calendar:
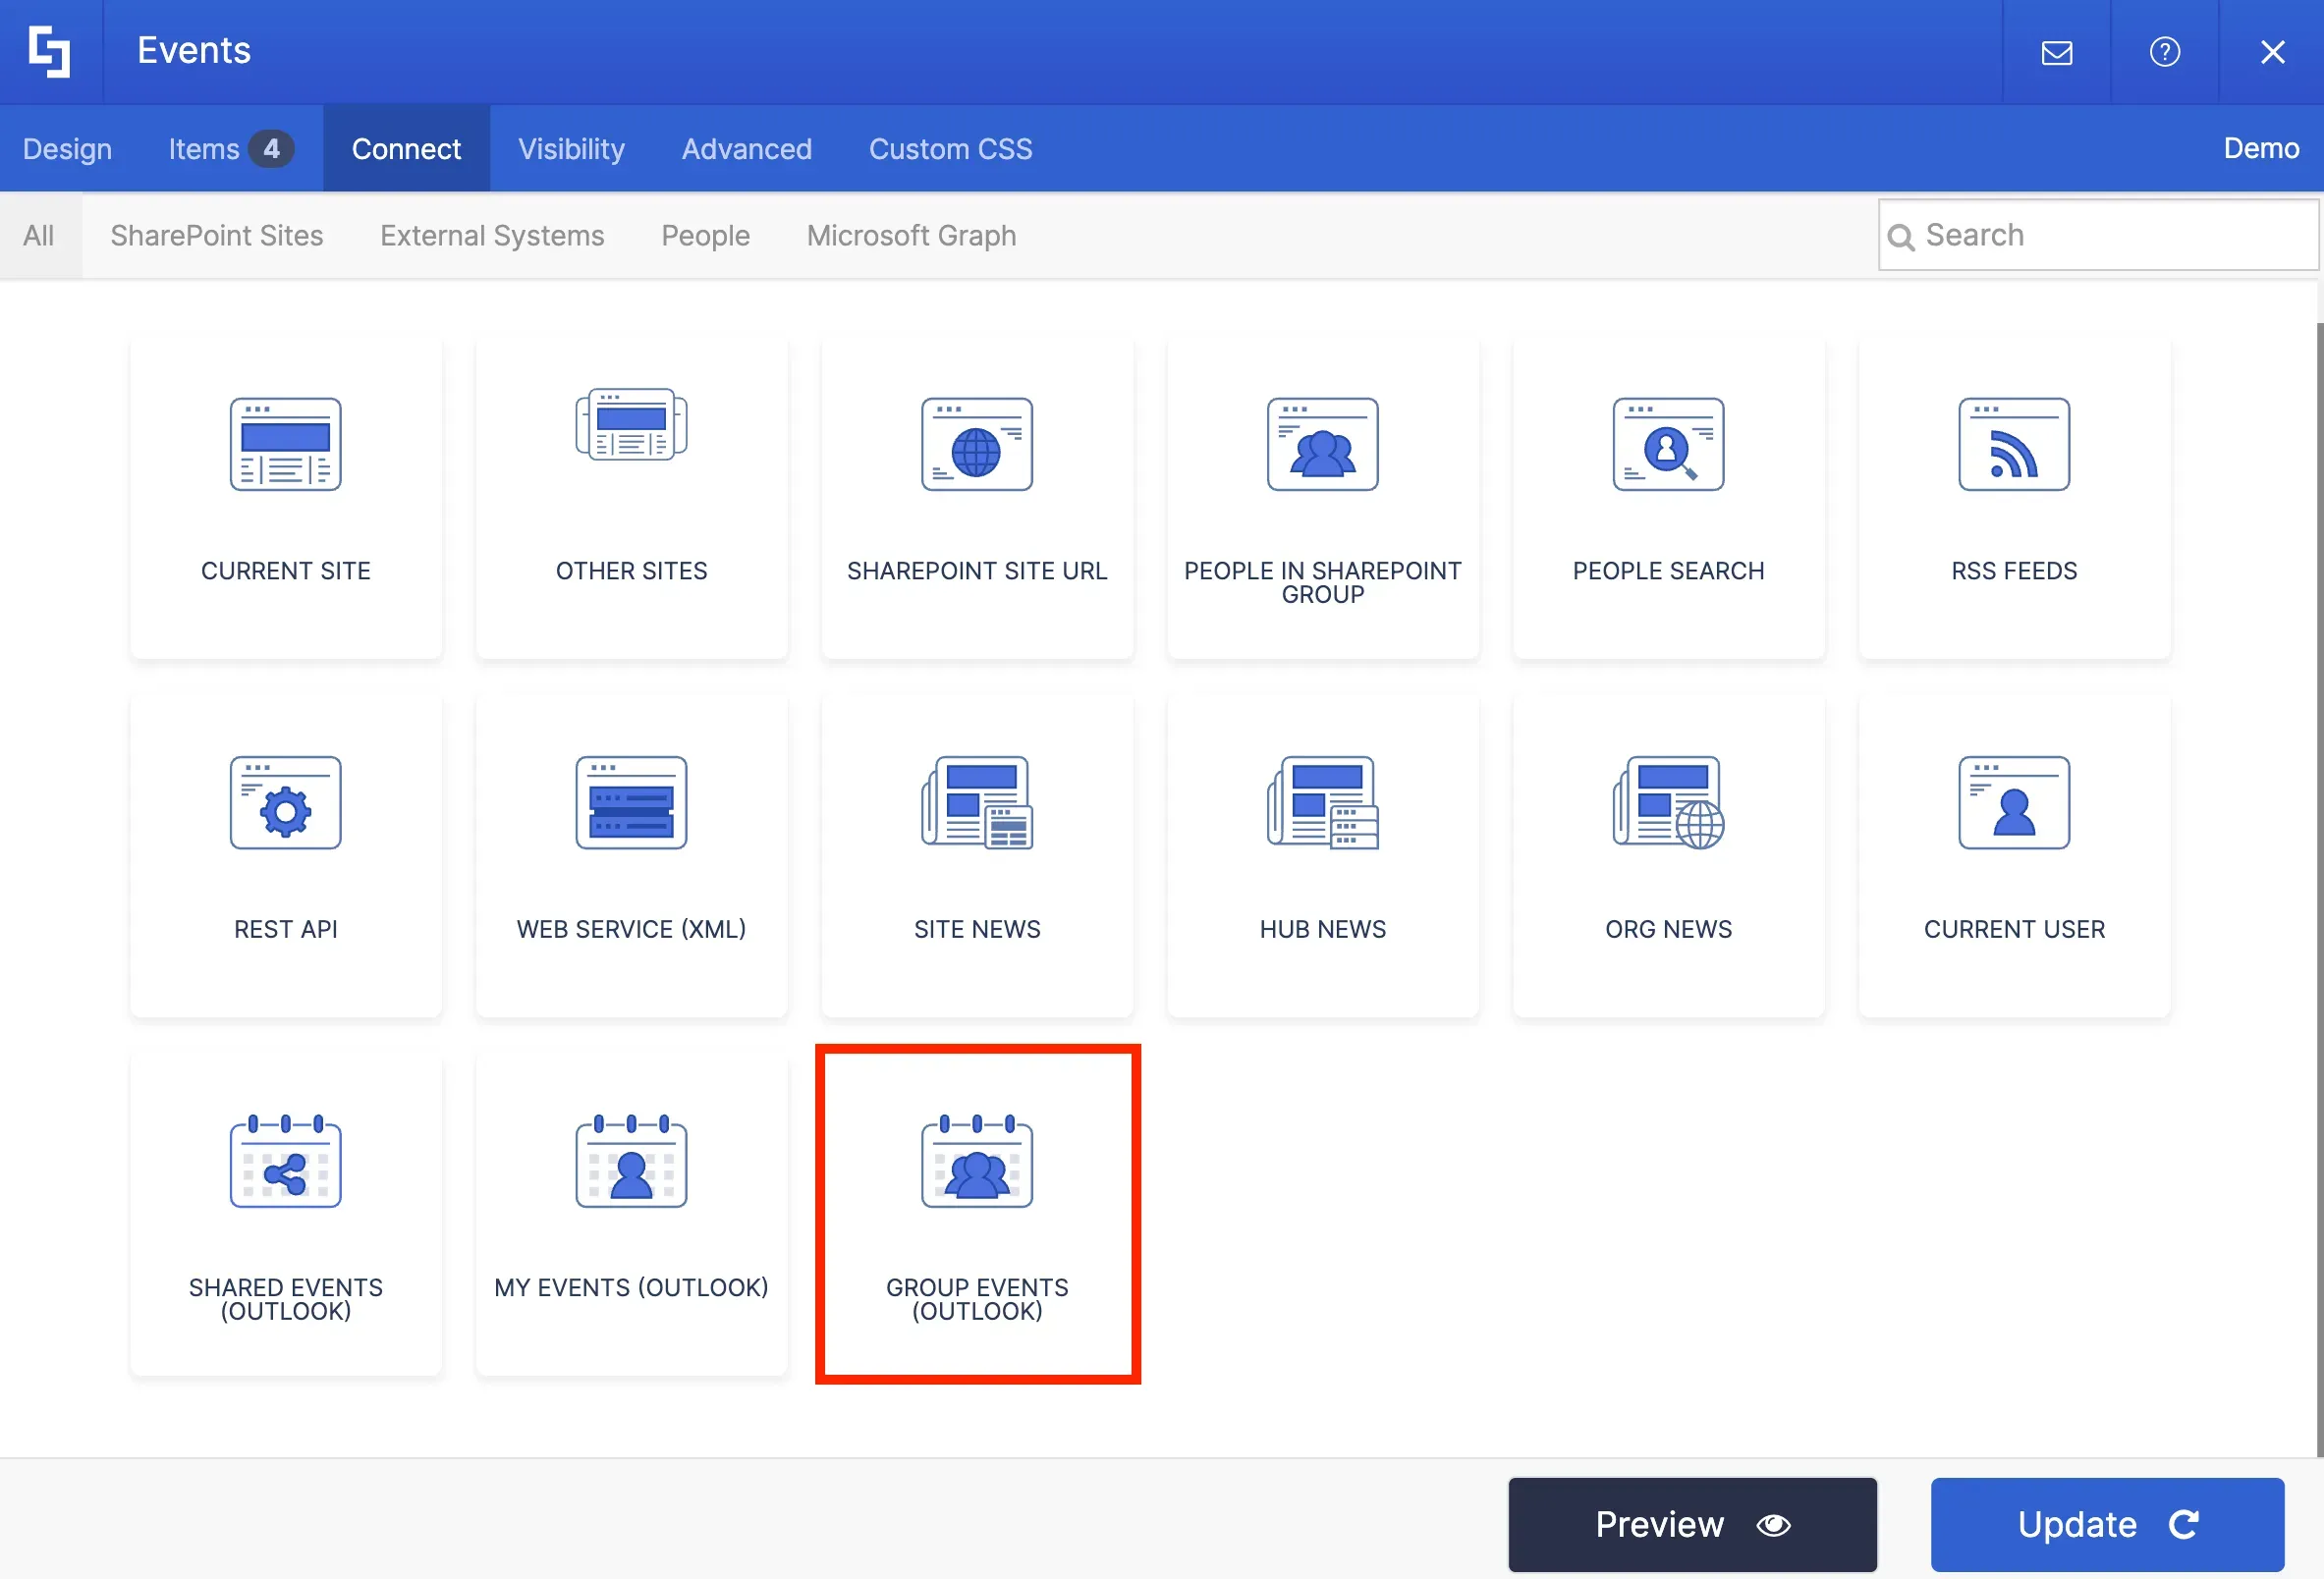
Setting up connection
For this project, we want to show events from a group calendar.
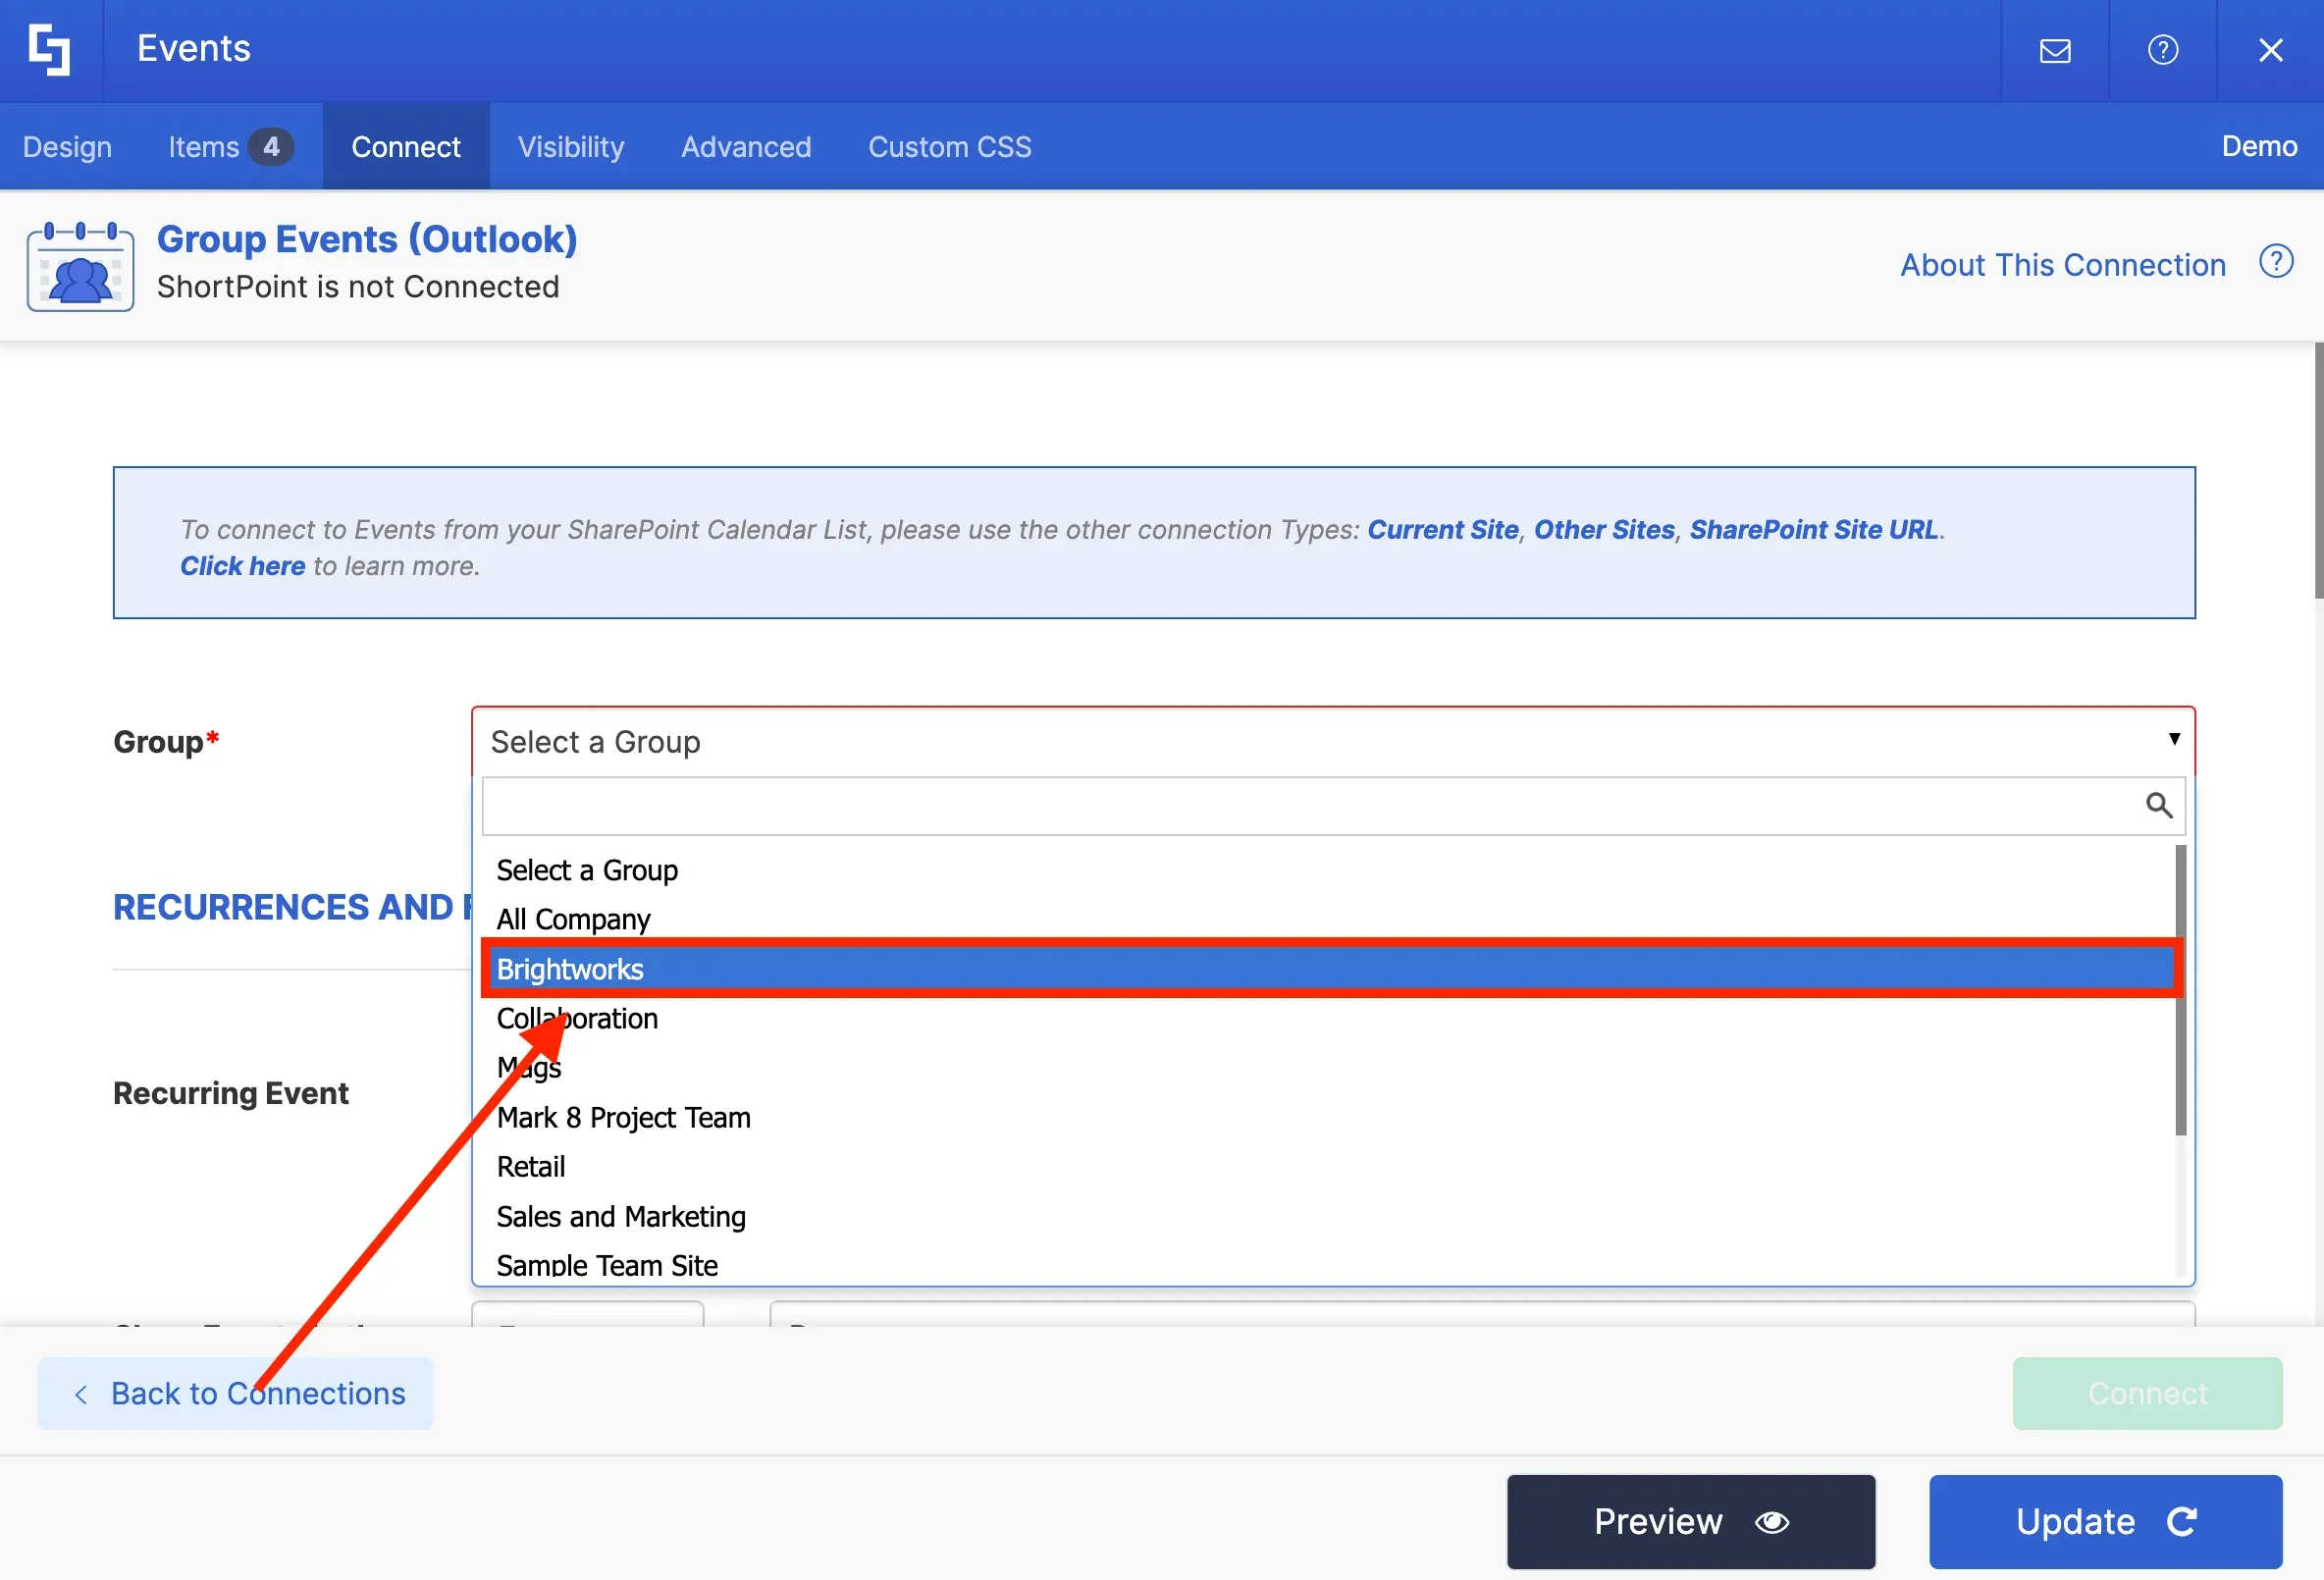
Once you select your preferred connection type, you will be asked to provide additional information.
For the Group Events connection type, you must first choose the group that owns the calendar you wish to connect to. In our case, our group name is Brightworks.
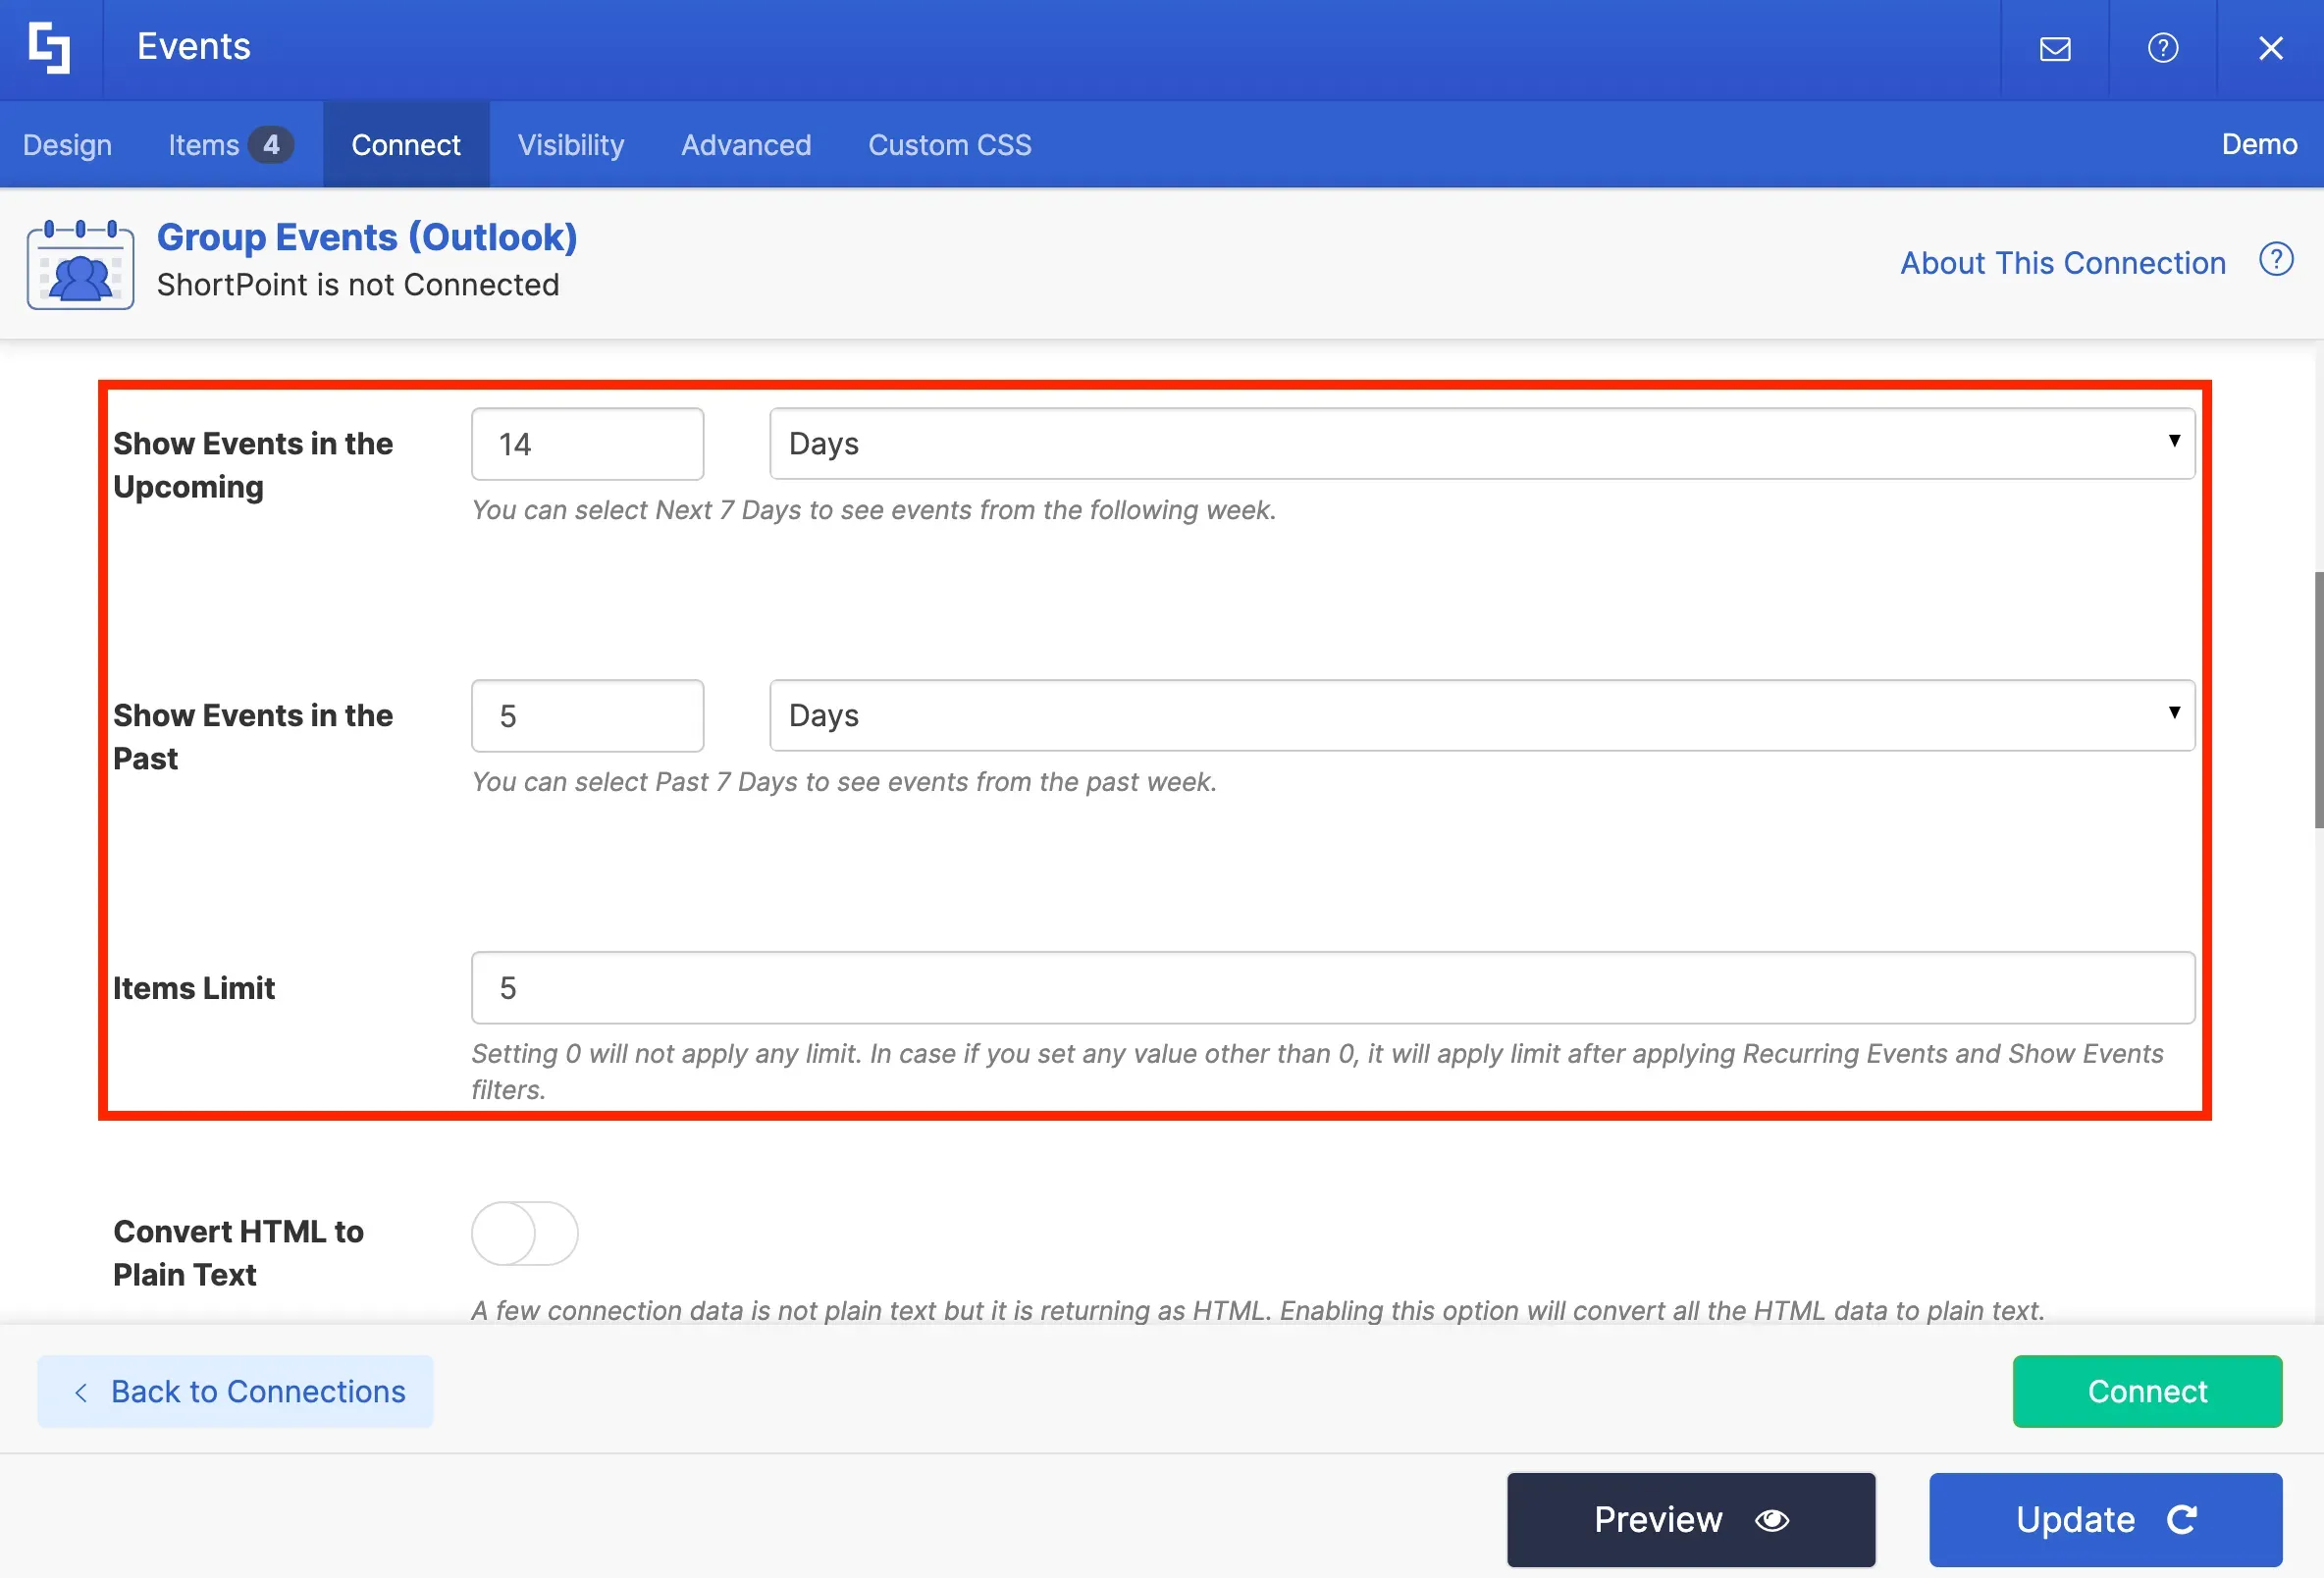
Next, you can configure other connection settings such as the date range of events and the number of items you want to display on your page.
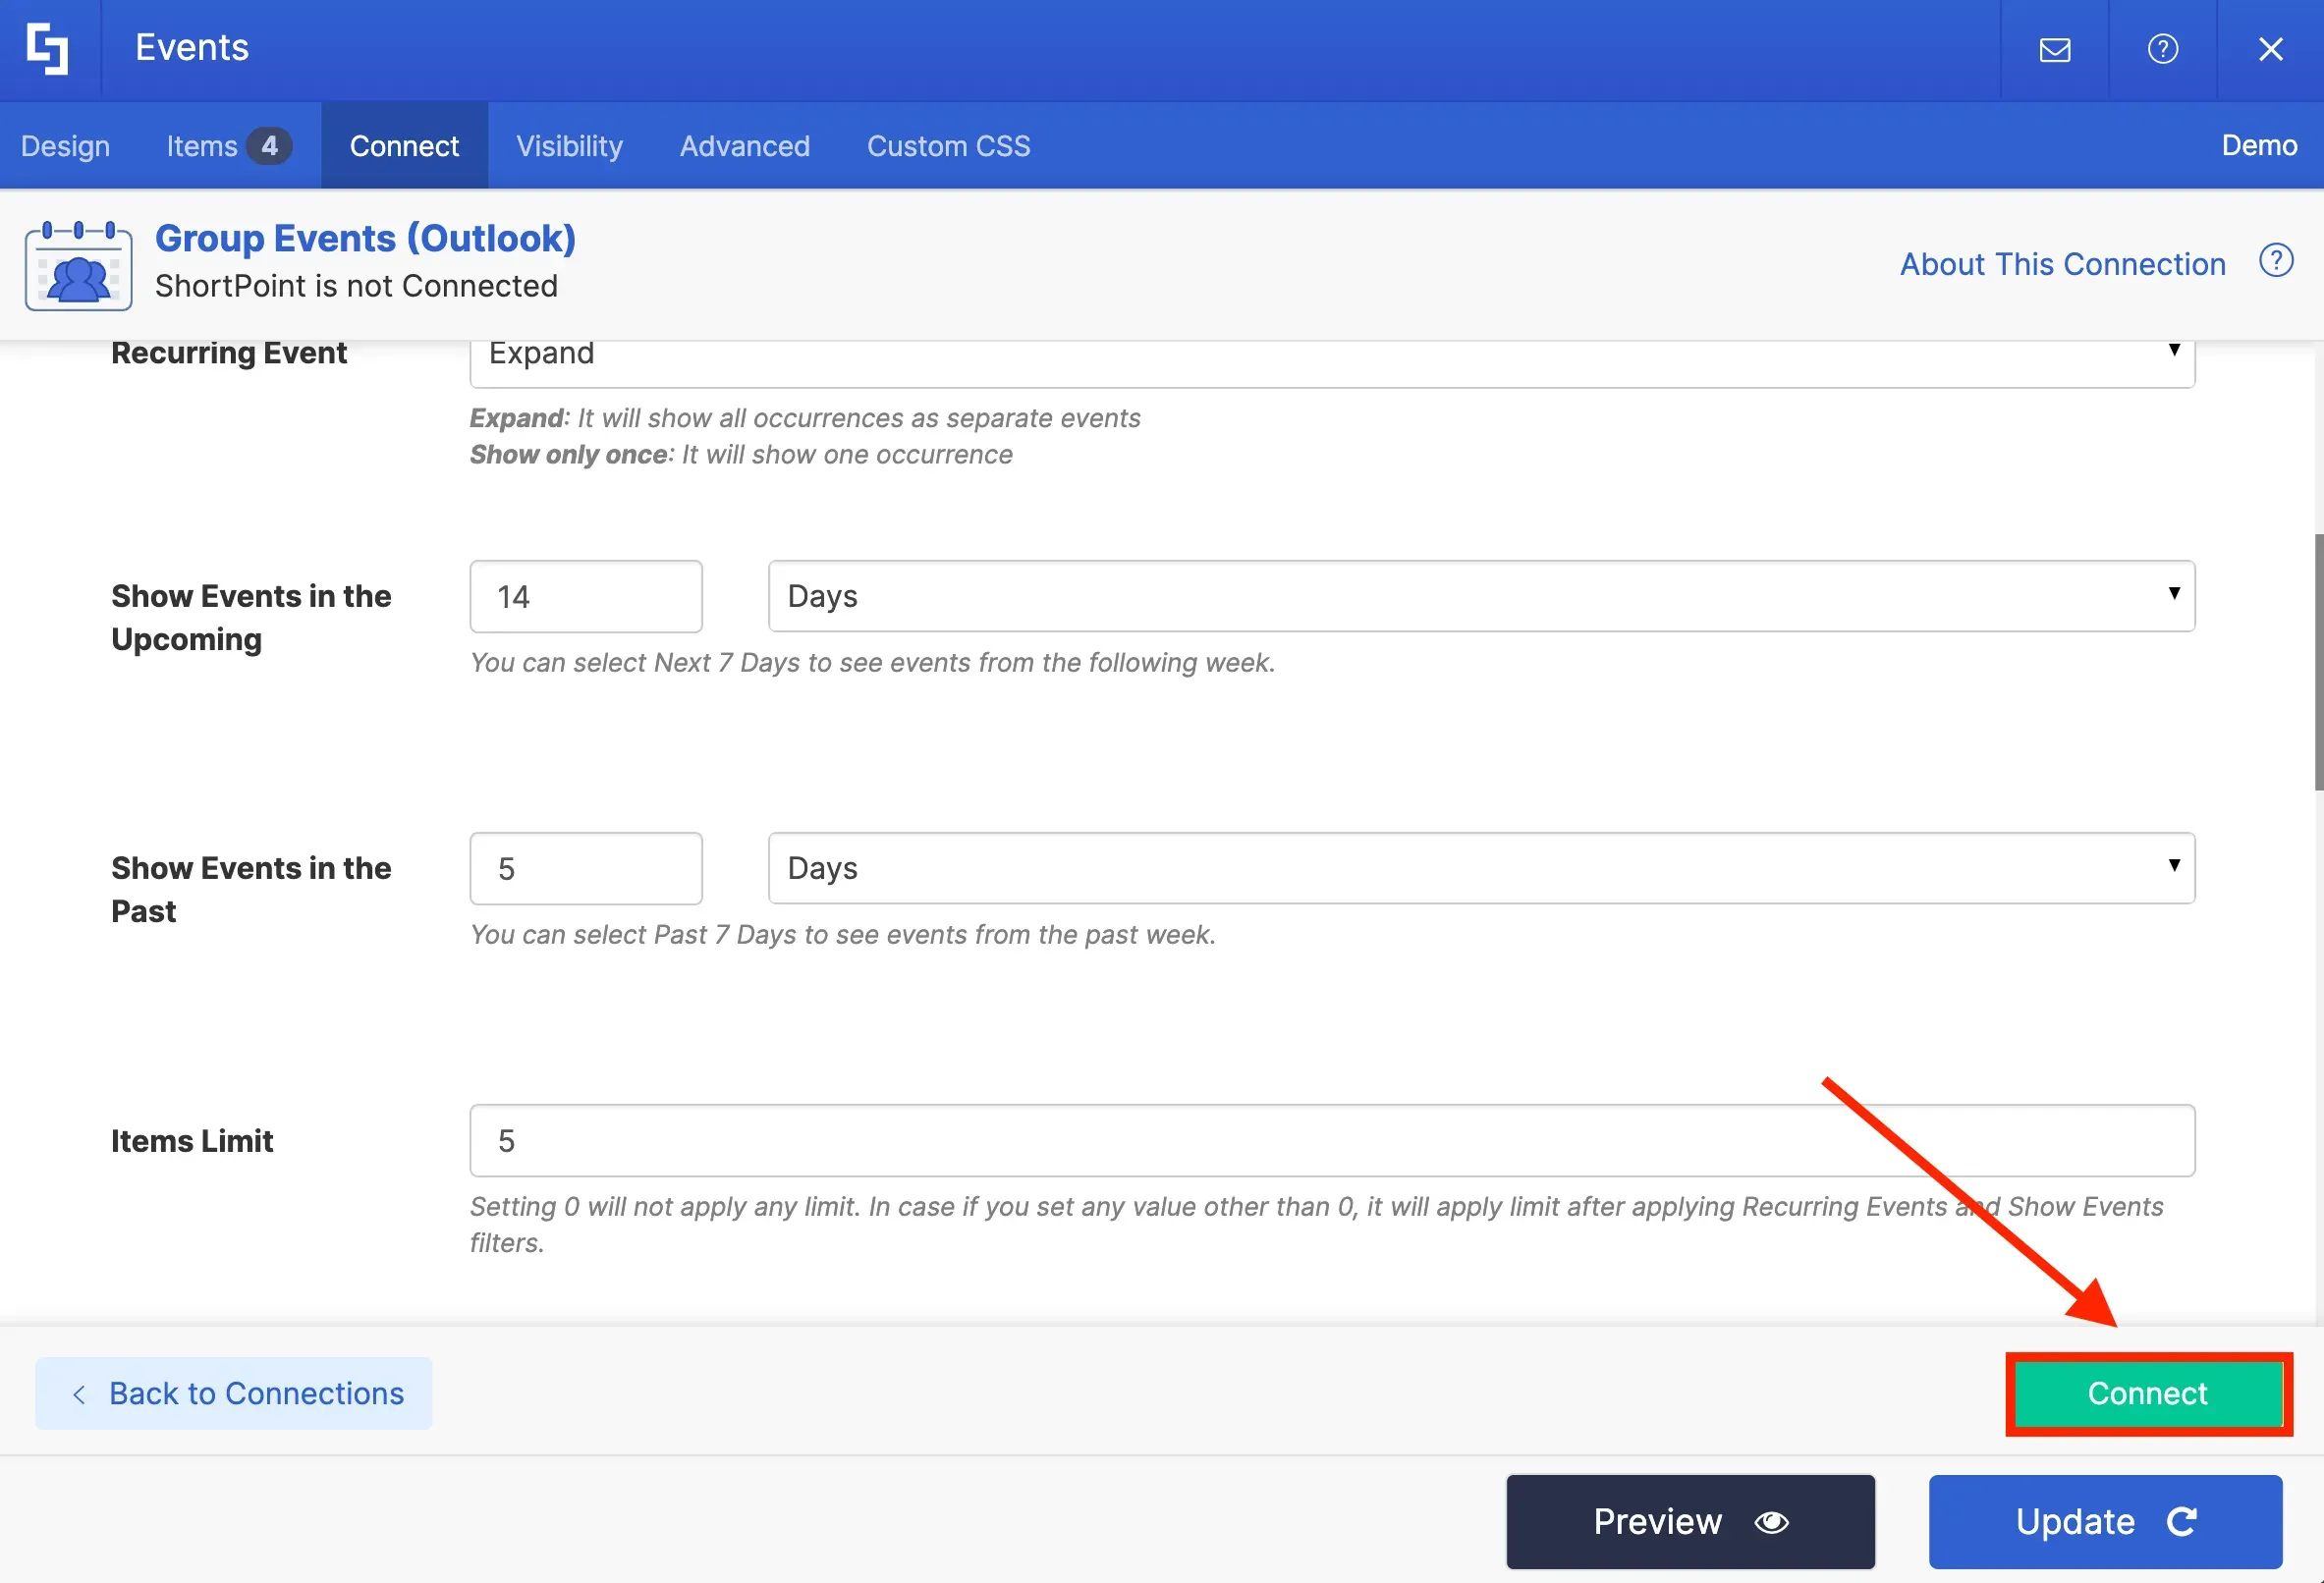
Finally, click the Connect button.
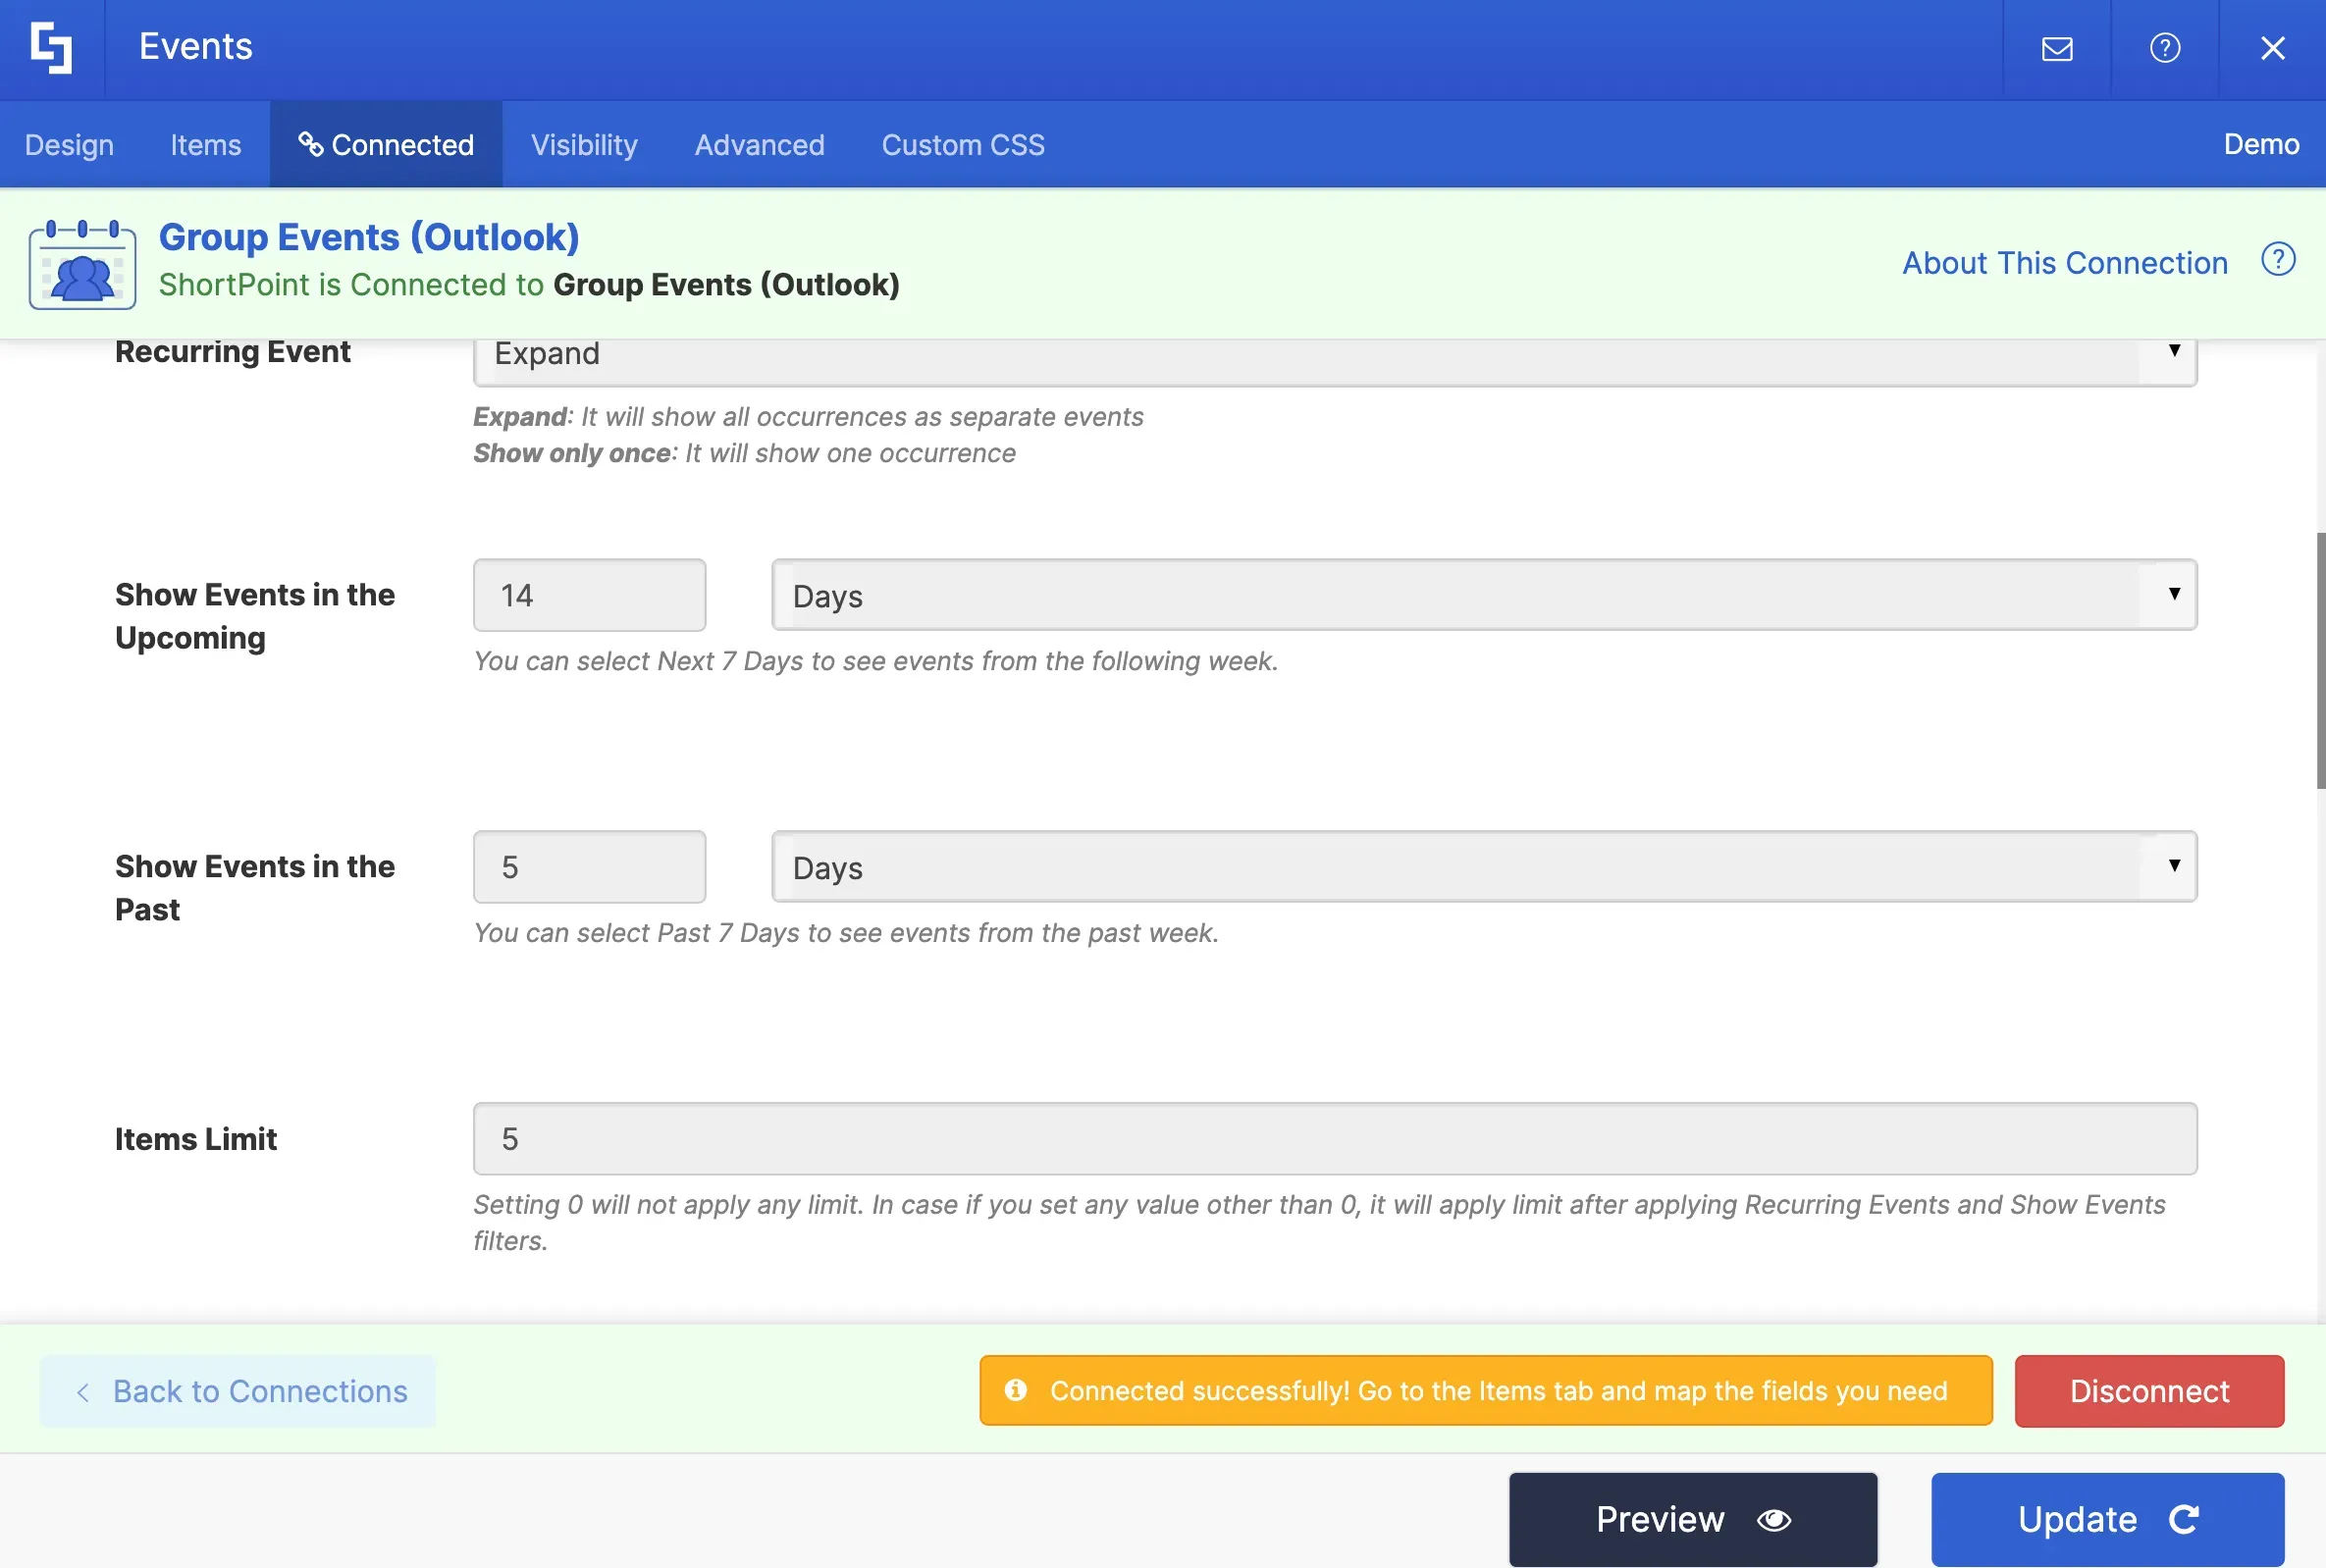
You have now successfully connected to an Outlook calendar.
Mapping event details to display
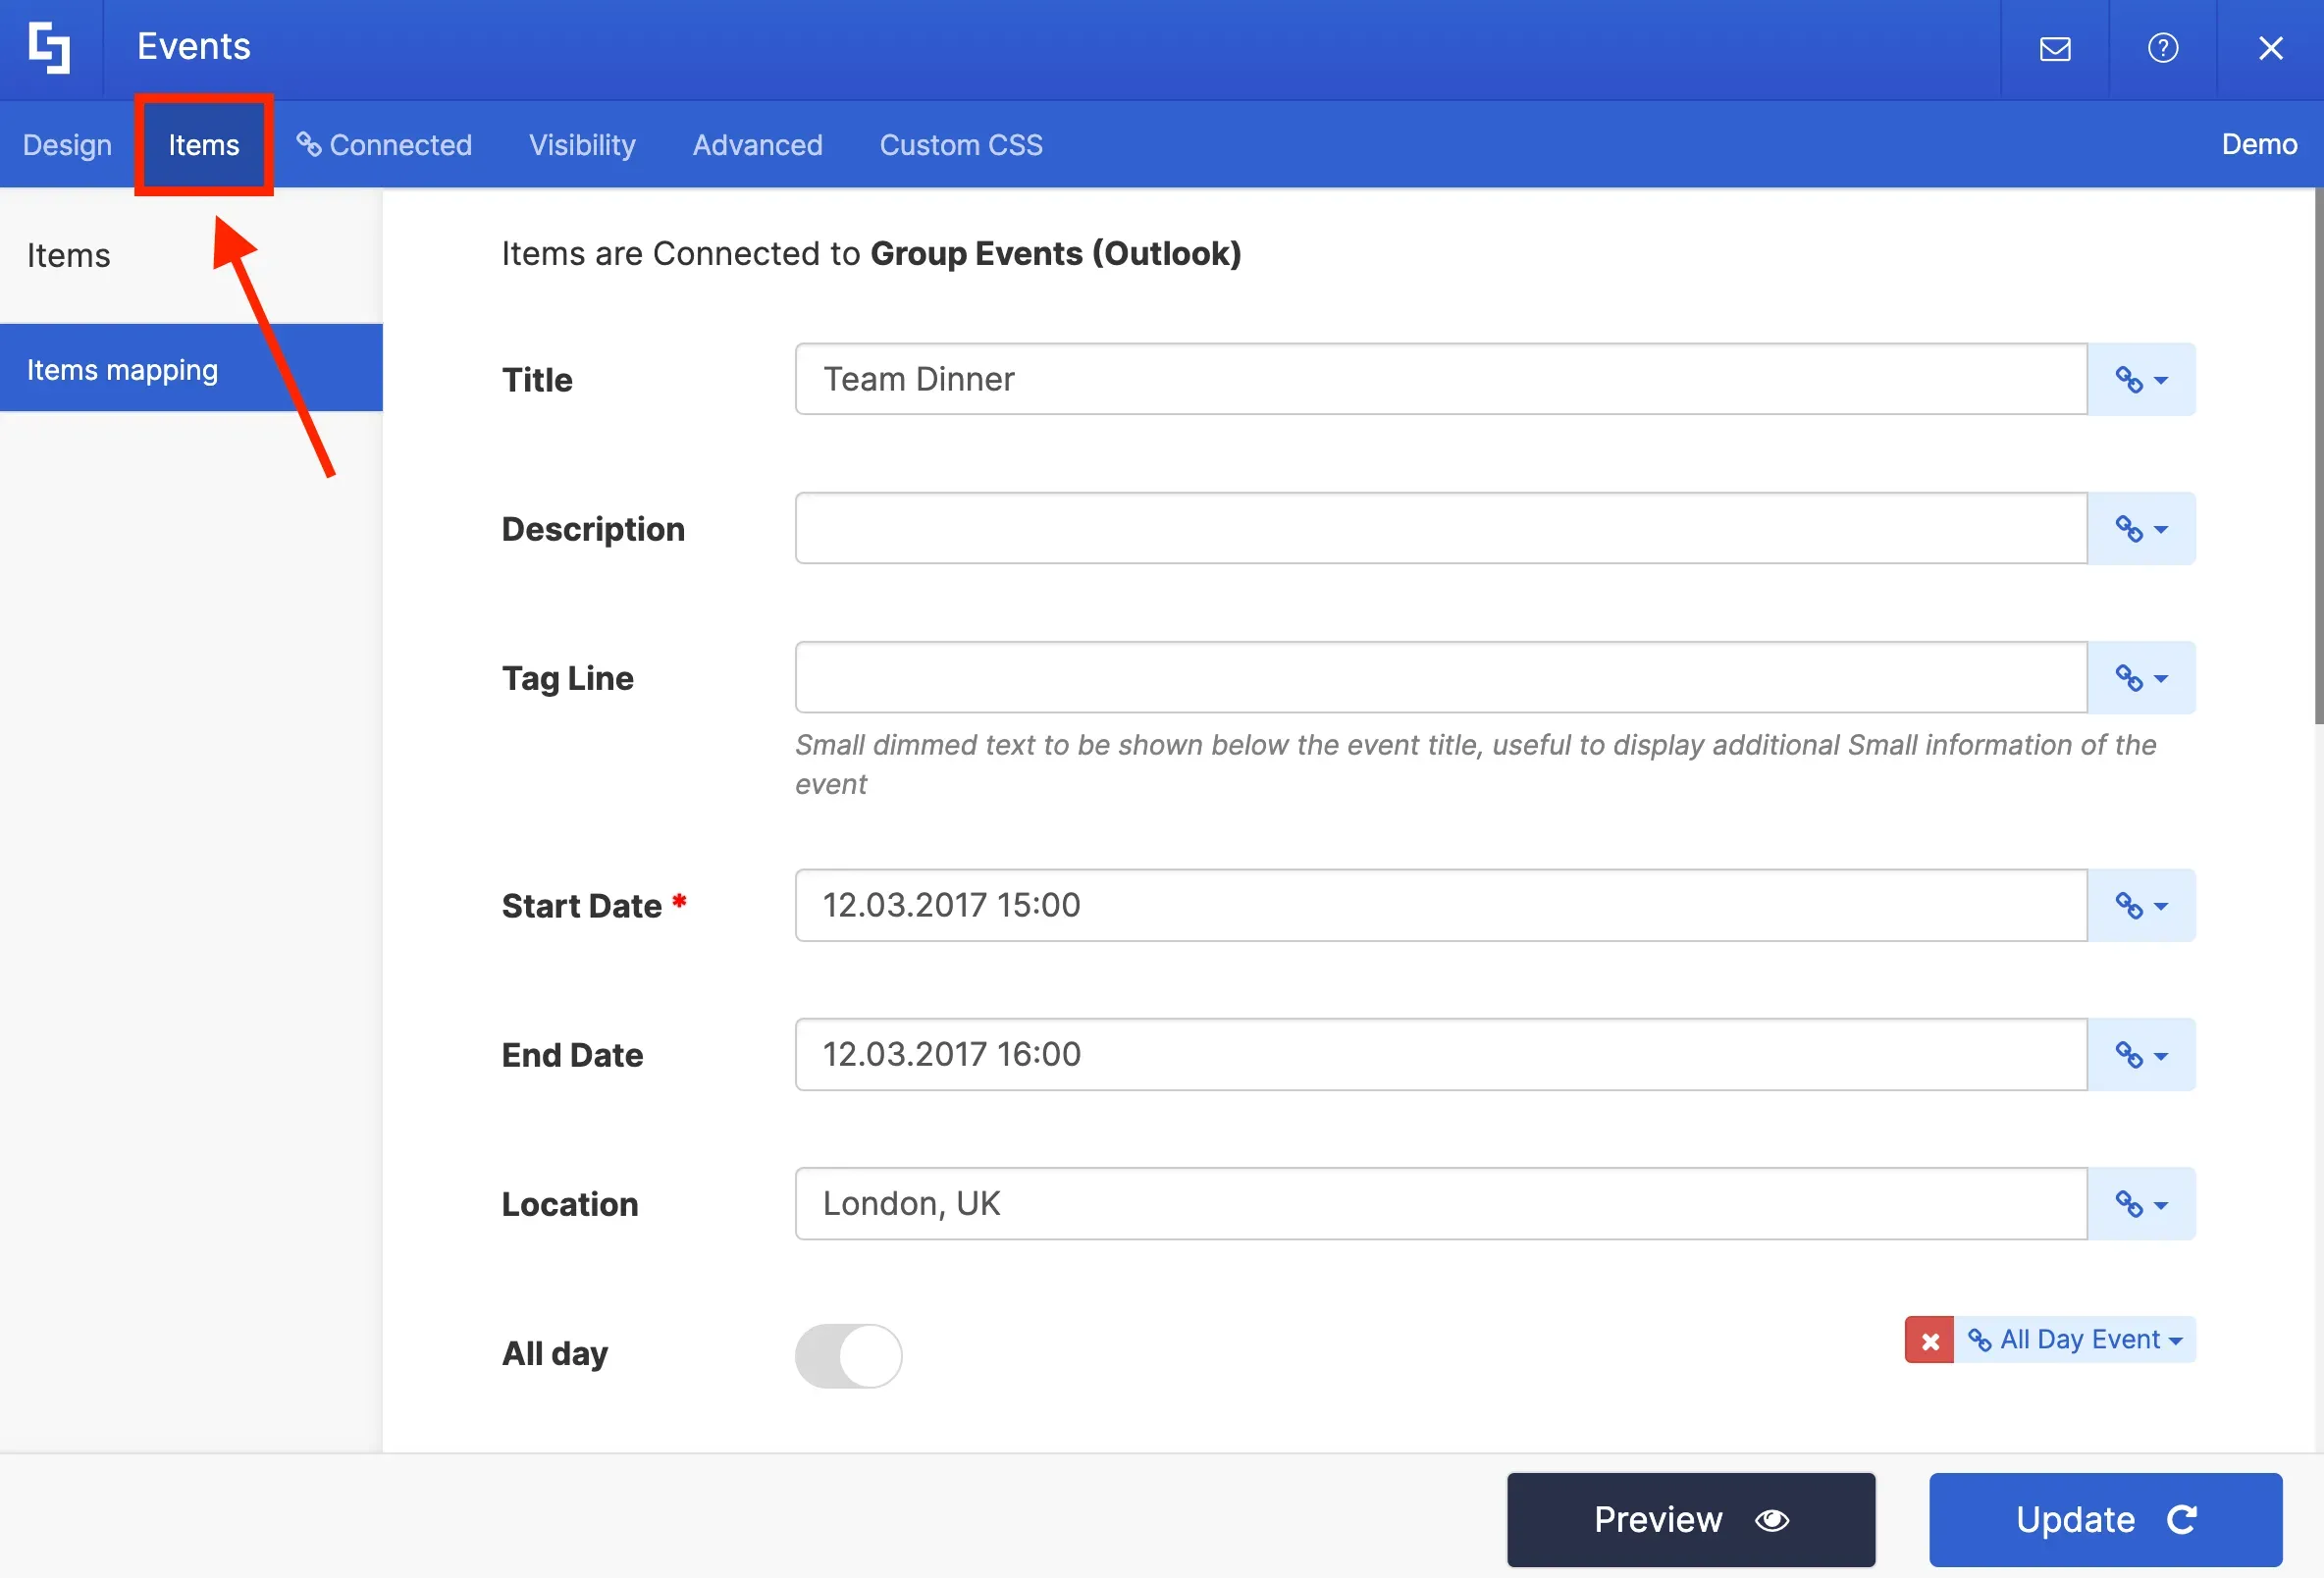
To customize the event details that you want to display on your page, you need to go to the Items tab.
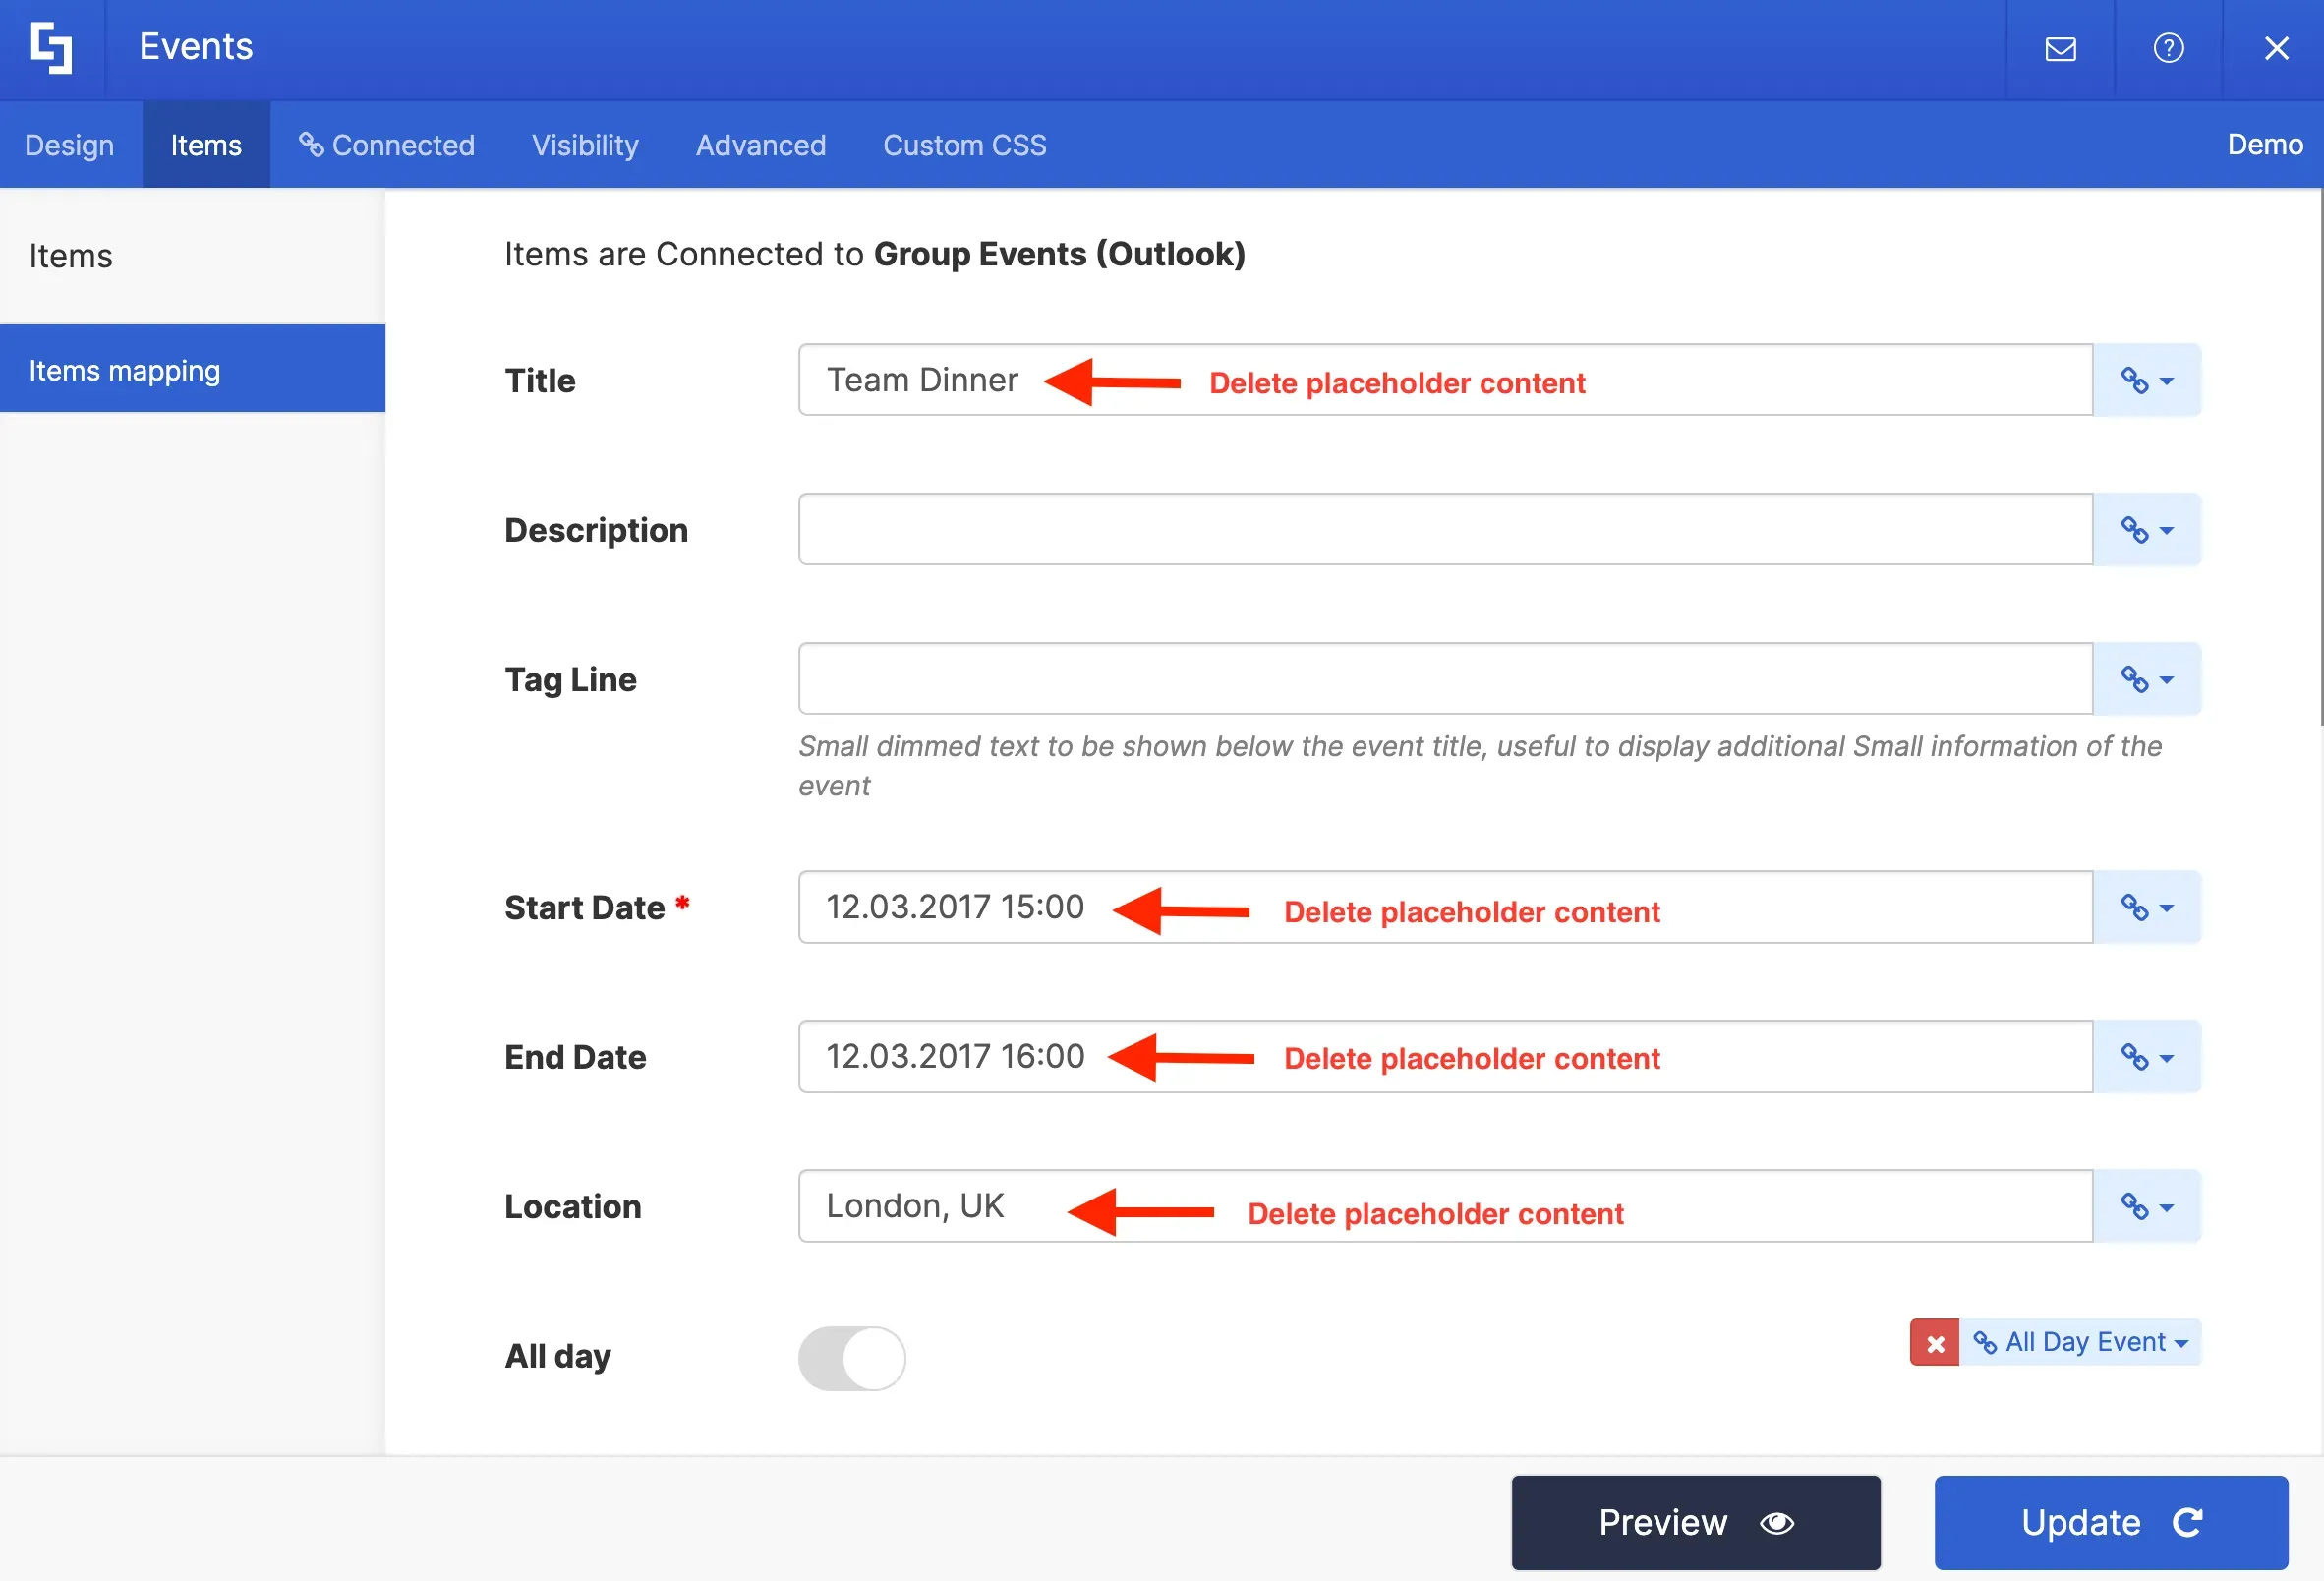
You will notice that some item fields already have existing content. Delete all placeholder content so you can customize the items according to your preference.
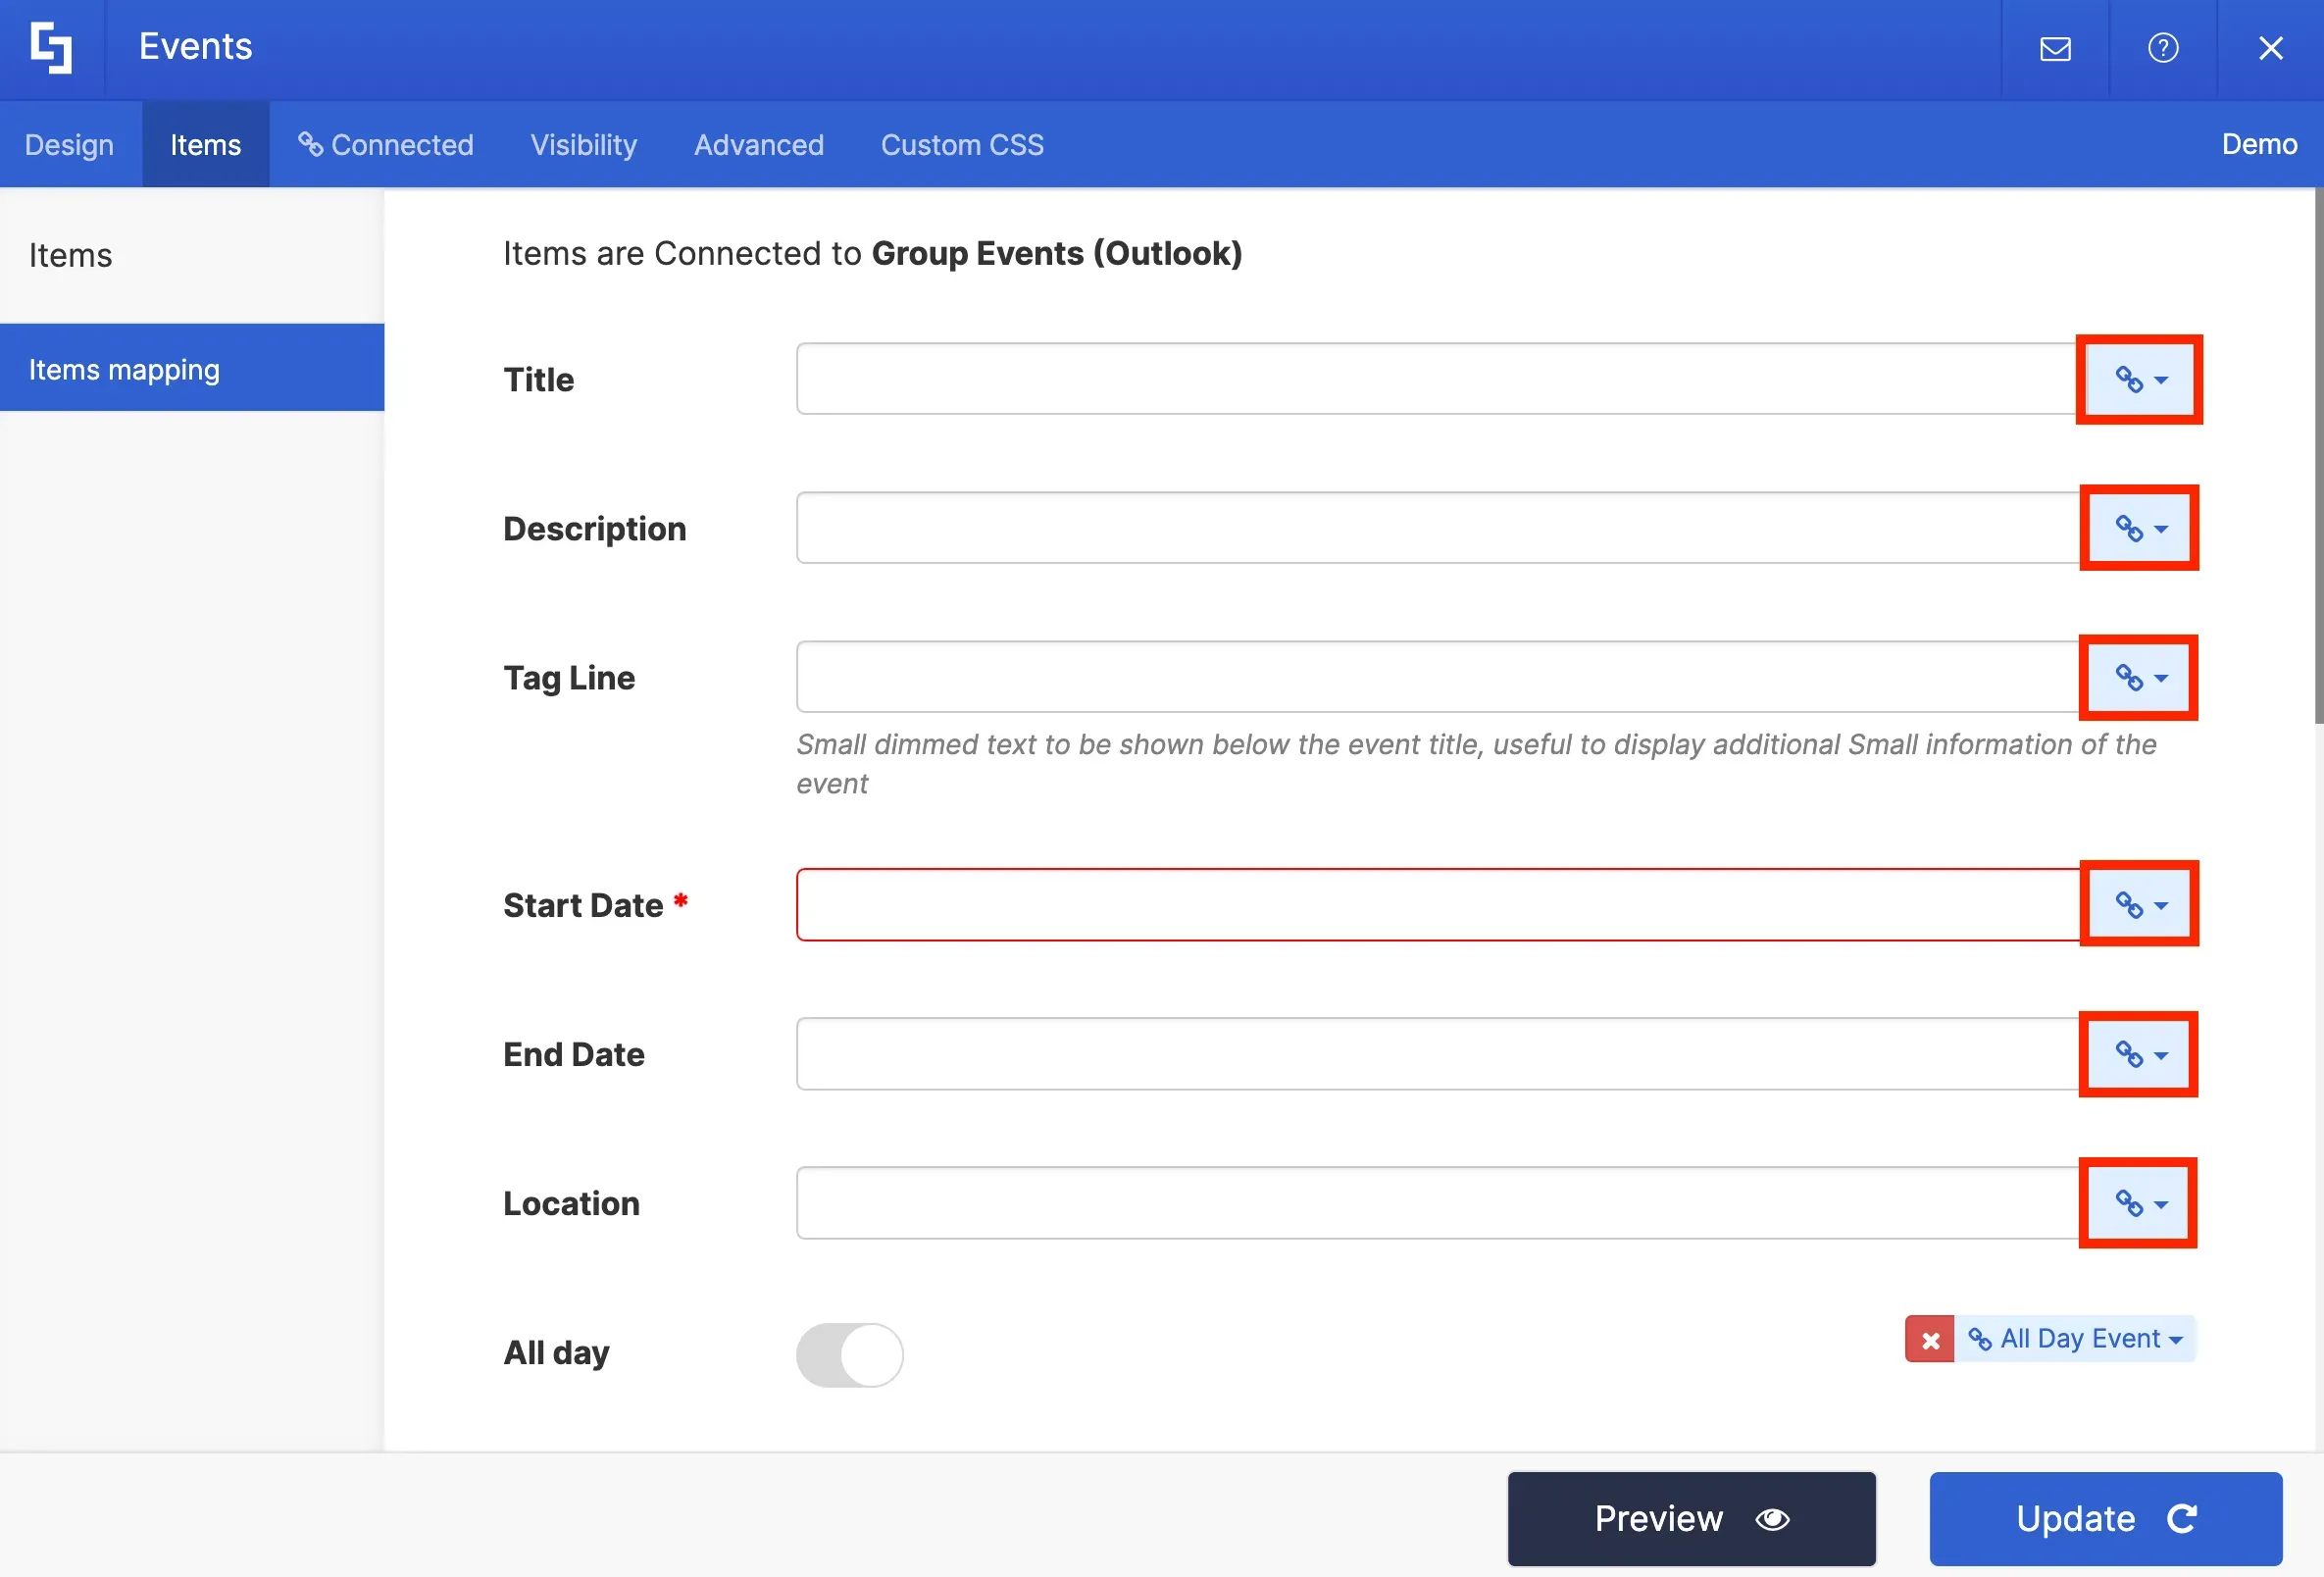
For each item field, there are link icons. These link icons contain several property options you can choose from. The property you select for each field will automatically be displayed on your page.
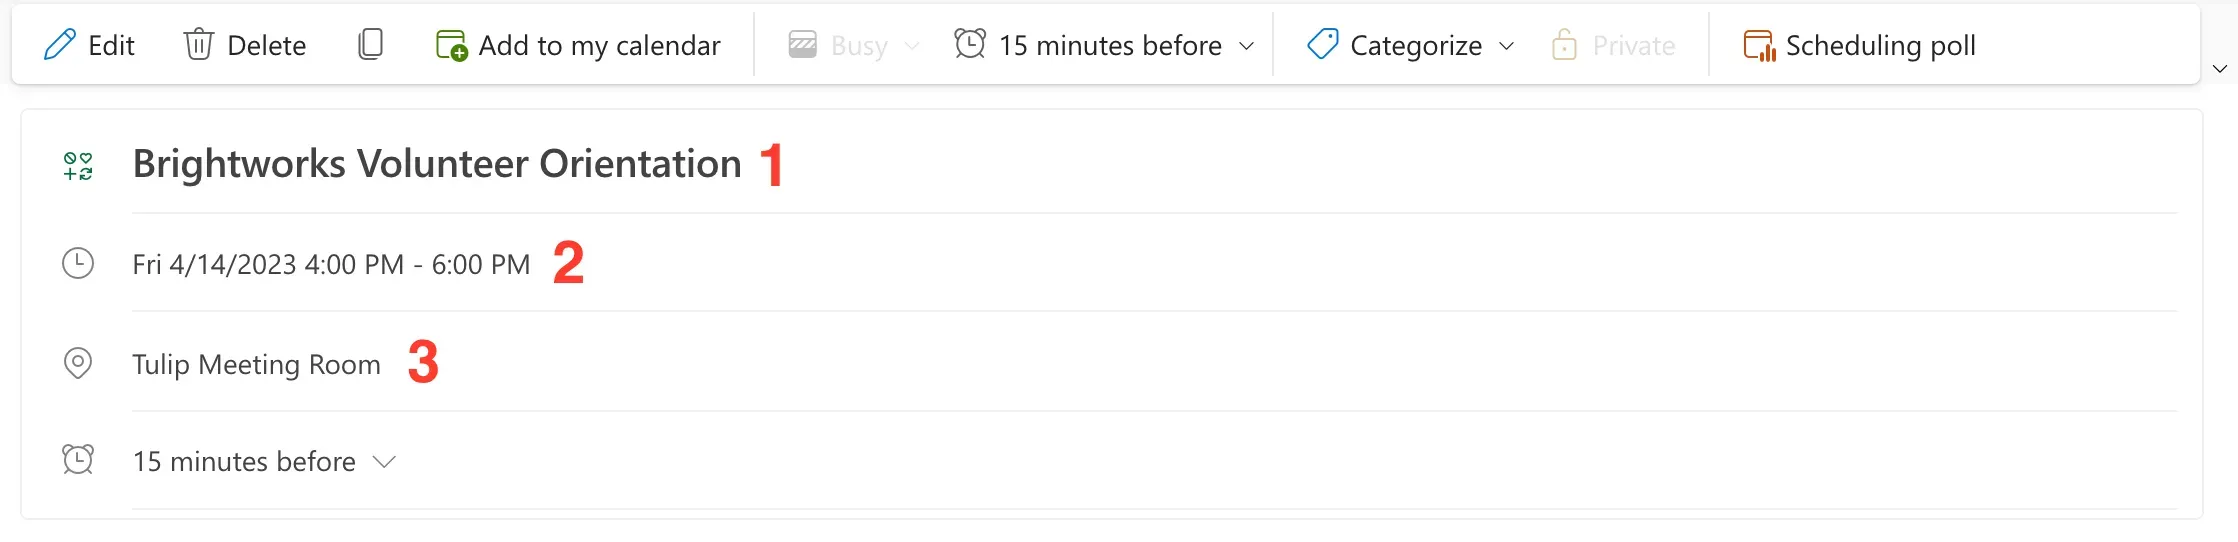
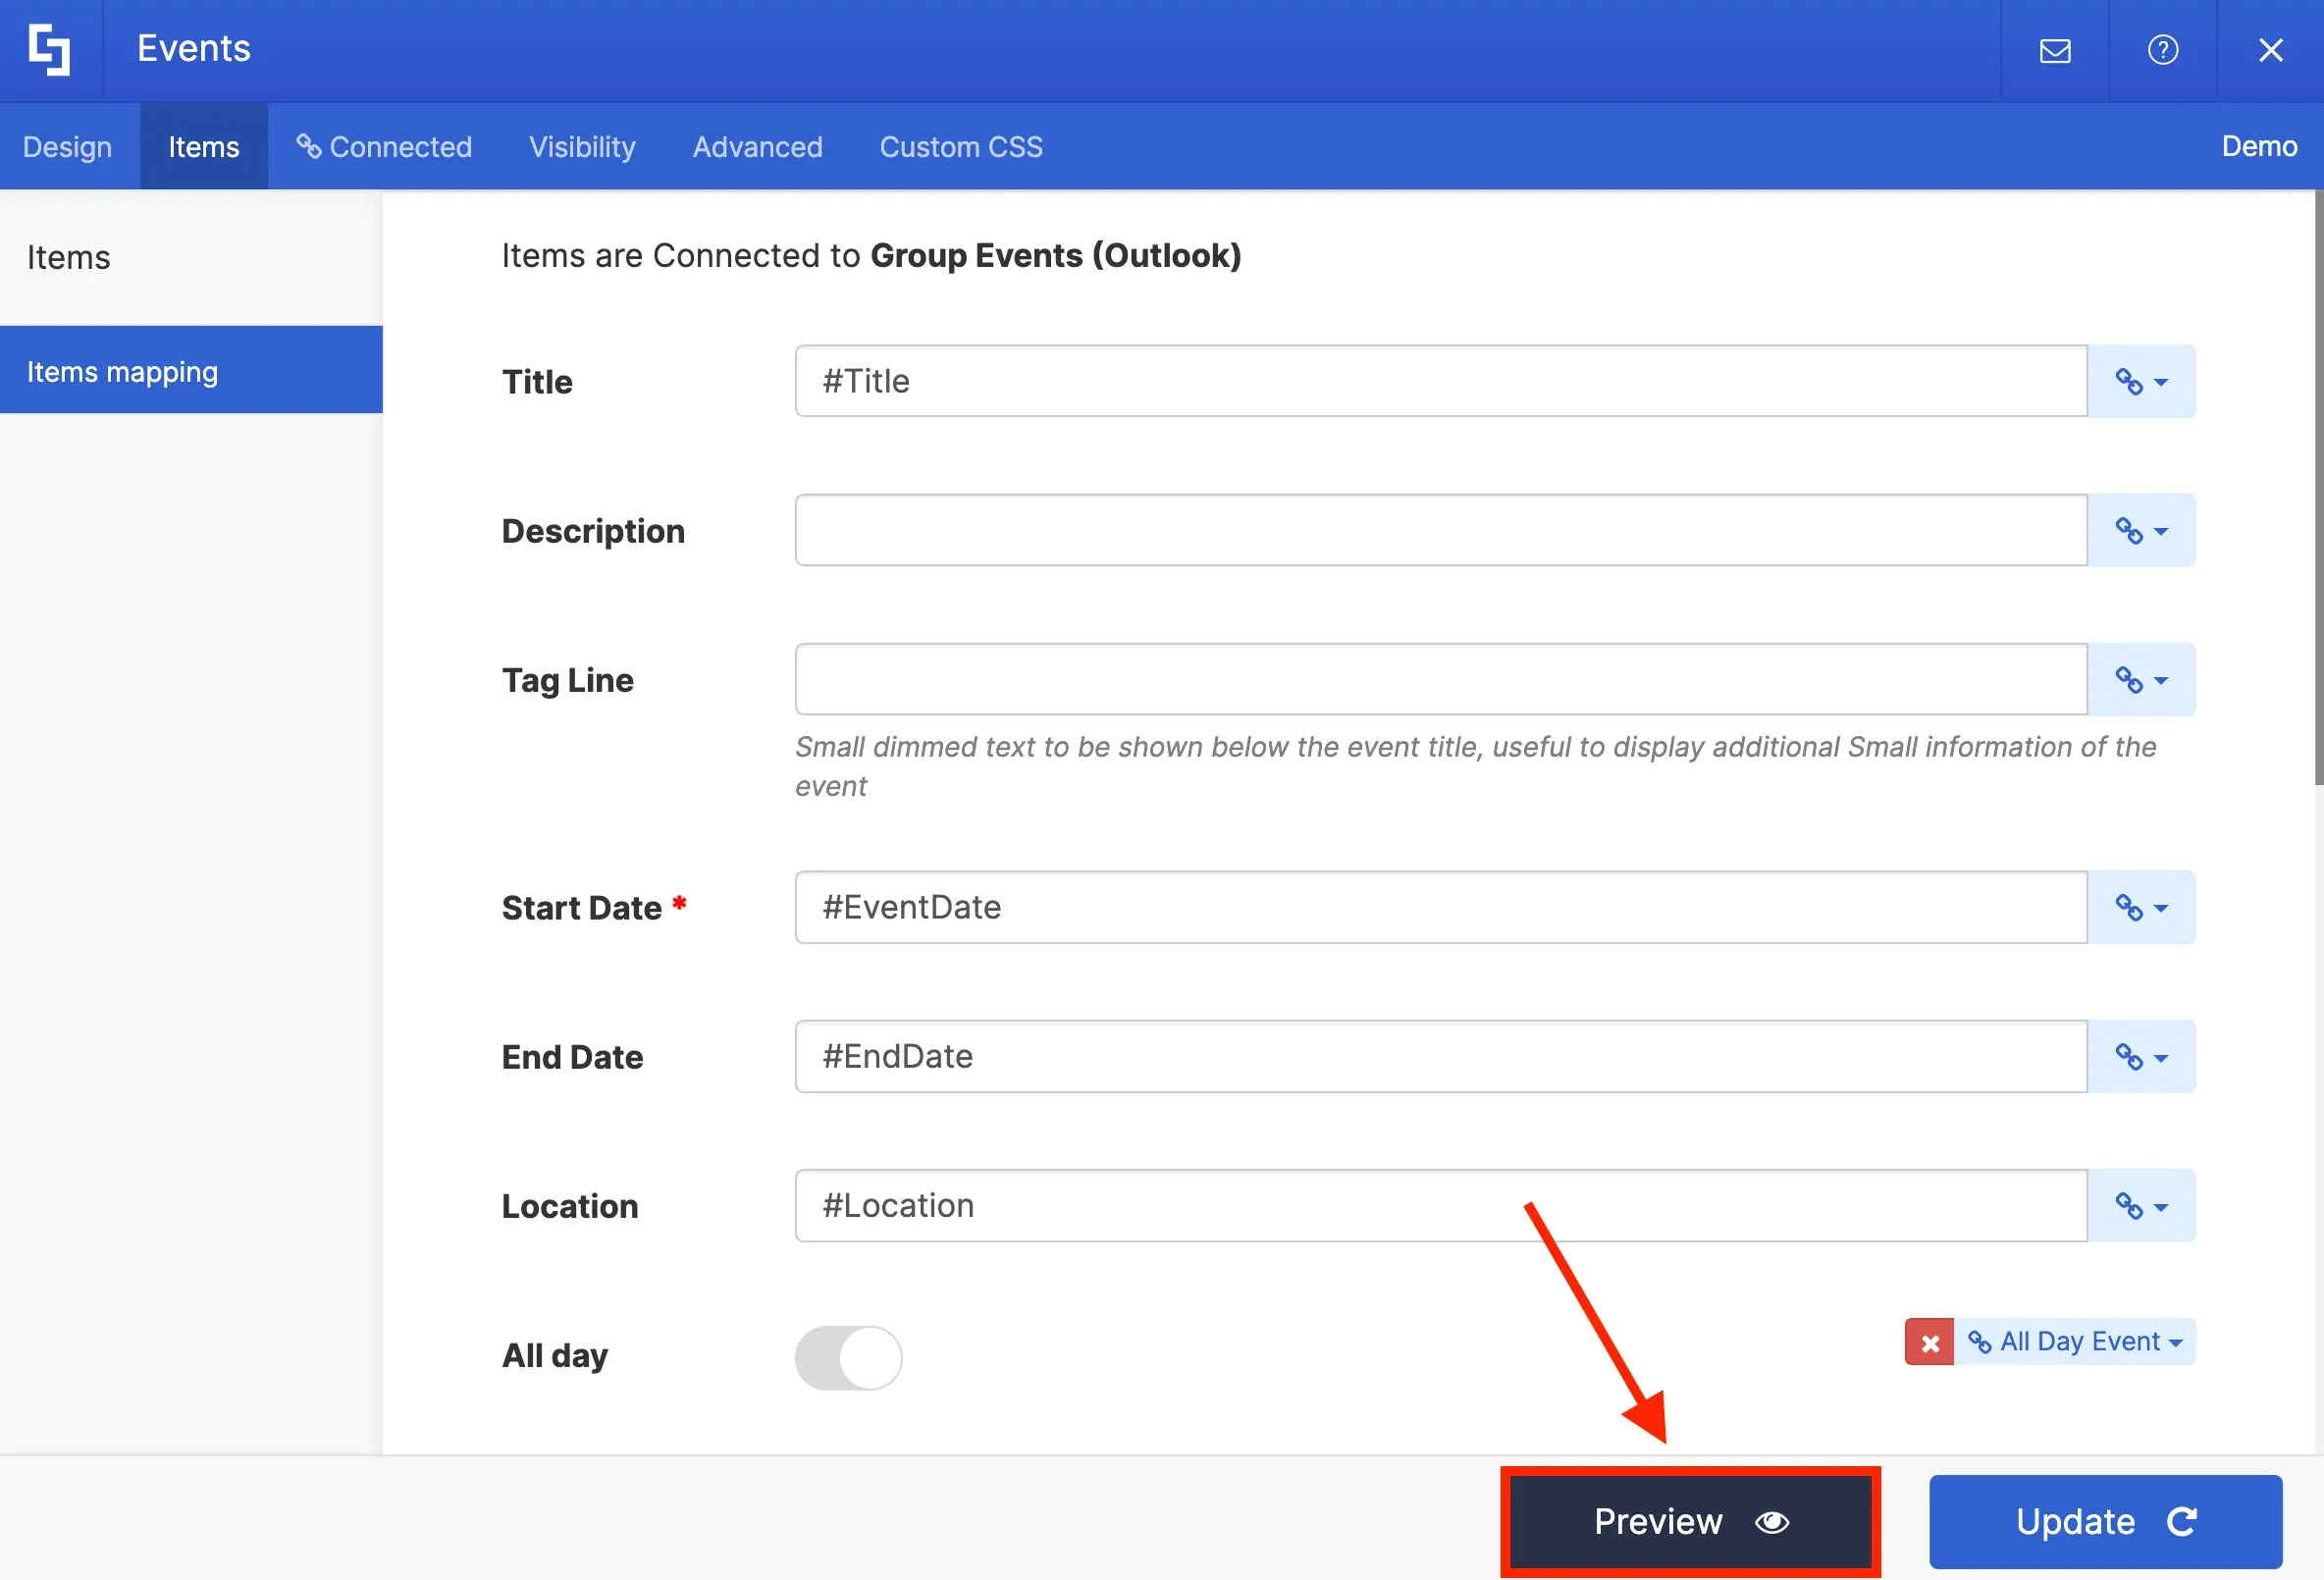
For our project, we want to display the [1] event title, [2] date and time, and [3] location of the events on our calendar.
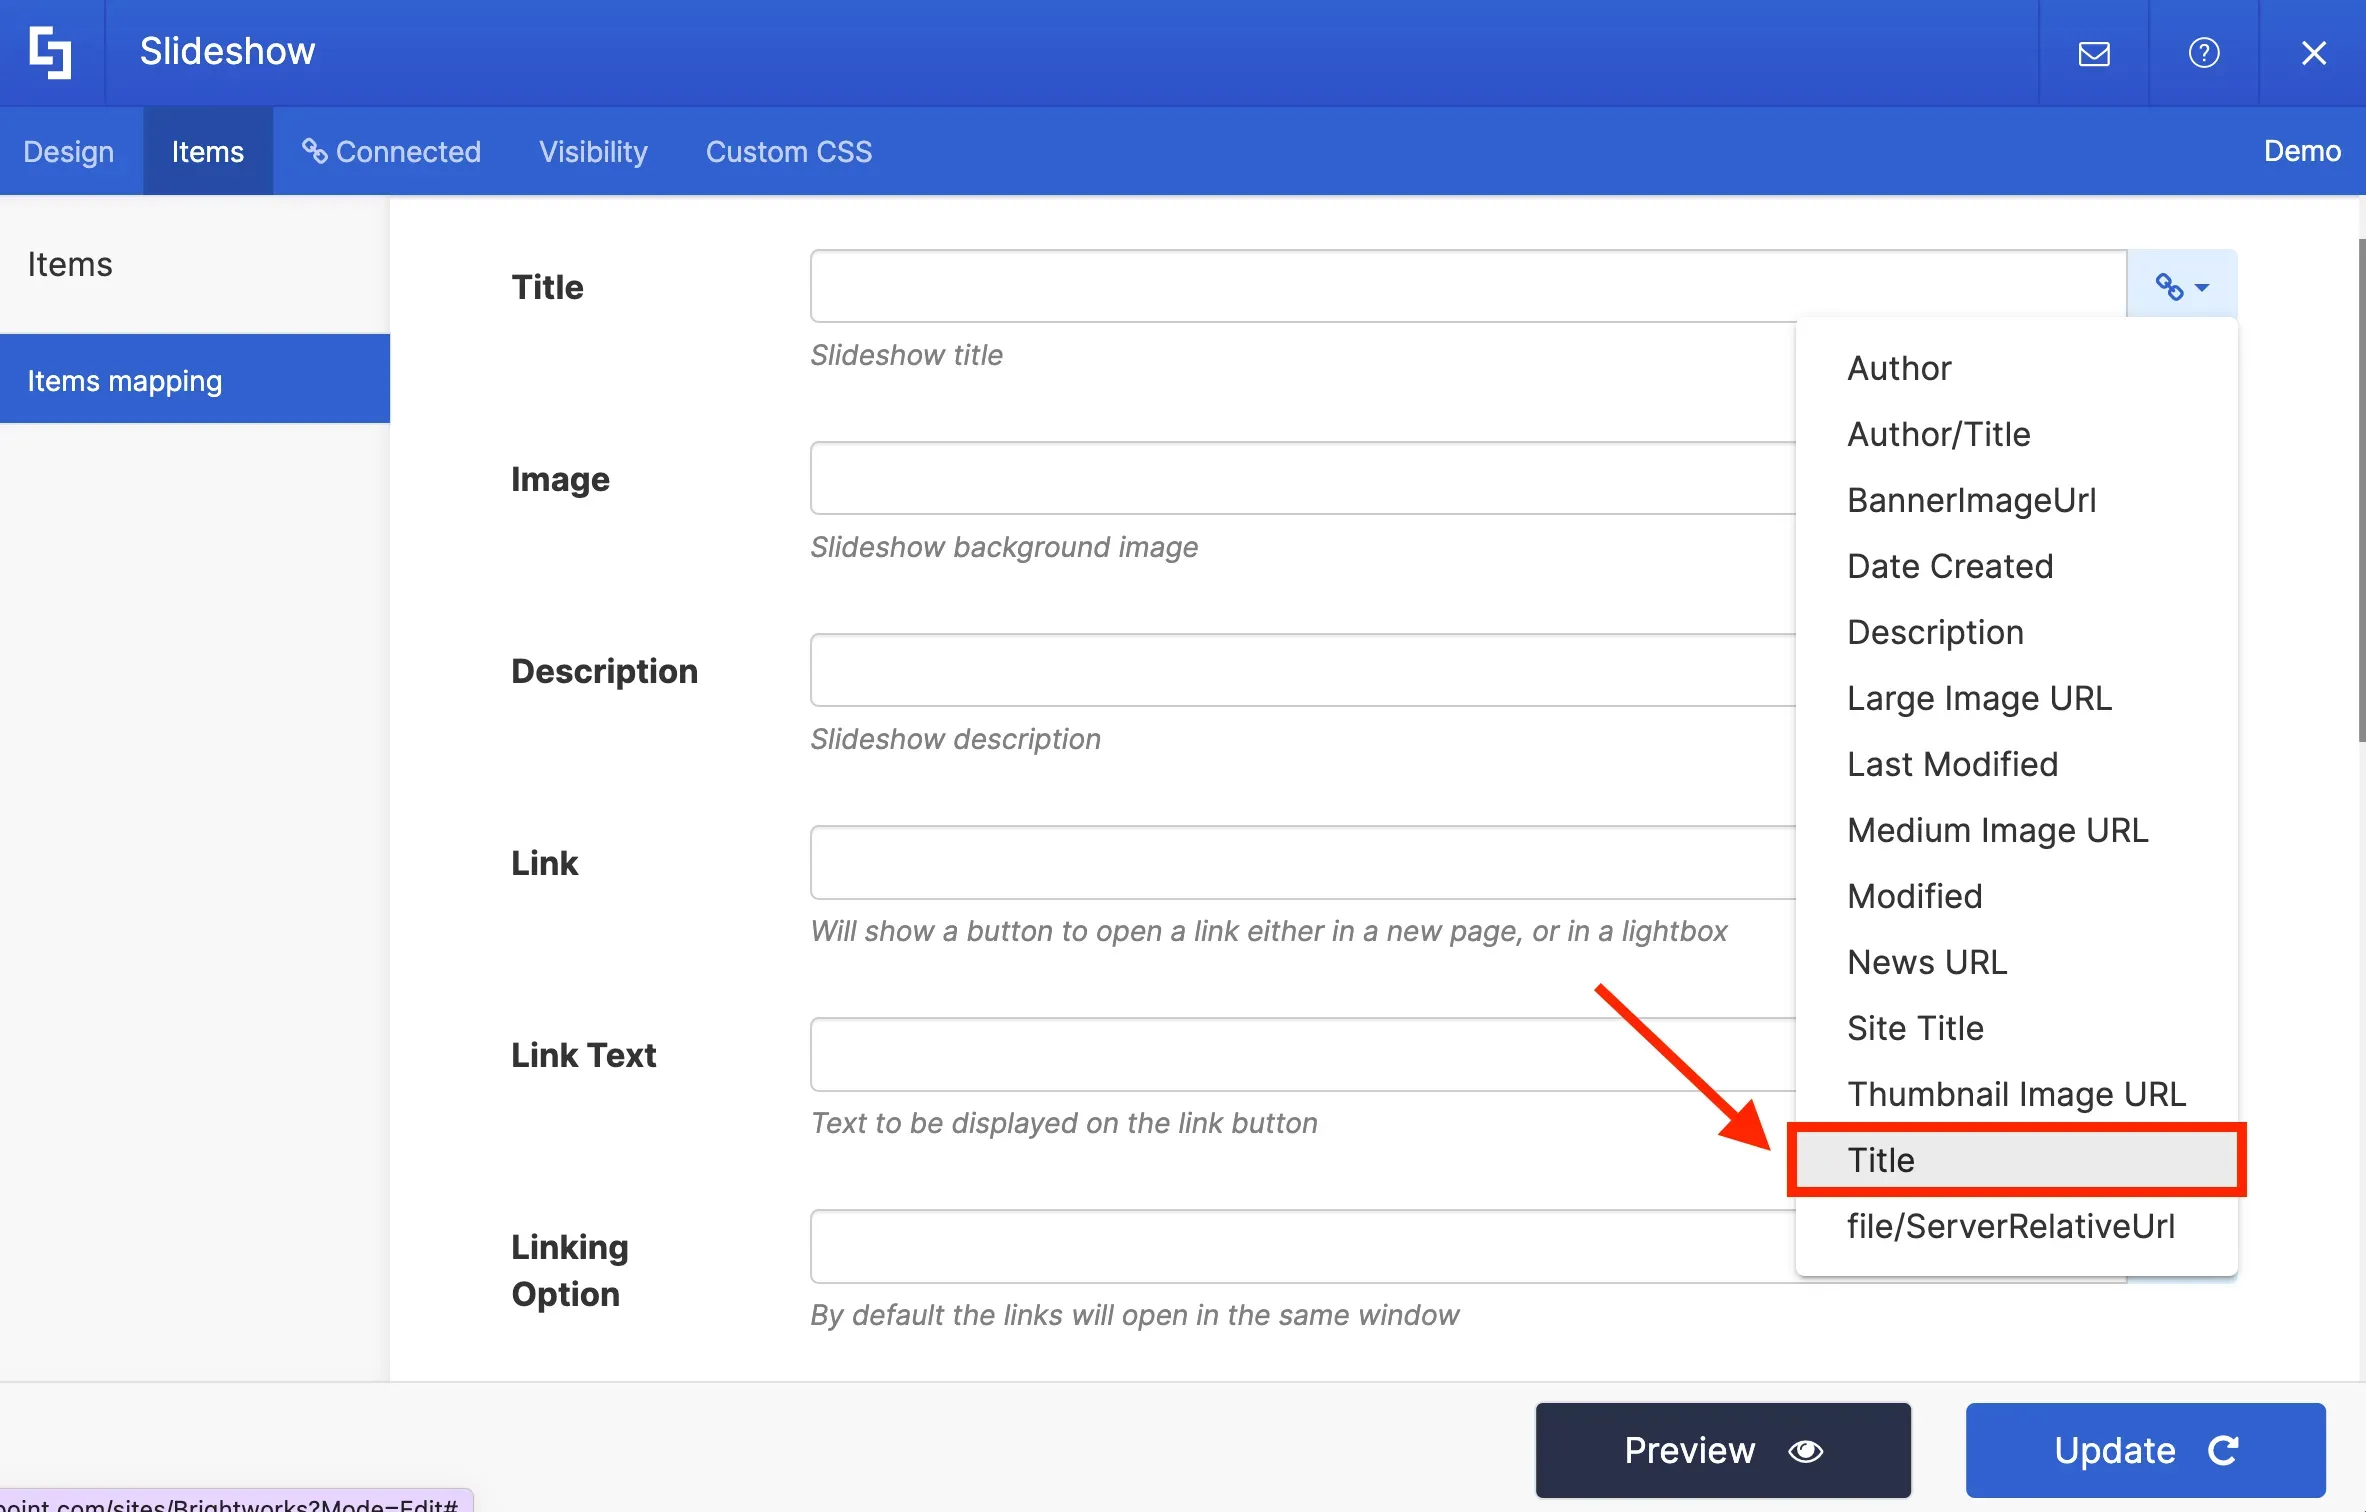
To do this, in the Title field, select the Title property to display all event titles from the Calendar.
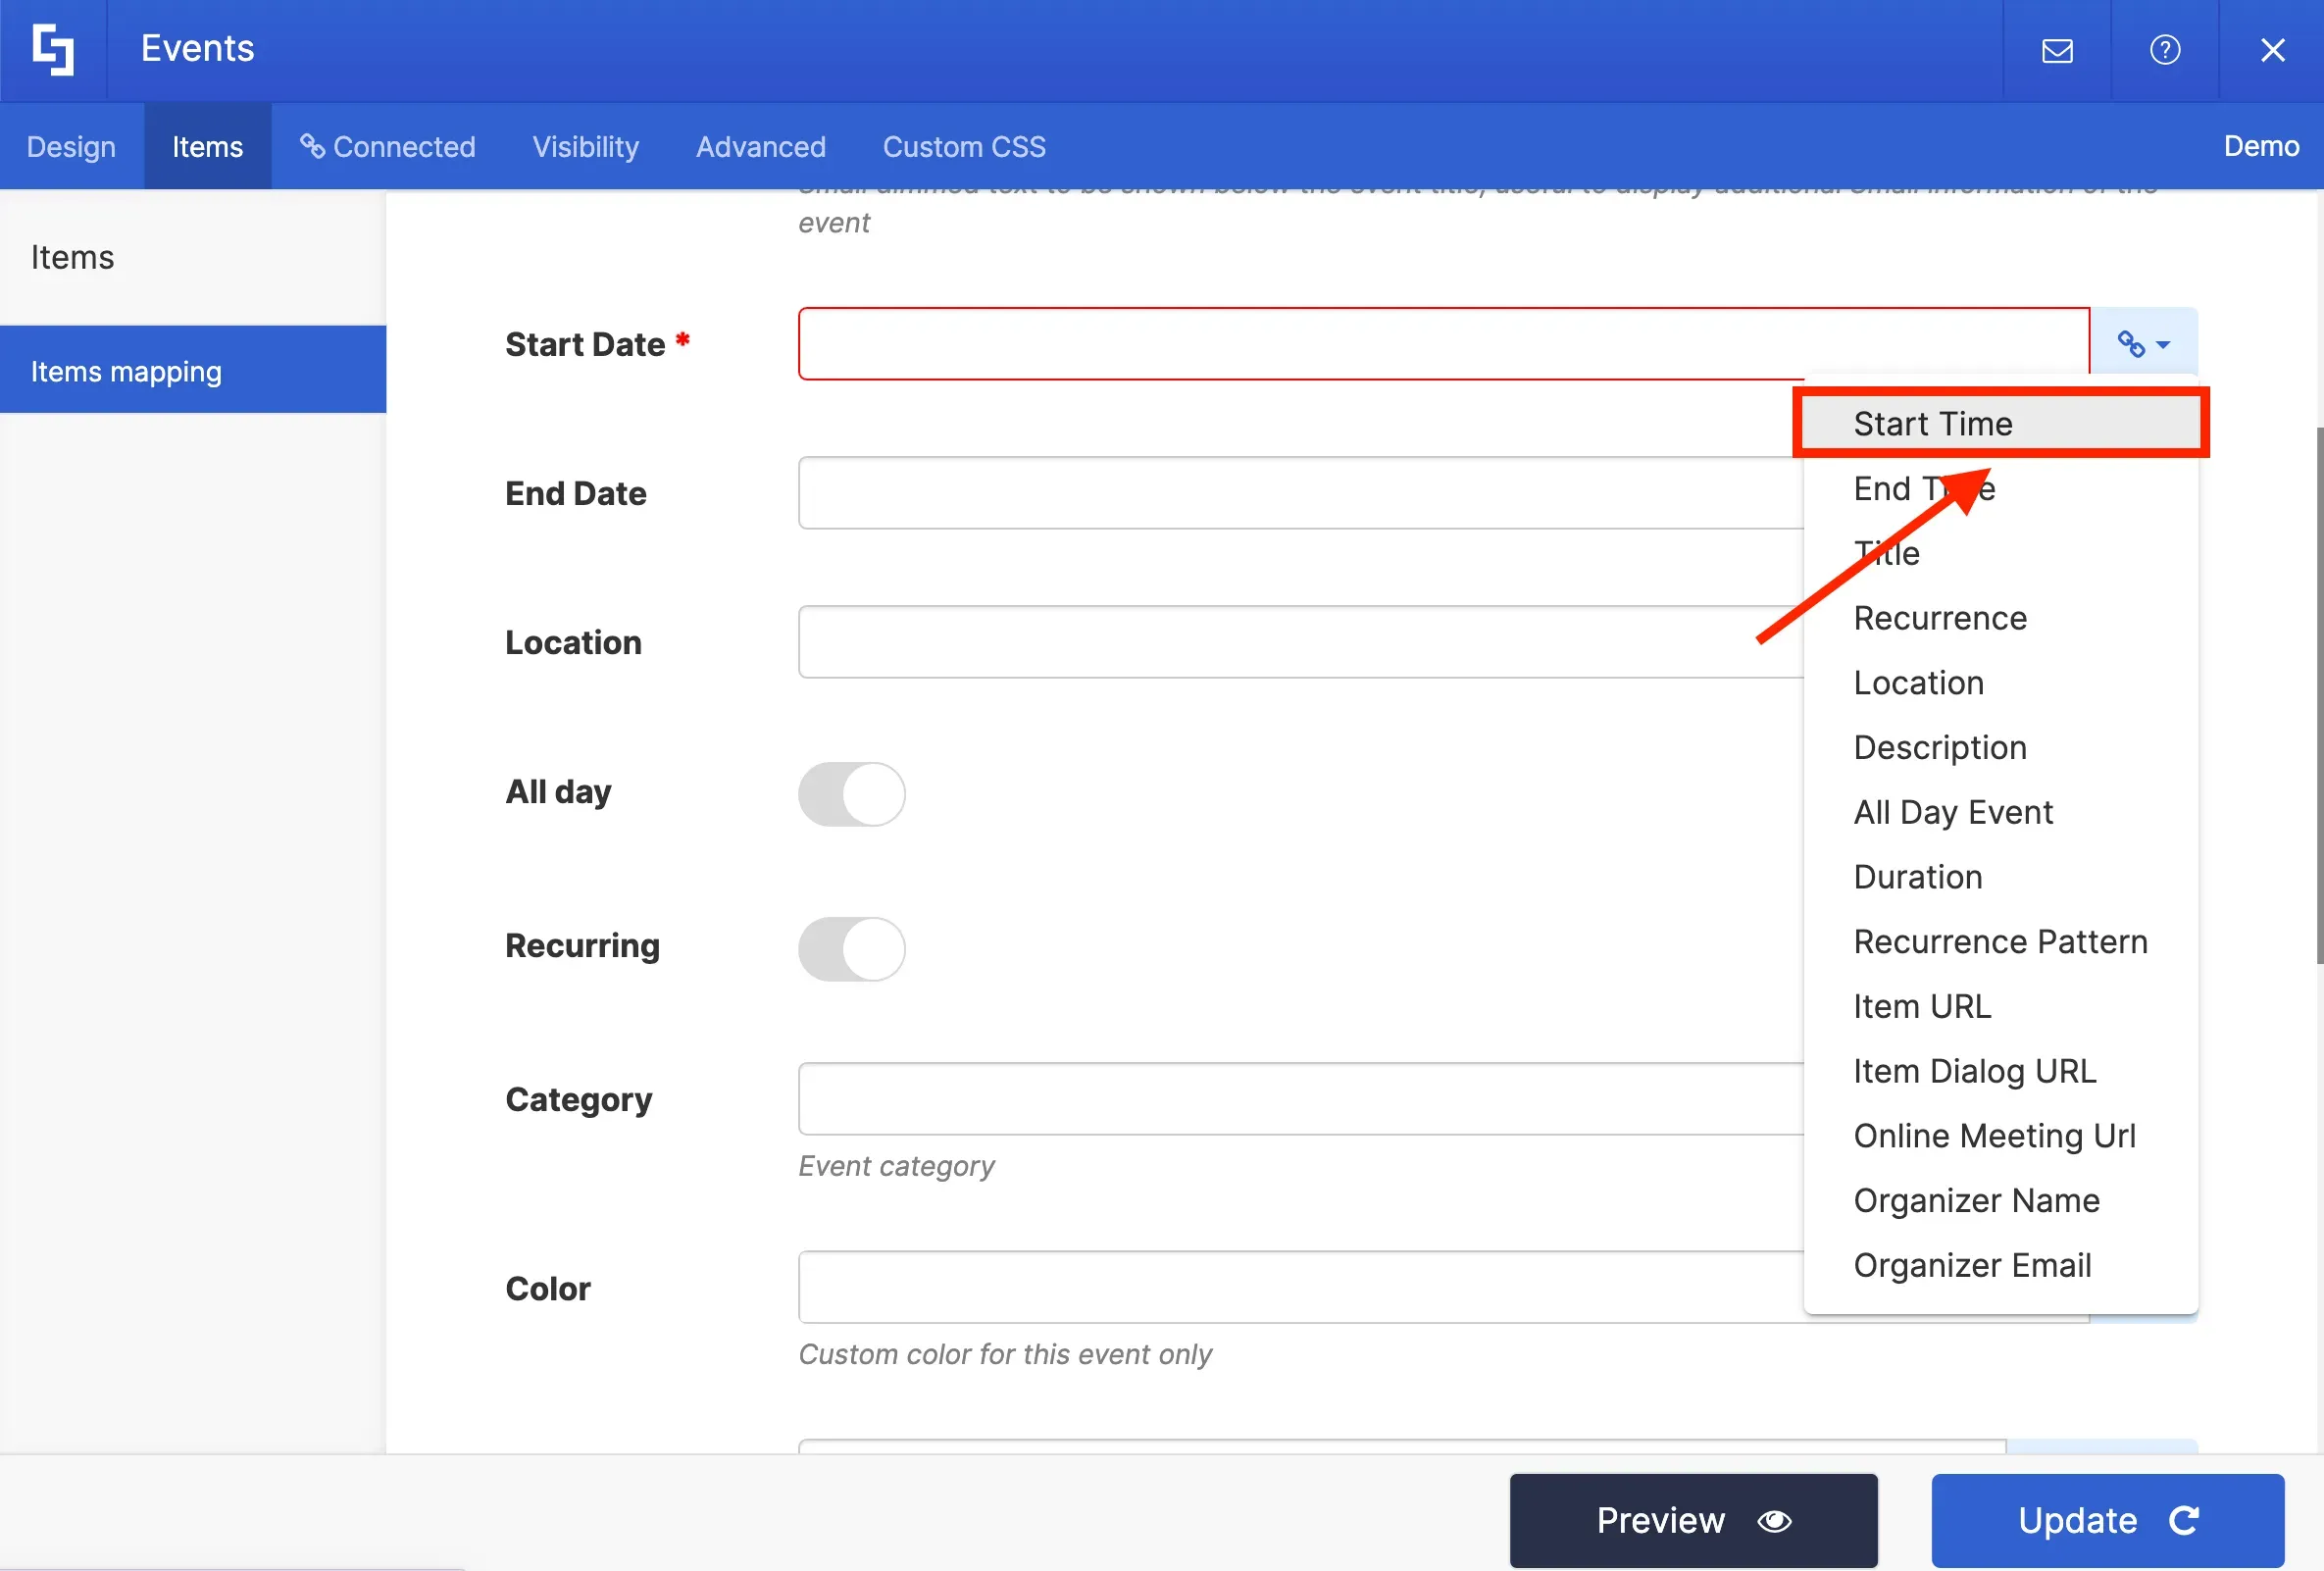
Then, on the Start Date field, select the Start Time property to showcase the starting time of events on your calendar.
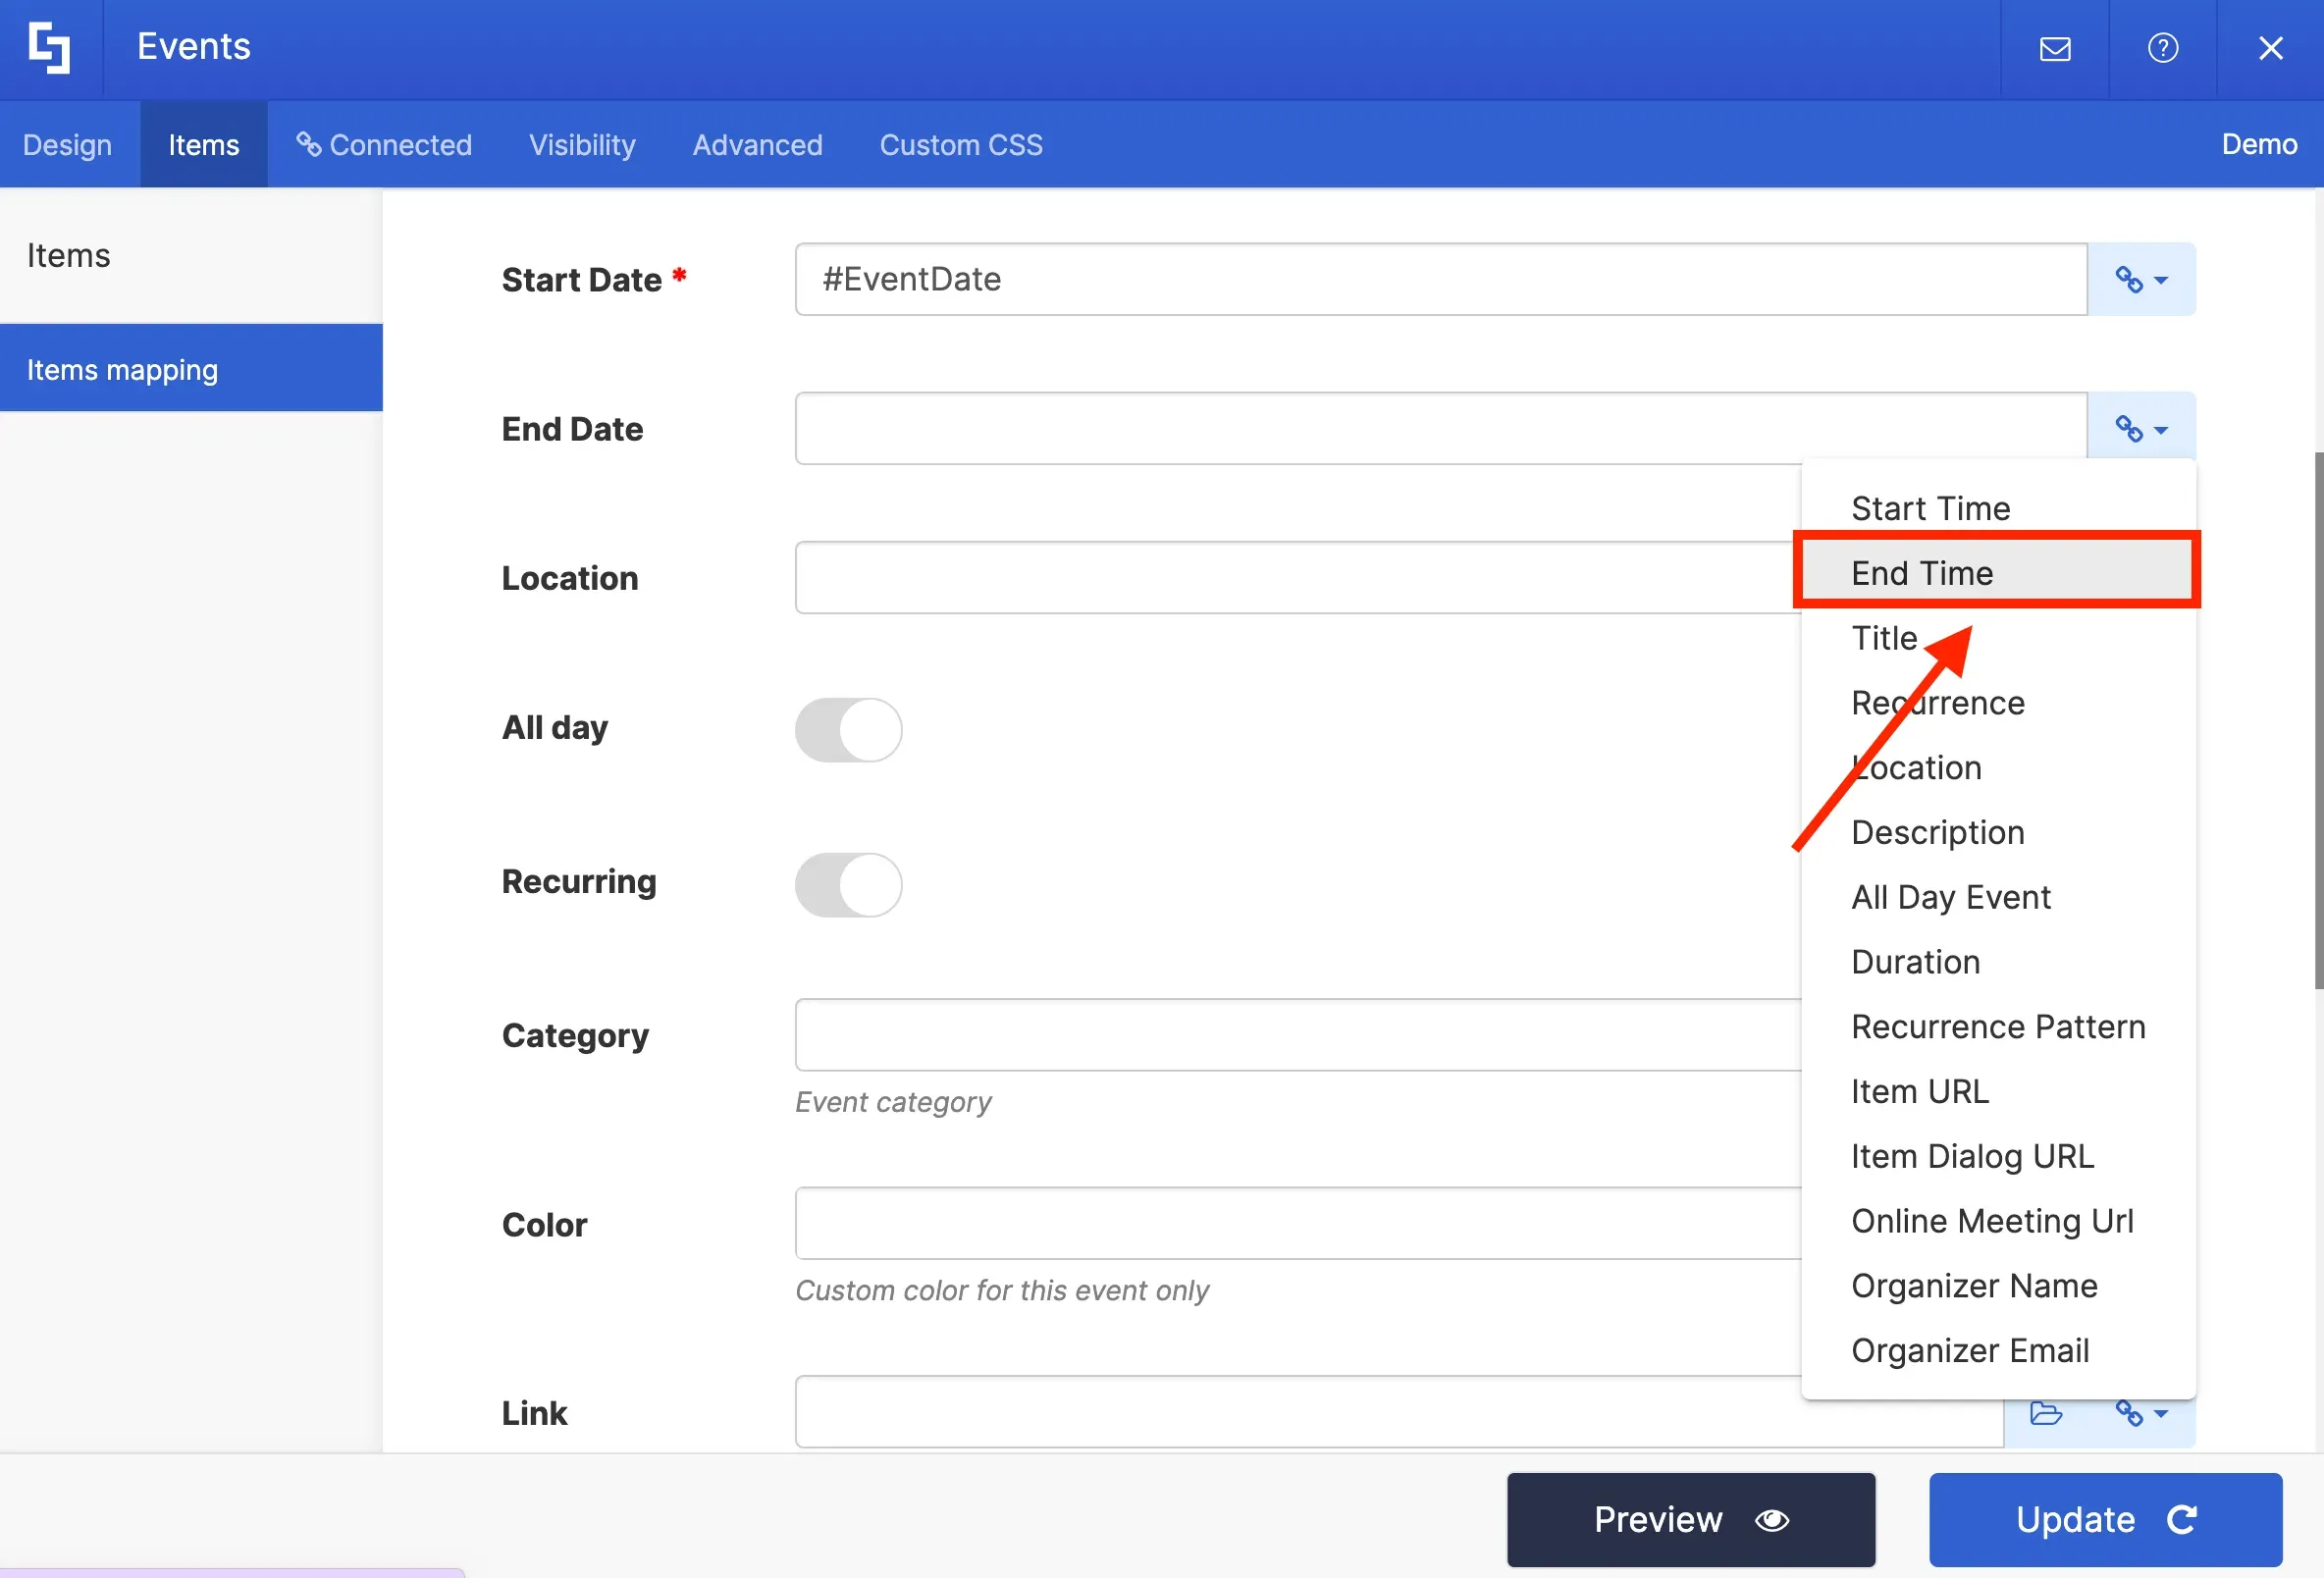
Next, on the End Date field, select the End Time property to showcase the ending time of events on your calendar.
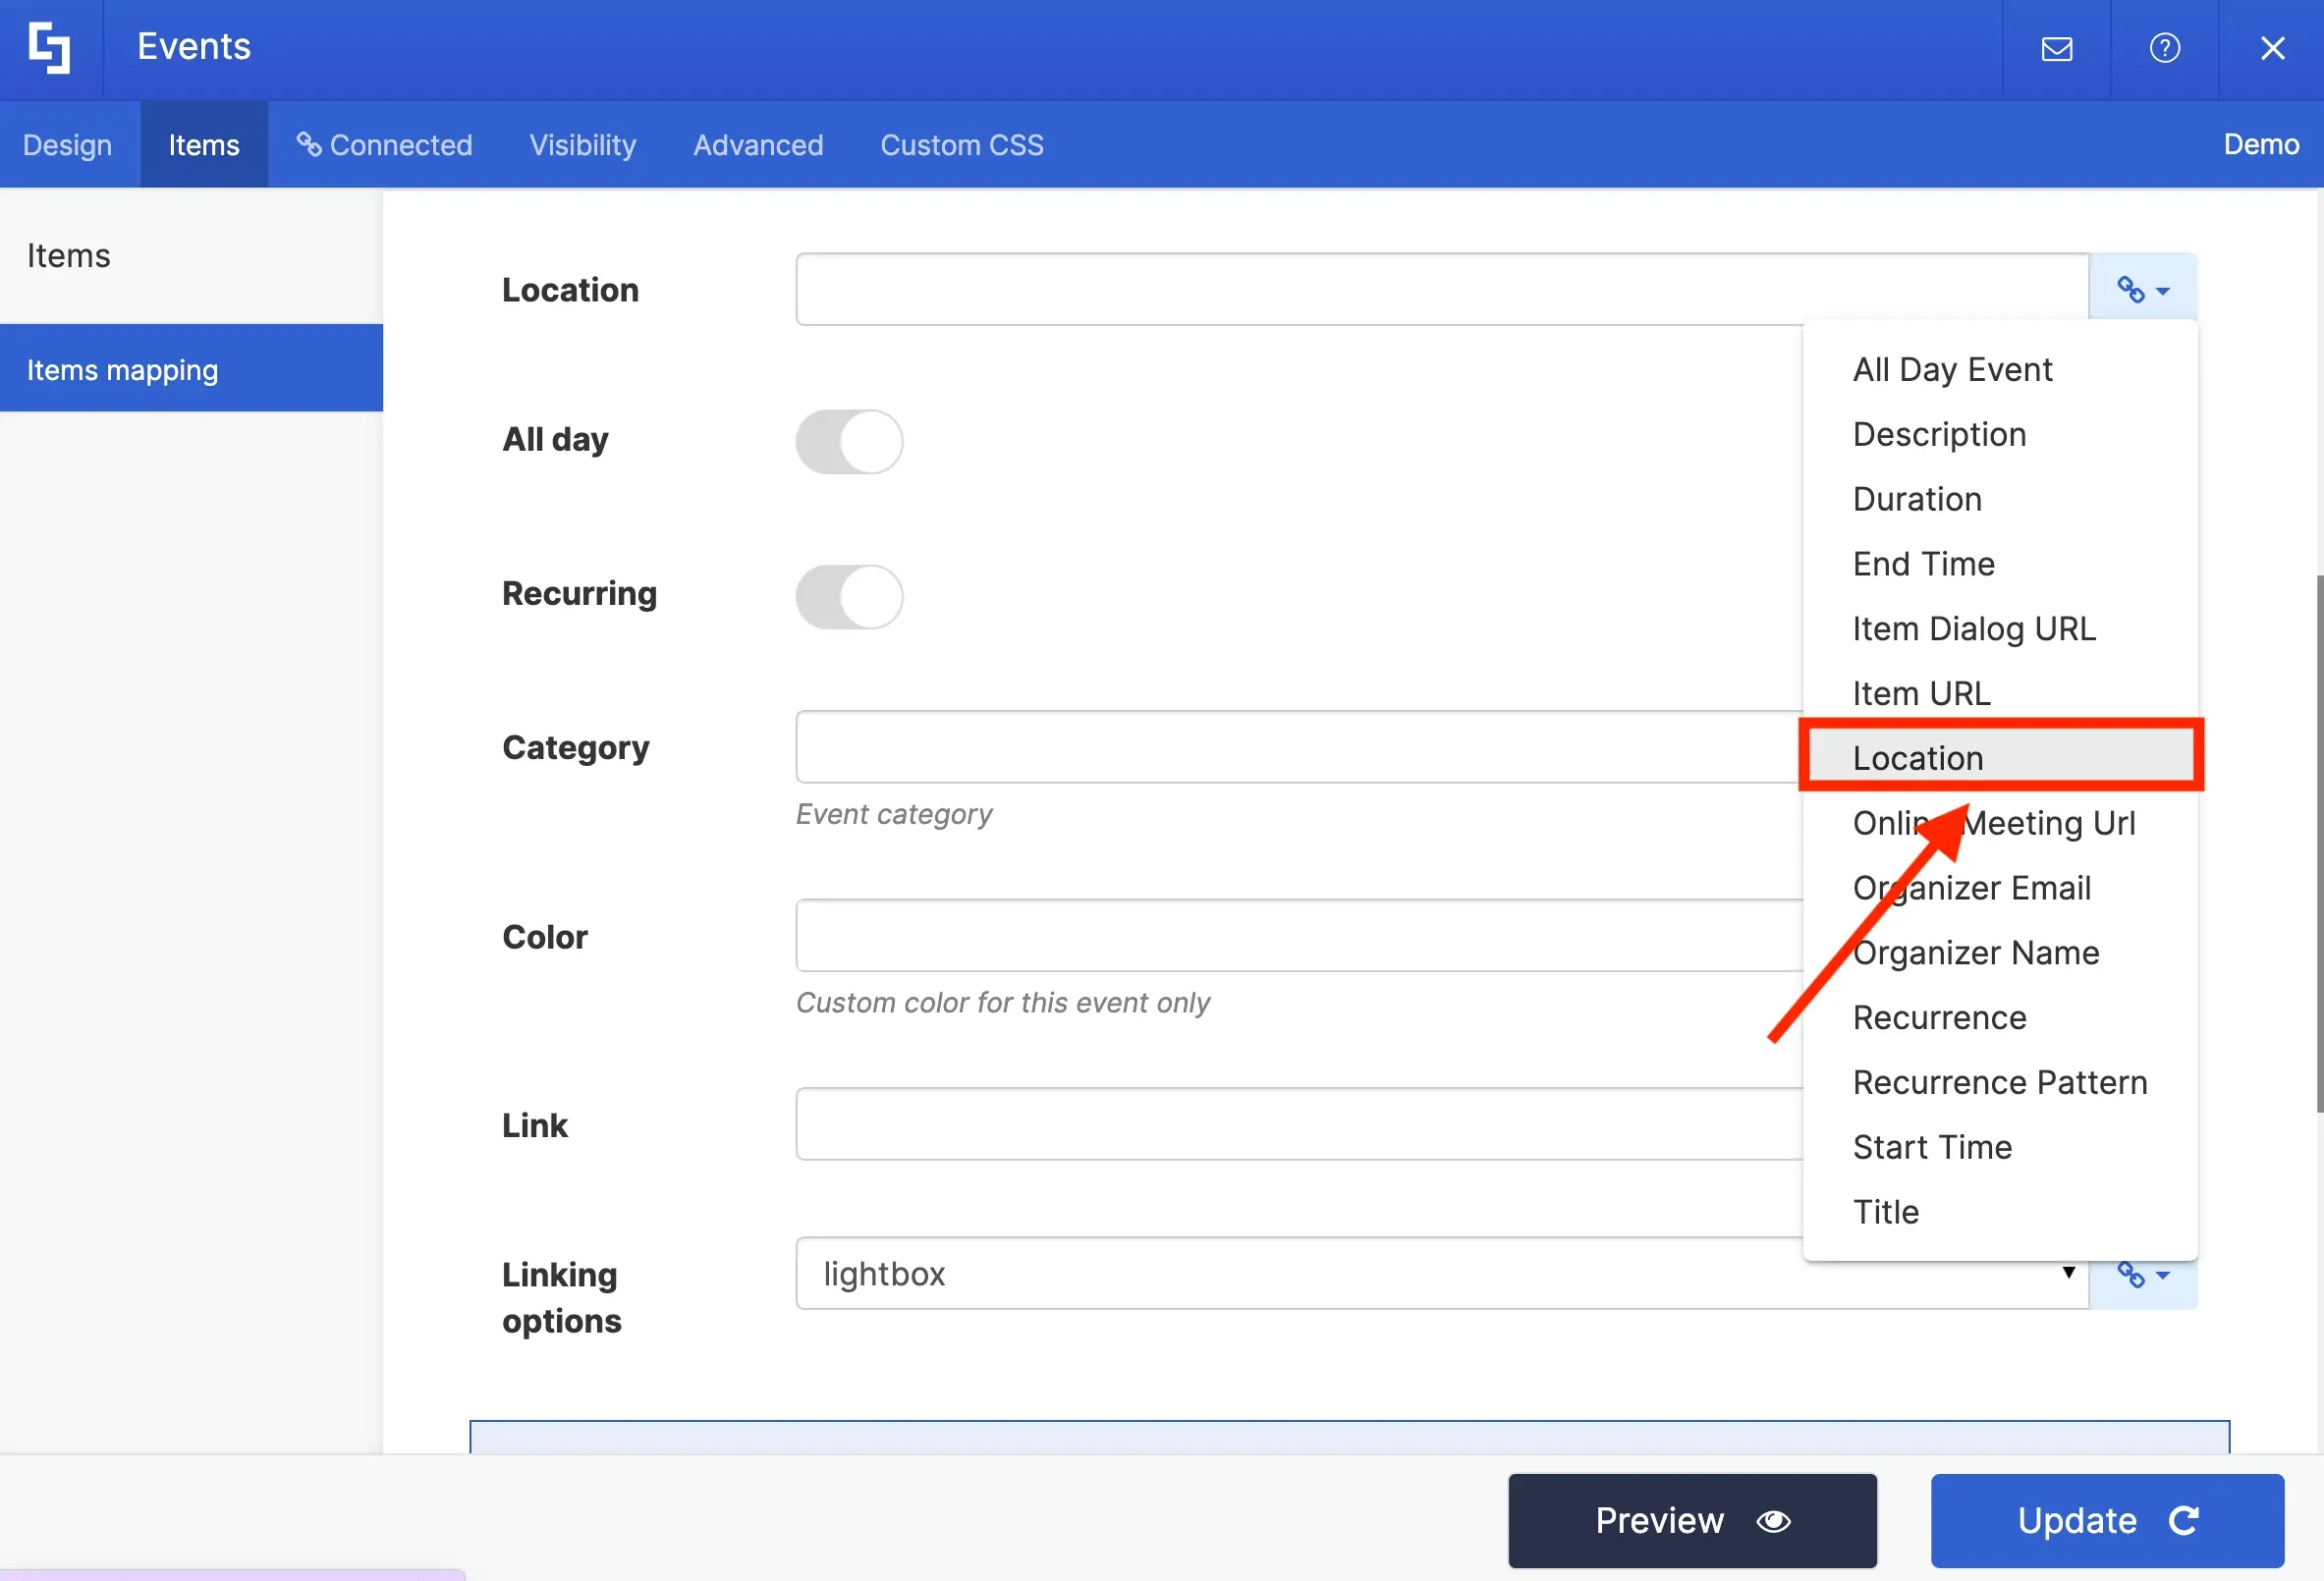
To showcase the location of your events, select the Location property on the location field.
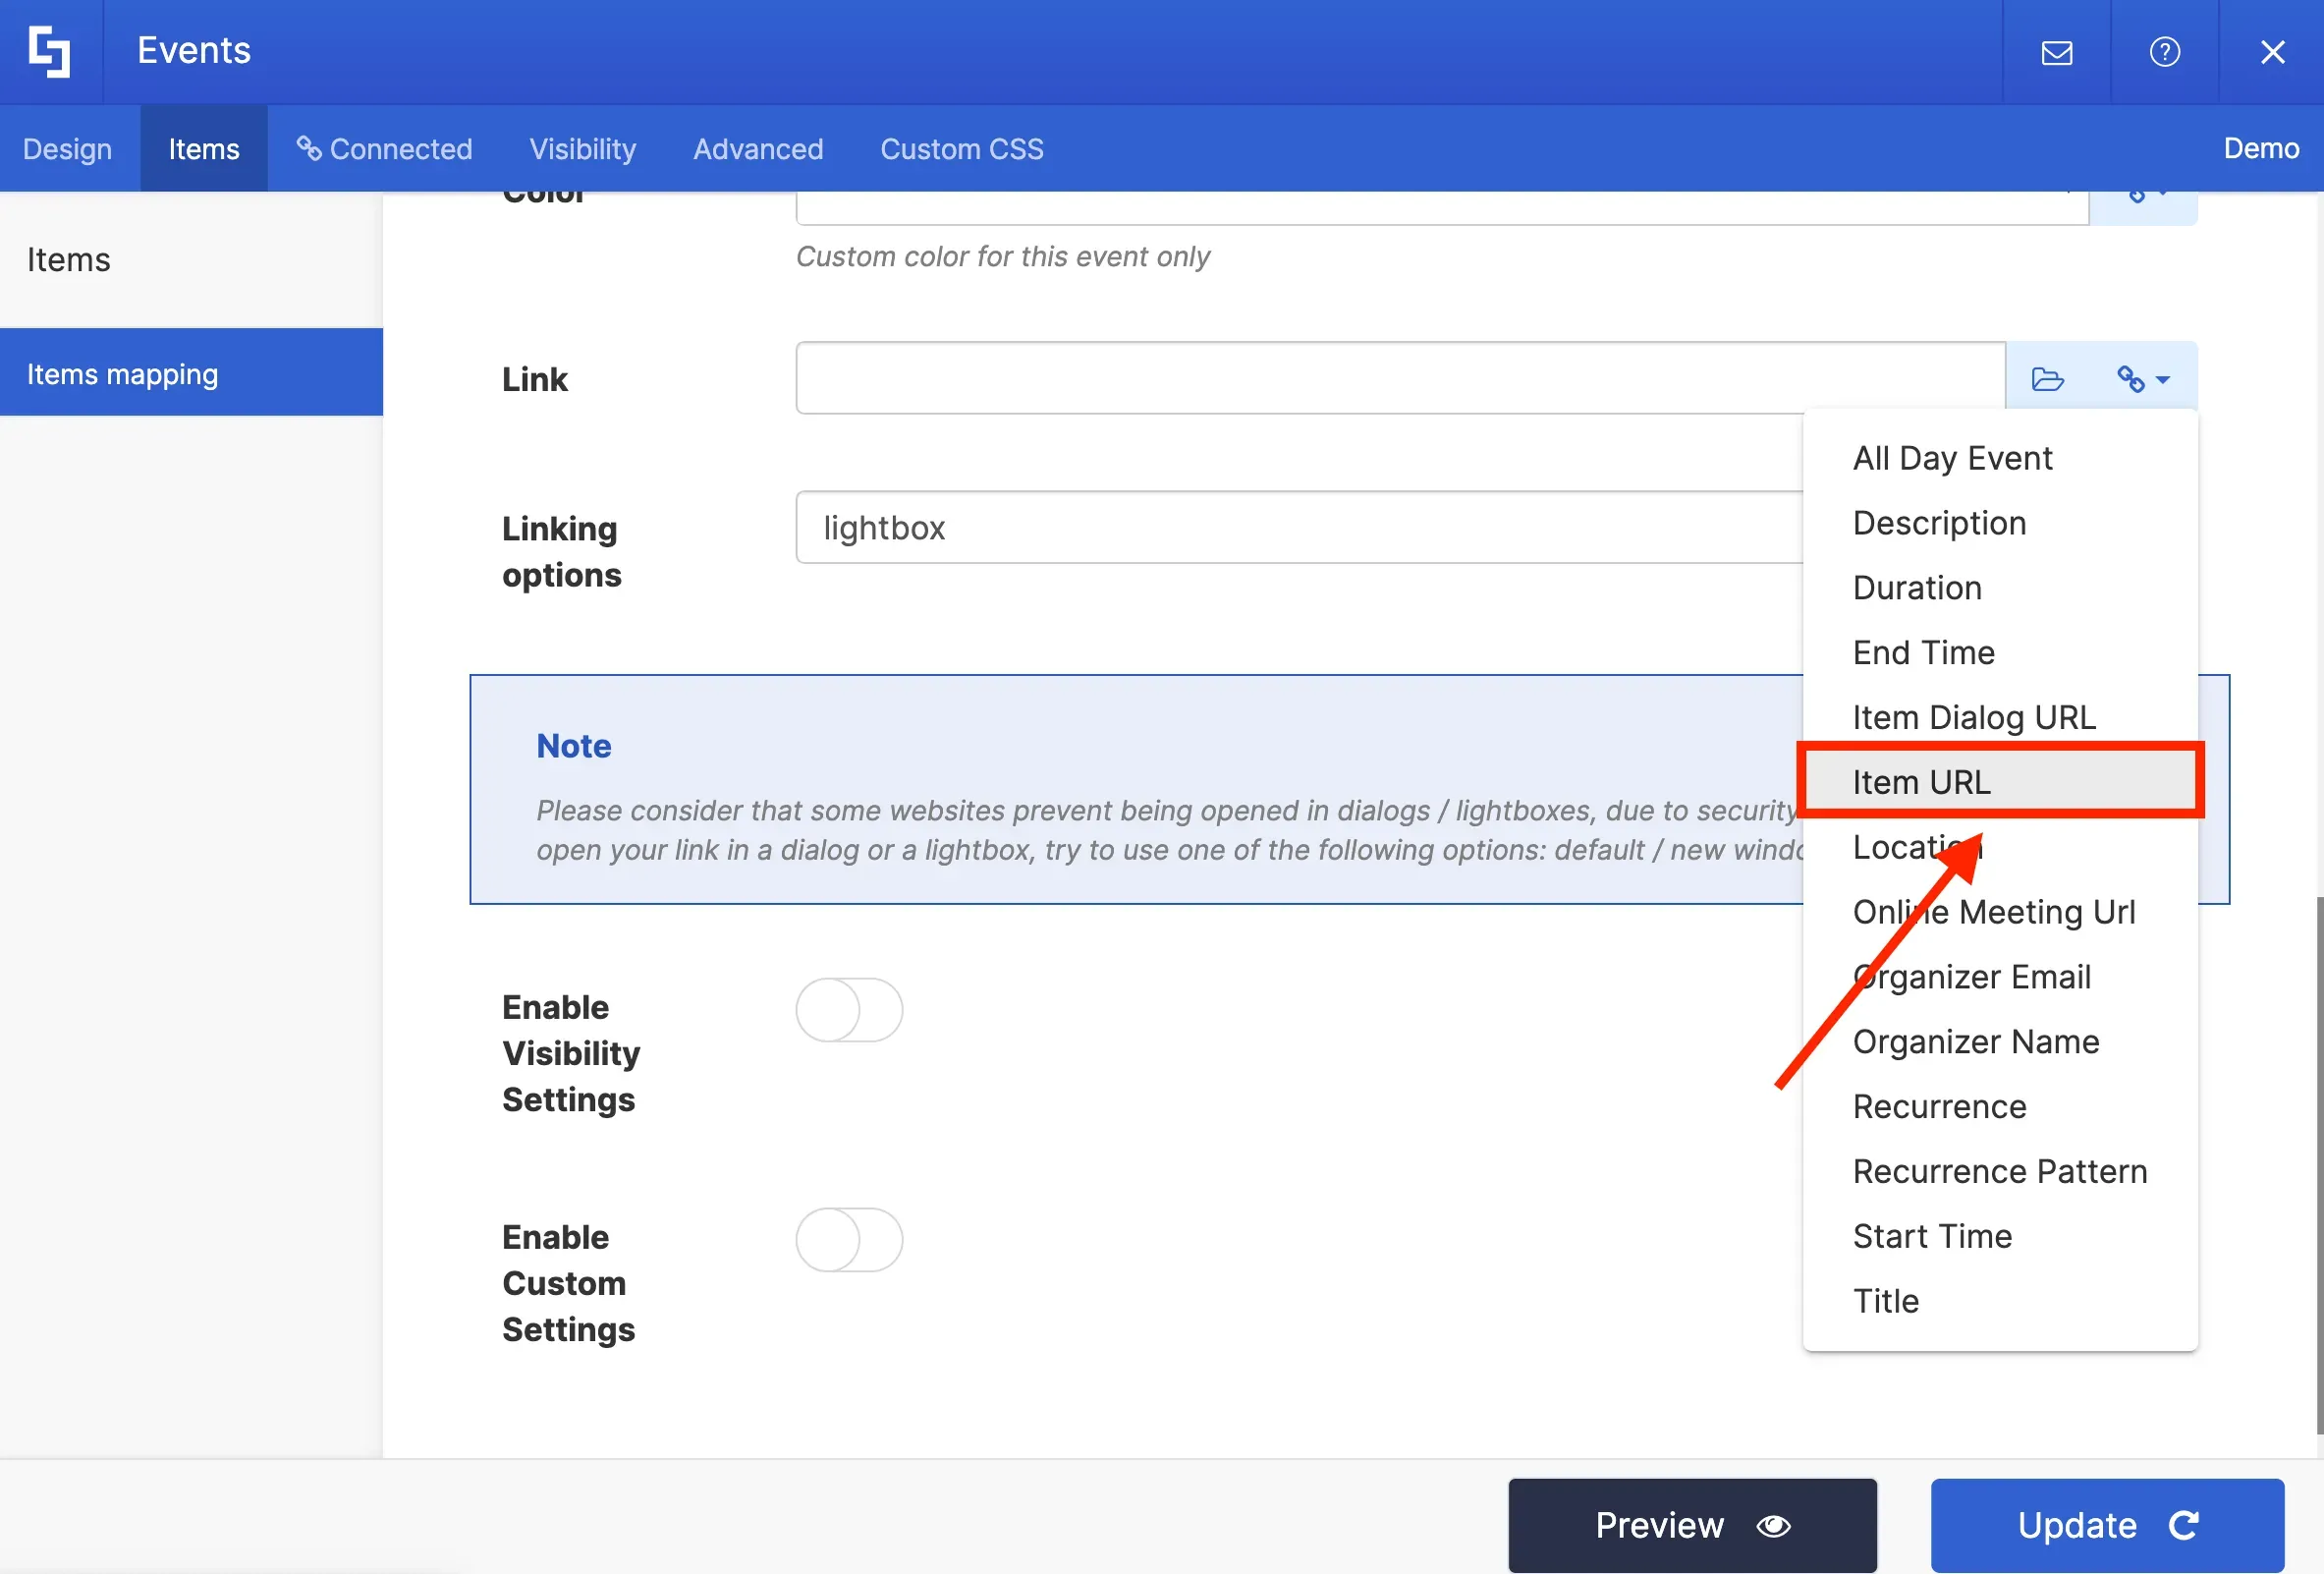
You can also add a link to your events in the Link field using the Item URL property.
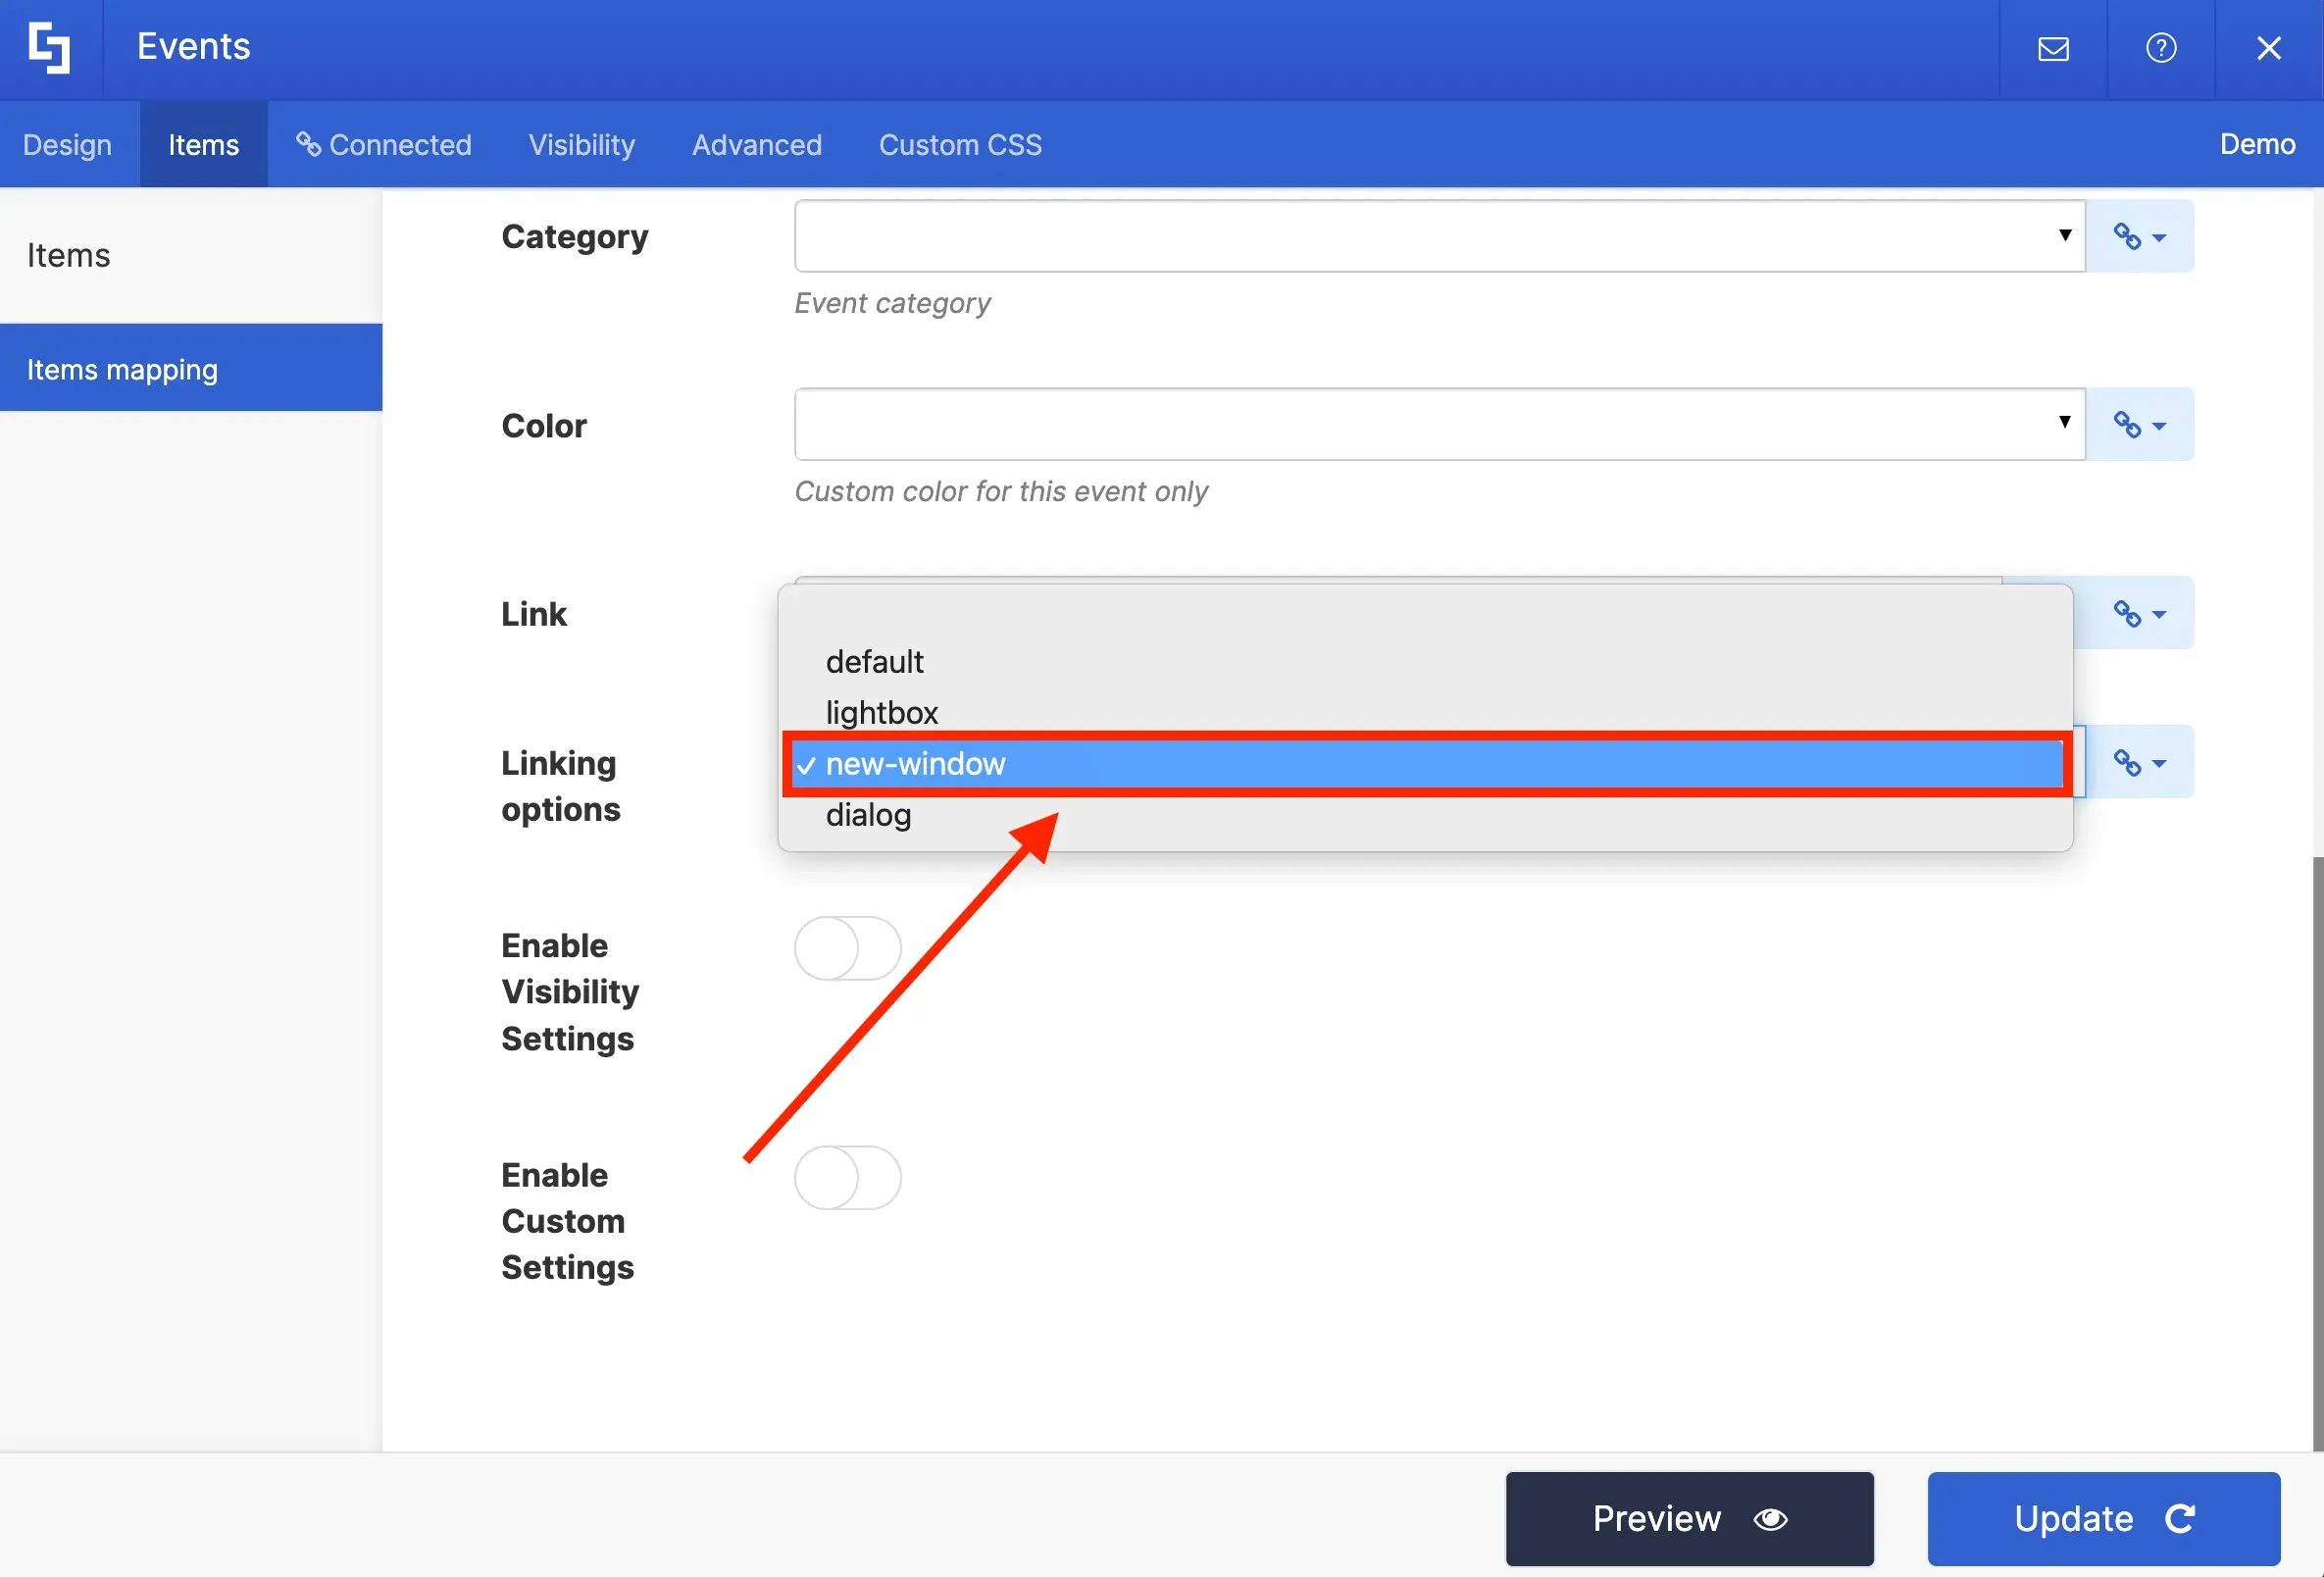
Finally, in the Linking Option field, you can choose how your link will open:
For this project, we want to open the link in a new window.
Once you have selected the desired properties, you can Preview how your content will look.
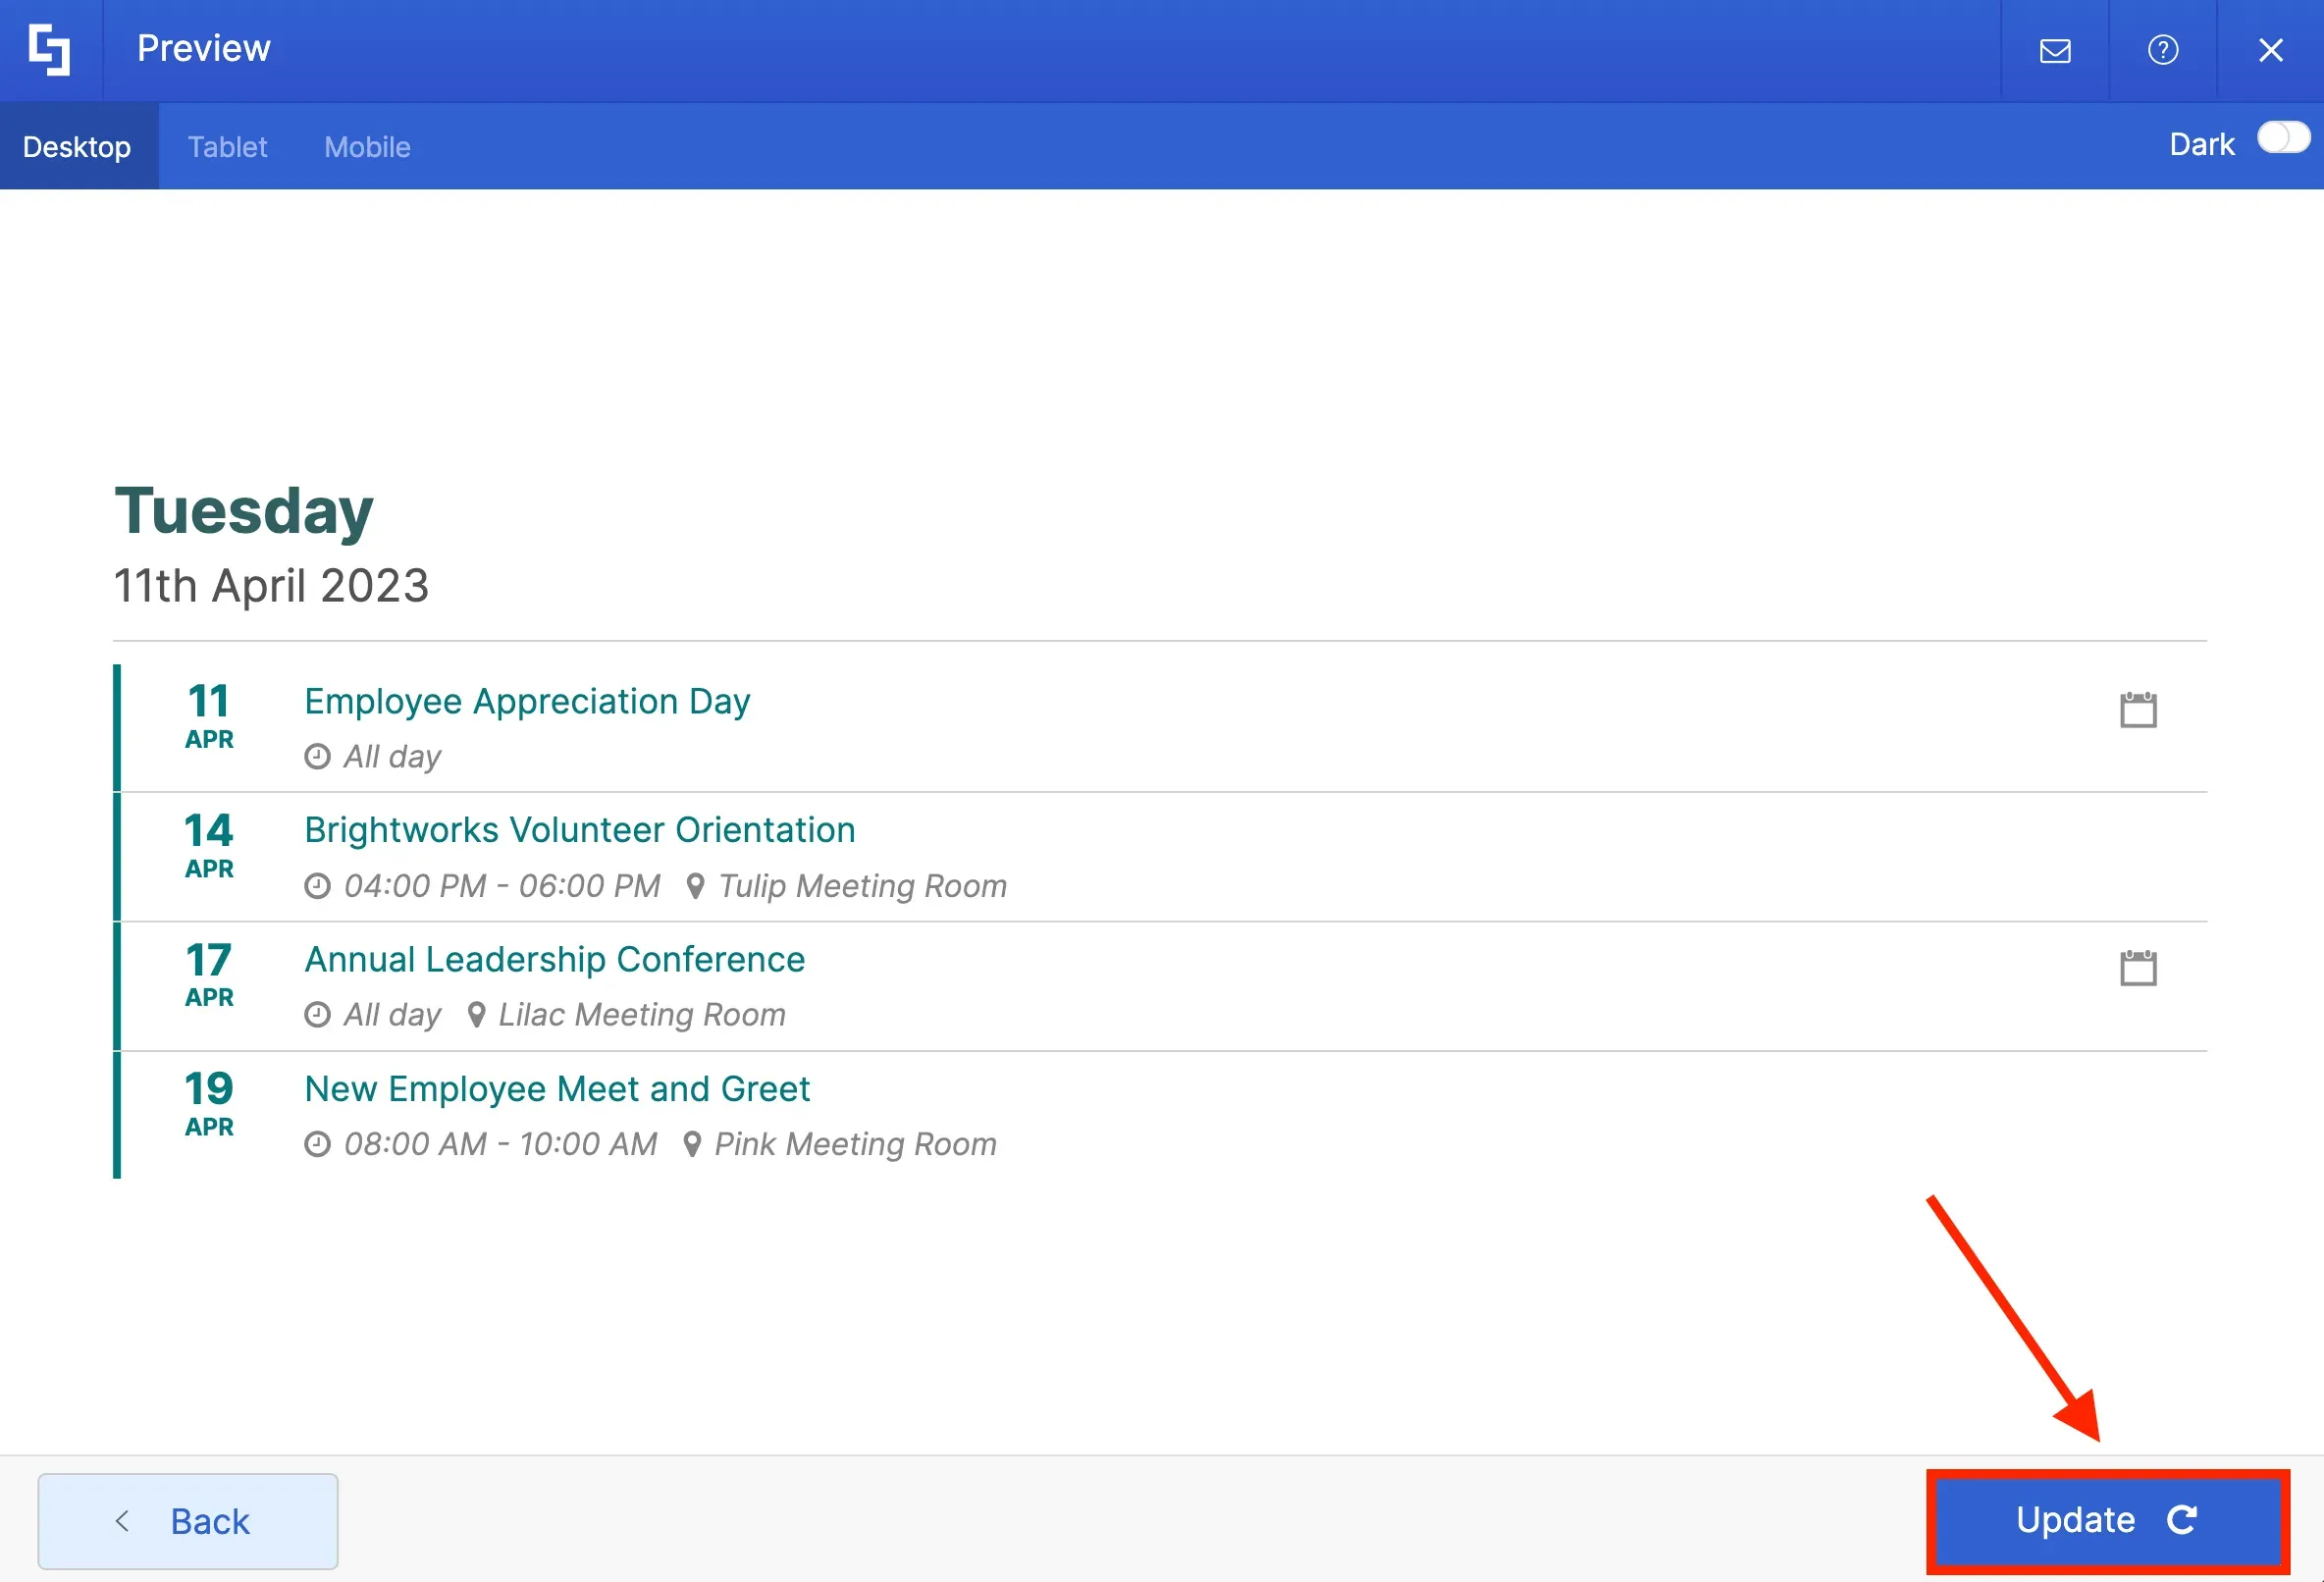
Then, click Update to apply the changes.
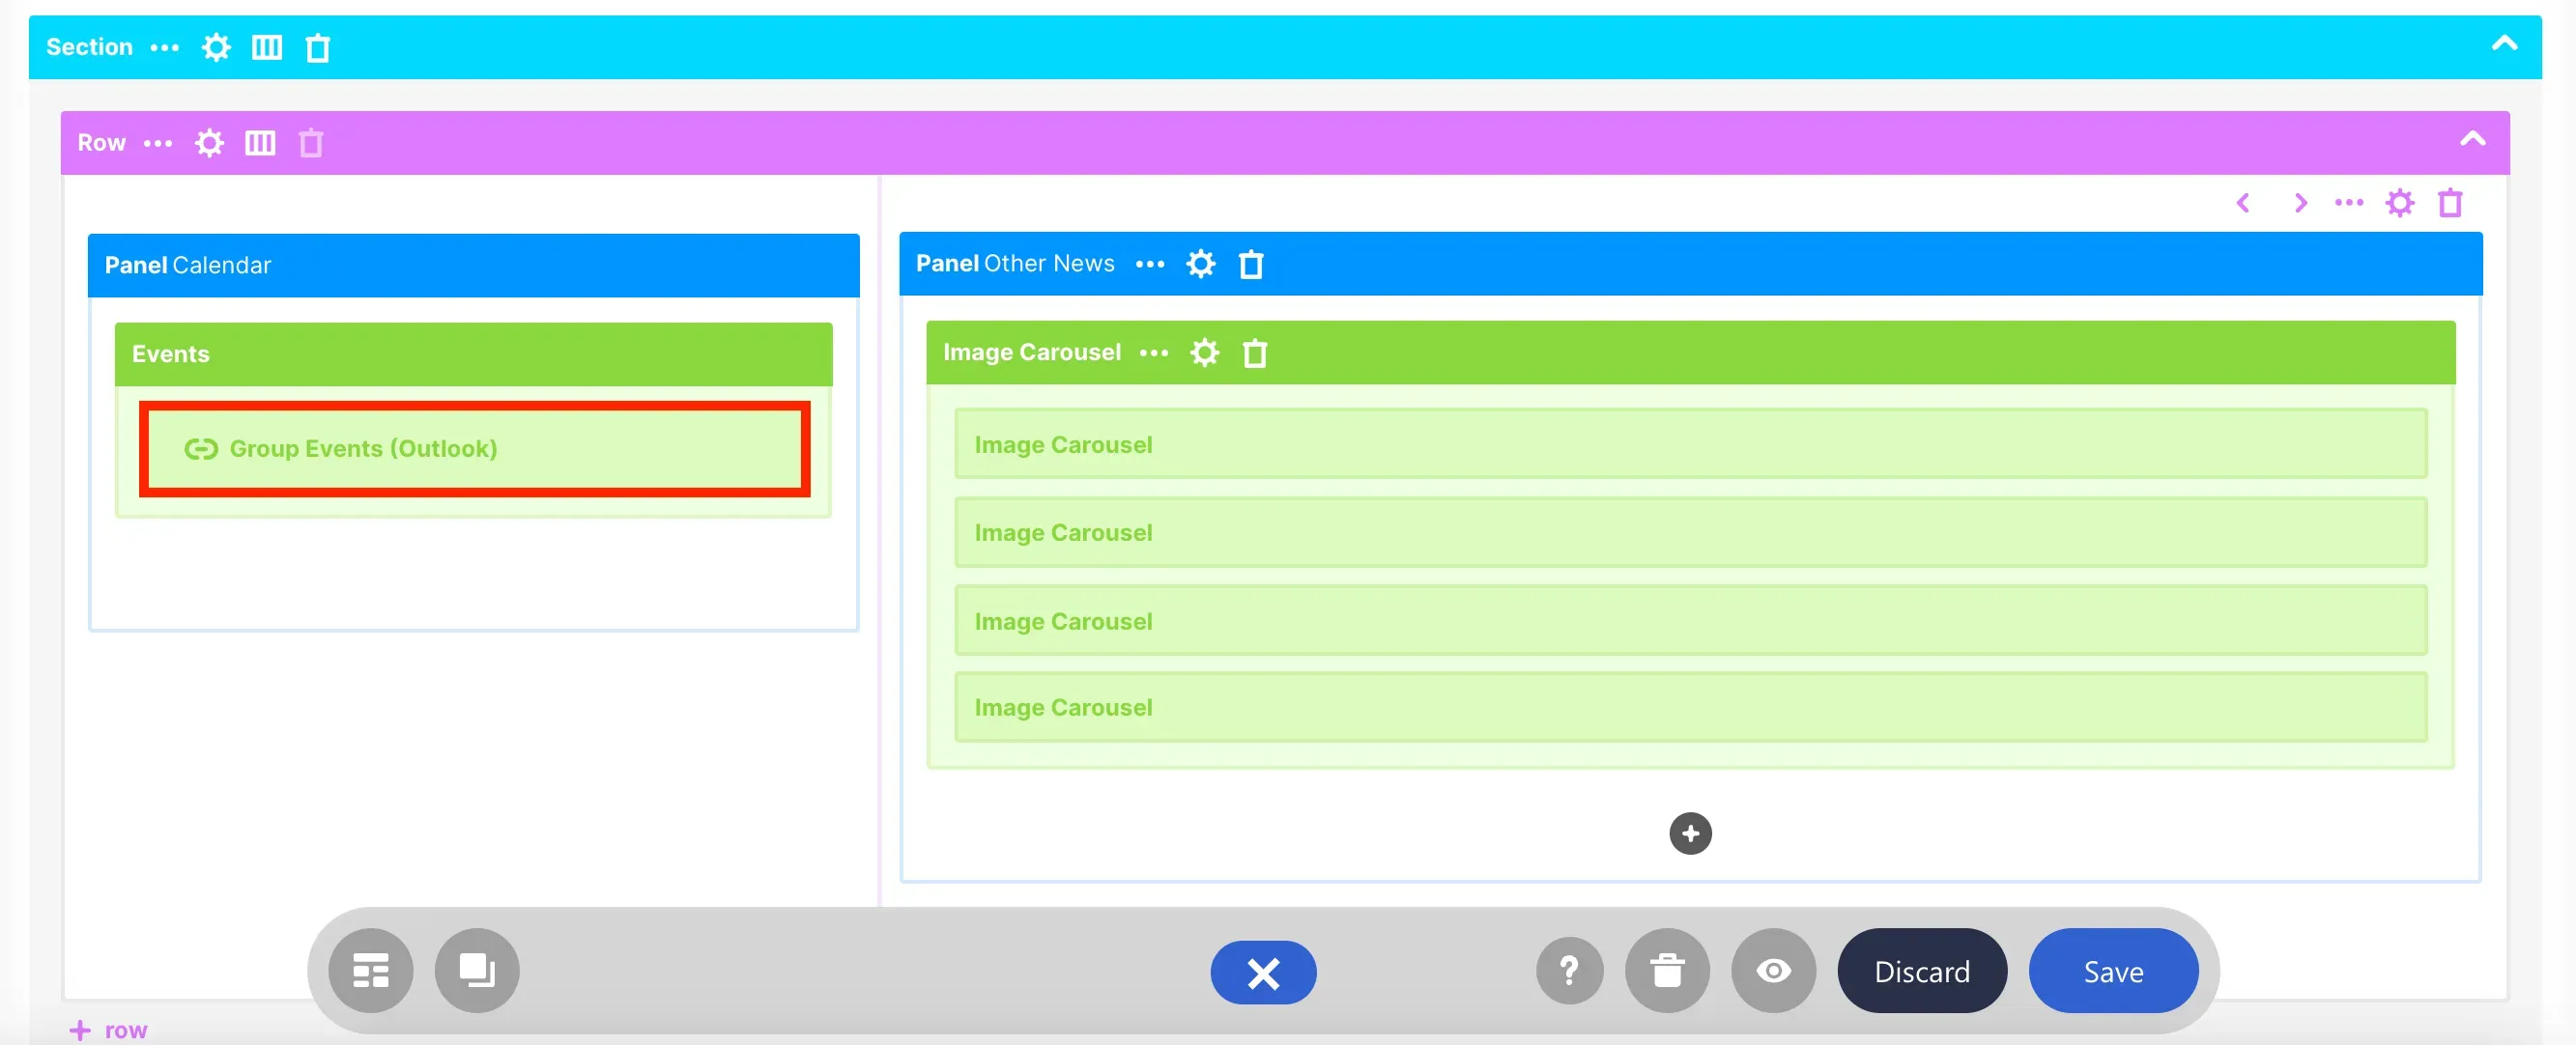
Once you click Update, you will notice that the Group Events (Outlook) connection is now inside your Events Design Element. Take note that you do not need to repeat this process again once you add a new event to your calendar. ShortPoint will automatically retrieve and update any new events added to your calendar in the background.
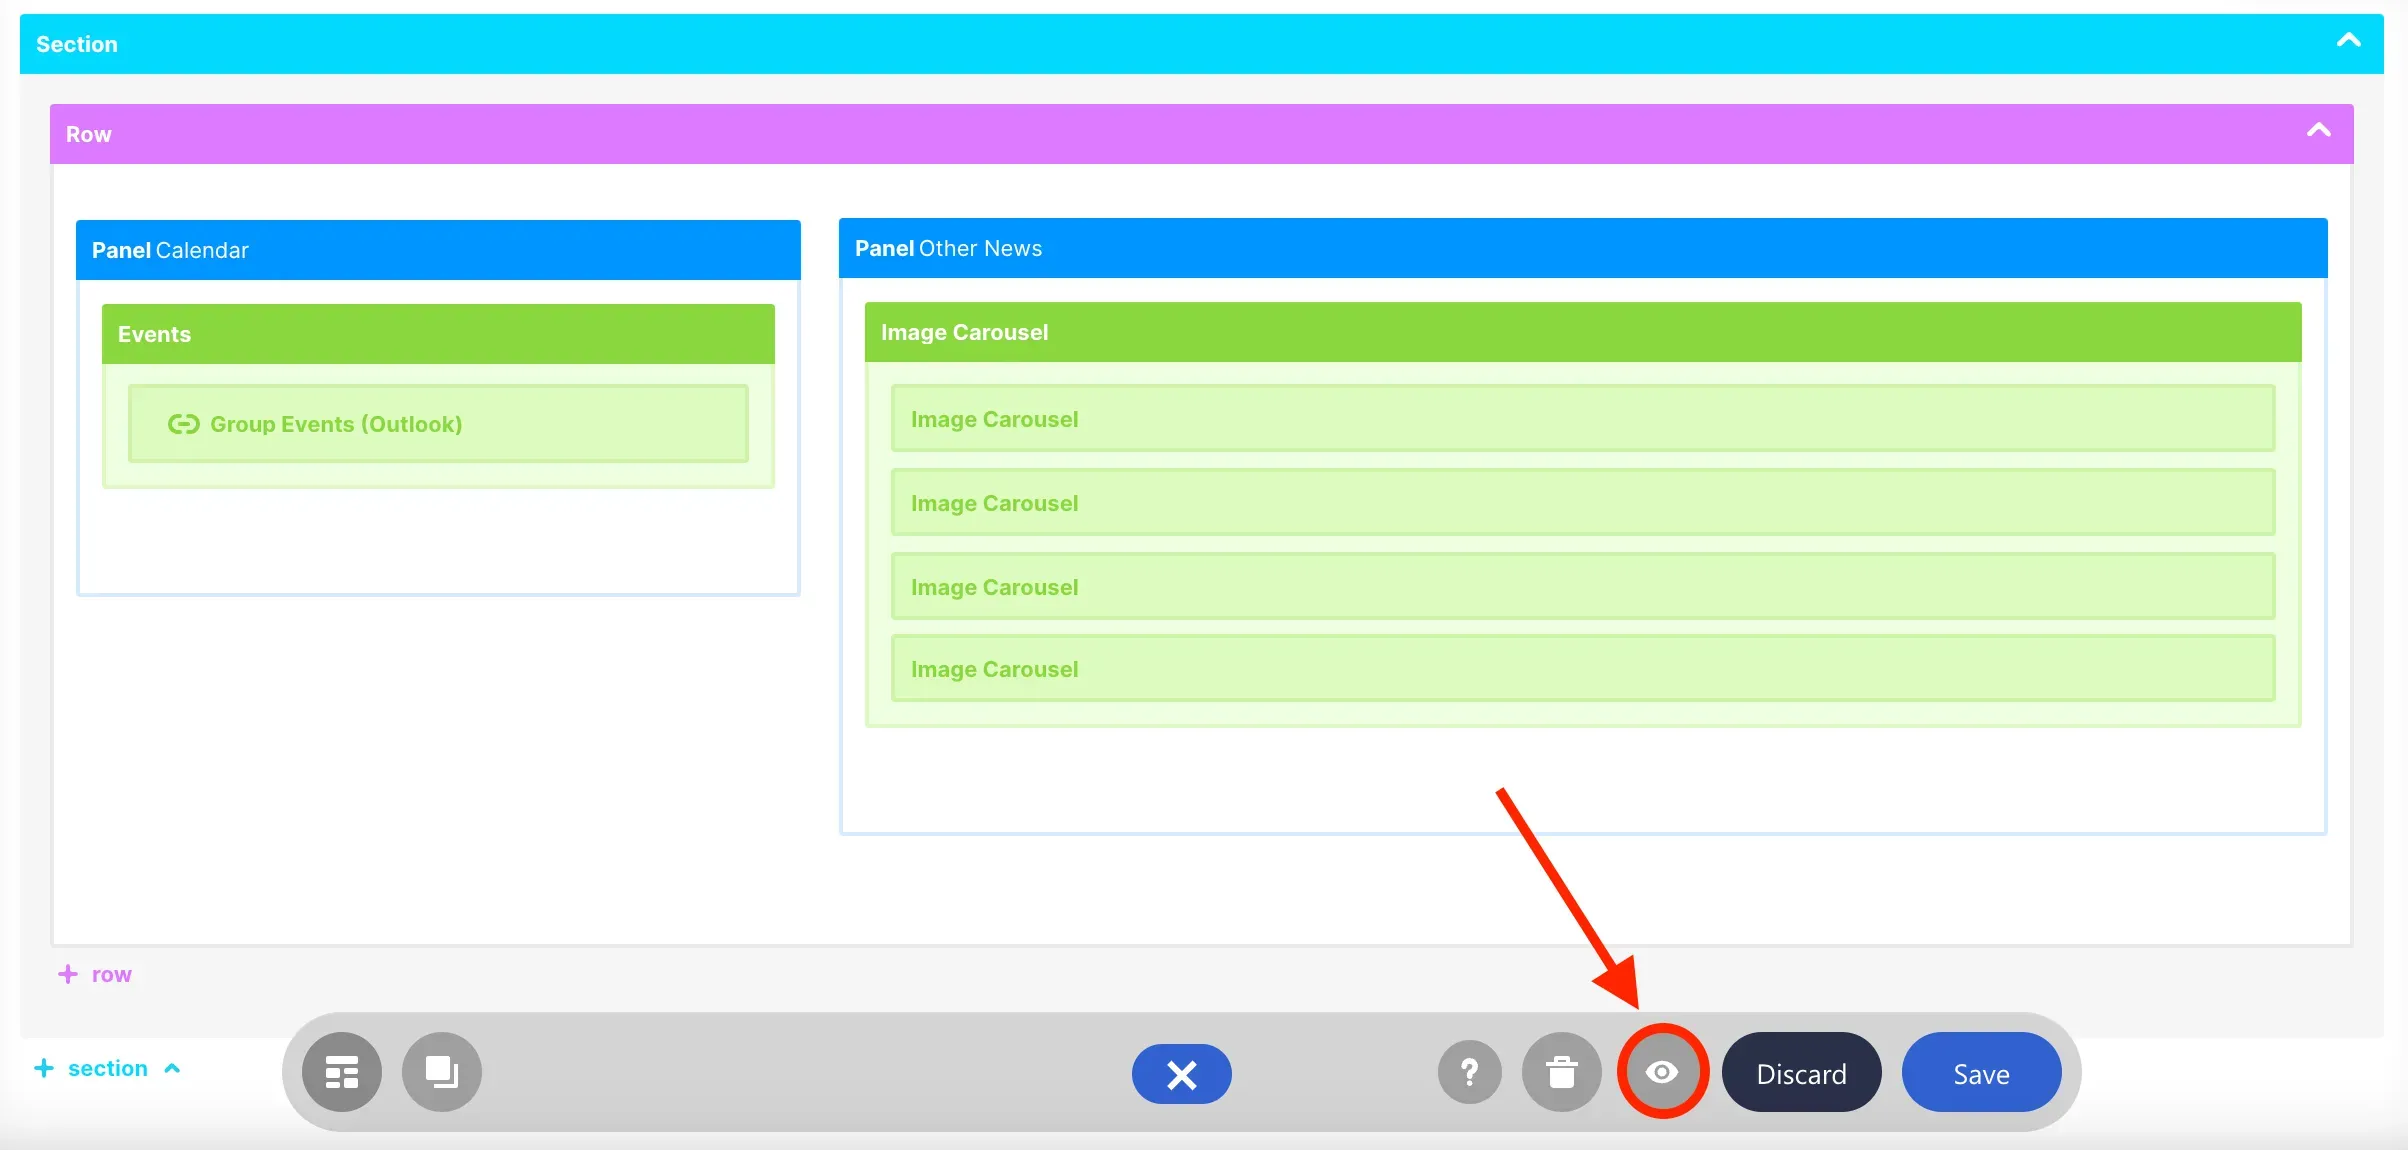
To see your events in real-time, click the eye icon.
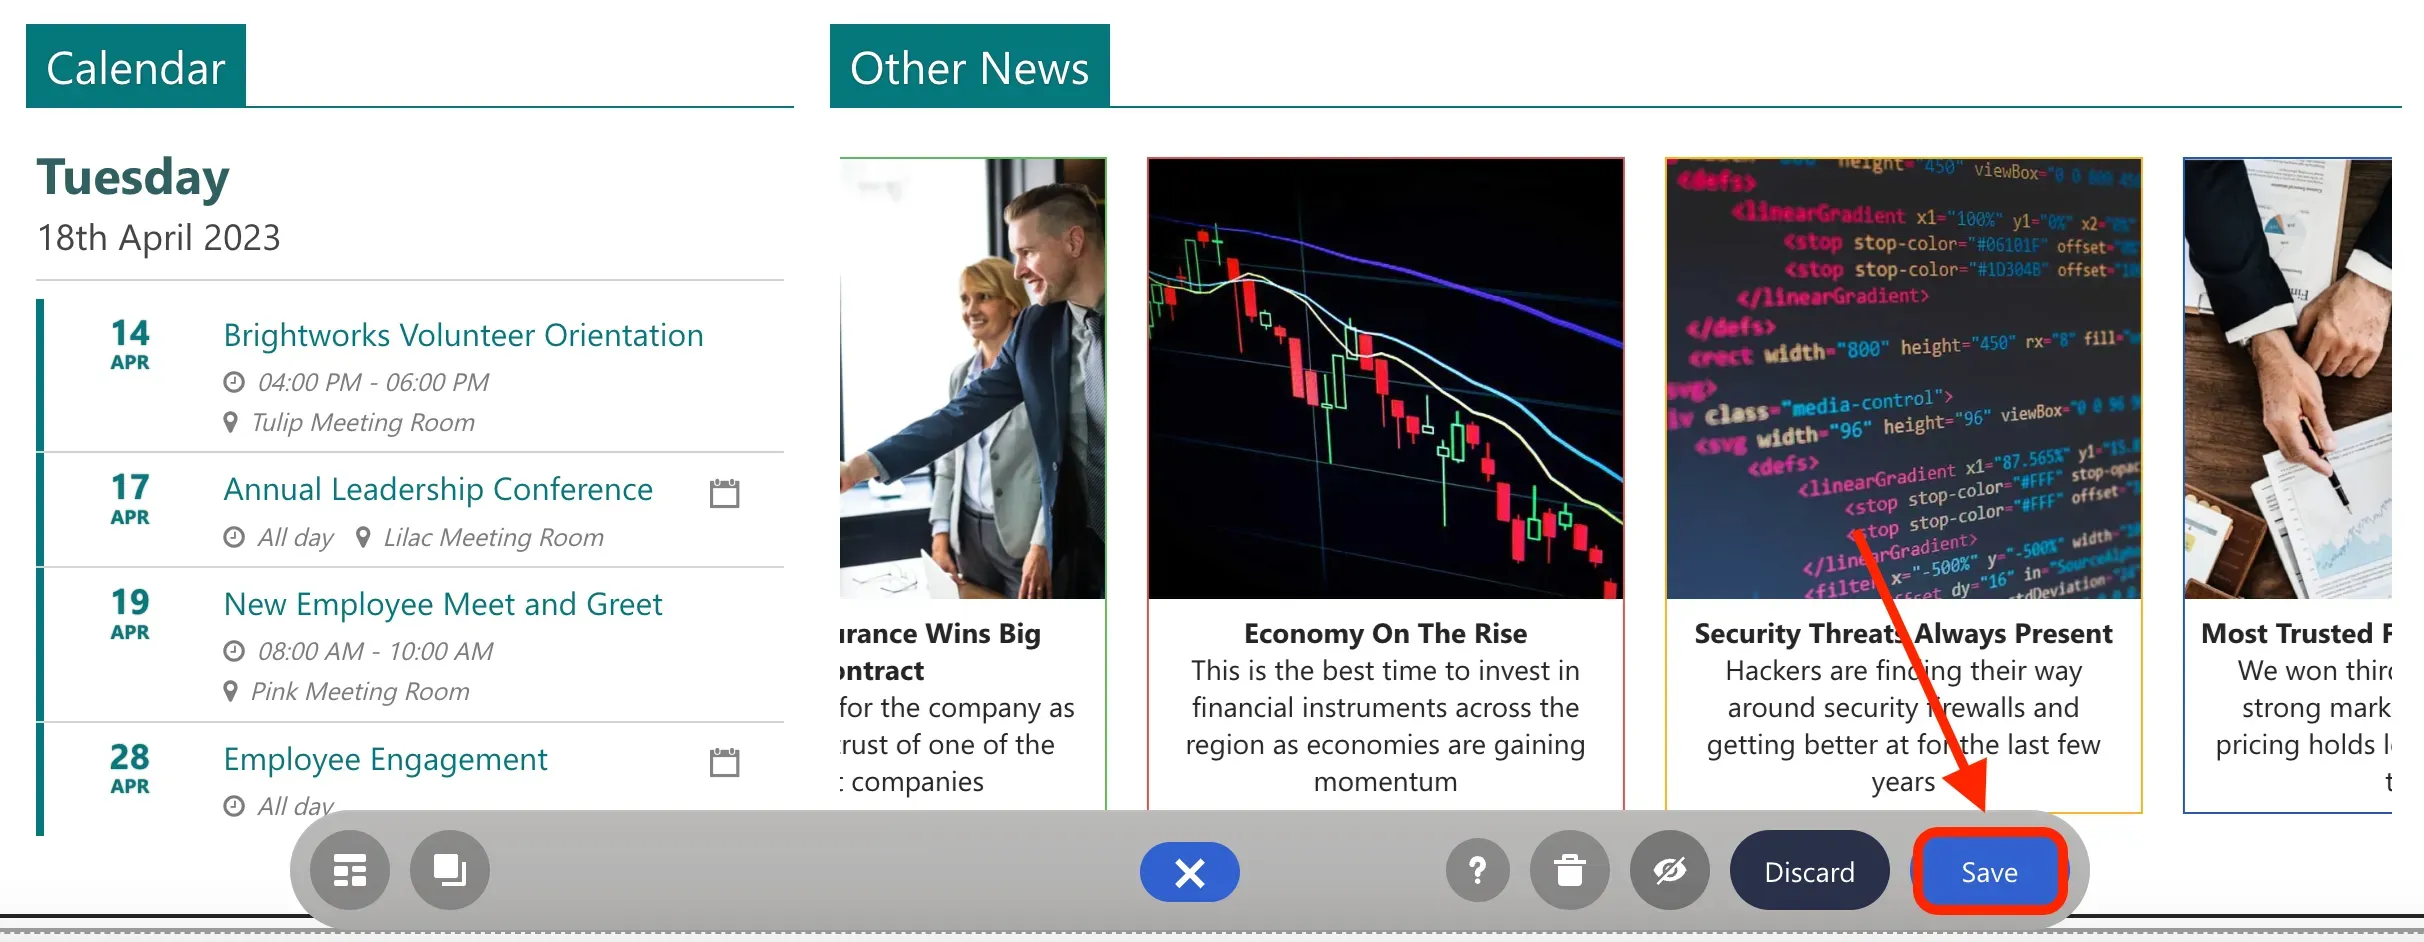
You will now see your events. Click Save to keep your progress.
You have now successfully set up a connection between your Outlook Calendar and your intranet using ShortPoint Connect. Enjoy using this feature on your own SharePoint sites!