

Making your intranet accessible
Enable ShortPoint Accessibility
In this lesson, you will learn how to enable ShortPoint Accessibility. Then, you will get introduced to the different accessibility functions that comes with the feature including AI-powered remediation and its user-triggered accessibility widget. You will also know how to generate your accessibility statement featuring a report which you can show on your site.

Enabling ShortPoint Accessibility
Ensuring that your intranet is fully accessible is crucial in providing a positive user experience and satisfaction for all users, including those with disabilities. It offers a chance for everyone to access information and interactions that might otherwise be challenging for them. It's so important that in most countries, including the US, compliance with international accessibility standards is a legal requirement.
However, many intranet platforms lack built-in accessibility features. To make your intranet fully accessible, a significant investment of time, effort, and resources is required to ensure everything is in place.
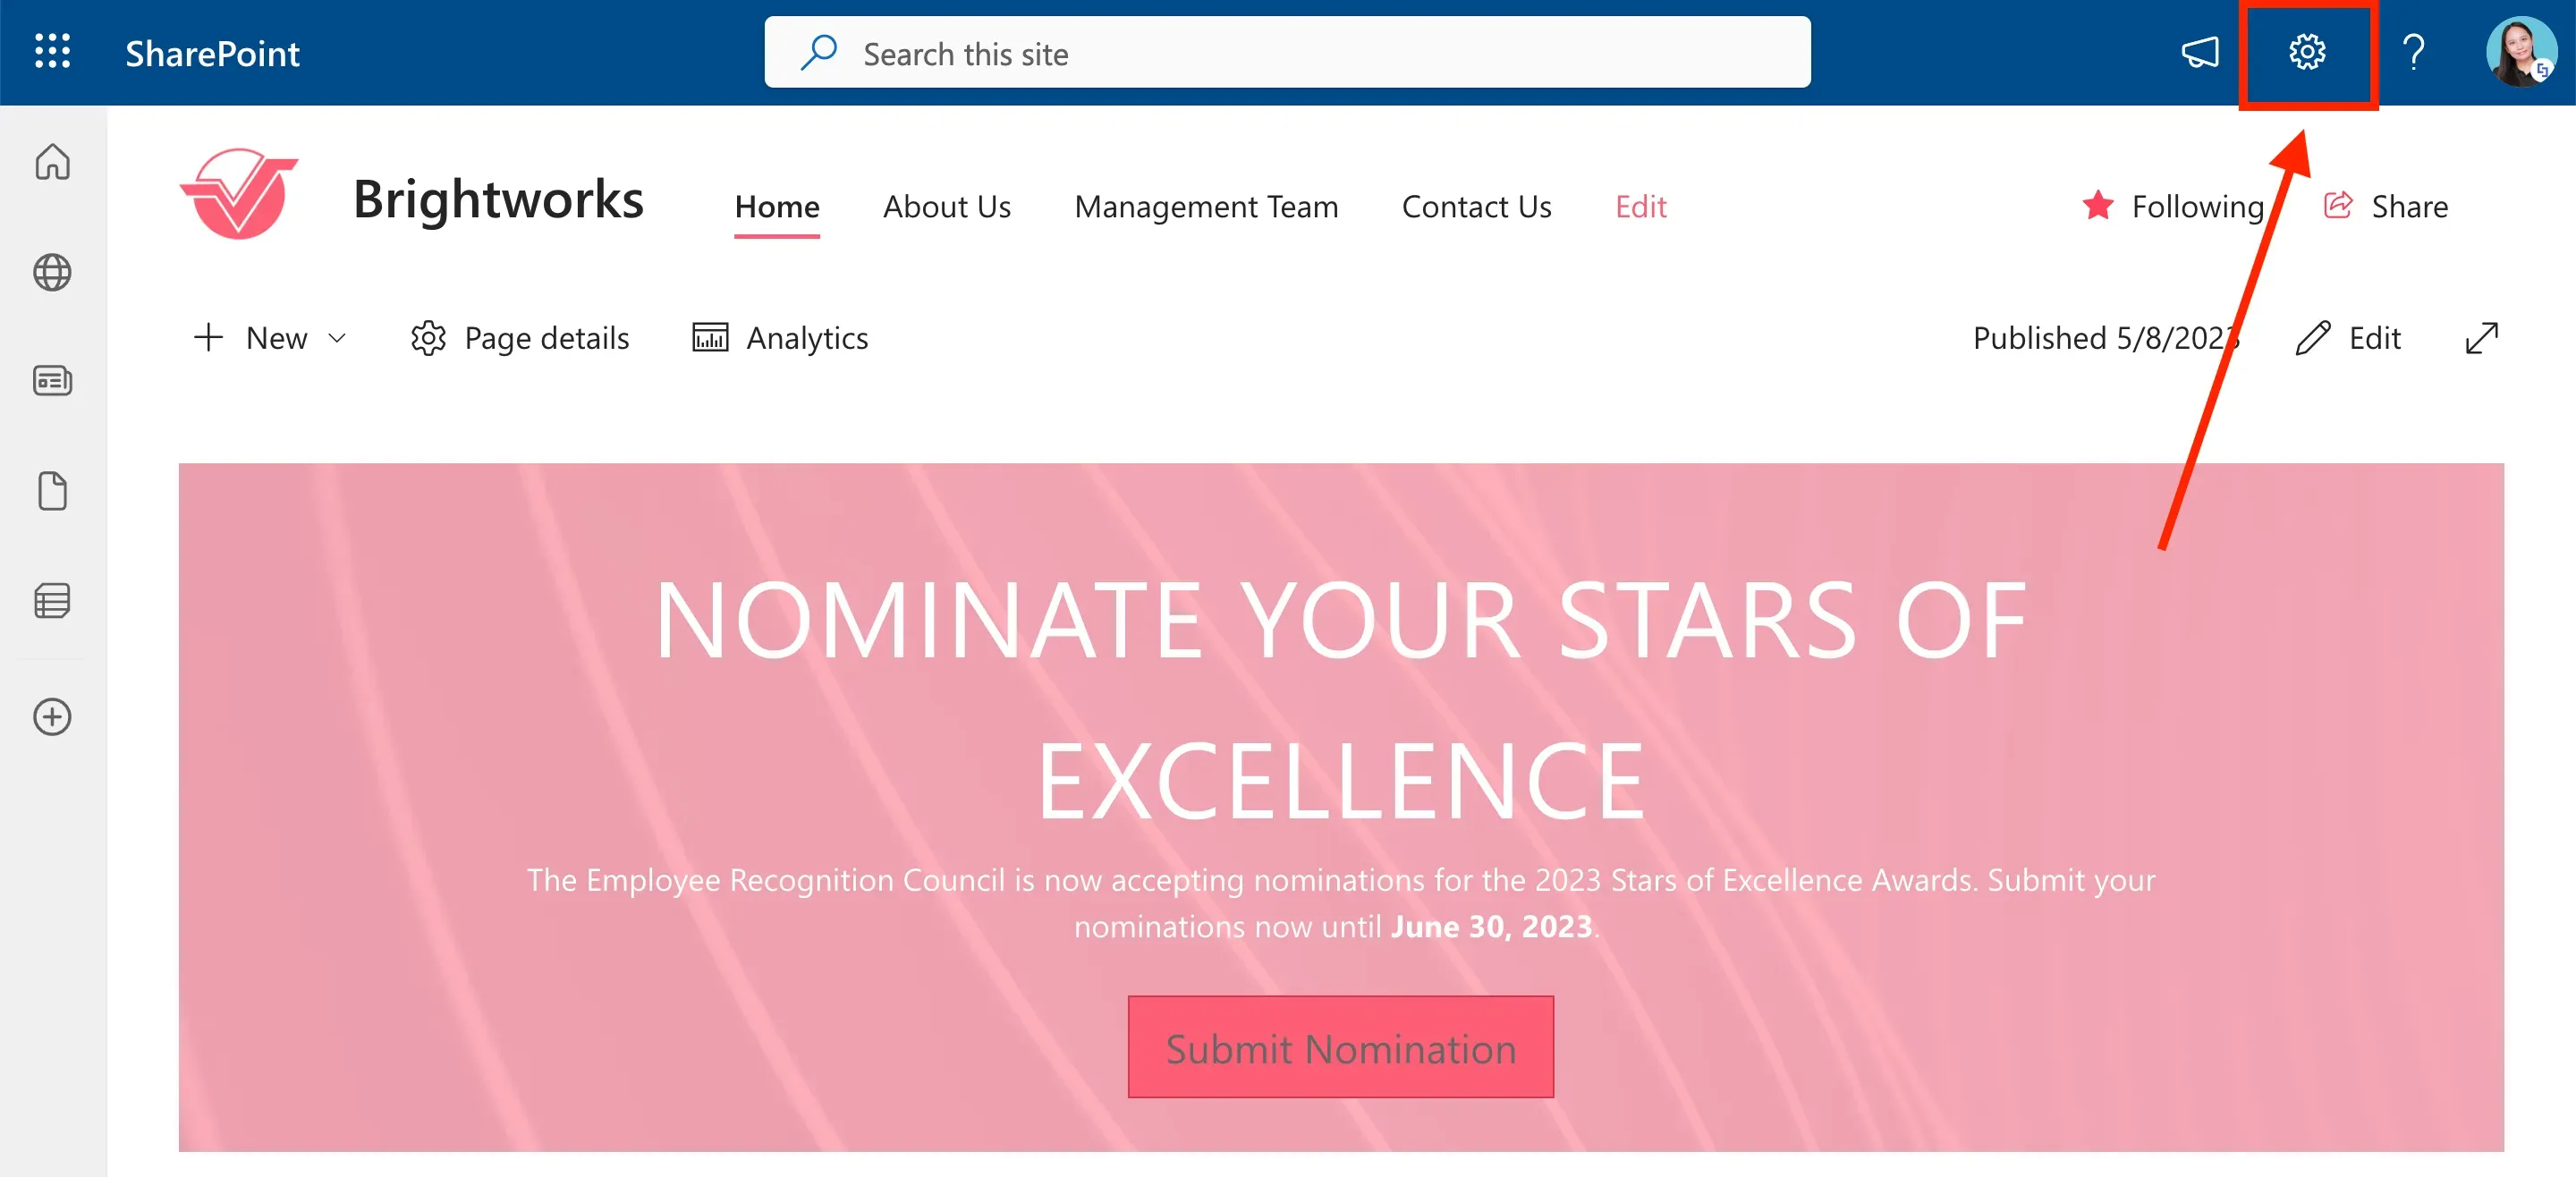
For example, in SharePoint, you must individually configure each site, its pages, and its contents, then test for accessibility. If you already have many sites and pages published, going through each one-by-one is an inefficient process.
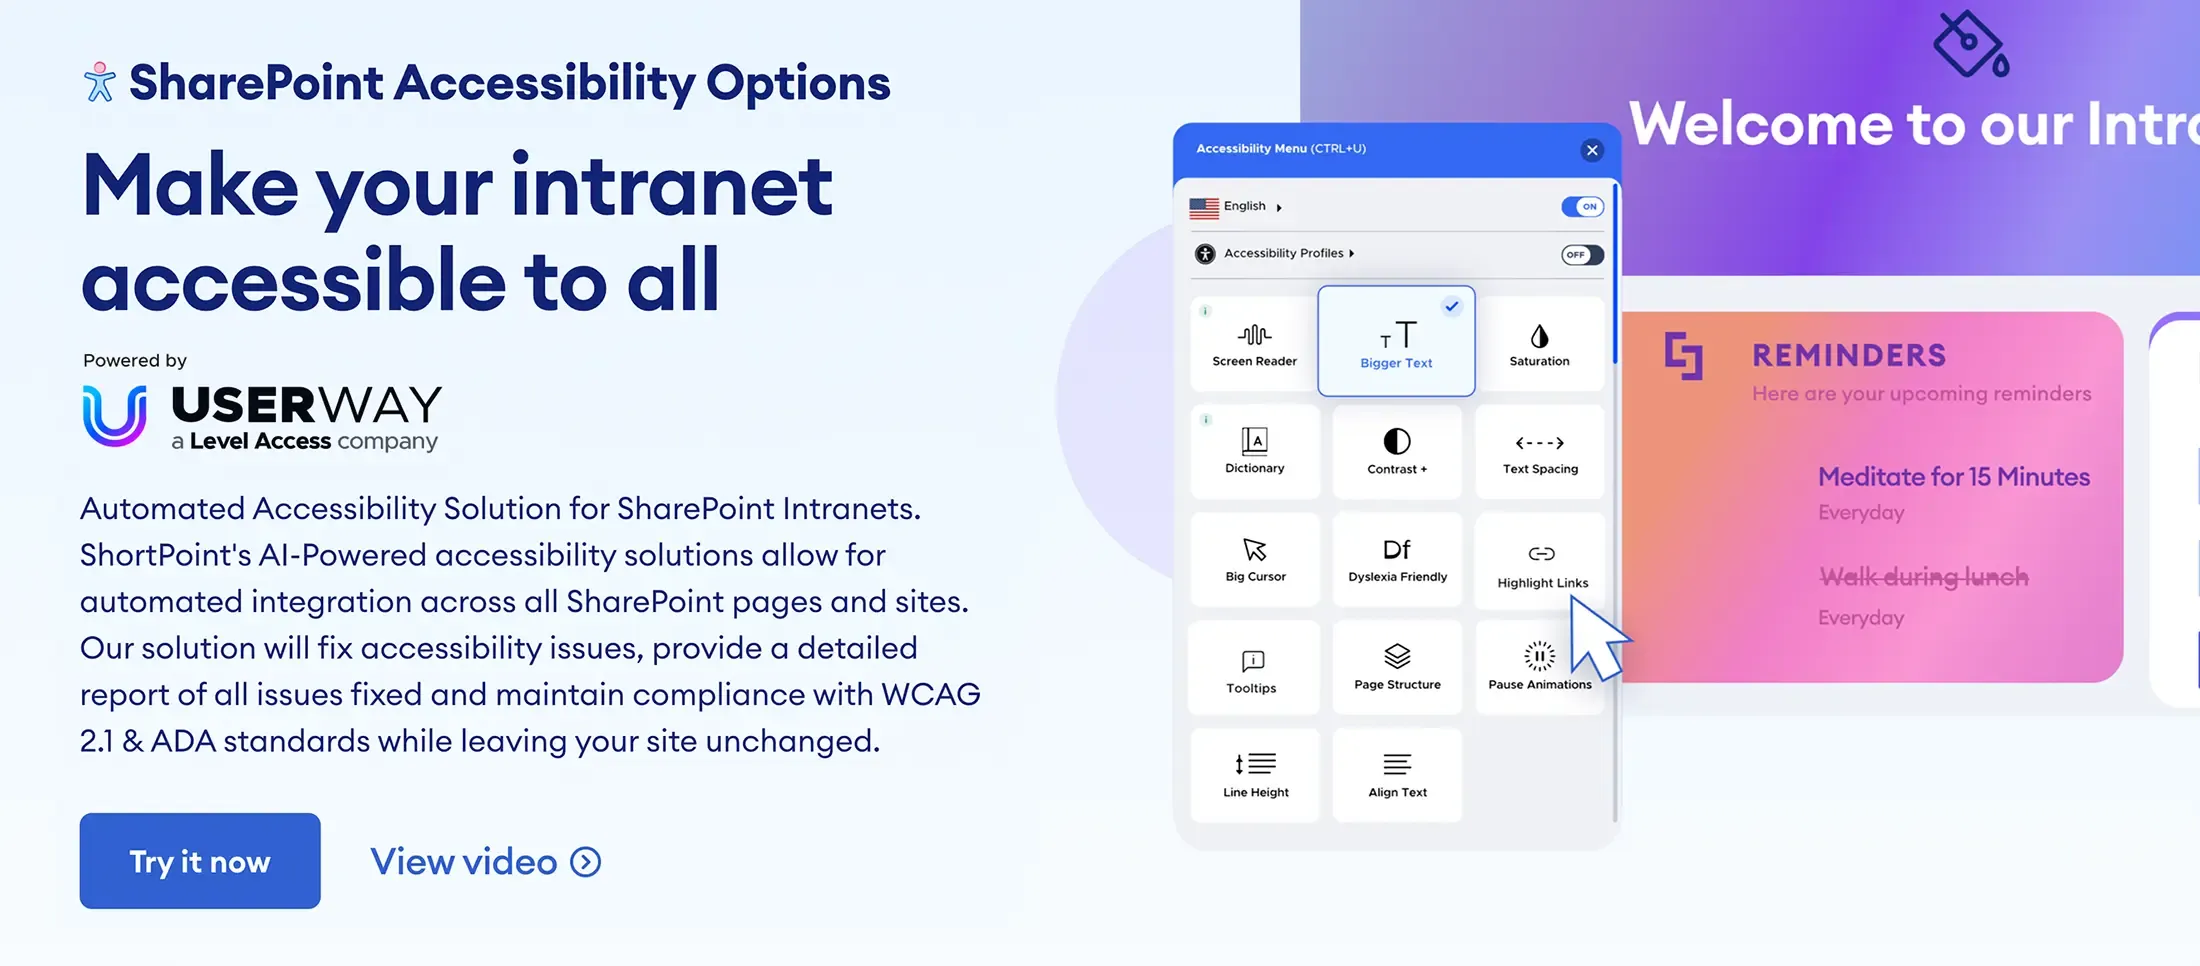
To address this issue, ShortPoint has partnered with UserWay, a leader in web accessibility, to offer an AI-powered solution that detects and remediates accessibility issues automatically without the need for any coding.
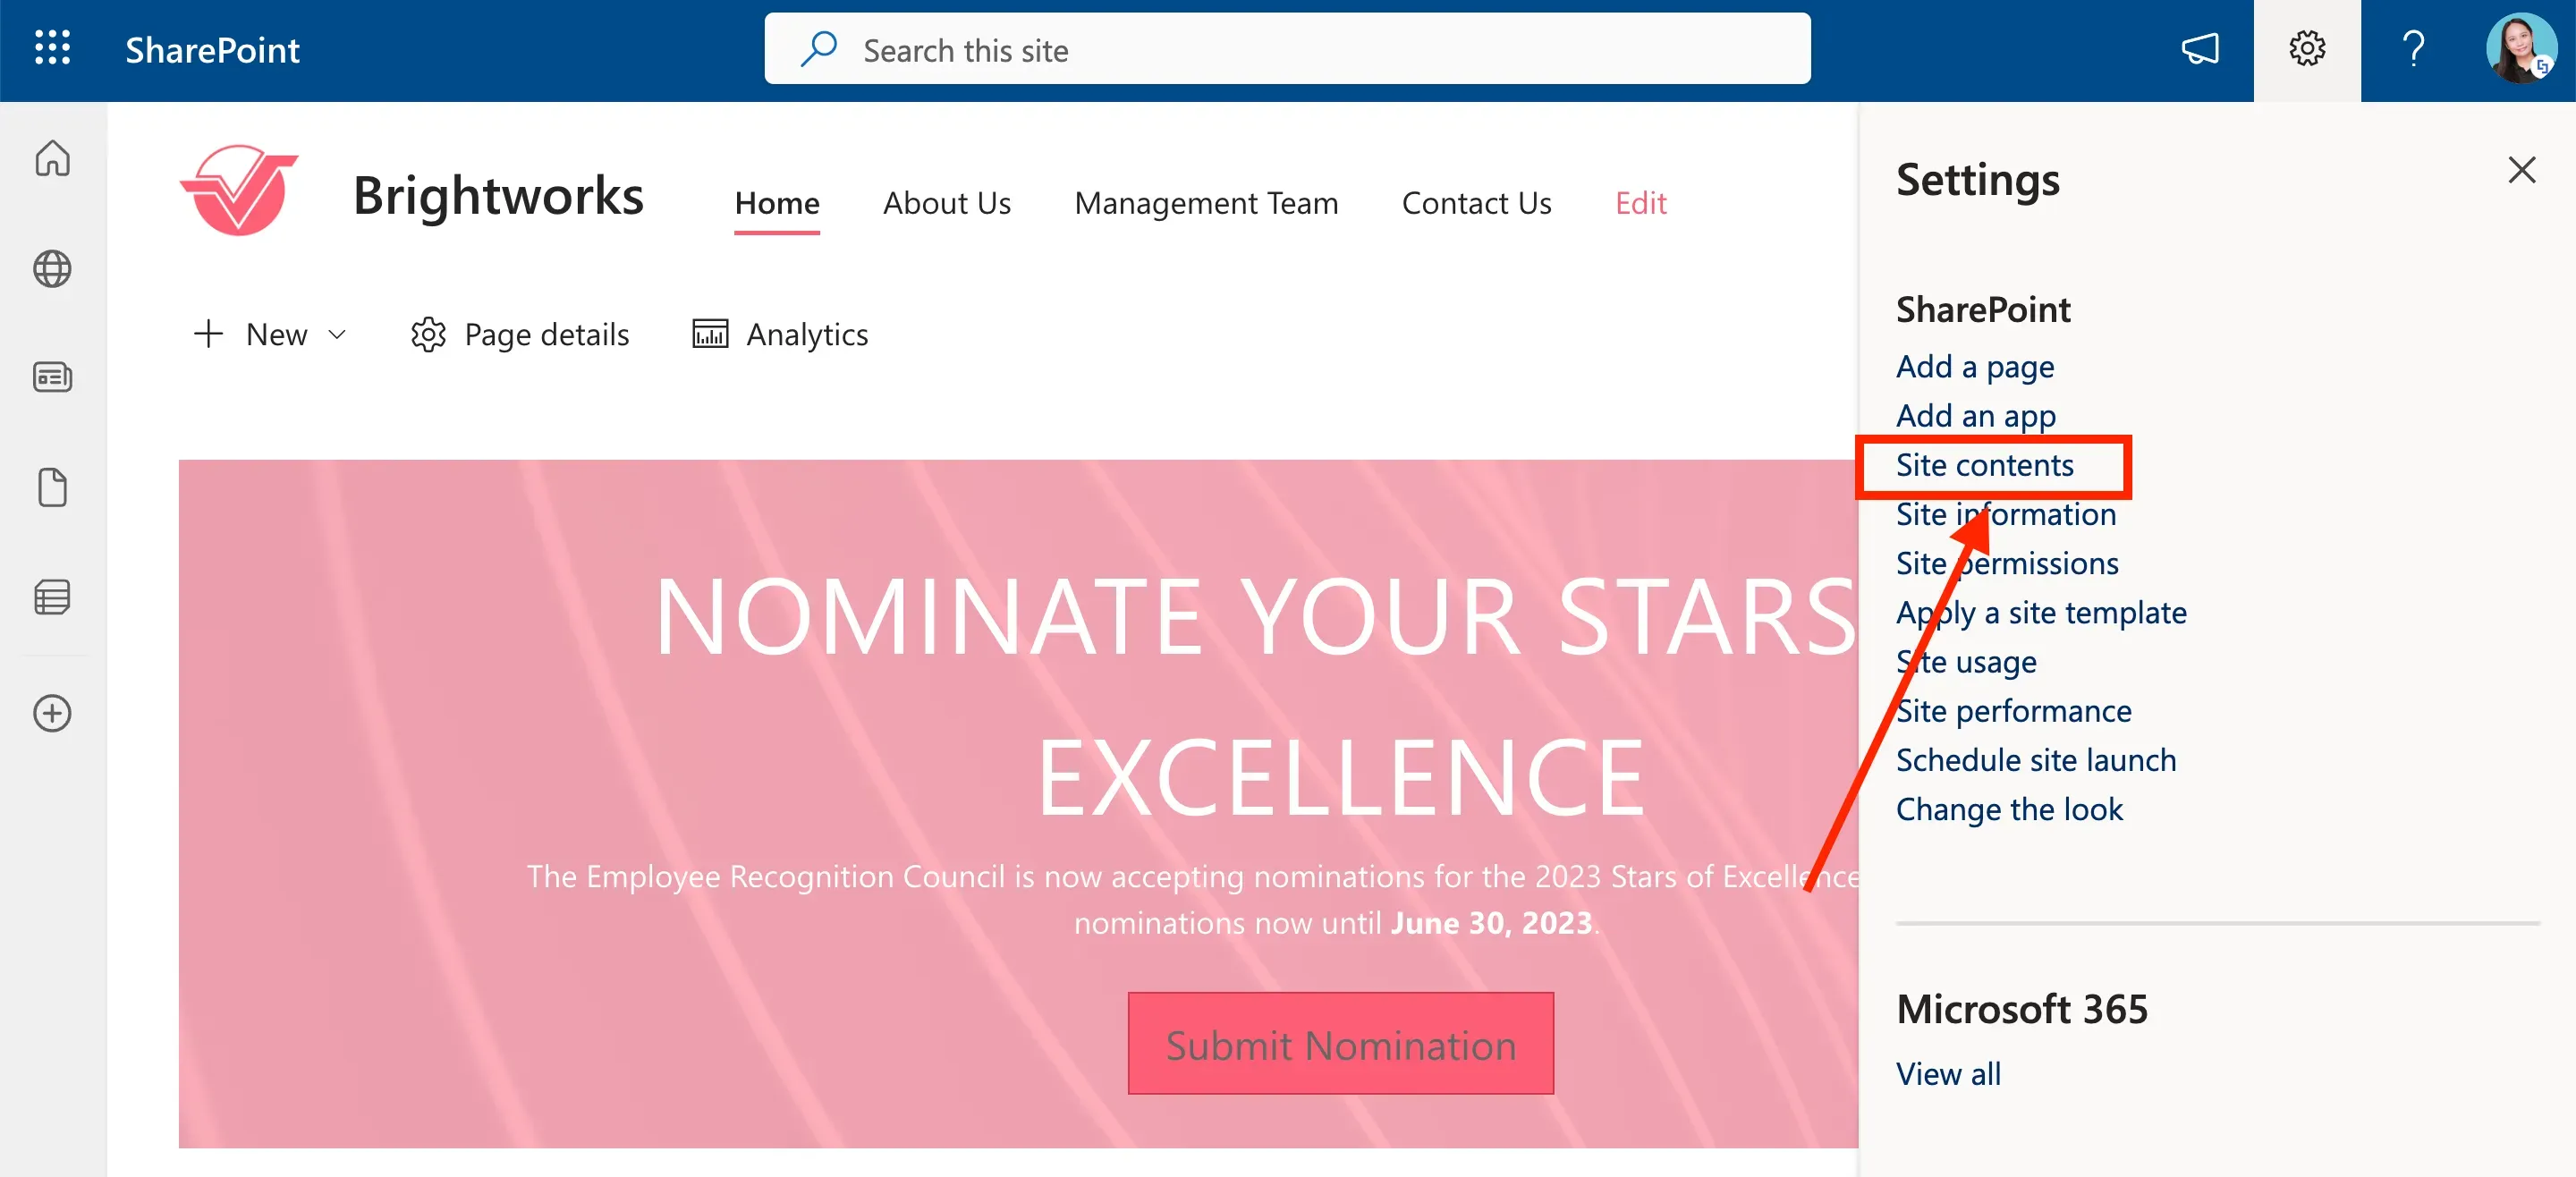
To activate the ShortPoint Accessibility feature, go to the SharePoint page you were editing and click the cogwheel icon.
Then, select Site Contents from the list.
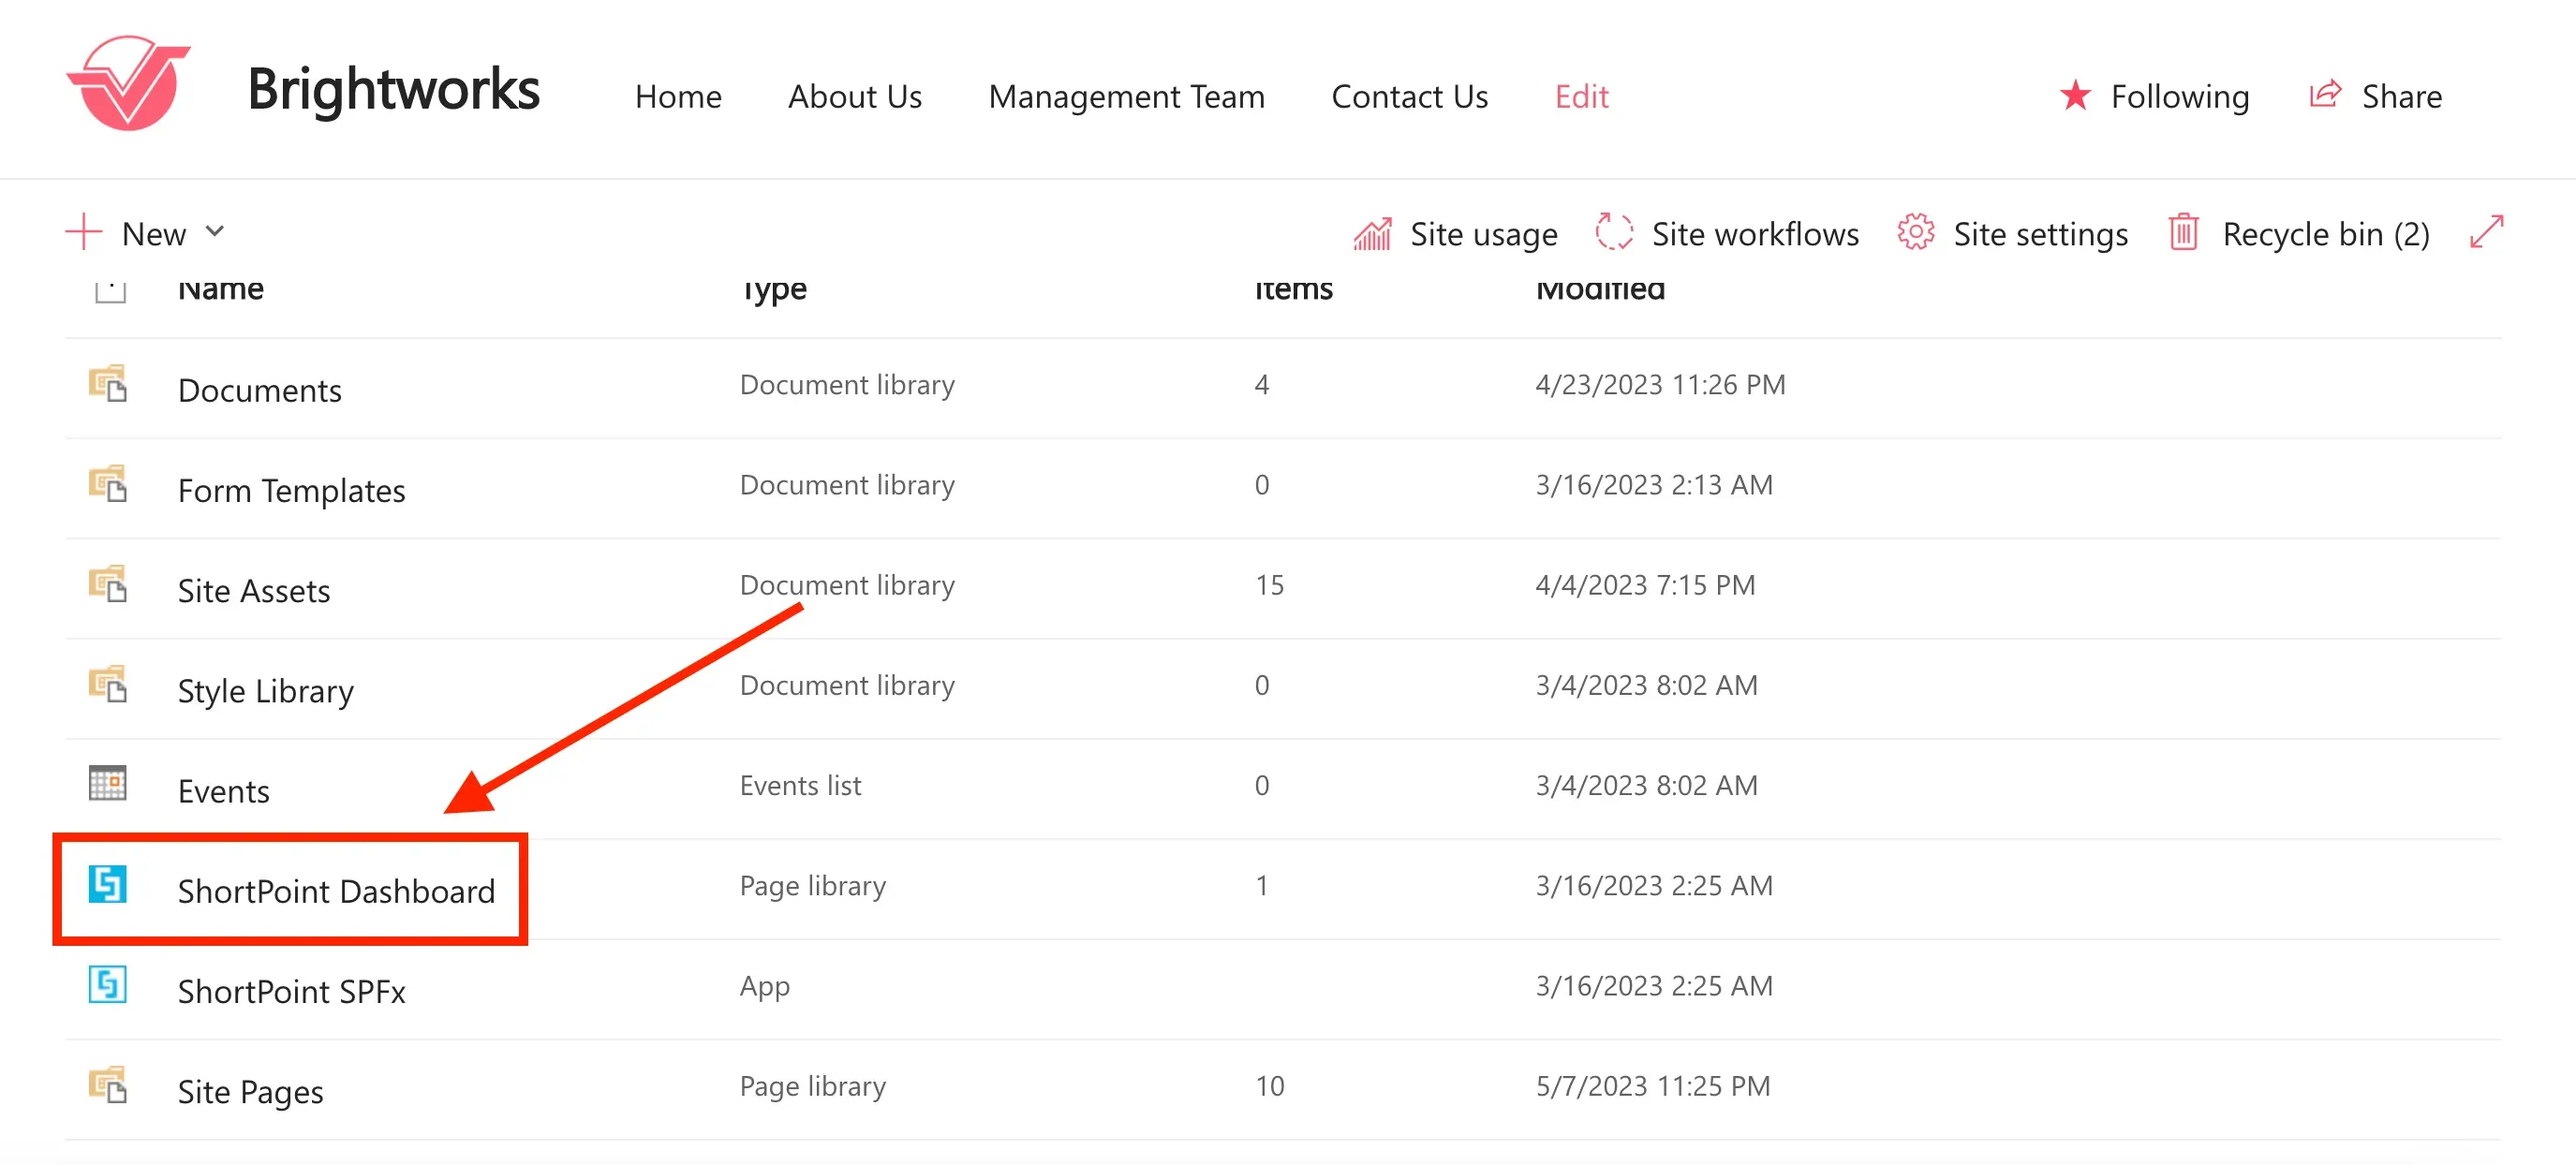
Click ShortPoint Dashboard.
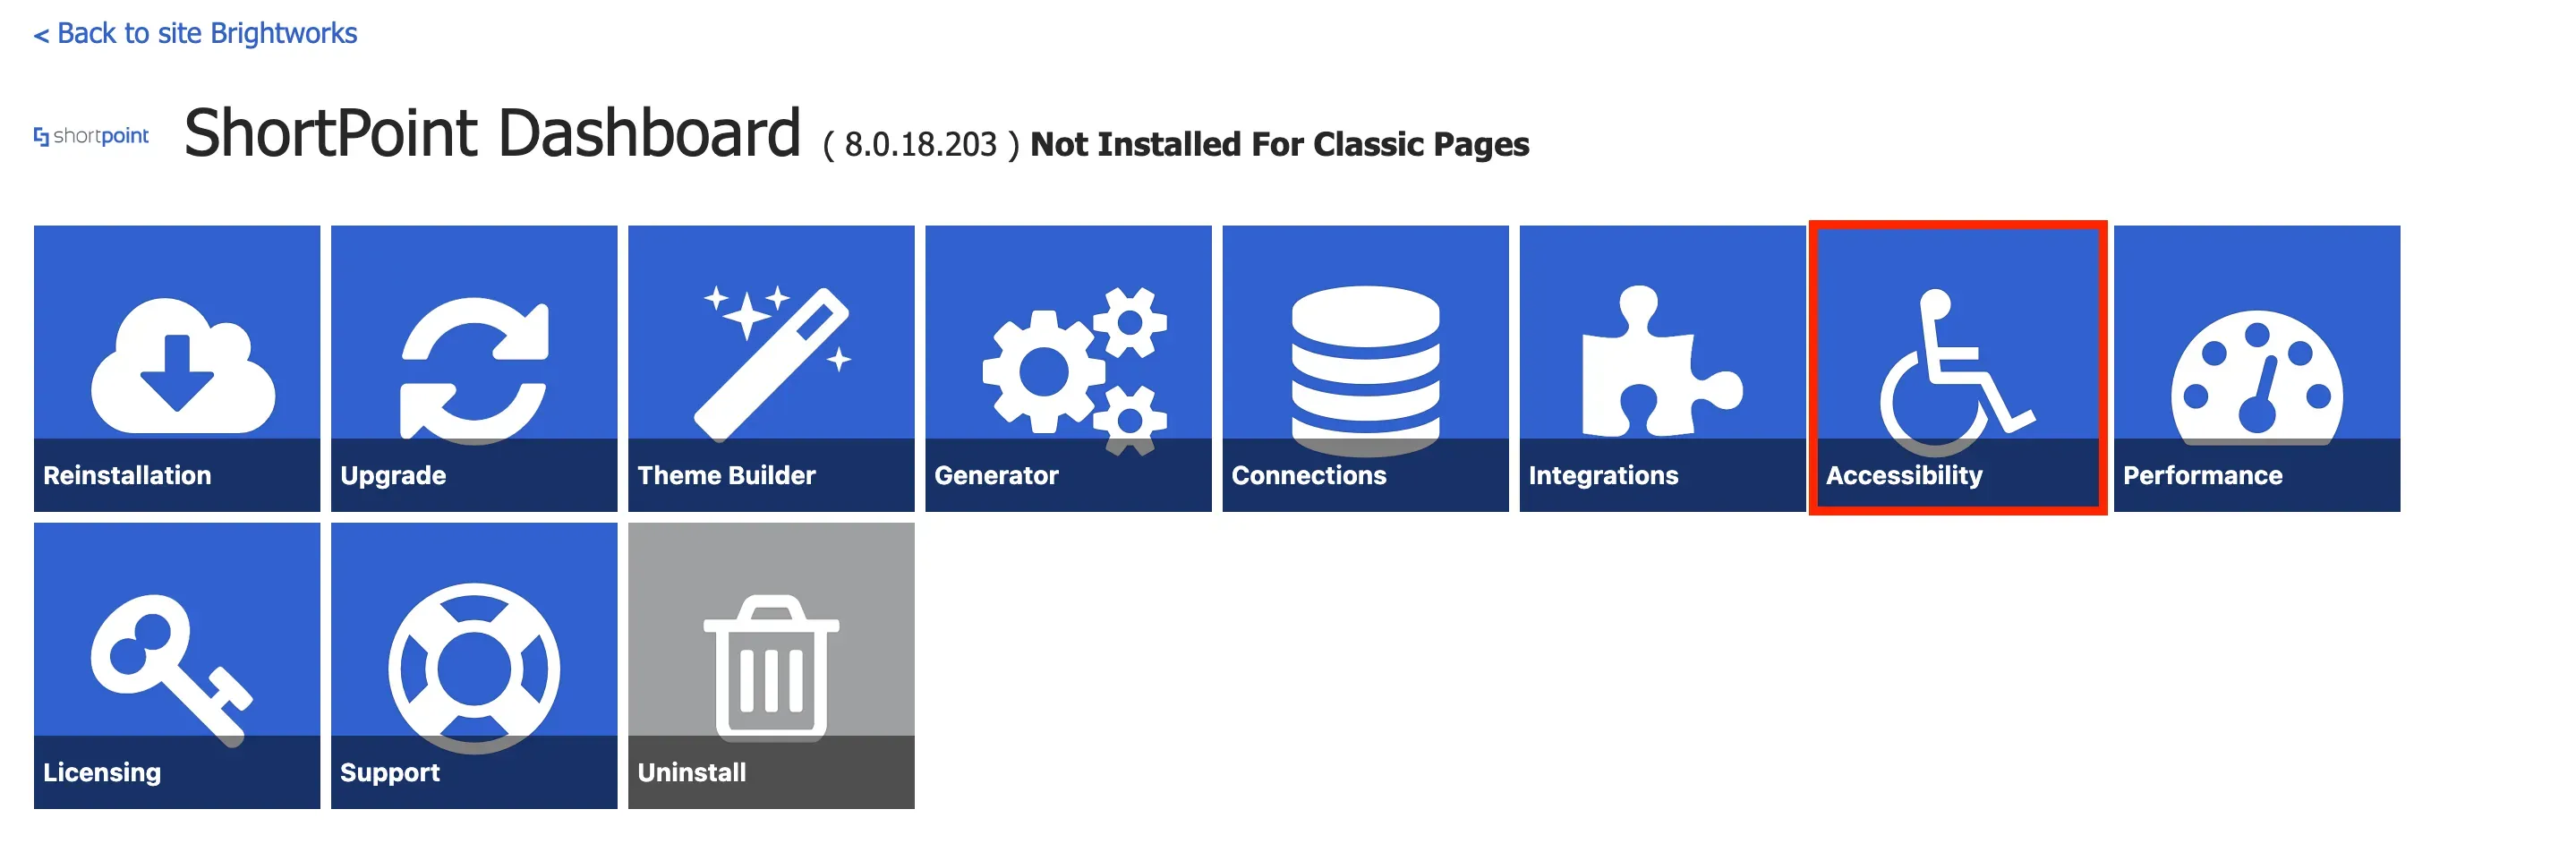
On the ShortPoint Dashboard, select Accessibility to open the ShortPoint Accessibility window.
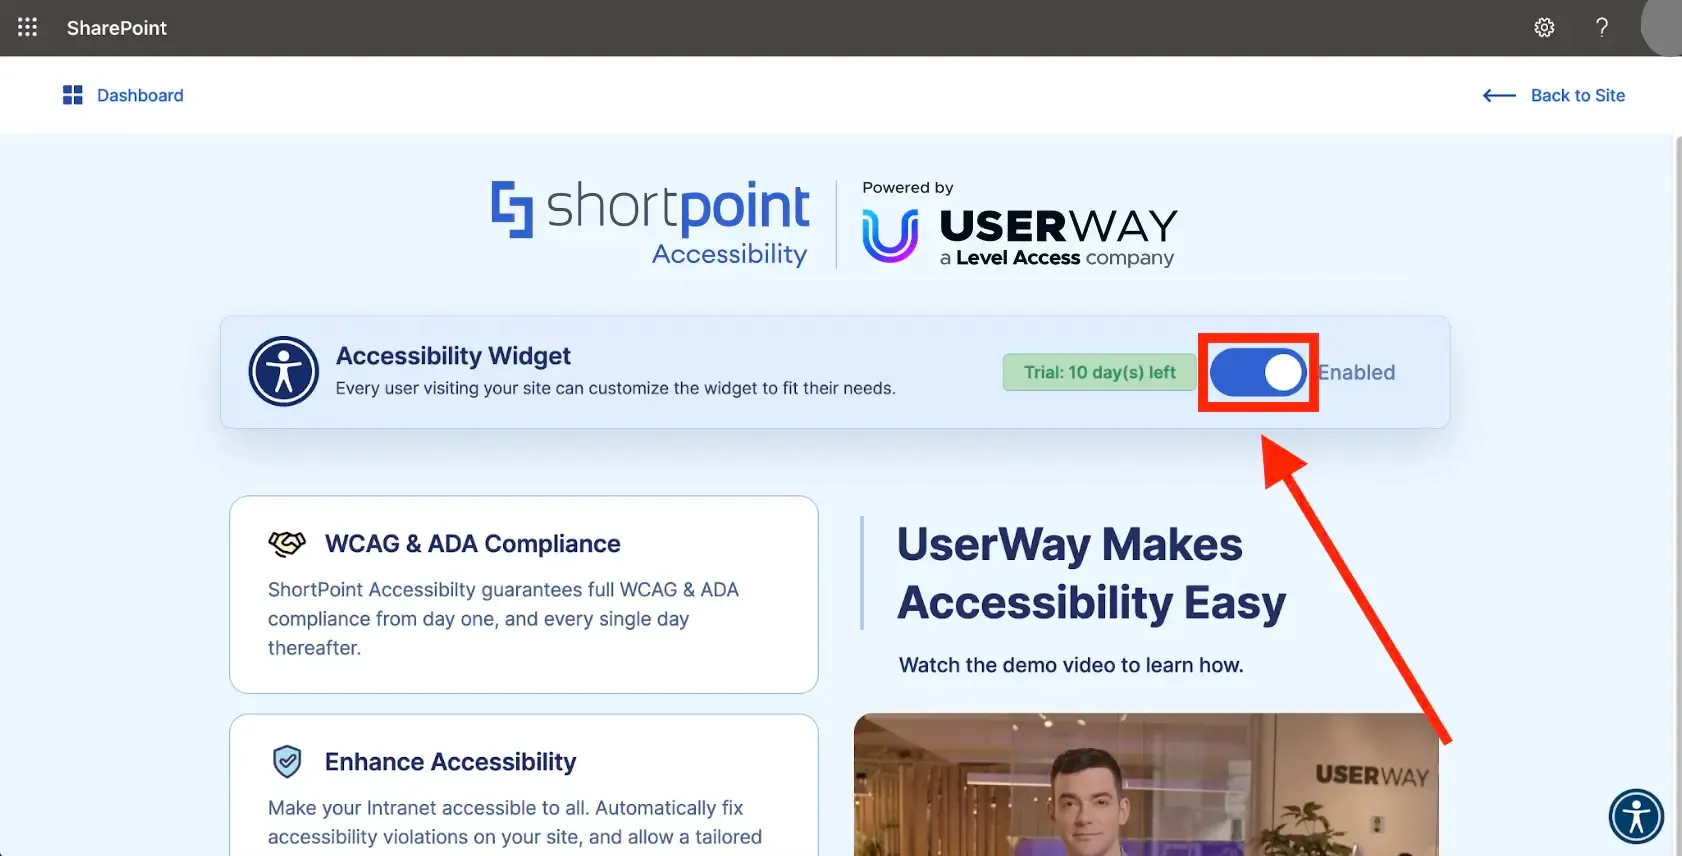
Then, slide the toggle to enable ShortPoint Accessibility.
By enabling it, you will get a 10-day free trial during which you will get the full benefit of having an AI-powered accessibility solution running in the background on all your sites to detect and automatically remediate accessibility issues.
After the free trial period, you can choose to purchase a paid plan or continue using the feature with limited functionality.
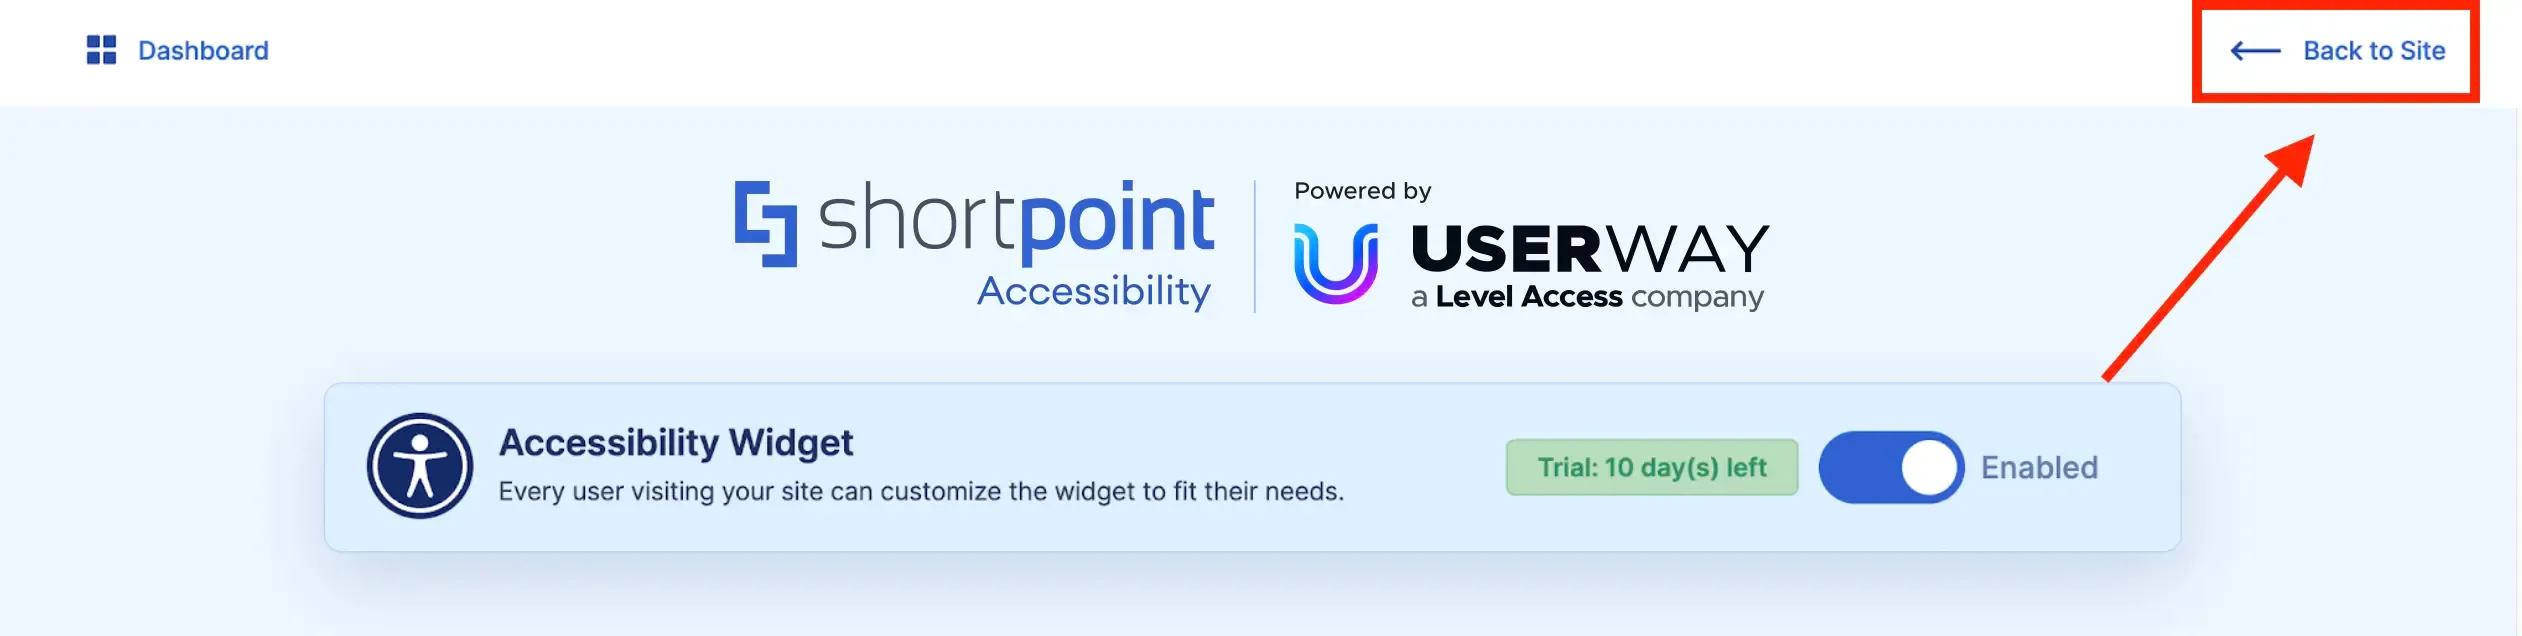
Now, let's go back to your site. Simply click Back to site.
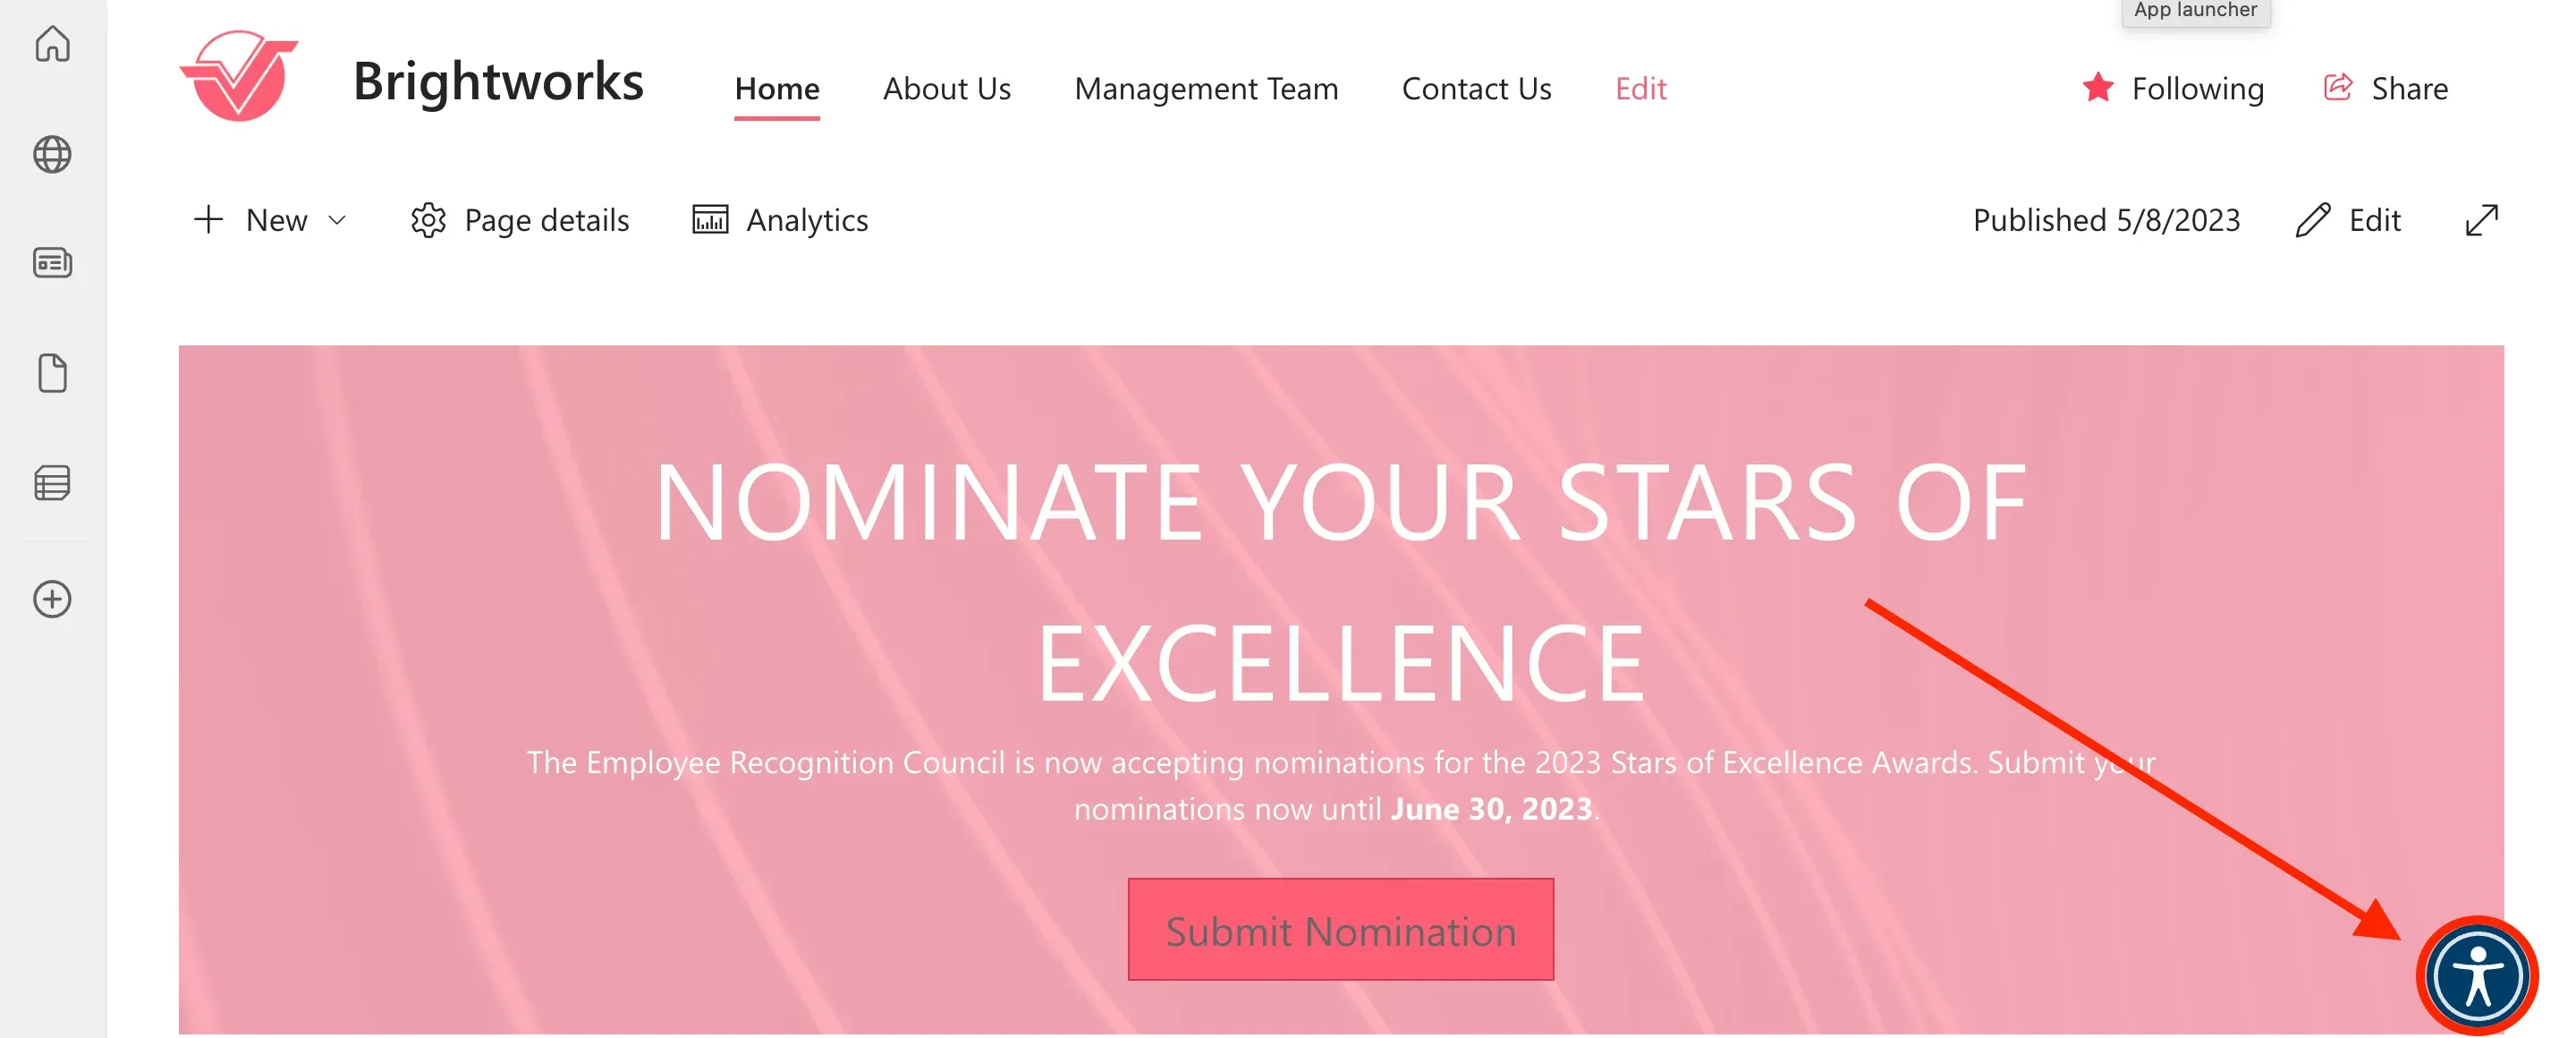
You will notice a small widget on the right side of your screen. This is the Accessibility widget.
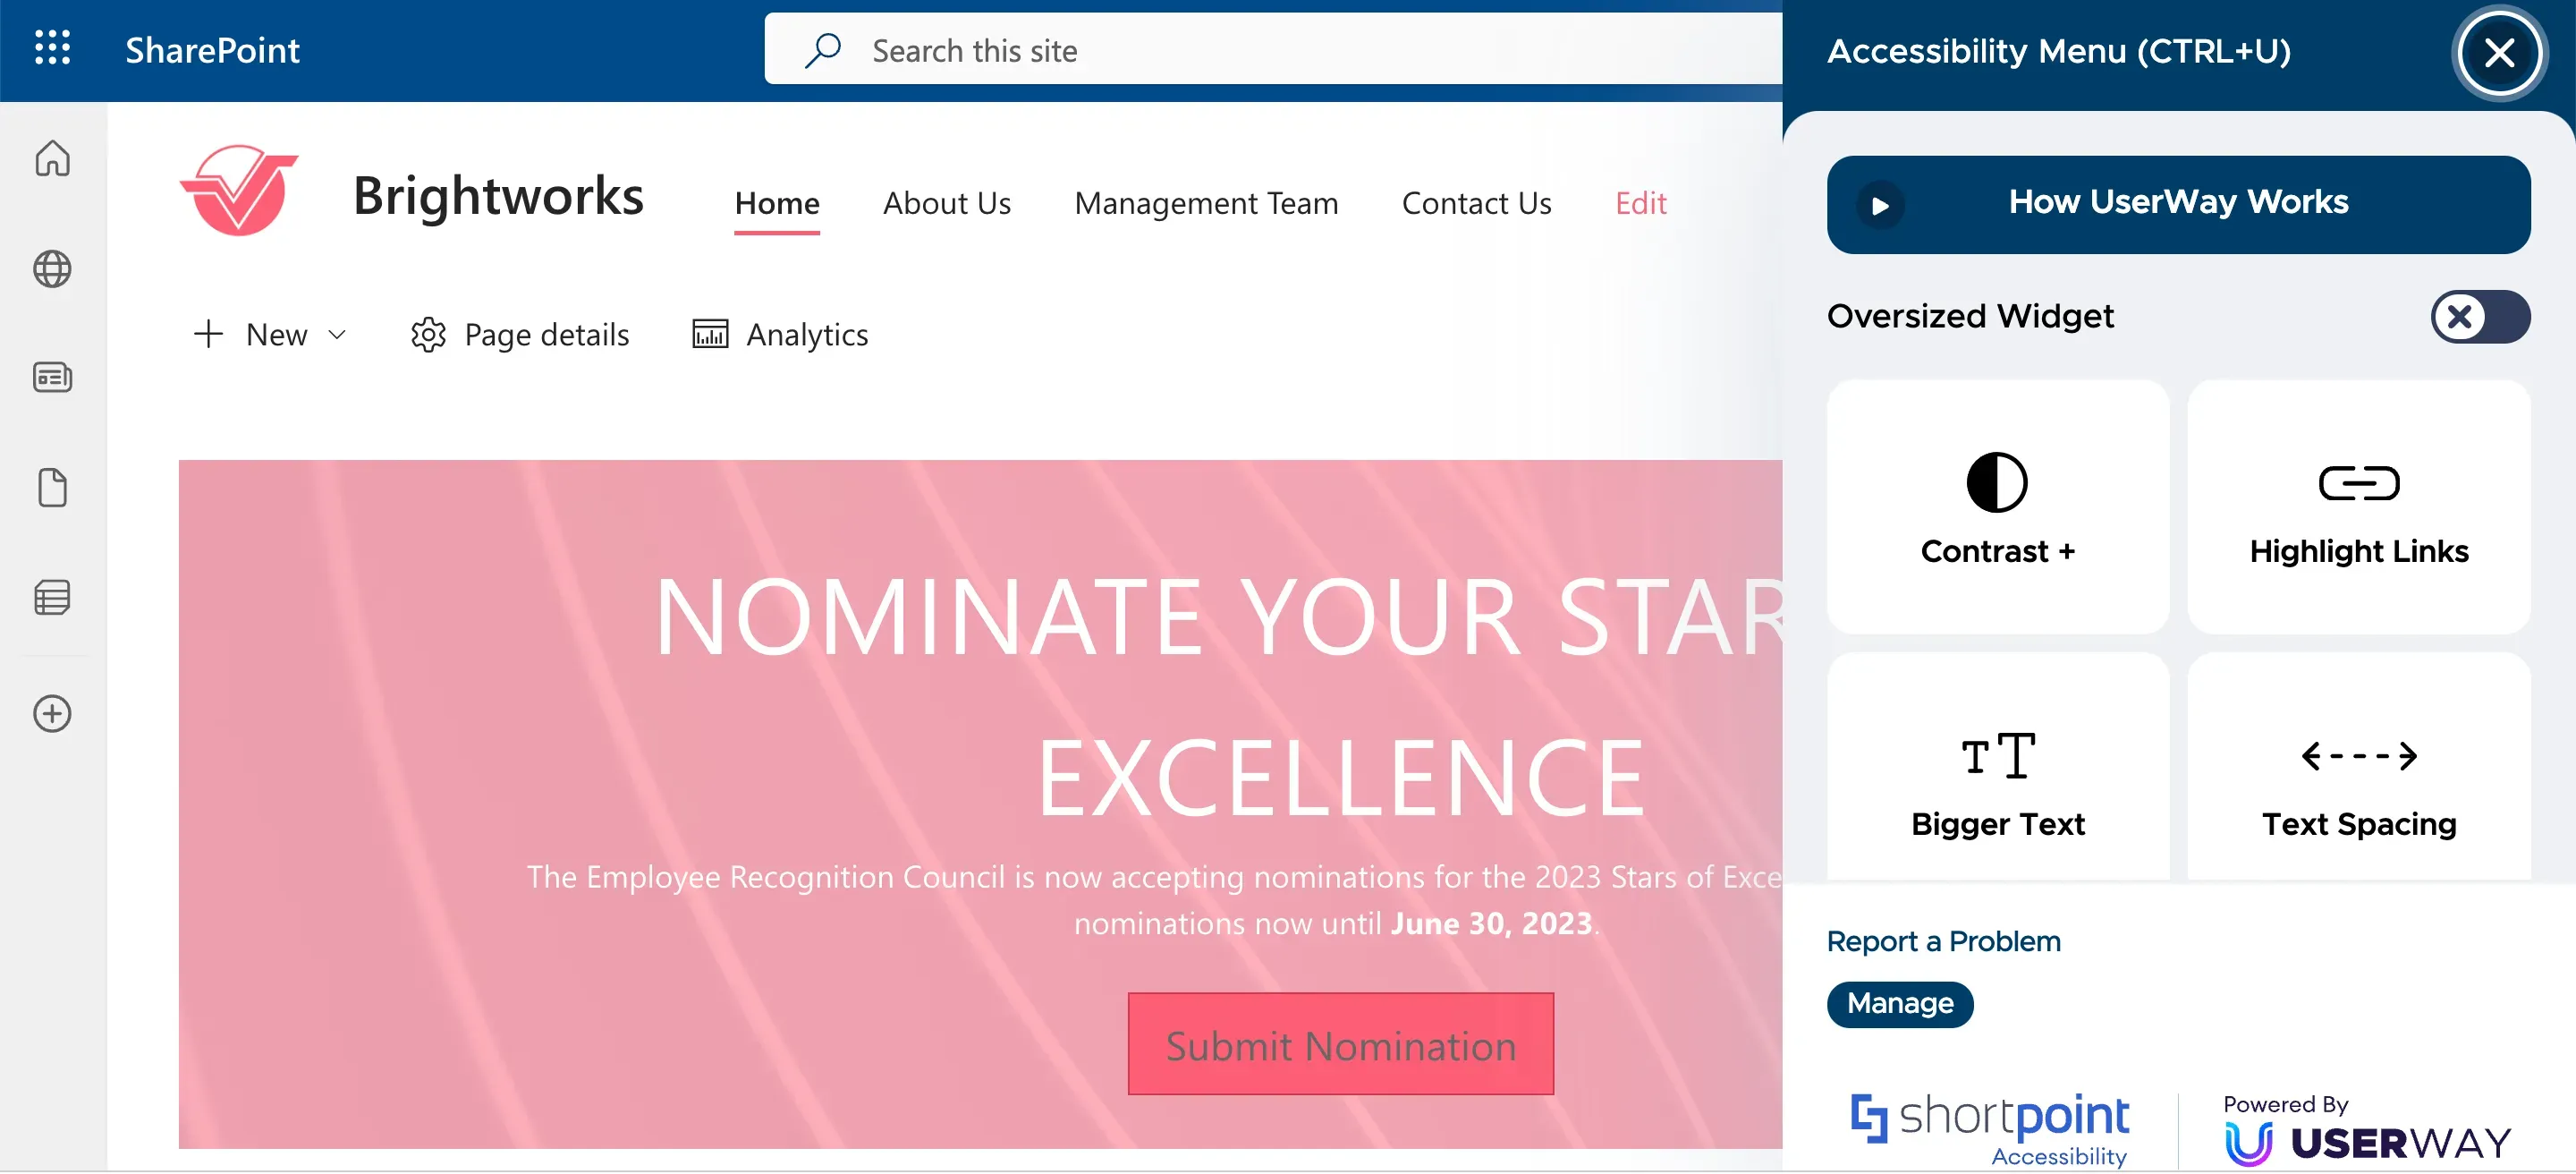
When you click it, you will see several controls that you can use to make your site accessible to all.
Exploring ShortPoint Accessibility functions
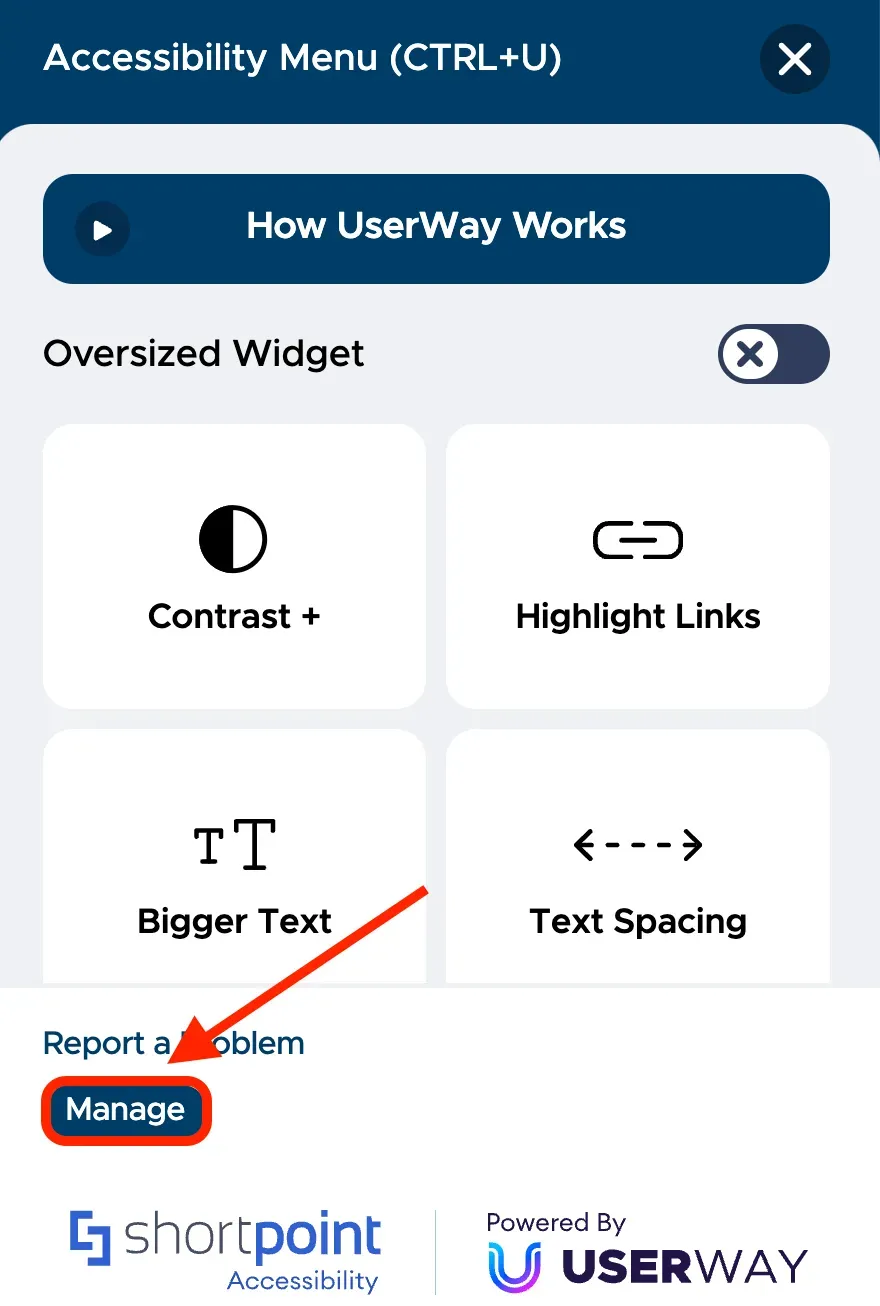
First, let us show you how you can check your site's overall accessibility. Click Manage to open the management console.
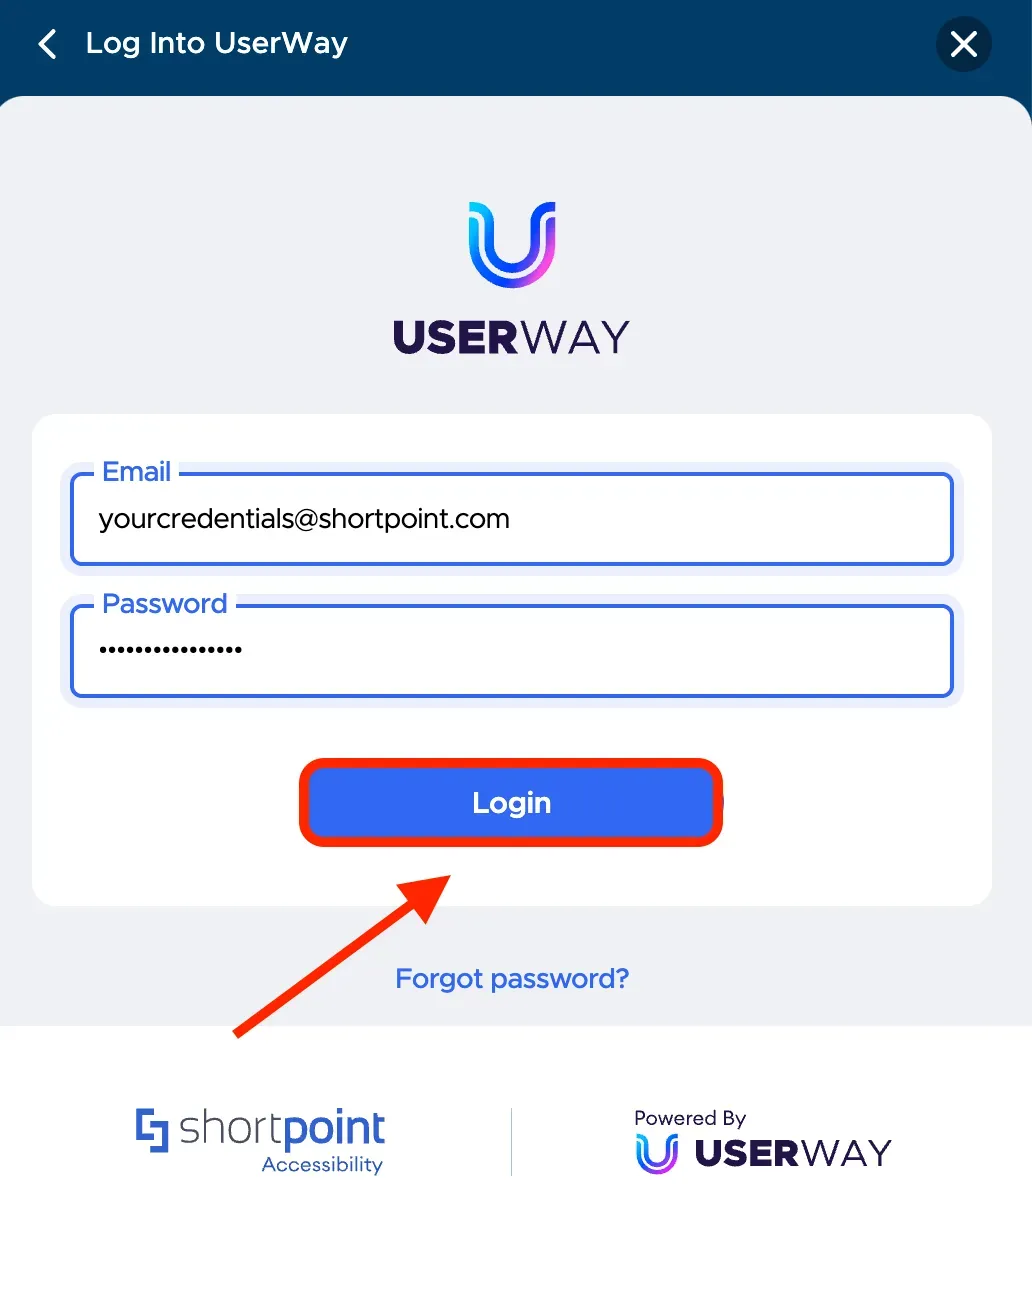
Then, enter the credentials you received via email upon activation and click Login.
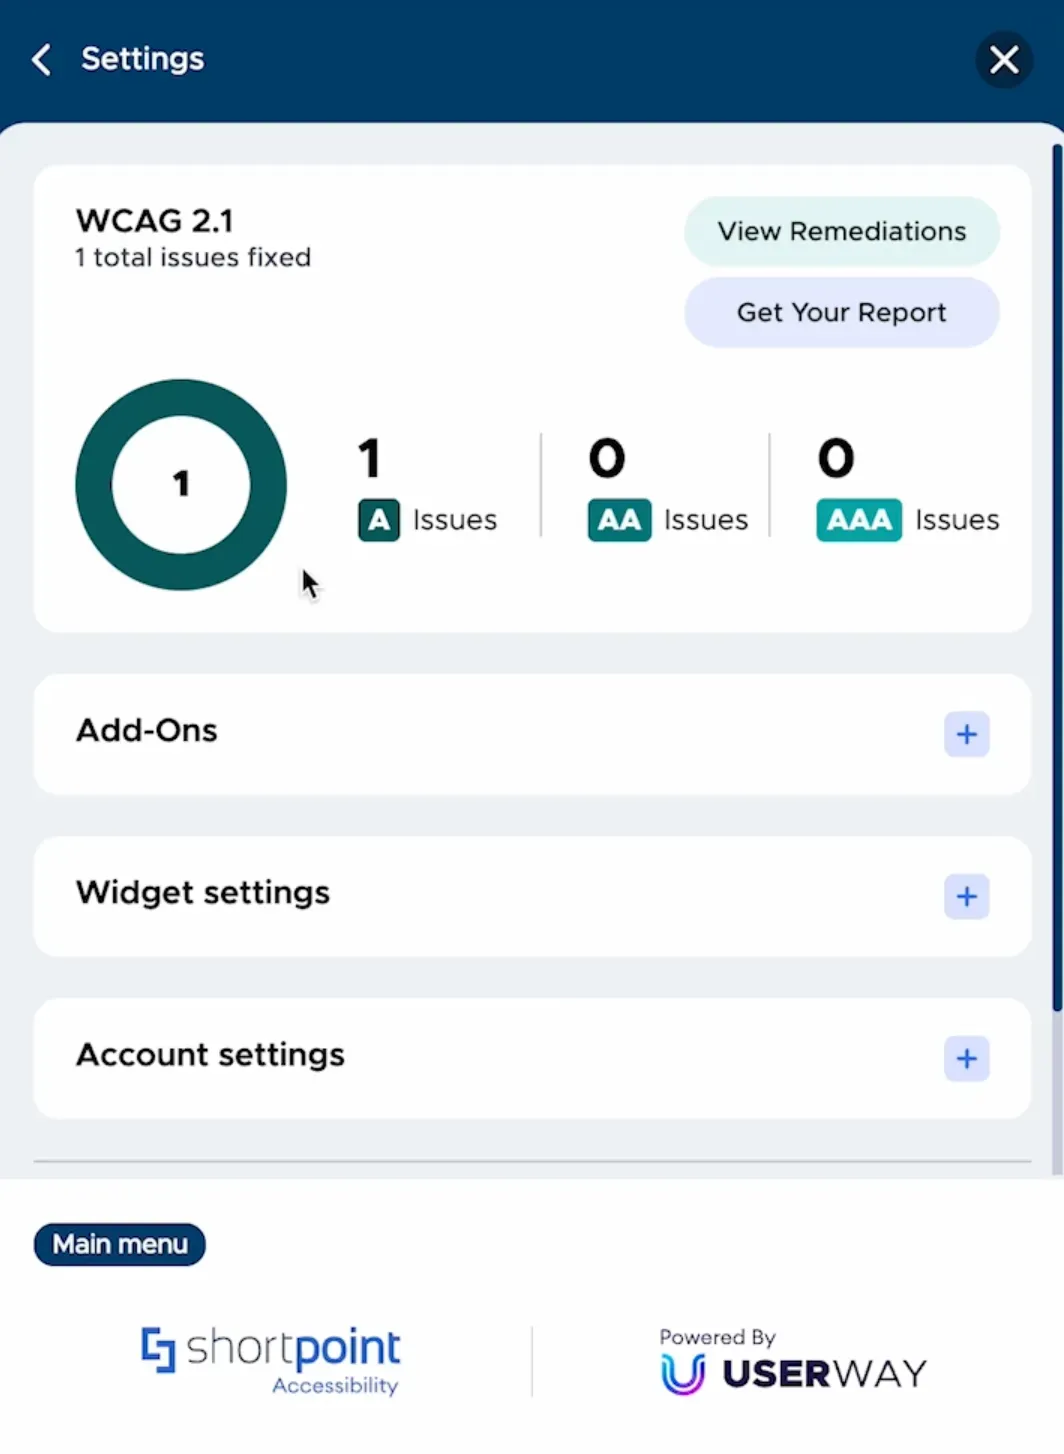
In the management console, you will find a dashboard where all the accessibility violations detected by the AI-powered solution will be listed. At first, you will notice that your dashboard only showcases a few issues.
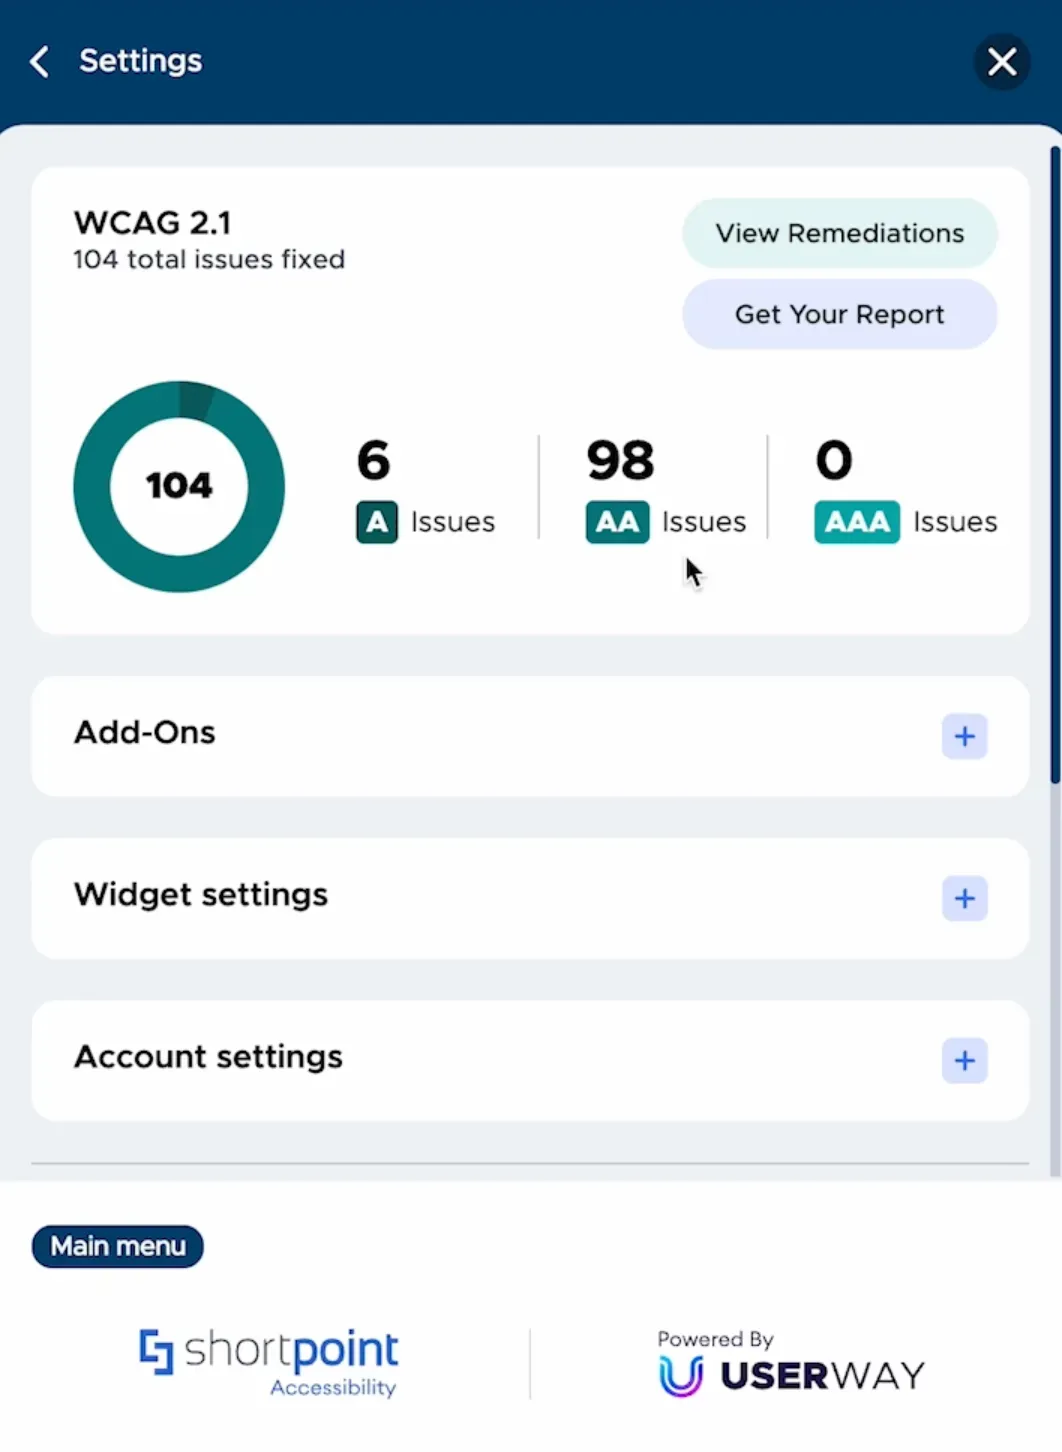
But, within 24 hours of activation, you will receive a full report of the accessibility issues detected.
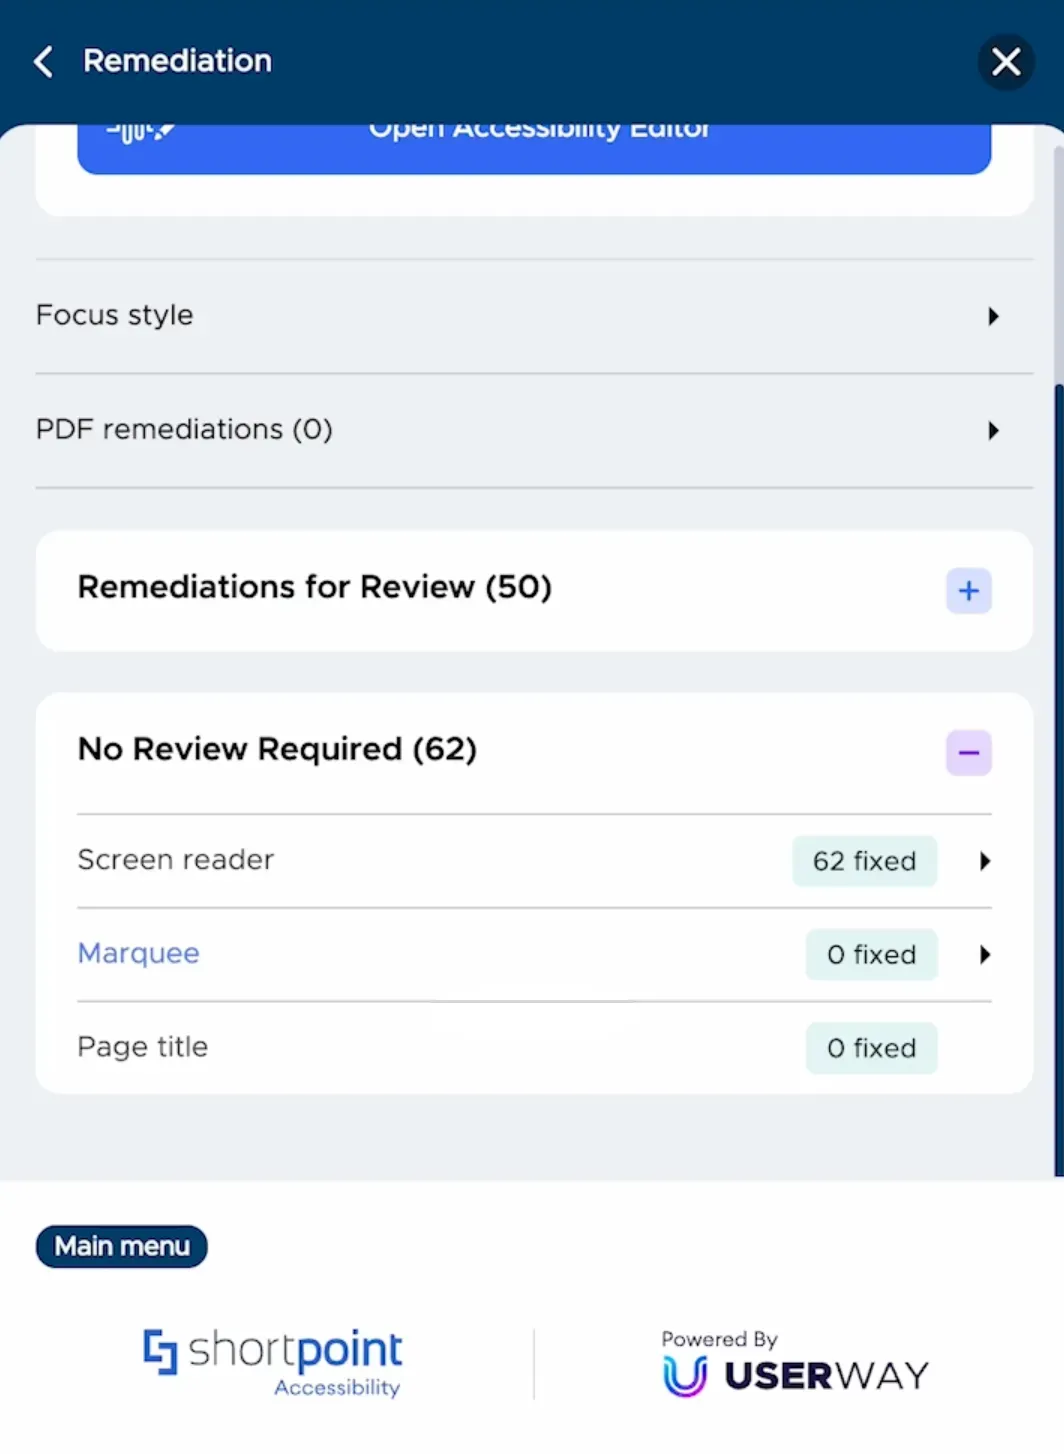
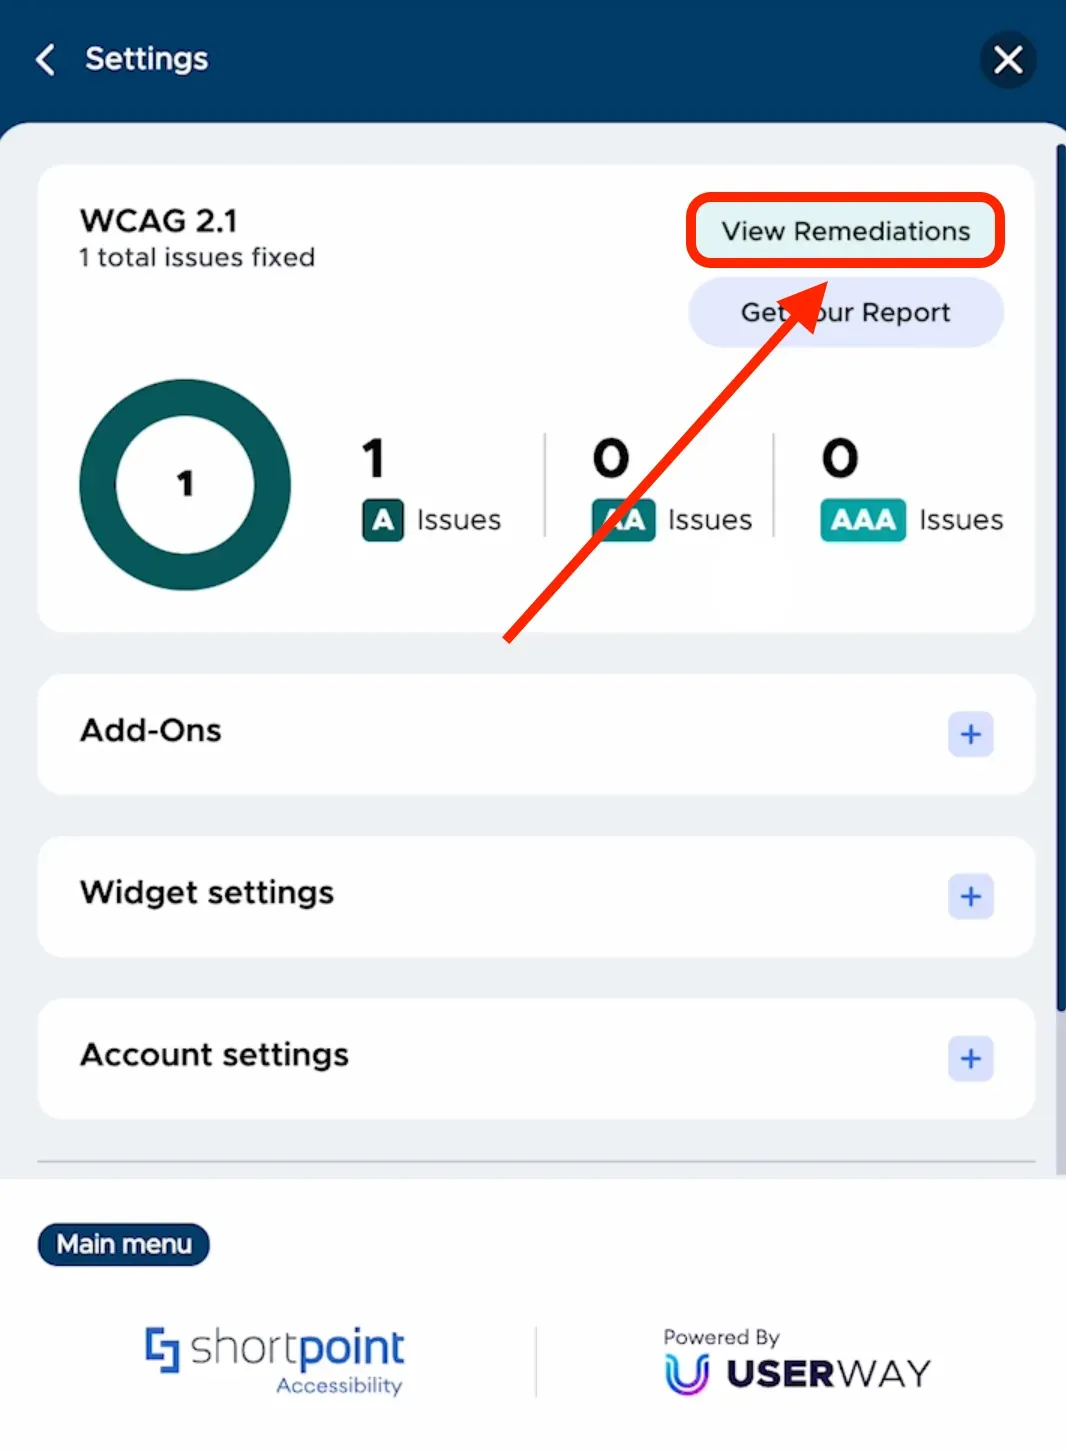
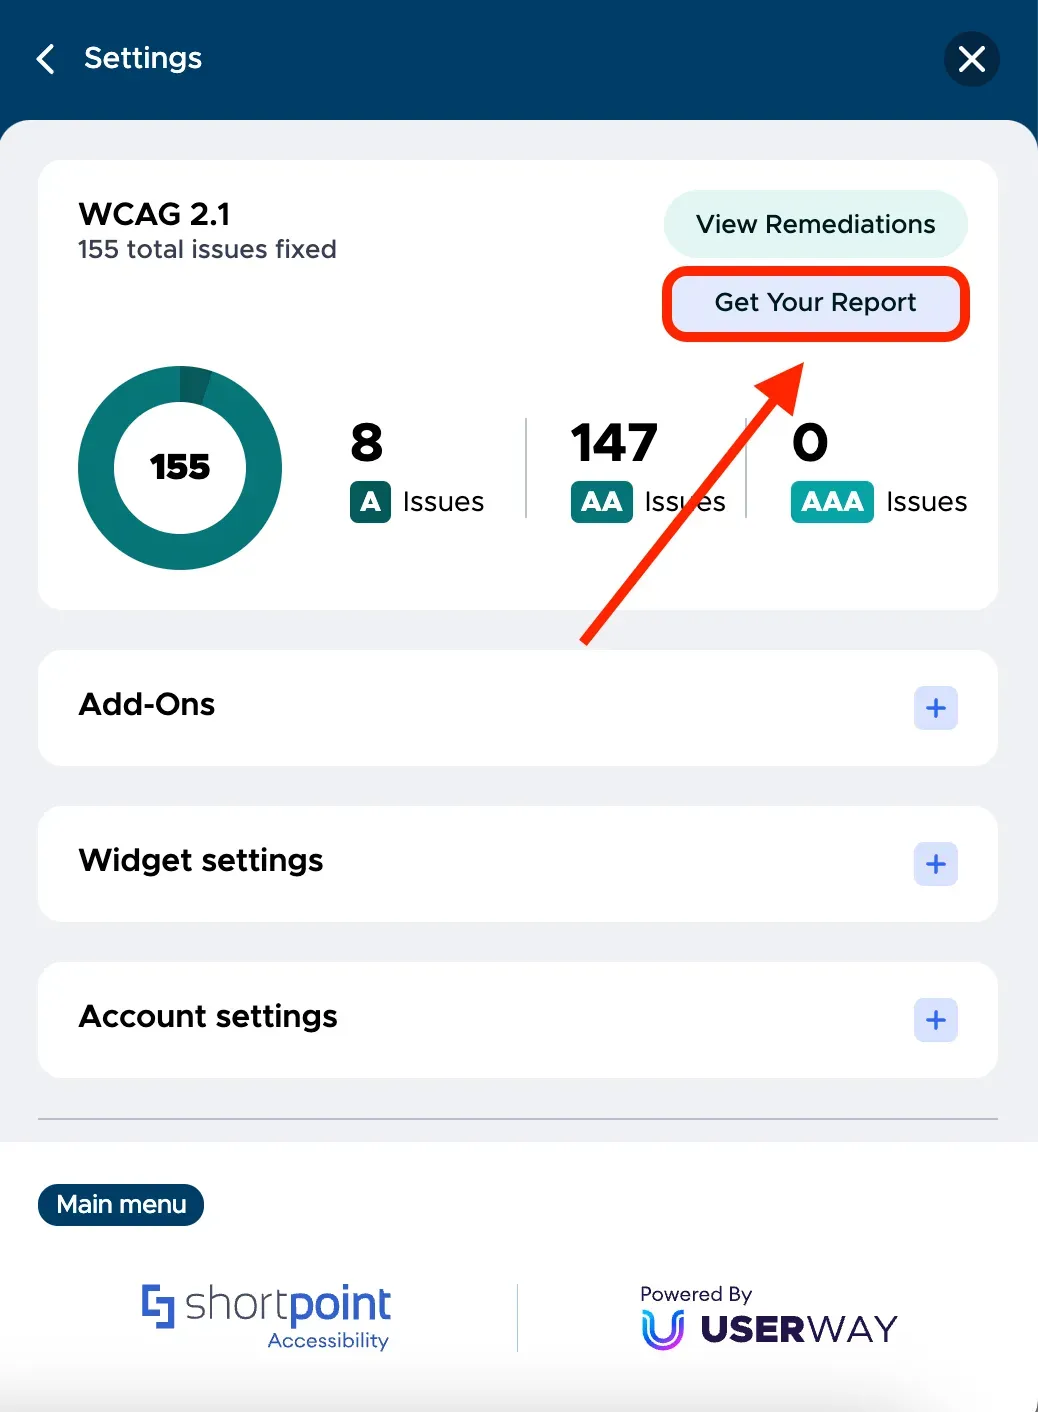
To check remediated issues, select View Remediations.
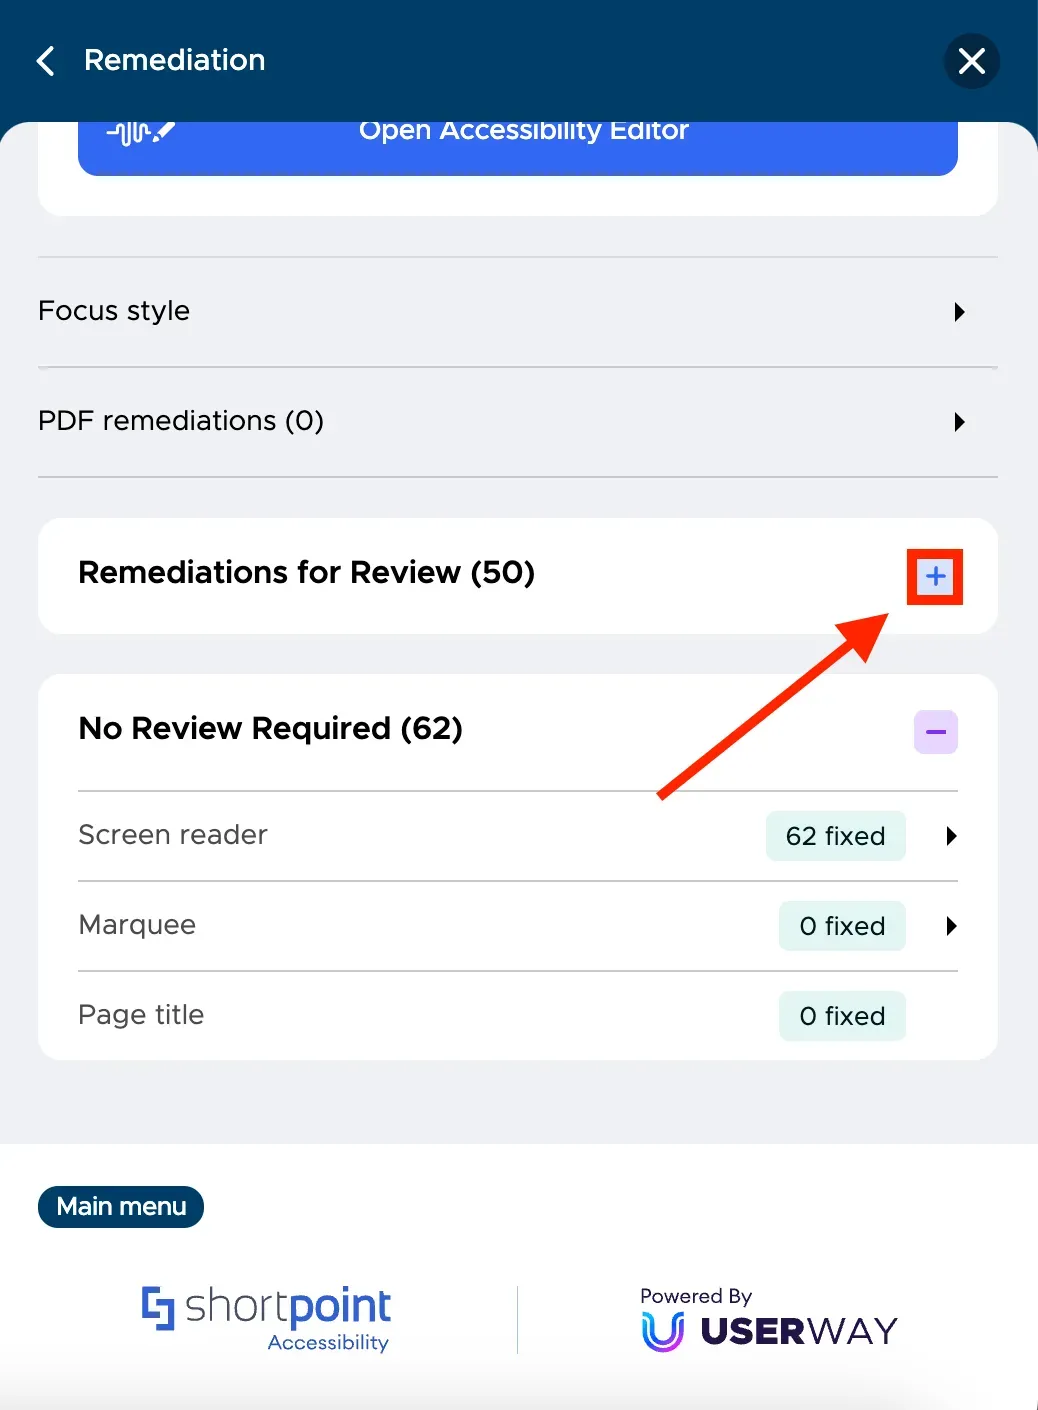
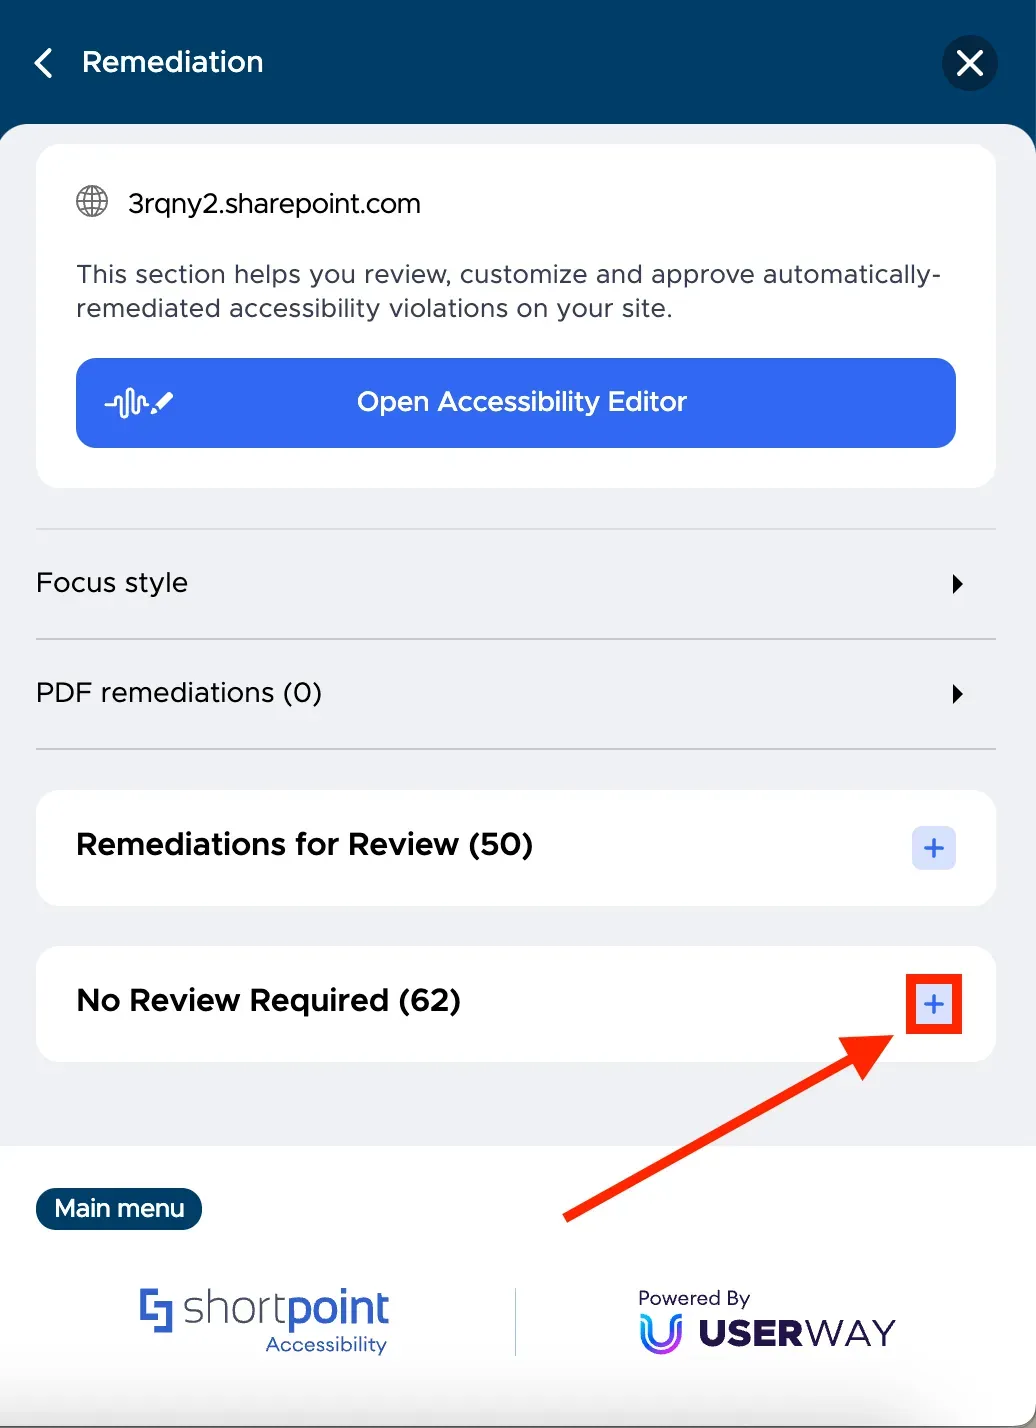
Here, you will see all remediated issues. You will notice two categories under Remediation. One is No Review Required. These are the issues that were automatically remediated and require no other actions from you. To check it, select the plus icon.
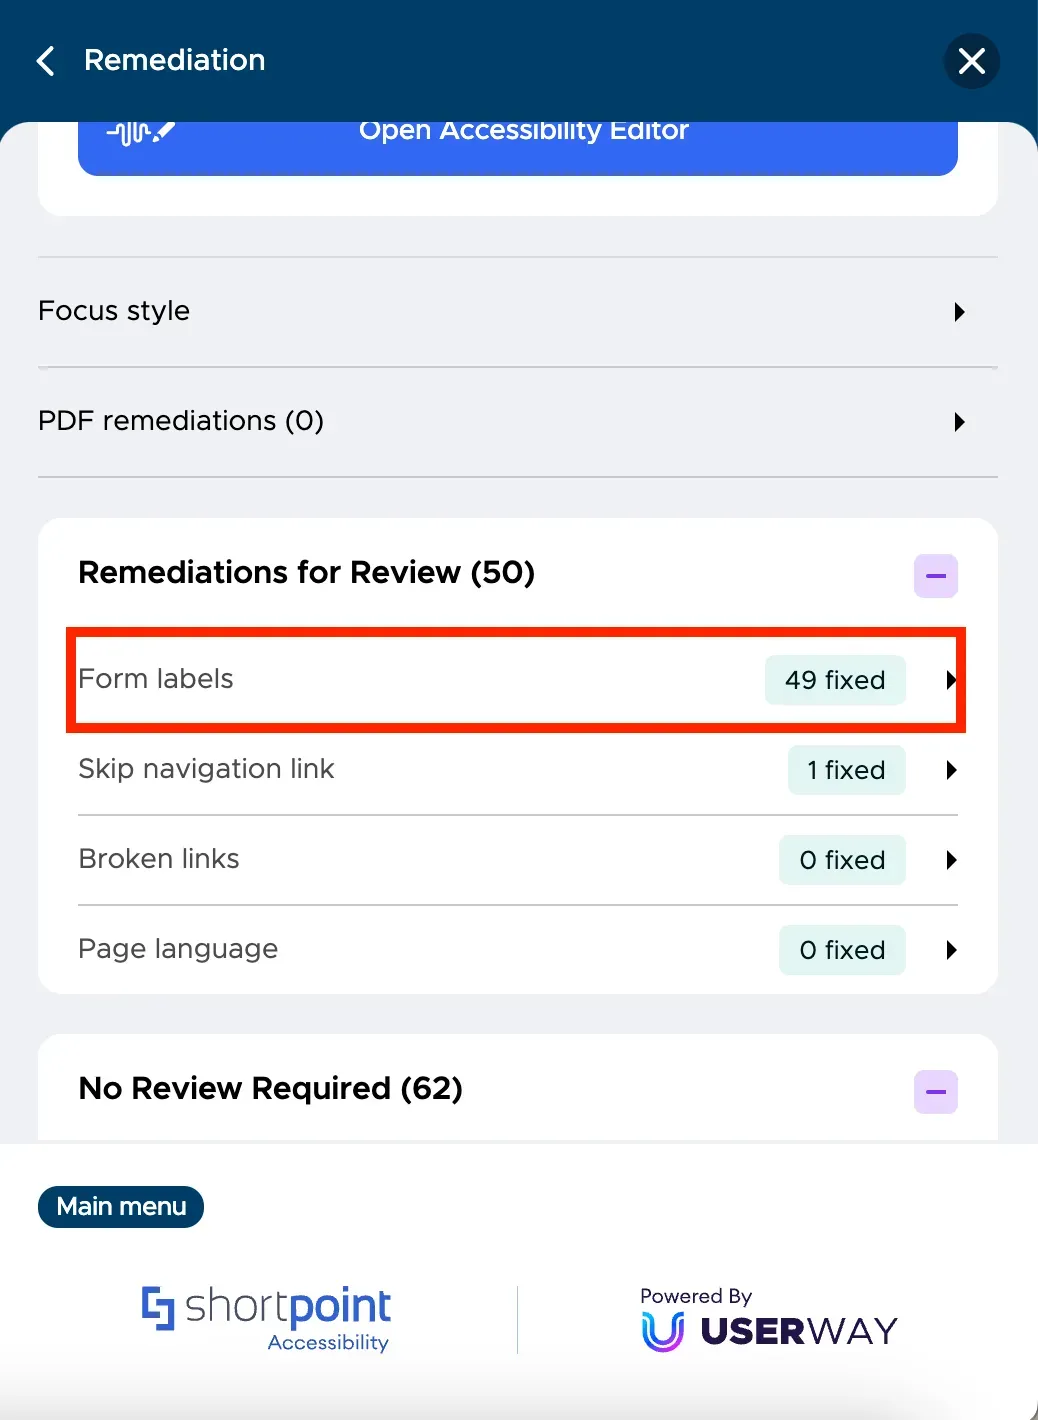
Upon clicking, you will see a list of issues that were automatically remediated. Most issues detected by ShortPoint Accessibility will fall under this category.
Next is Remediations for Review. These are the issues that need further checking. To see it, click the plus icon.
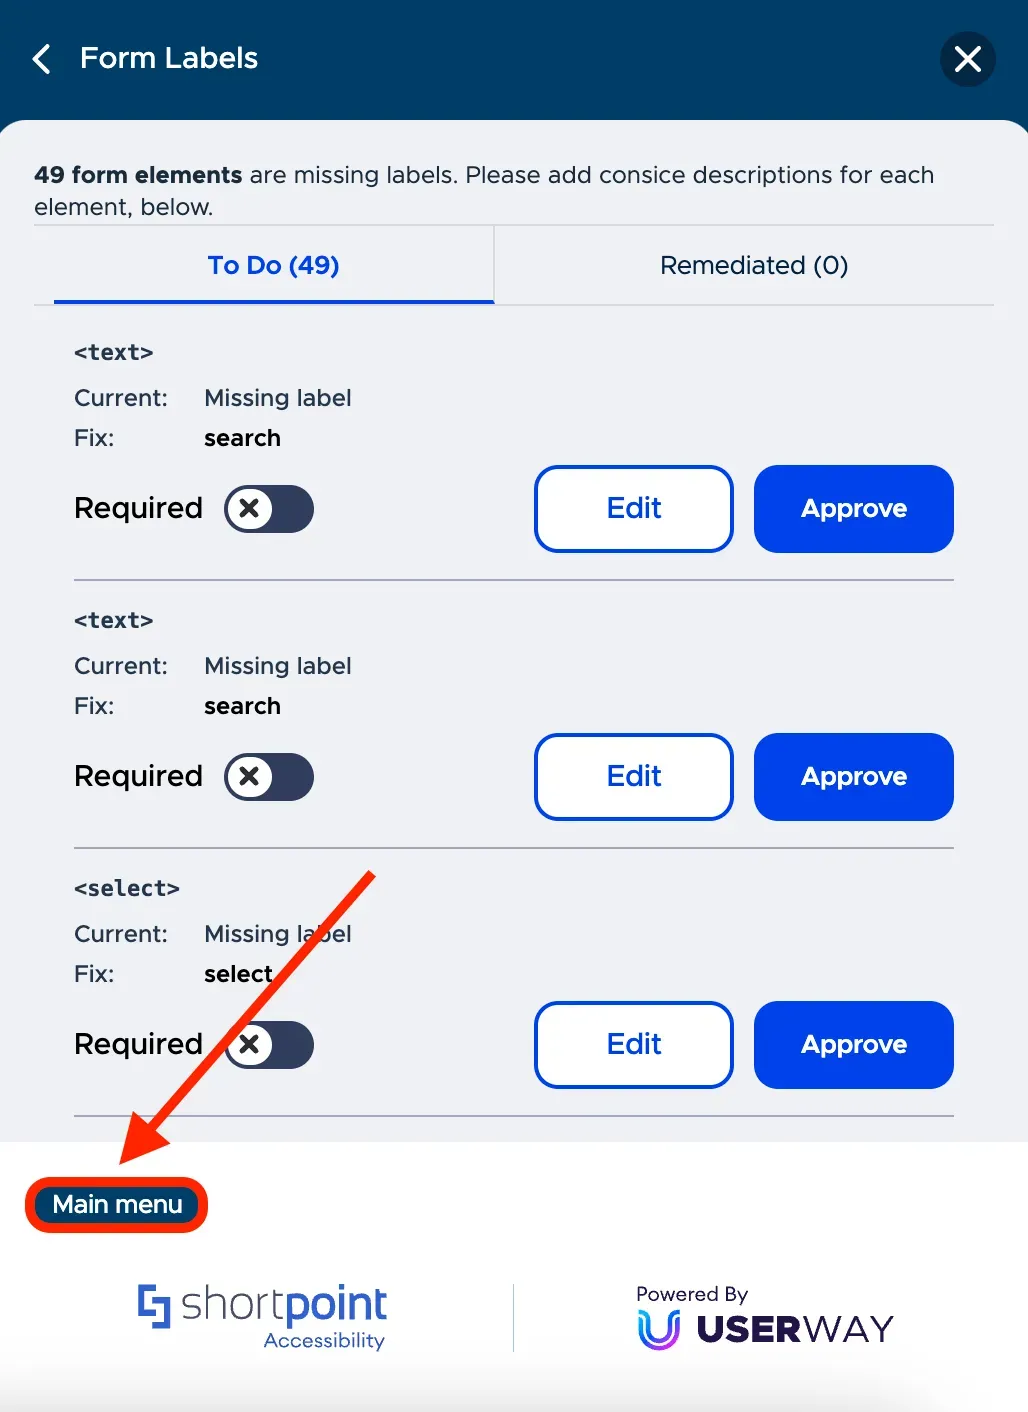
From the list, you can select a specific issue to learn more details. For example, let us check Form labels.
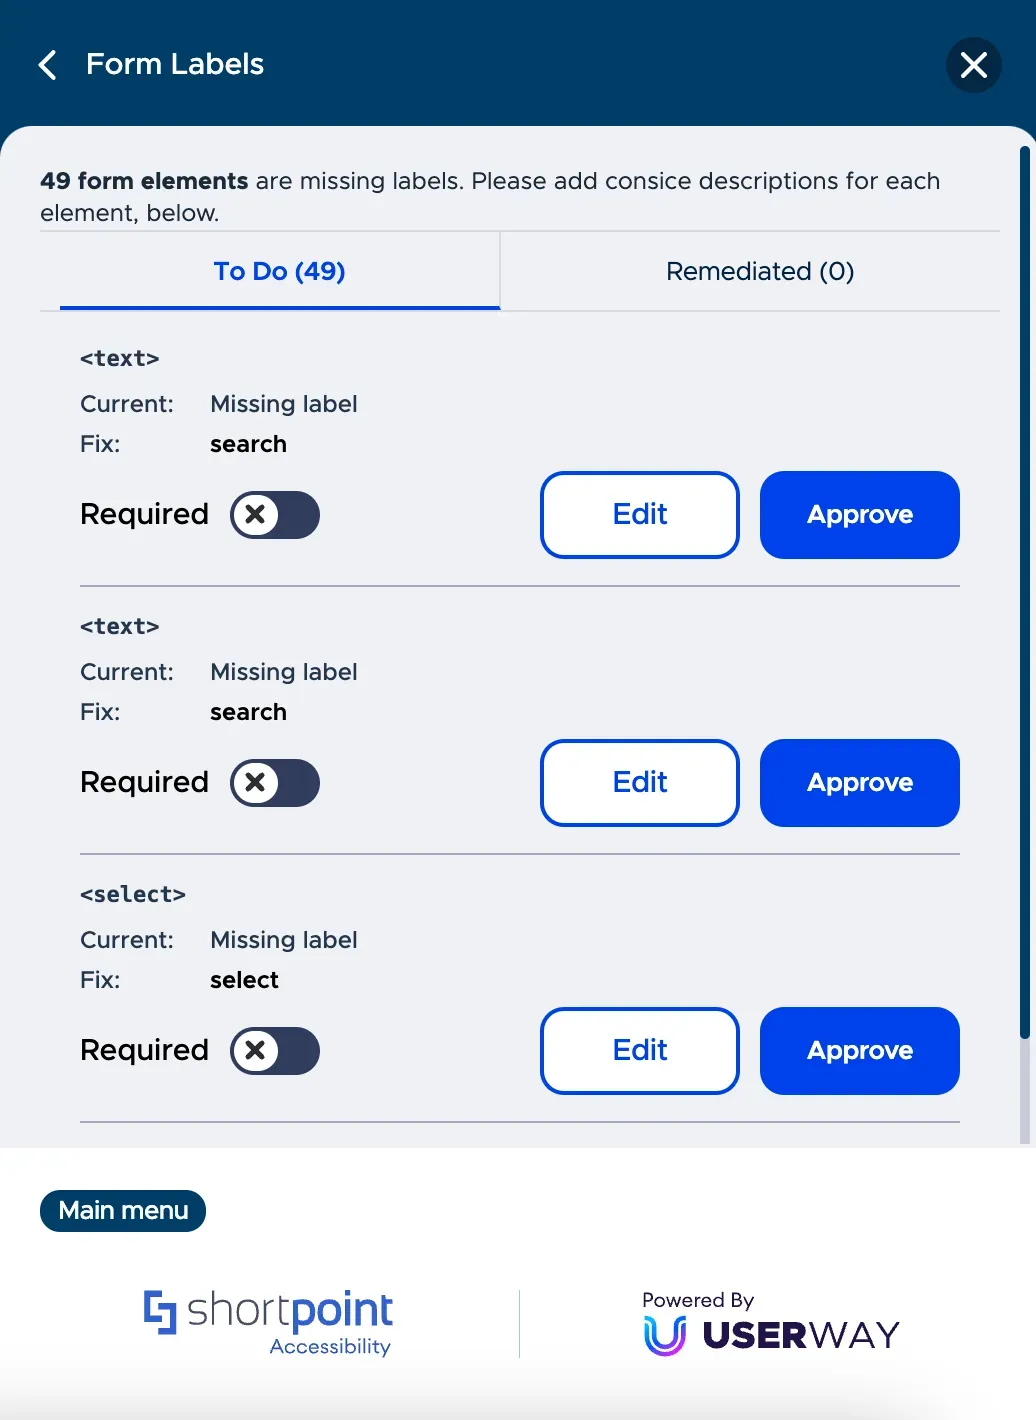
You will be taken to a new screen with a list of items to check. You can either edit or approve each item.
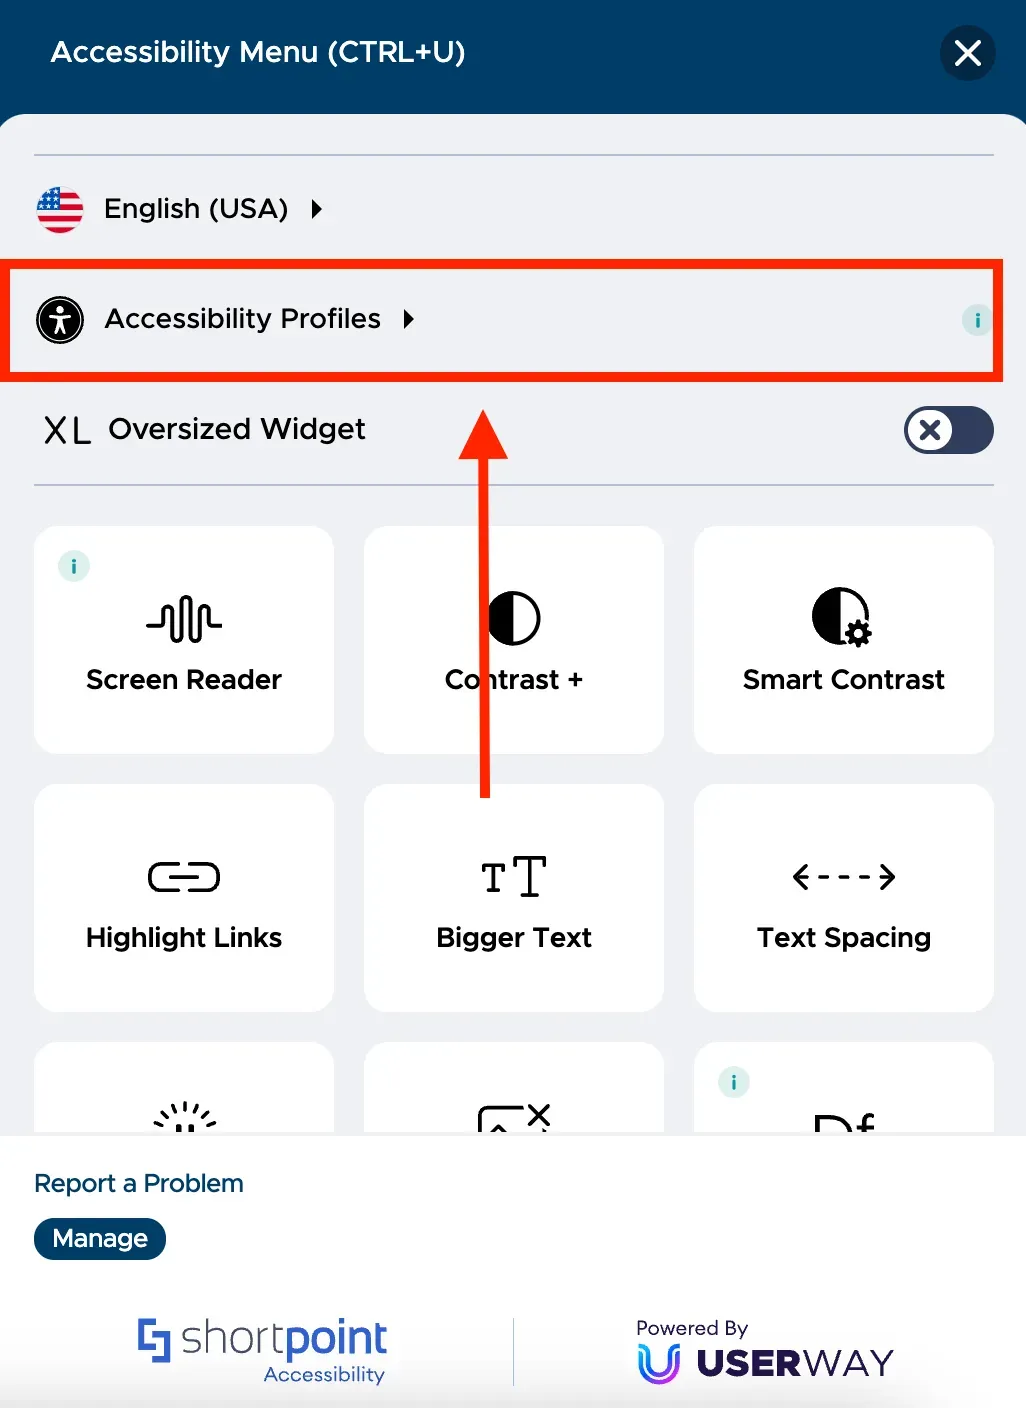
Now, let us now take a look at the functions that will be available to your users. Click Main Menu to see all the functions.
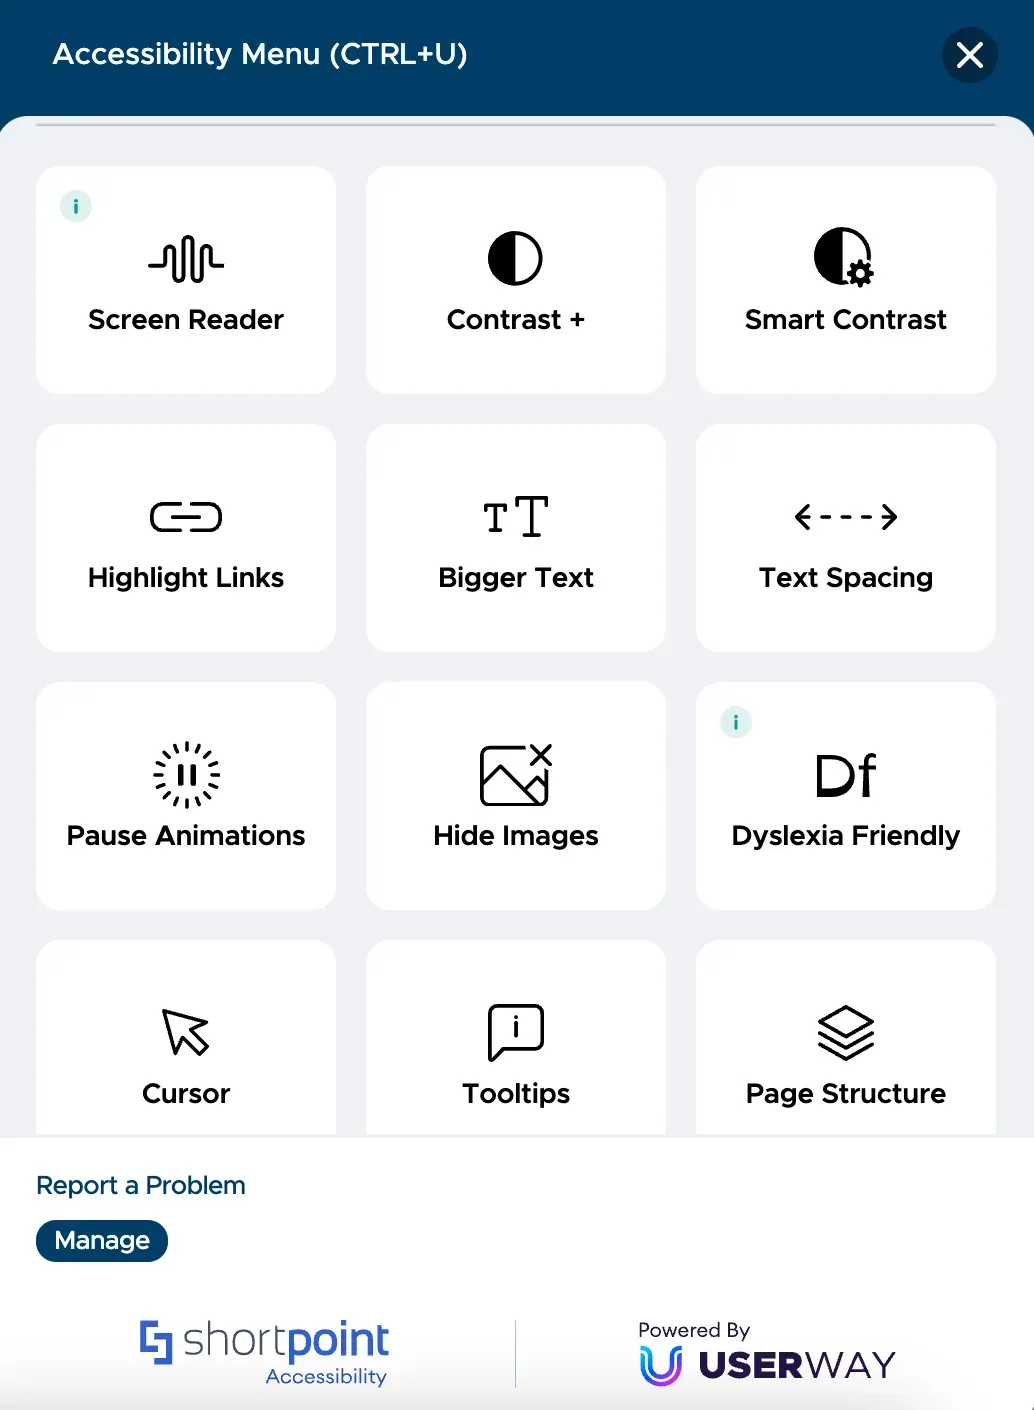
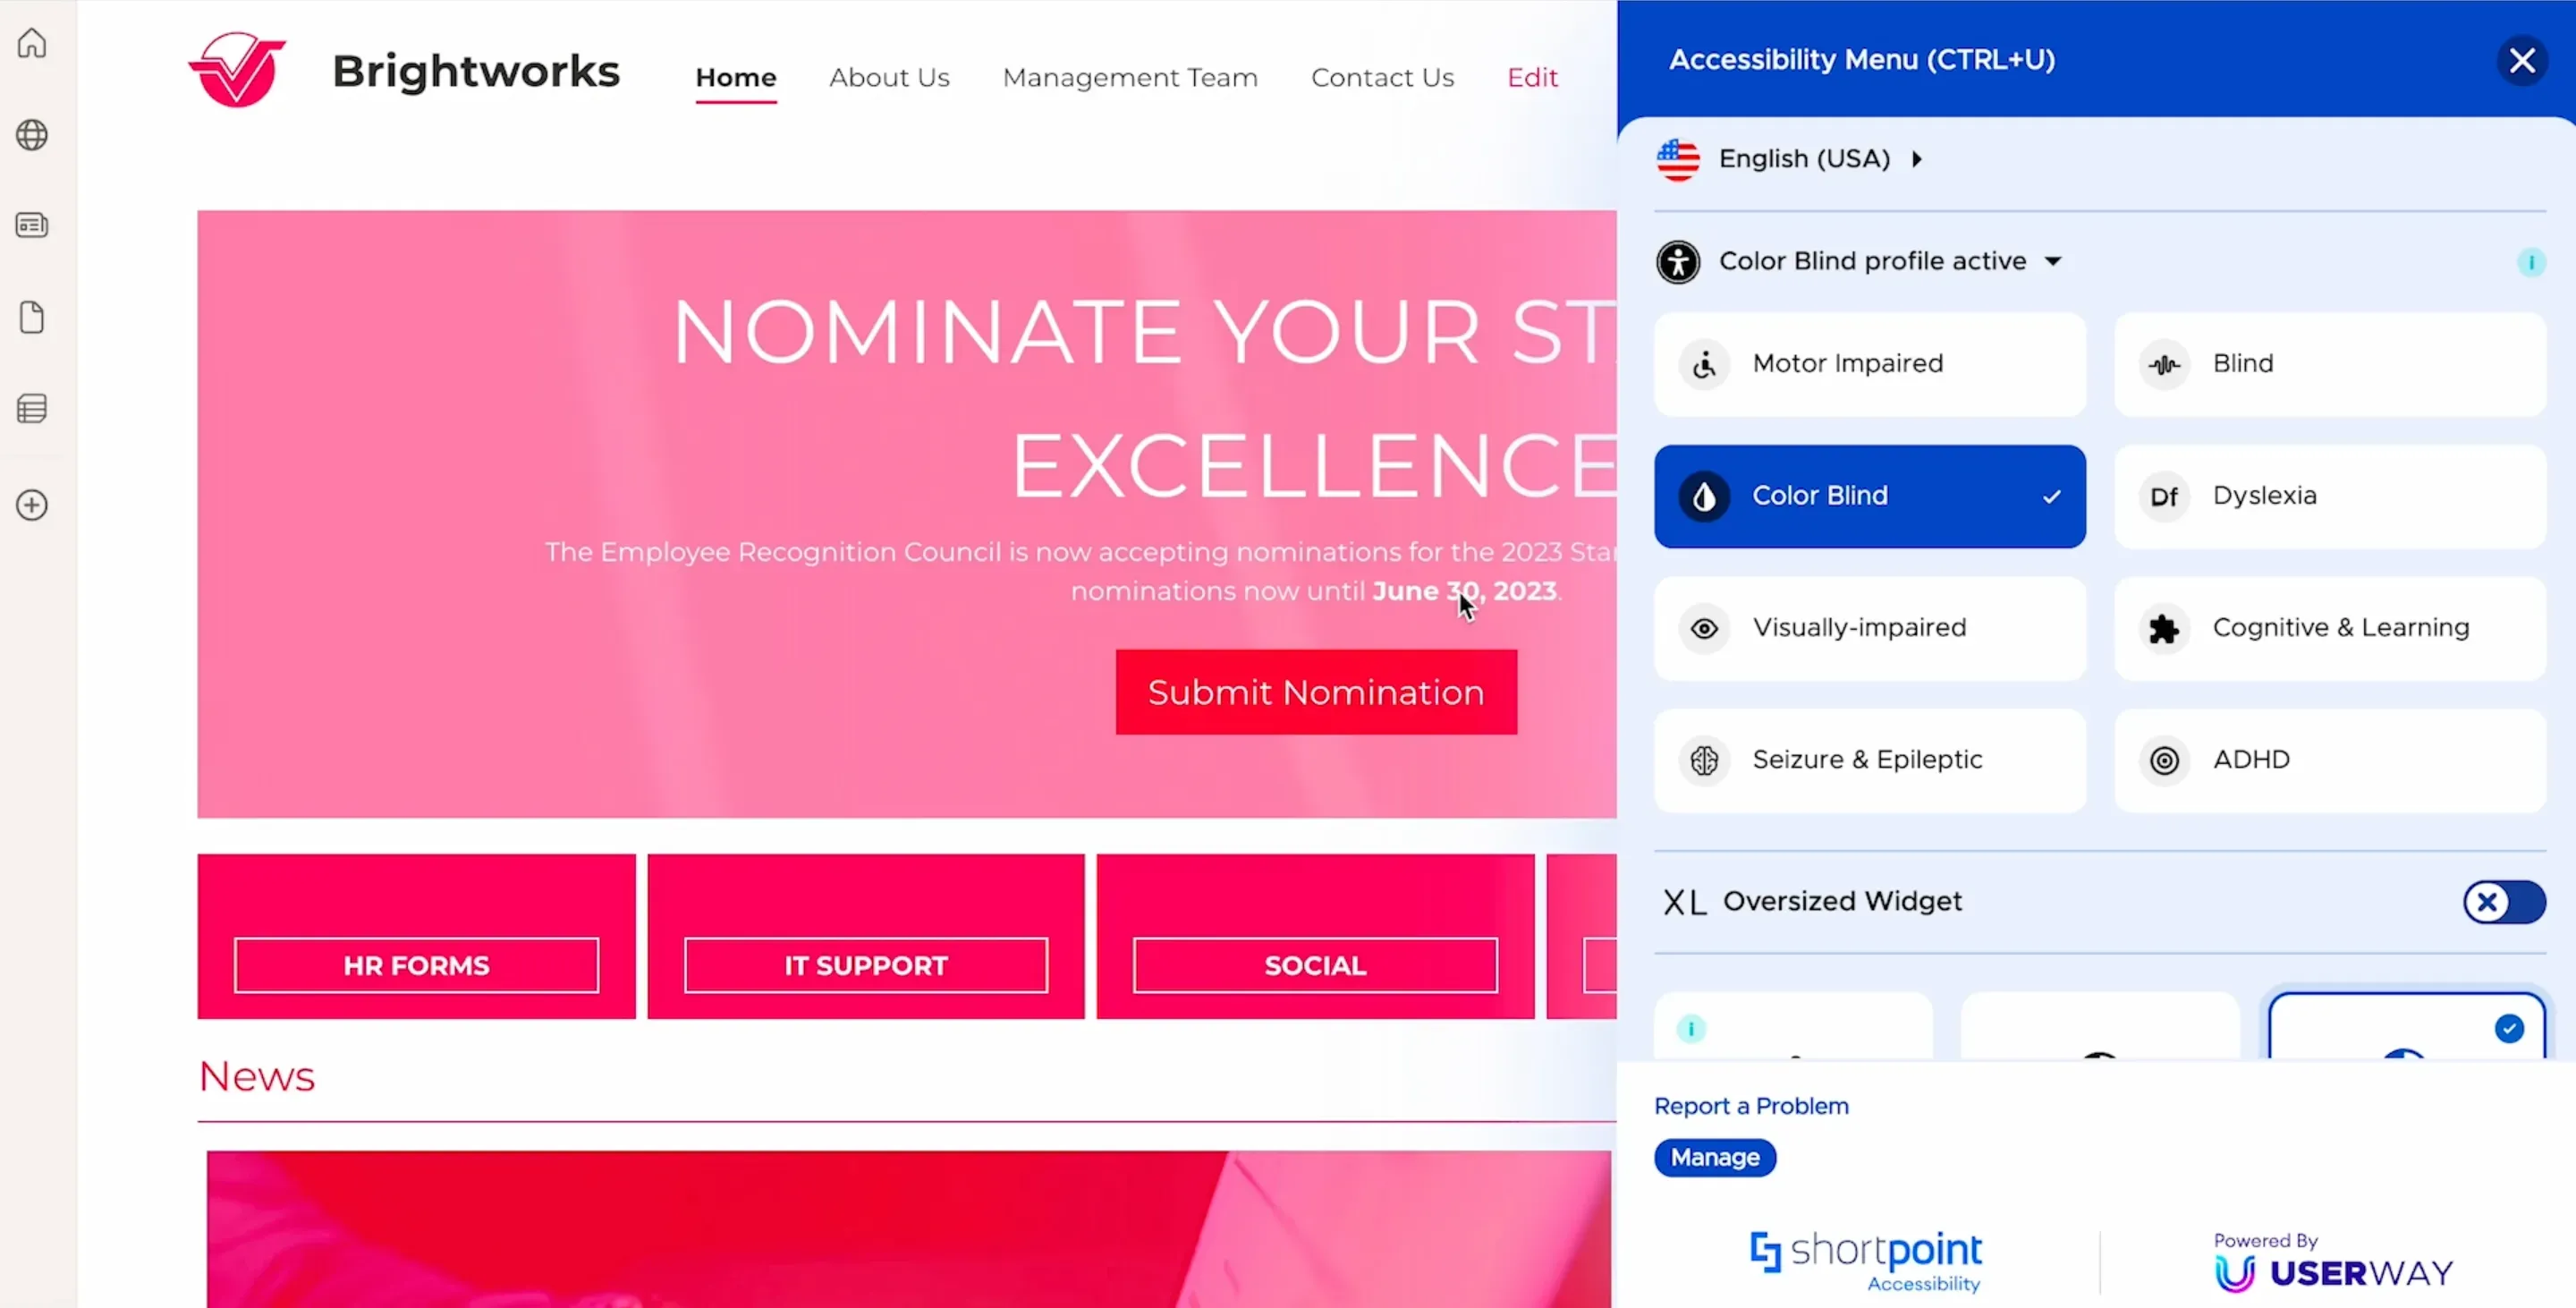
You will now see a list of tools that will allow you to enhance the accessibility of your site. Users can personalize their experience according to their needs and even enable specific functions that cater to an accessibility profile. For example, you want to make your site accessible to the color blind. Simply click Accessibility Profiles.
You will see a list of accessibility profiles that you can cater to. Click Color Blind and your page will automatically apply the changes.
Other available accessibility functions include activating a screen reader, using voice navigation, applying contrast, making the text on the site bigger, and more. By making these options available to your users, you can ensure that your site is accessible to everyone, regardless of their individual needs.
Showing compliance to accessibility standards
ShortPoint Accessibility can also help you provide proof of compliance with accessibility standards and promote your commitment to creating an inclusive workplace.
To download a detailed accessibility report, click Manage.
This will take you to the management console. Click Get Your Report.
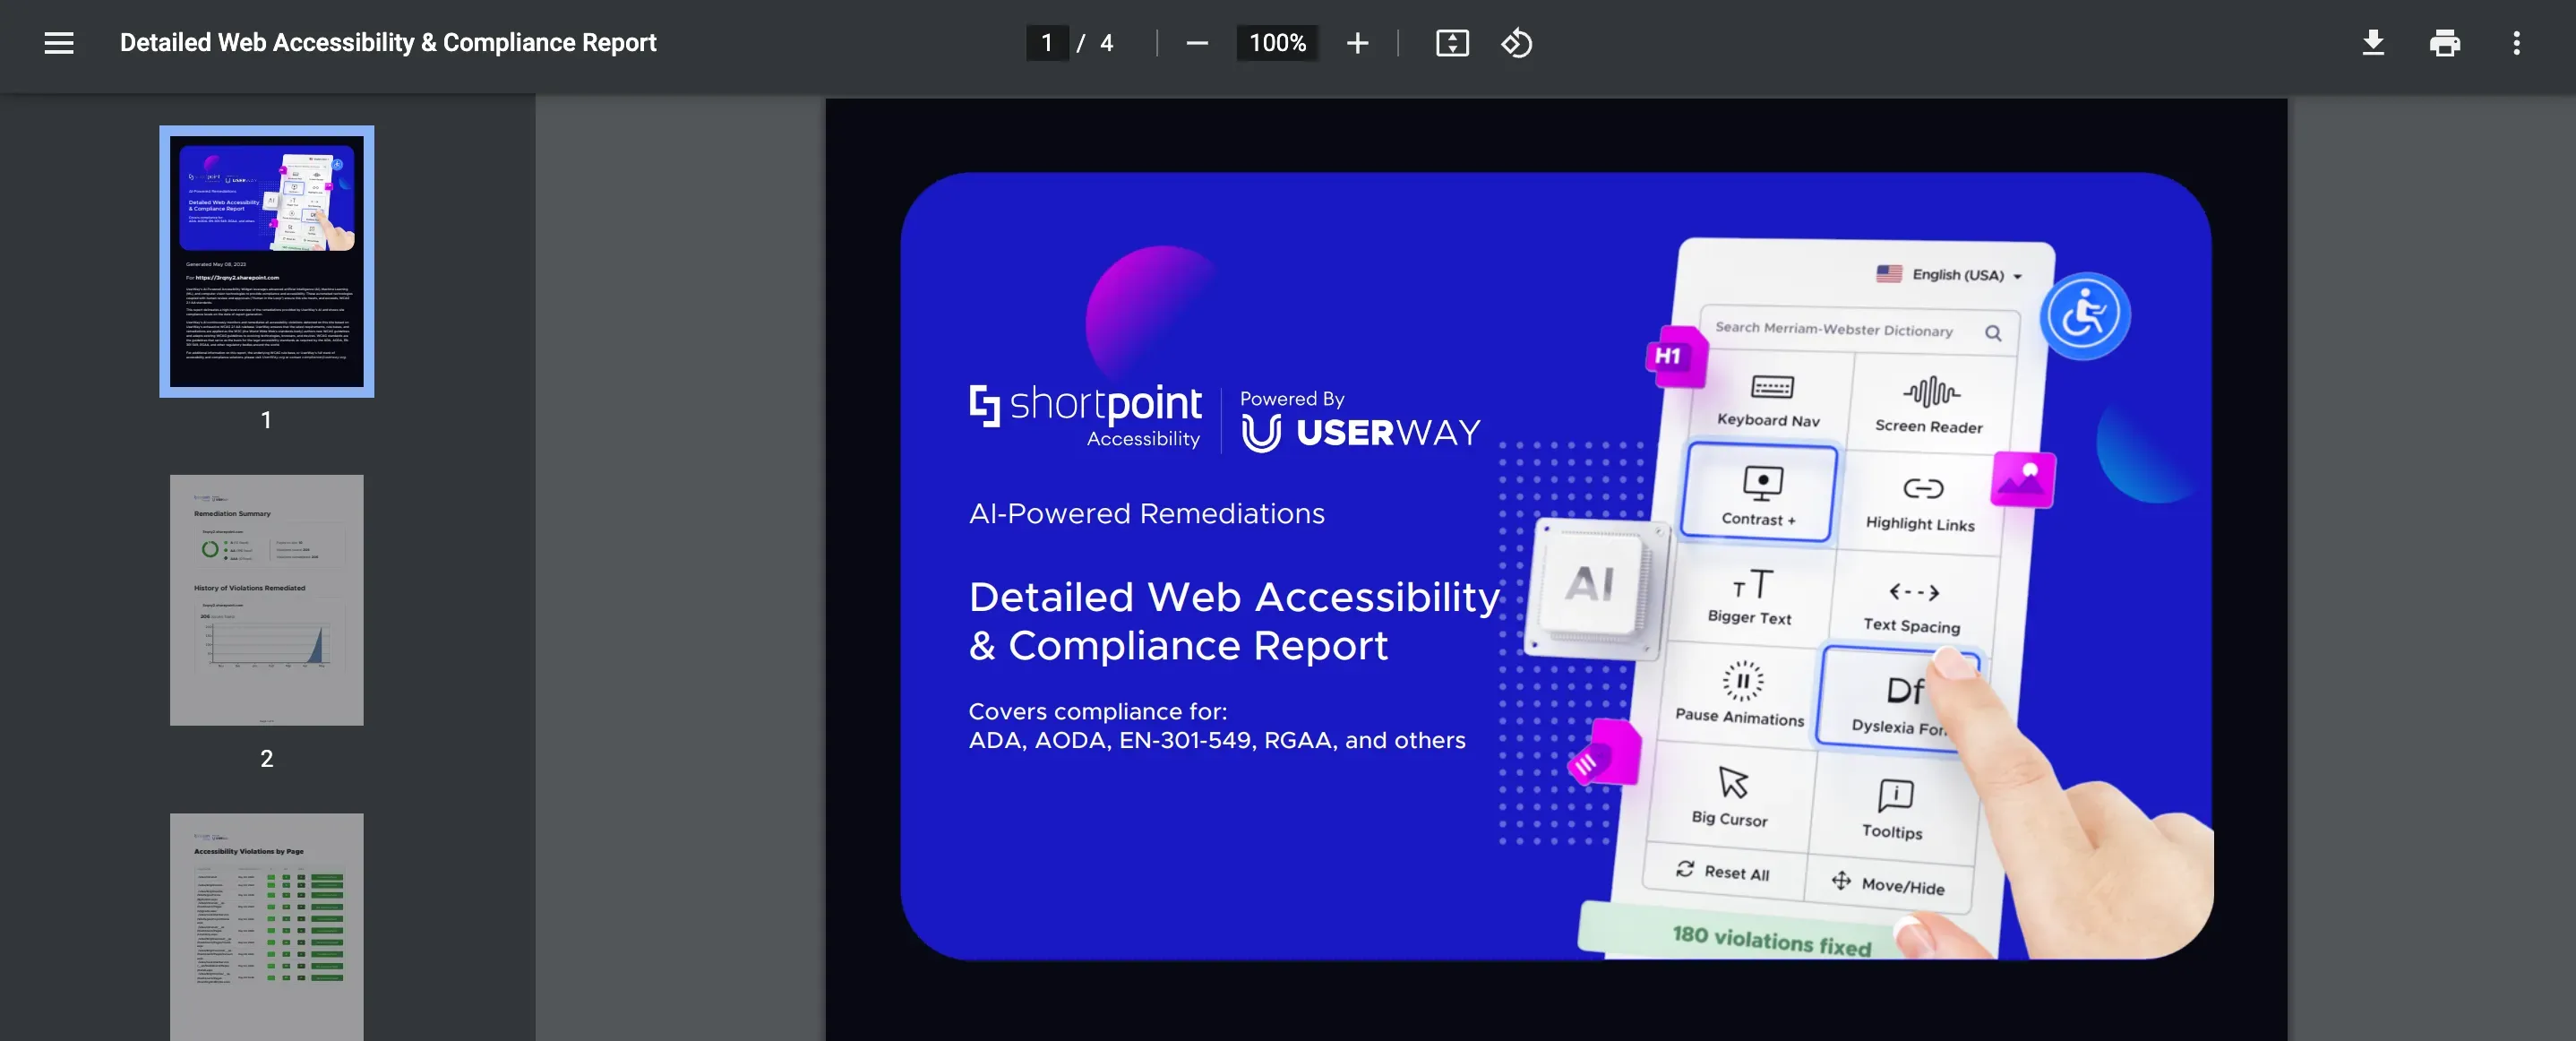
The report will be downloaded as a PDF file that you can use as evidence of compliance with the required standards.
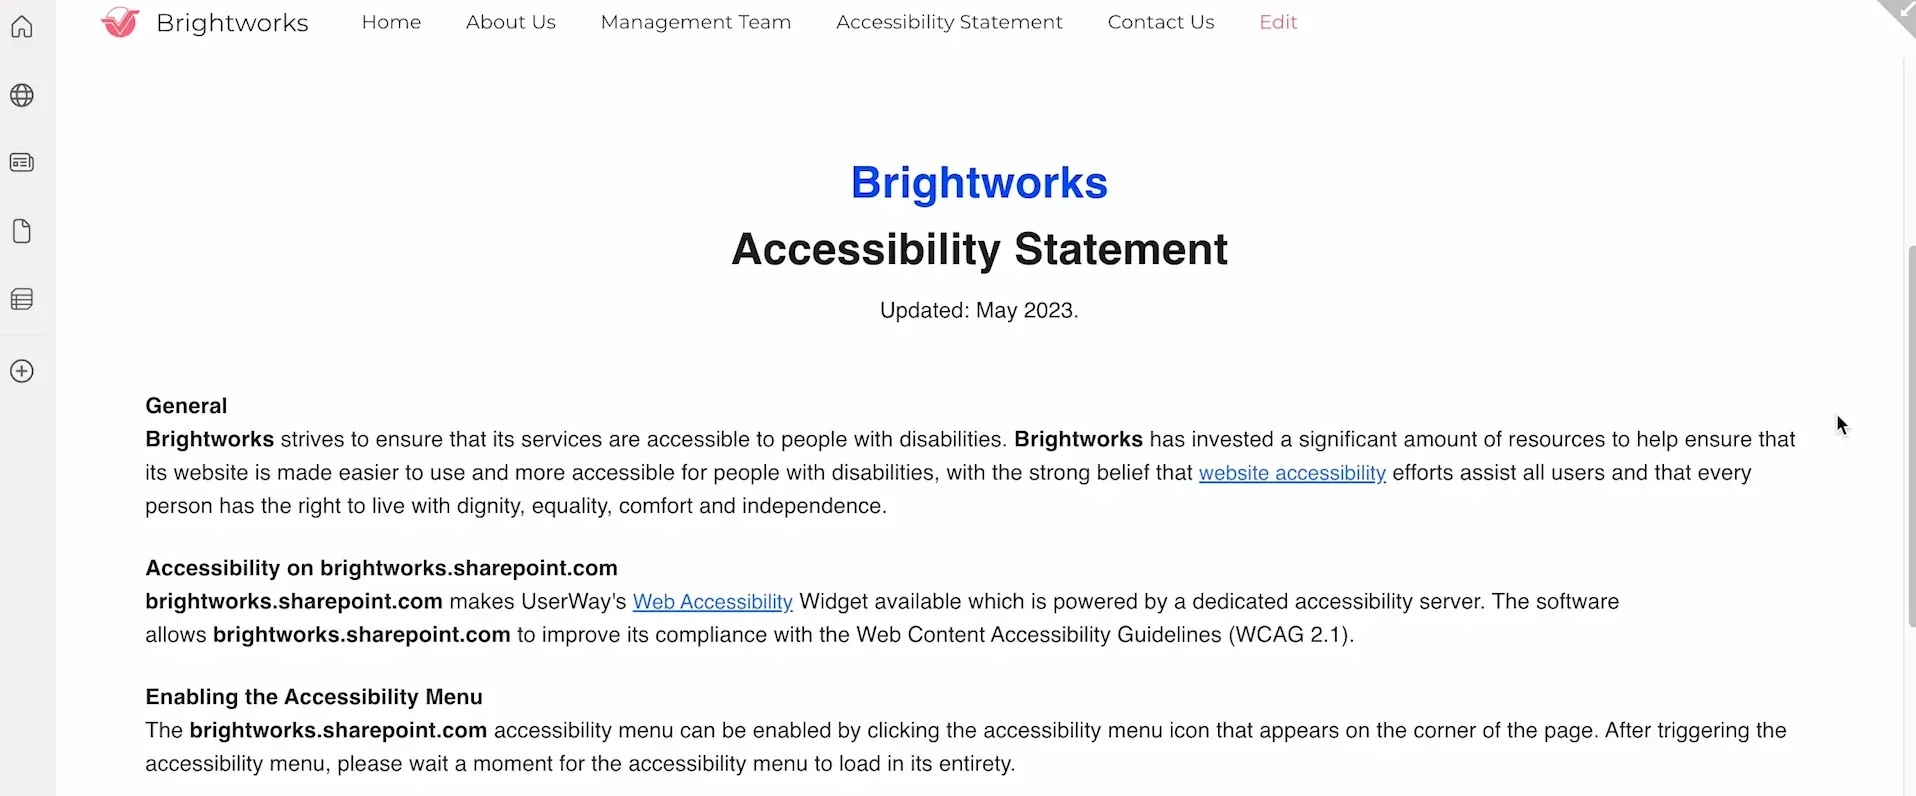
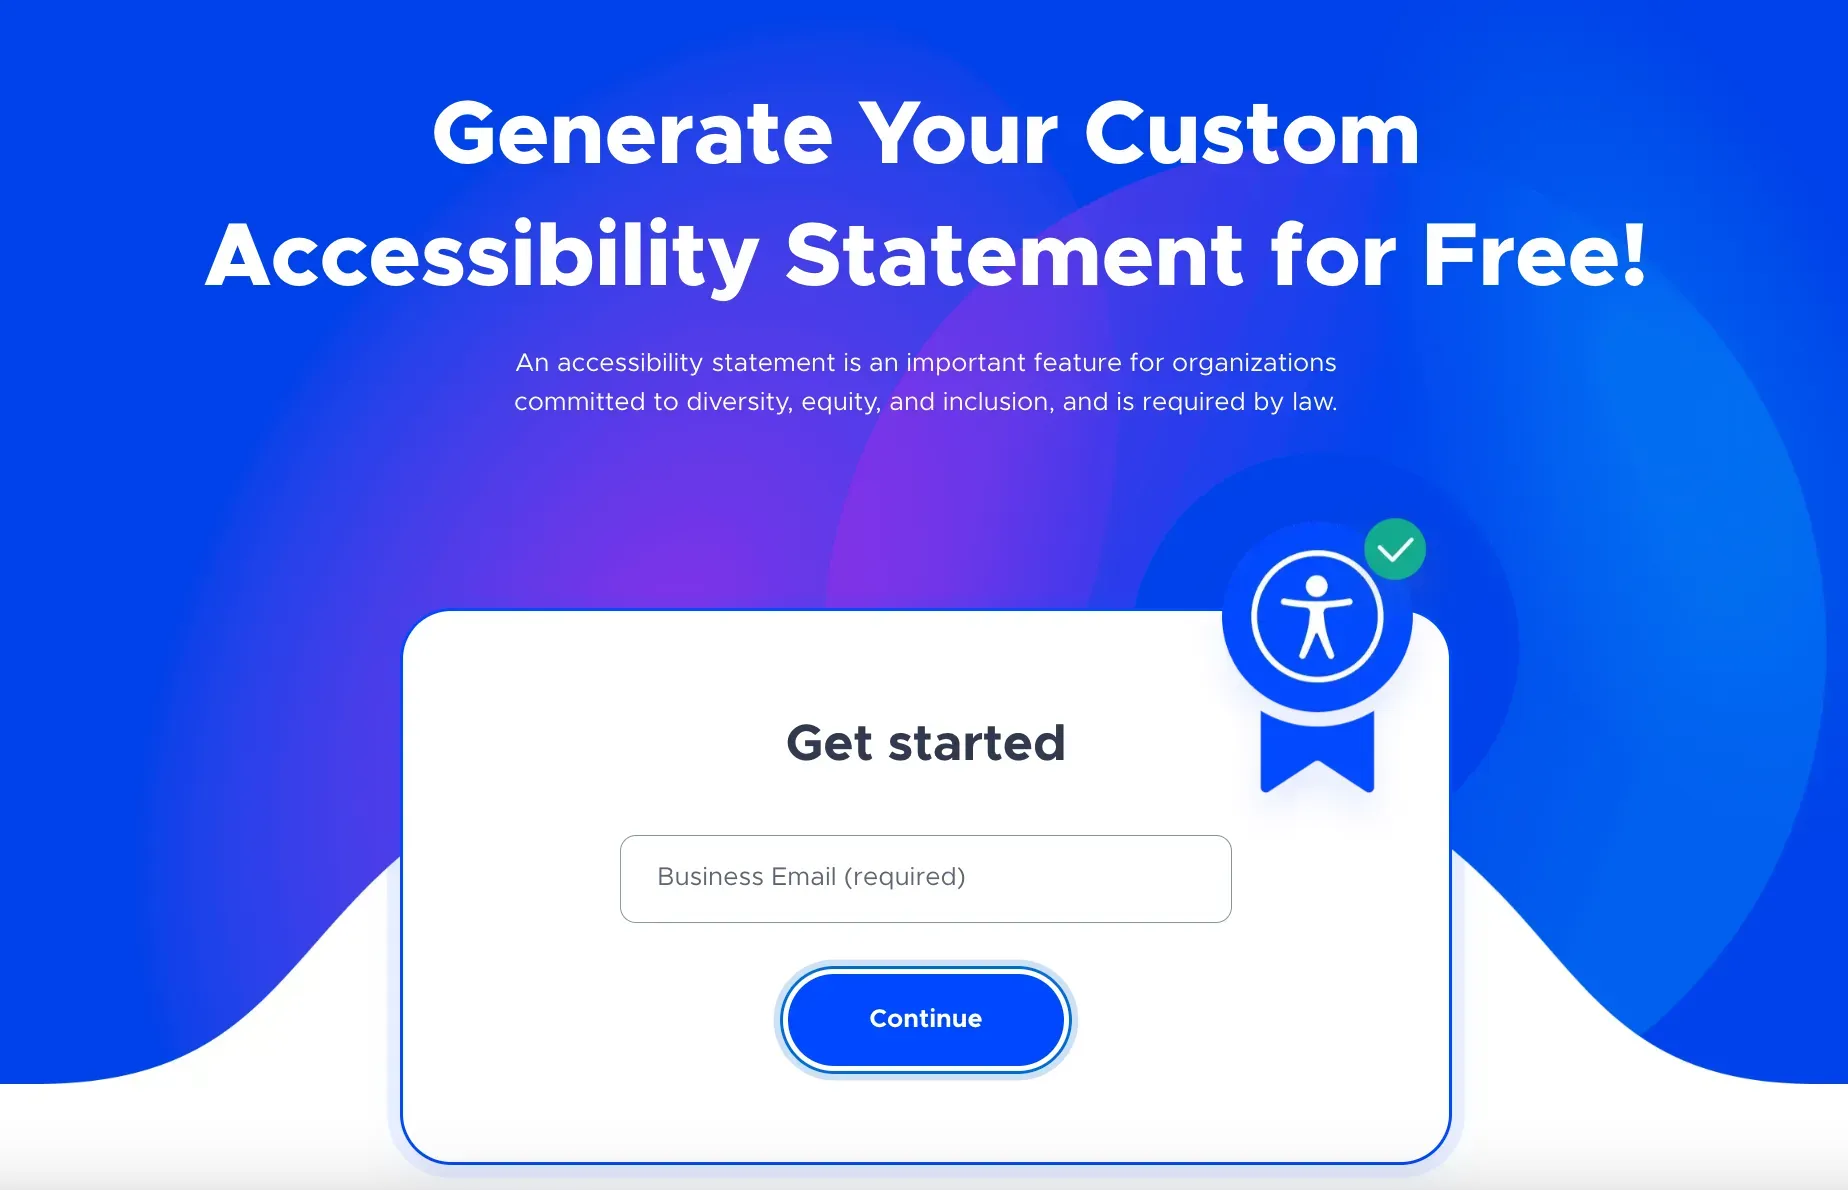
Additionally, you can generate a custom Accessibility Statement for your organization by visiting userway.org/generate.
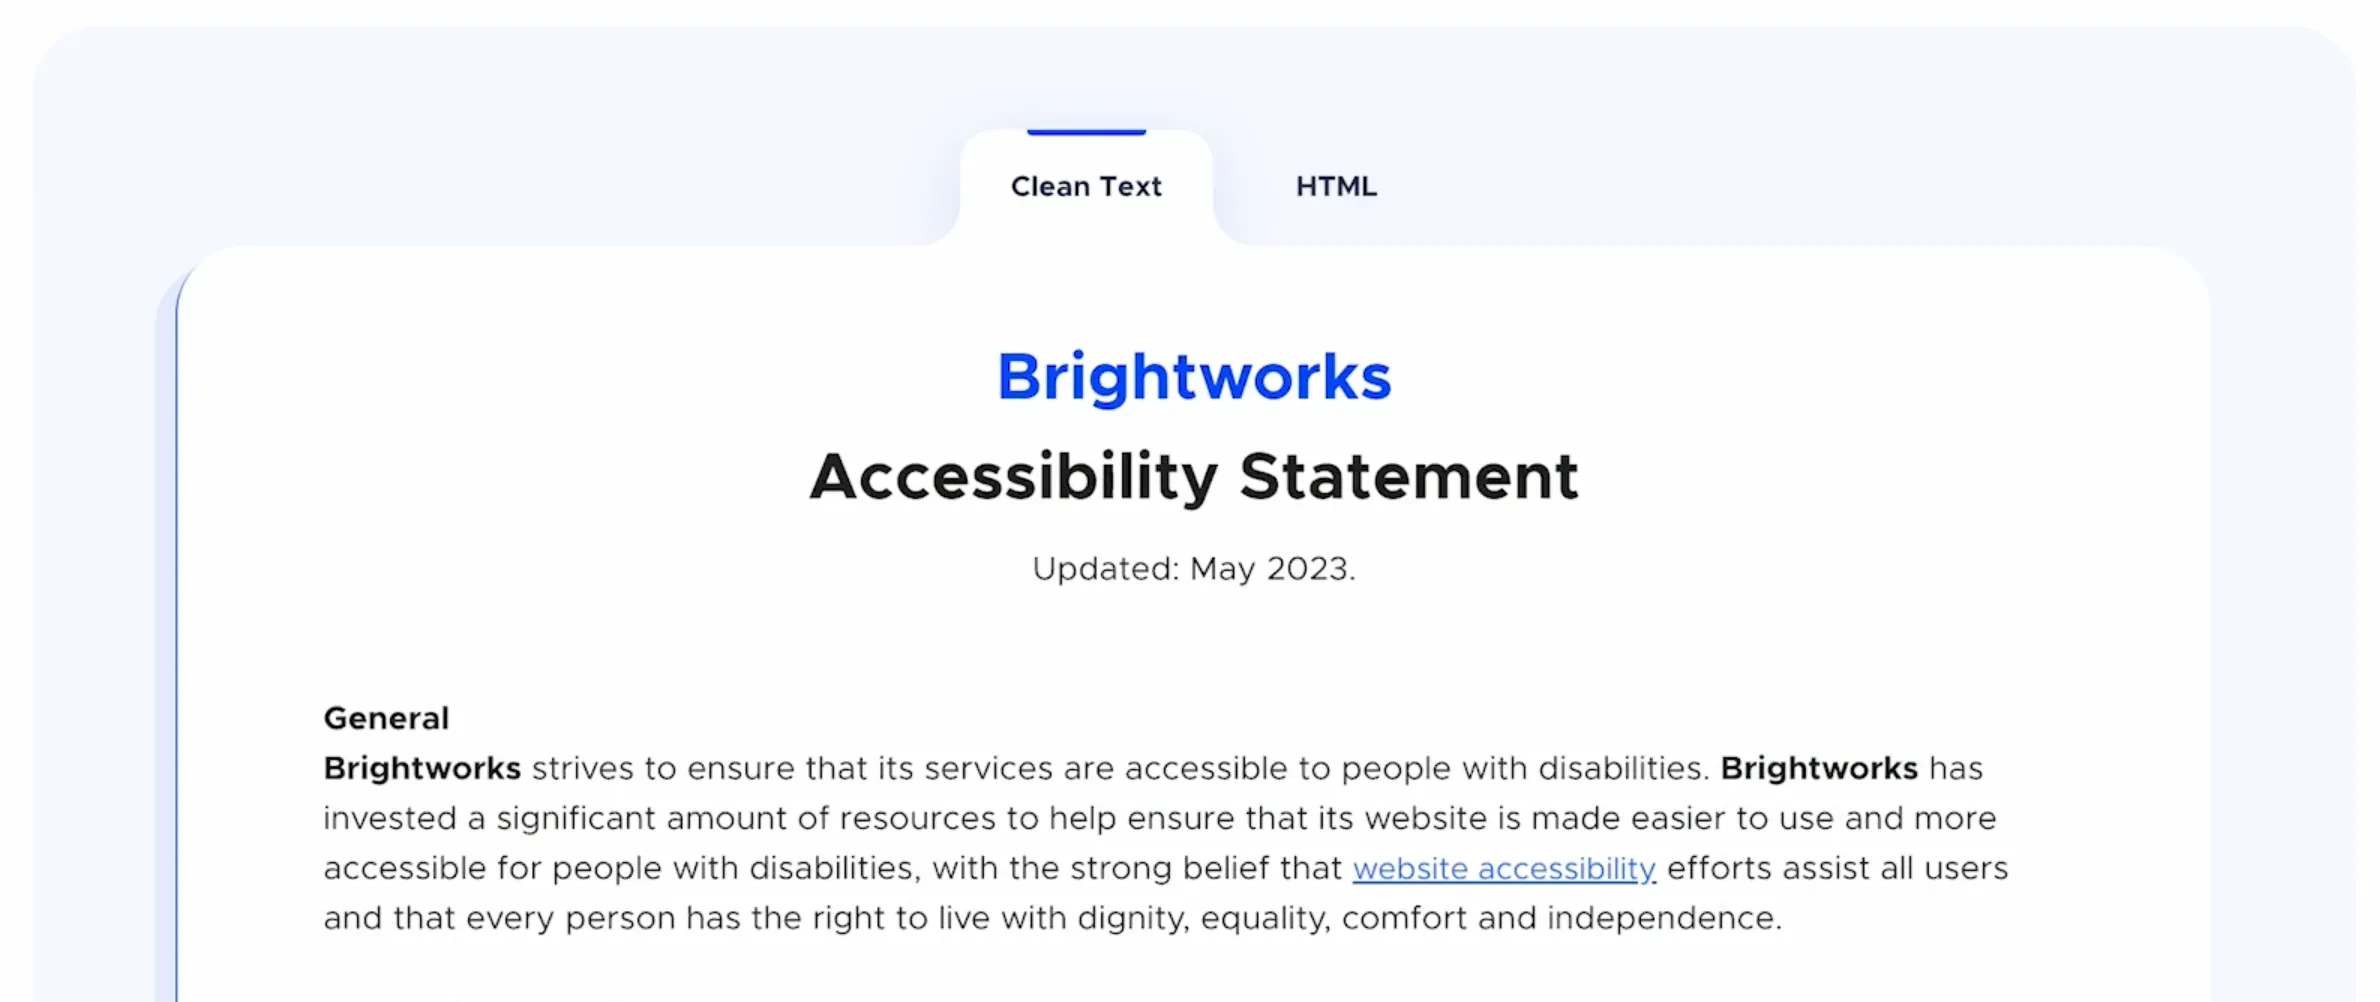
Simply fill in the necessary details and an Accessibility statement will be generated for you. This statement will indicate that you are compliant with the WCAG 2.1 standards and the measures taken to make this happen.
You can add this statement to your SharePoint sites.
By implementing ShortPoint Accessibility, you've made your intranets accessible to all users in your organization and comply with web accessibility standards. ShortPoint Accessibility will continue to run in the background, reviewing any changes made to your existing sites and pages, as well as any new ones created.