

Customizing site themes
Apply branding and site customizations with Theme Builder
In this lesson, you will learn how to apply company branding colors and typography to all pages in your SharePoint site using ShortPoint Theme Builder.

Launching ShortPoint Theme Builder
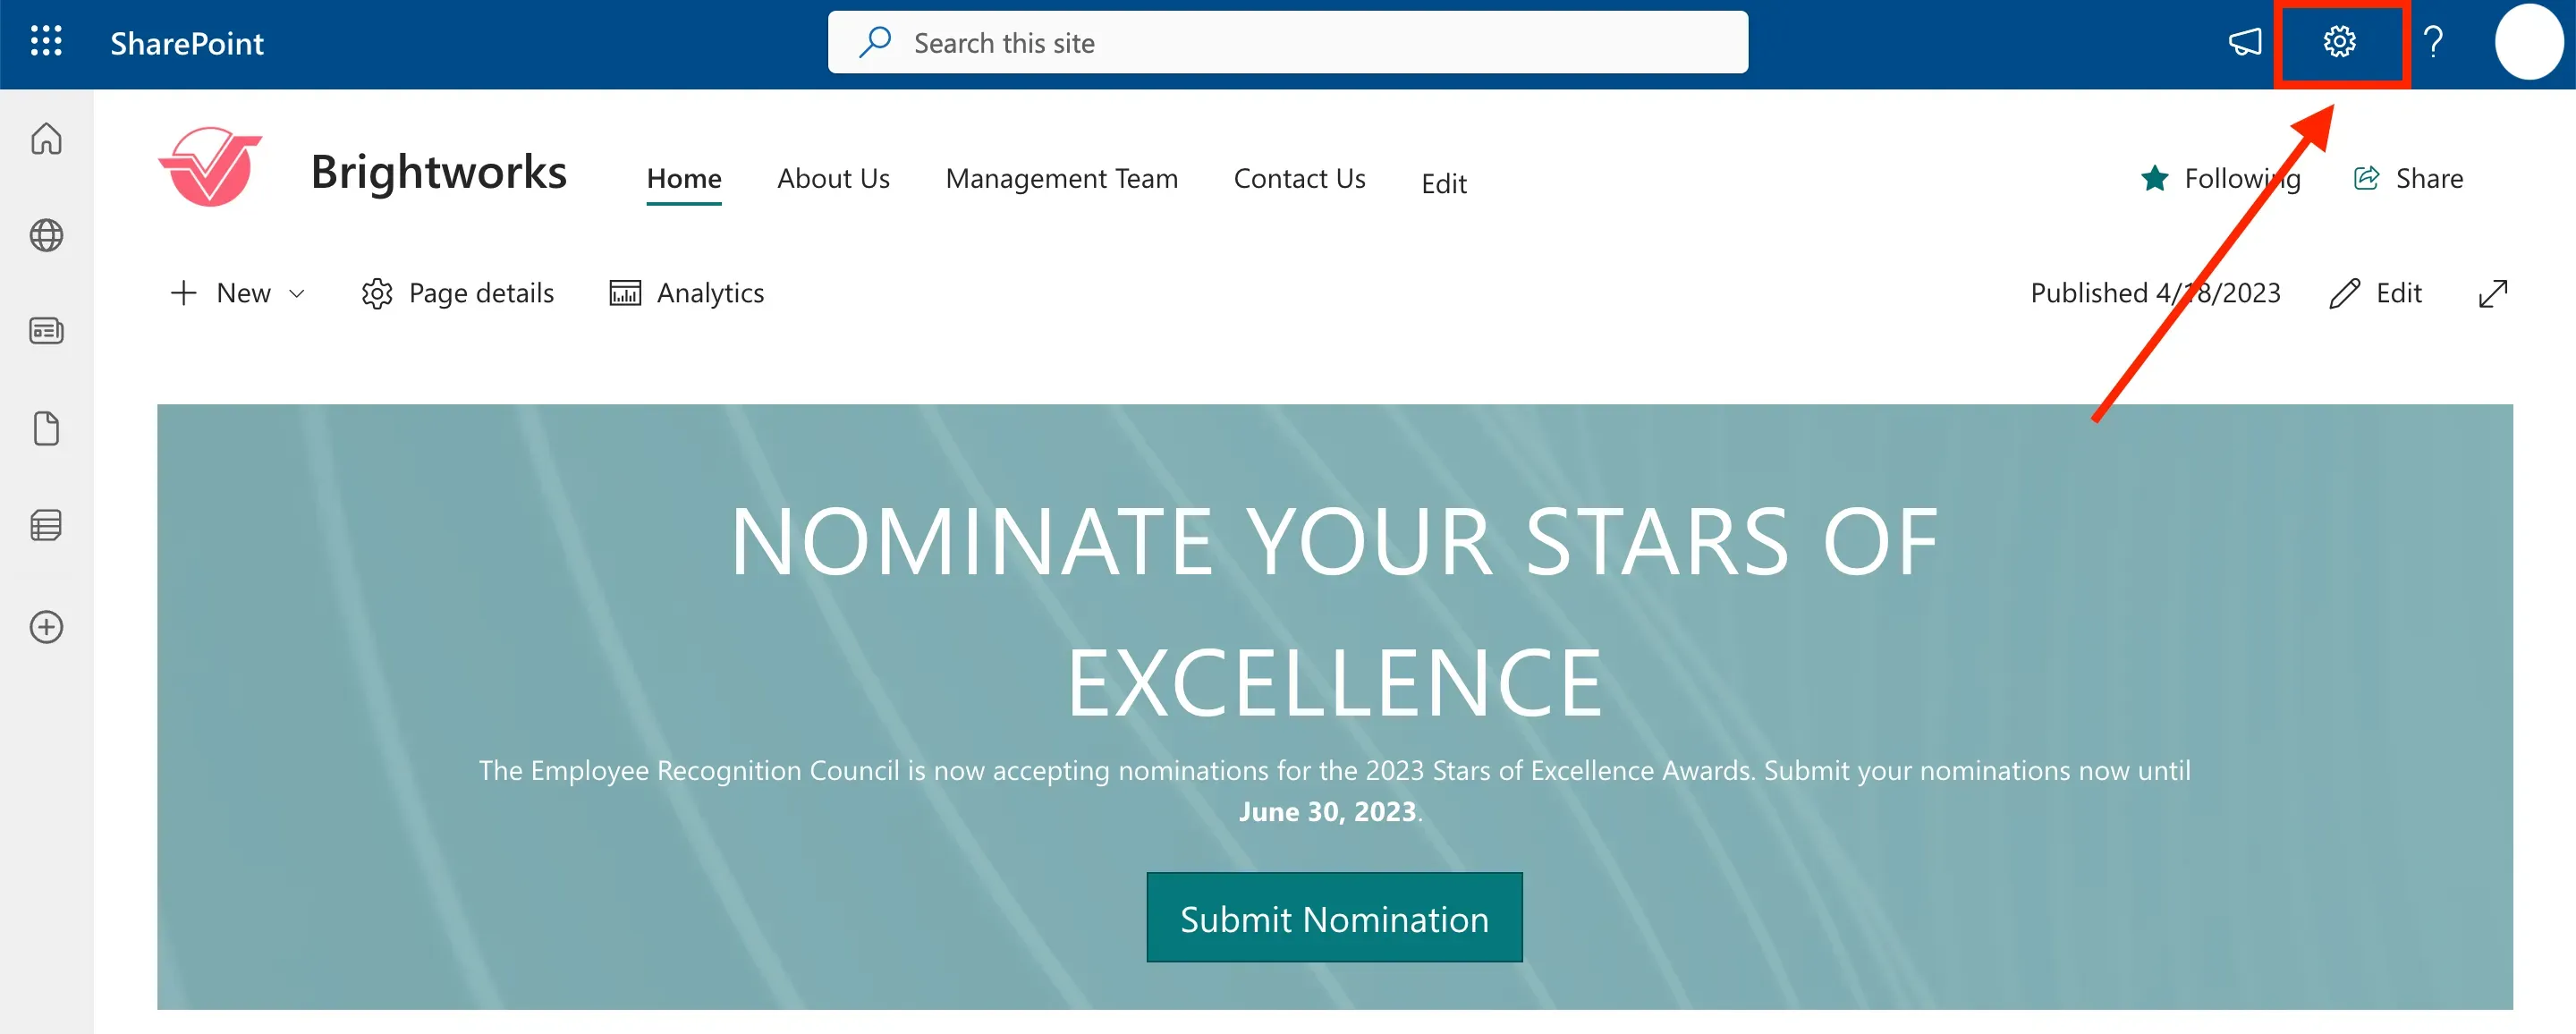
To start, go back to the page we were editing and click the cogwheel icon.
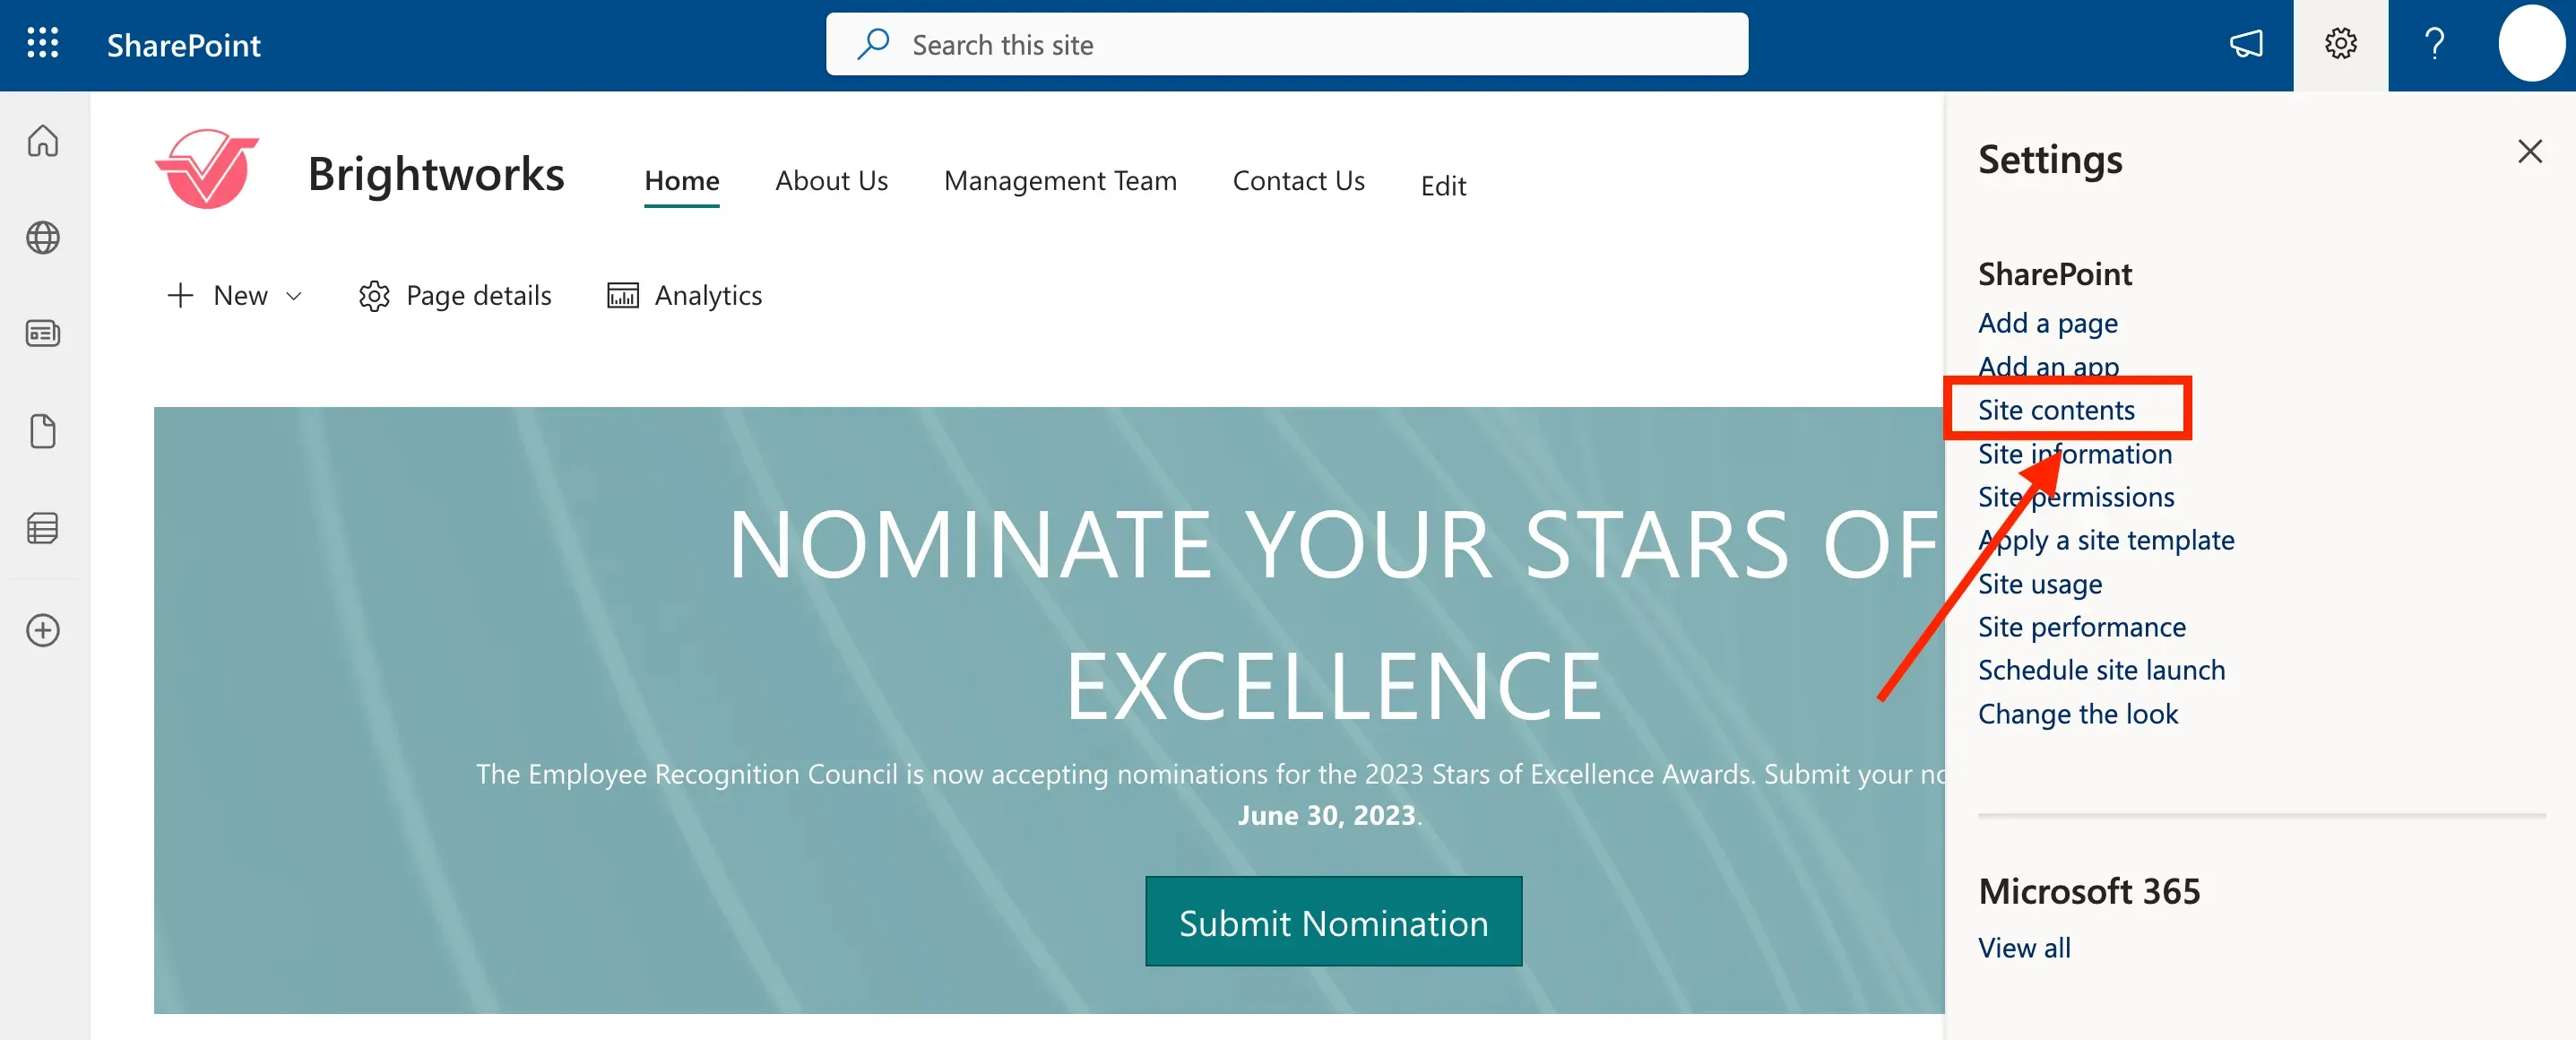
Then, select Site Contents from the list.
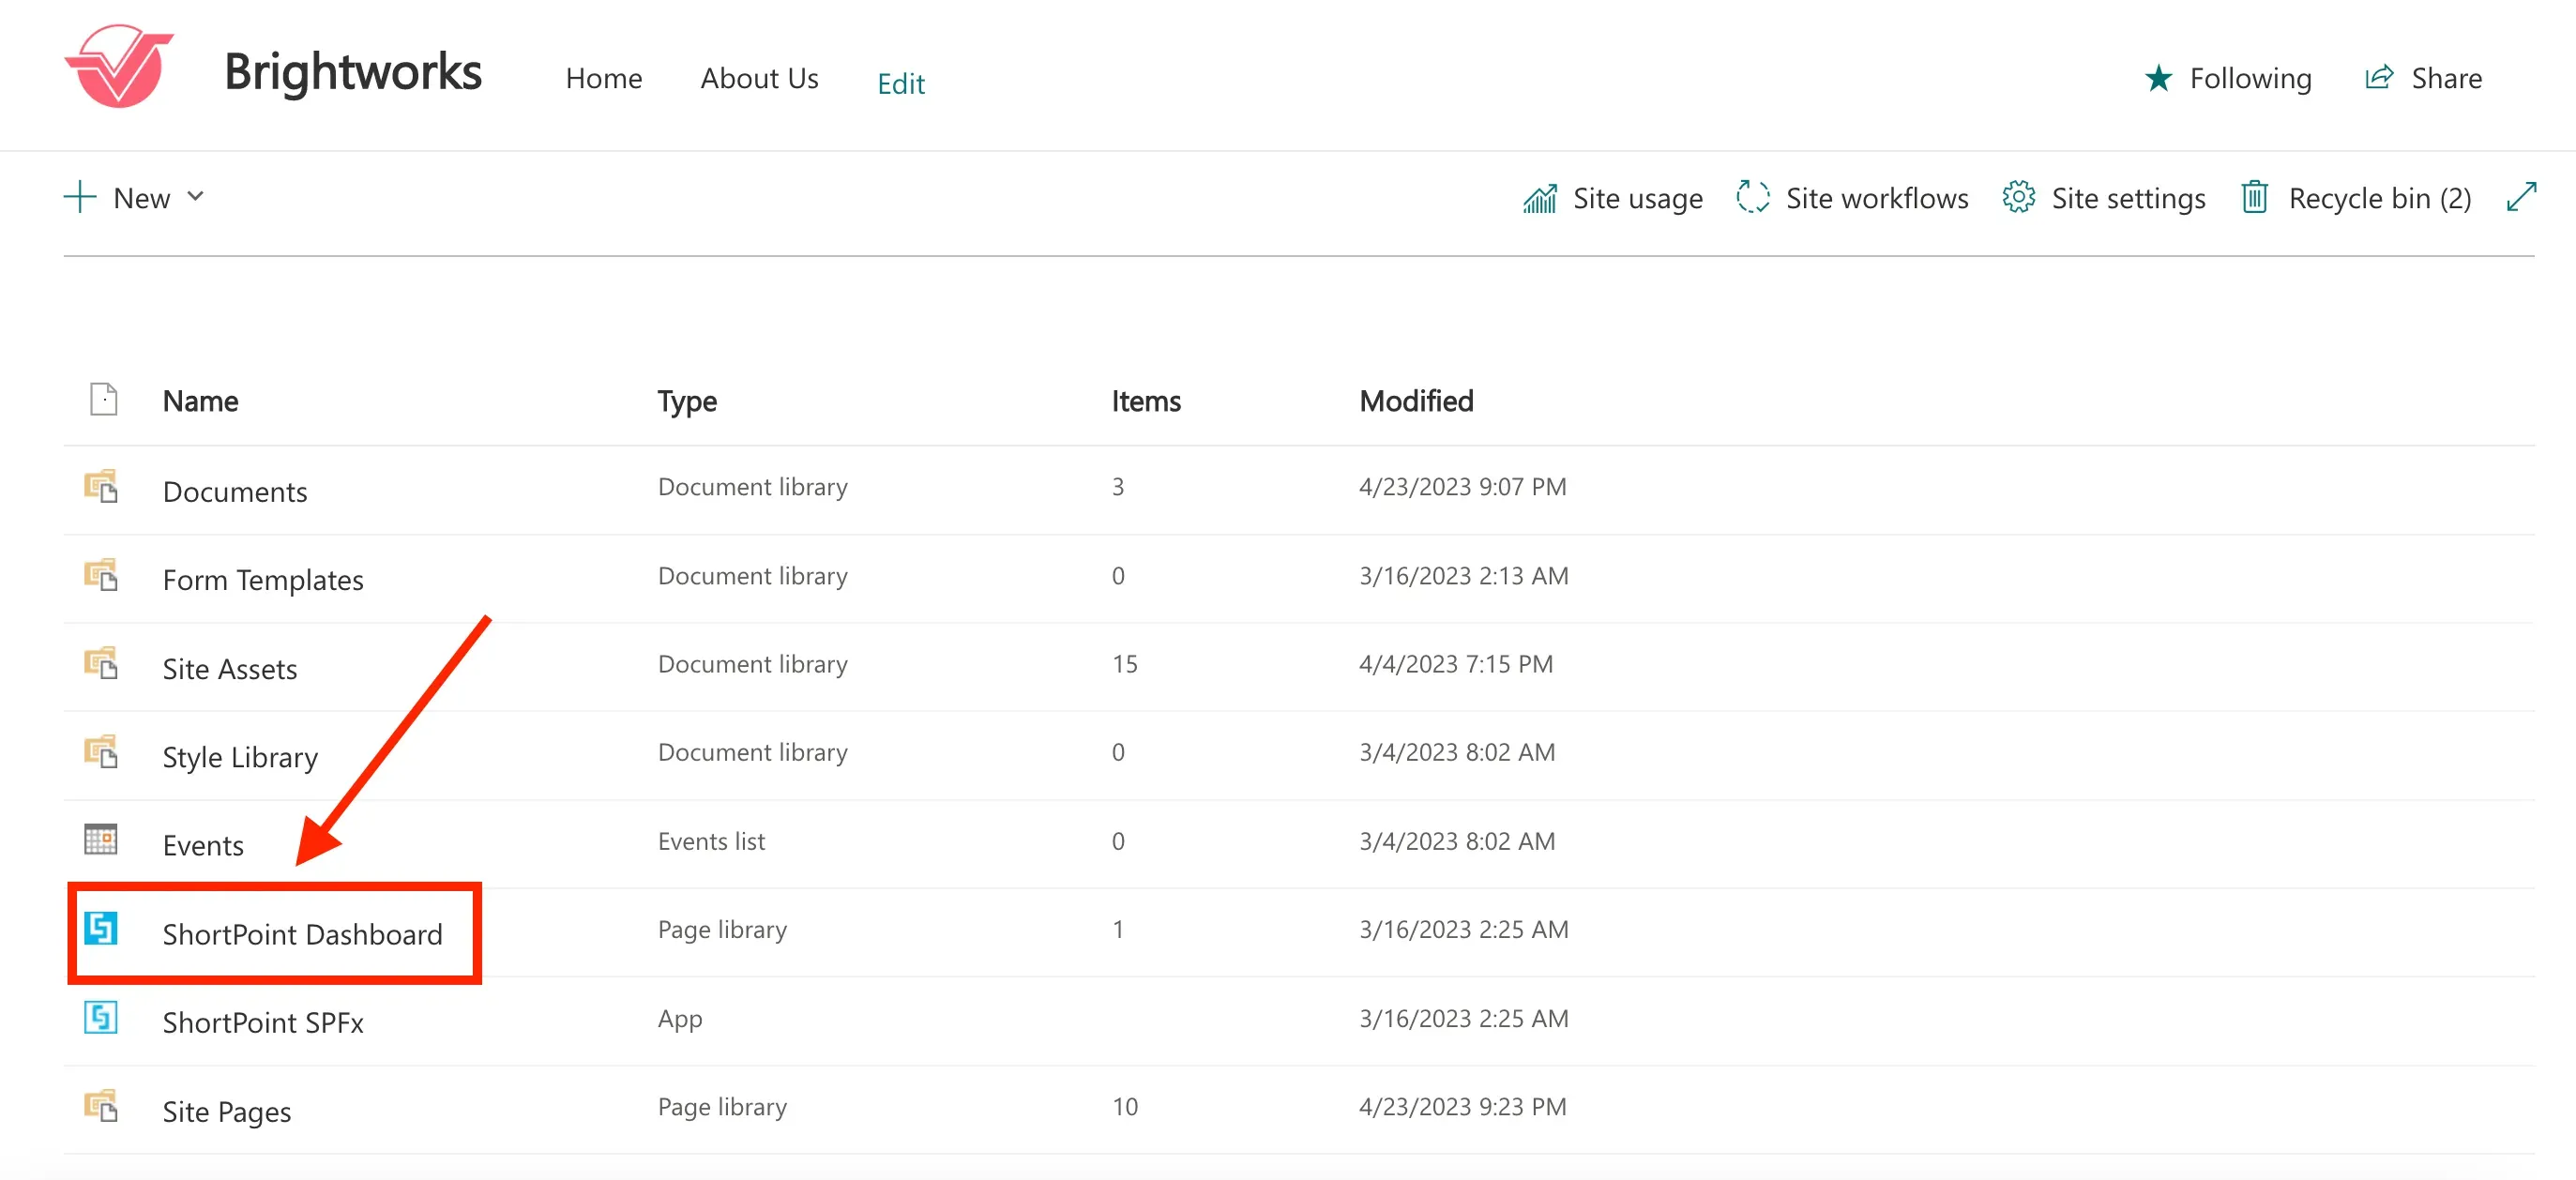
Here, you will see the ShortPoint Dashboard. The ShortPoint Dashboard contains additional tools to design your sites as well as manage ShortPoint on your site. Click it to see the customizing options.
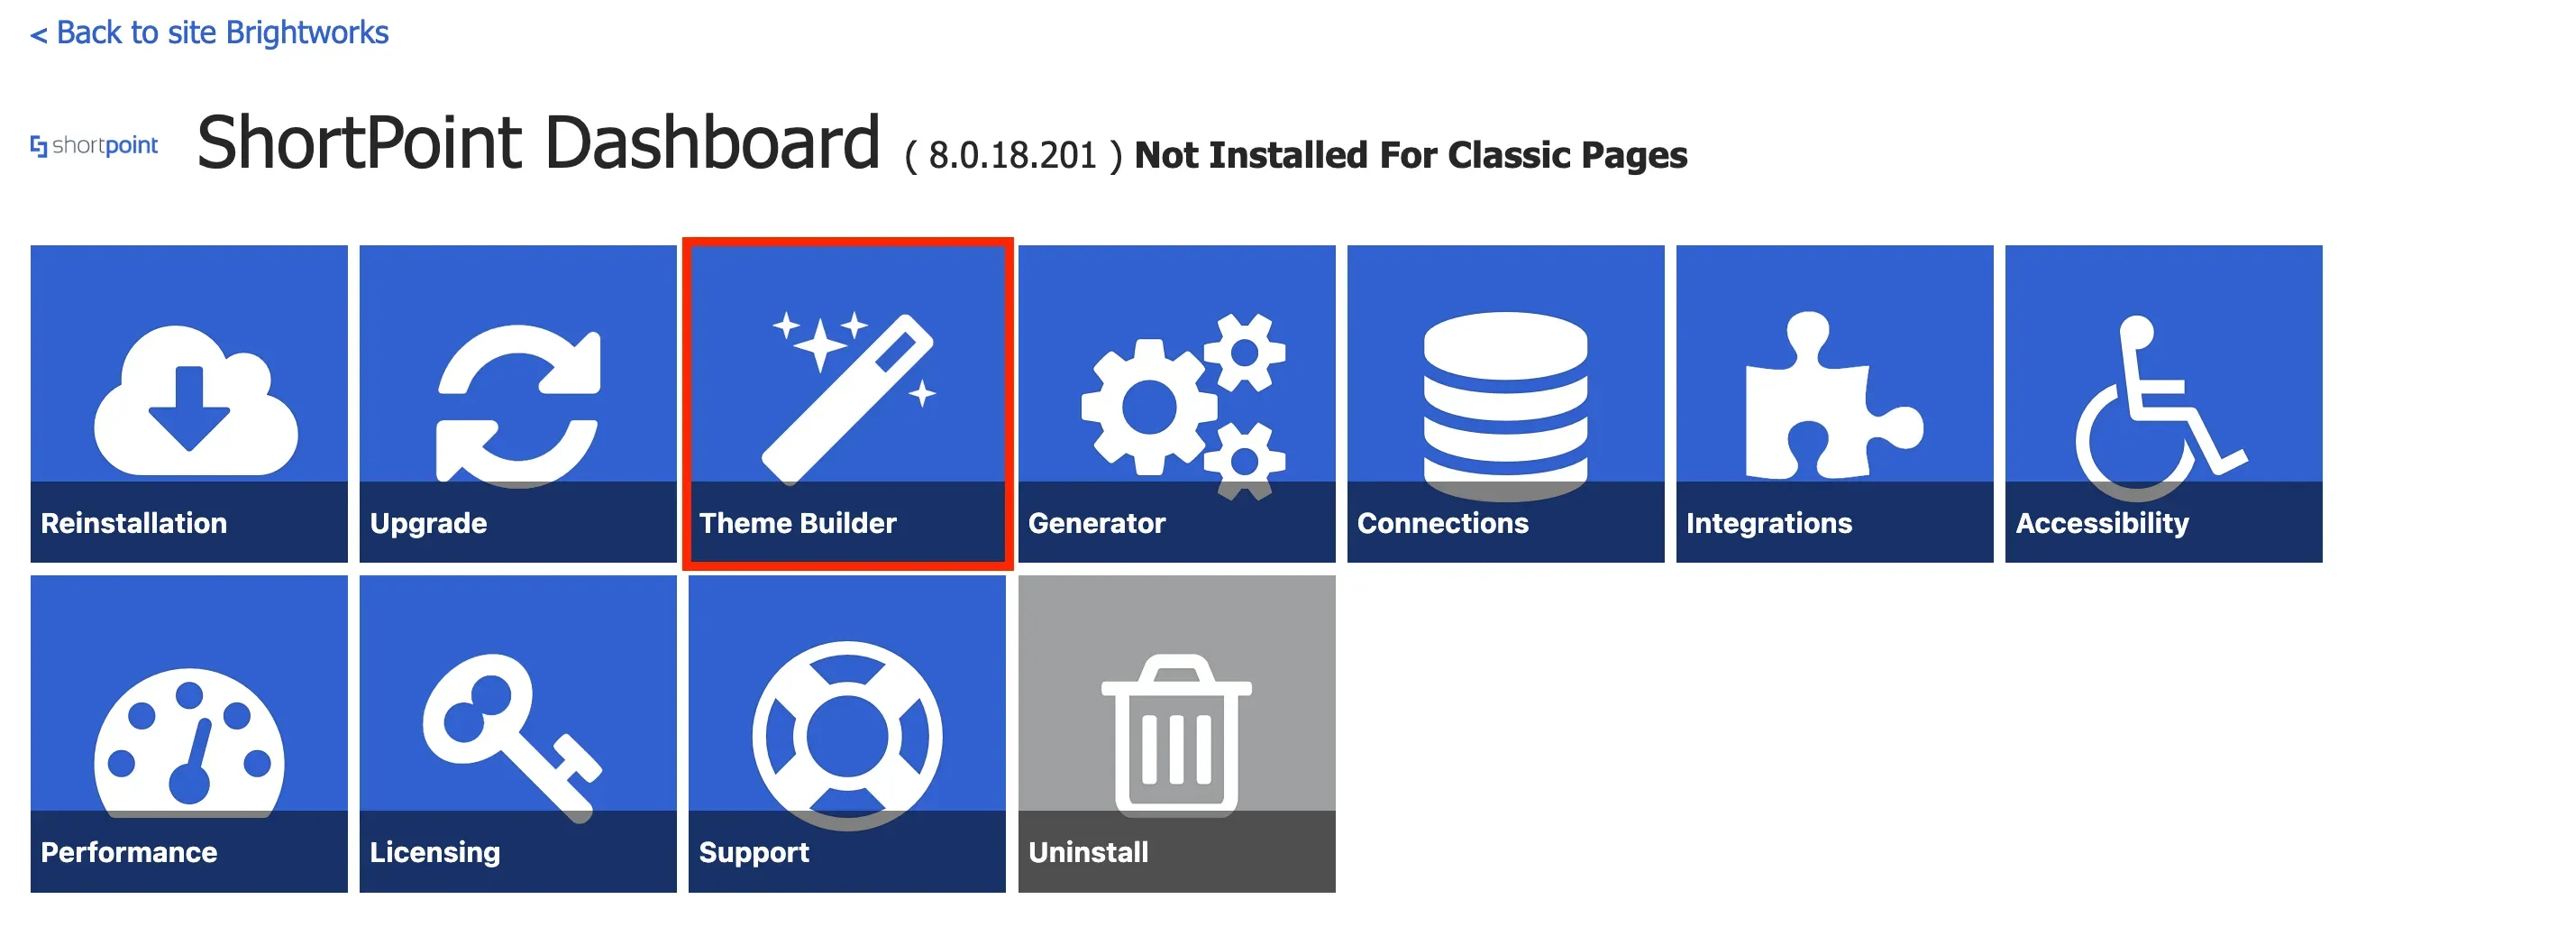
In the ShortPoint Dashboard, you will see tools that can help customize your page further. One of these tools is the ShortPoint Theme Builder, which allows you to customize your site's theme and apply branding. Click on Theme Builder.
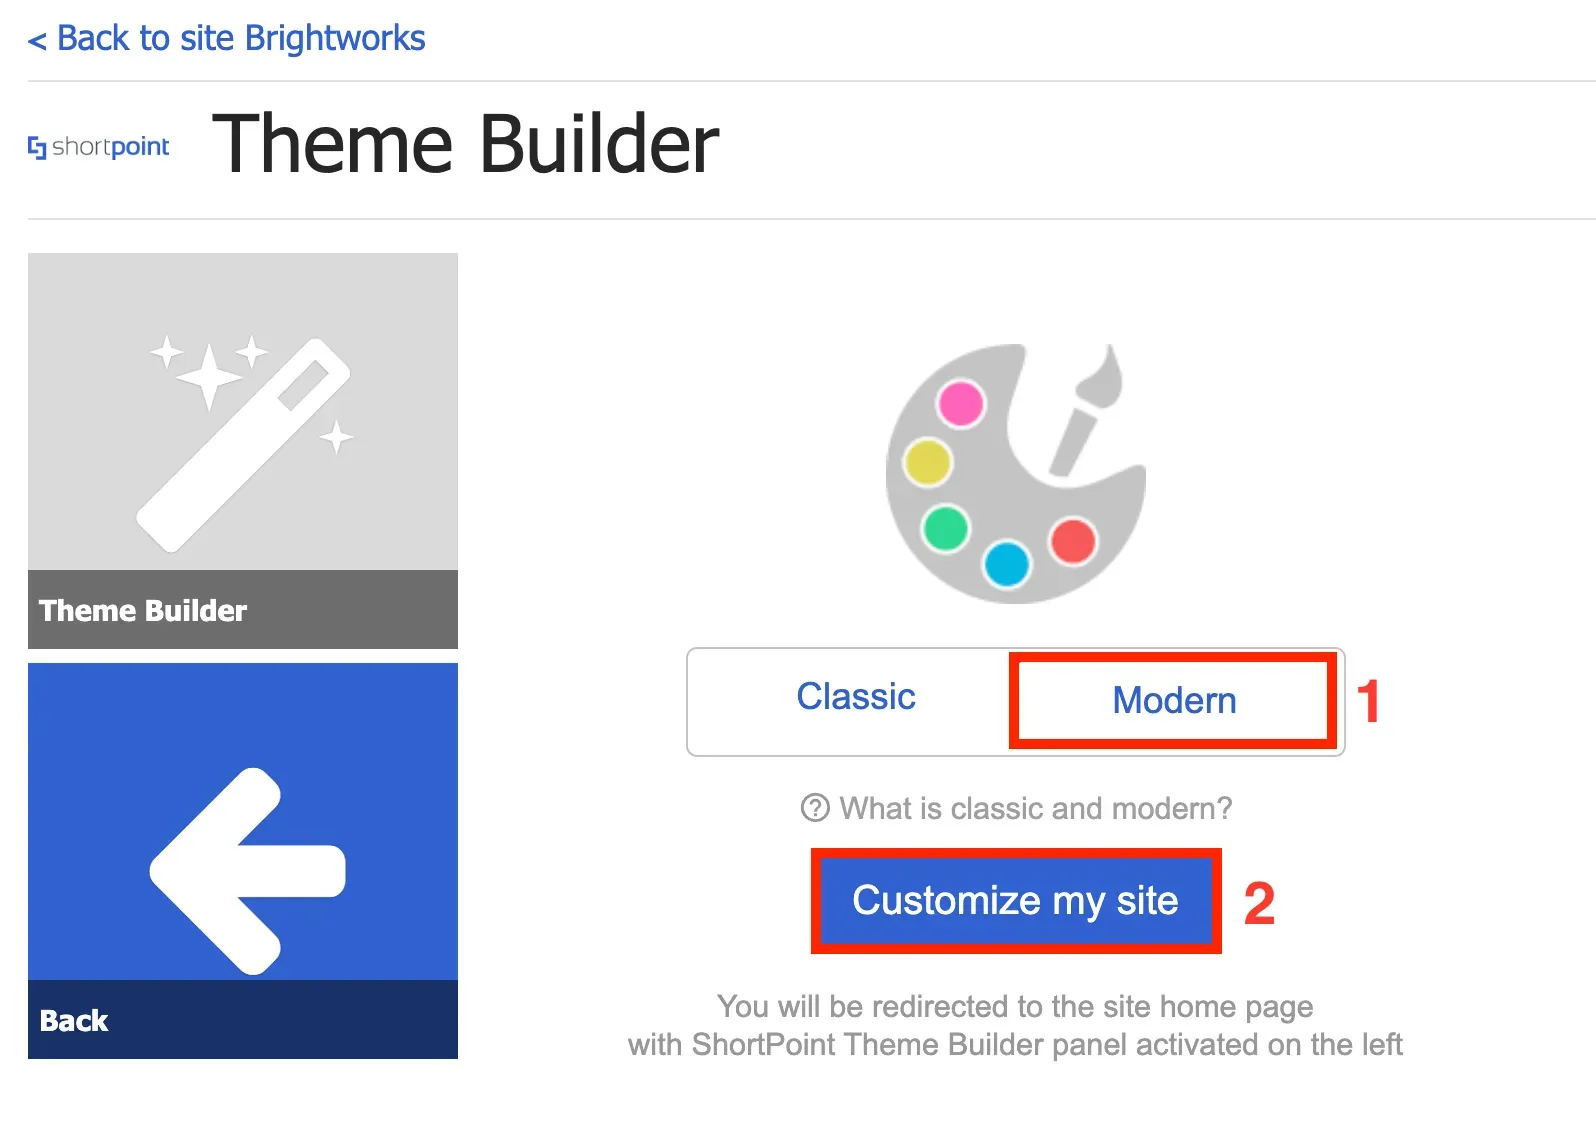
In Theme Builder, select [1] Modern and click [2] Customize my site.
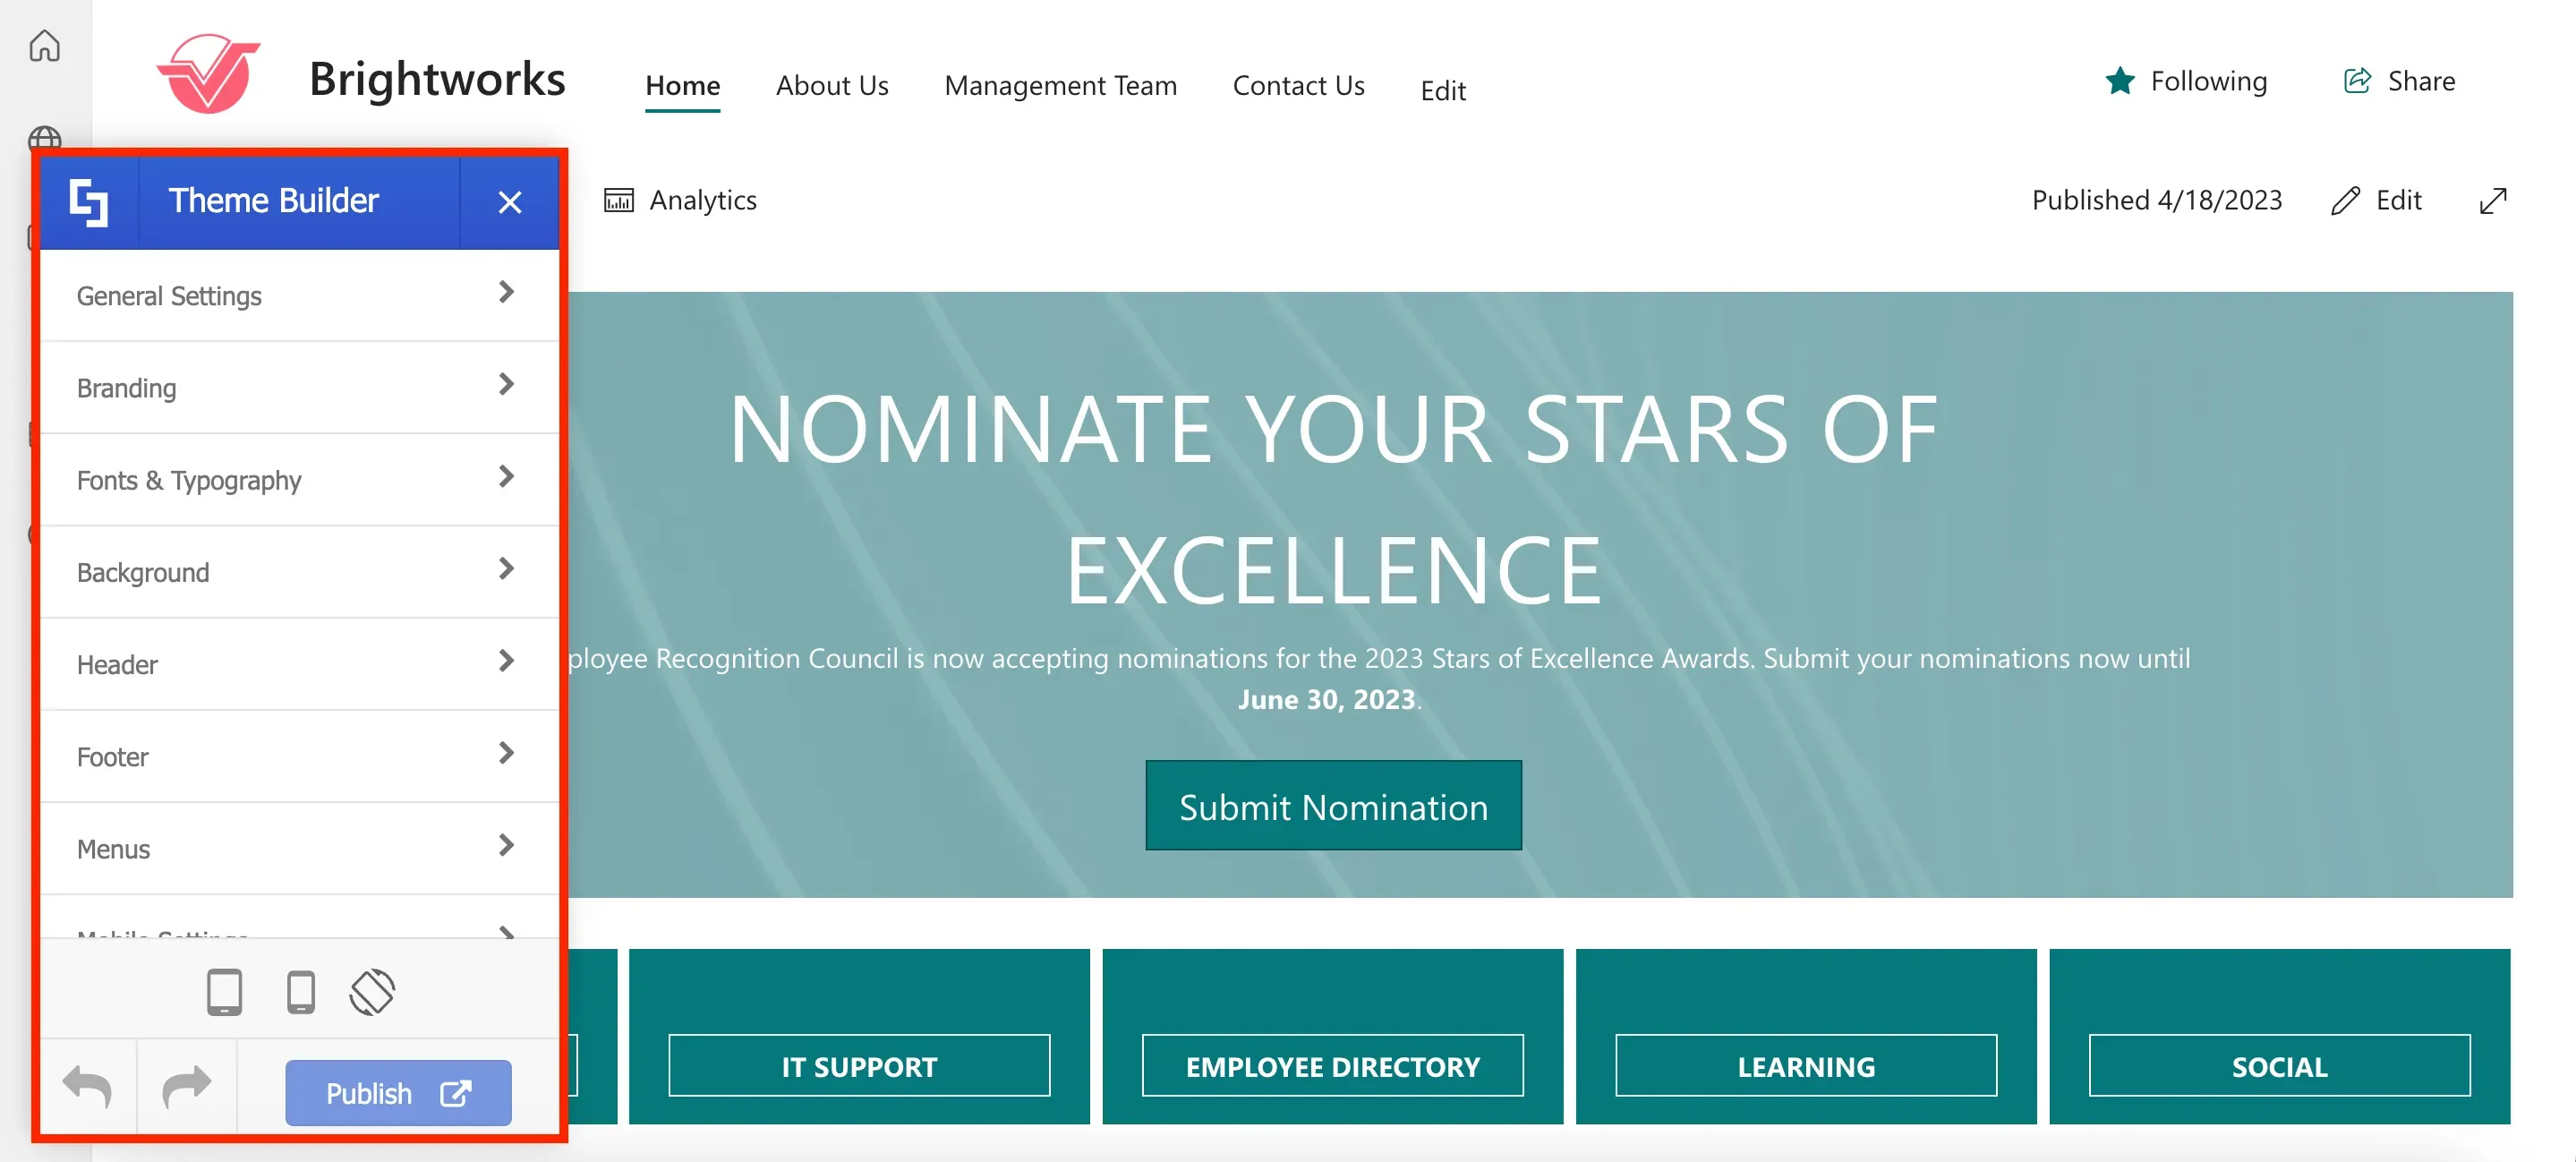
You have now launched ShortPoint Theme Builder. This will give you access to various styles and design options to customize your site's general layout, branding, fonts, header, footer, and more.
Applying branding colors, fonts, and logo
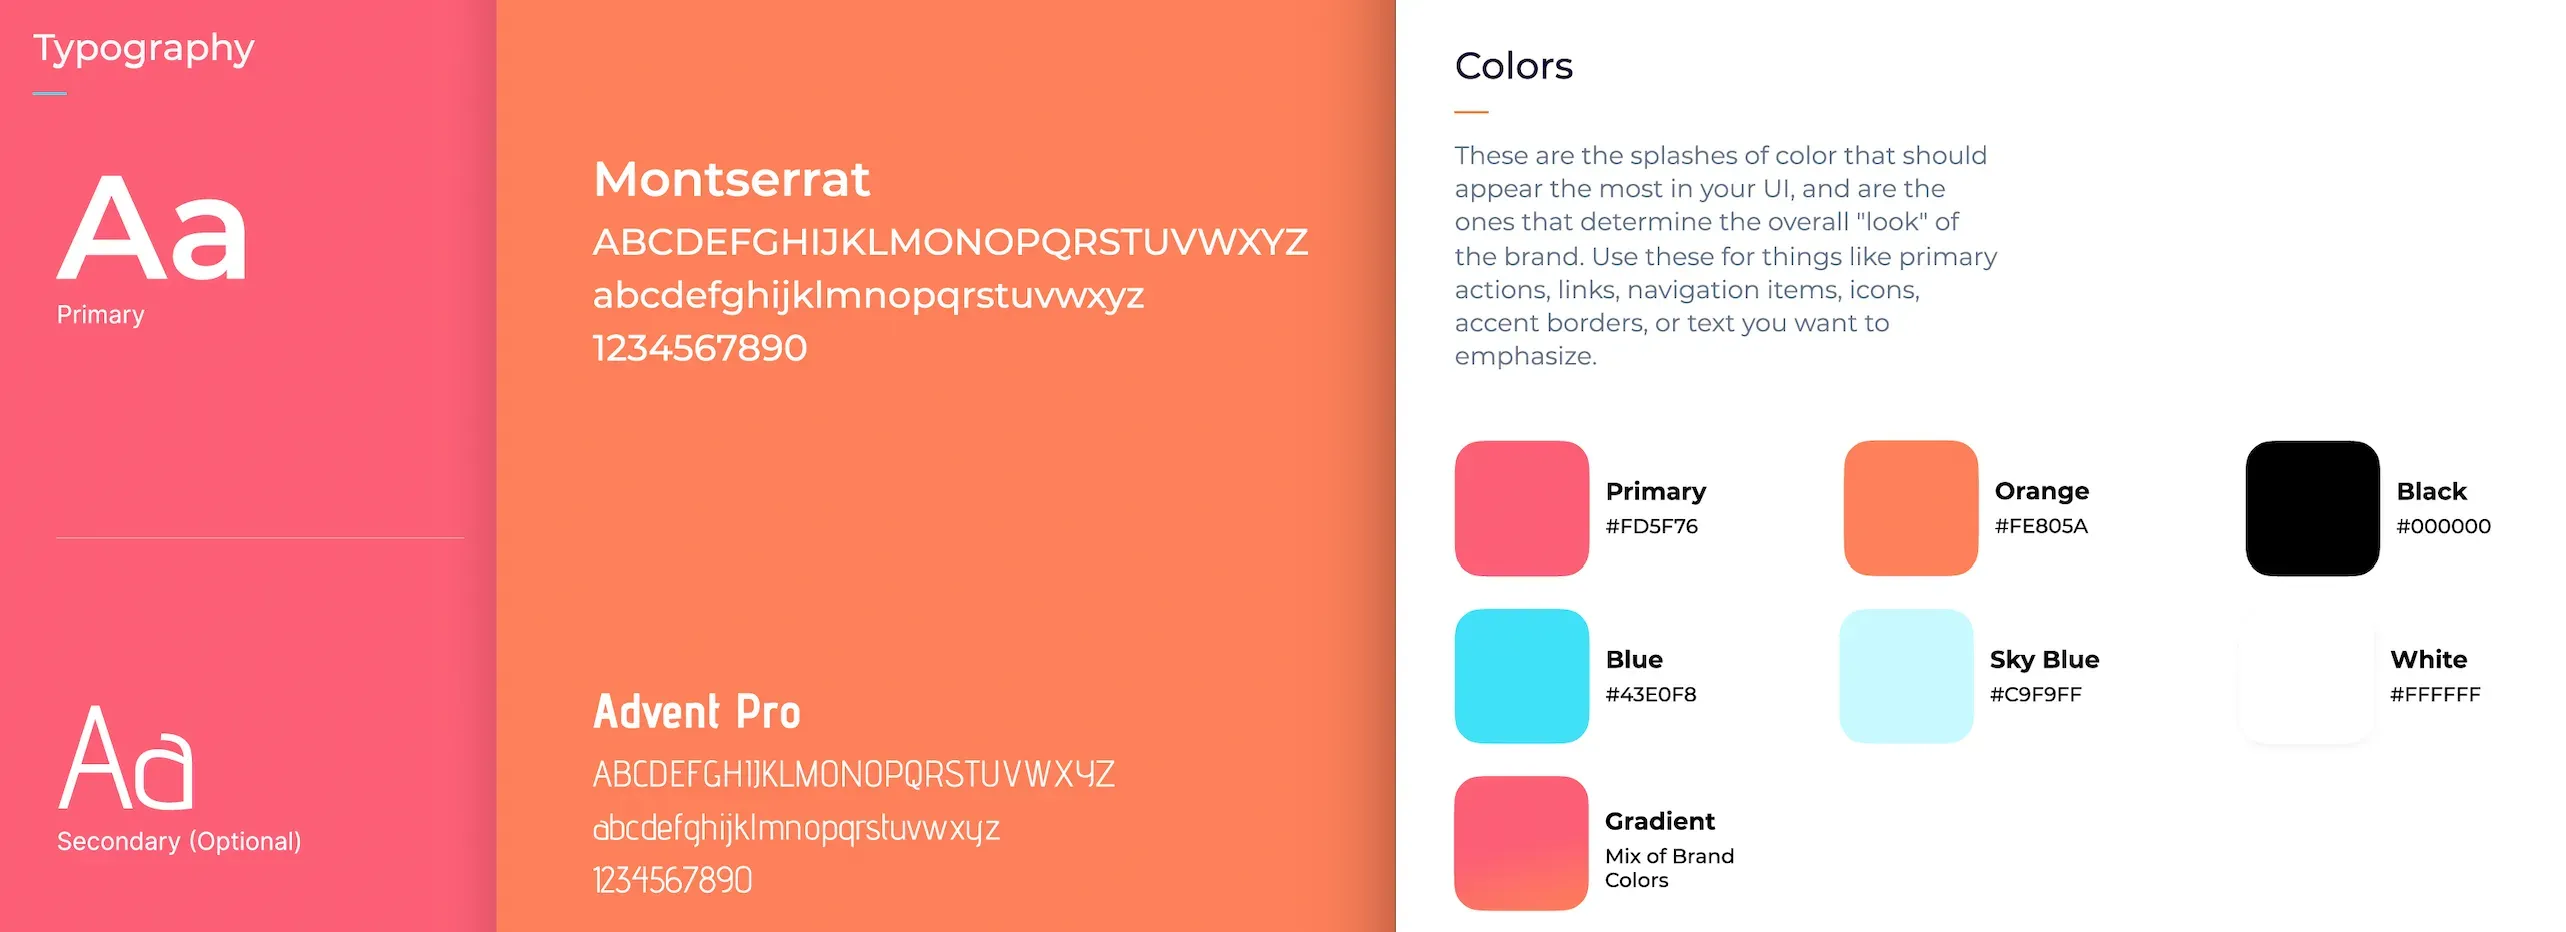
First, let us show you Brightworks' brand guidelines. Using ShortPoint Theme Builder, we want to apply Brightworks' font and branding colors to the site.
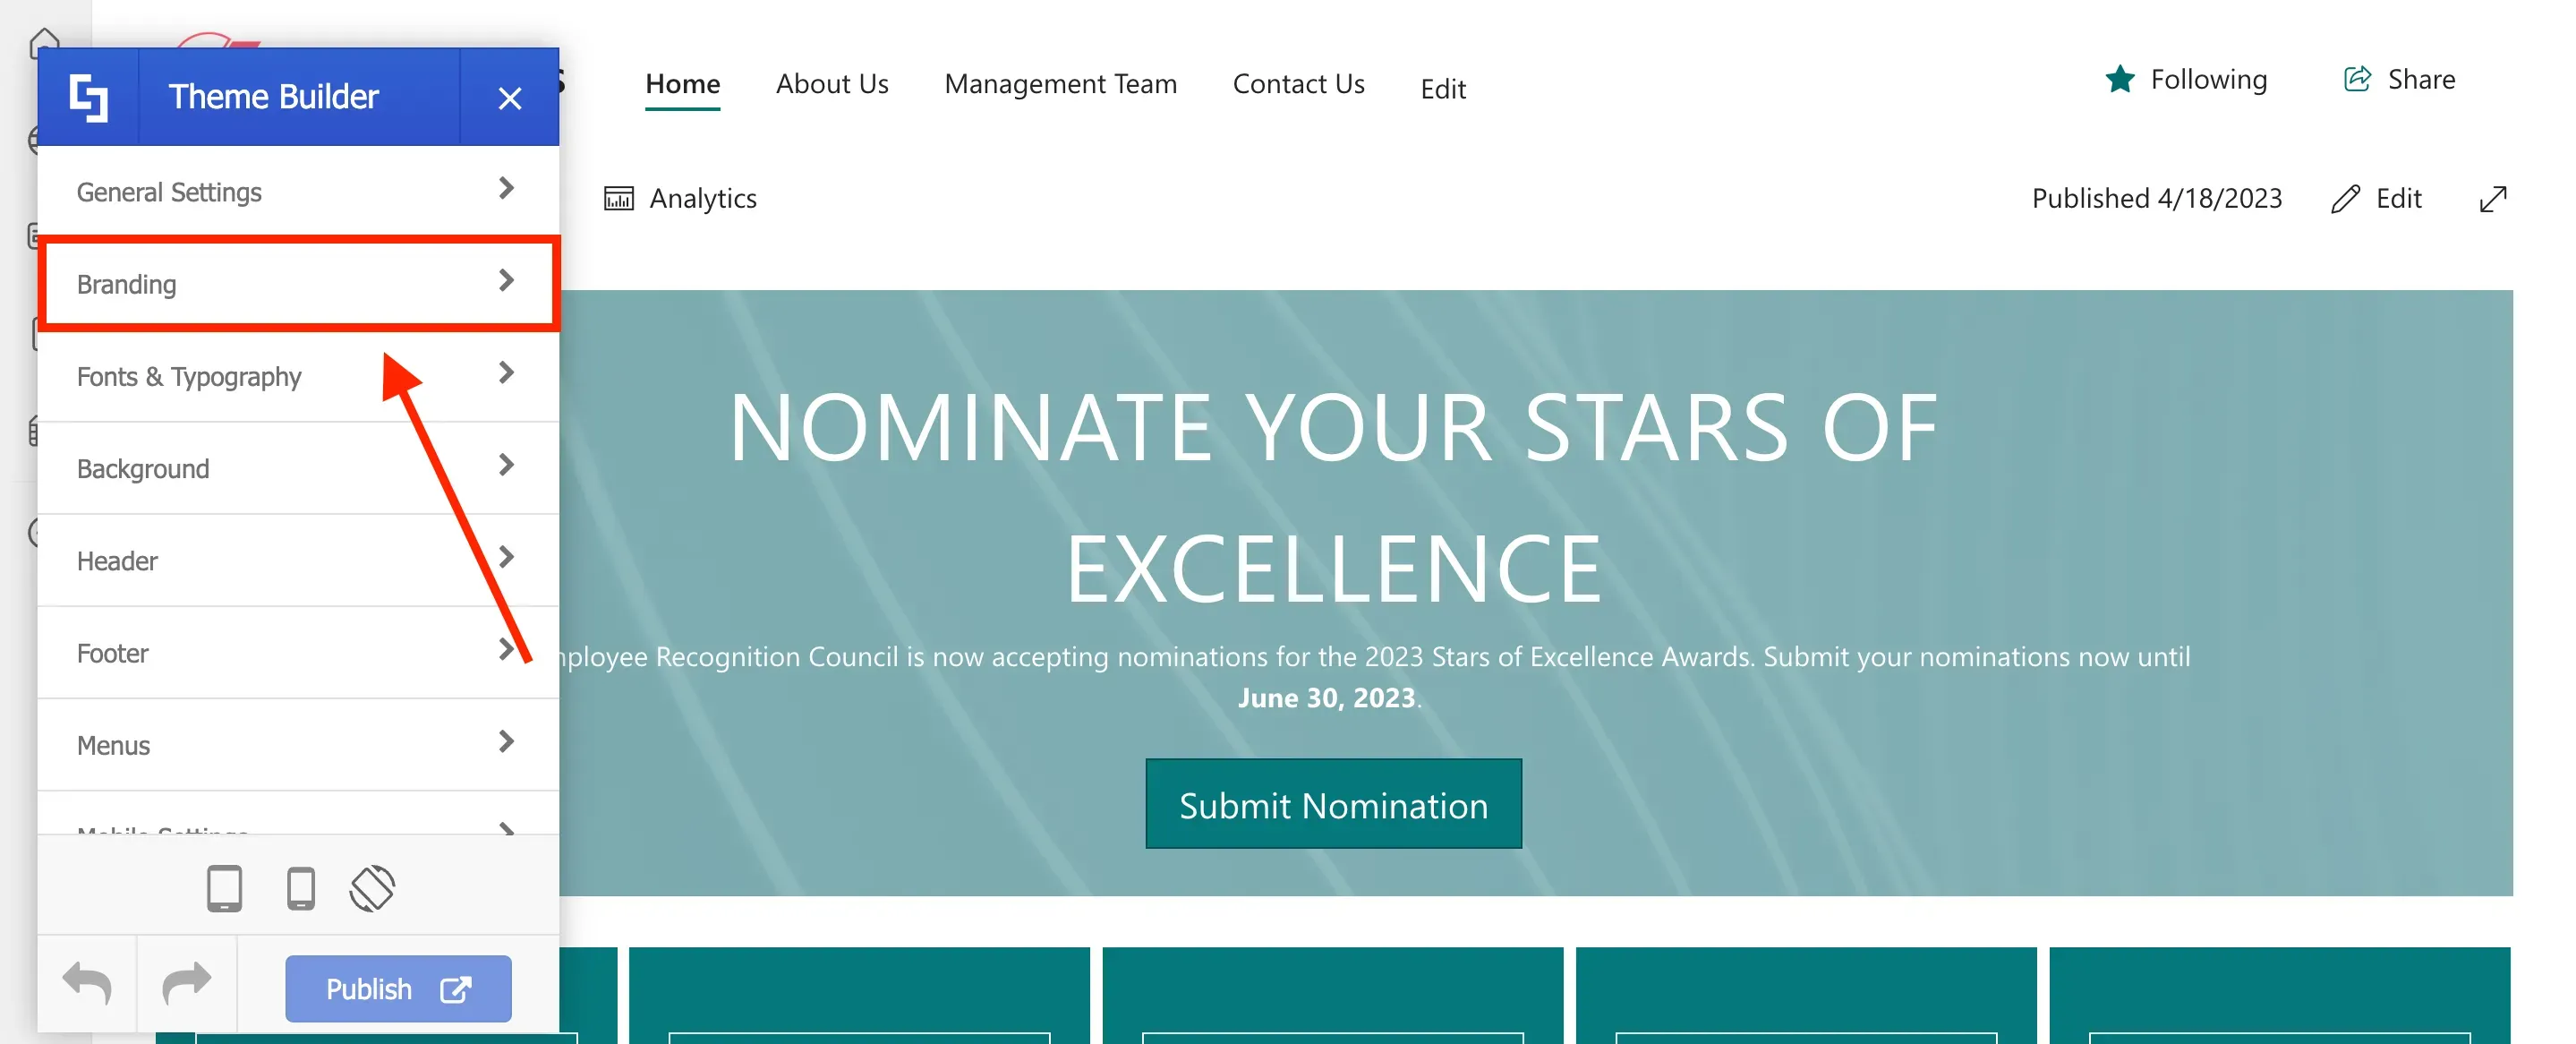
To apply branding colors, go to Branding.
Then, select Color Palette.
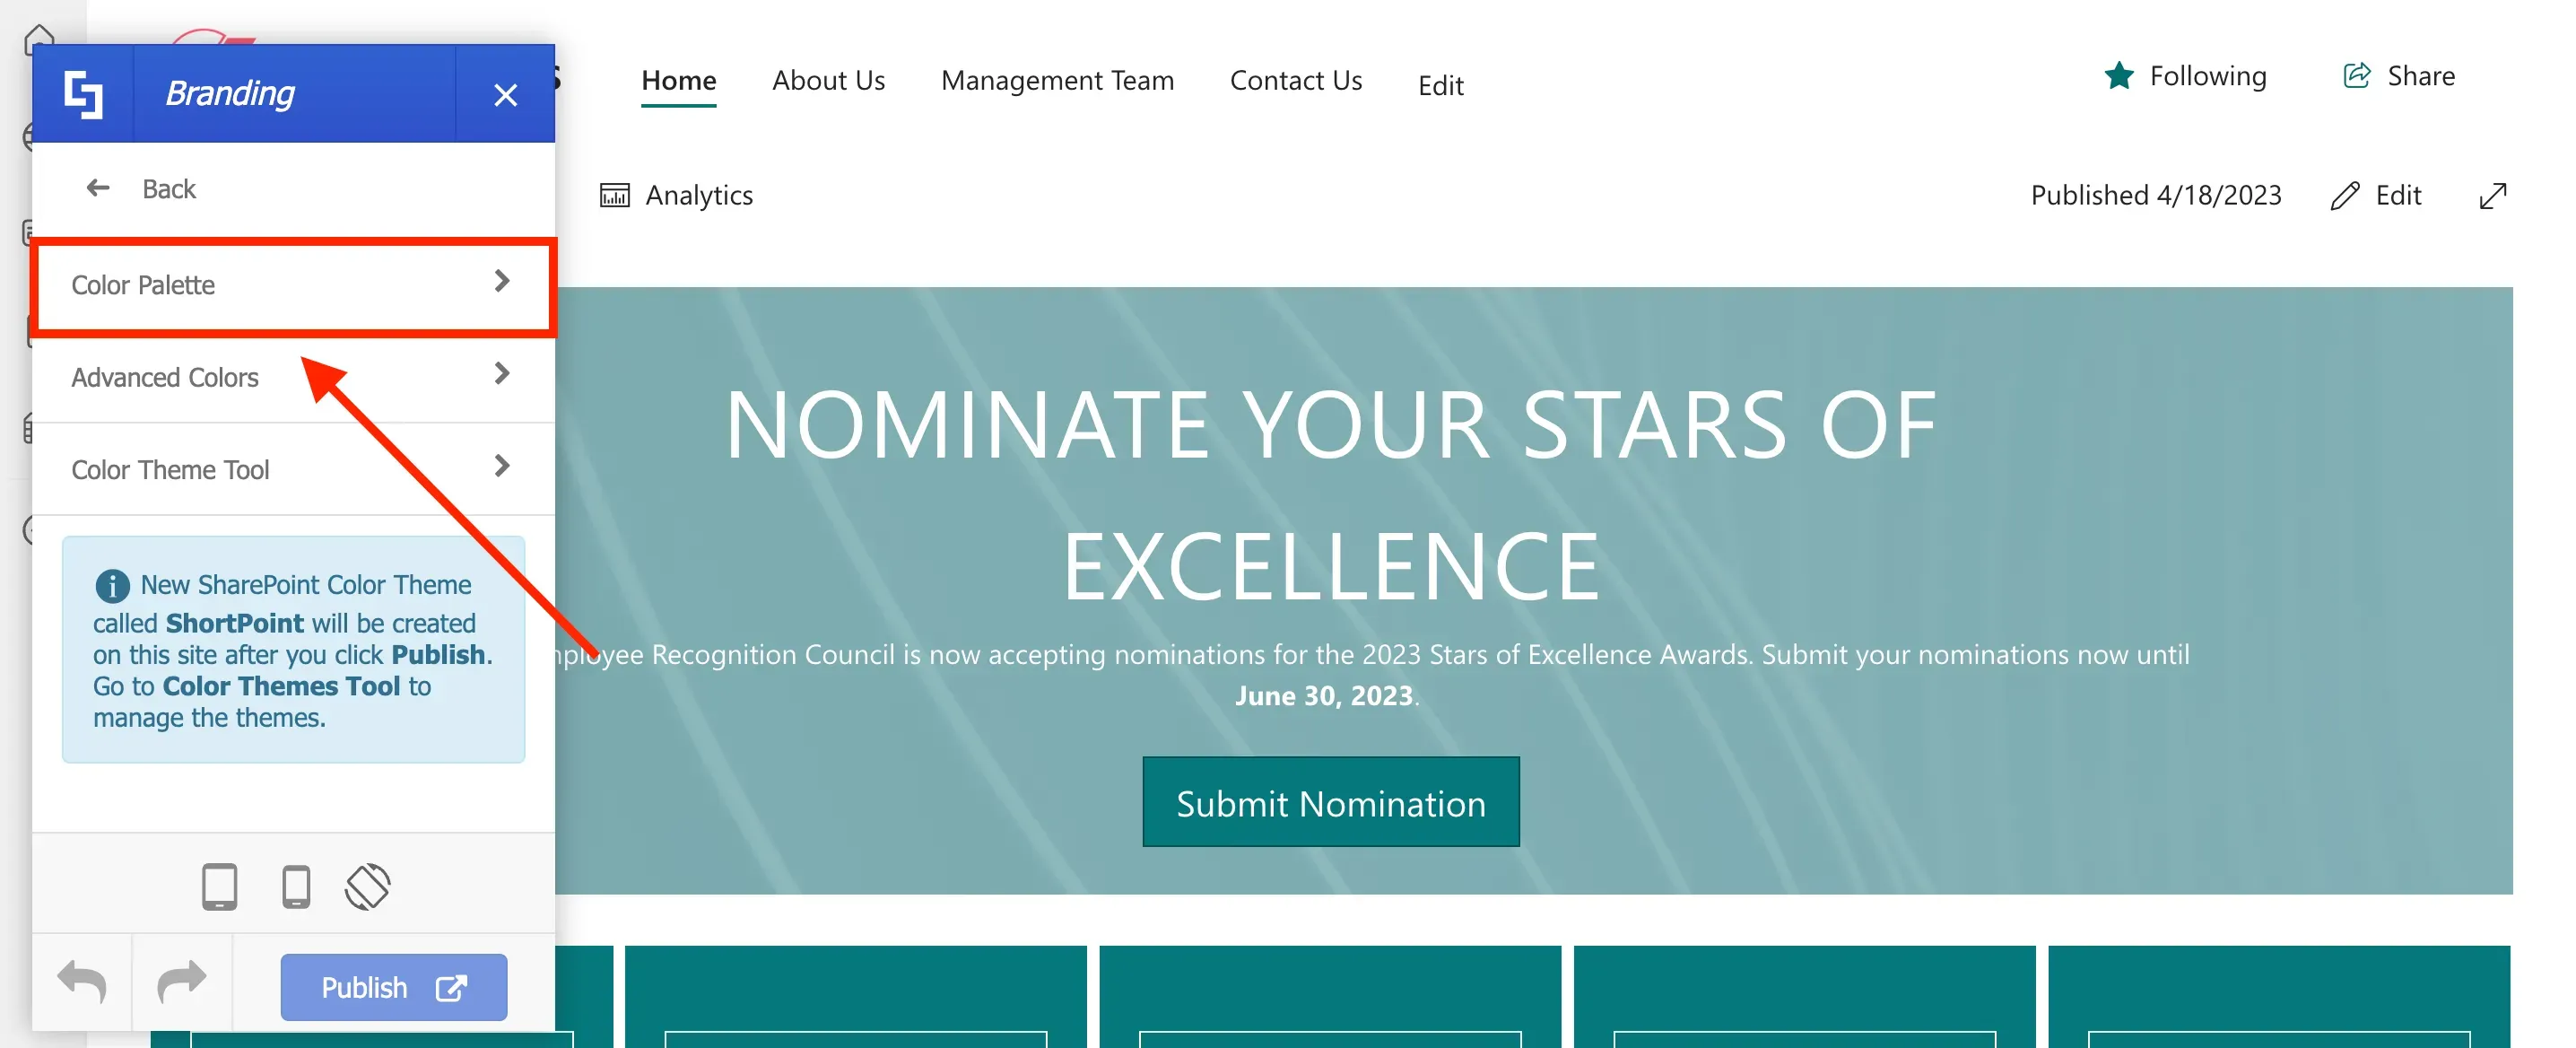
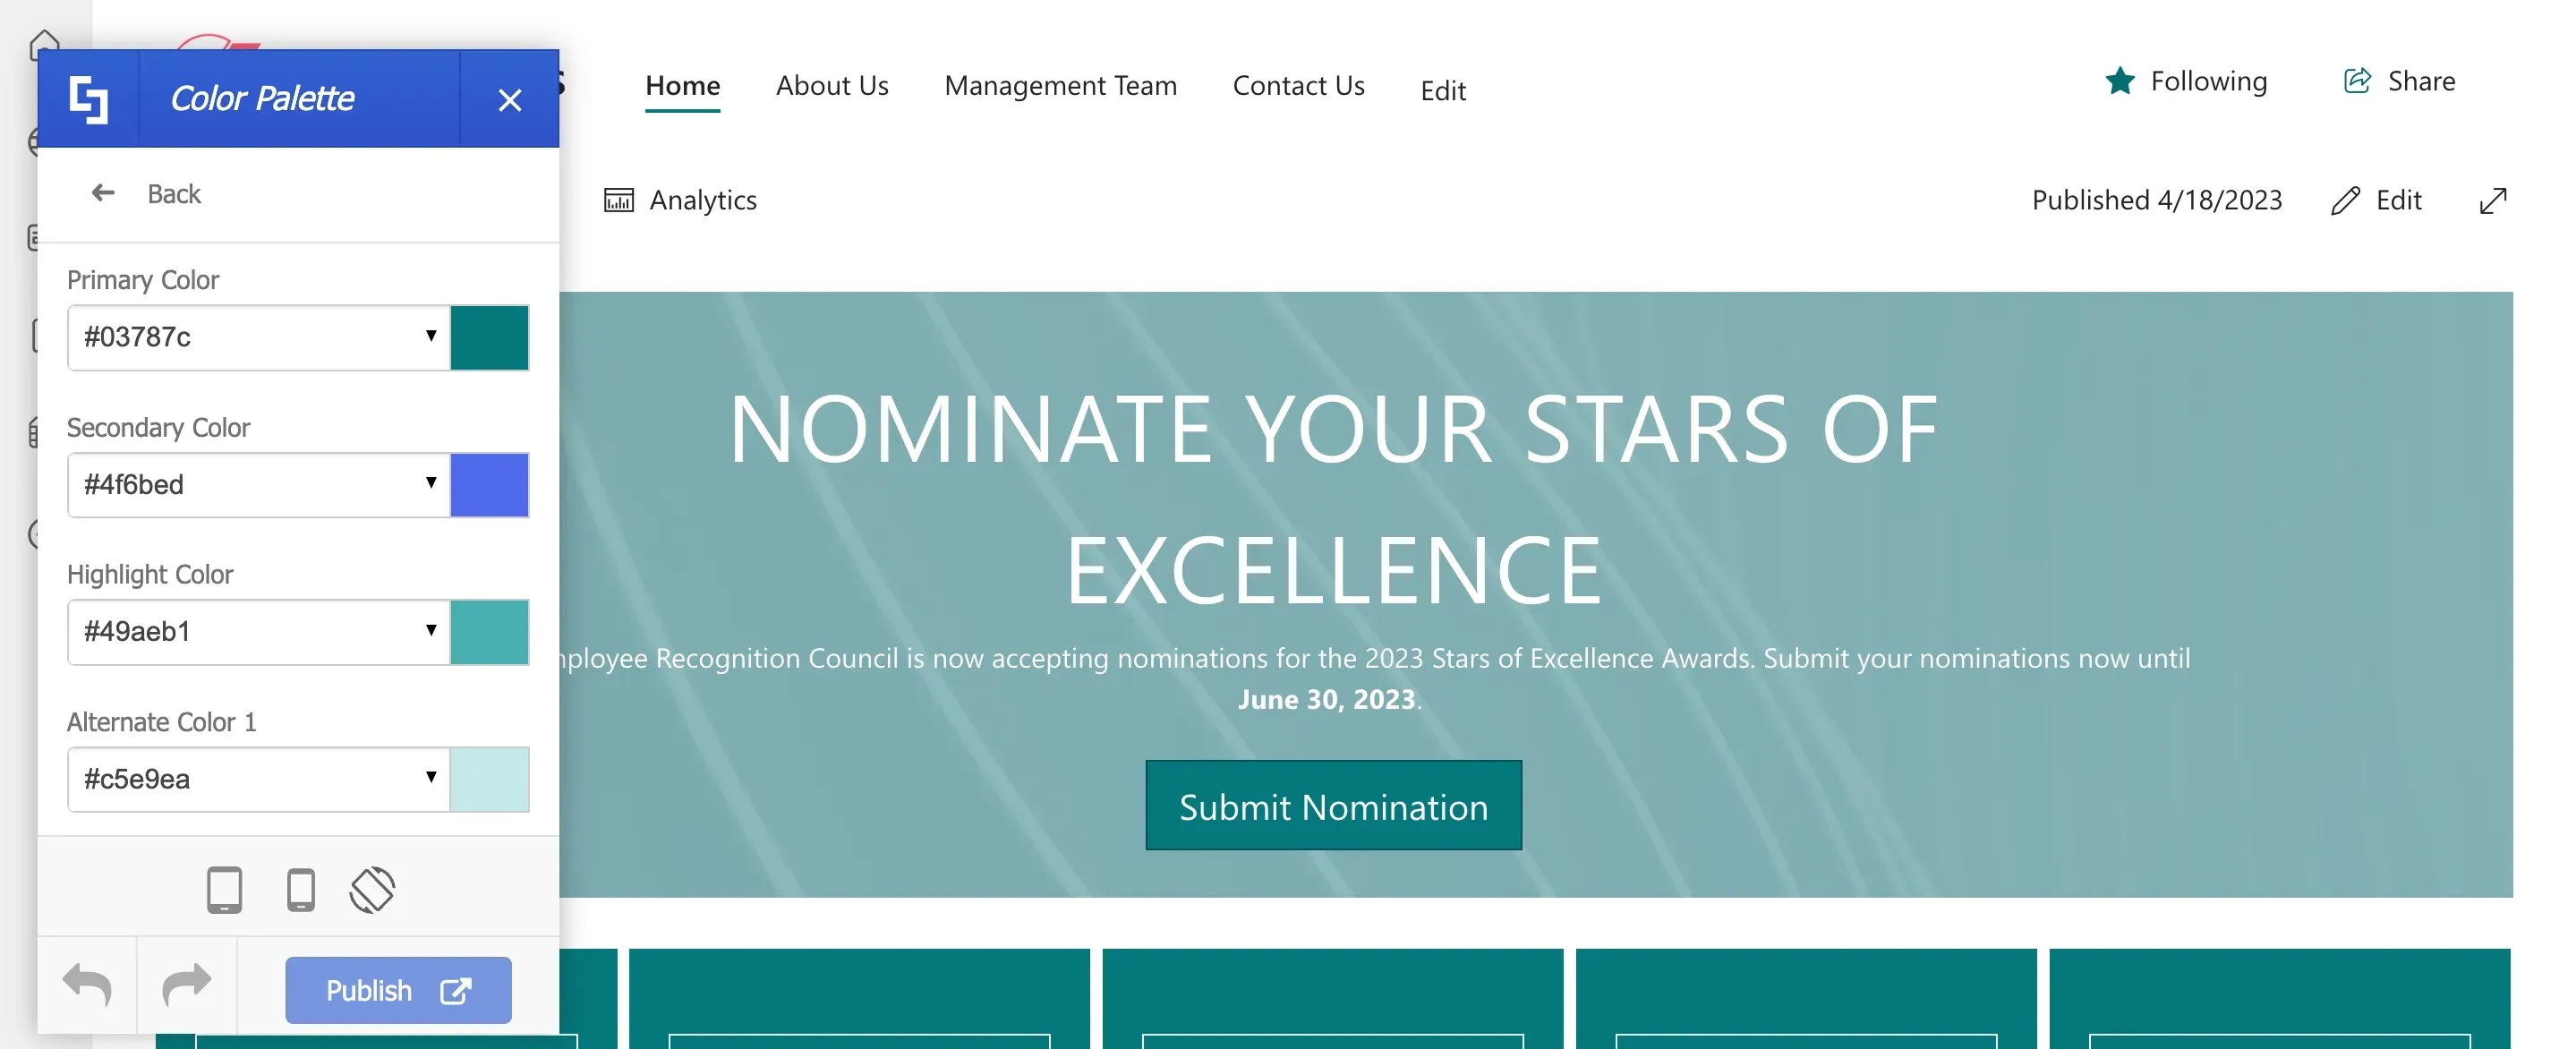
Here, you can set the default color themes for your site. These default color themes will then appear as the main color option when customizing Design Elements and other site components.
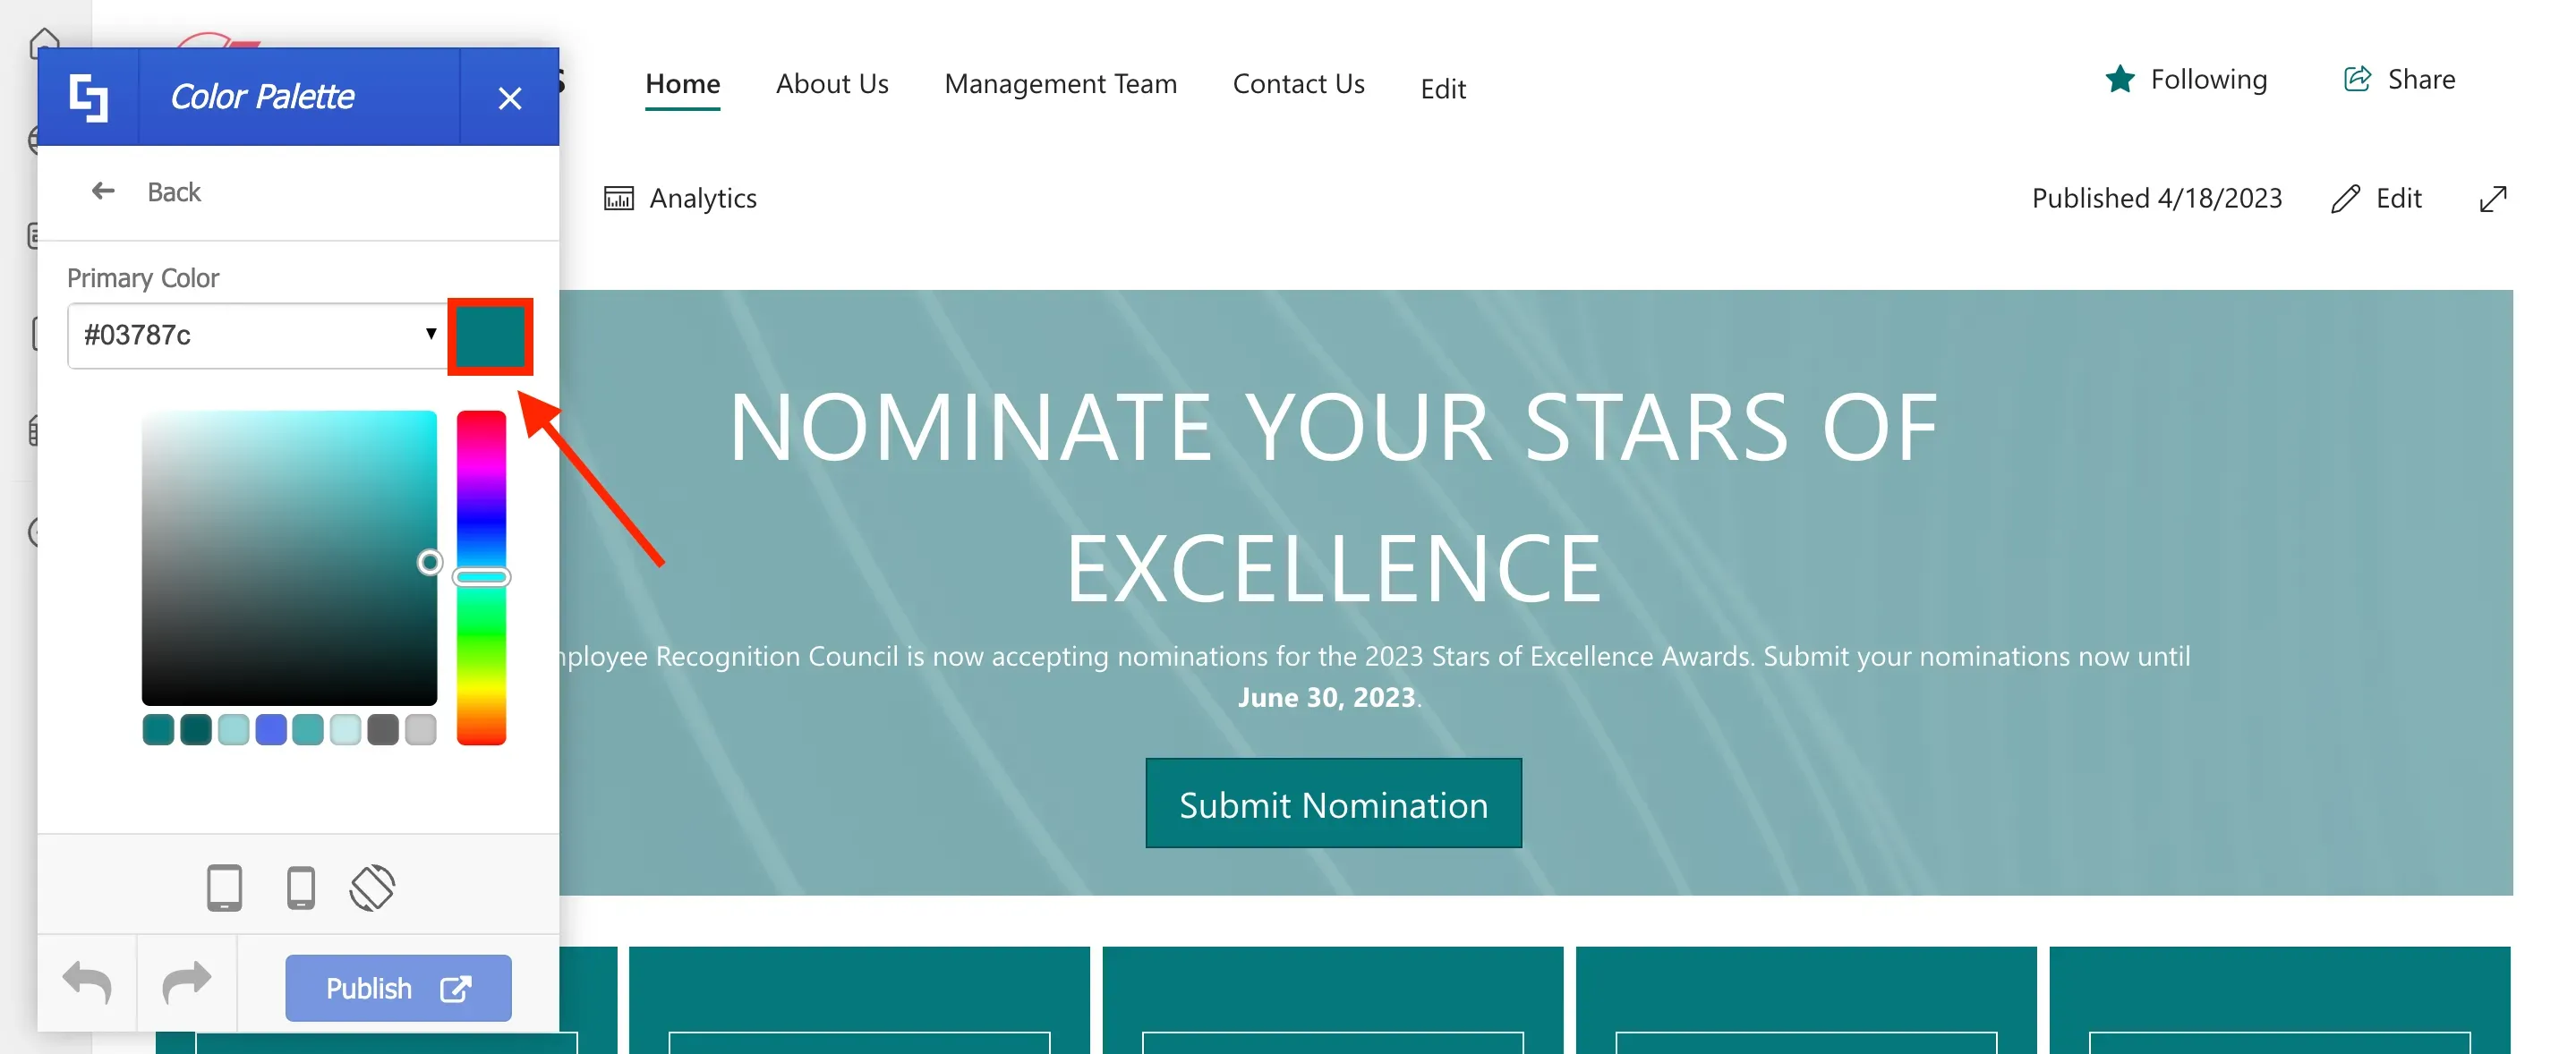
There are several ways to change the default color themes. One is to use the color picker.
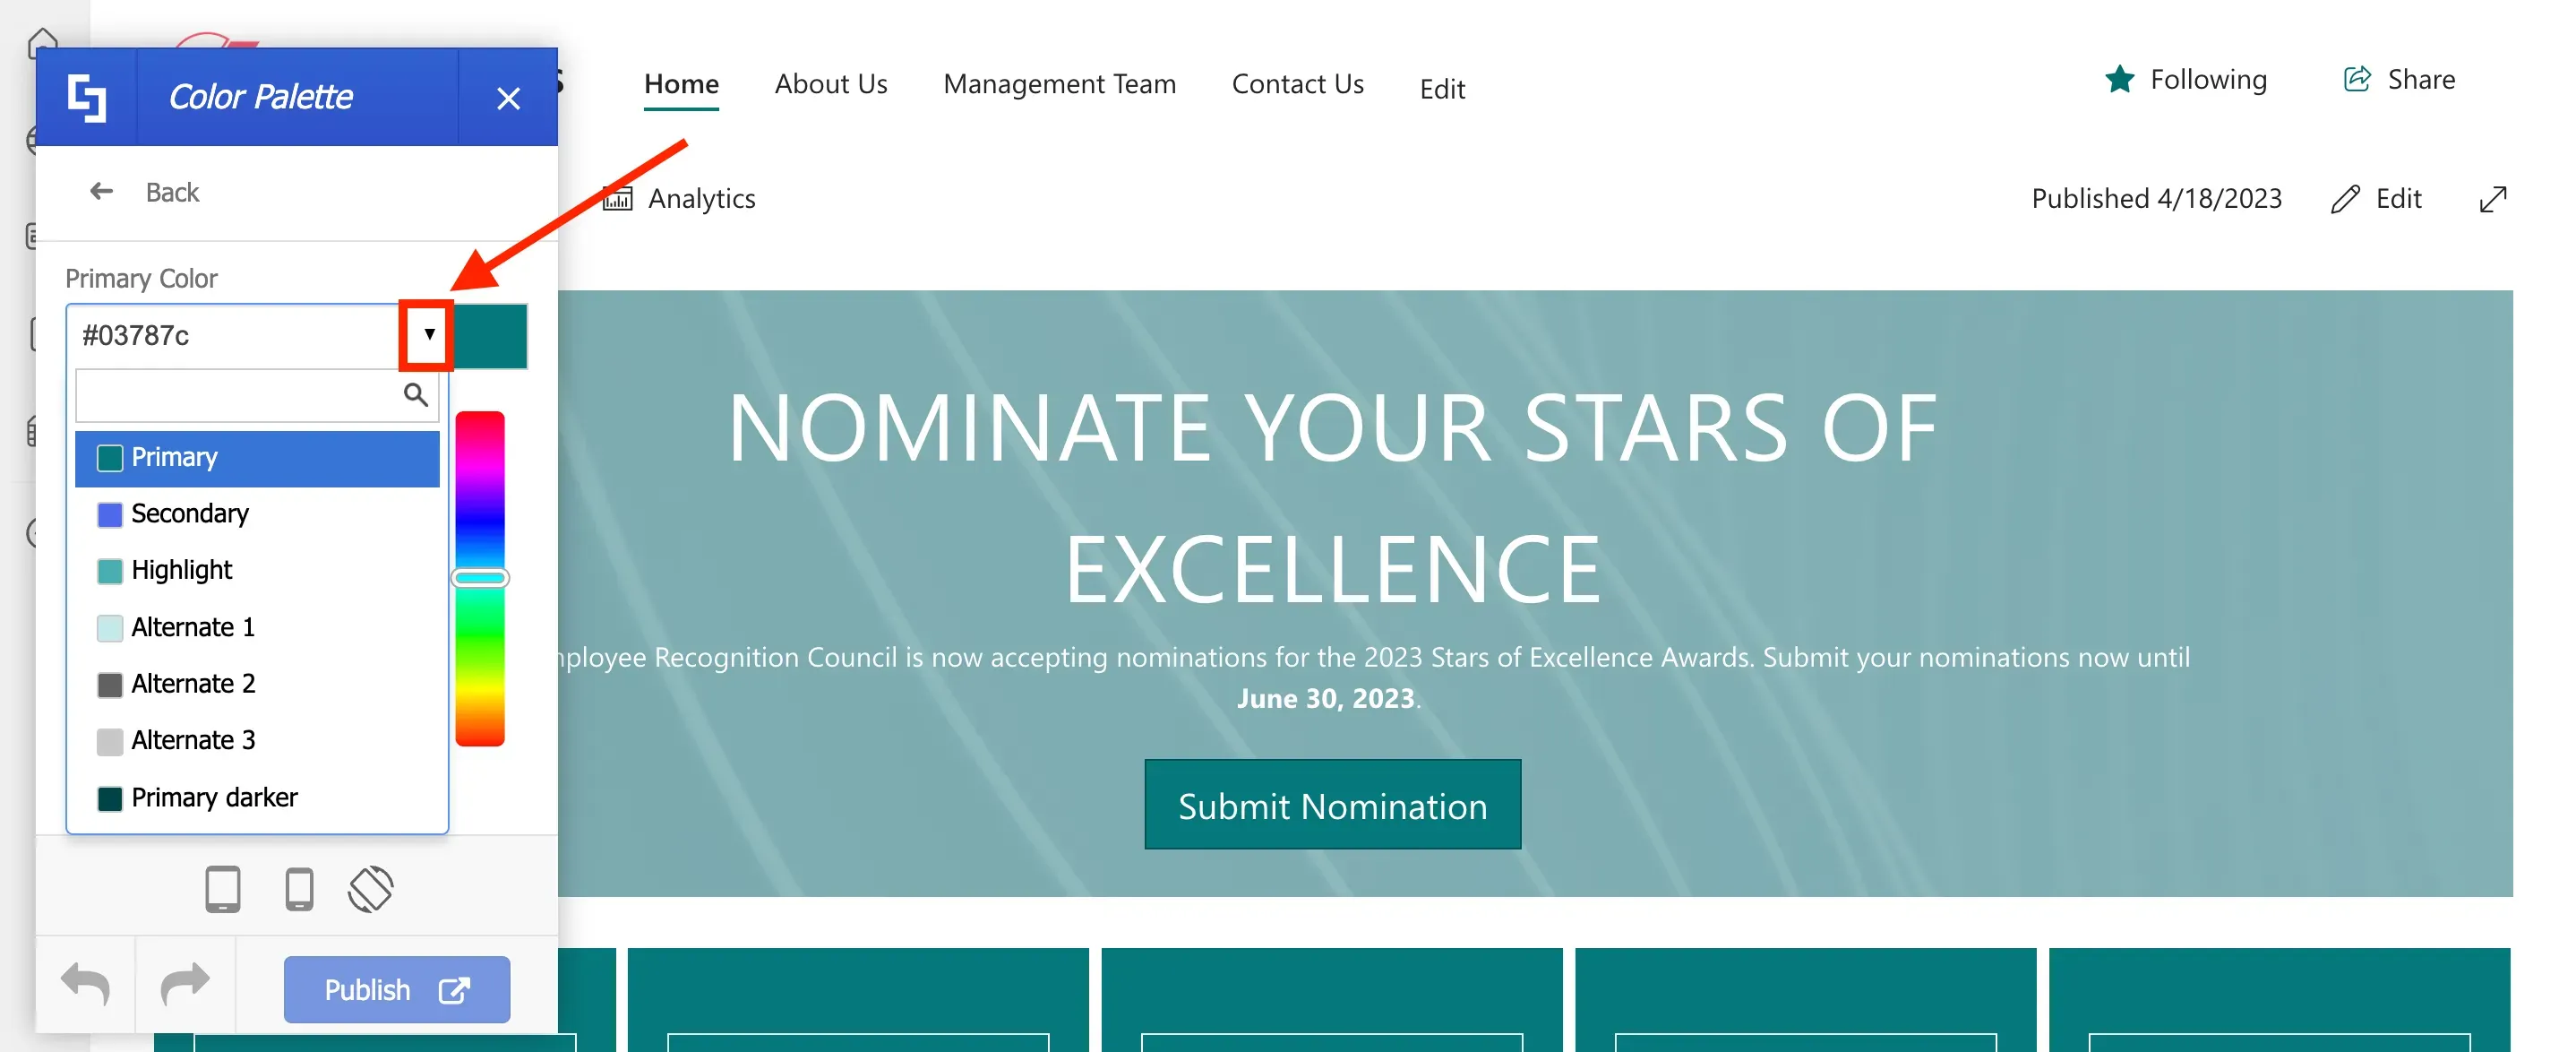
Another is to use the dropdown to choose from a list of ShortPoint preset colors.
But for this project, we will copy the hex codes from Brightworks branding guidelines.
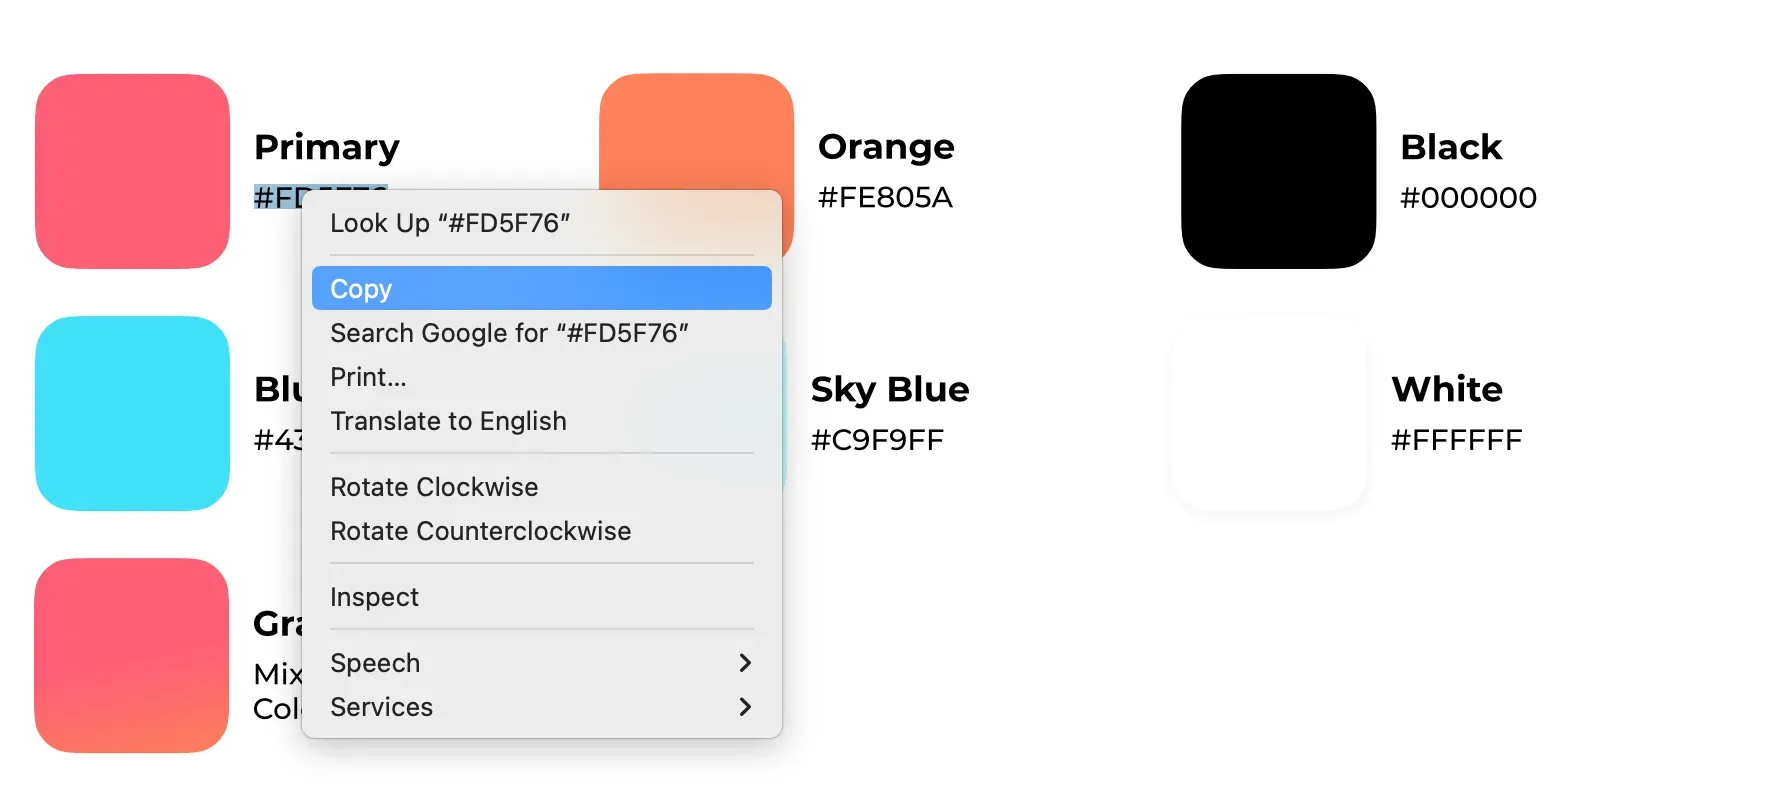
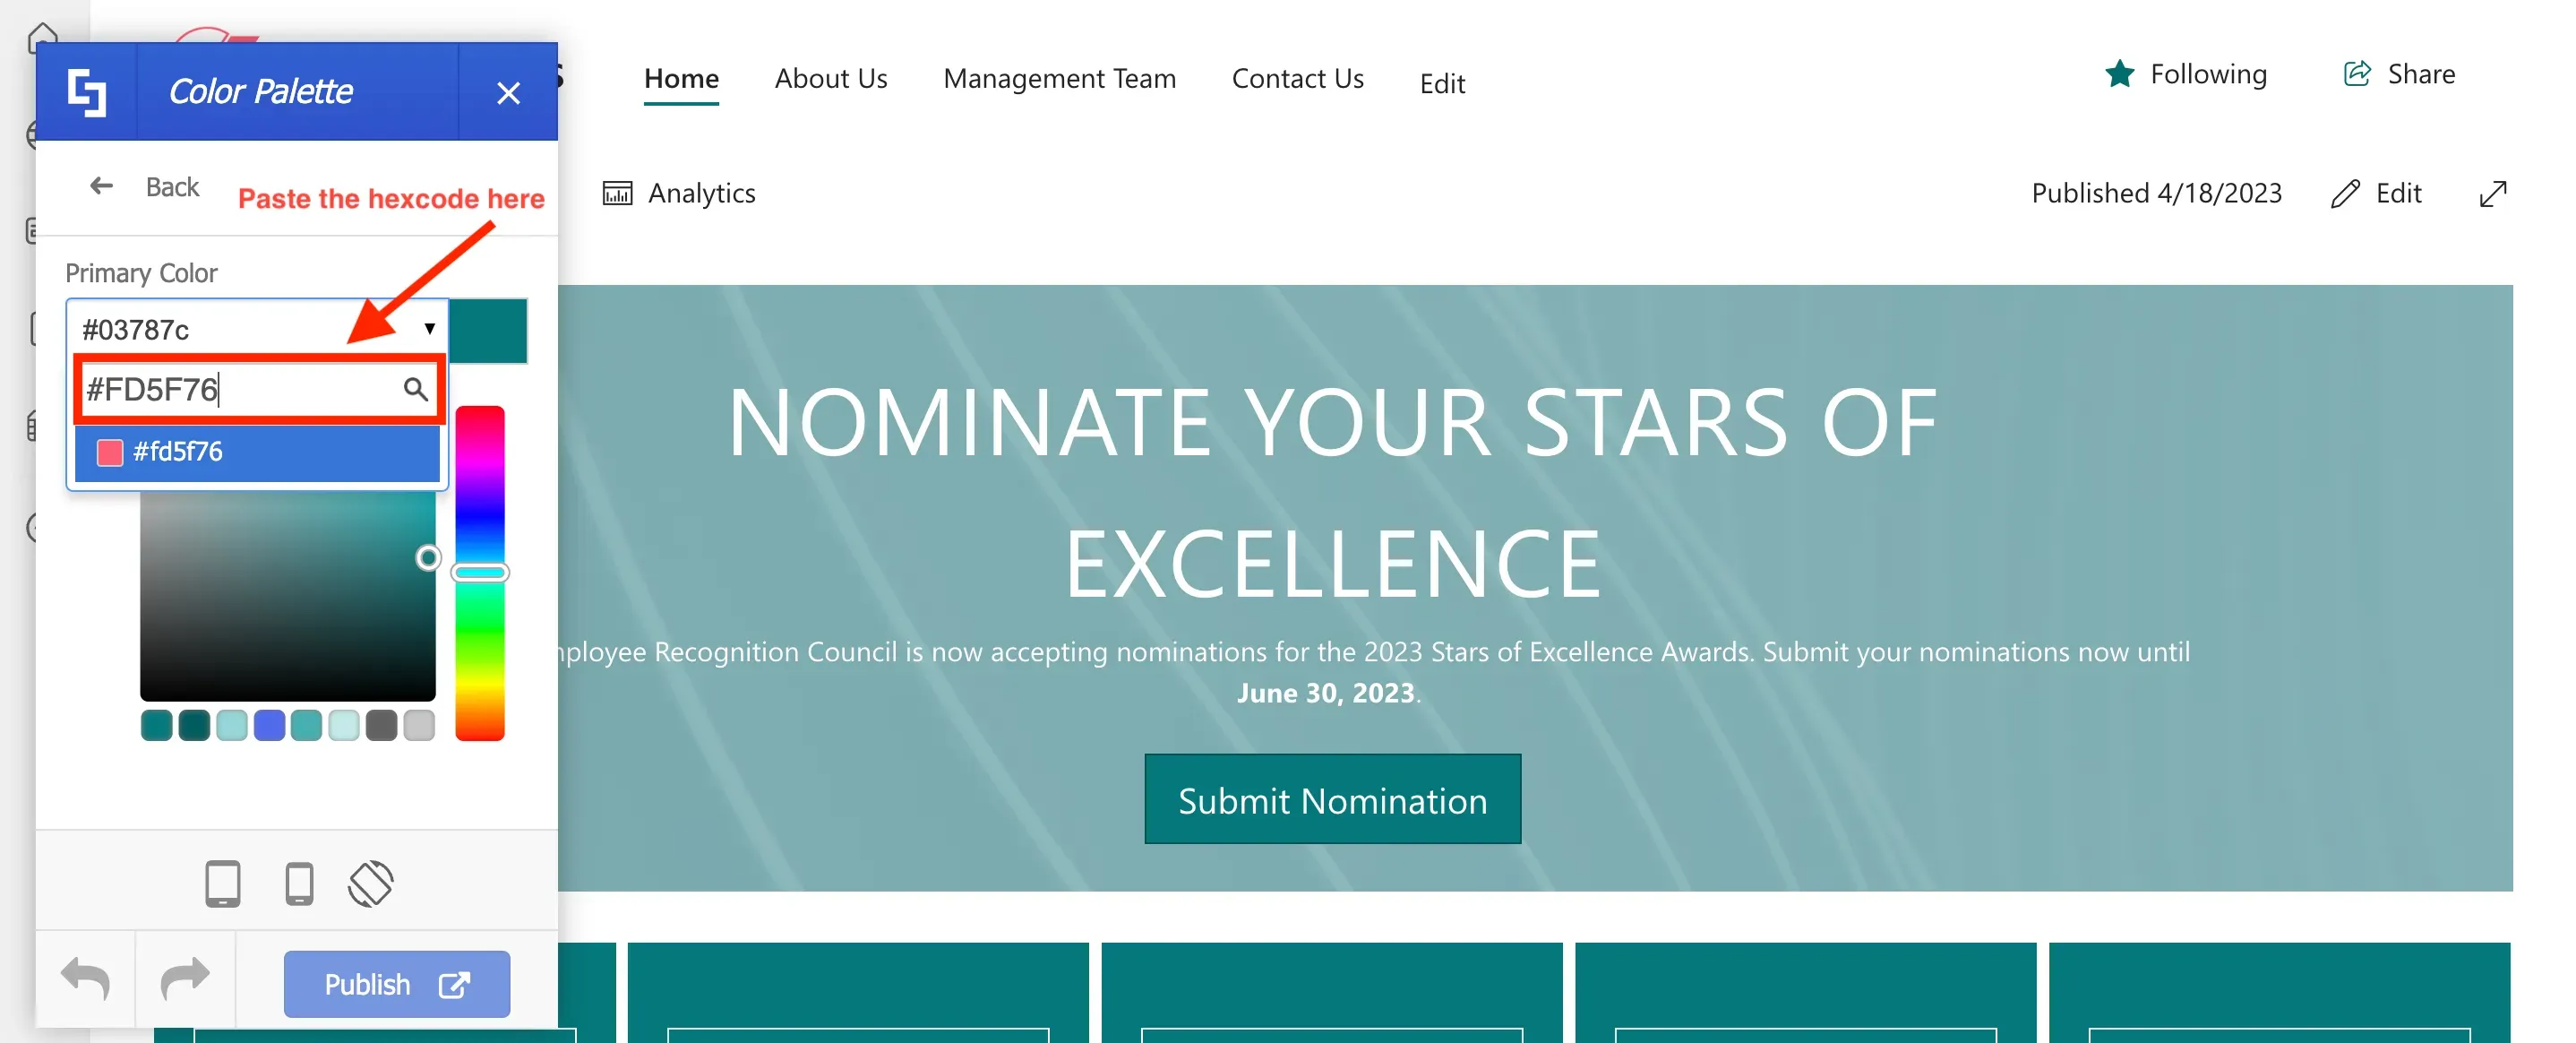
And paste it into the appropriate color fields.
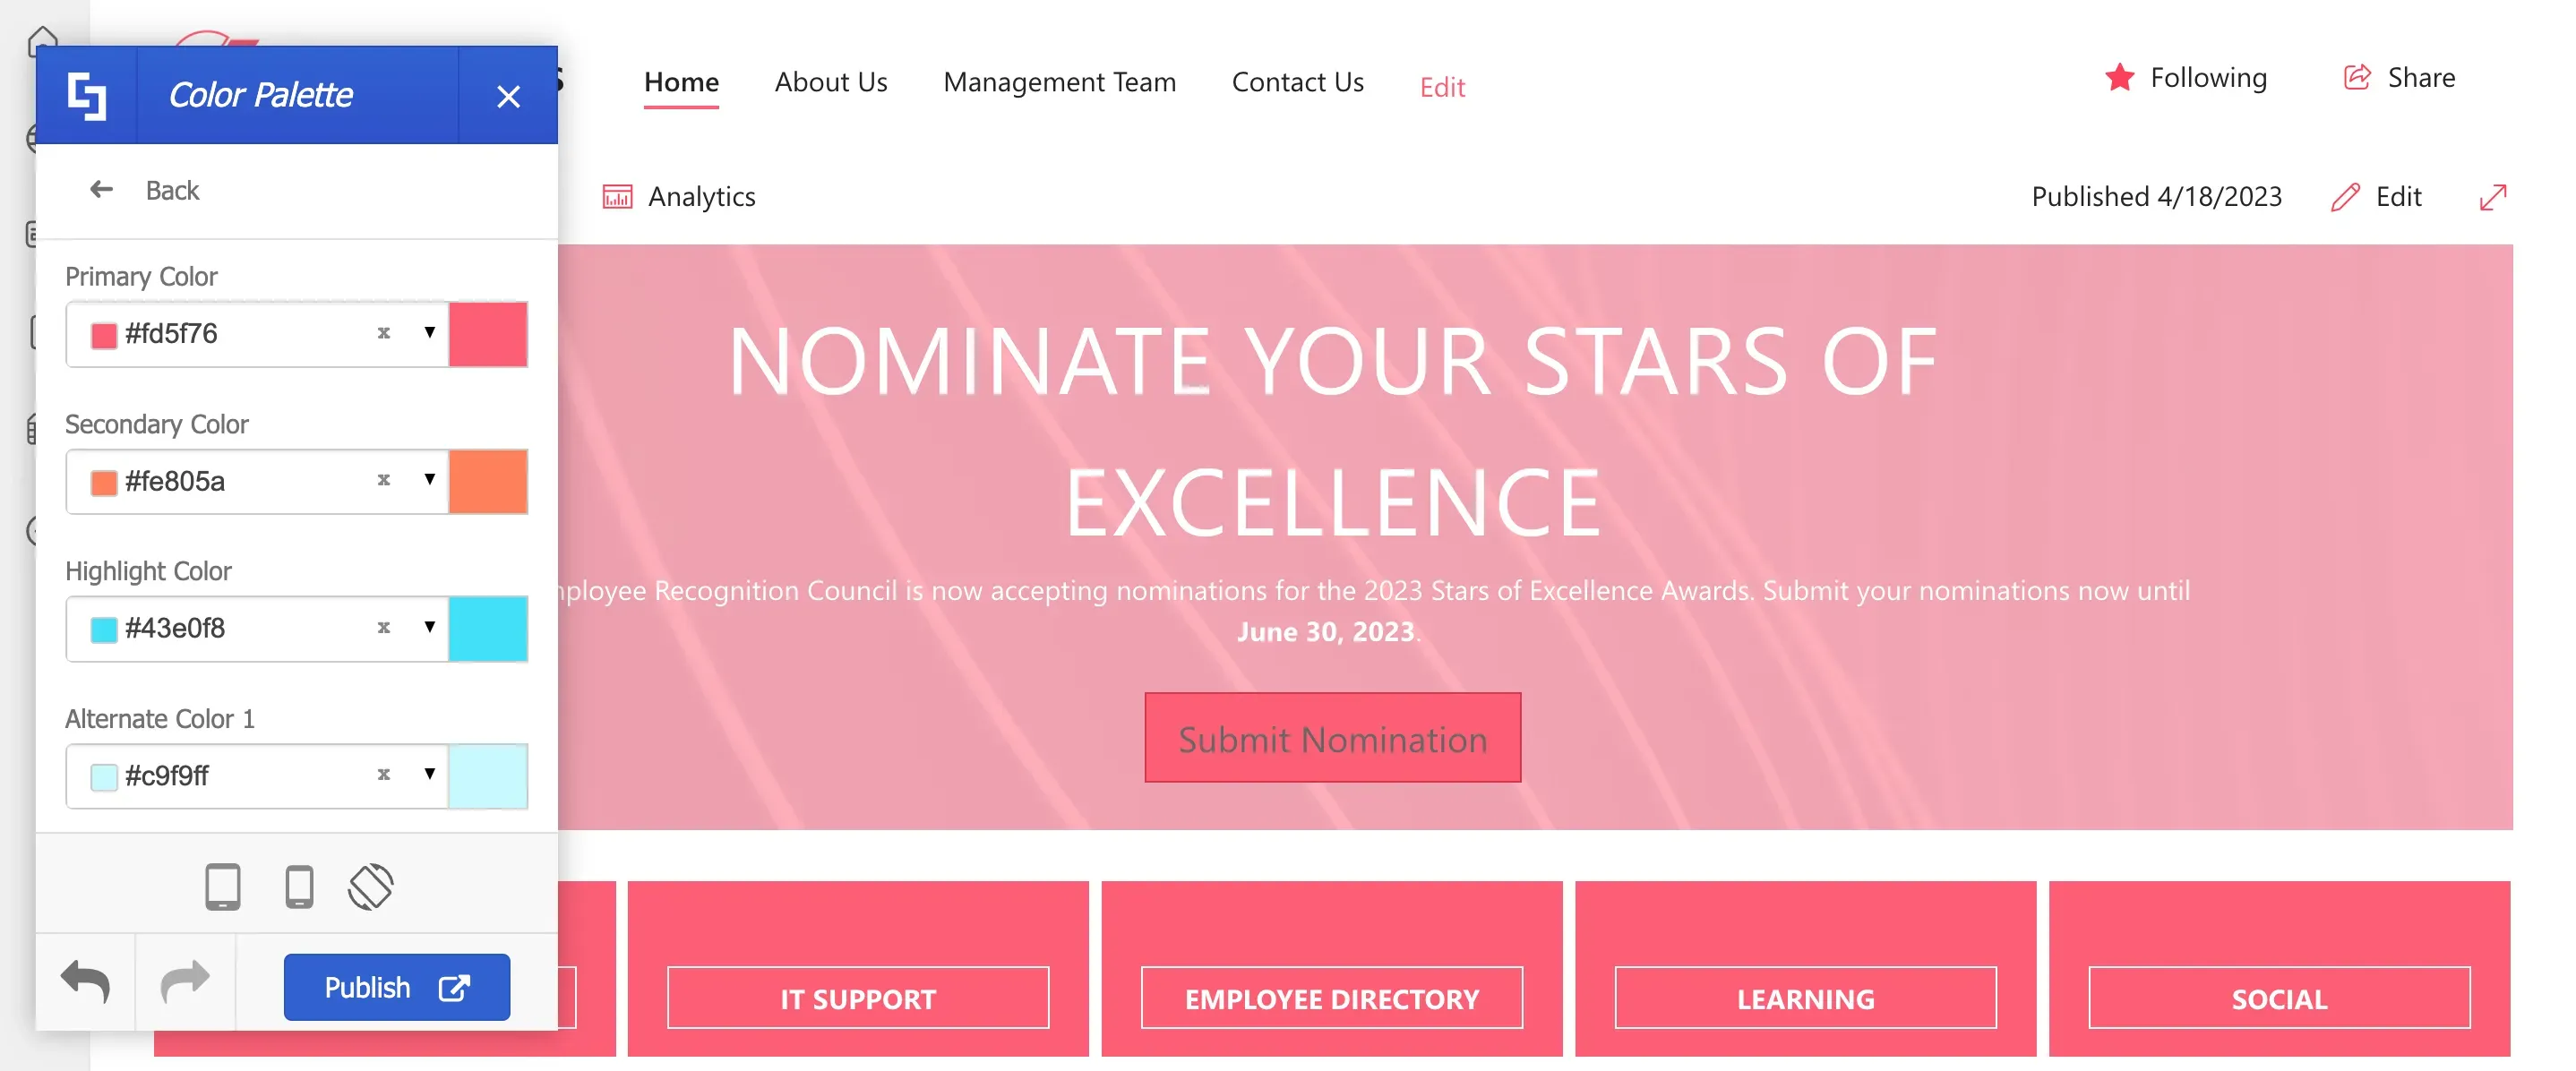
As you make your selections, your page will instantly update with the new colors, making it easy to see the changes you're making in real-time.
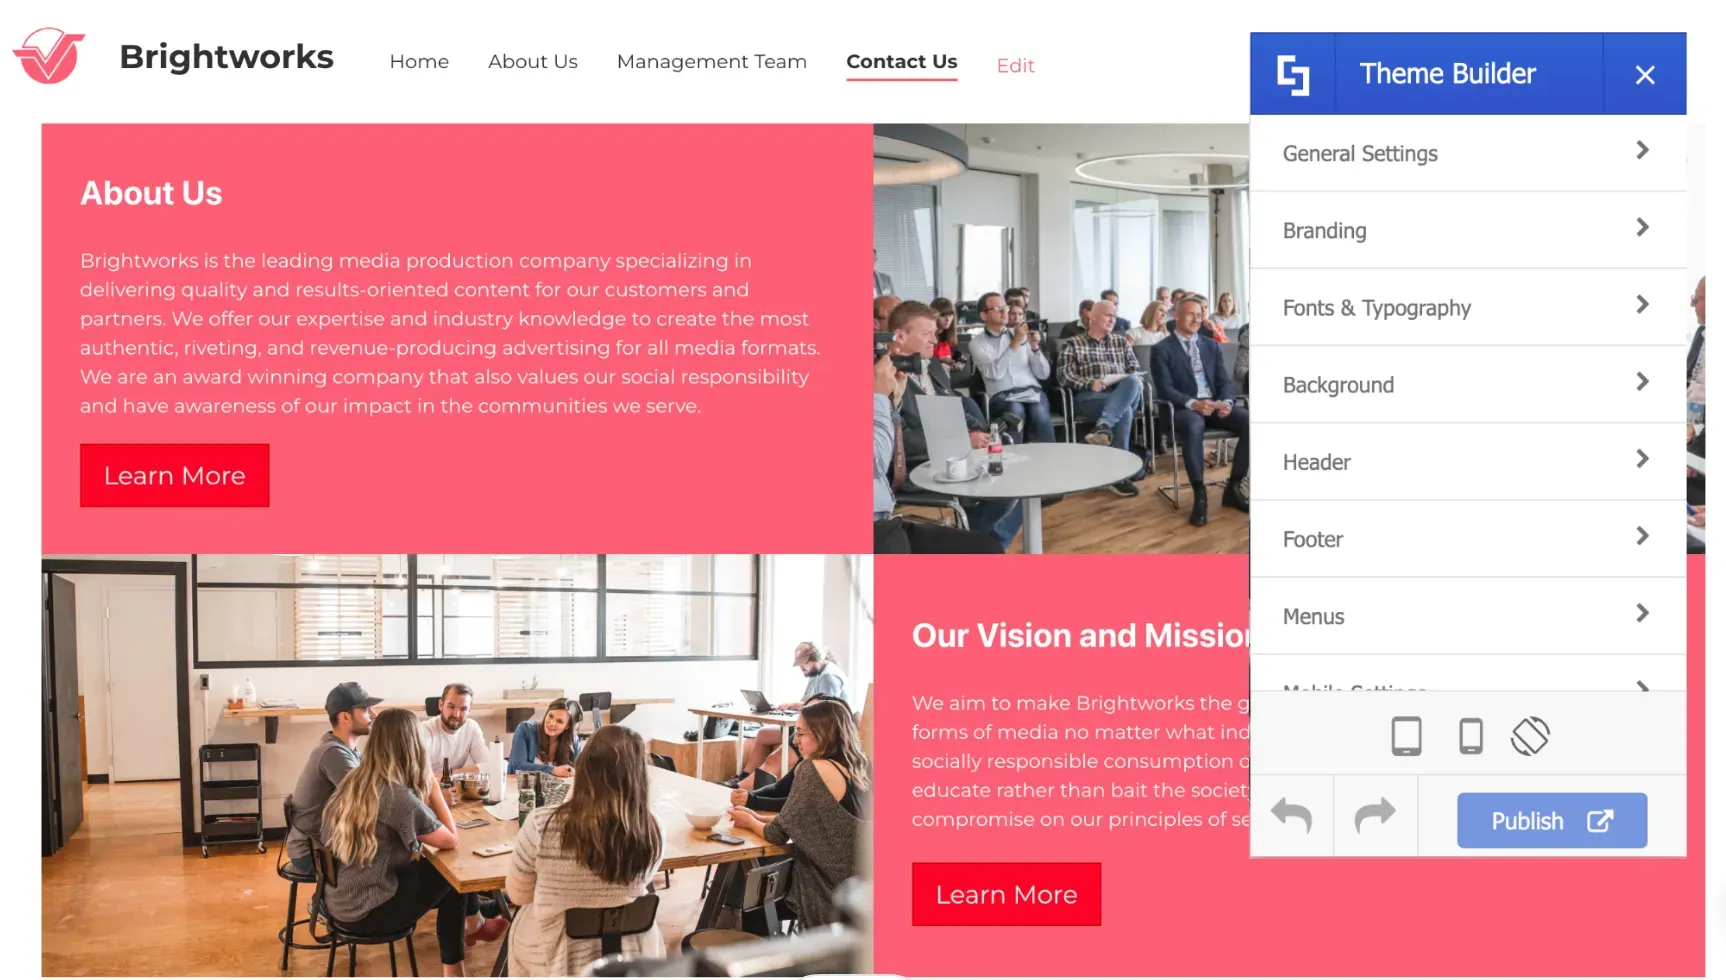
You can also check other pages while Theme Builder is active. Feel free to customize your site theme to your desired look as these changes will not be available to anyone else in your organization until you click Publish.
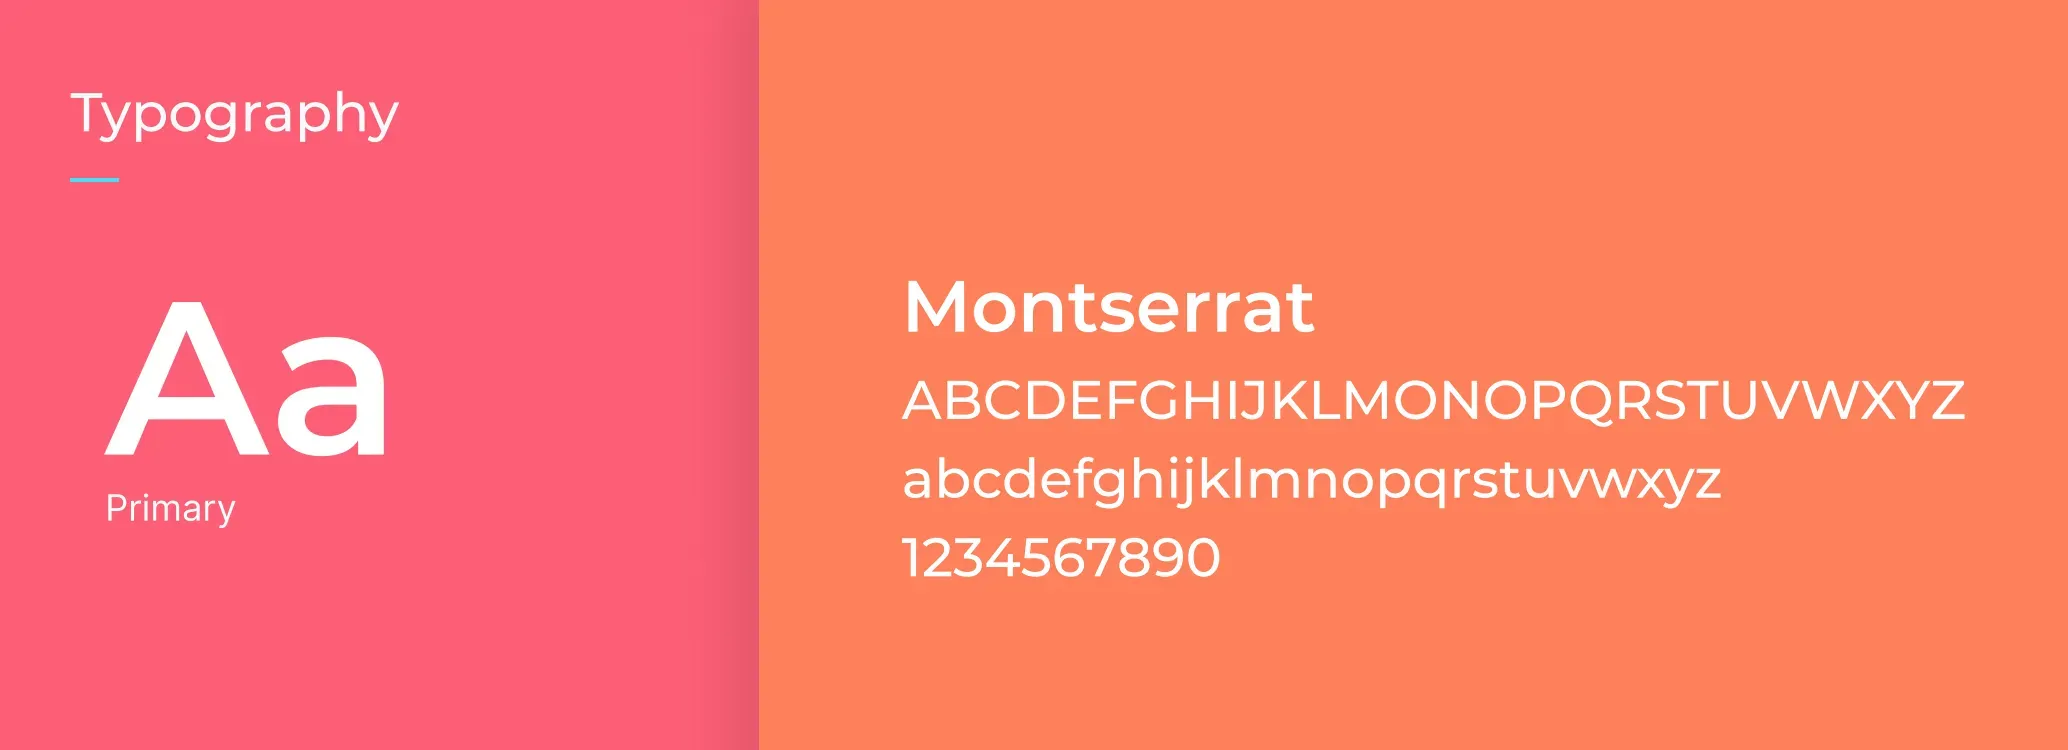
Next, let's apply the official typography of the company.
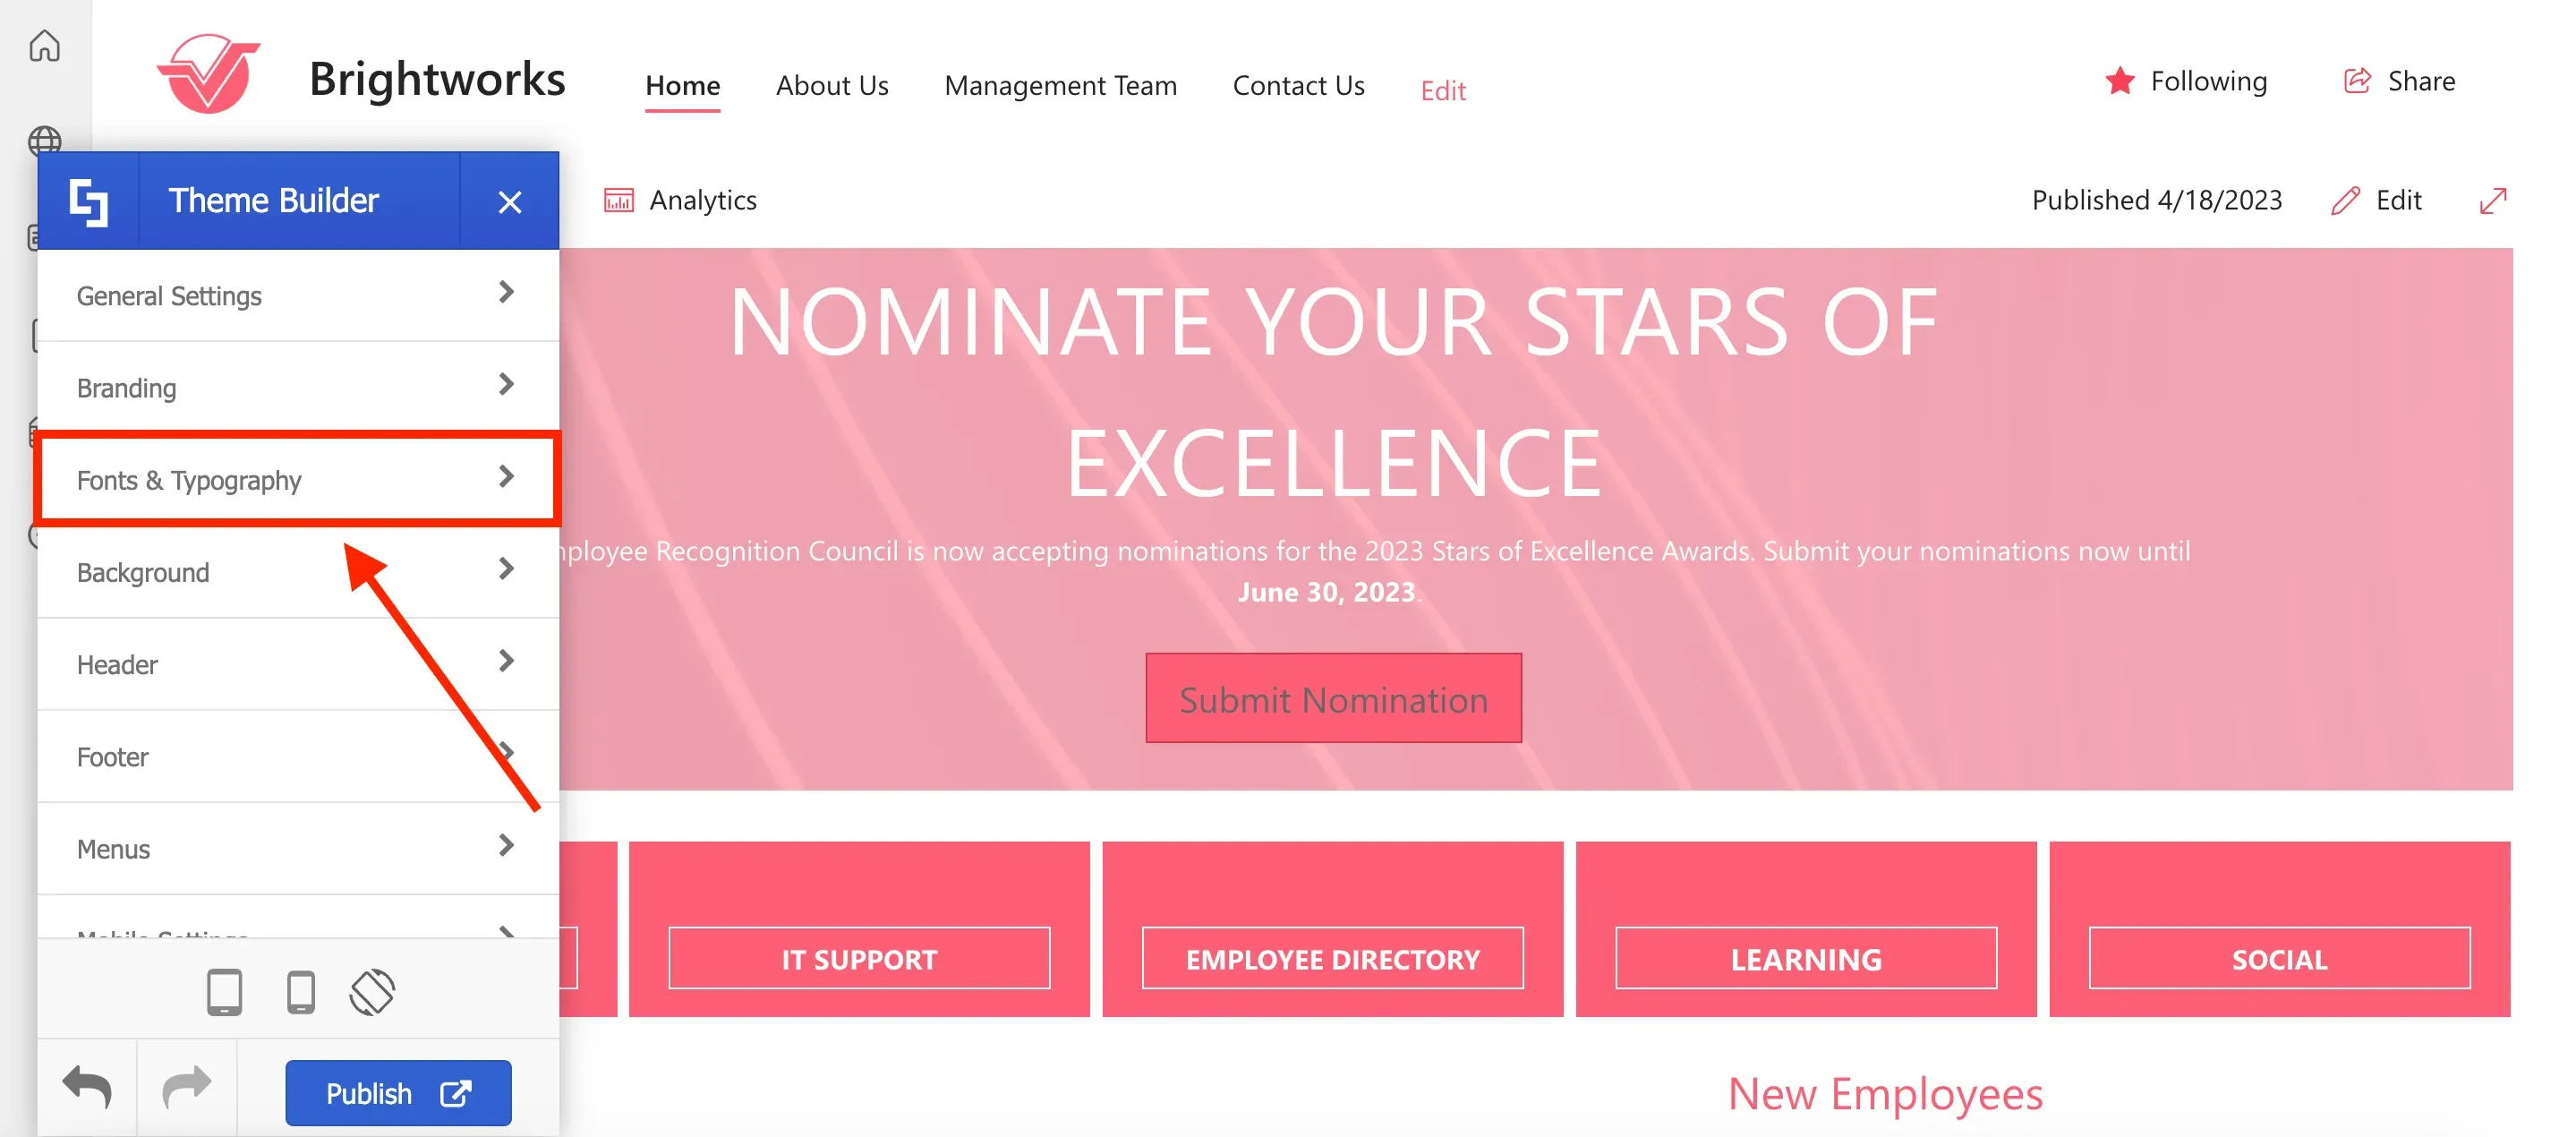
To do this, select Fonts & Typography.
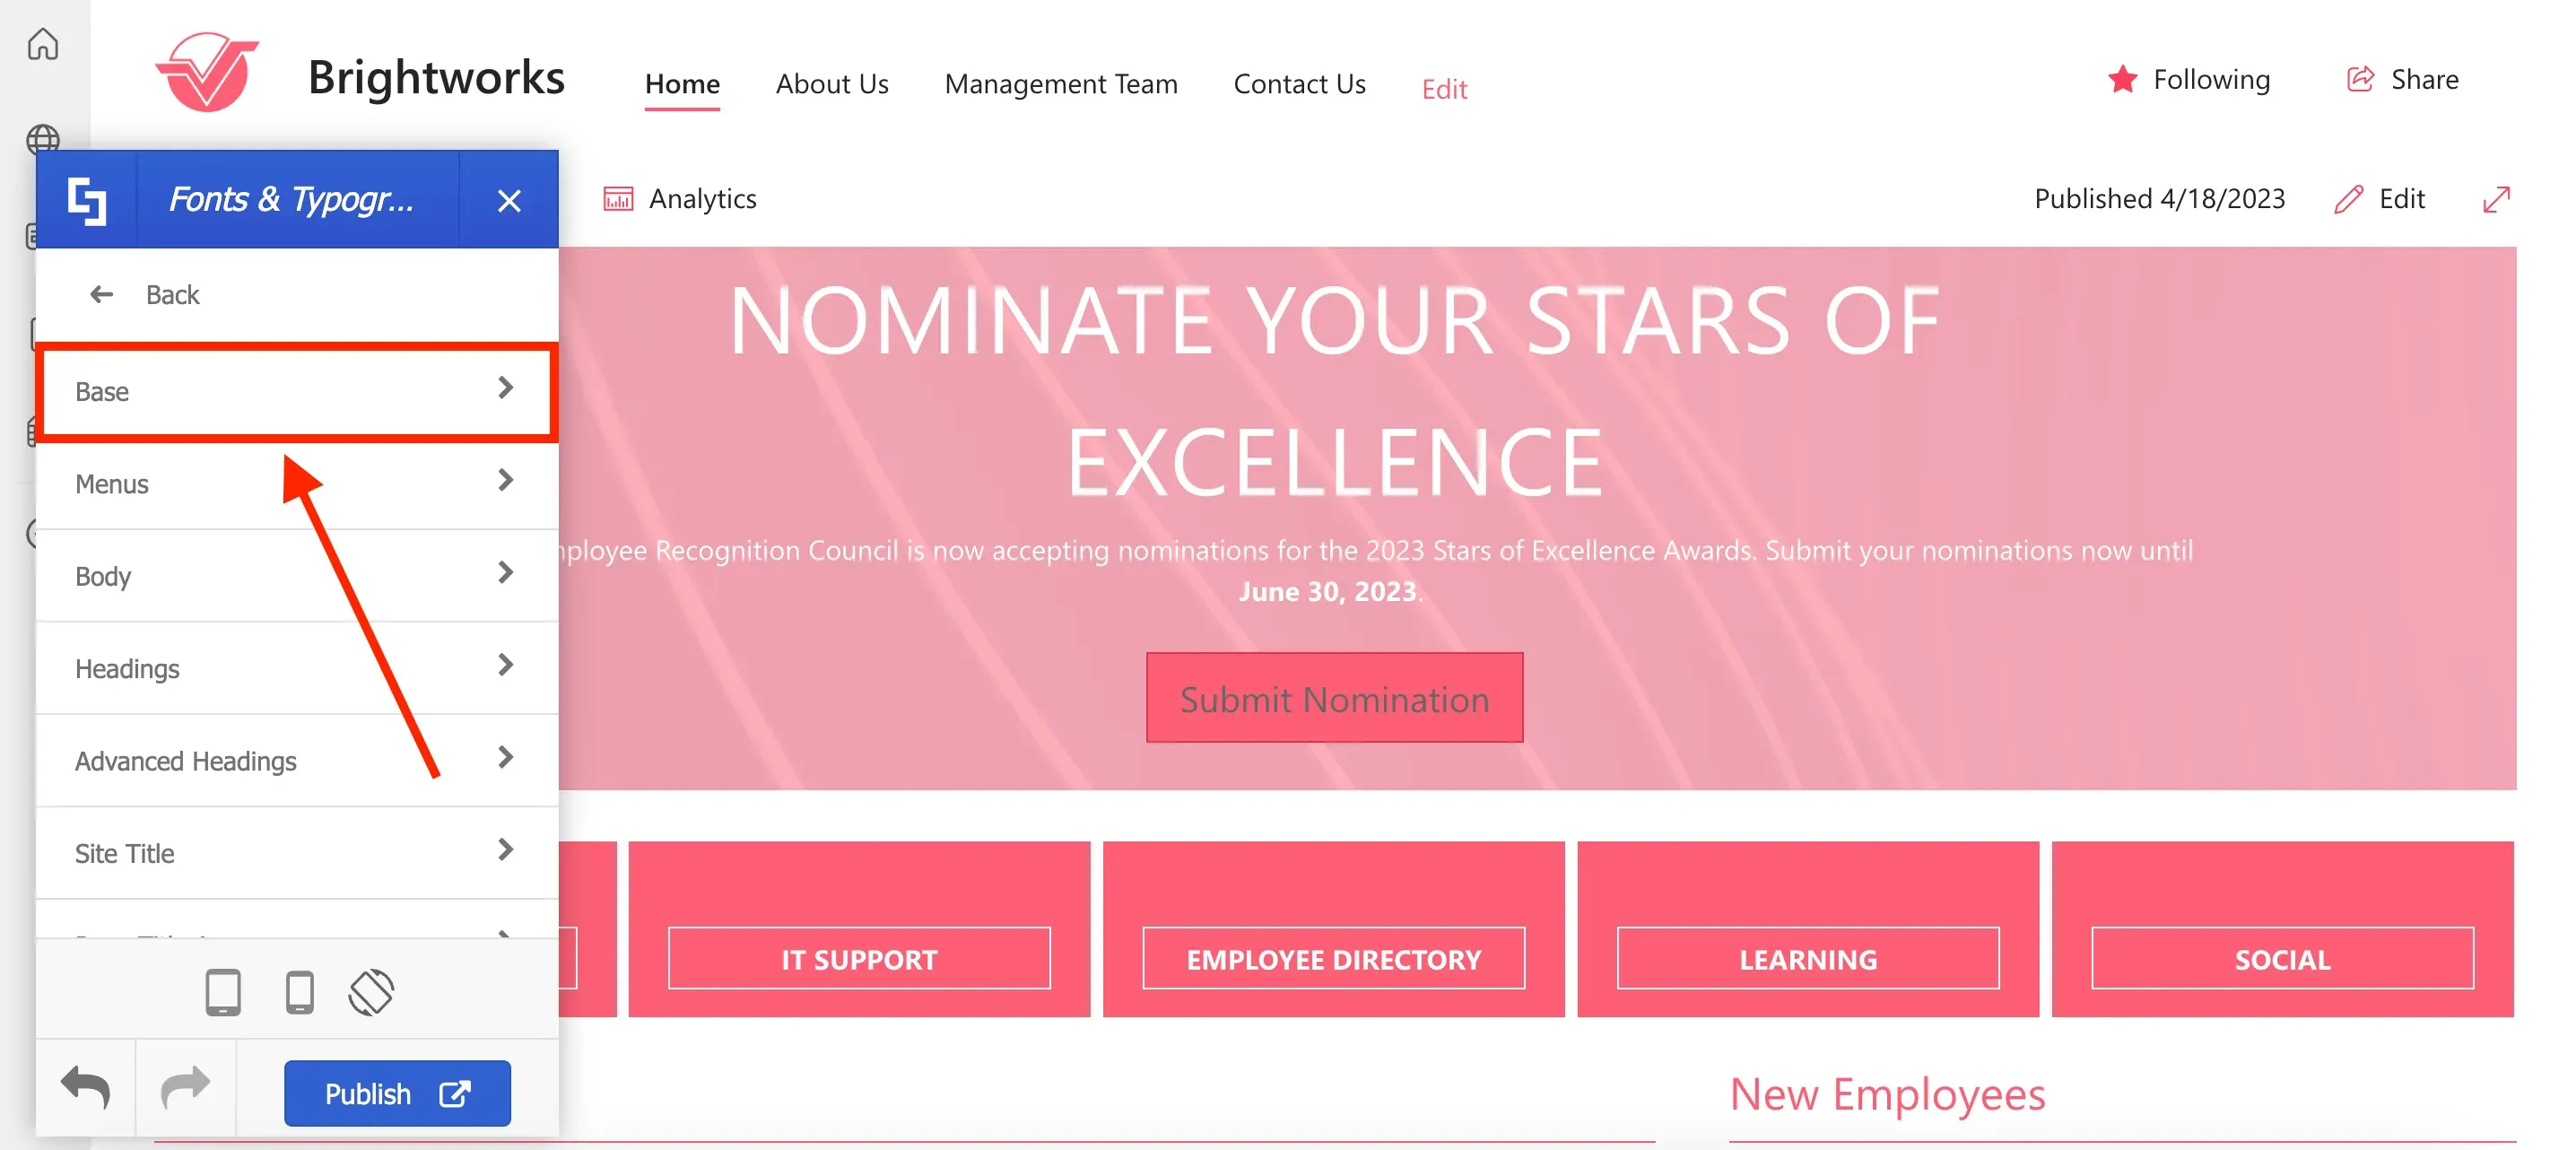
In Fonts & Typography, you can choose to apply different fonts for various components on your site. But for now, we will select the Base font of your site.
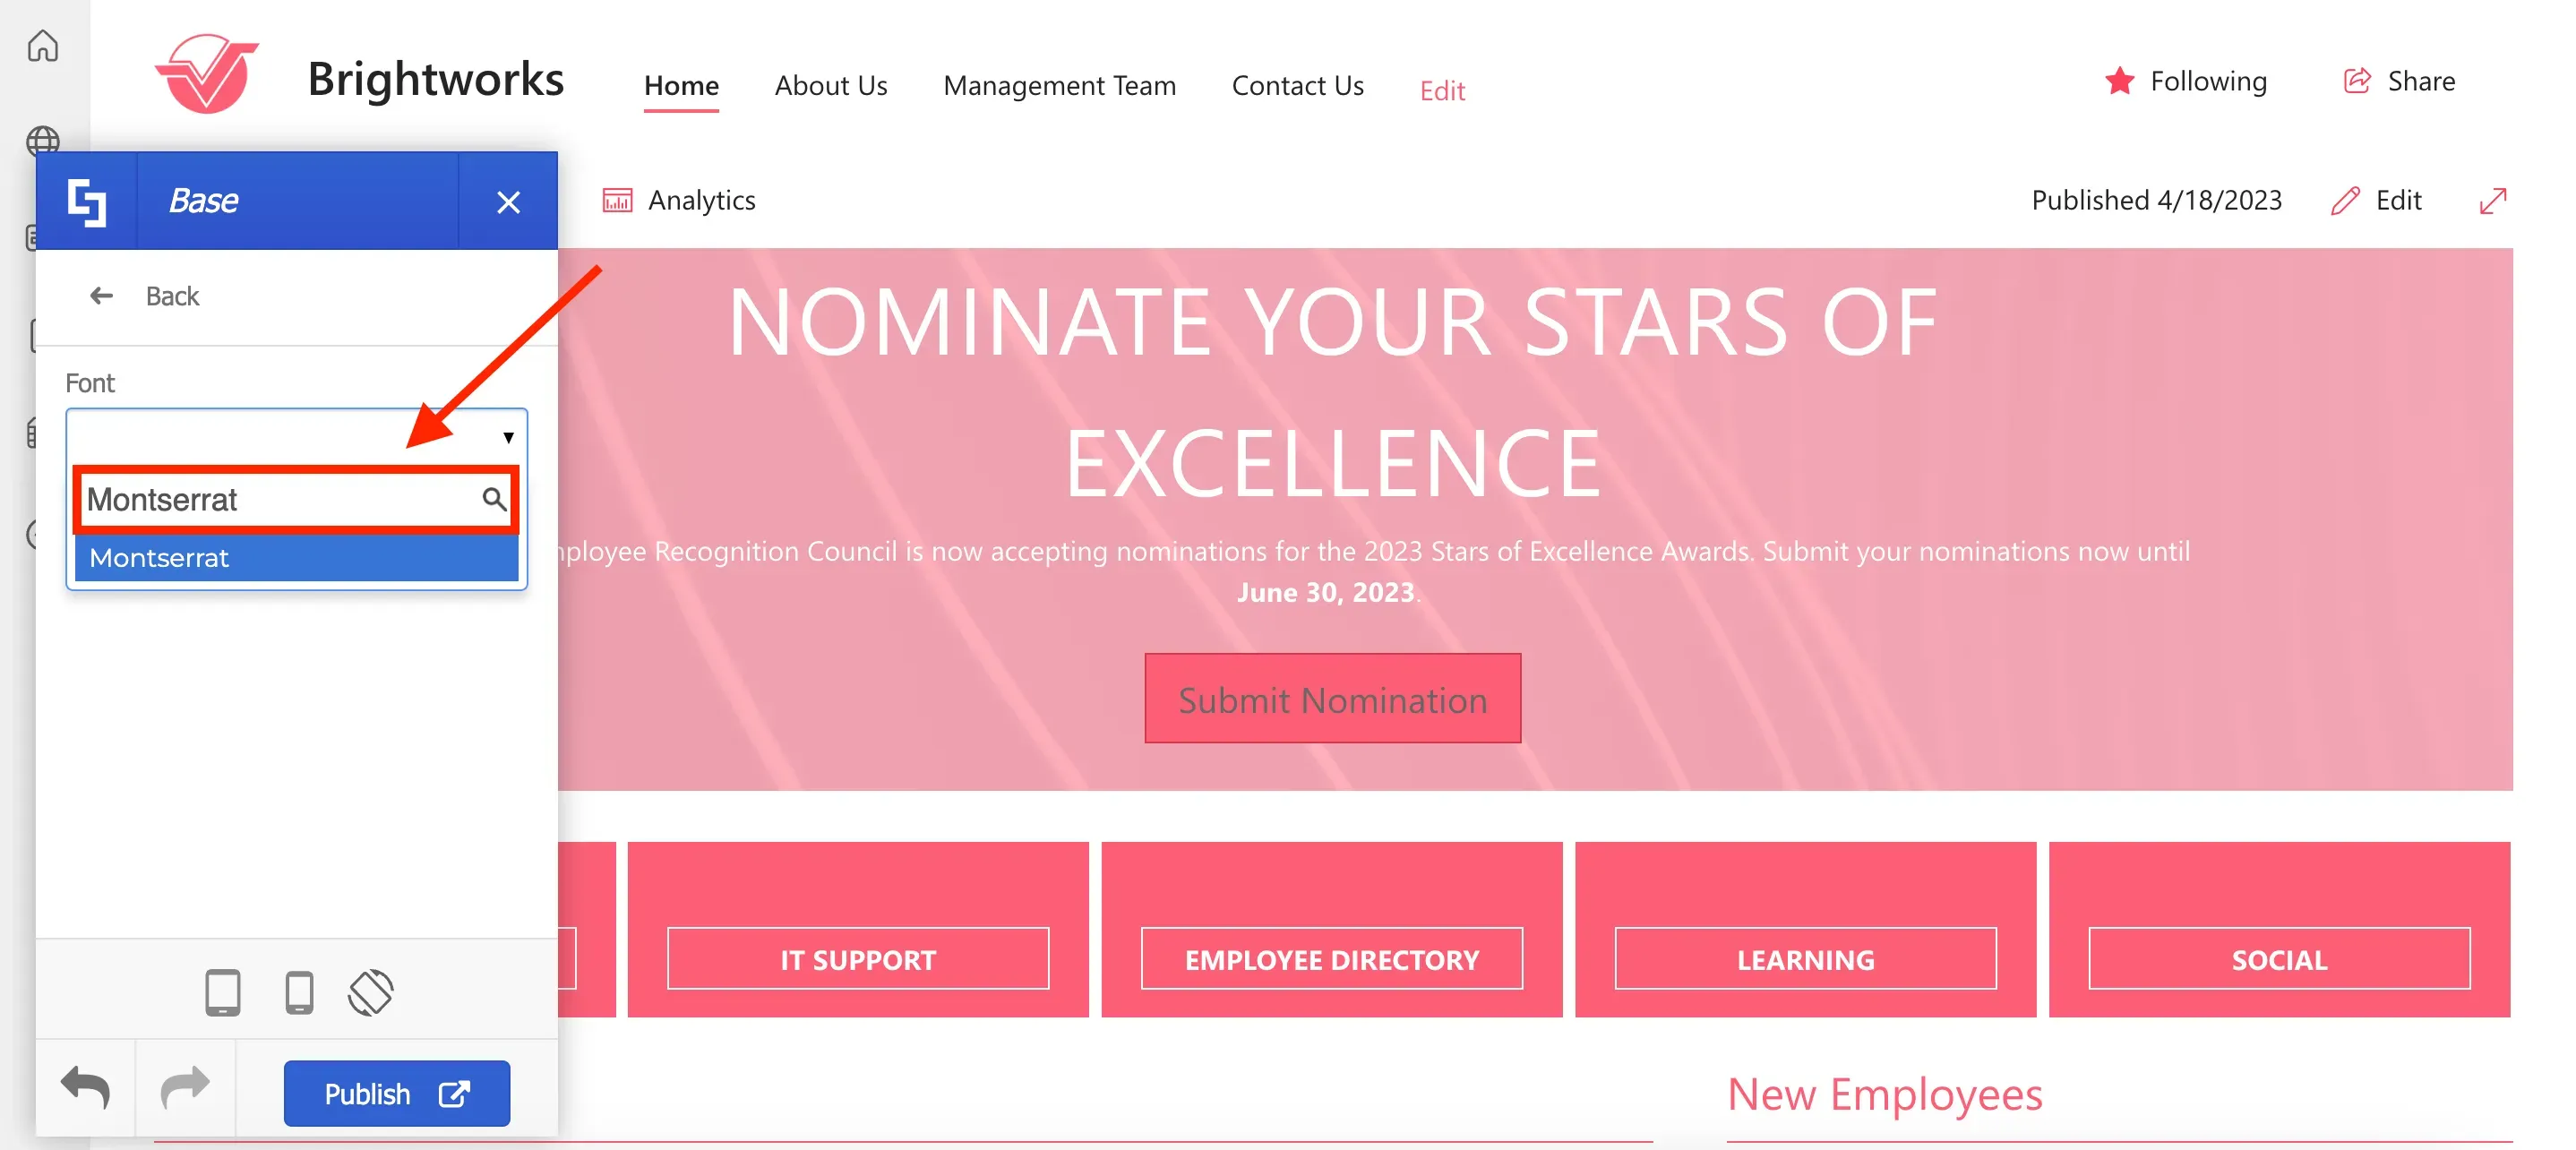
Use the search field to look for your desired font.
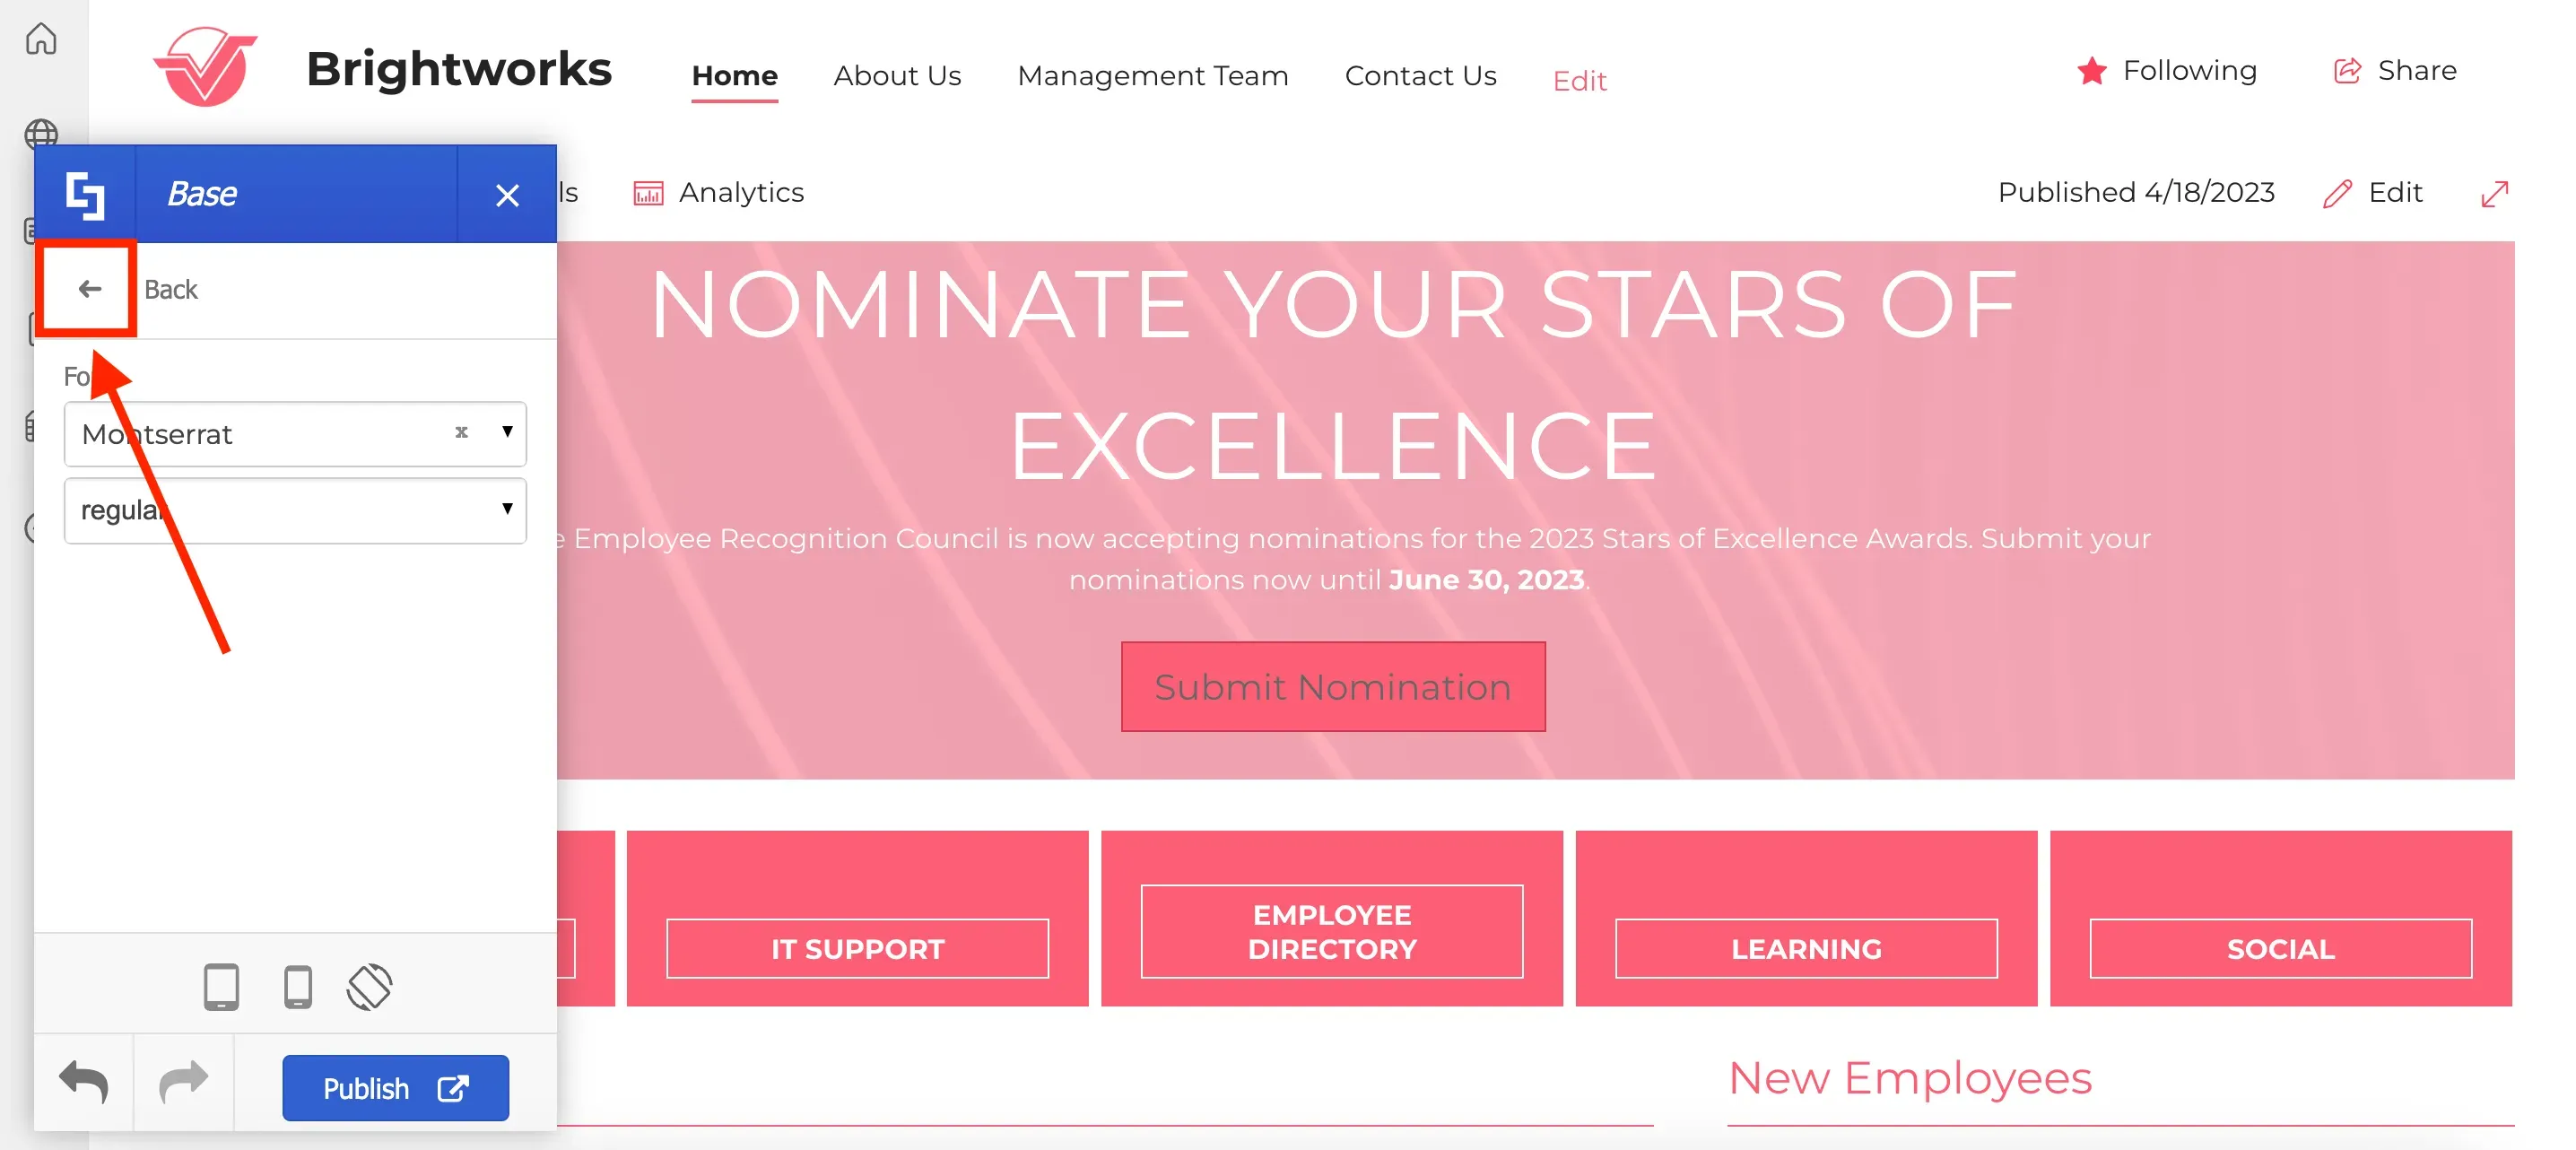
If you cannot find your company's official font in the available options, use the back arrow to go back to the main Theme Builder menu.
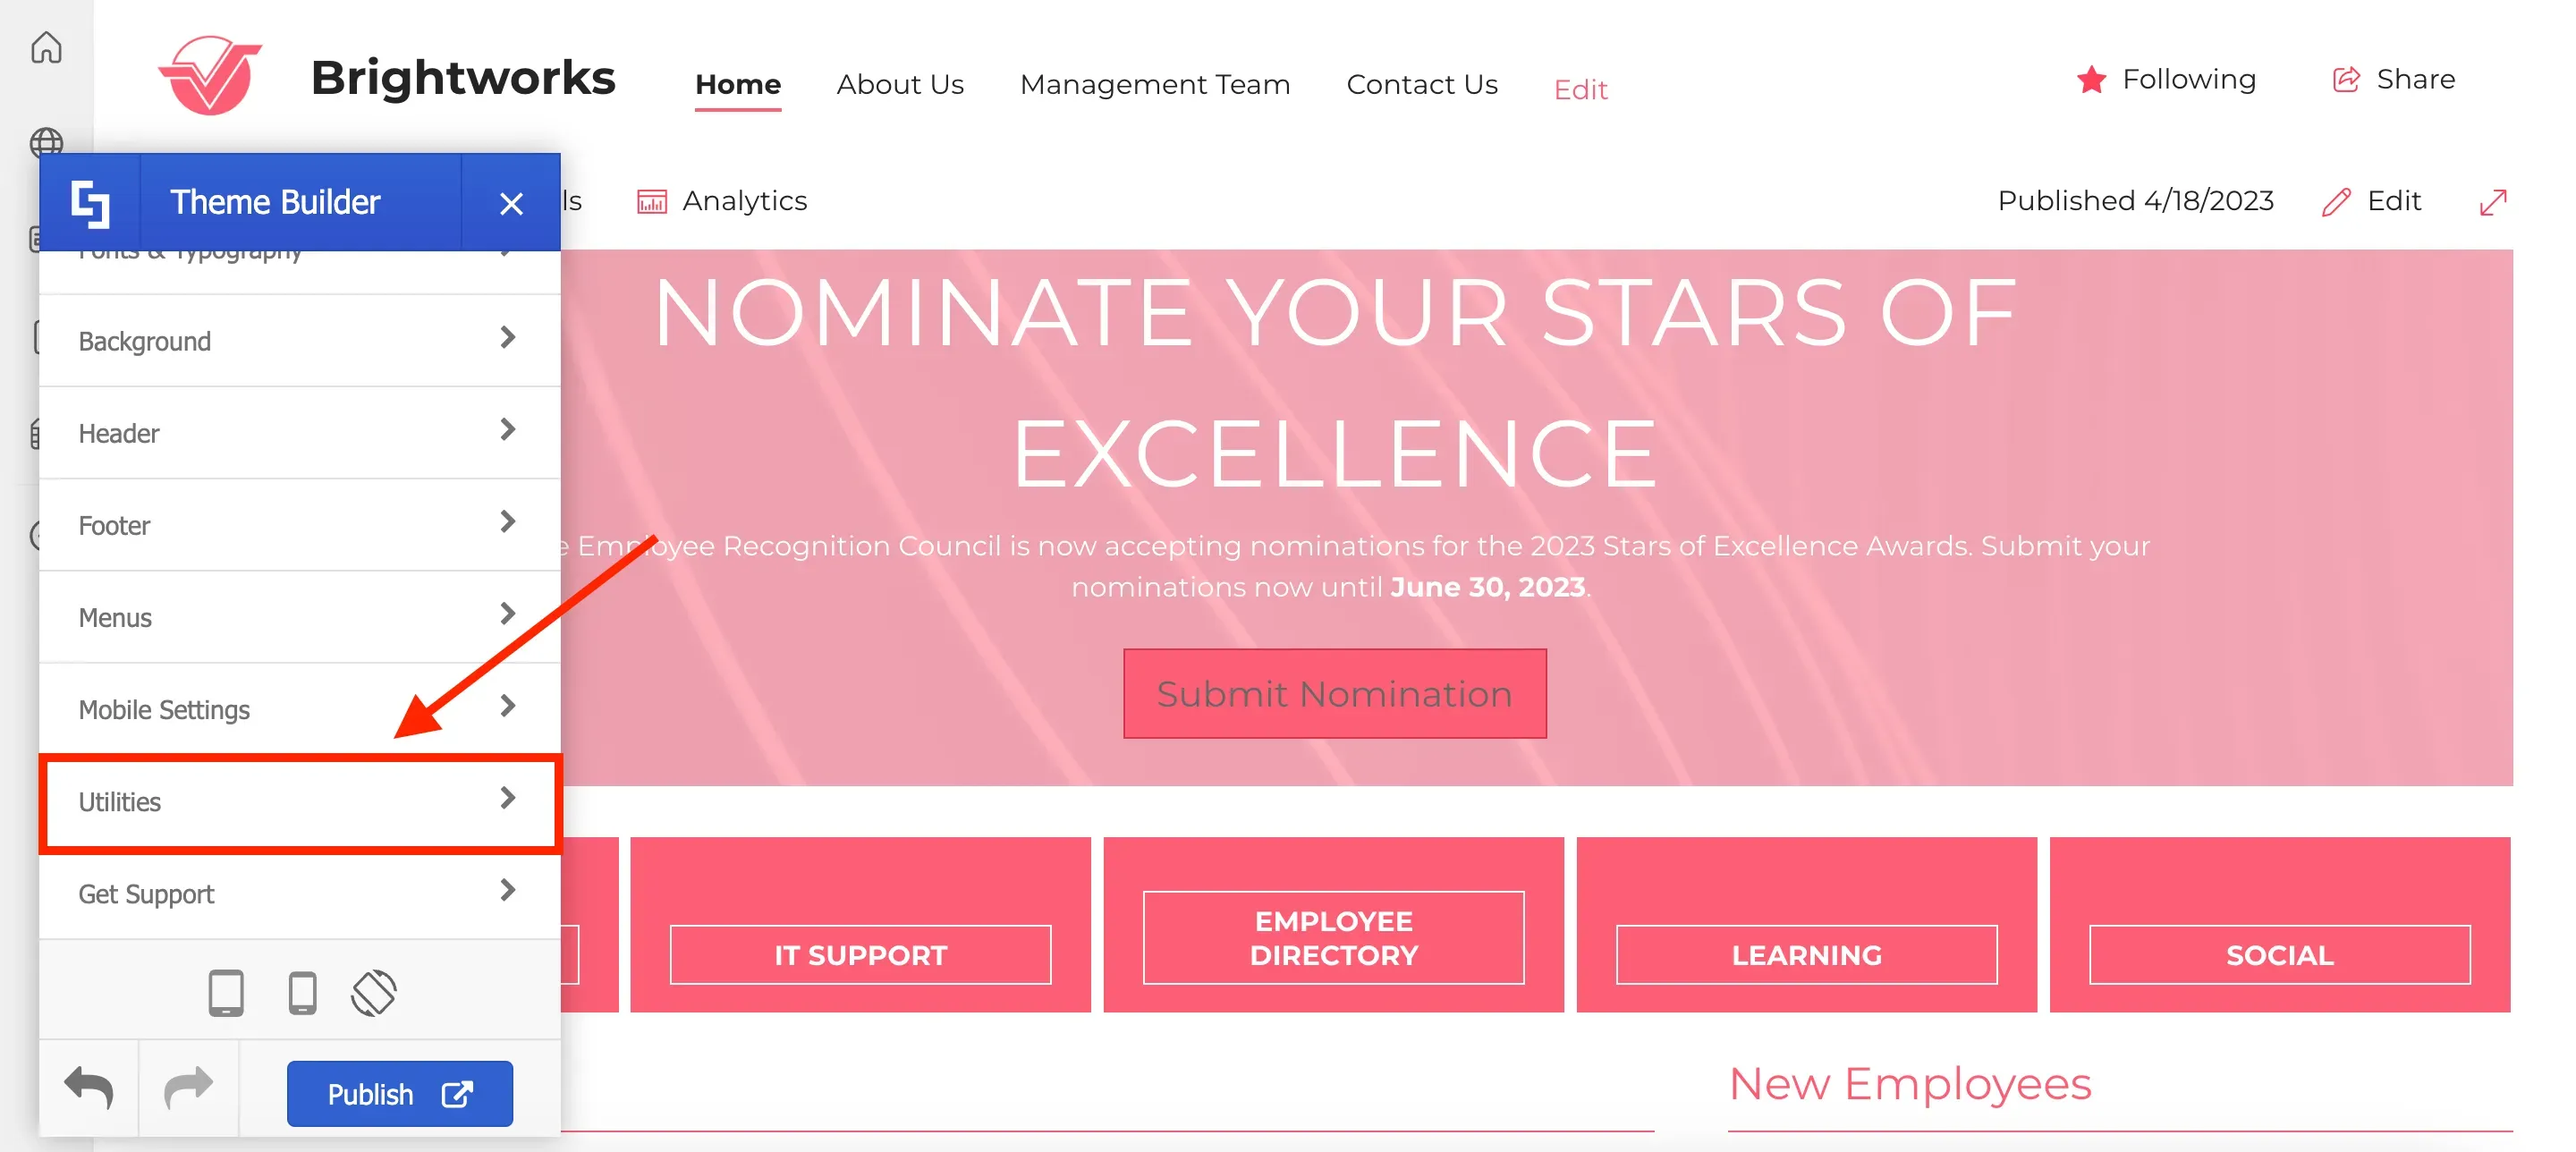
On the main menu, scroll down until you see Utilities.
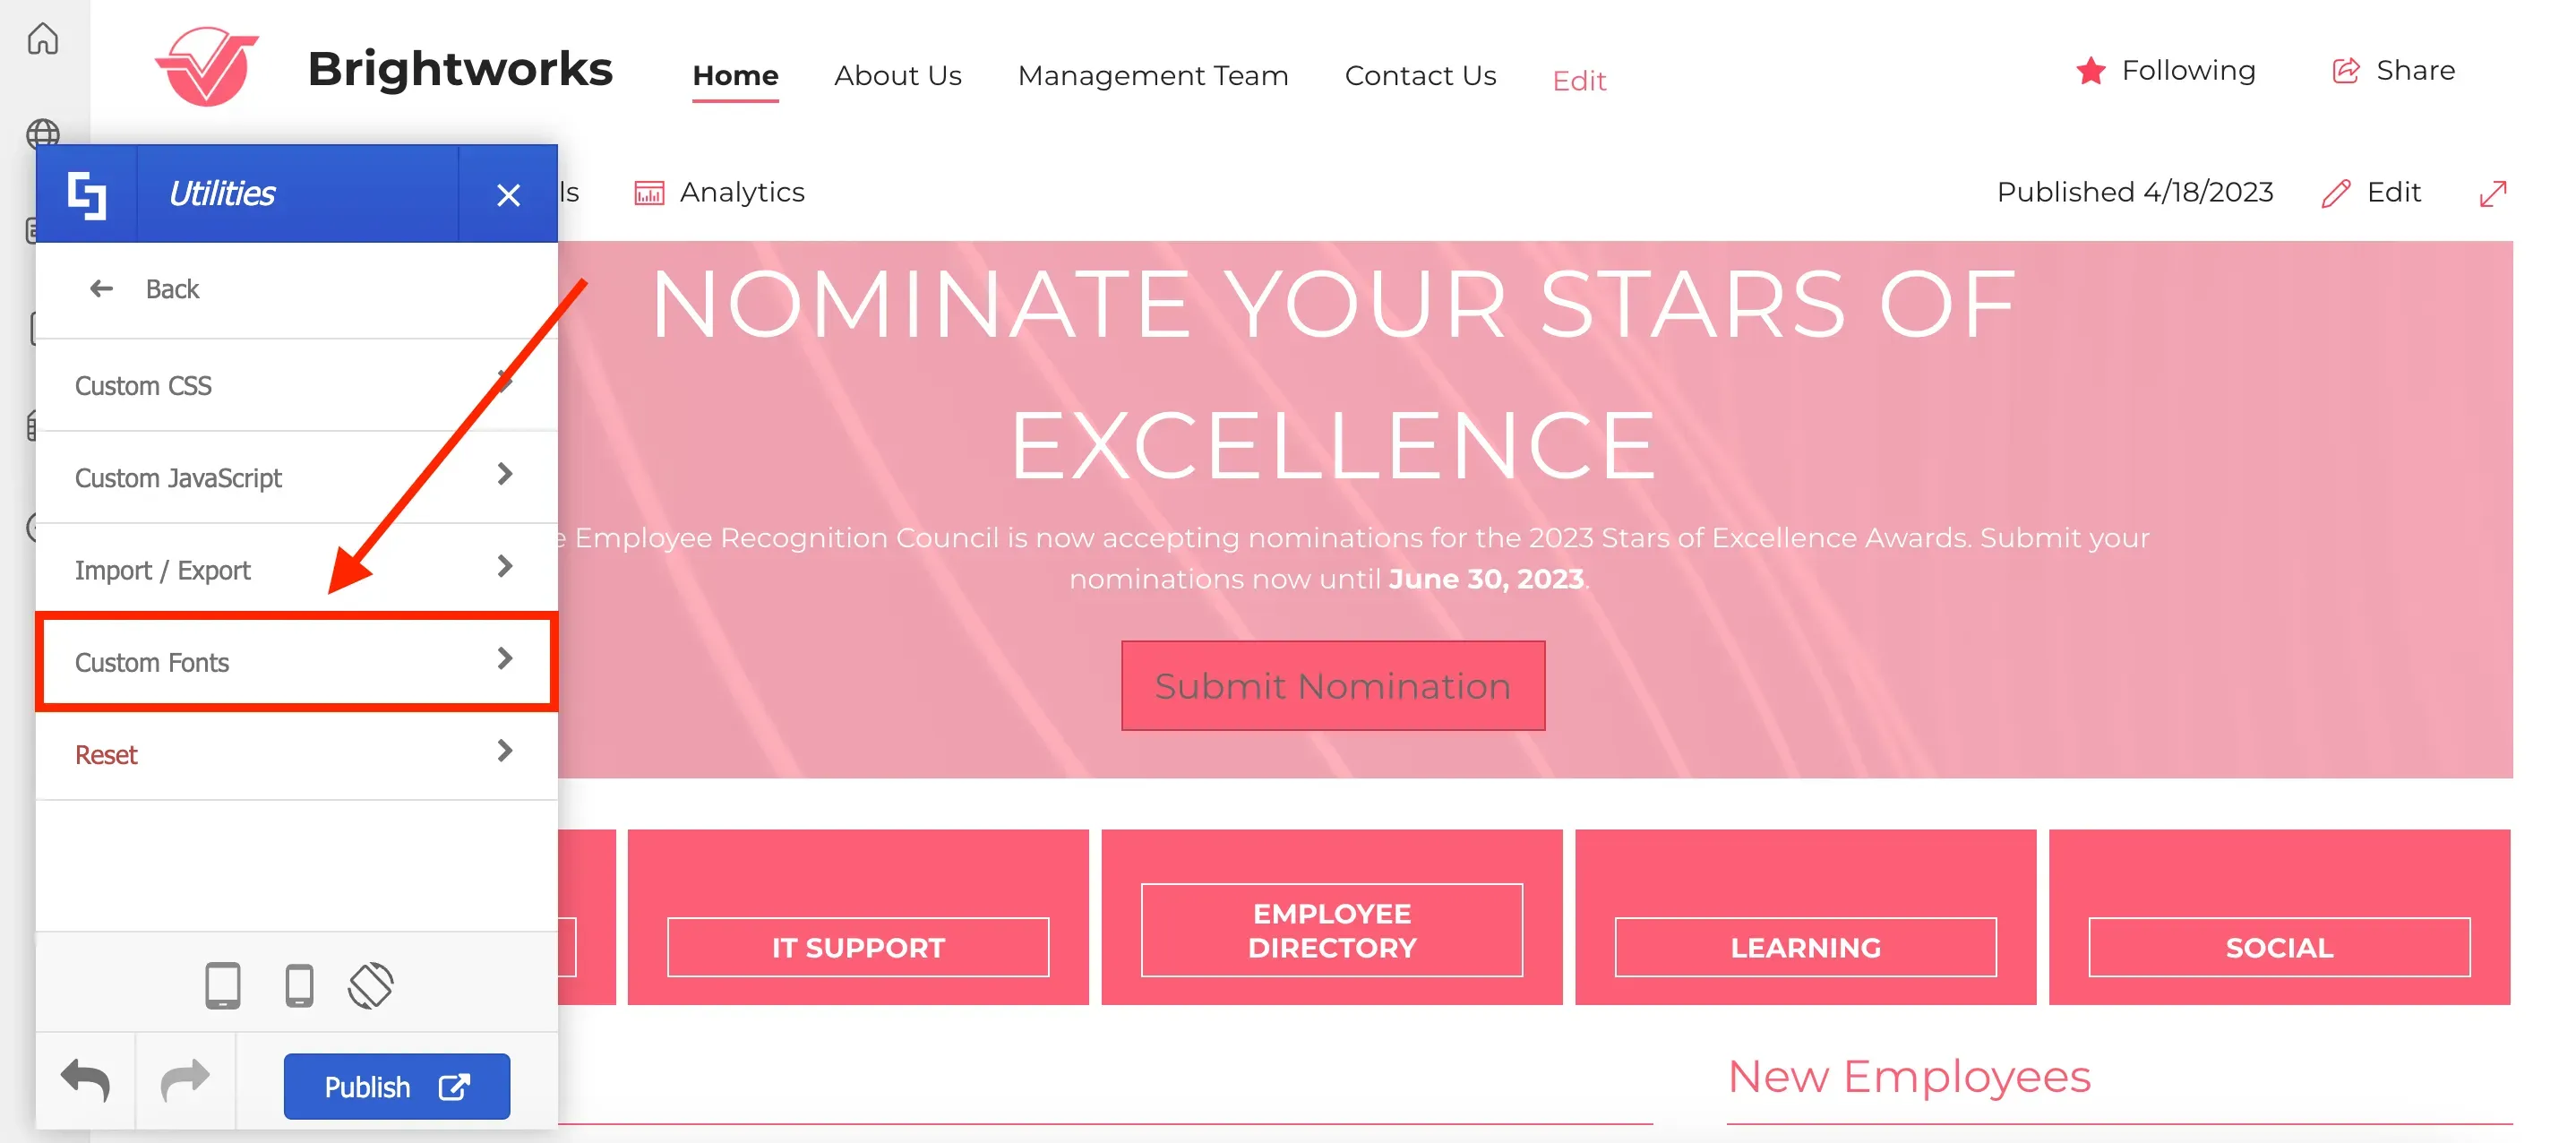
Then, click Custom Fonts.
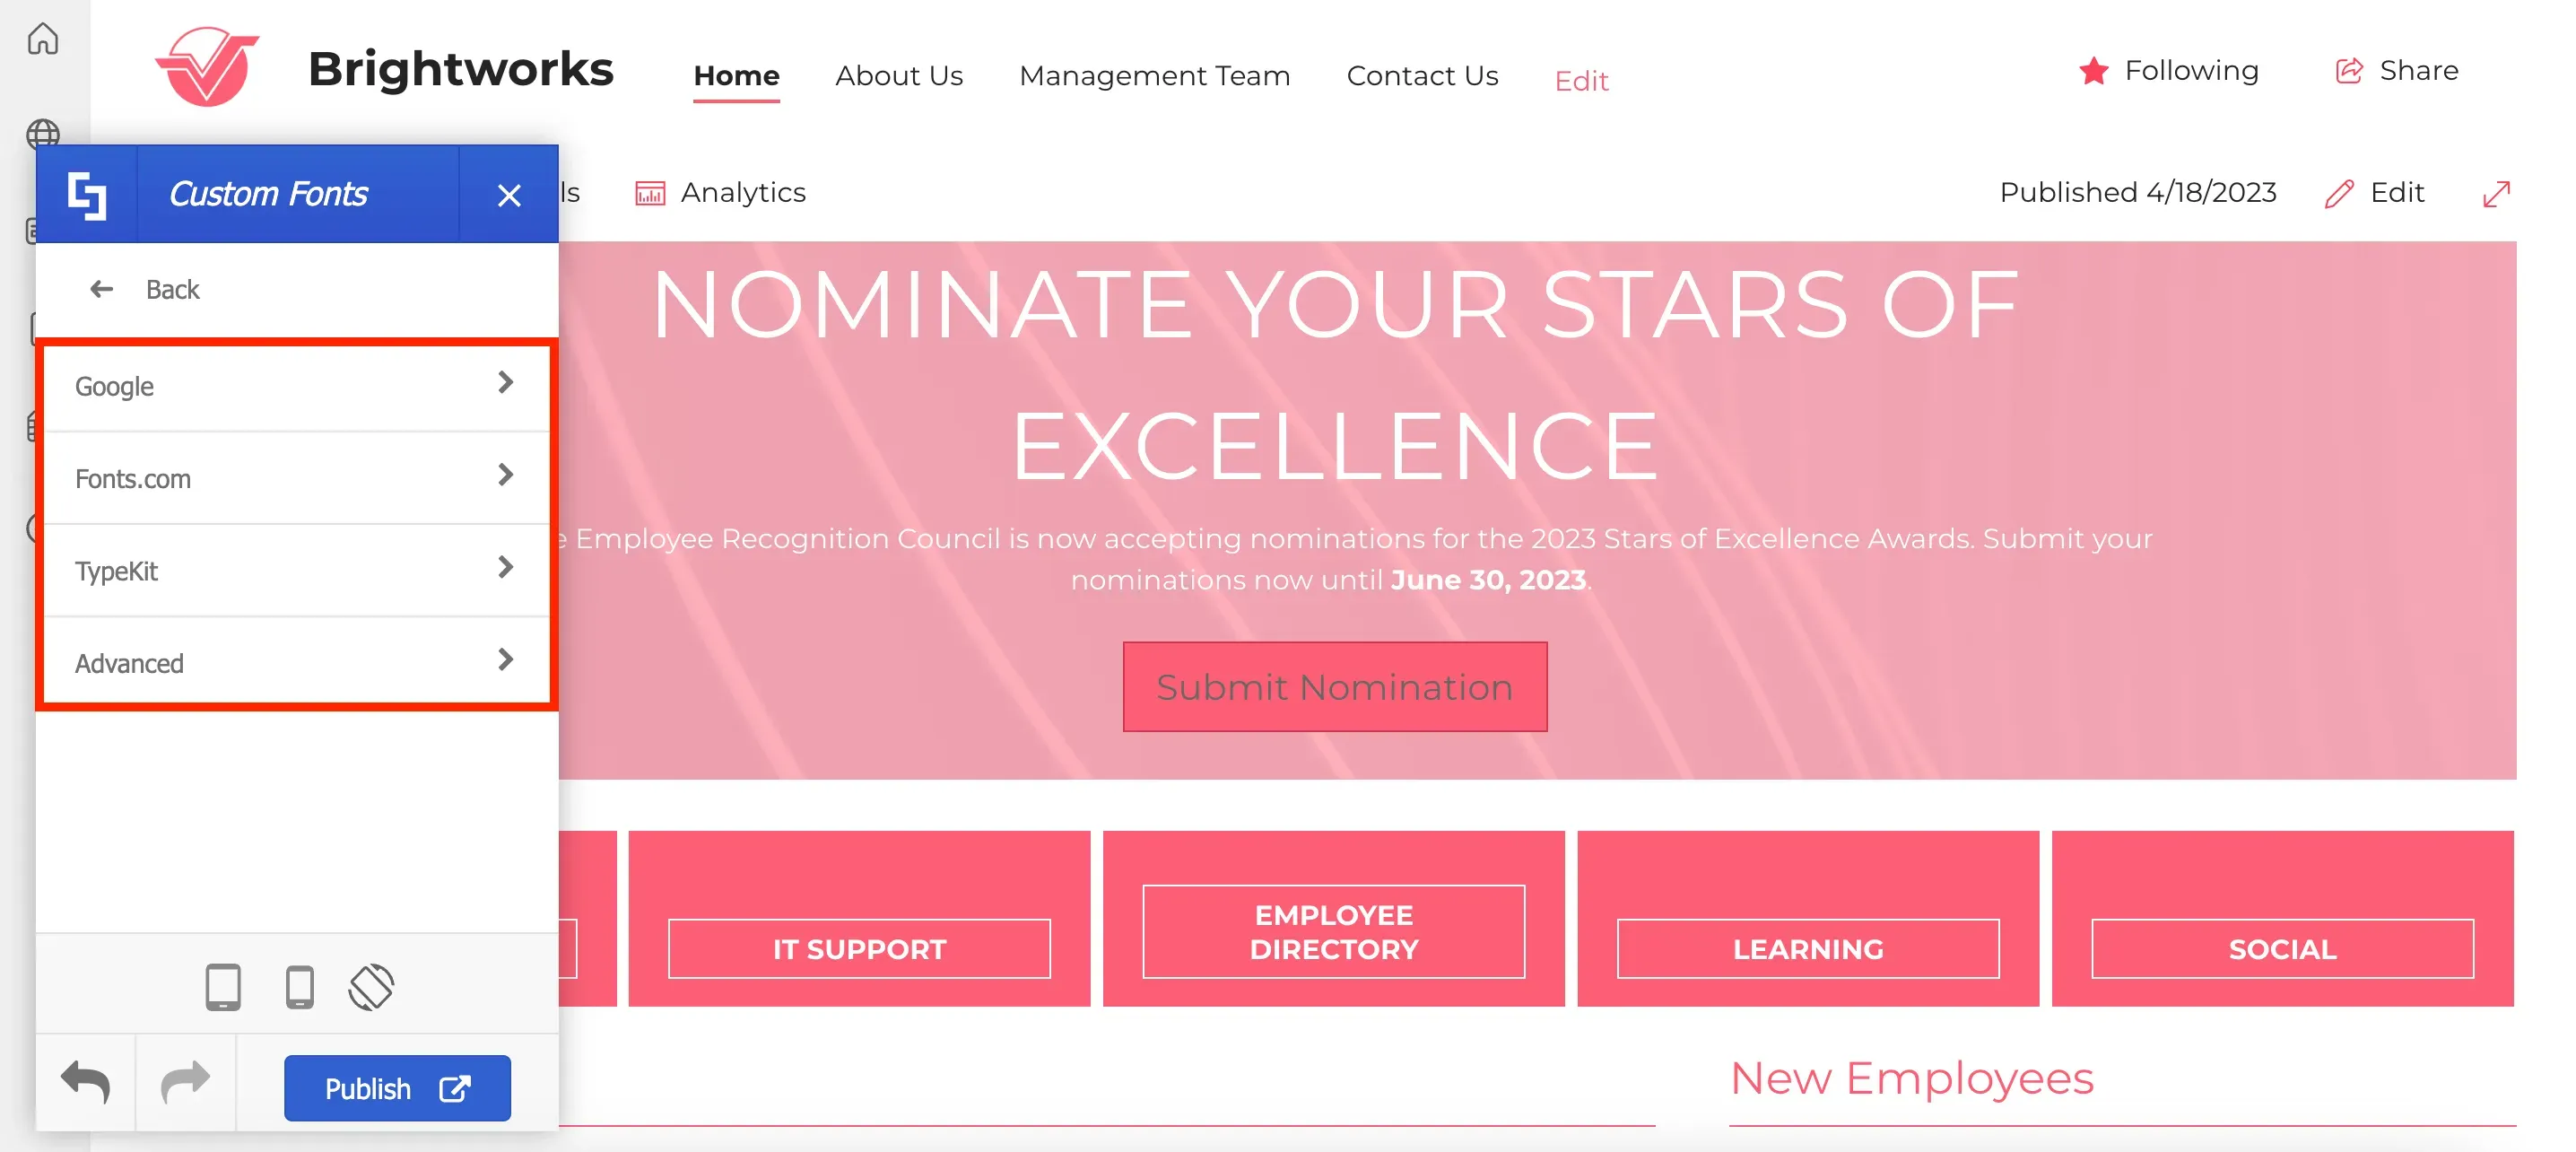
From there, you can select the source of your font and upload it.
Now, let's make some changes to the logo. To do this, select Header on the main menu.
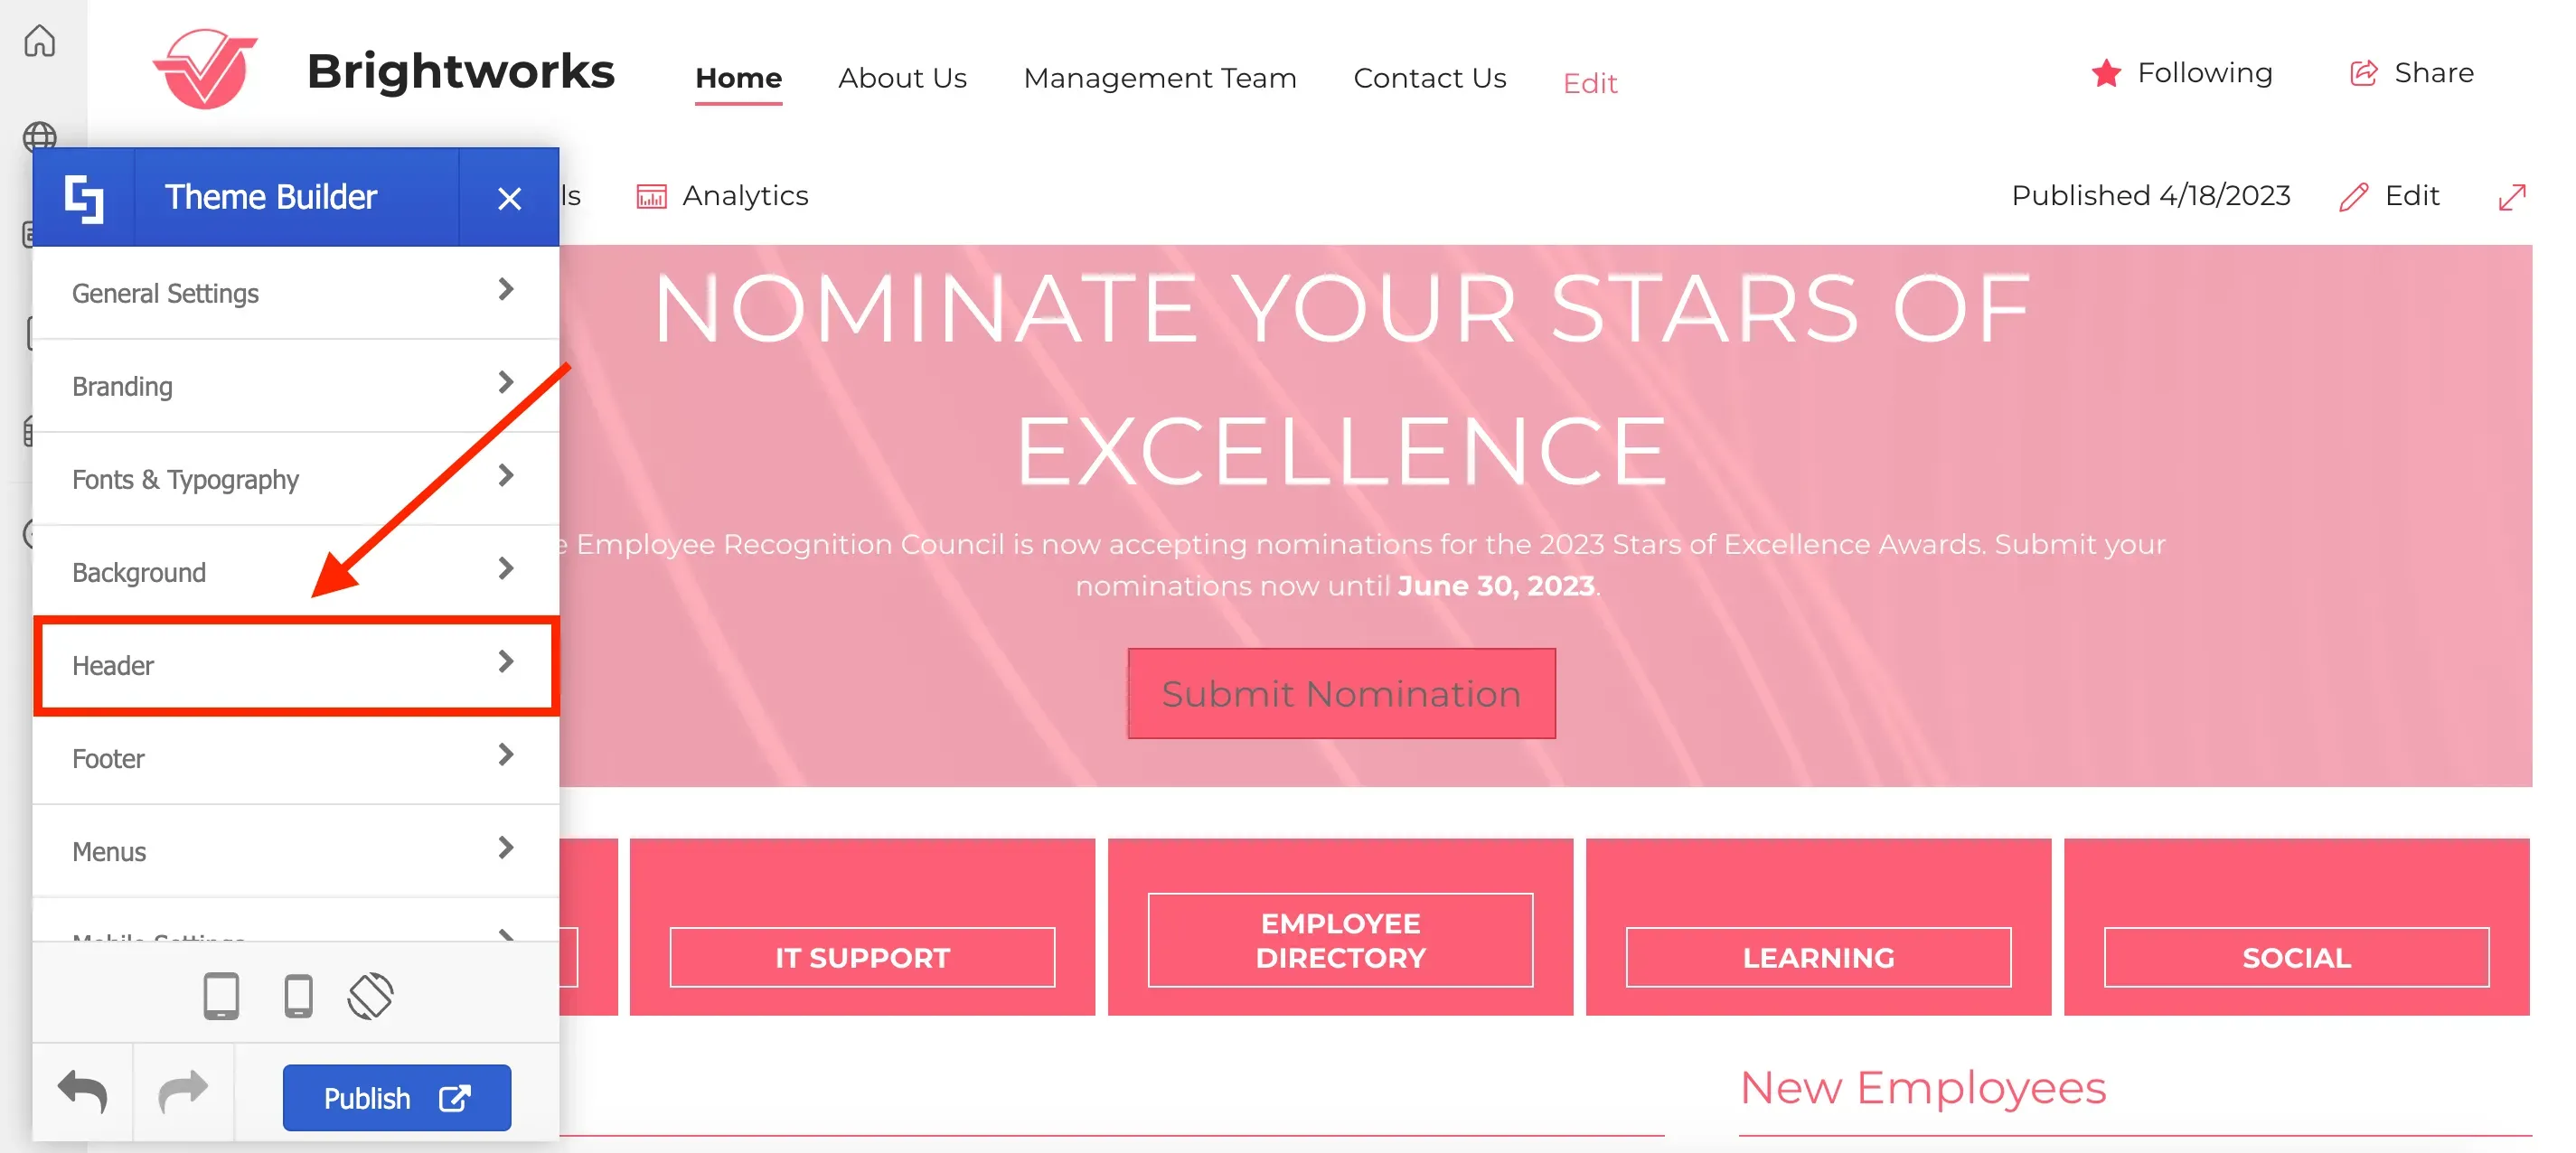
Then, select Logo.
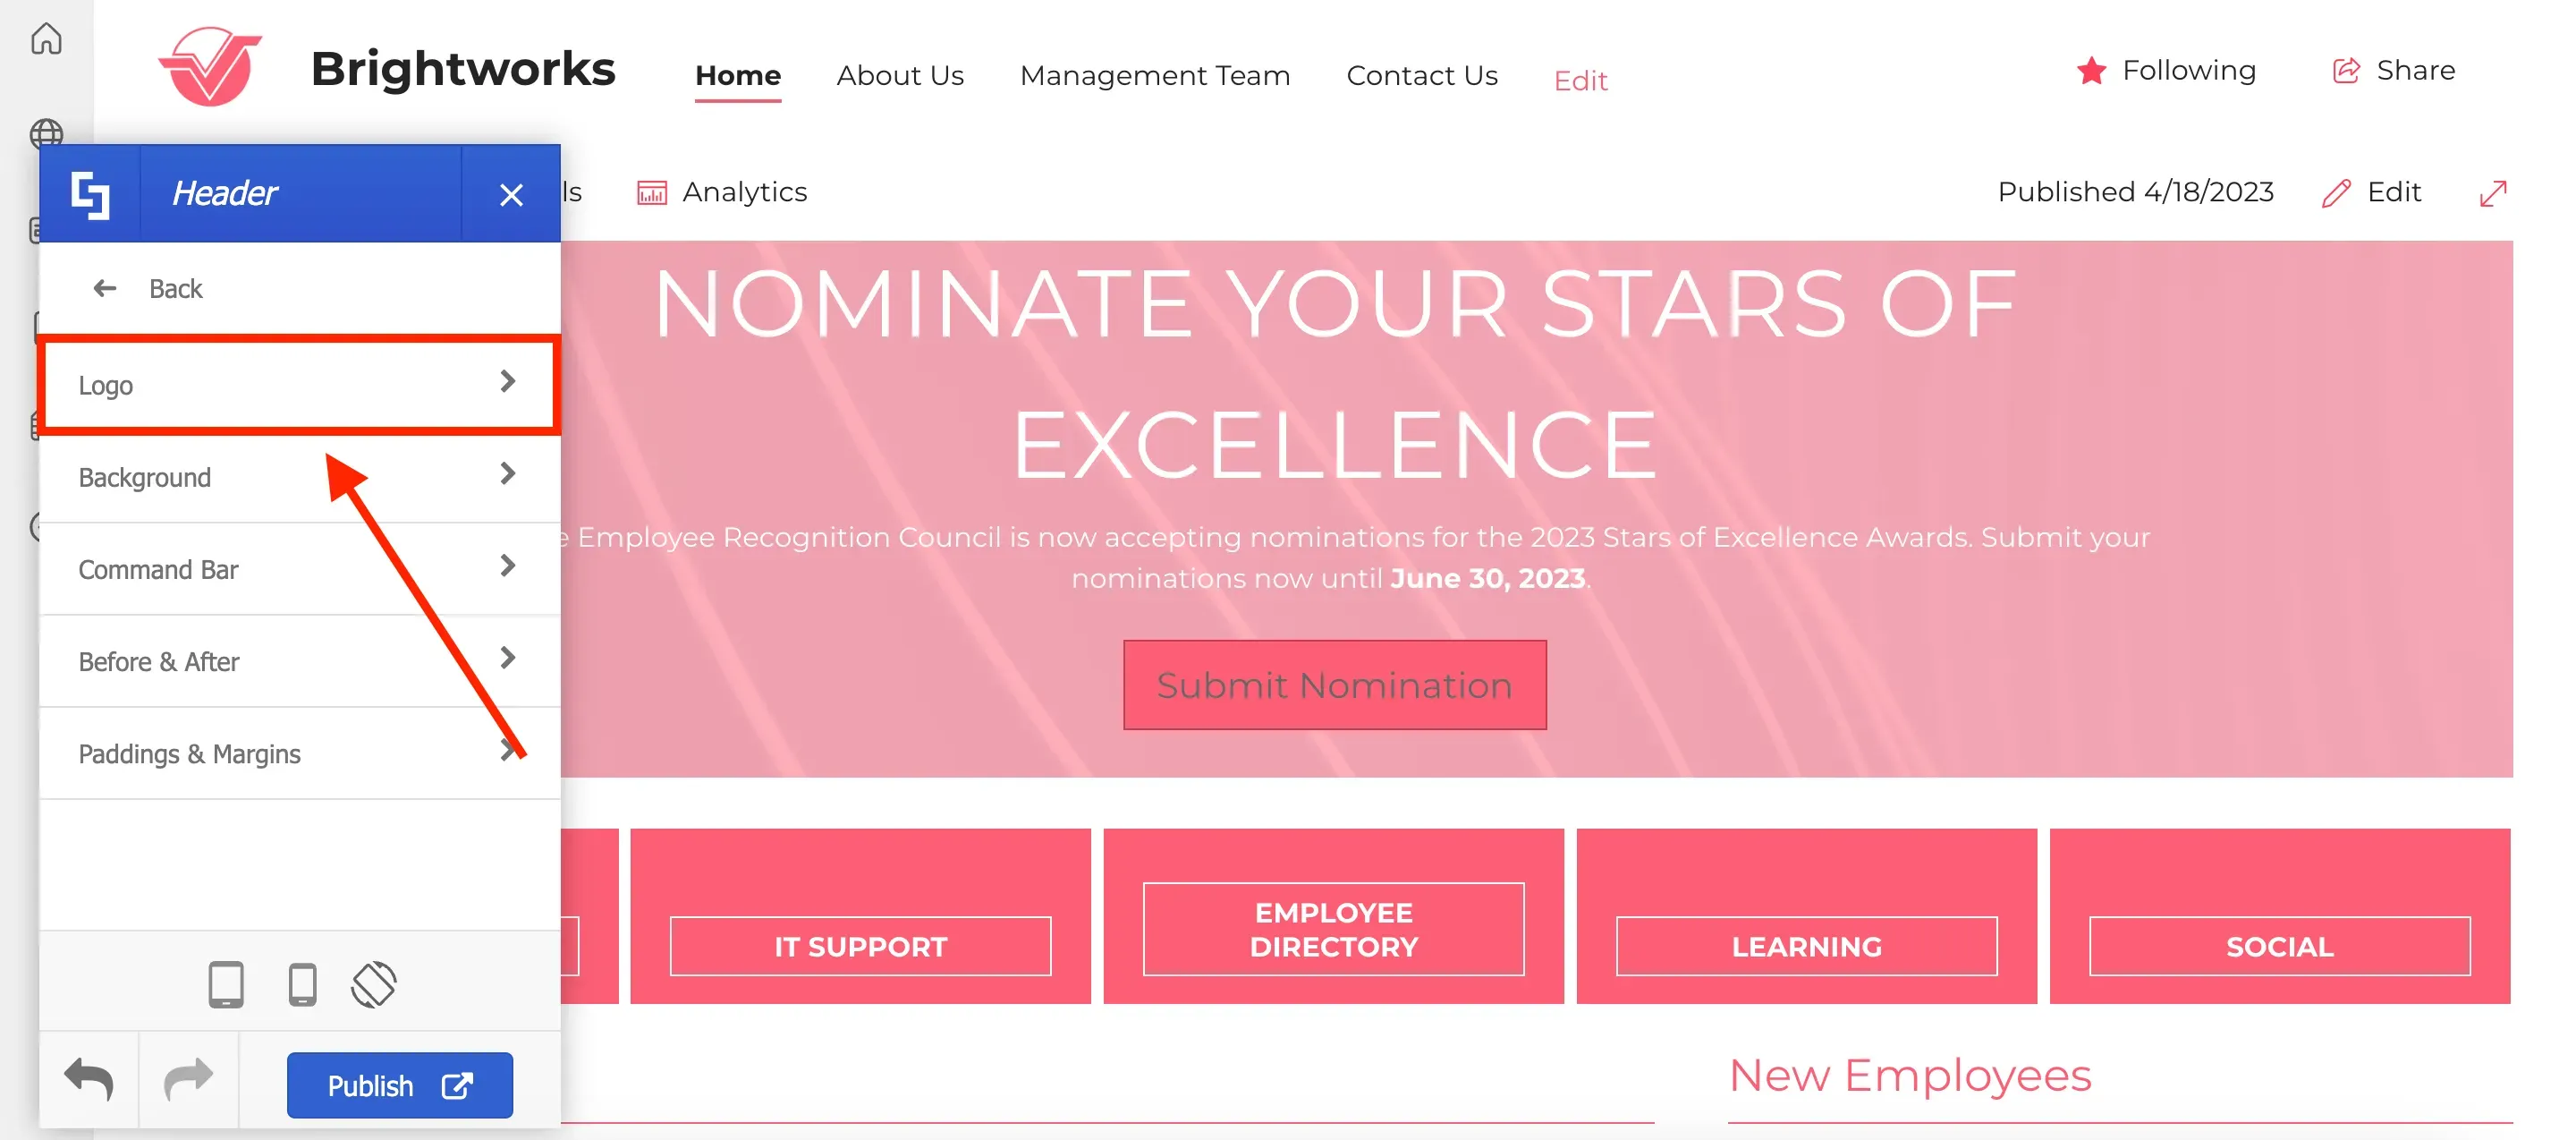
Here, you can modify the logo's width and height, as well as increase or decrease margins around it. For this project, we will customize the Logo Margin left to 9 by using the blue slider.
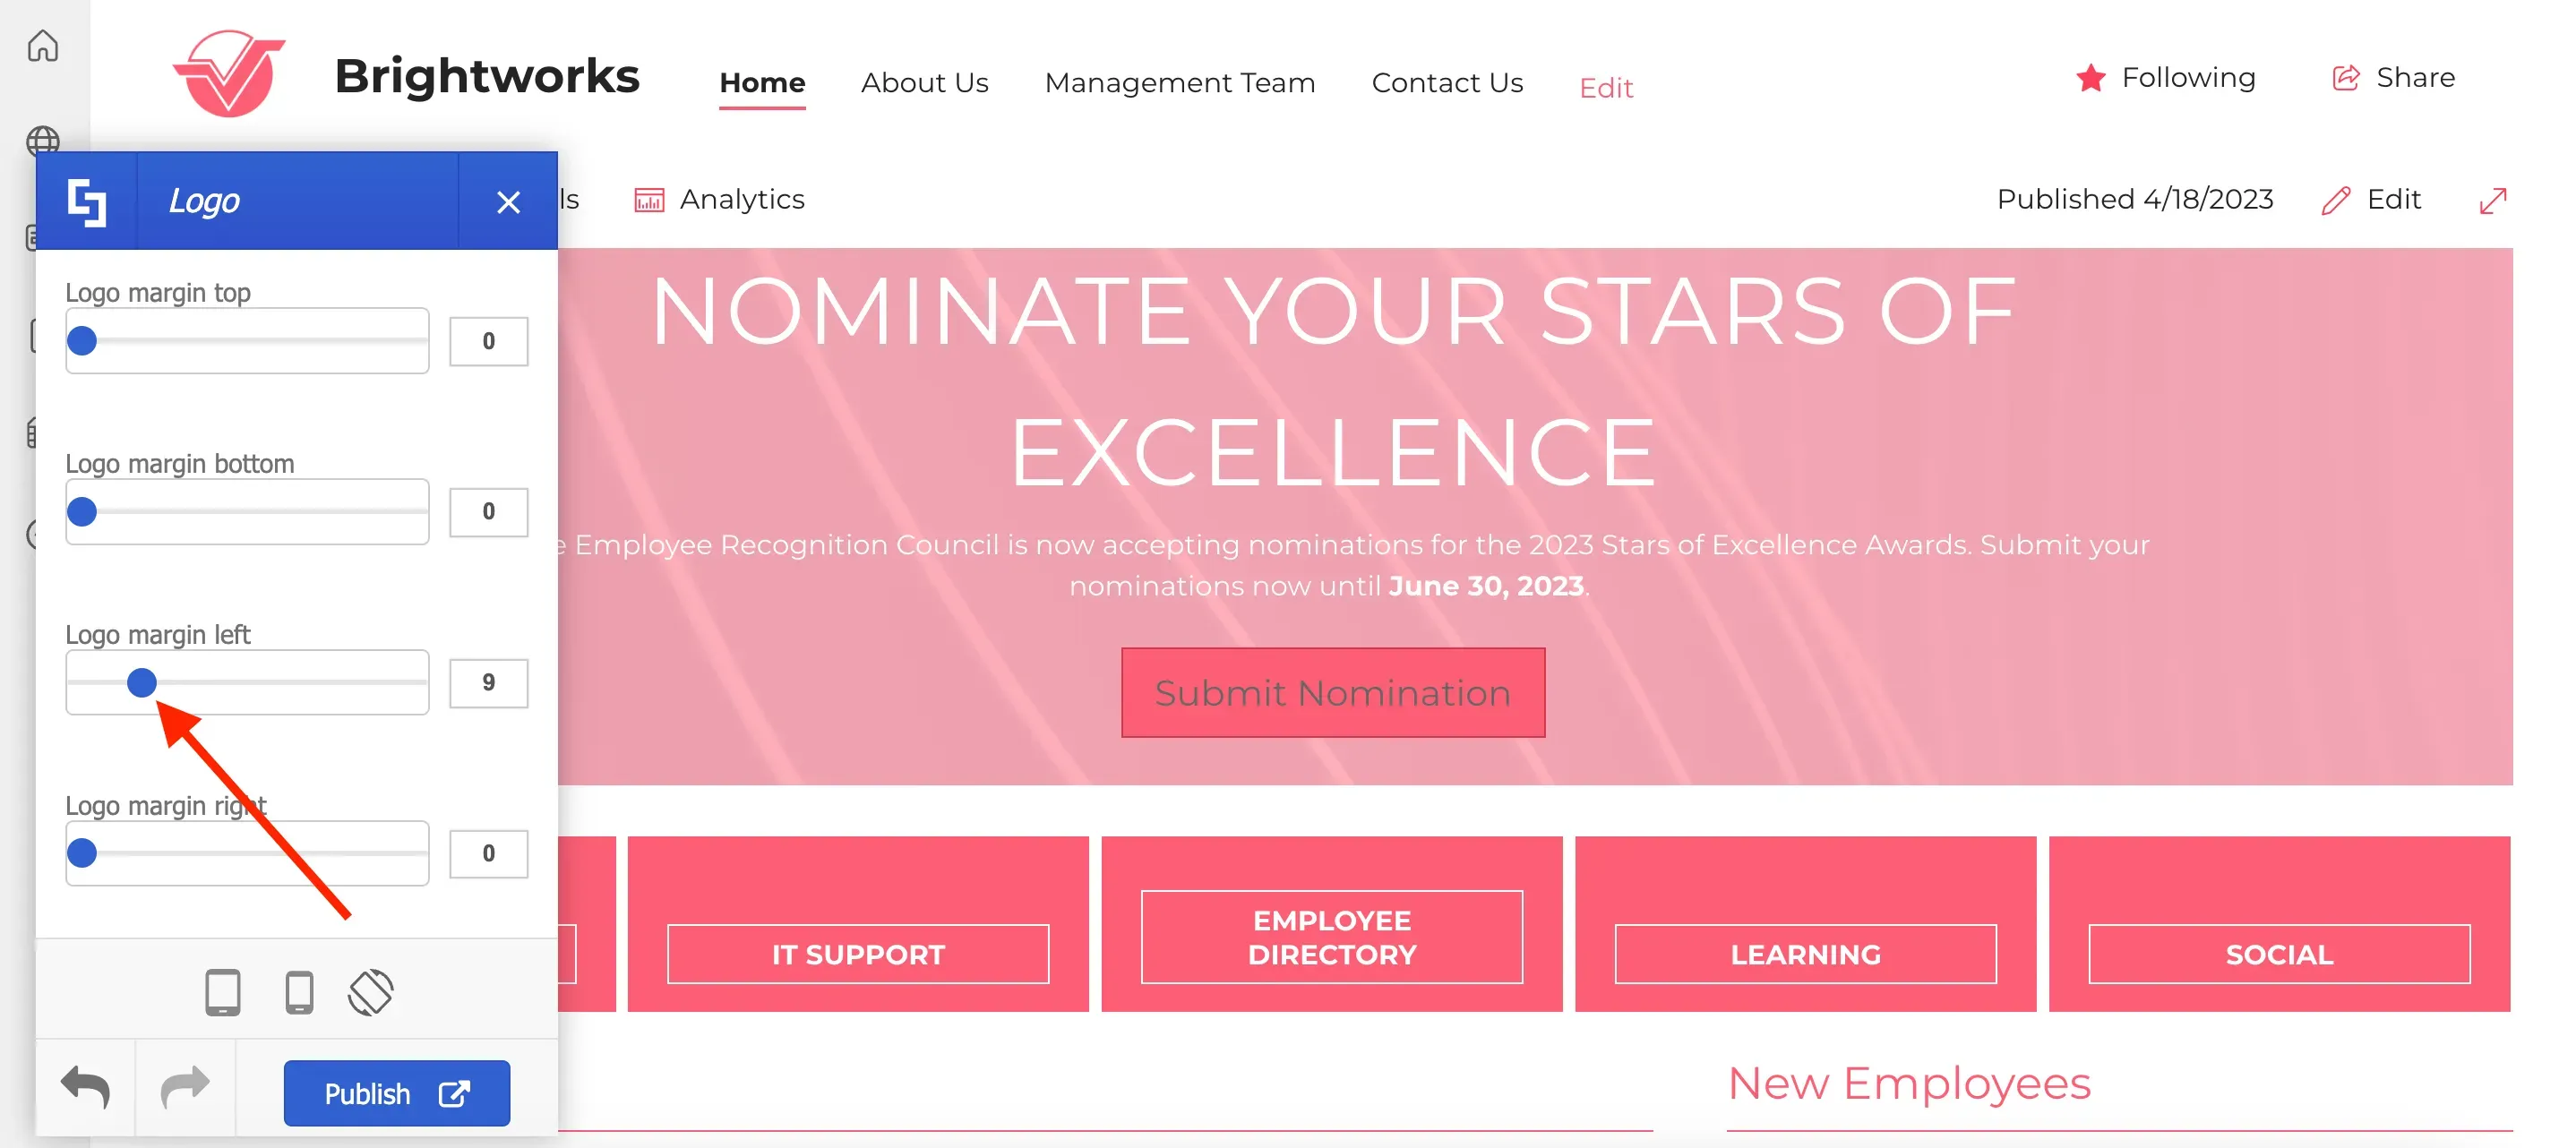
Next, we will customize the Favicon. The Favicon is the icon associated with your site. This is displayed in the browser's address bar.

To do so, click the folder icon under the Favicon field.
From the File Picker, select your desired image.
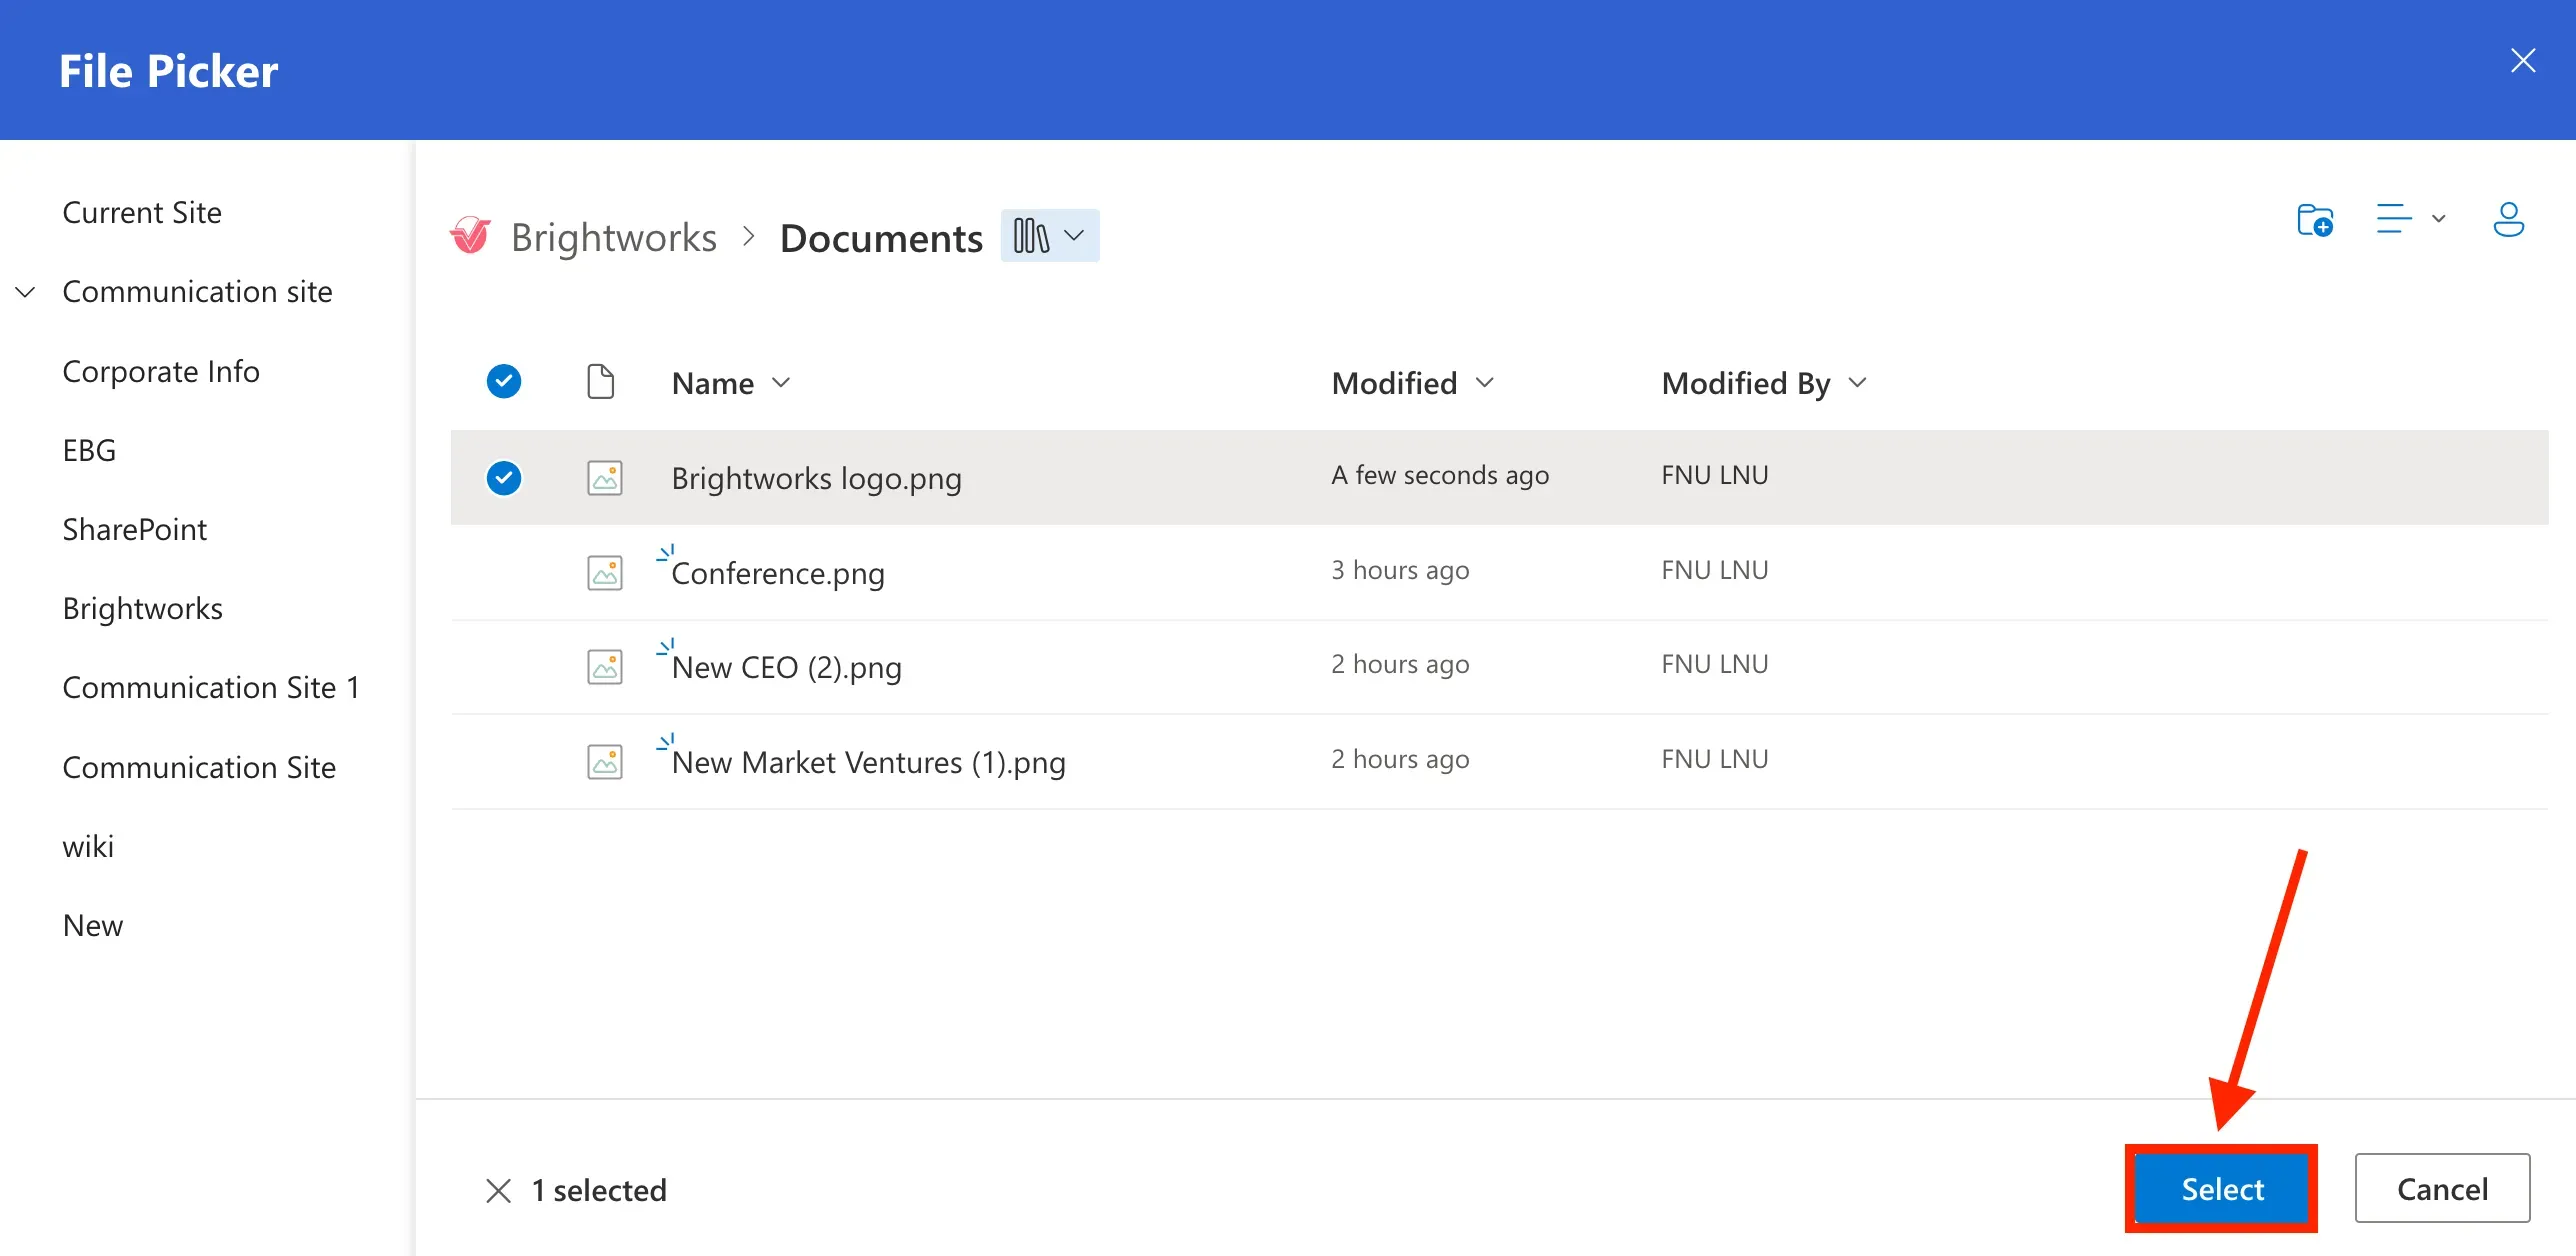
Now, you will be able to see the image you selected as the Favicon.

You can also customize the text that users will see on the browser tab.

To do this, enter the text you desire in the Site Title field.
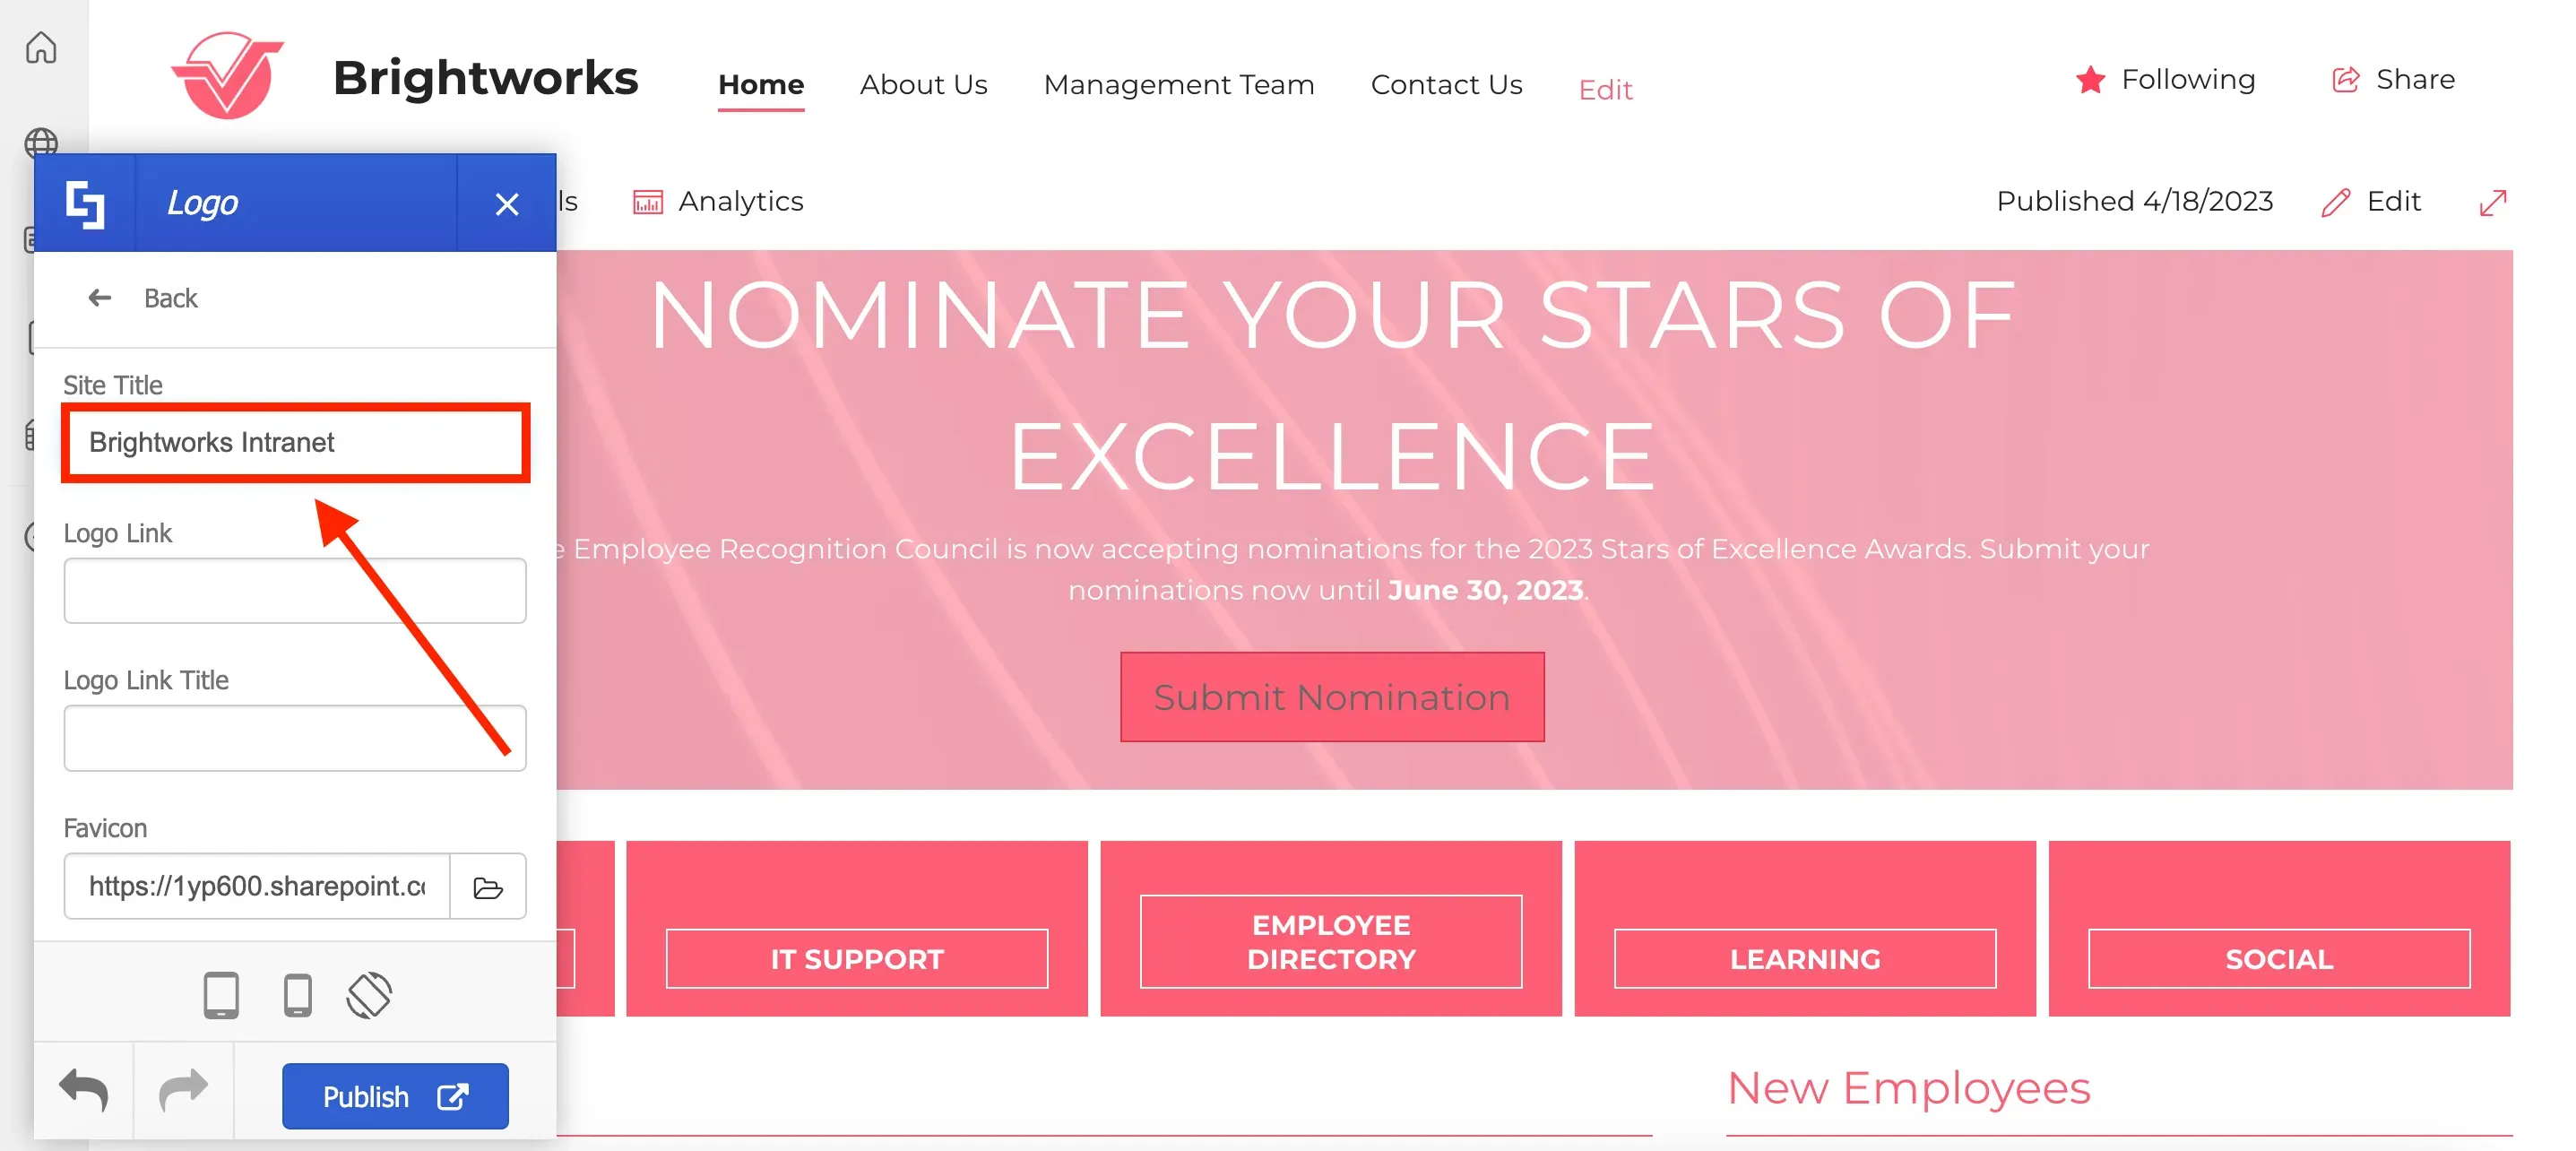
You will now be able to see the text you entered on the browser tab.

Customizing SharePoint page elements
Let us now customize the SharePoint elements present on your pages. The elements you can modify include the header, main menu, search field, site actions, and many more.
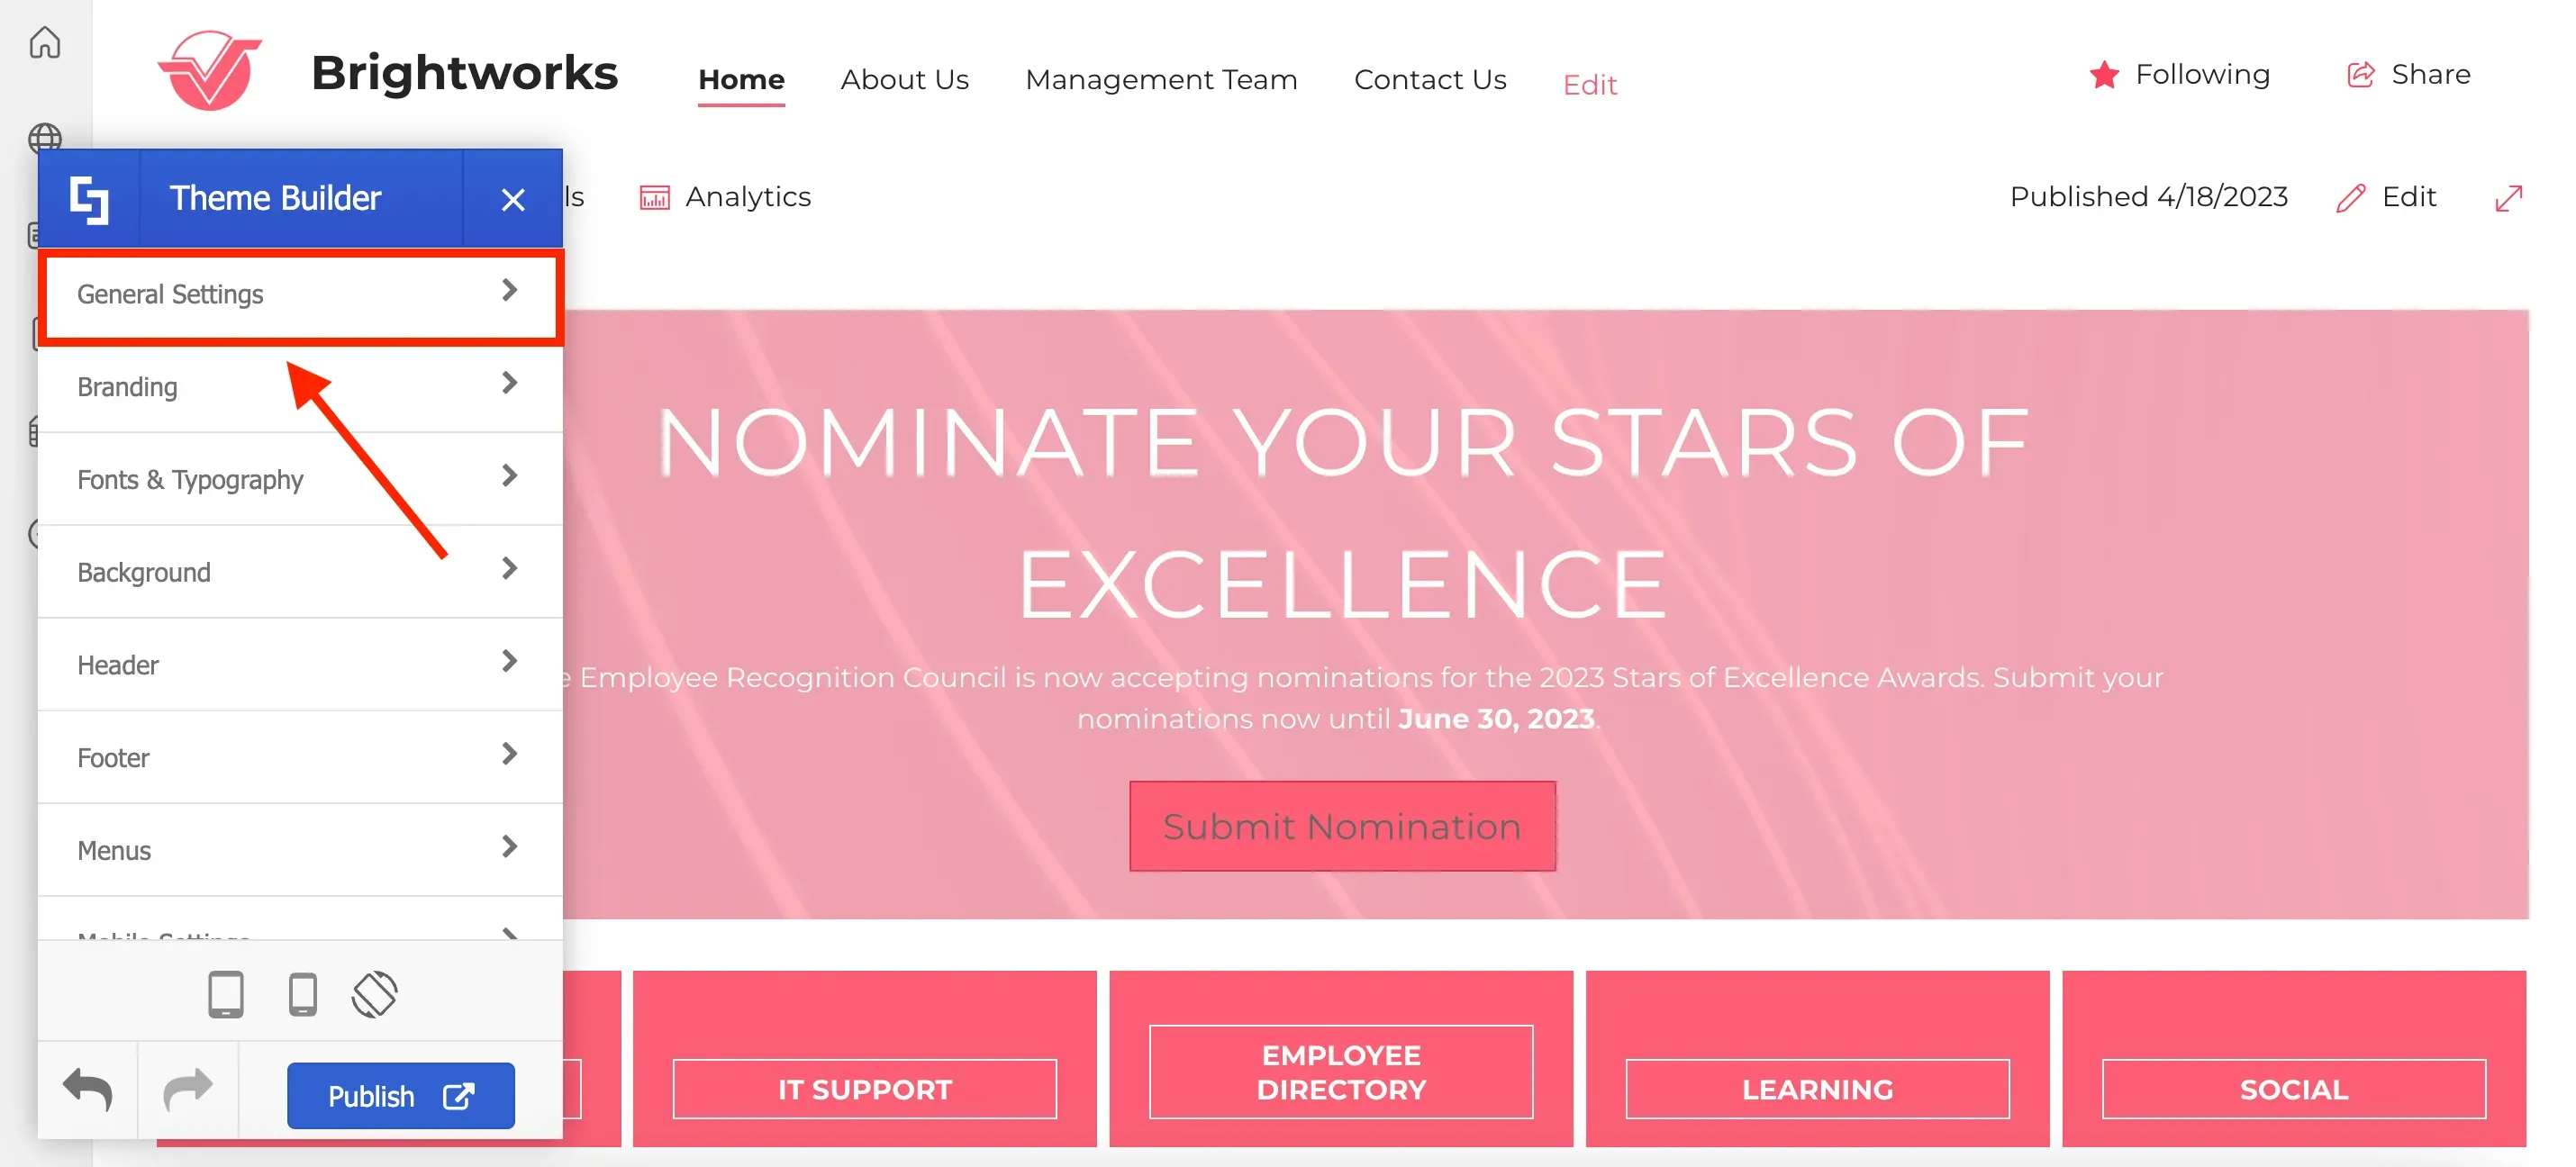
To do this, go back to the main menu and click General Settings.
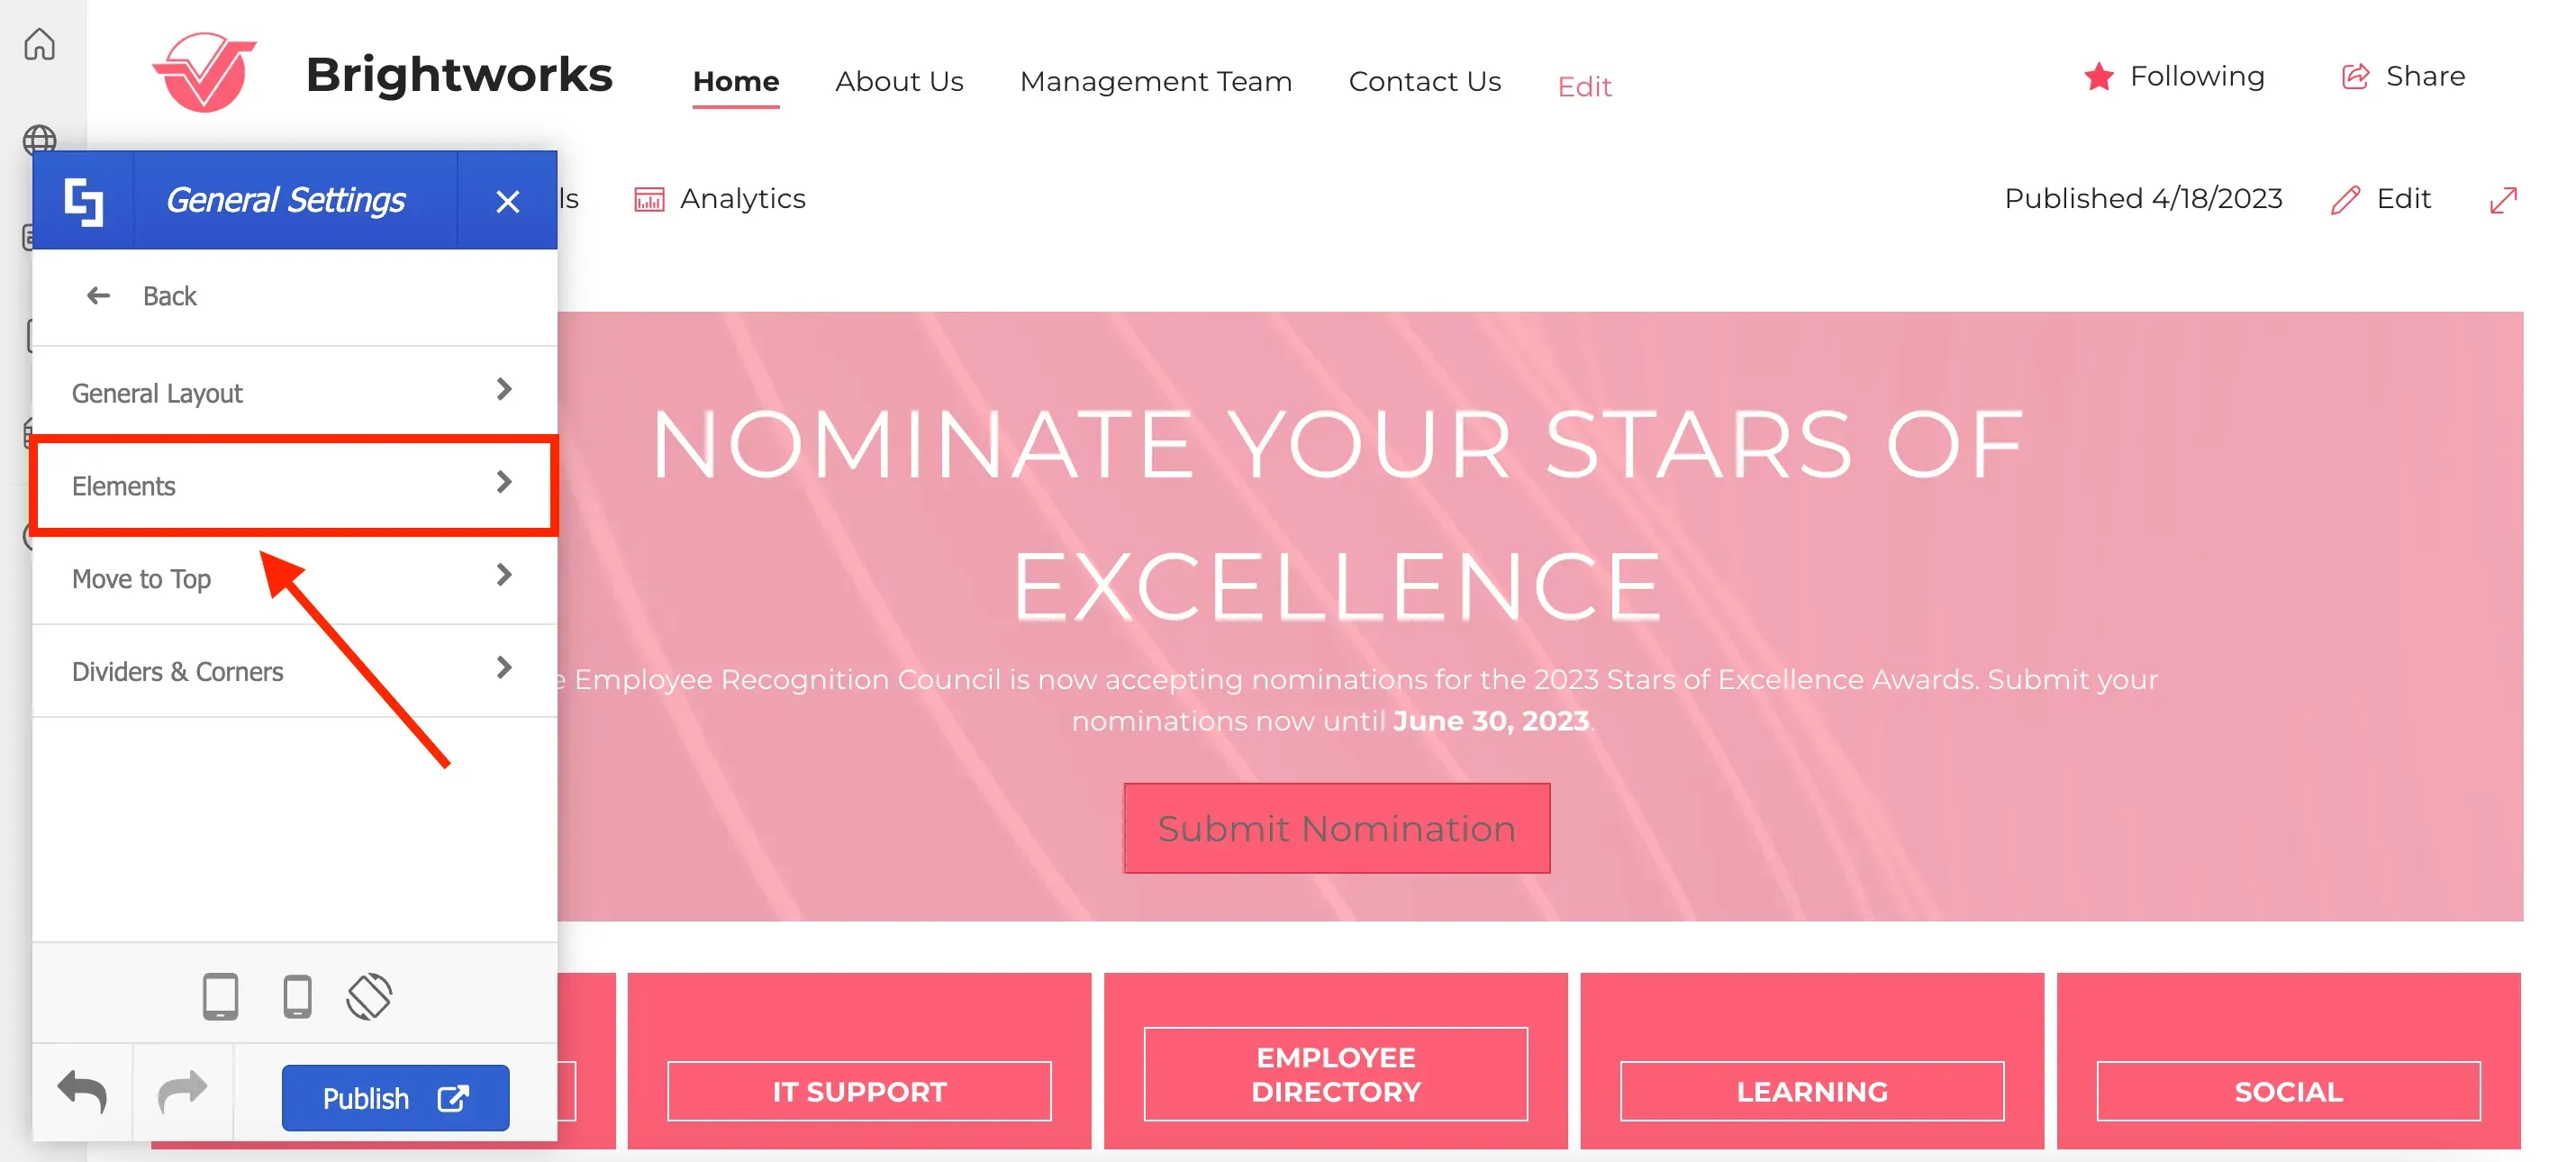
Then, select Elements.
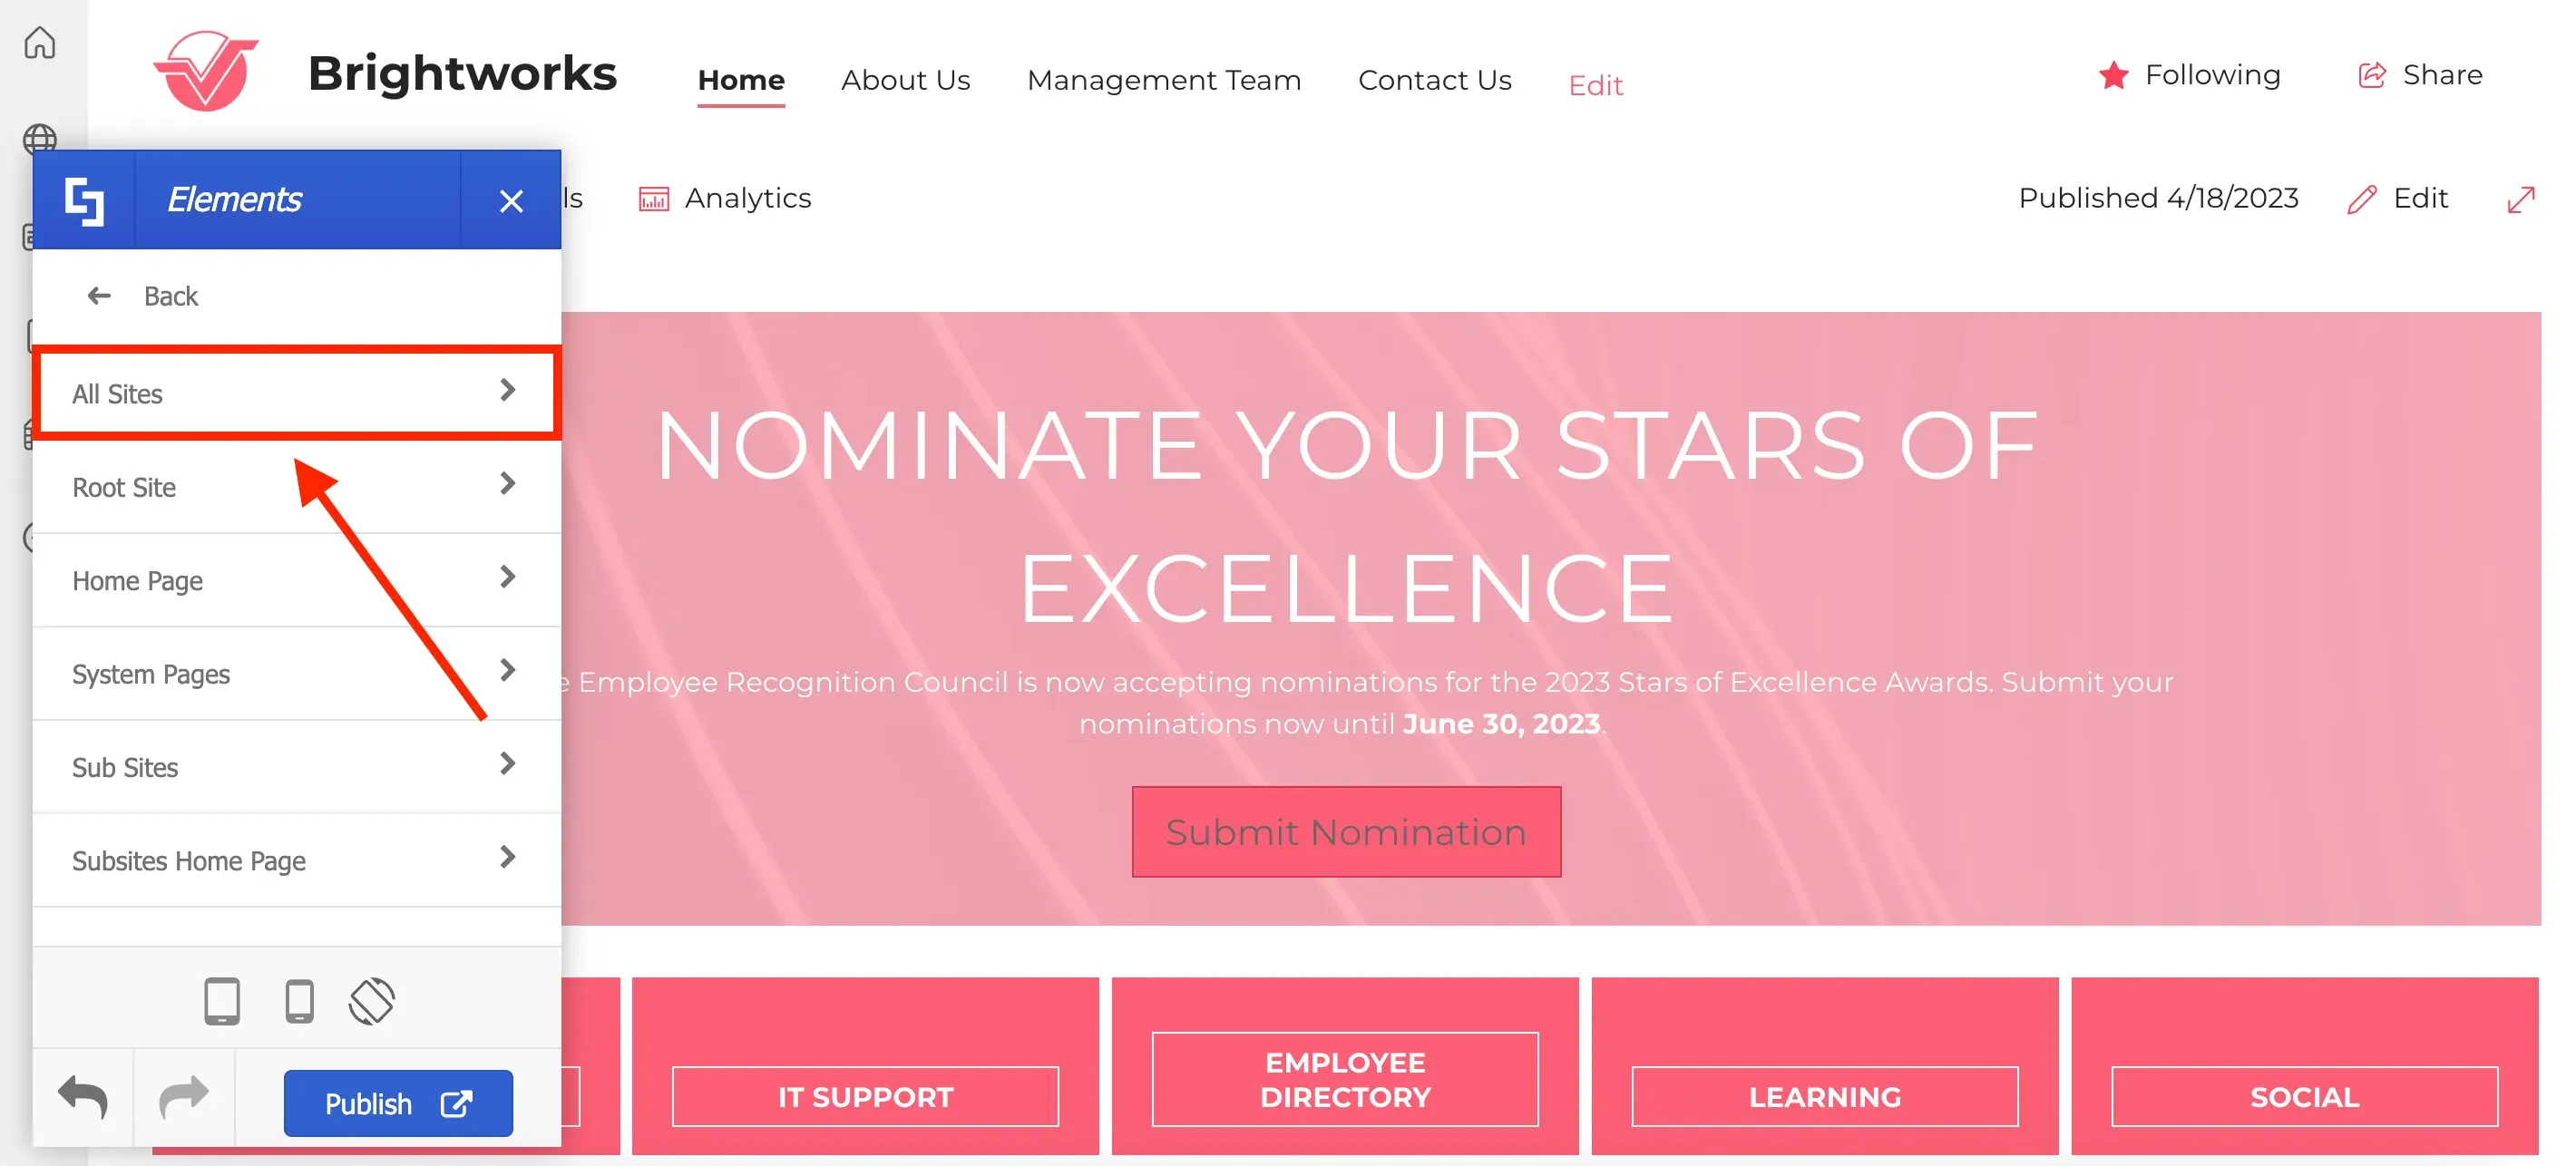
Here, you can choose to apply changes to specific types of pages or to all sites. For this project, we will make changes to All Sites.
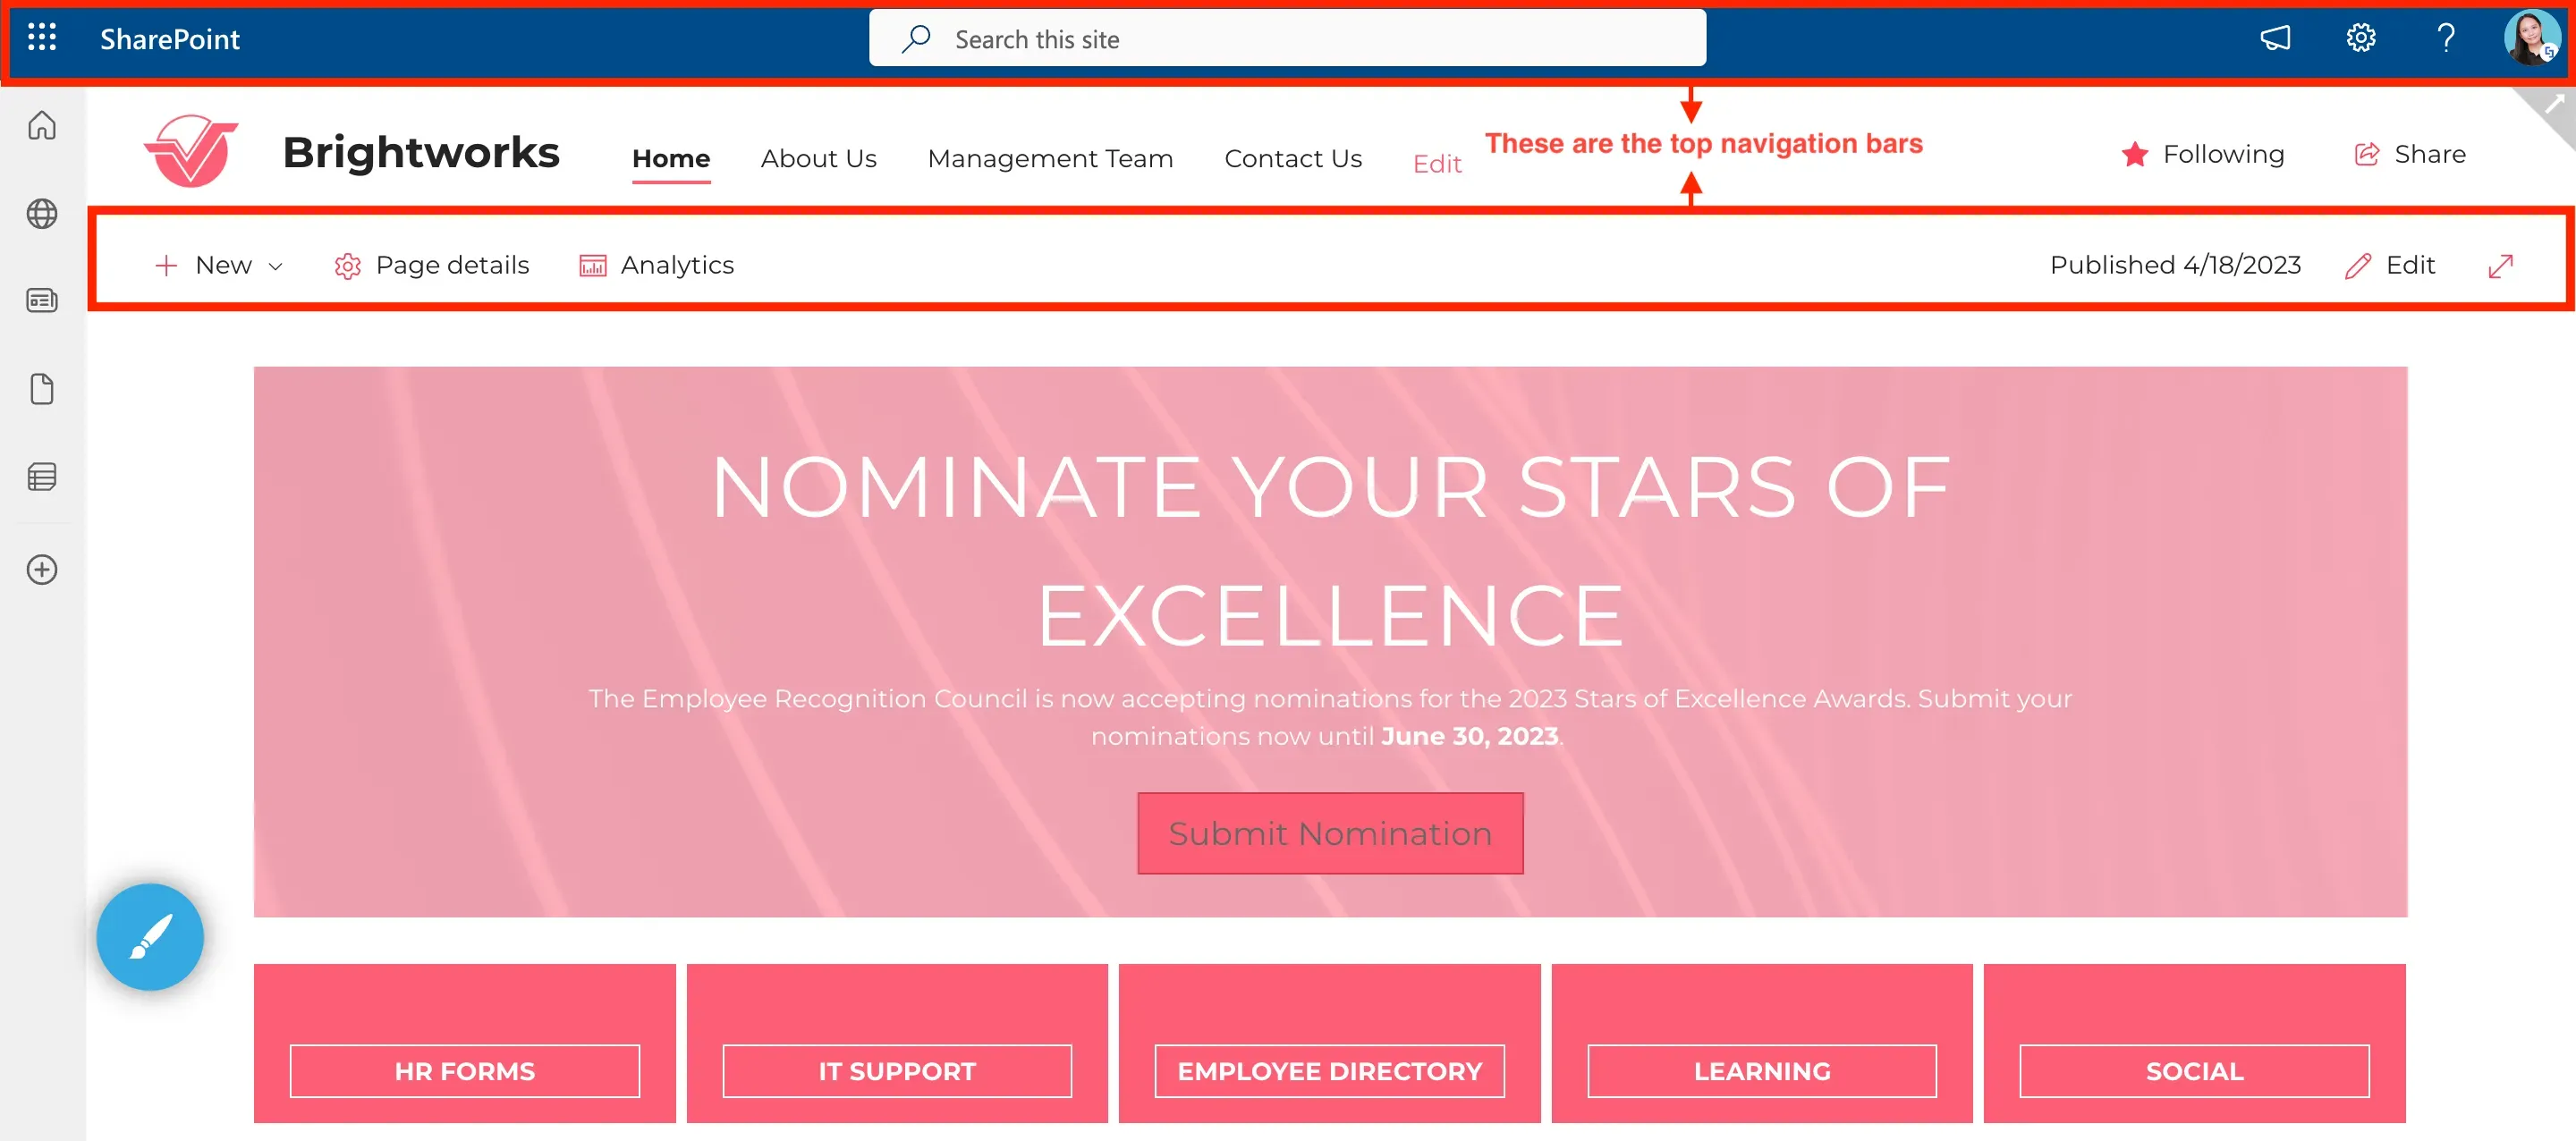
Here, you will be able to hide specific SharePoint elements on your page. First, let us hide the top navigation bars on your page.
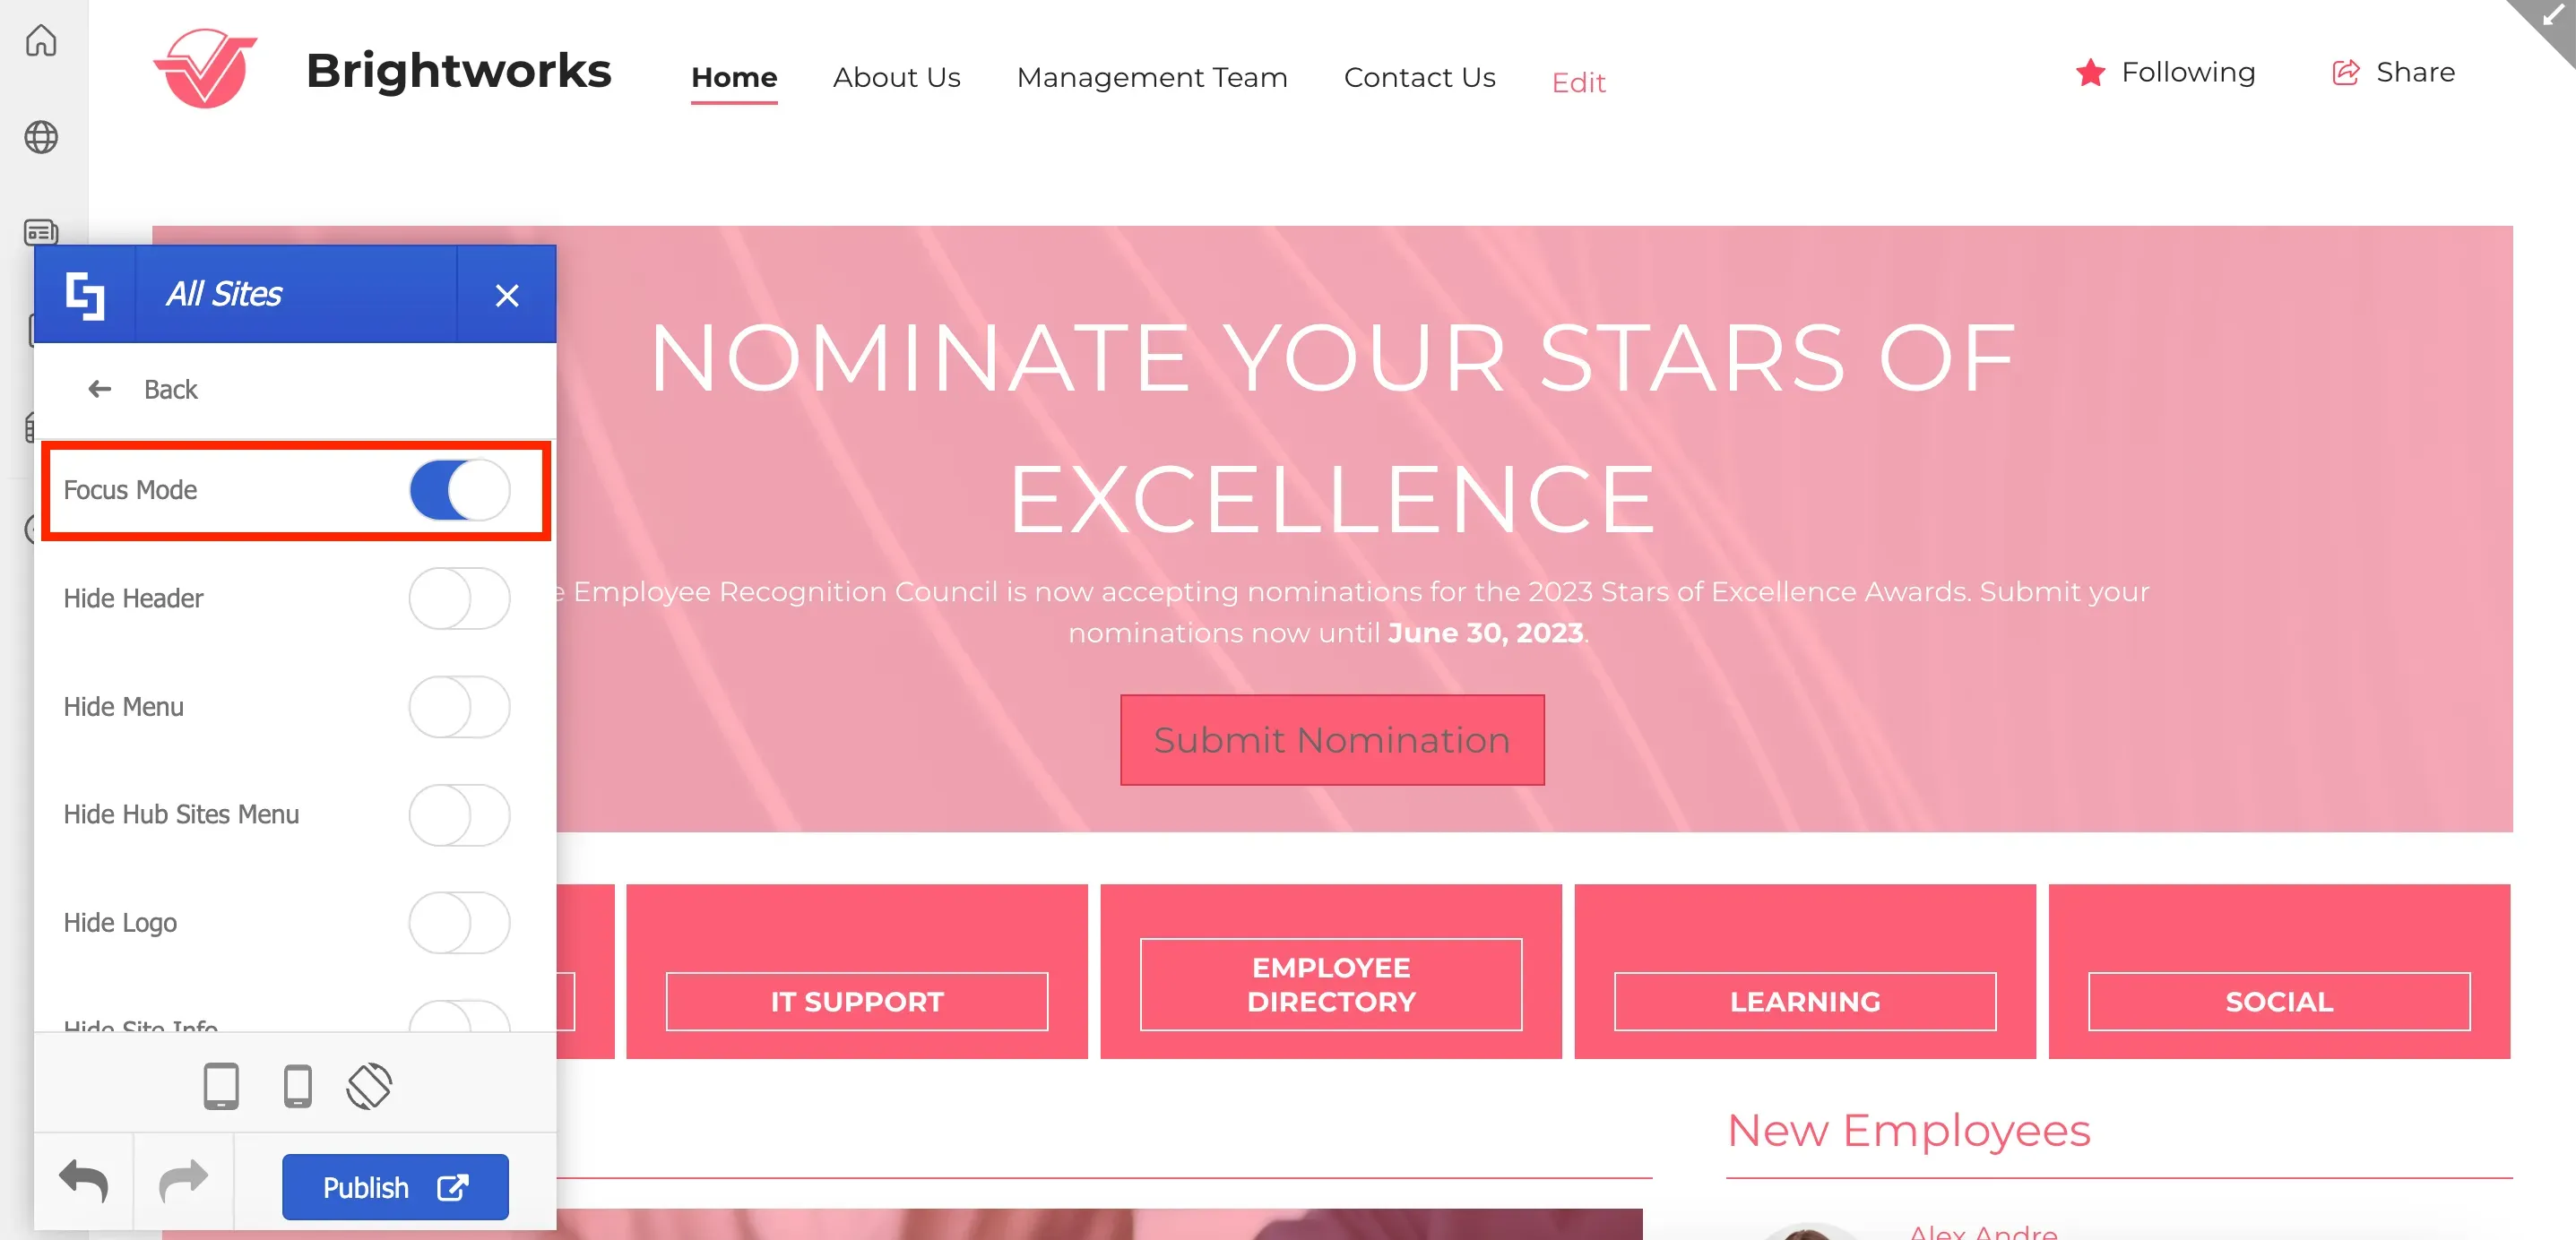
To hide the top navigation bars, enable Focus Mode.
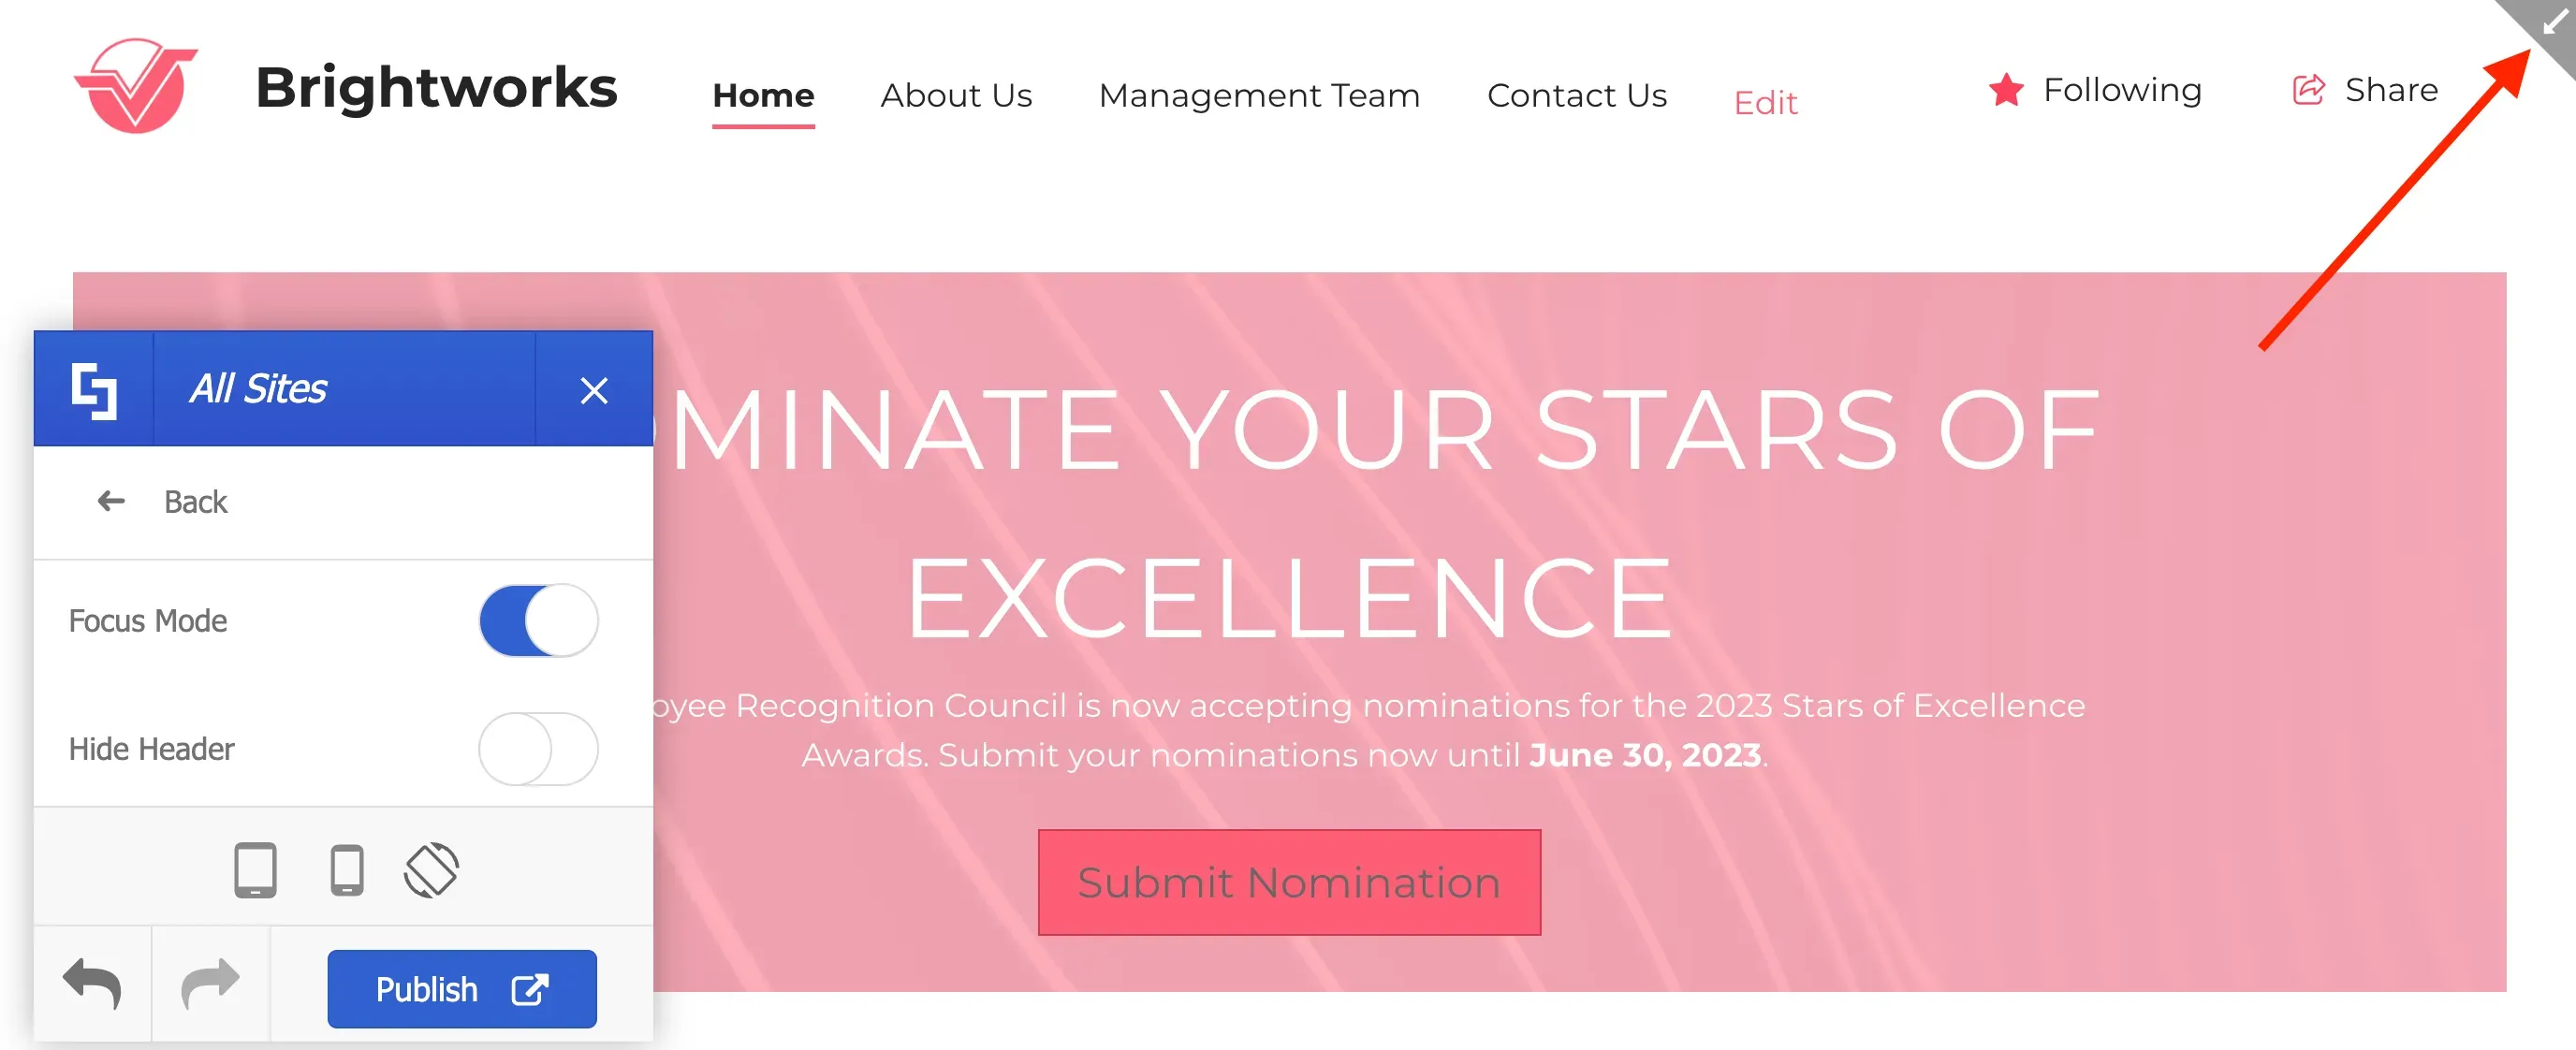
Enabling Focus Mode will not only hide the navigation bars but also showcase an arrow on the right side of your page. Clicking this arrow will allow you to access the top navigation bar again.
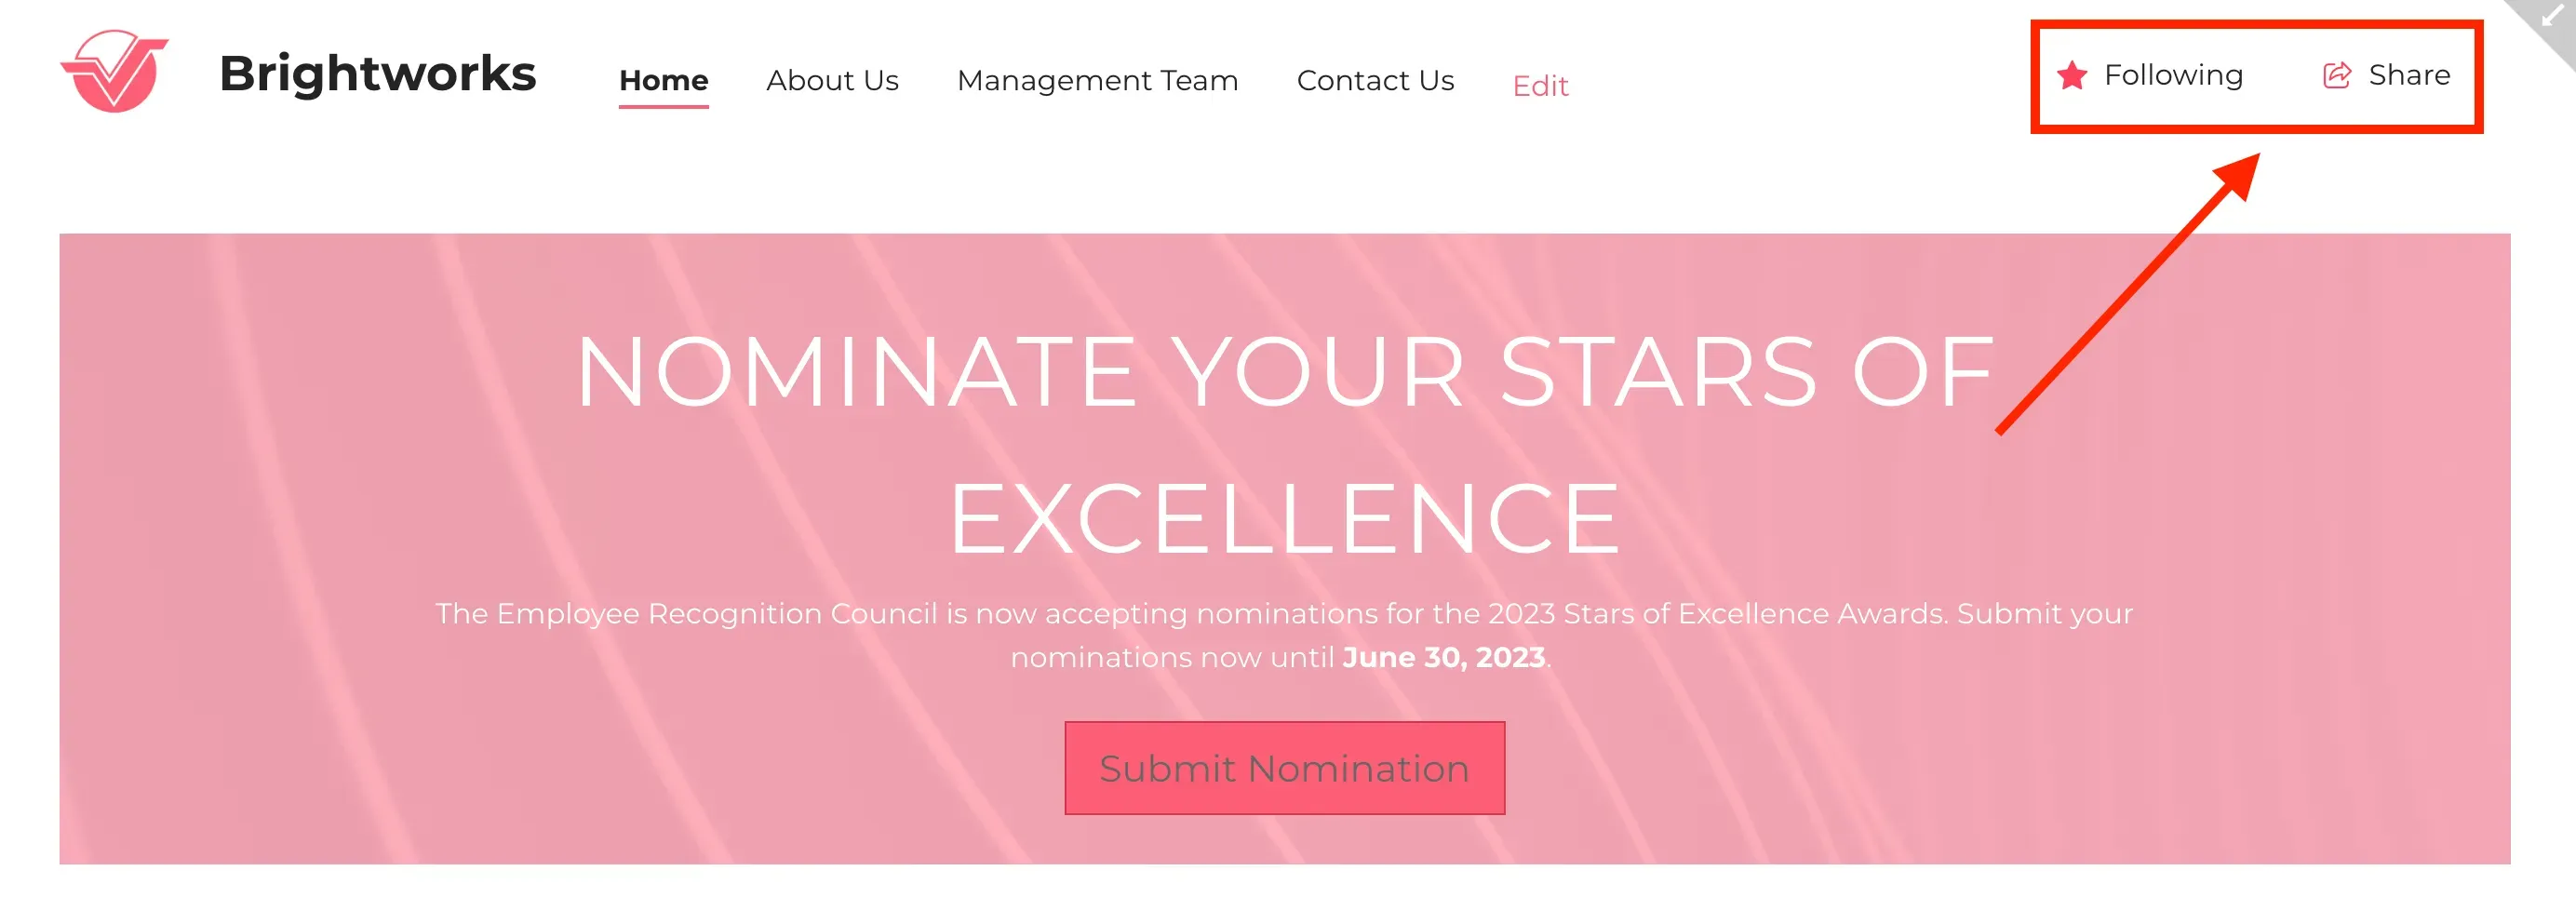
You can also hide the Following and Share buttons.
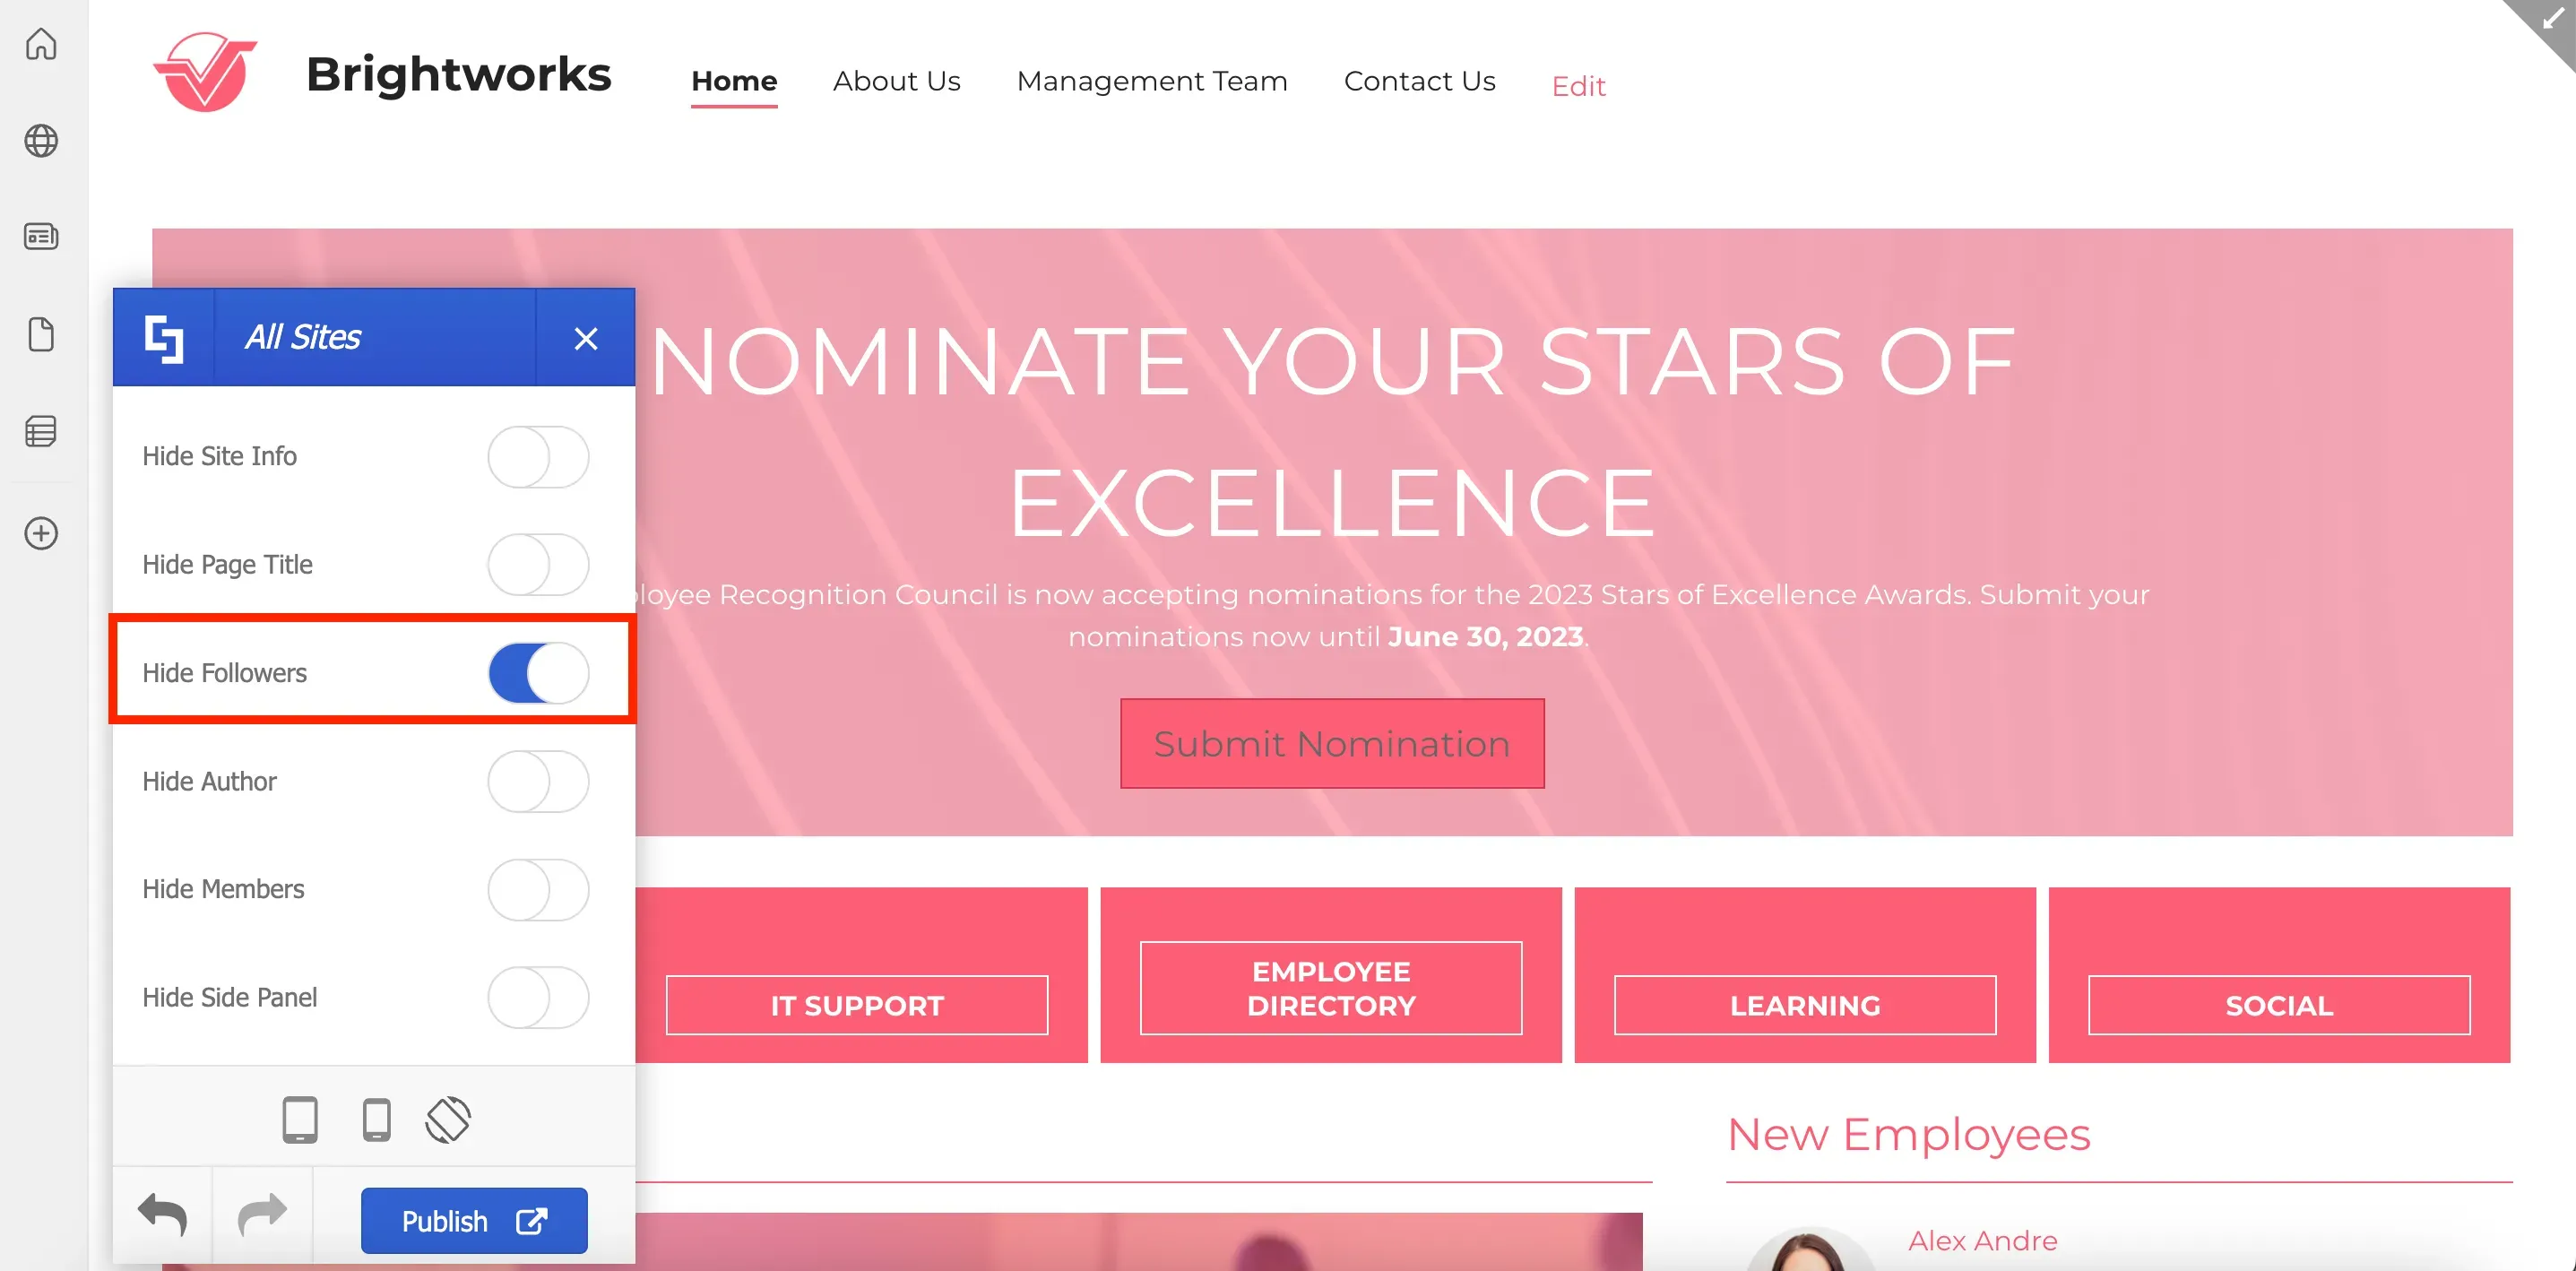
To do so, scroll down until you see Hide Followers and enable it. You will notice that the Following and Share buttons have now been hidden.
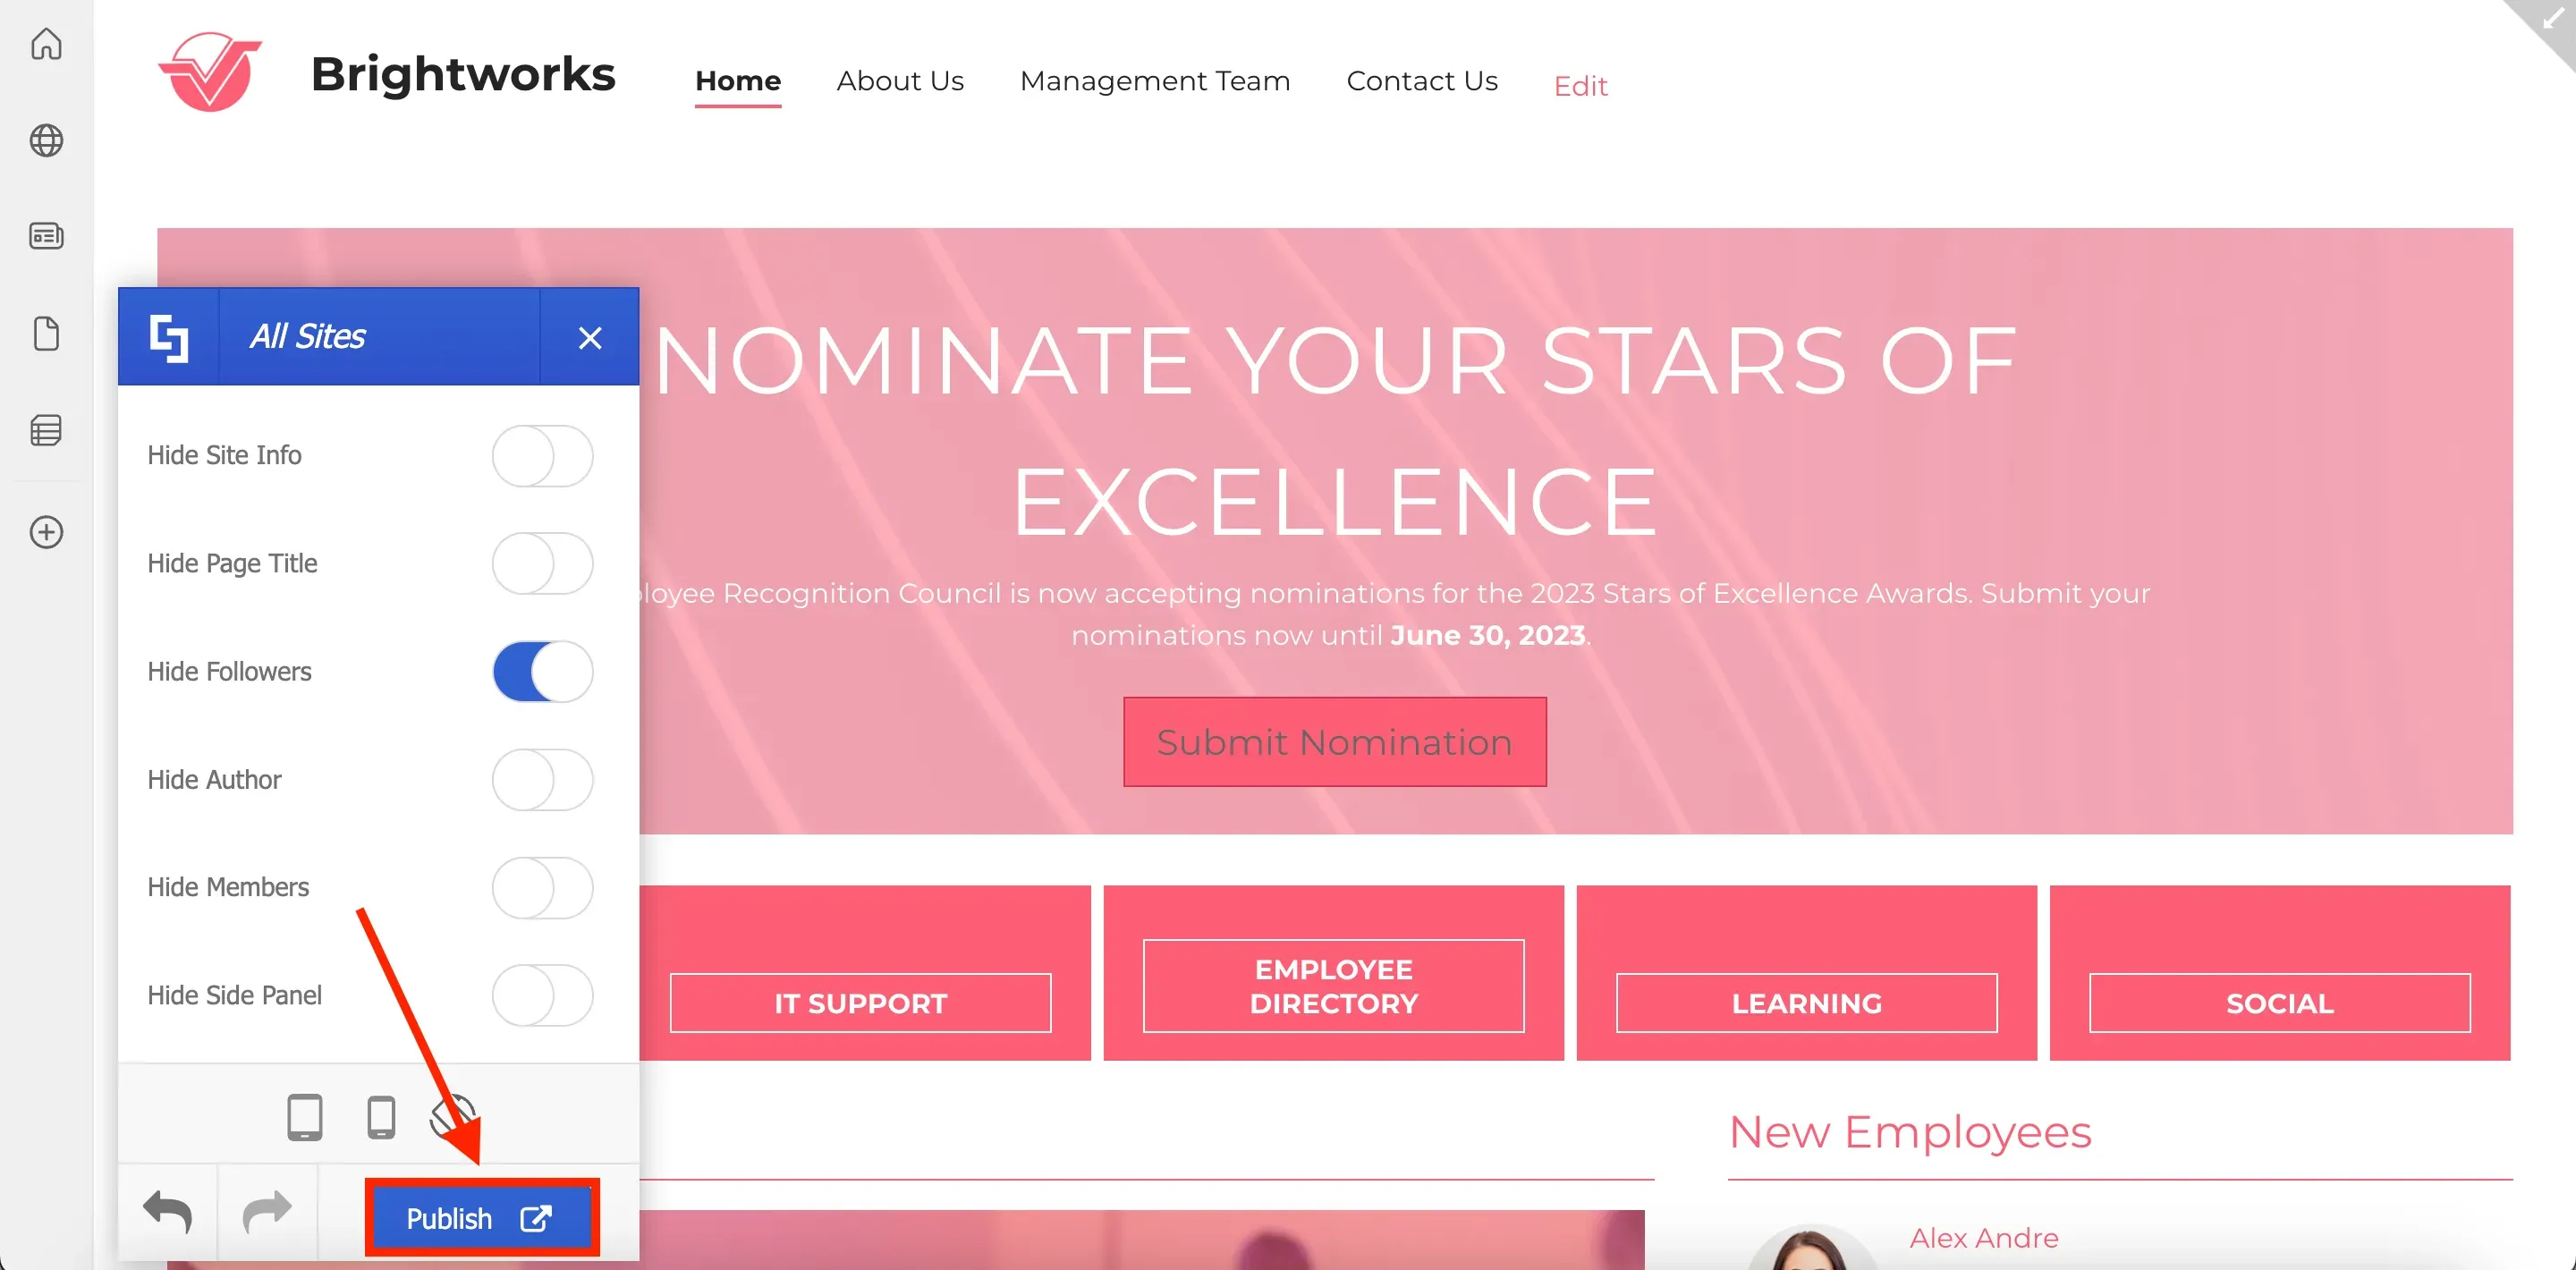
Once you've made all your changes, click Publish to apply them to your site.
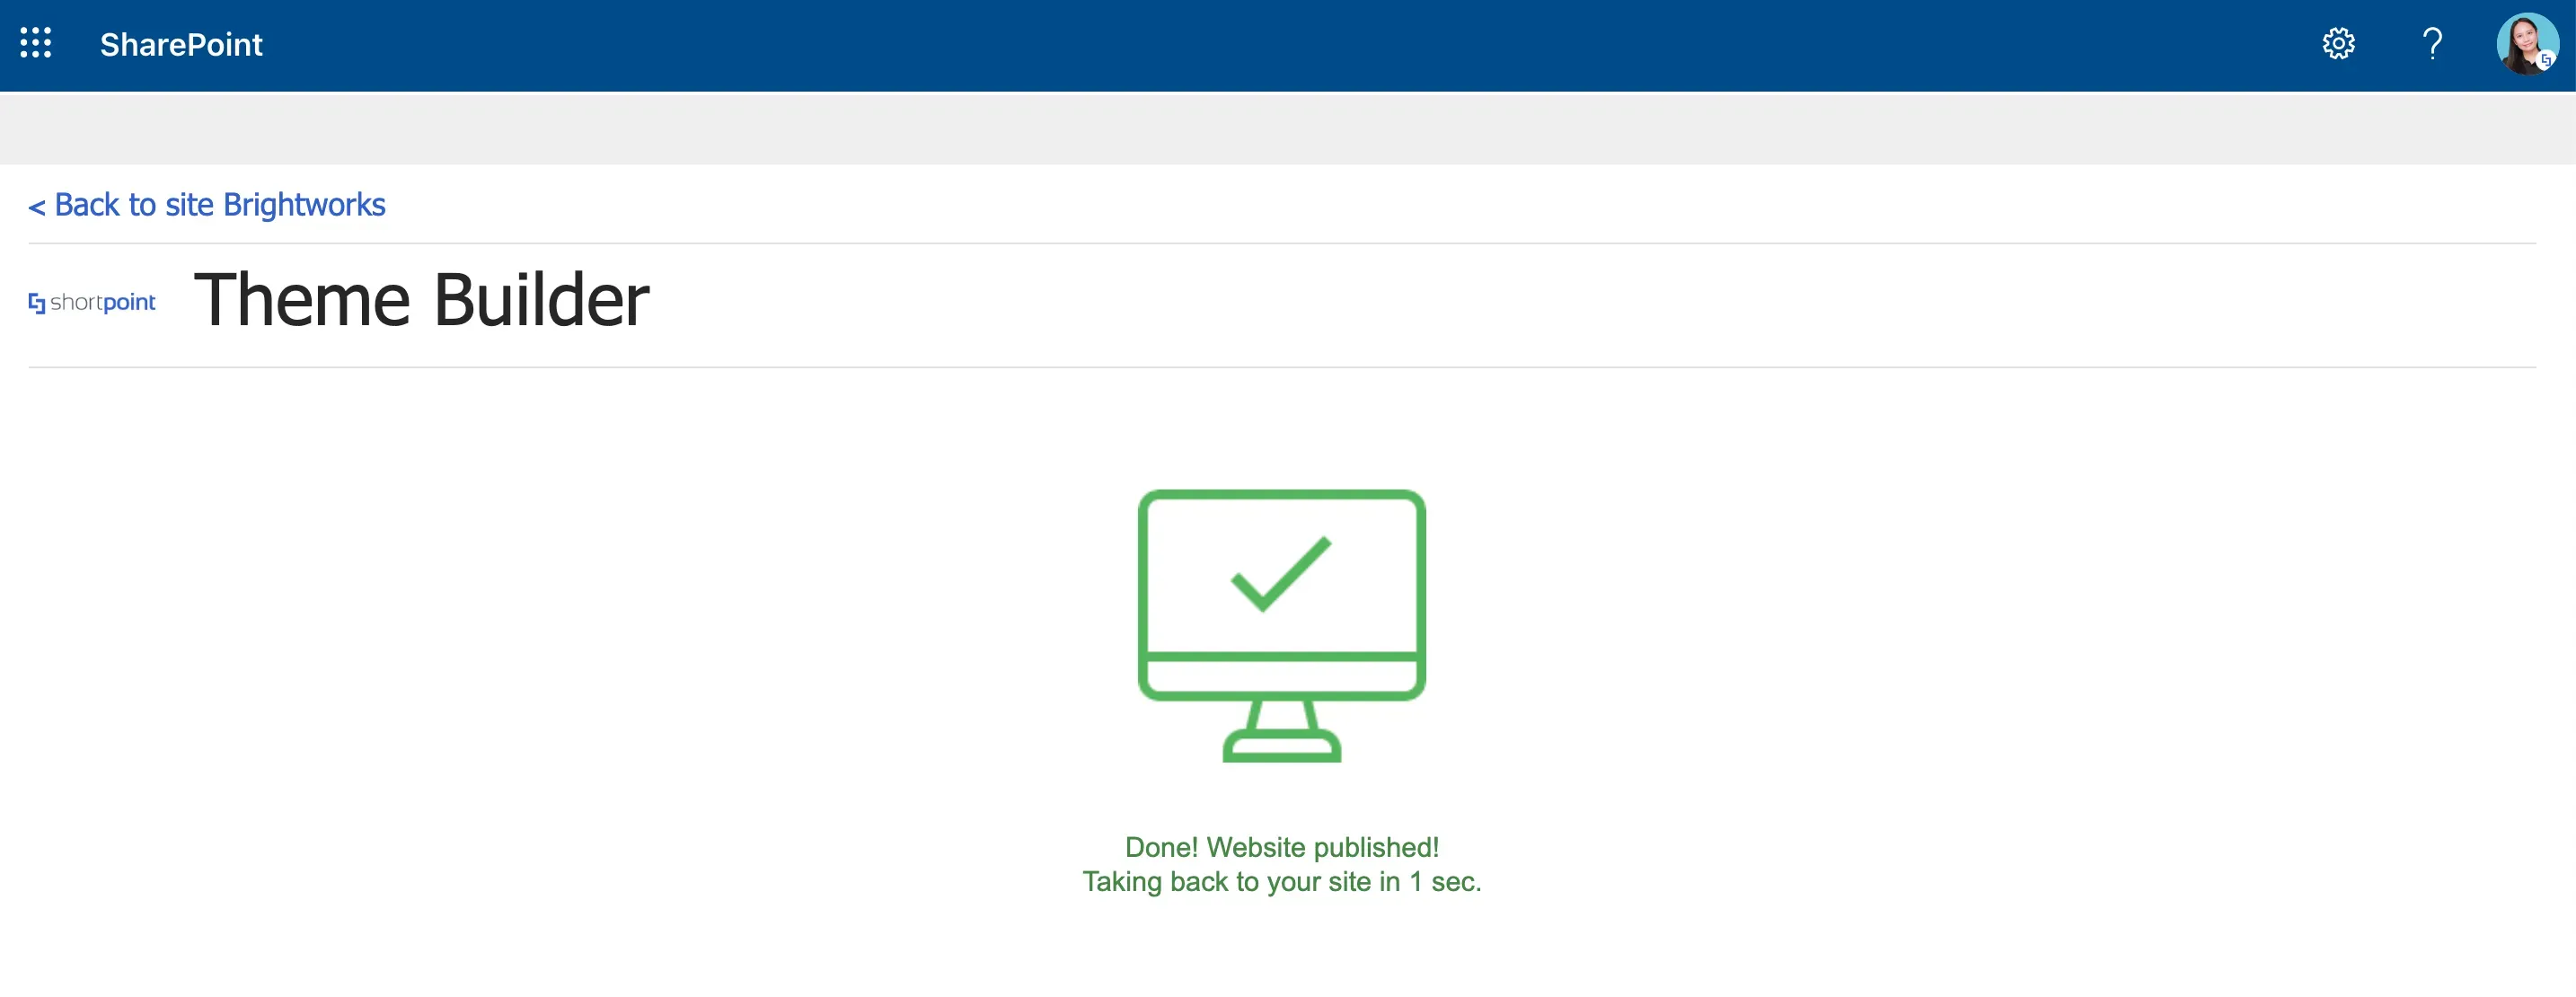
Upon clicking publish, you will see the notification below:
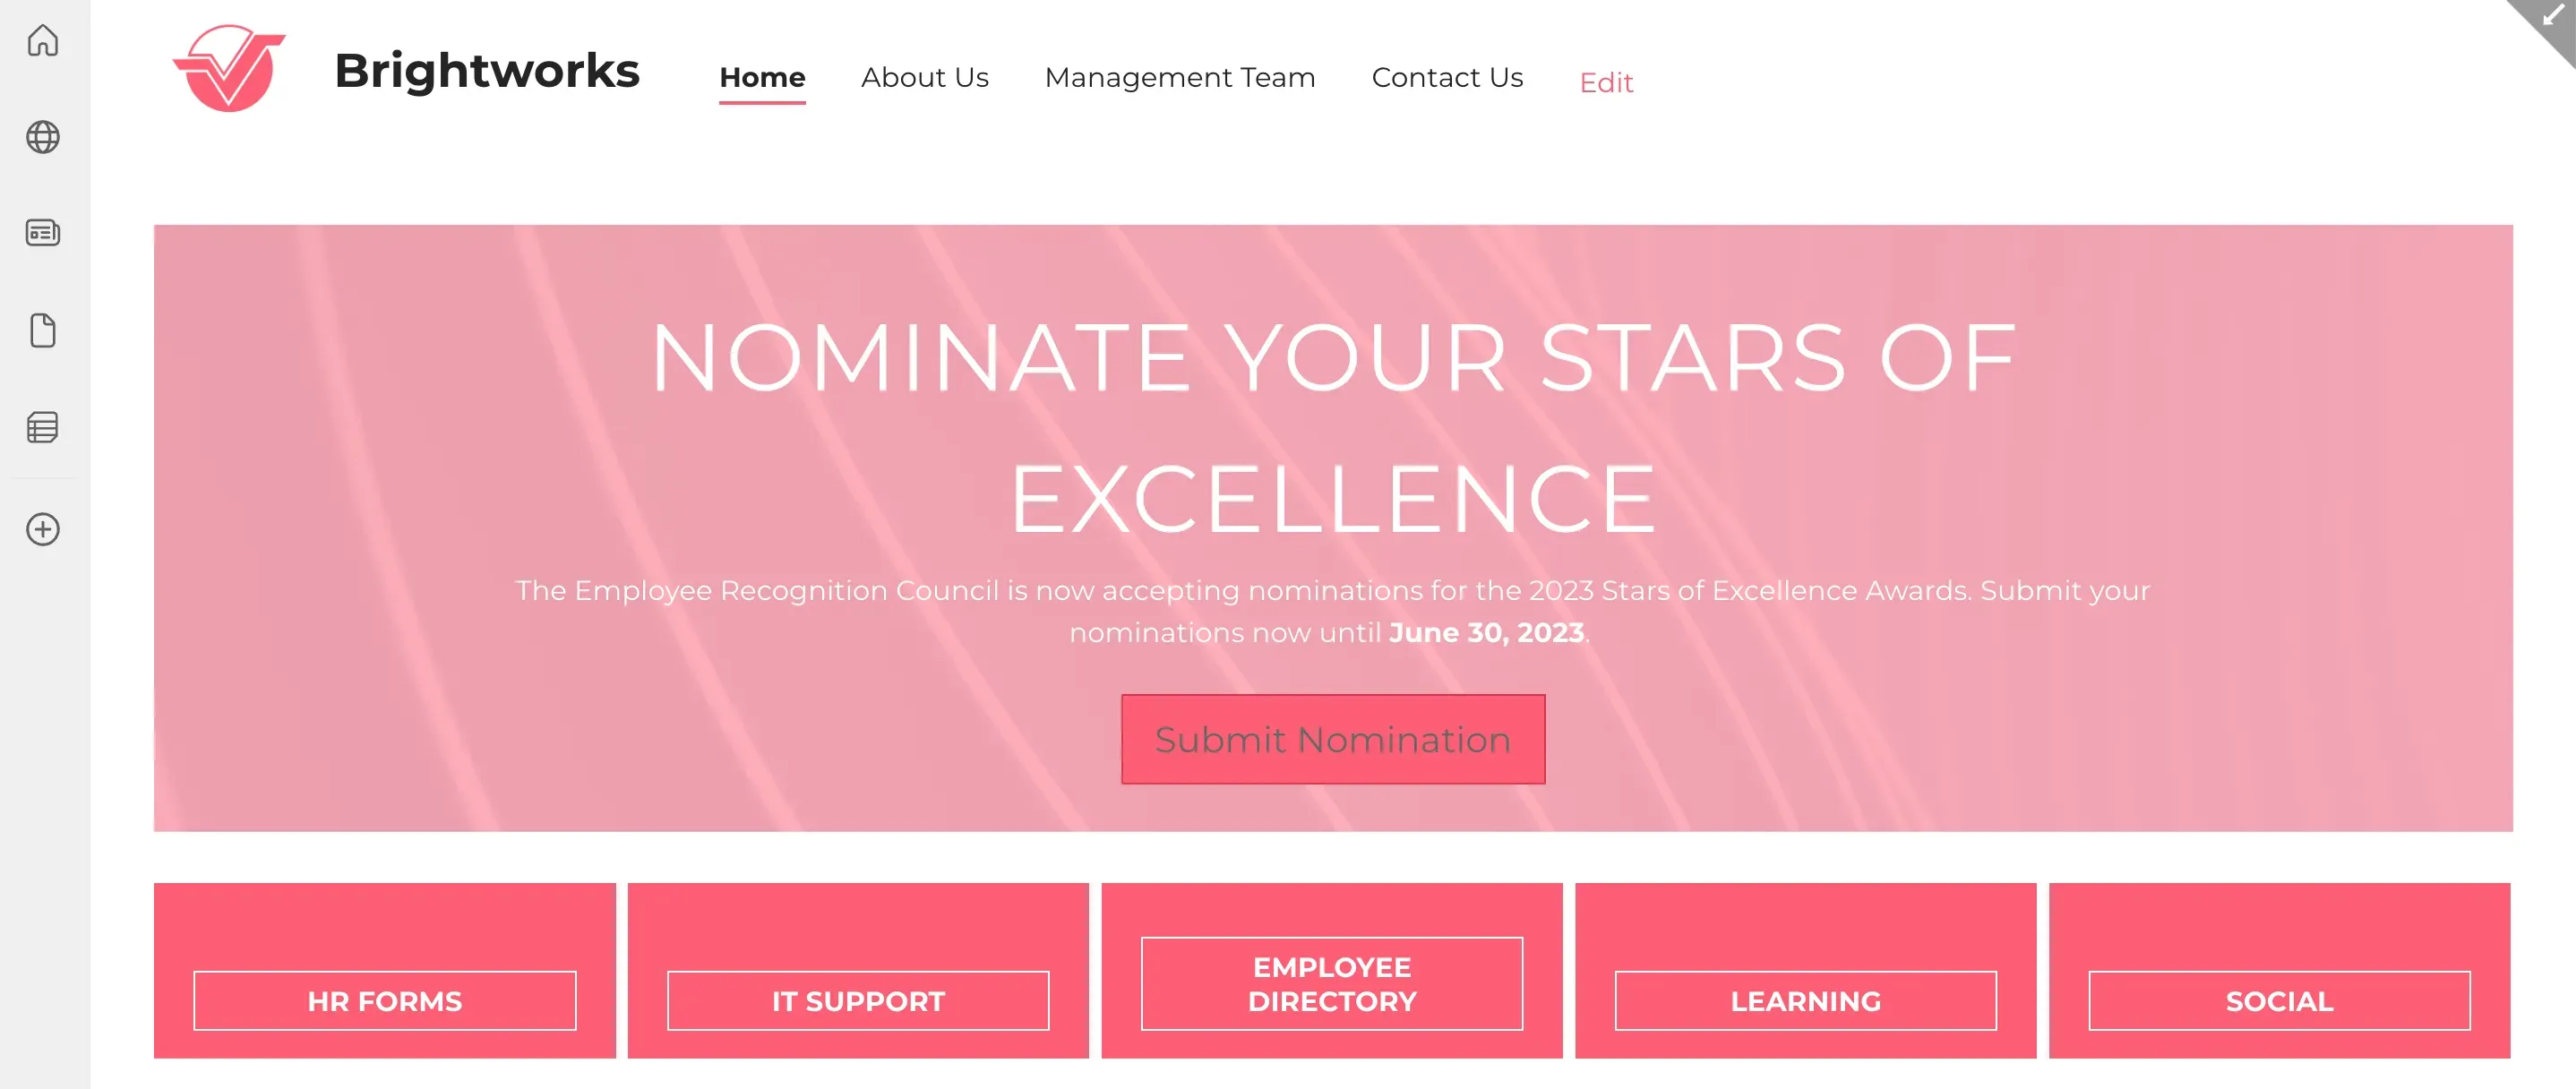
And you will be taken back to your SharePoint site, with all the changes you have made applied.
Congratulations, you have now applied your branding to your site! Continue exploring the many customizations you can make using ShortPoint Theme Builder to enhance your site's look and promote your company's branding.