

Building the page
Use ShortPoint templates
In this tutorial, you'll learn how to quickly build a SharePoint page using ShortPoint templates. You will find out how to insert a template, how to edit it to display your own content, and how to modify its settings to suit your needs.

Choosing a template
To get started, add a ShortPoint web part and click the Open Templates icon.

You will see two types of templates in our modular library. First are Section Templates. This type of template contains specific parts of a page that serve a purpose.
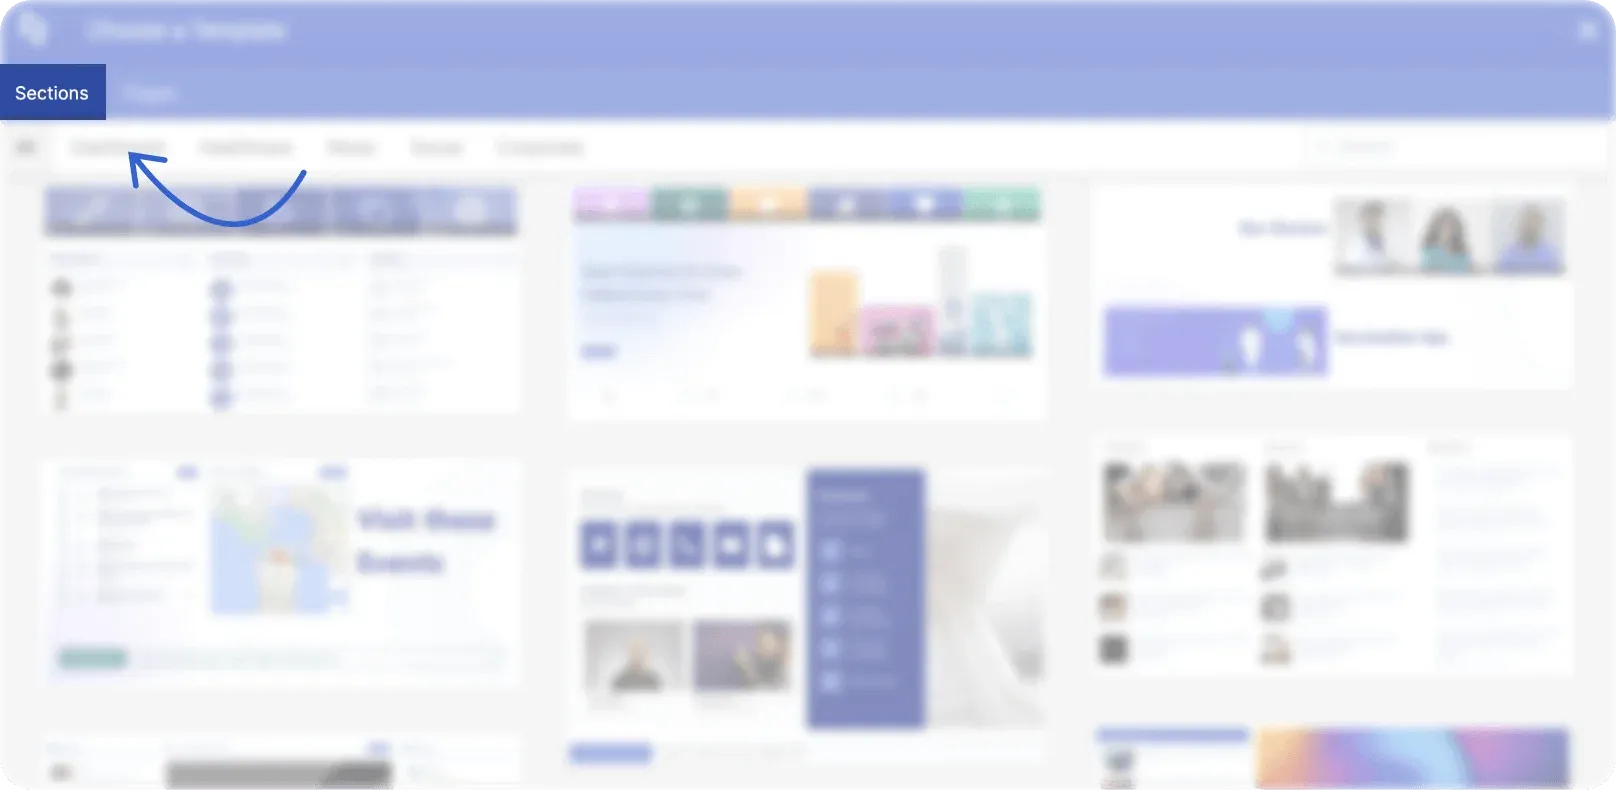
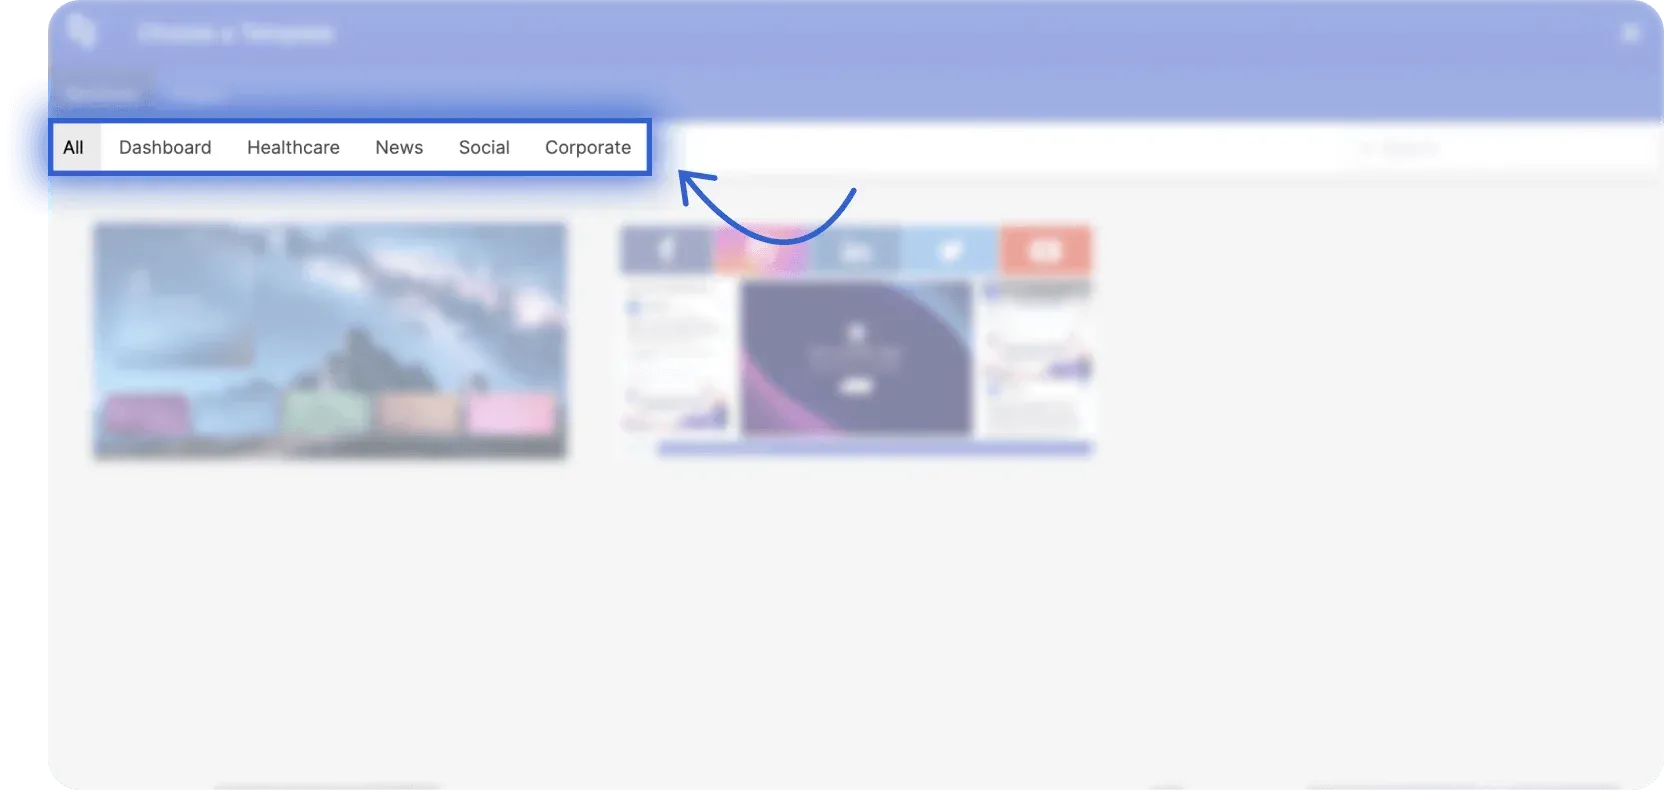
You can mix and match Sections to create your whole page. For example, you can add a News Section, a Social Section, or even a Corporate Section to complete your page.
The second type is Page Template. This type of template contains a set of Sections that complete a whole intranet page.
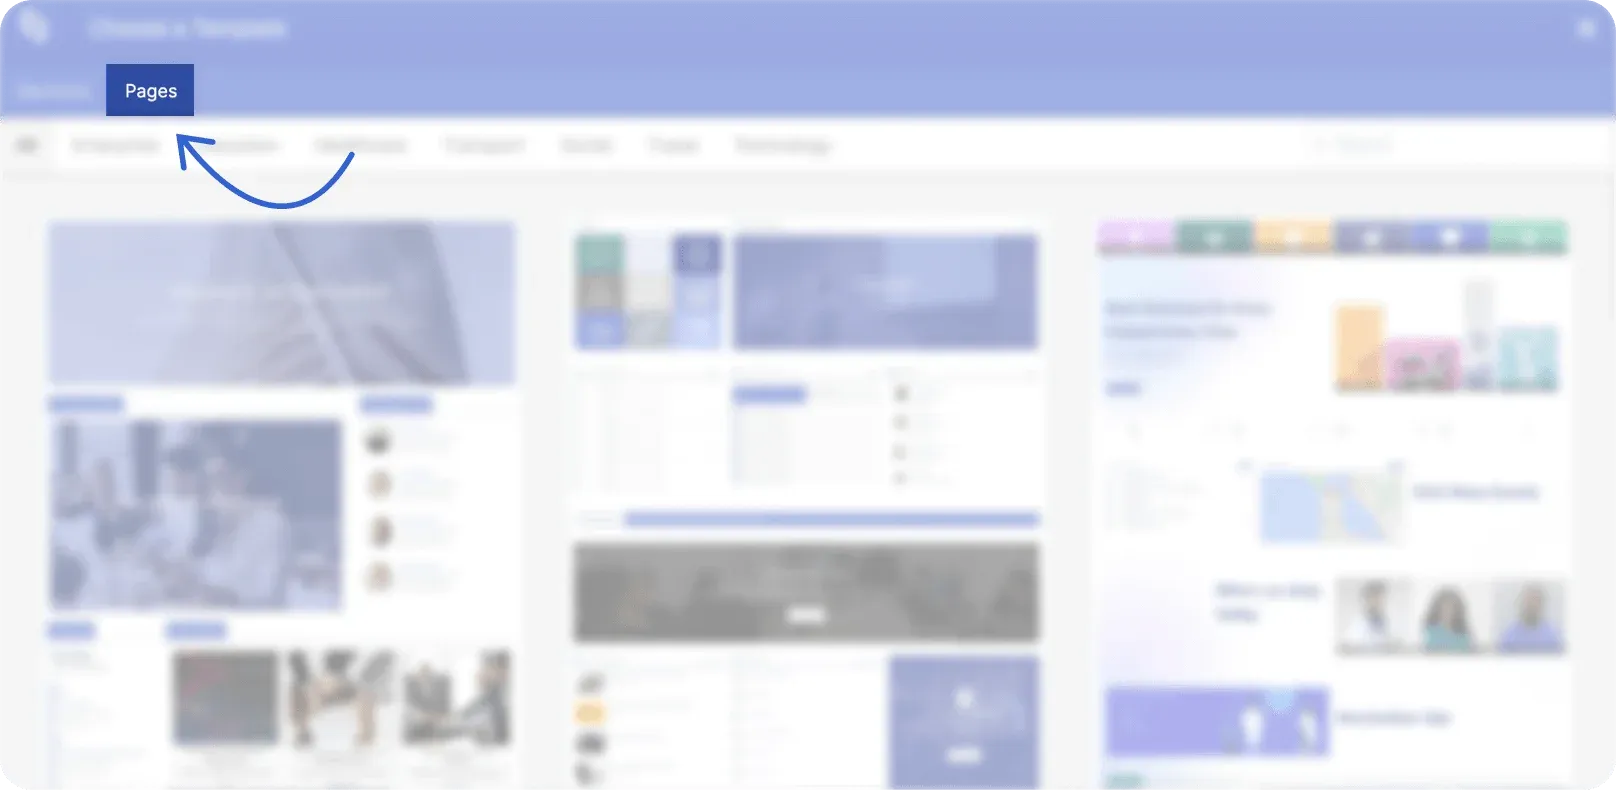
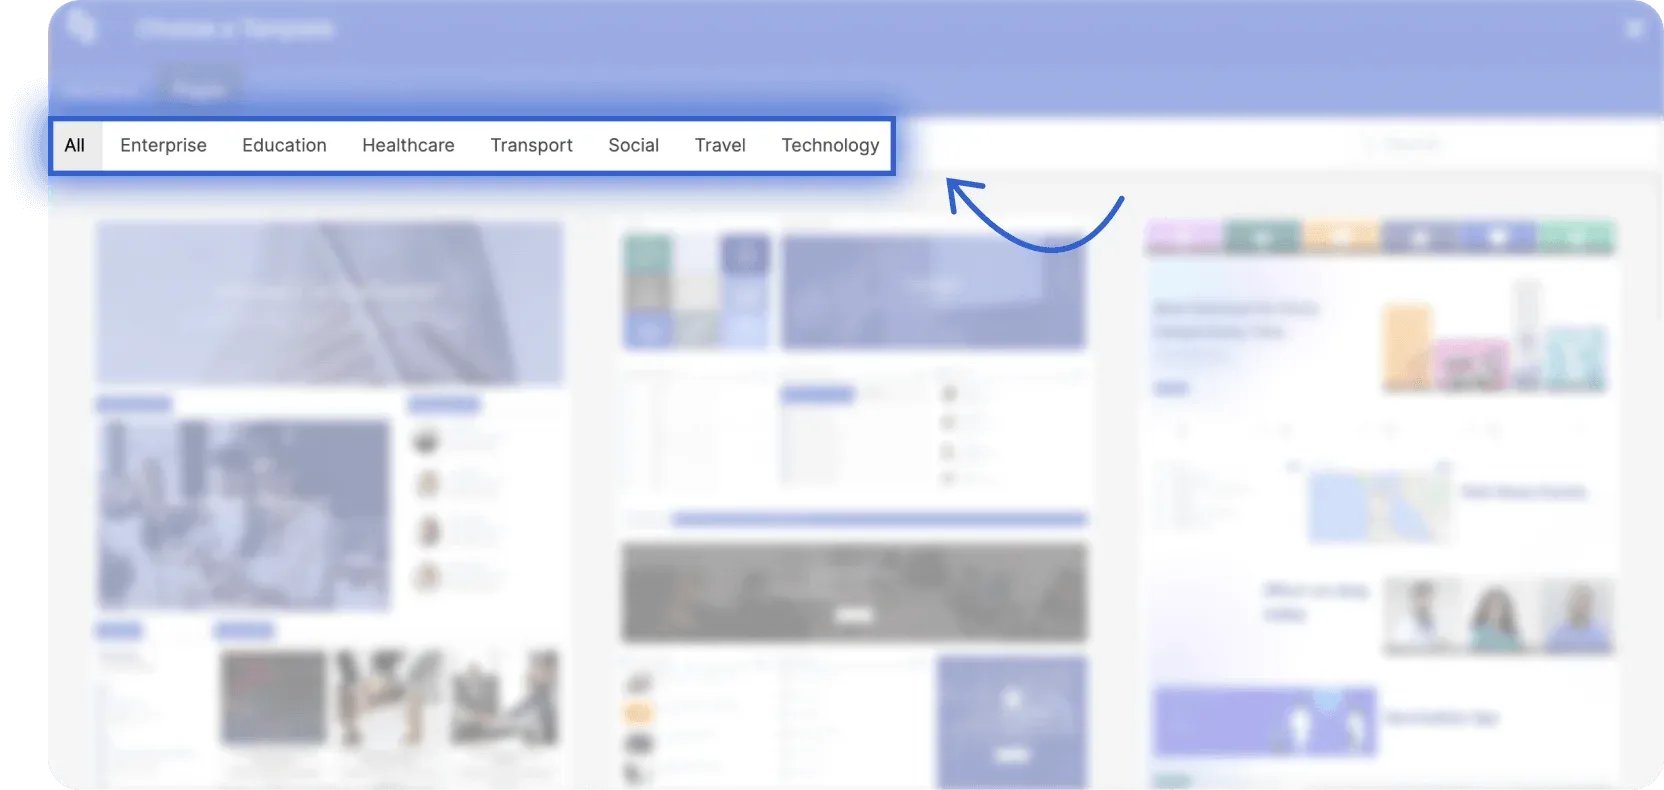
They are designed to fit the most common use cases for intranets either in general or for a specific industry.
For this project, we will insert a Page Template. Simply click the black plus icon to instantly add the Page Template to your page.
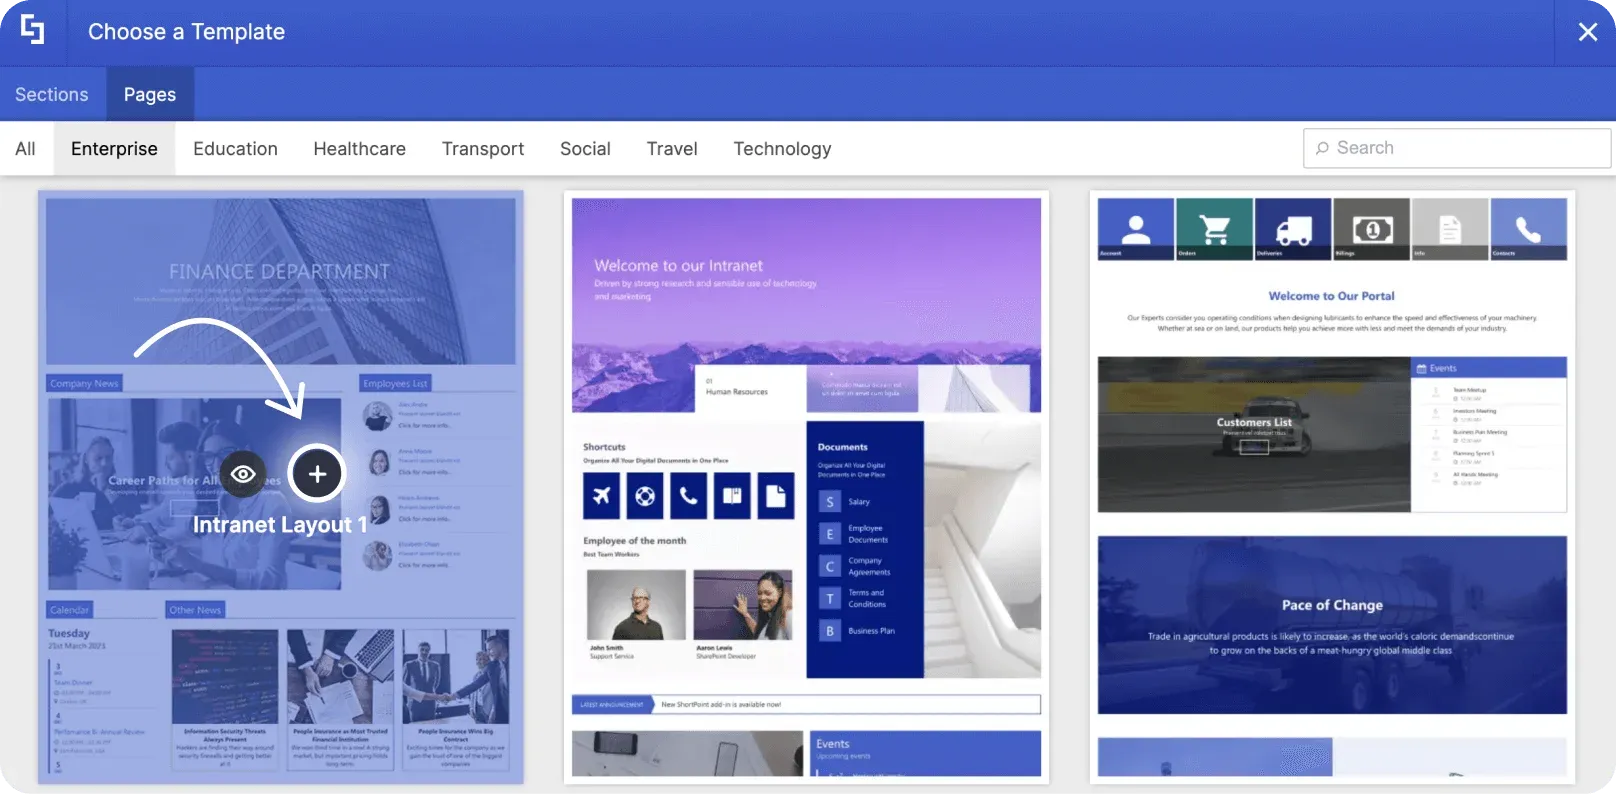
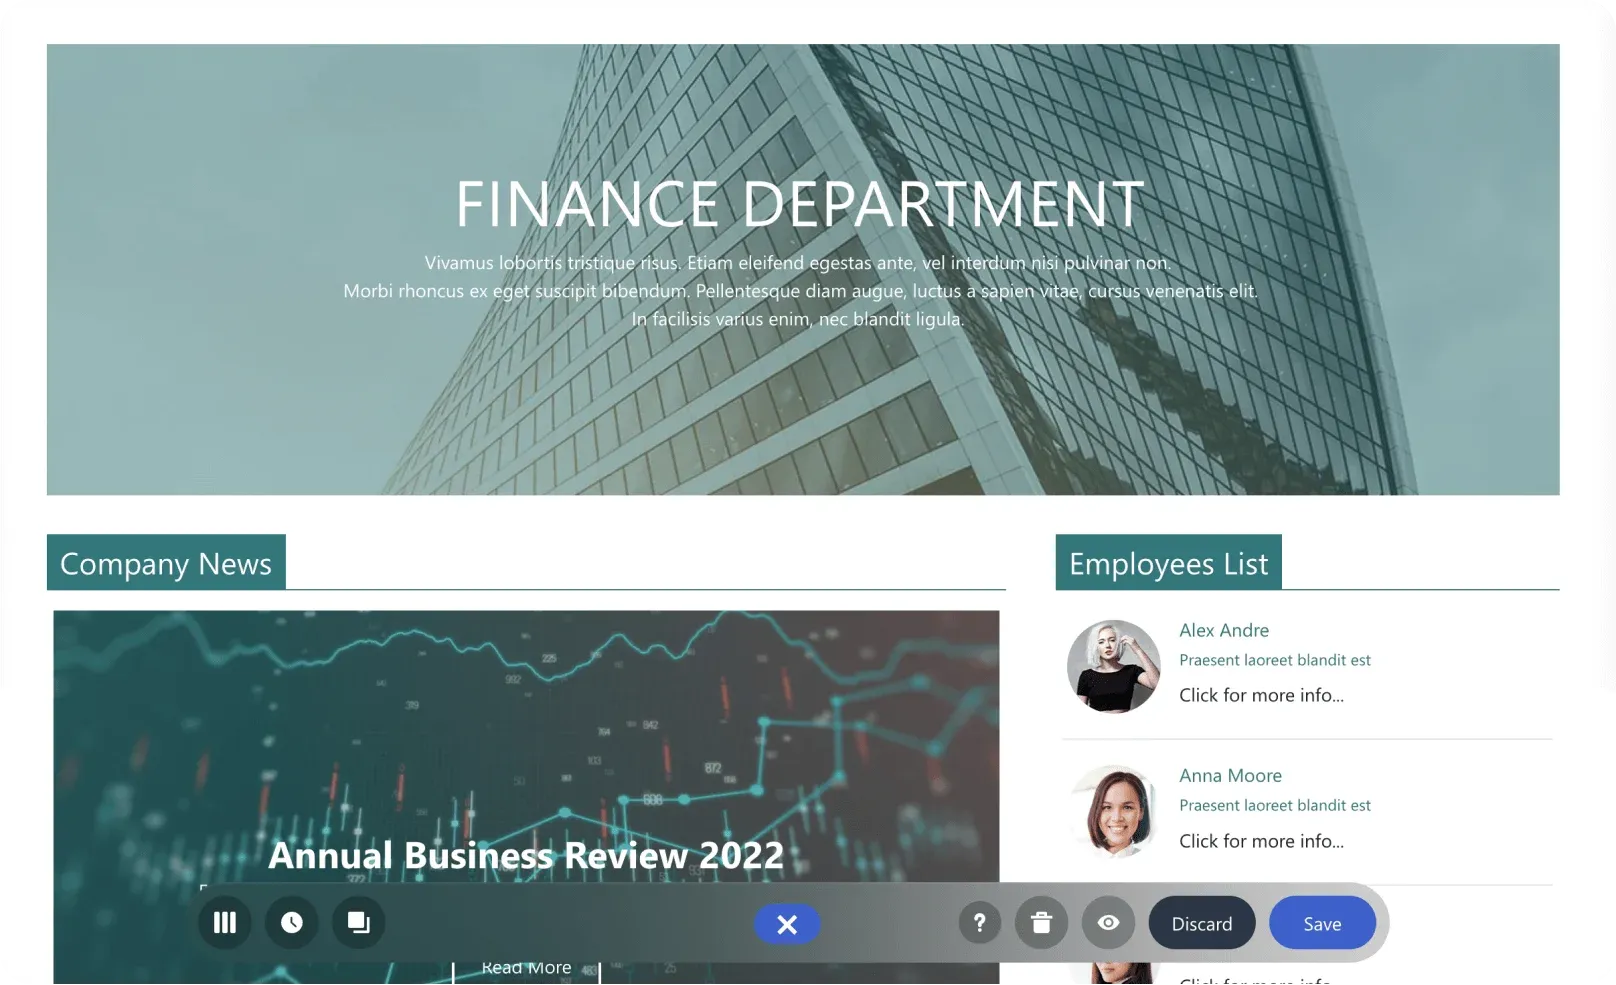
Once you have selected a page template, all the elements inside the template will be added to your page, including placeholder content. You will also notice that the inserted page automatically took on the existing theme and colors of your site. You can customize this later on using ShortPoint Theme Builder.
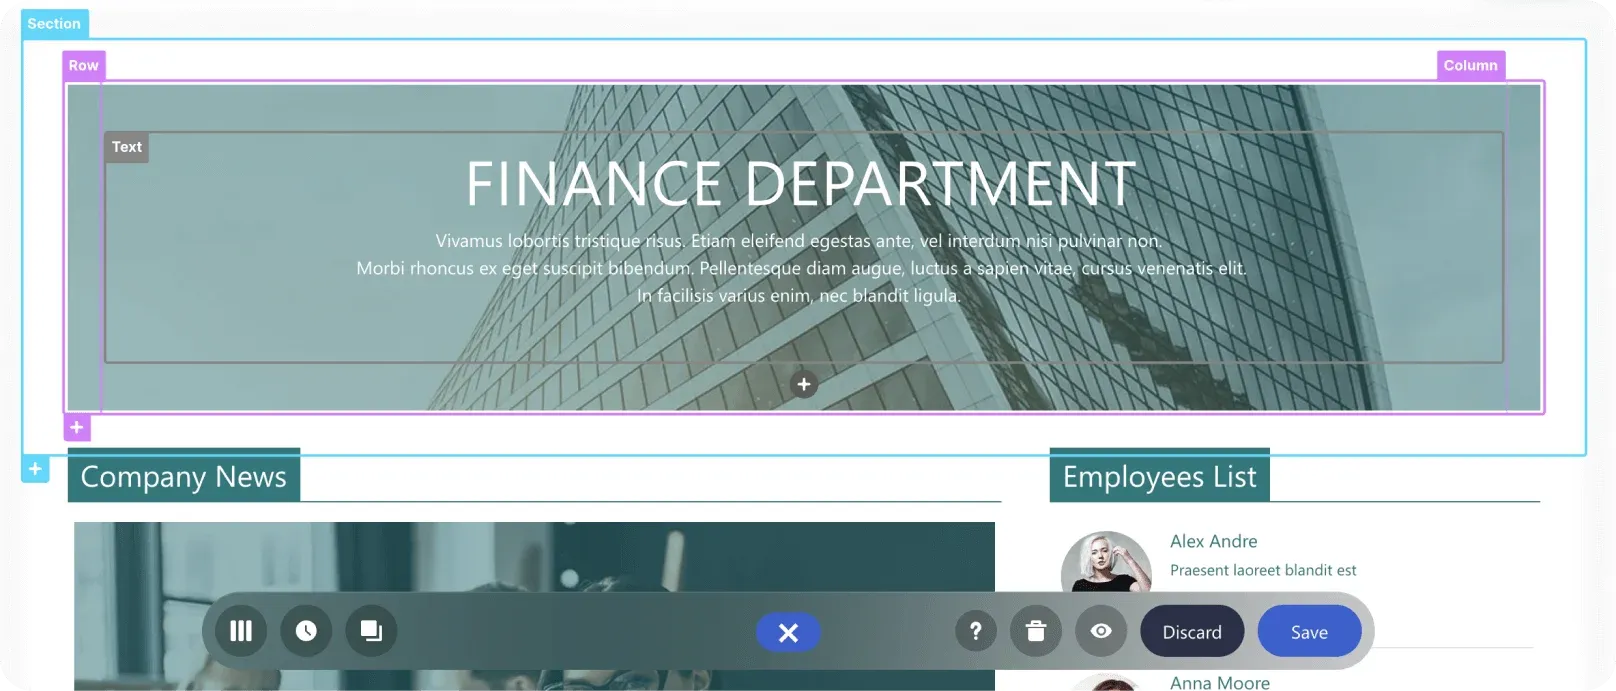
By hovering over the items on the page, you will find several blocks of content in different formats. These are the different kinds of Design Elements used to build and design the page.
Editing content
Now, let us replace placeholder content with our own content. To edit a text, double-click on the Text Design Element.
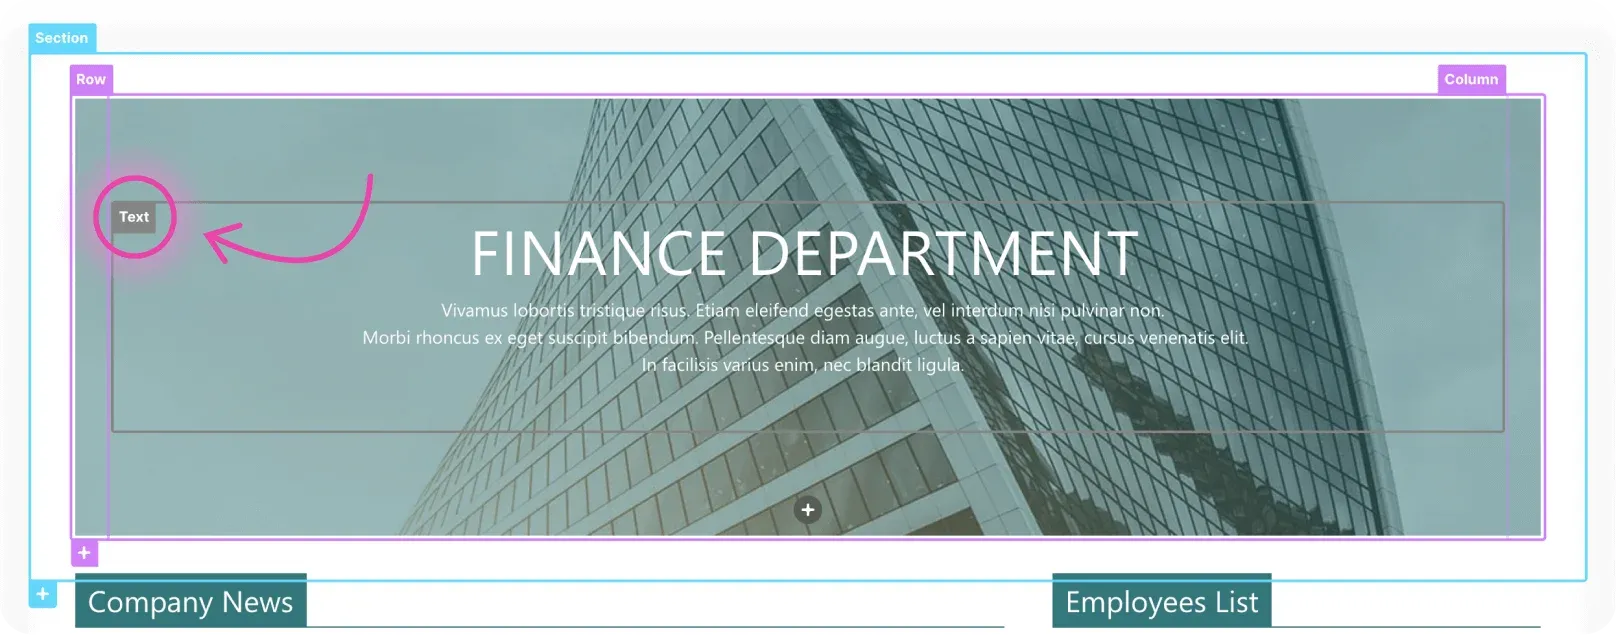
Doing so will allow you to modify the content, format, and style of the text using the text editor.

You can even add a button using the Inline text Design Element. To do this, click the ShortPoint icon inside the text editor.

Then, select the Show button icon.

A popup window will appear where you can add the necessary details for your button. Once you are satisfied with how your button looks, click Apply.
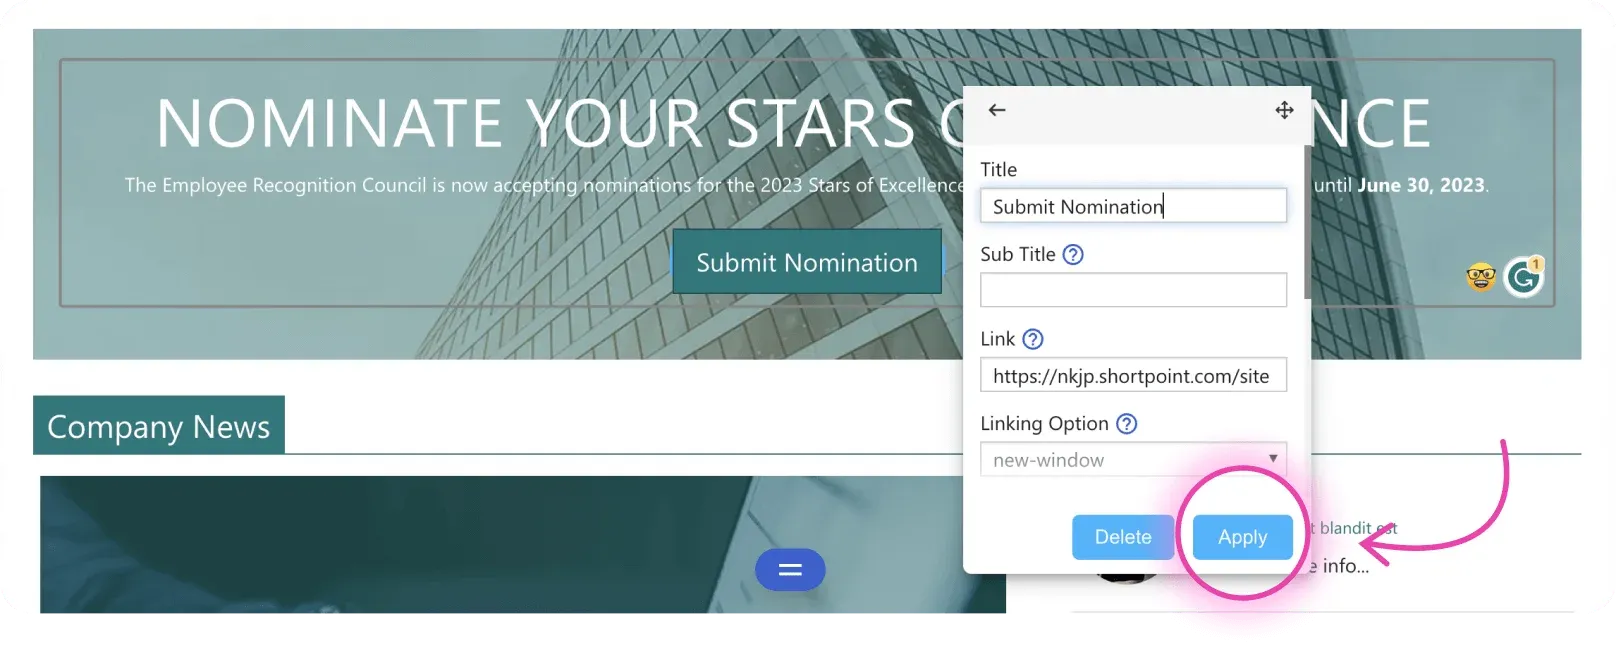
On the other hand, to edit the content of other Design Elements, you will need to open their settings window.
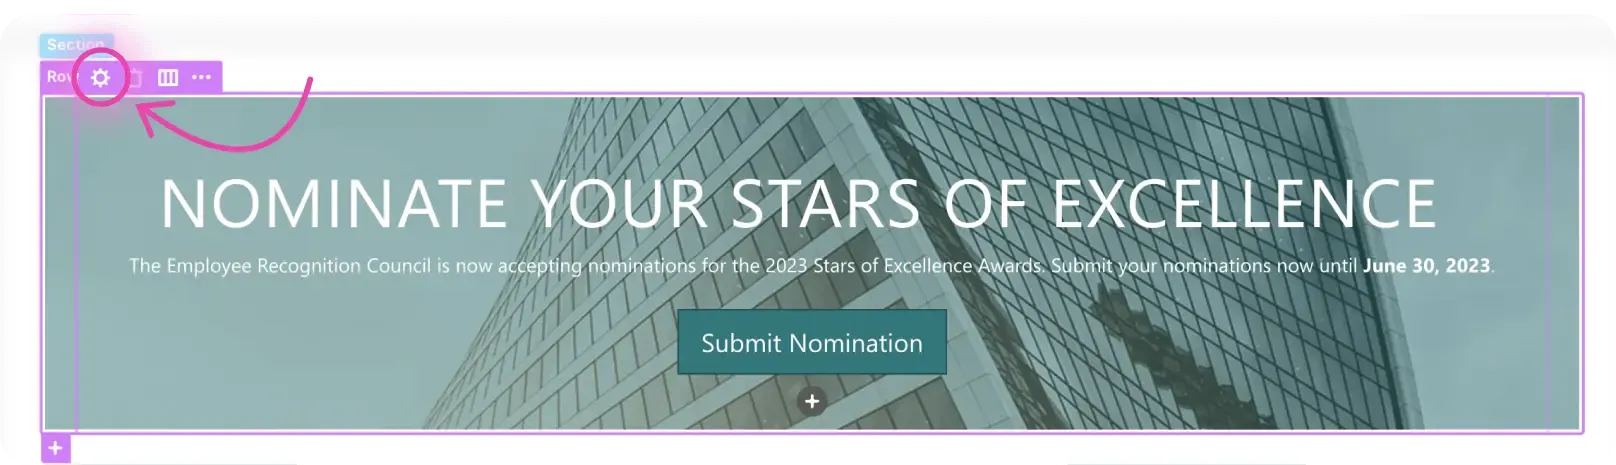
For example, to change the background image of this Row, click on its label and then select the cogwheel icon.
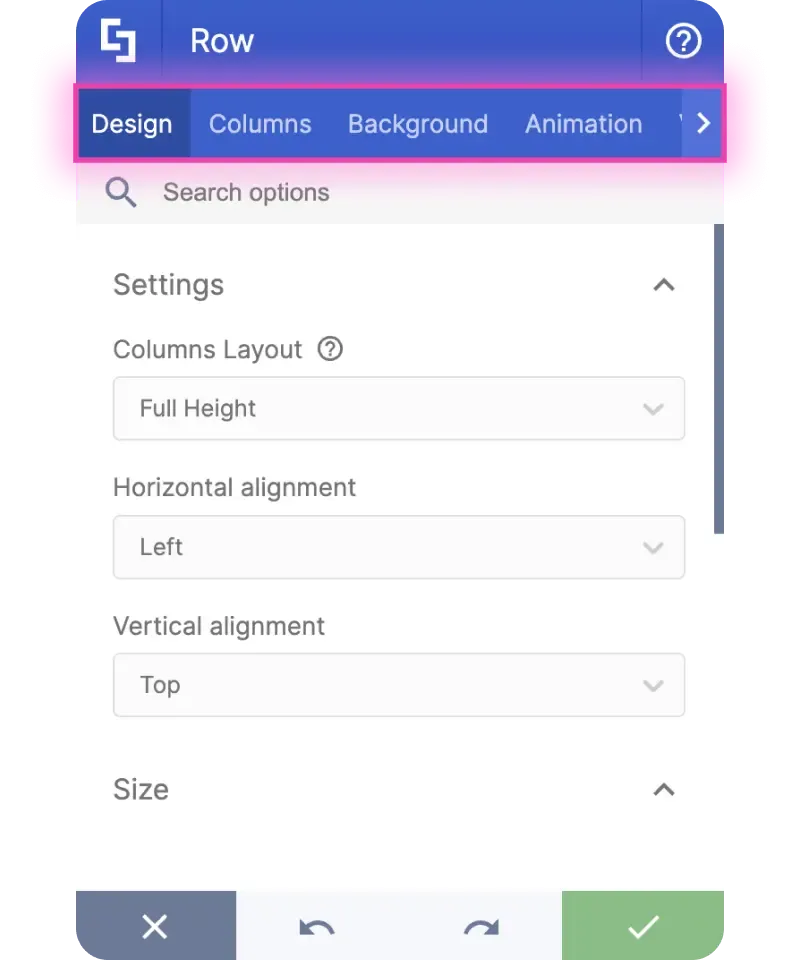
This is where you will find several tabs that show you what you can edit and customize.
To change the background image, go to the Background tab.
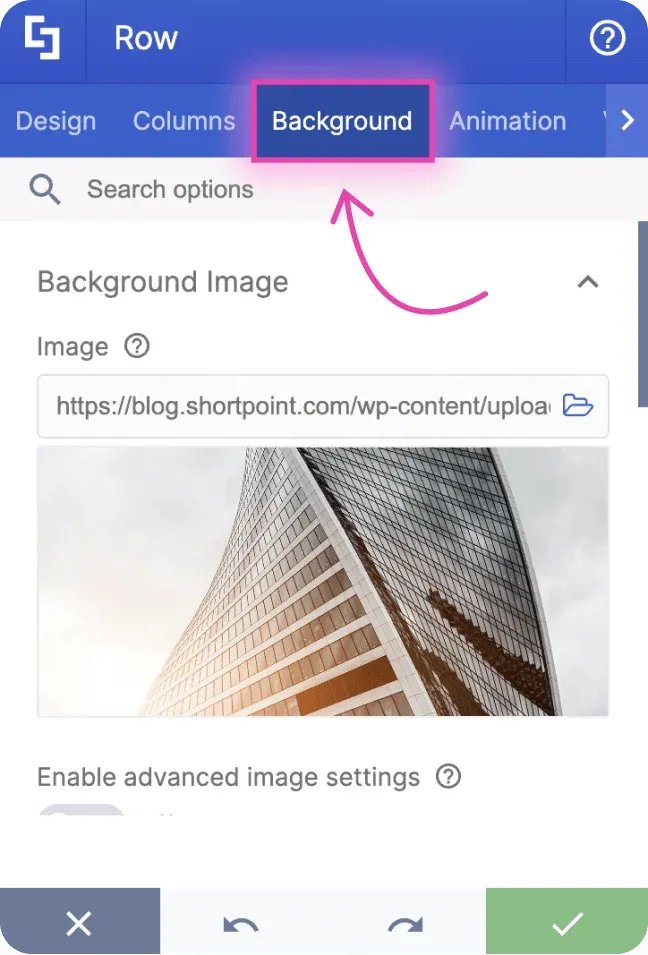
Then, on the Image field, select the Folder icon.
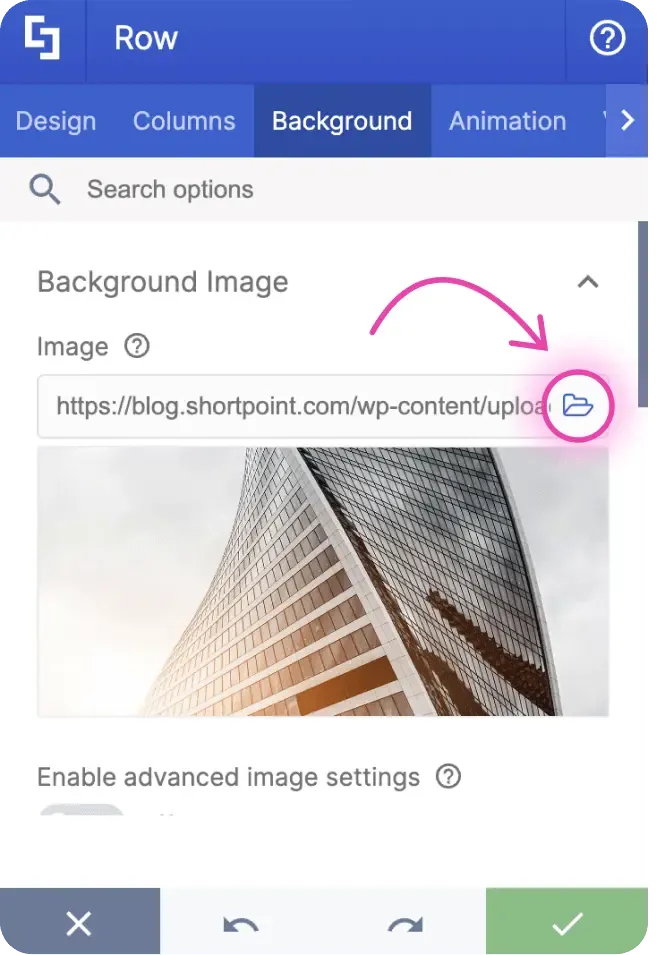
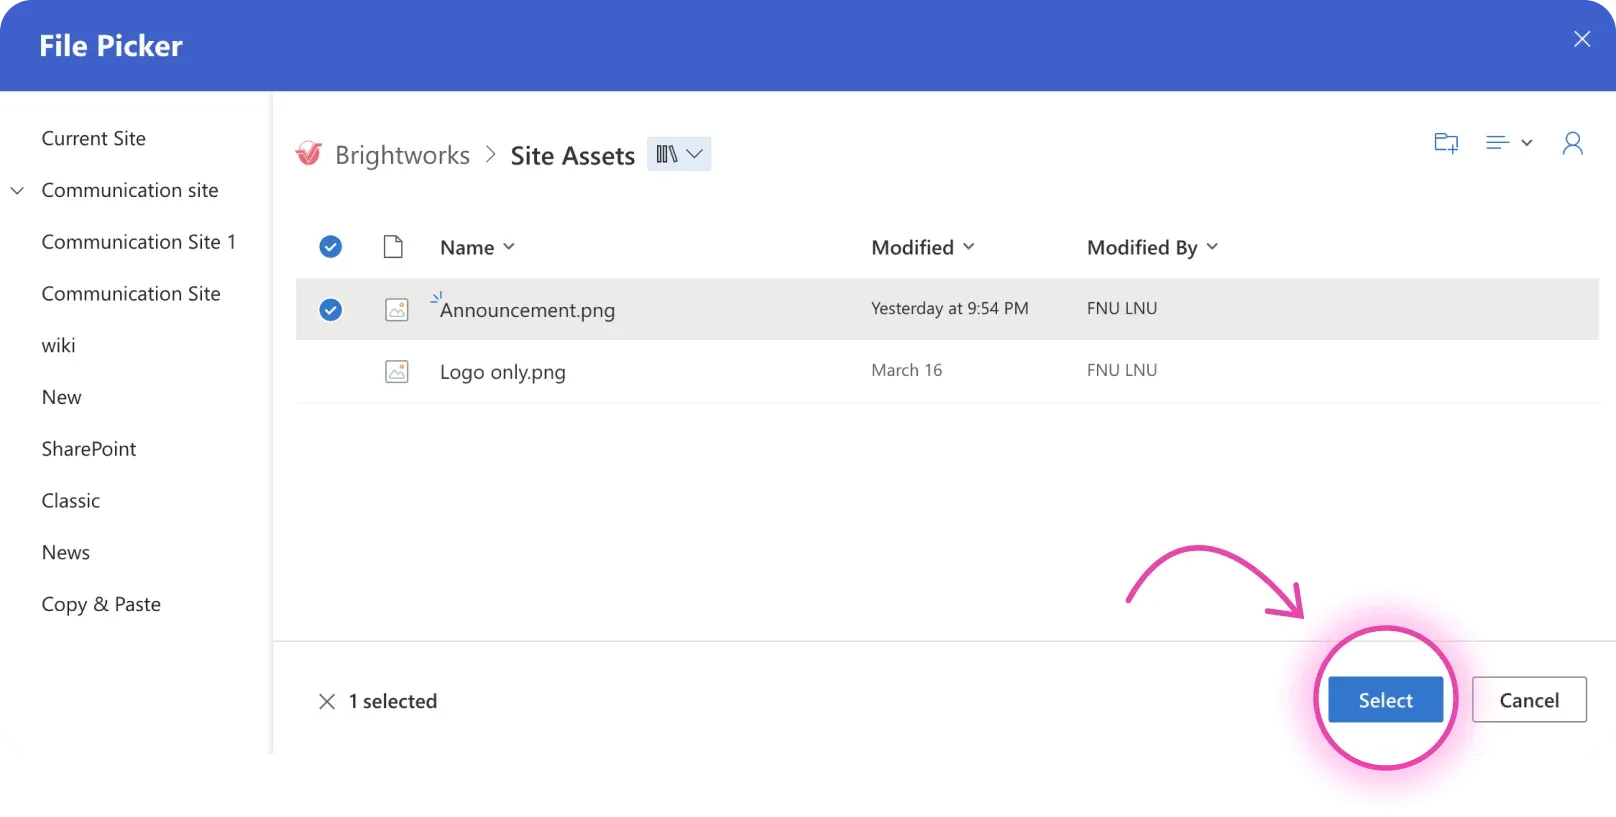
This will launch the File Picker where you can Select your preferred background image.
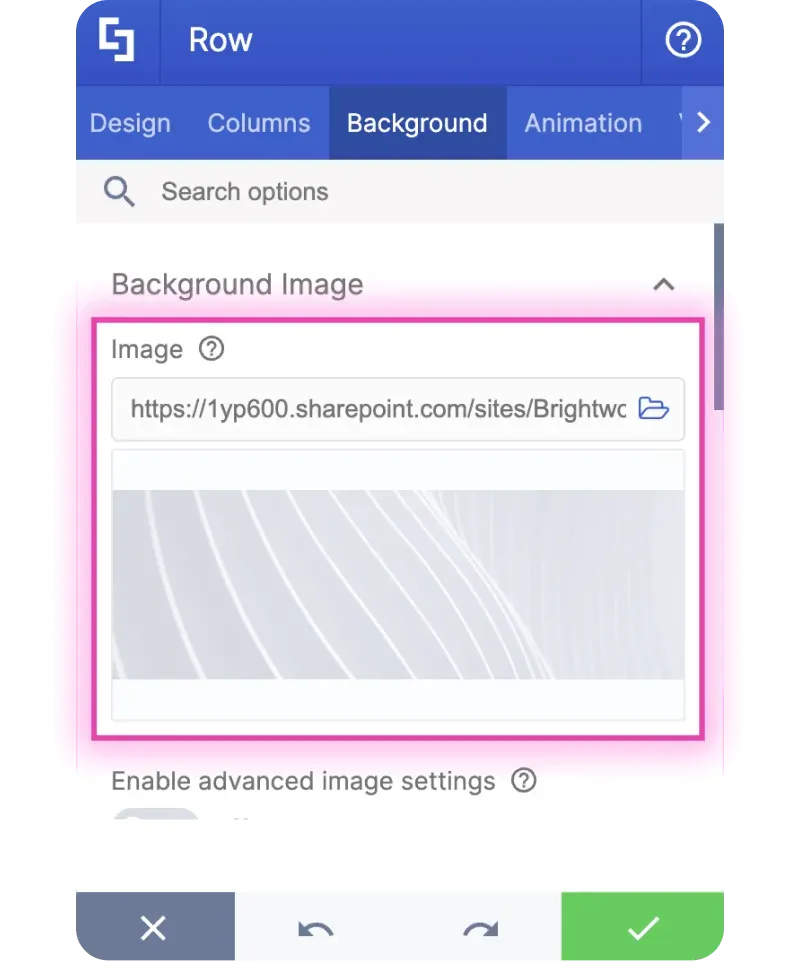
You have successfully changed your background image. If you want to explore other background options, simply scroll down and you will find the option to add a video background or a background color.
Modifying settings
Besides editing content, you can also make changes to the design of your Row in the Design tab. This is where you will find several design and style options.
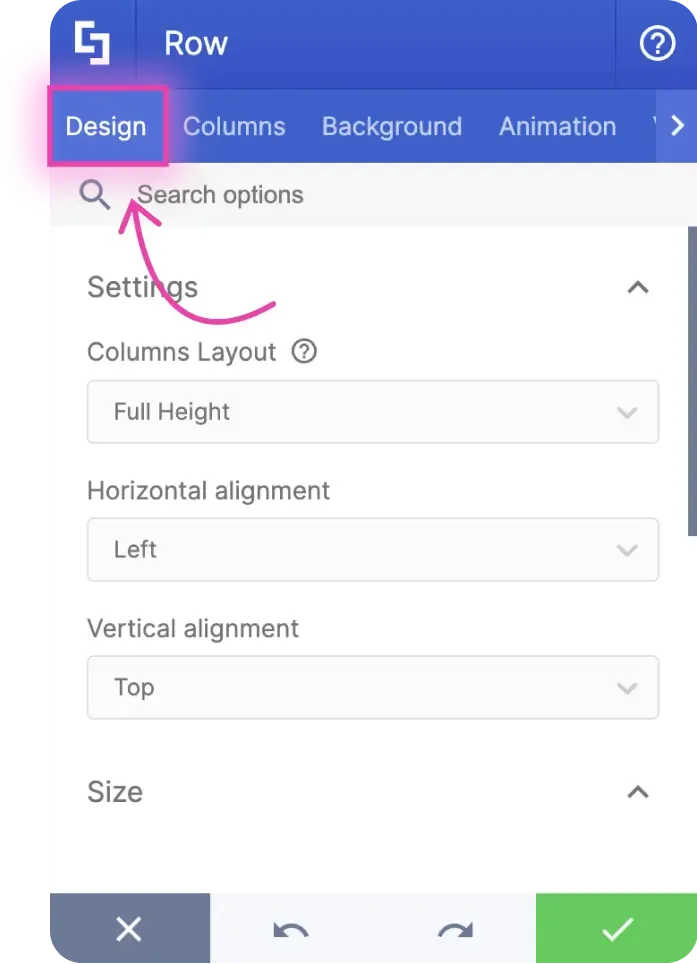
For example, you can change the height of your Row by dragging the blue slider under the Height field.
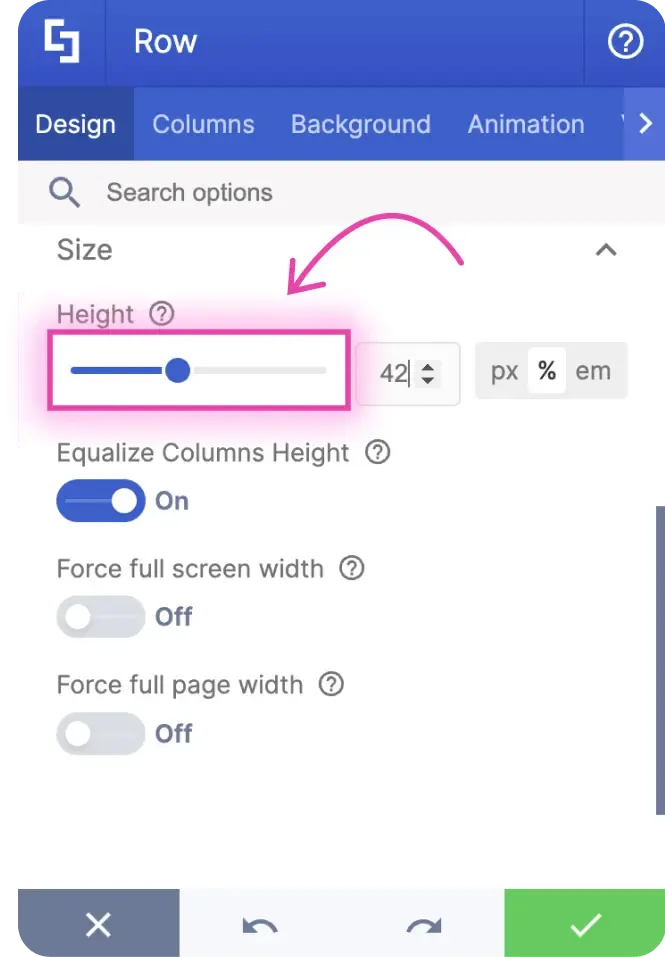
Take note that each Design Element has unique options that you can customize. This means that some settings that can be modified in Rows may not be modifiable for the Text Design Element.
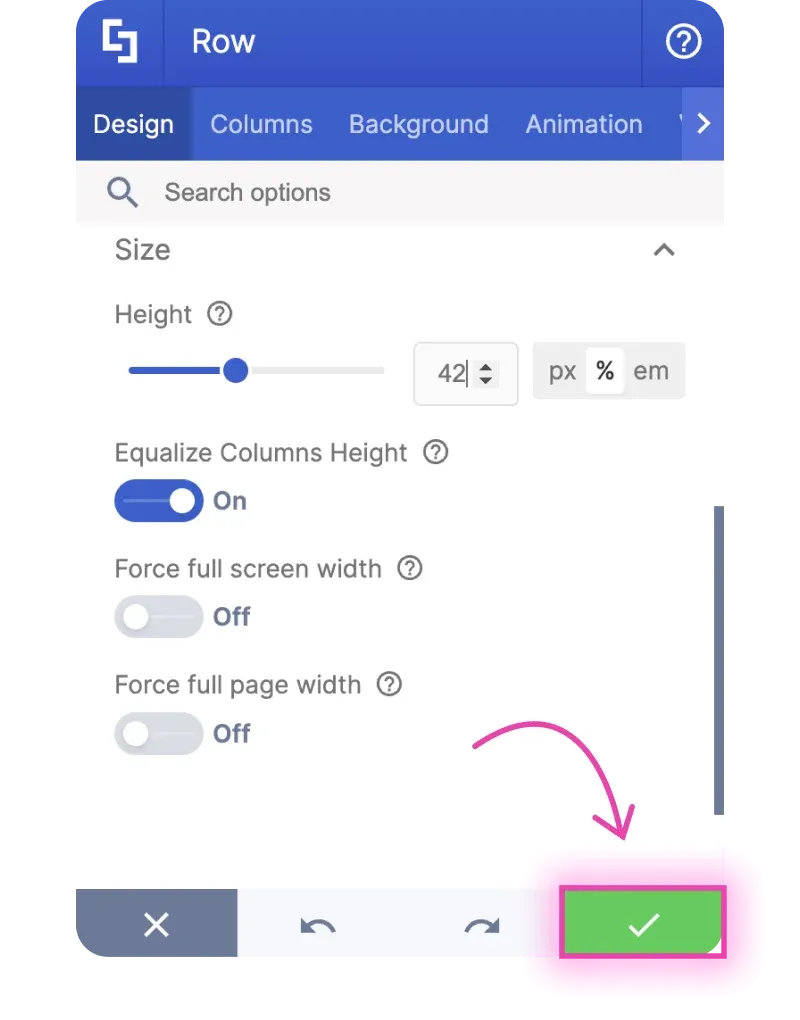
Once you are satisfied with how your Row looks, click the check mark icon to apply all your changes.
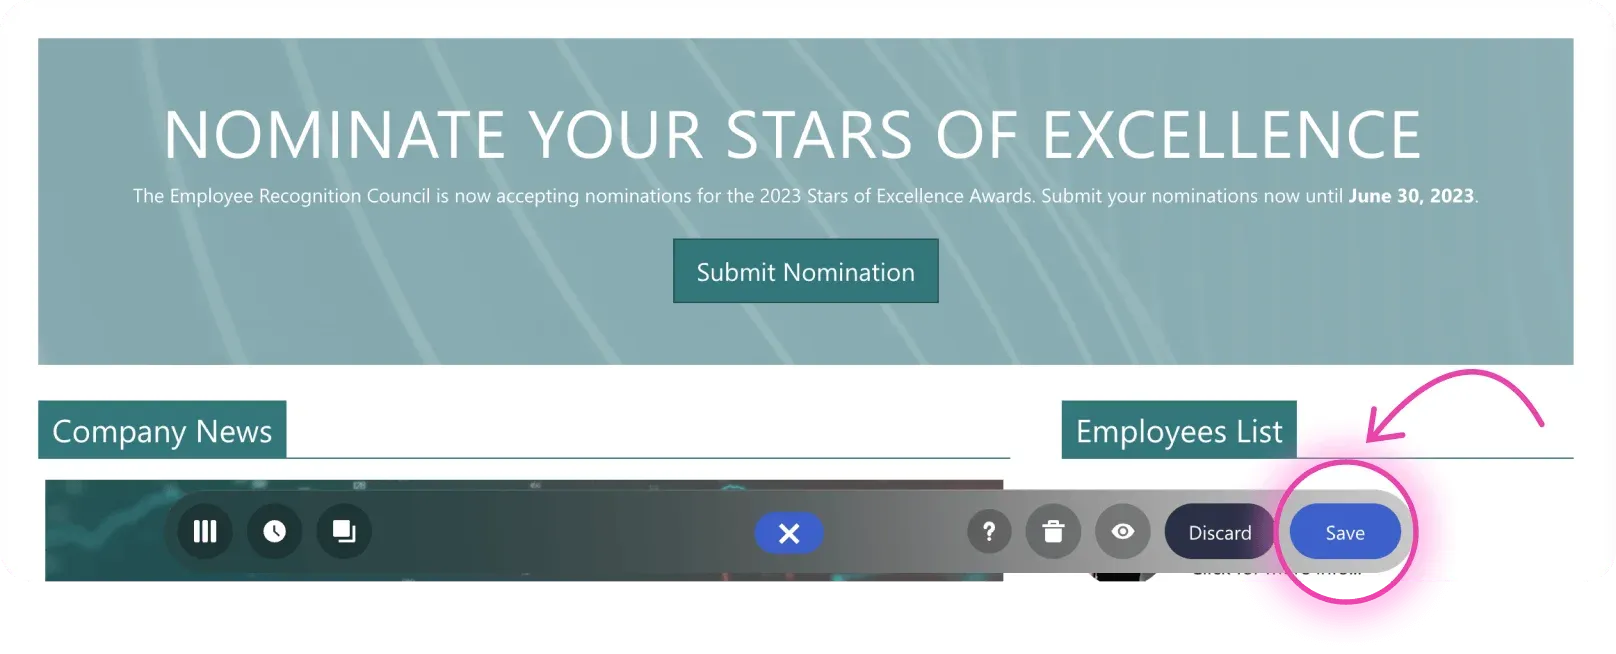
Then, make sure to hit Save to keep your progress.
Repeat these steps for the other Design Elements on the template to make each content your own.
Congratulations! You now have a working intranet page that showcases your own content. Go ahead and explore more templates and try out the other features of ShortPoint.