

ShortPoint Connect Basics
Connecting to a SharePoint Calendar
In this lesson, you will learn how to connect a ShortPoint Calendar Design Element to your SharePoint calendar, map event details to display on your page, and customize it to fit your needs.

Looking at the SharePoint calendar
Communicating about the latest events and activities in your company is a staple for intranets. For this project, we’re using a SharePoint calendar on our corporate site, where all major company events are listed.
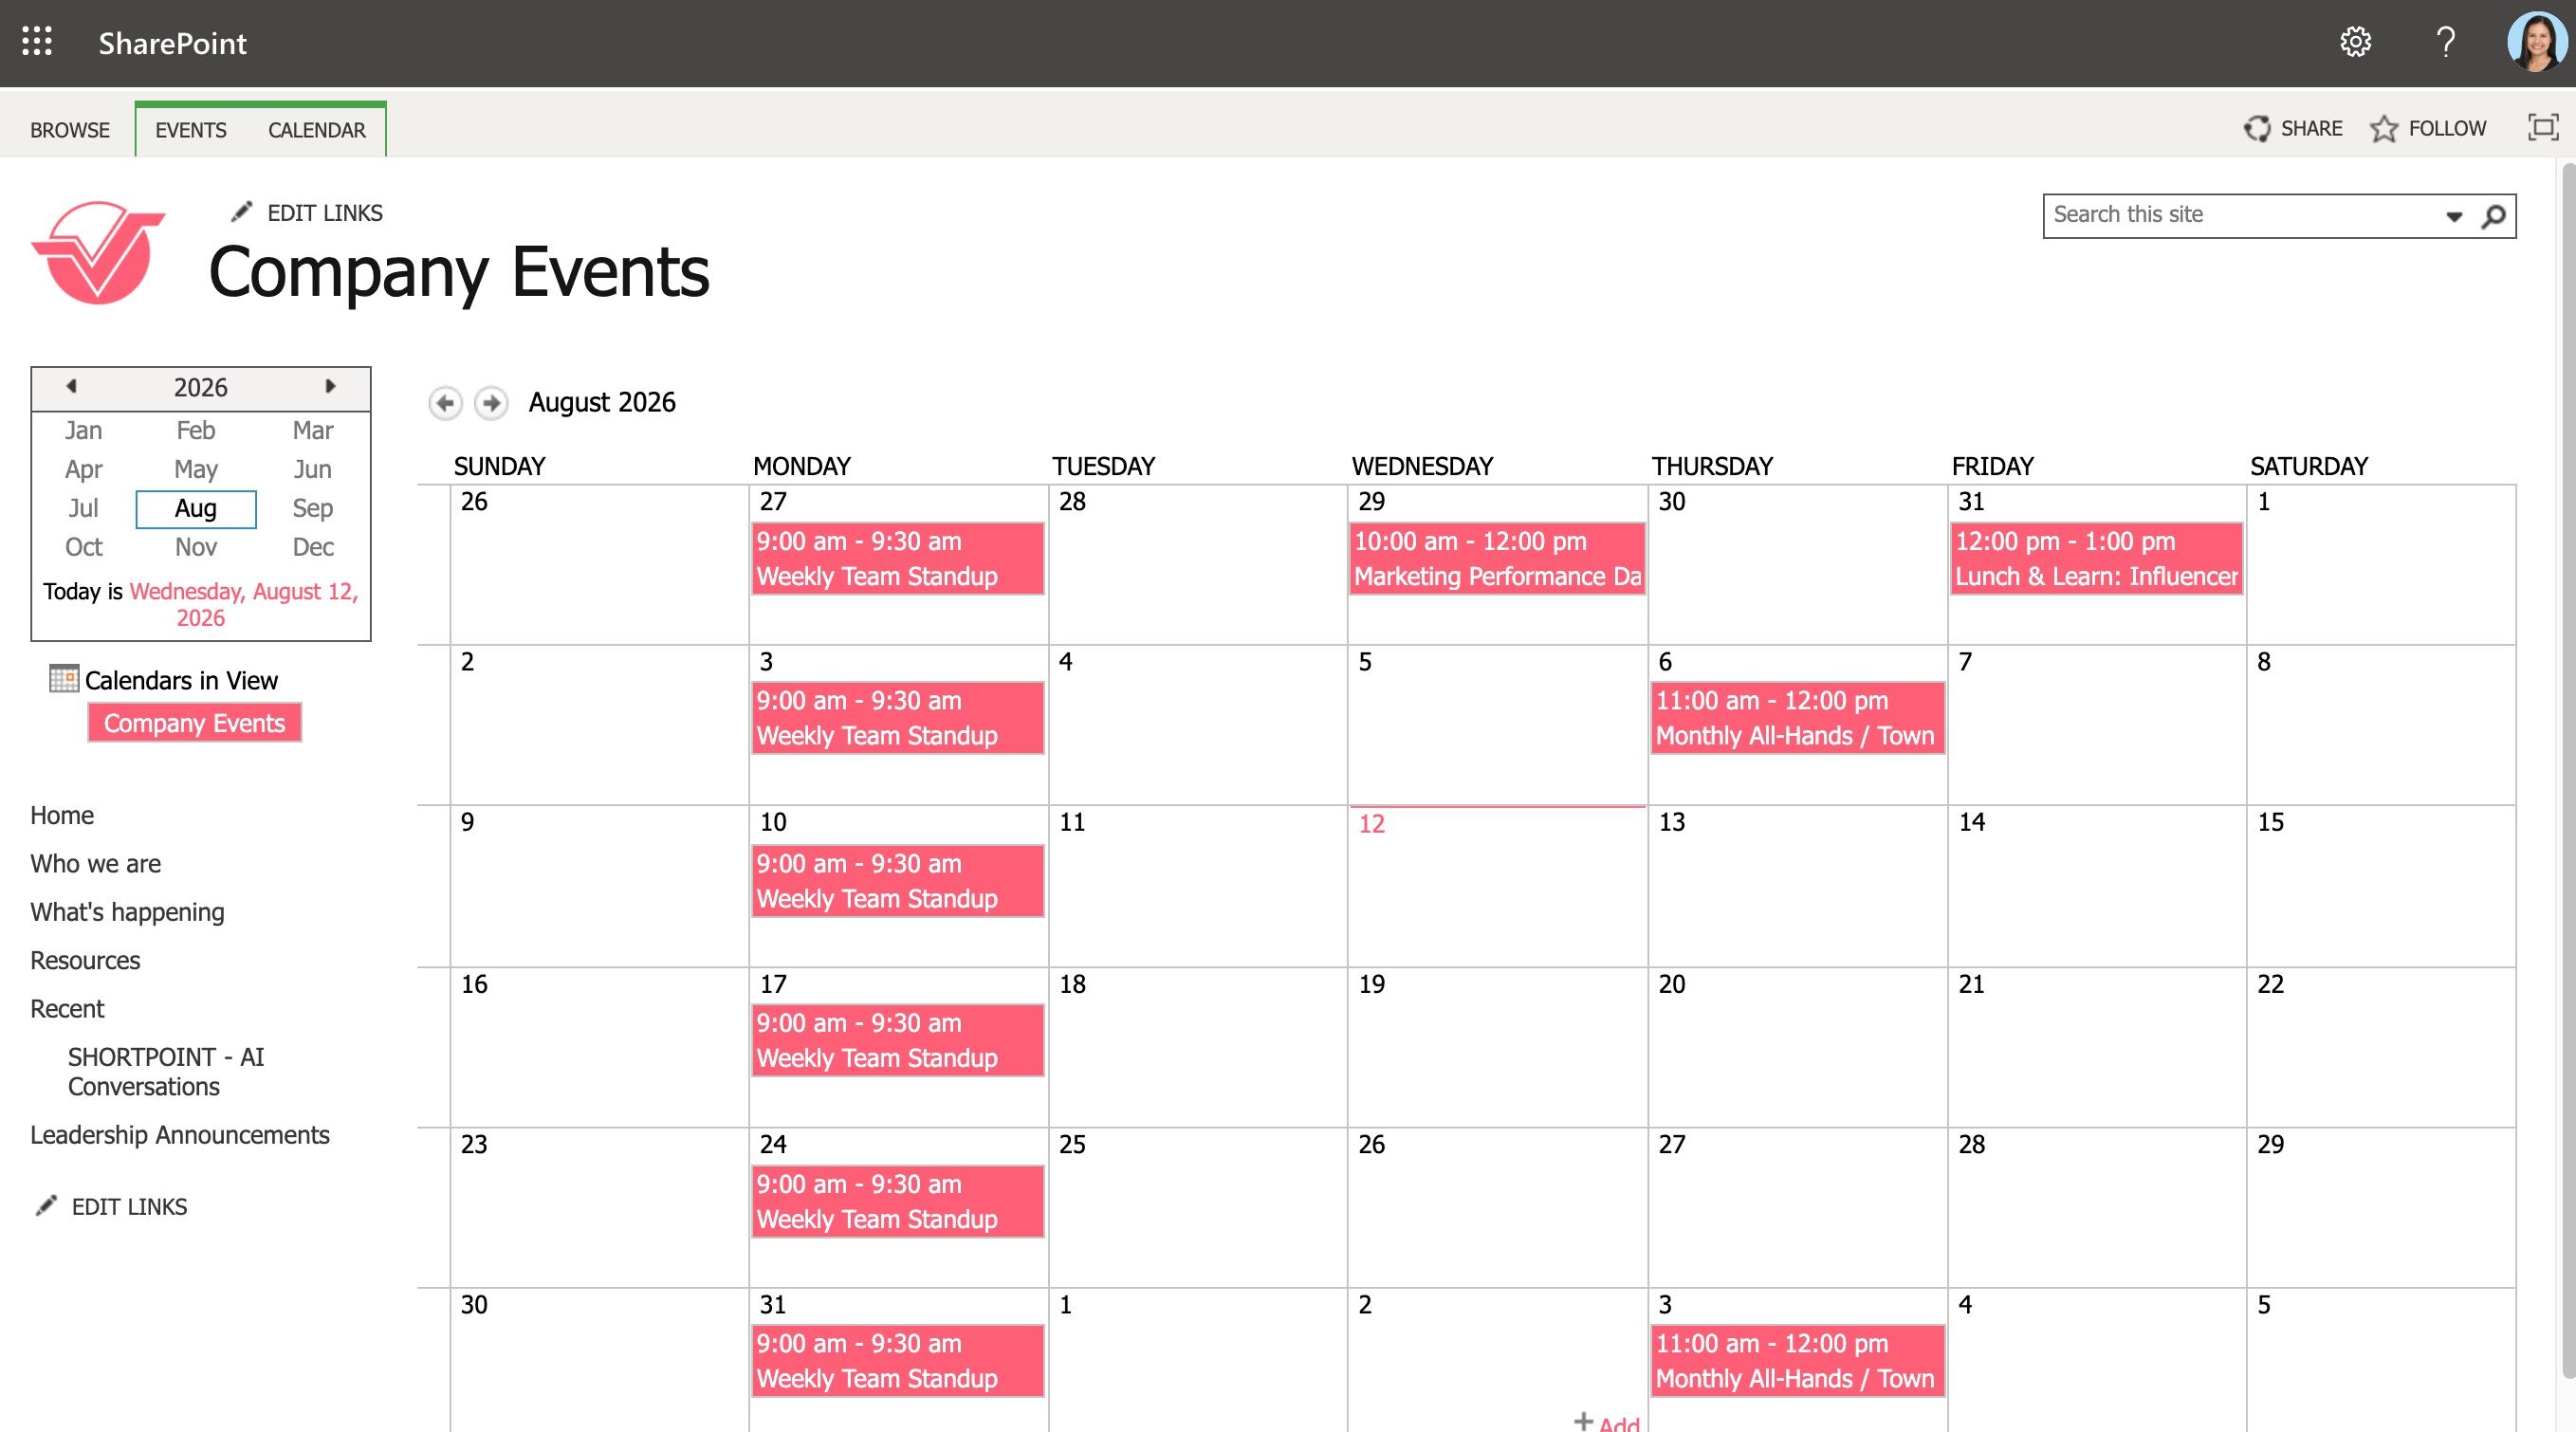
When you open a calendar entry, you’ll find event details such as the title, location, start and end times, and a description. These are the details we can display on our intranet page.
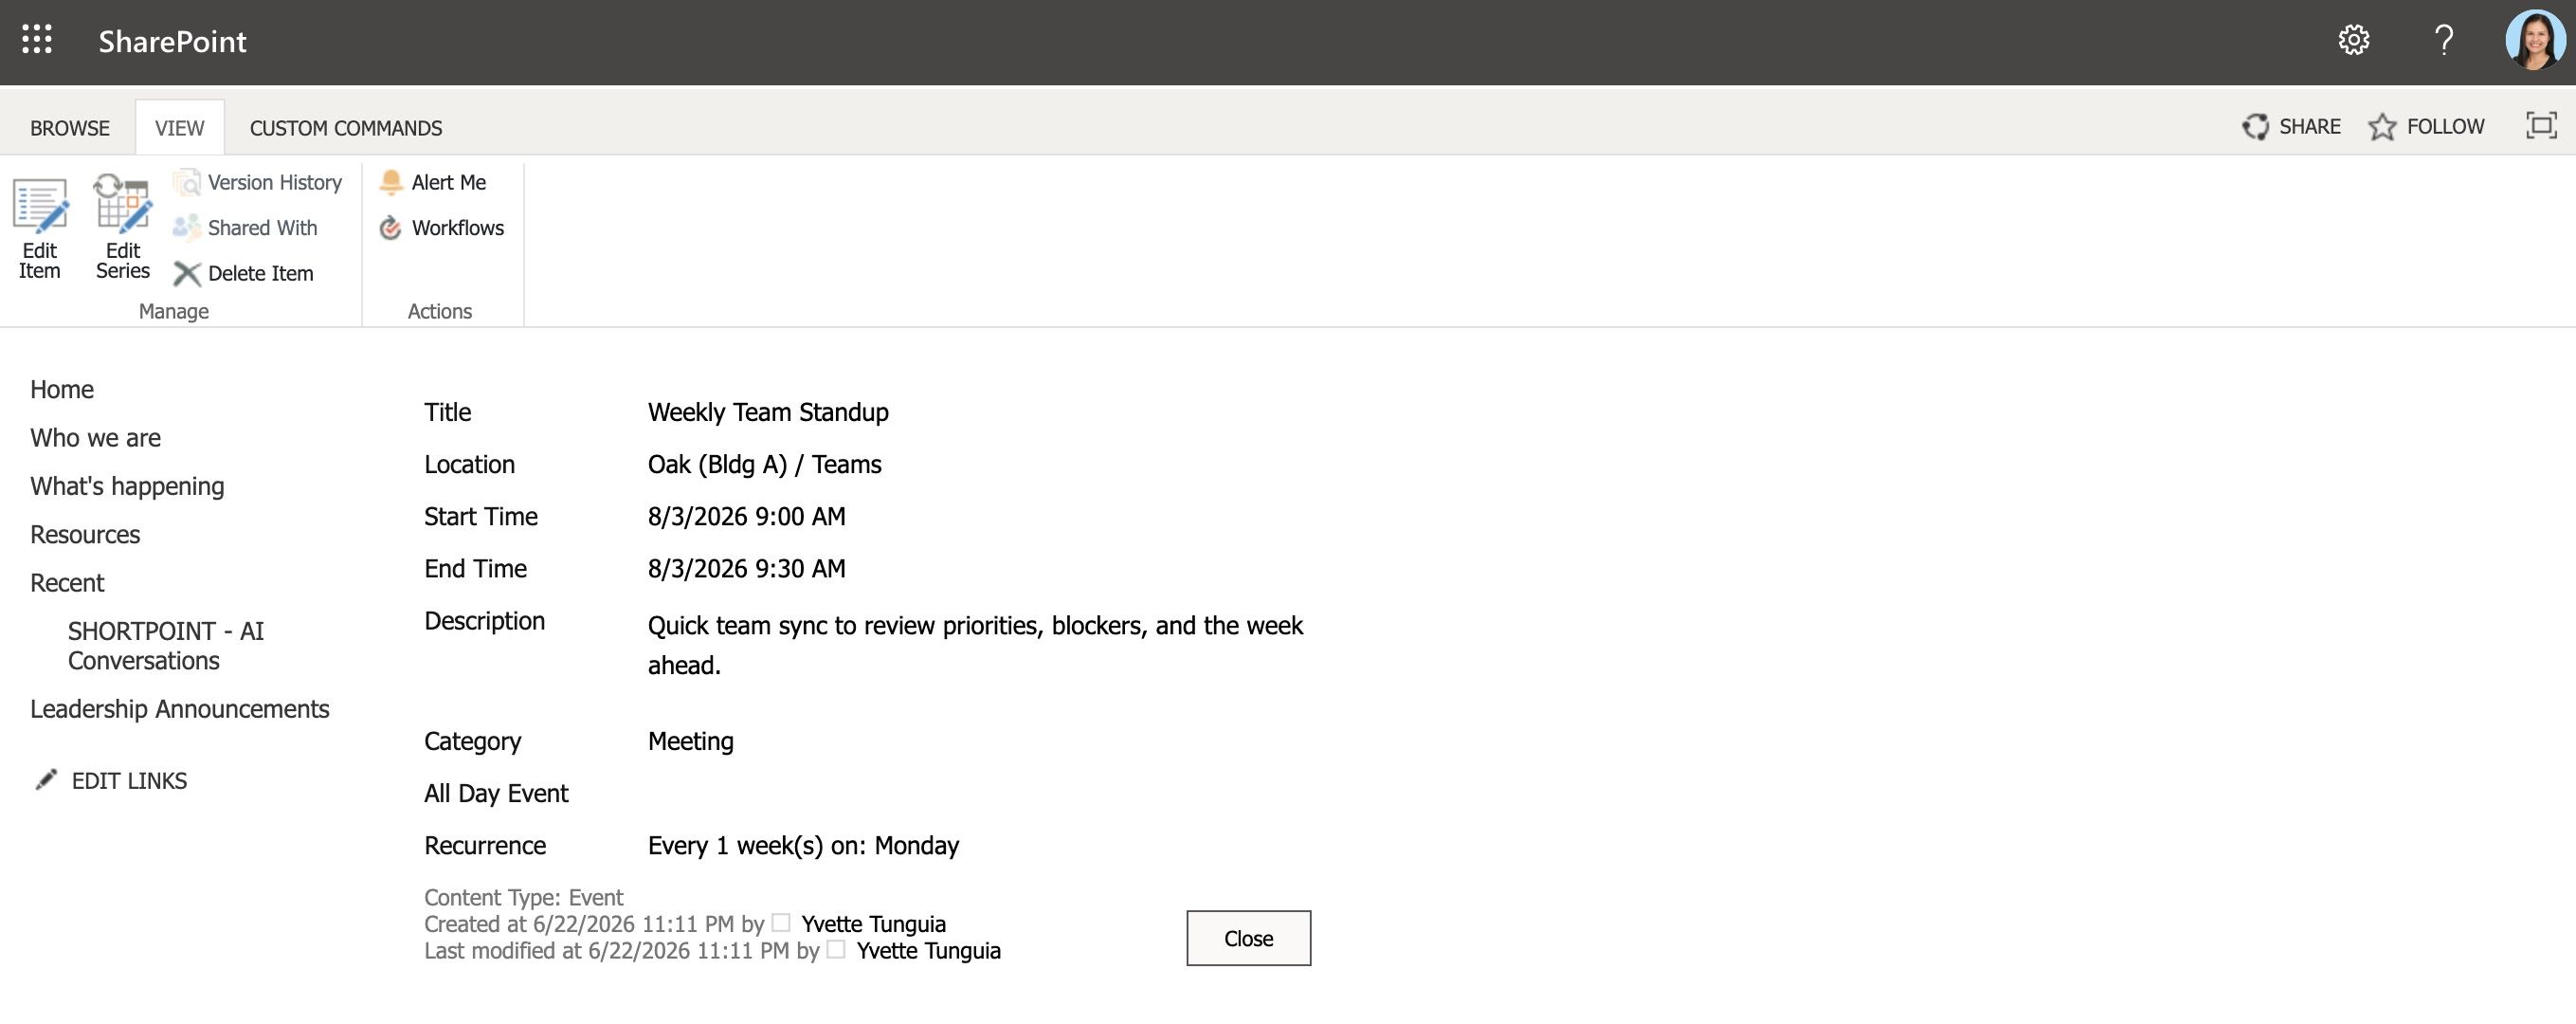
SharePoint calendars default to calendar view, which hides some event details. The description field, for example, isn’t visible at a glance. You can only see it by modifying the current view into a list view. You can then choose to show Description from the column options.
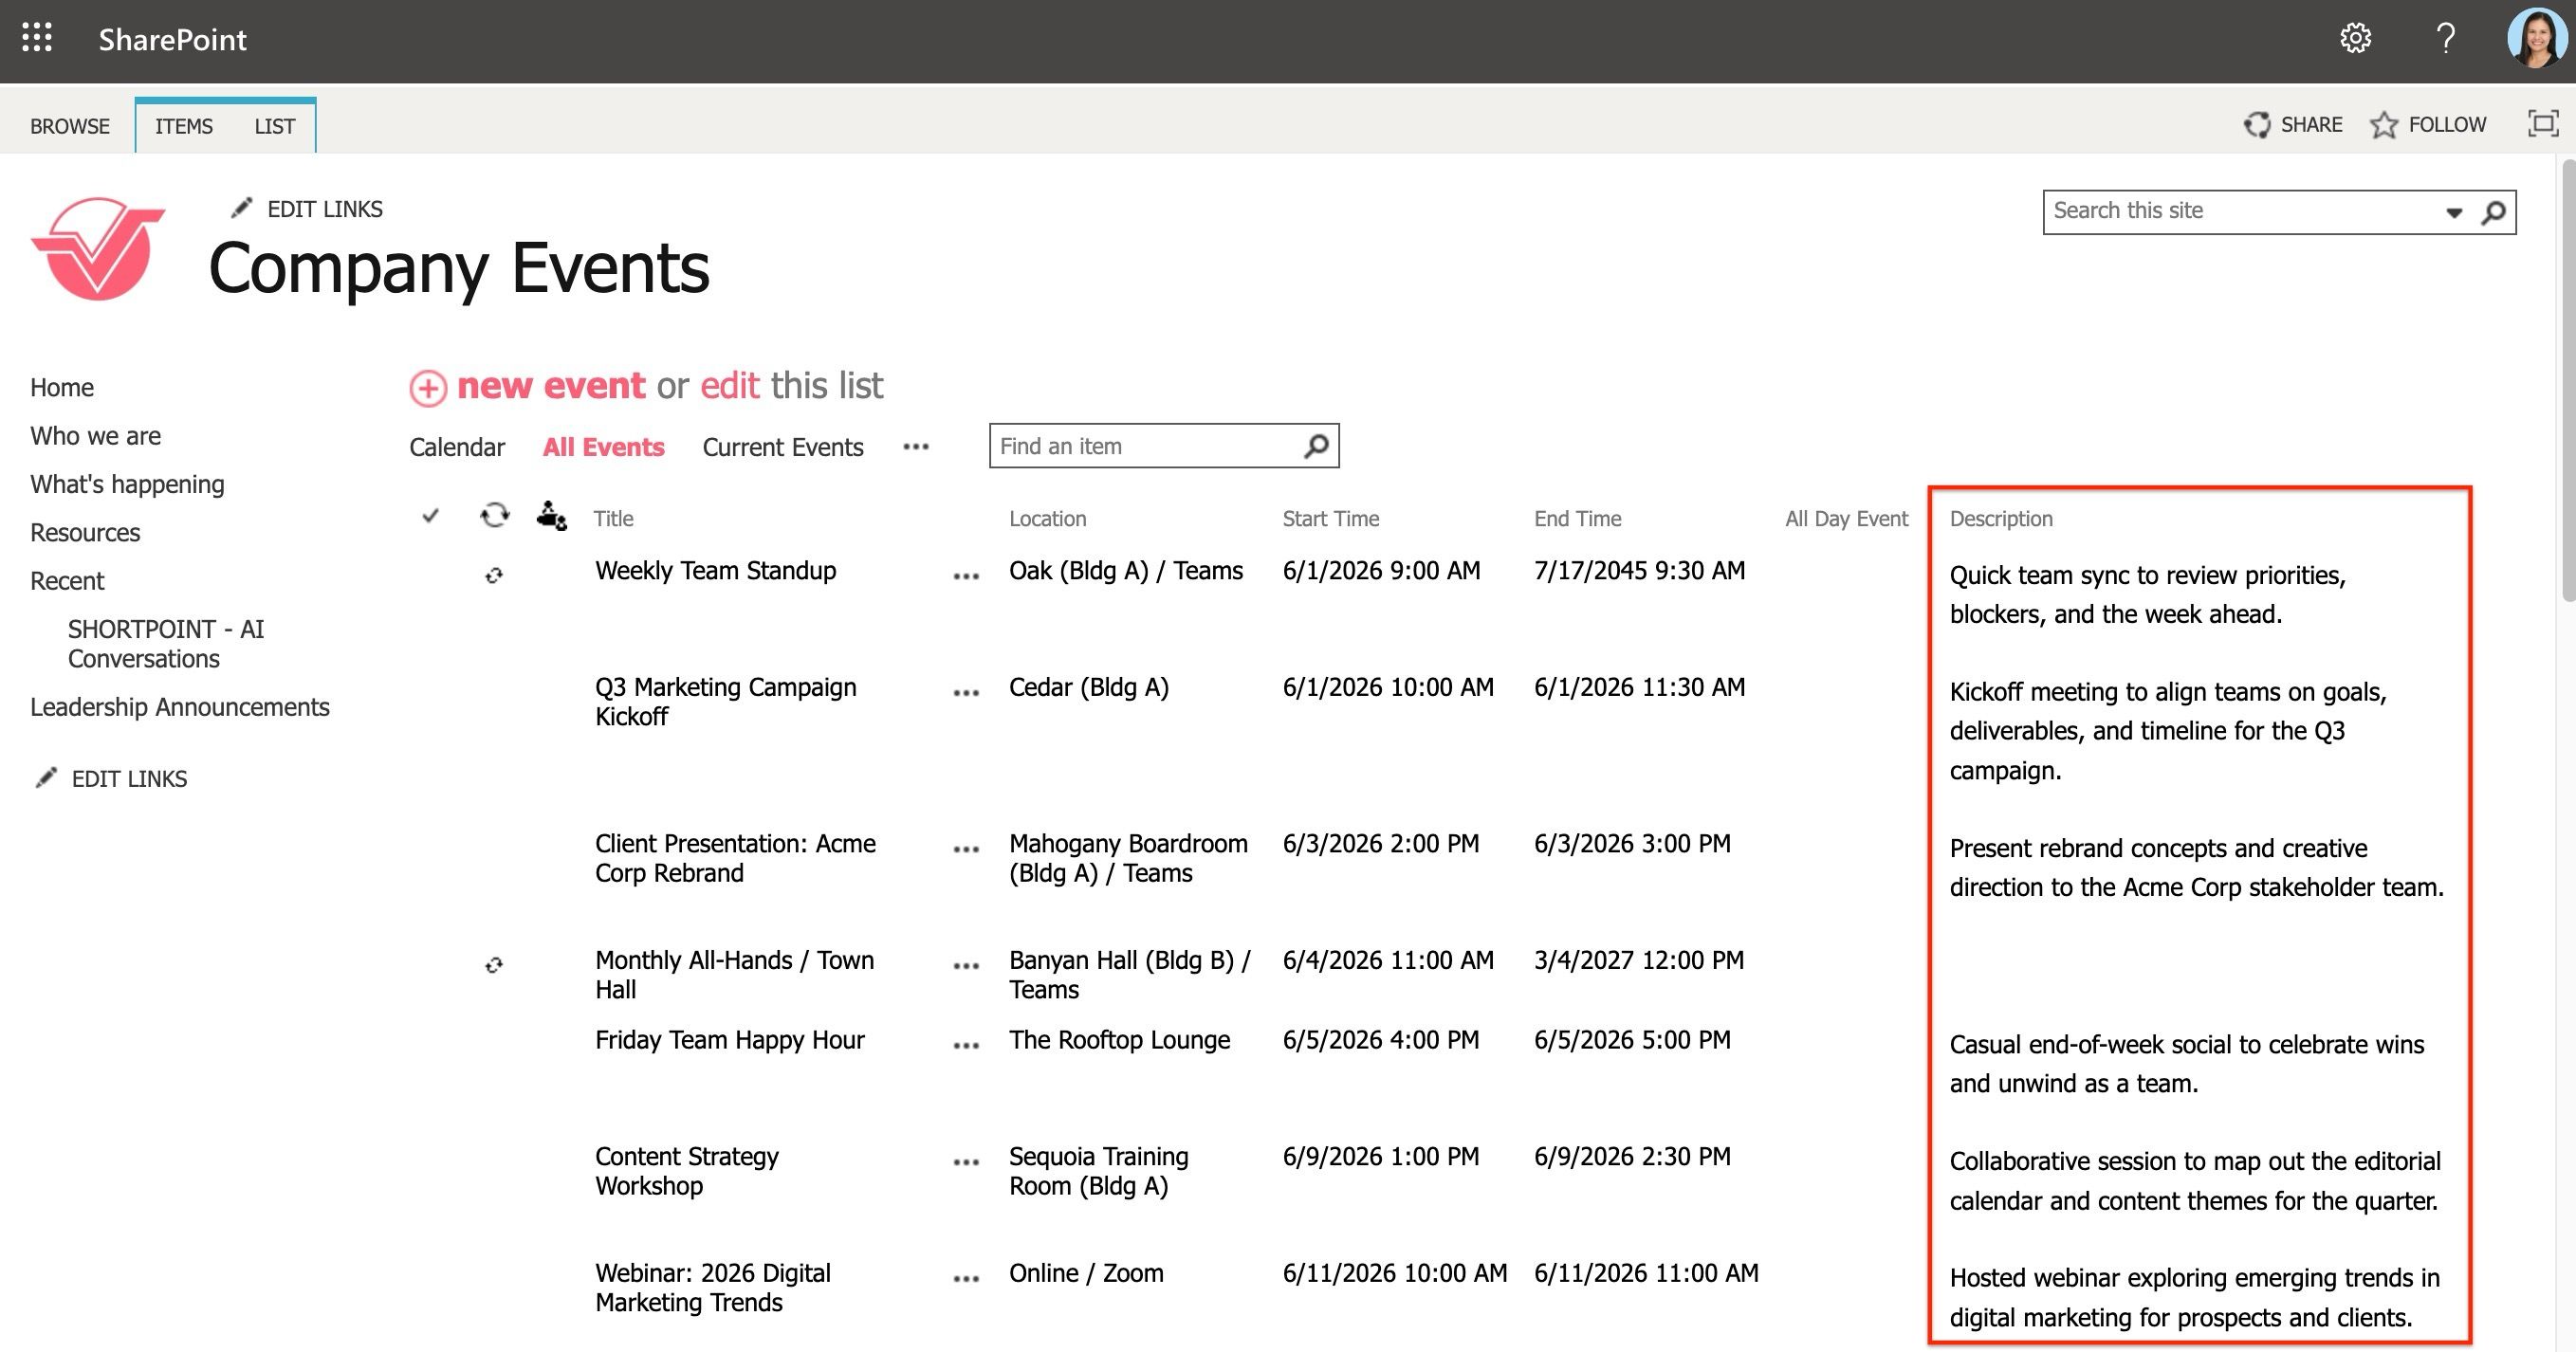
But with ShortPoint, we have a better way of displaying calendar content. One that brings together the best of both calendar and list view, comes with modern calendar features, and since it connects directly to your SharePoint calendar, it updates automatically every time your data changes.
Adding the Calendar Design Element
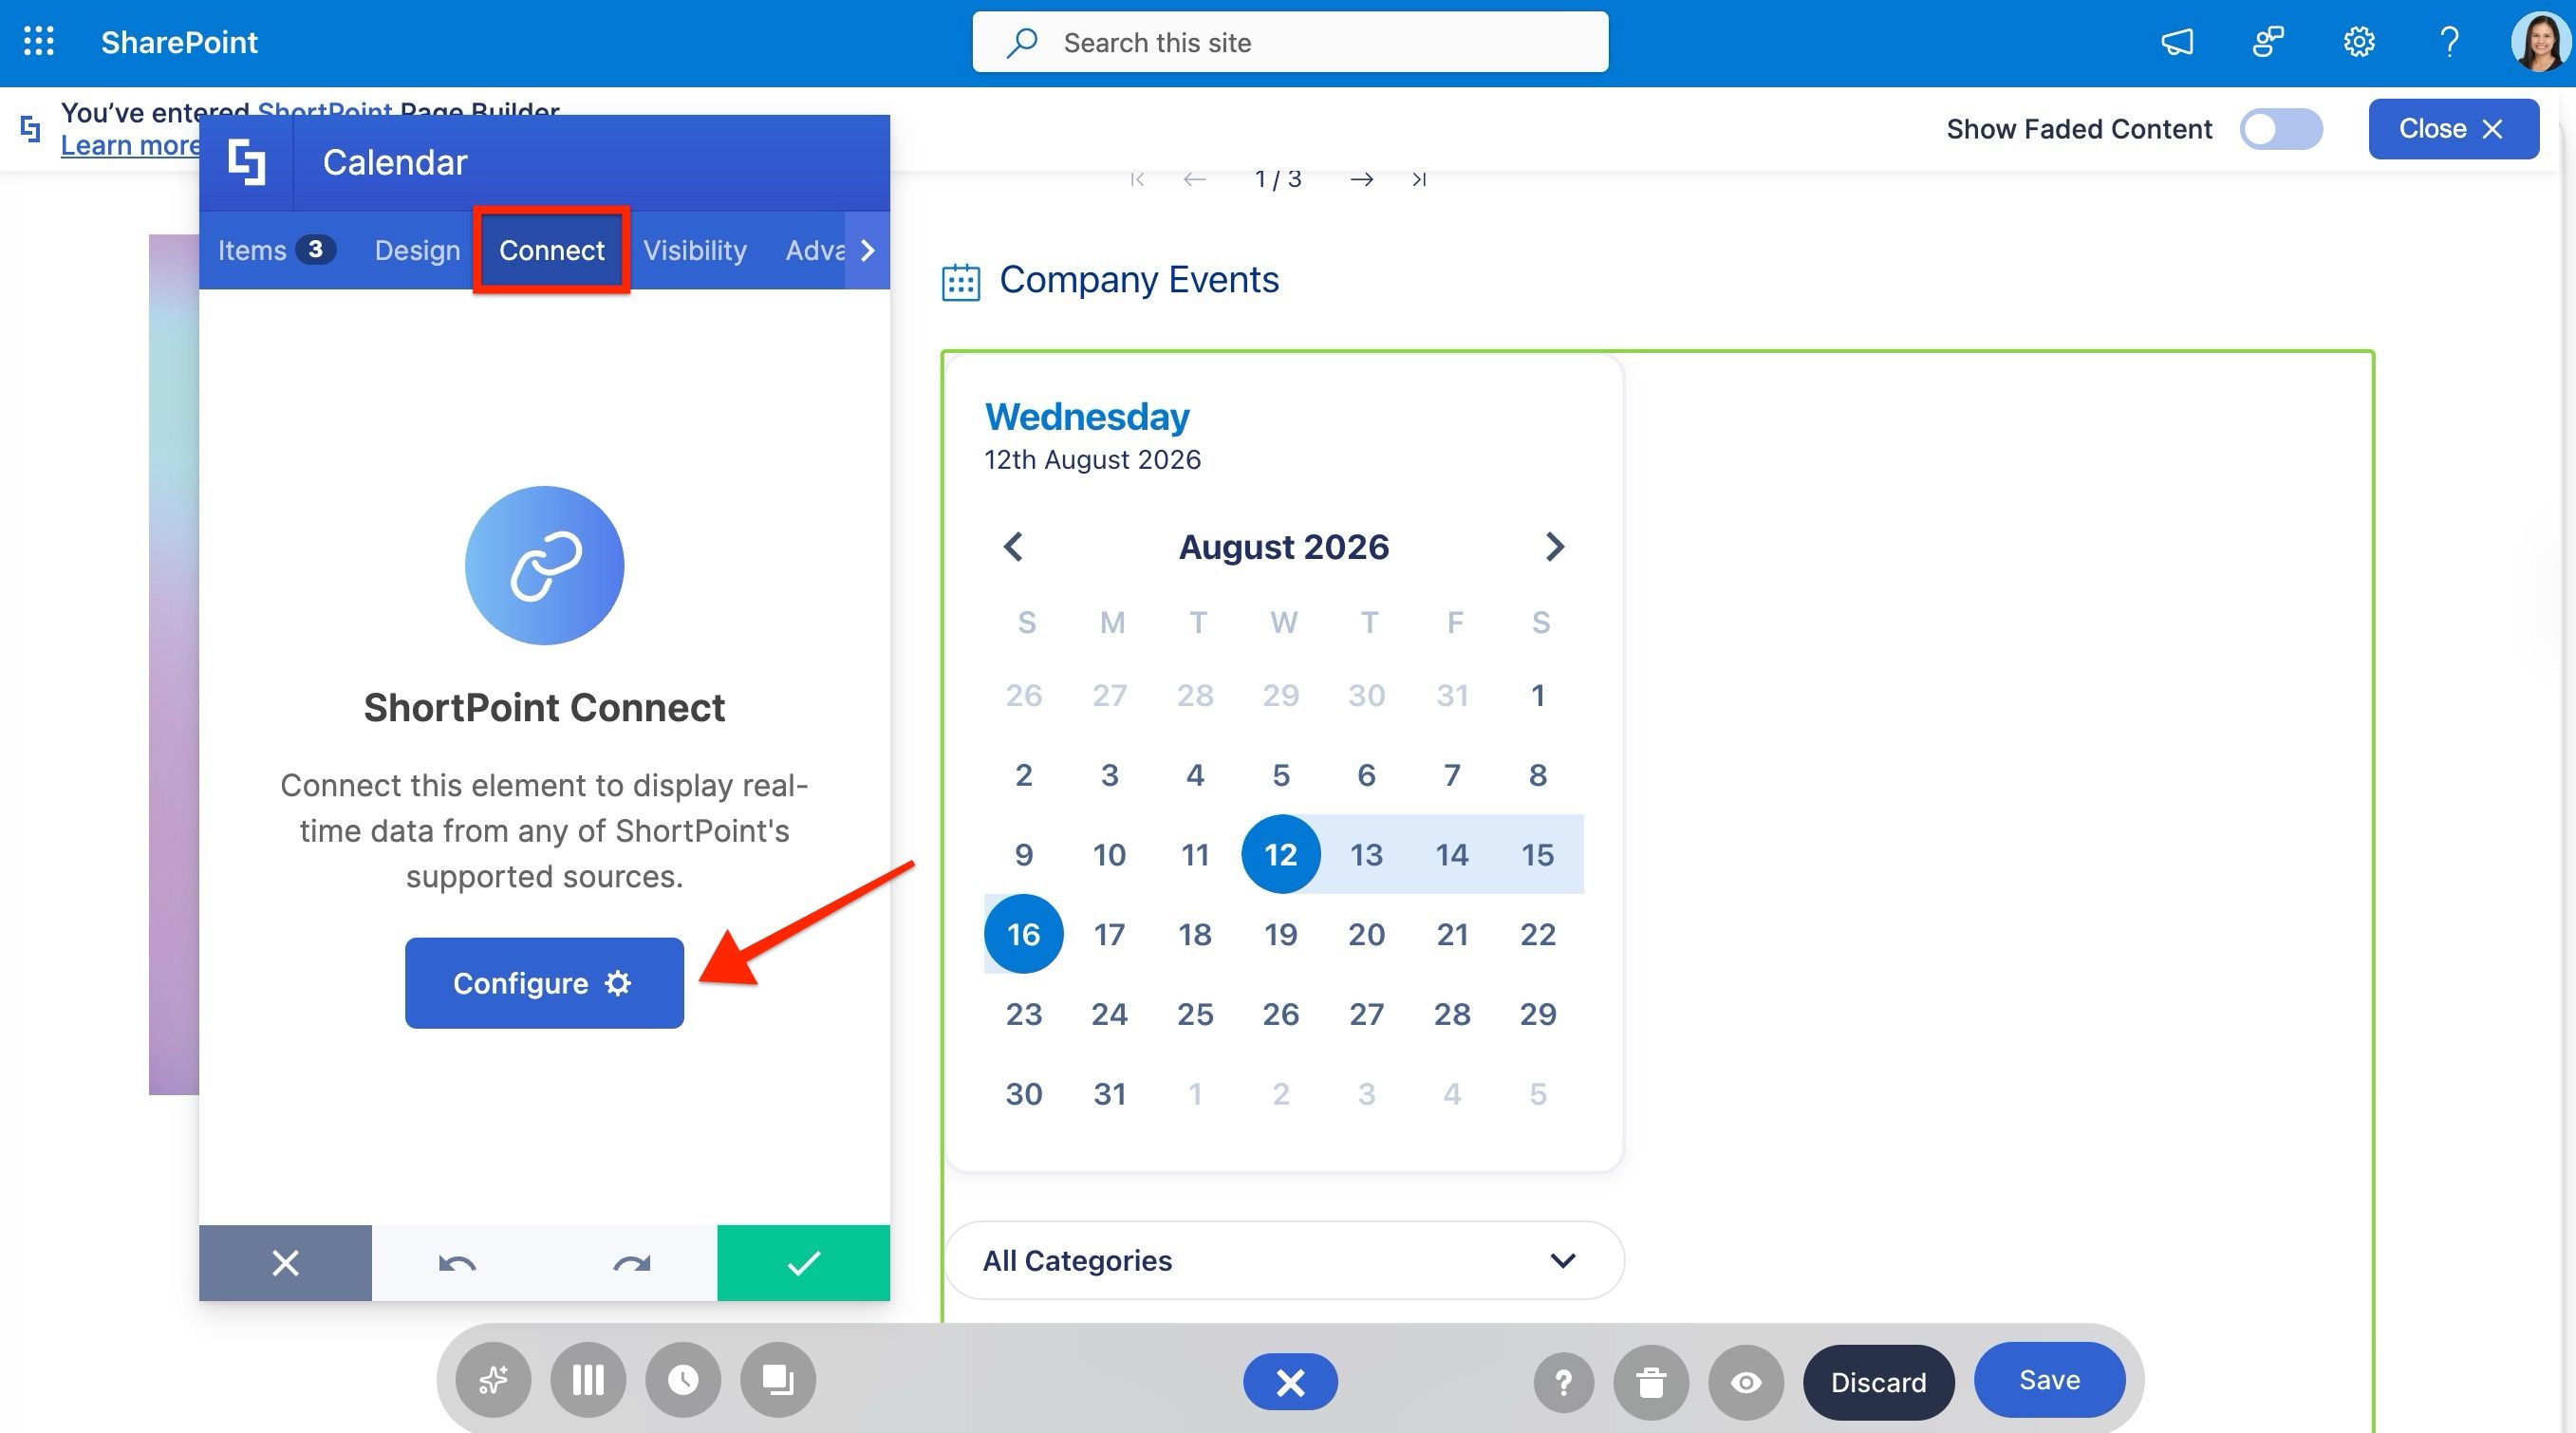
Now that we’ve seen how the calendar looks in SharePoint, let’s go to our site’s home page. Add the ShortPoint Calendar Design Element directly to your column by clicking the plus button and searching for it. It will appear with placeholder content.
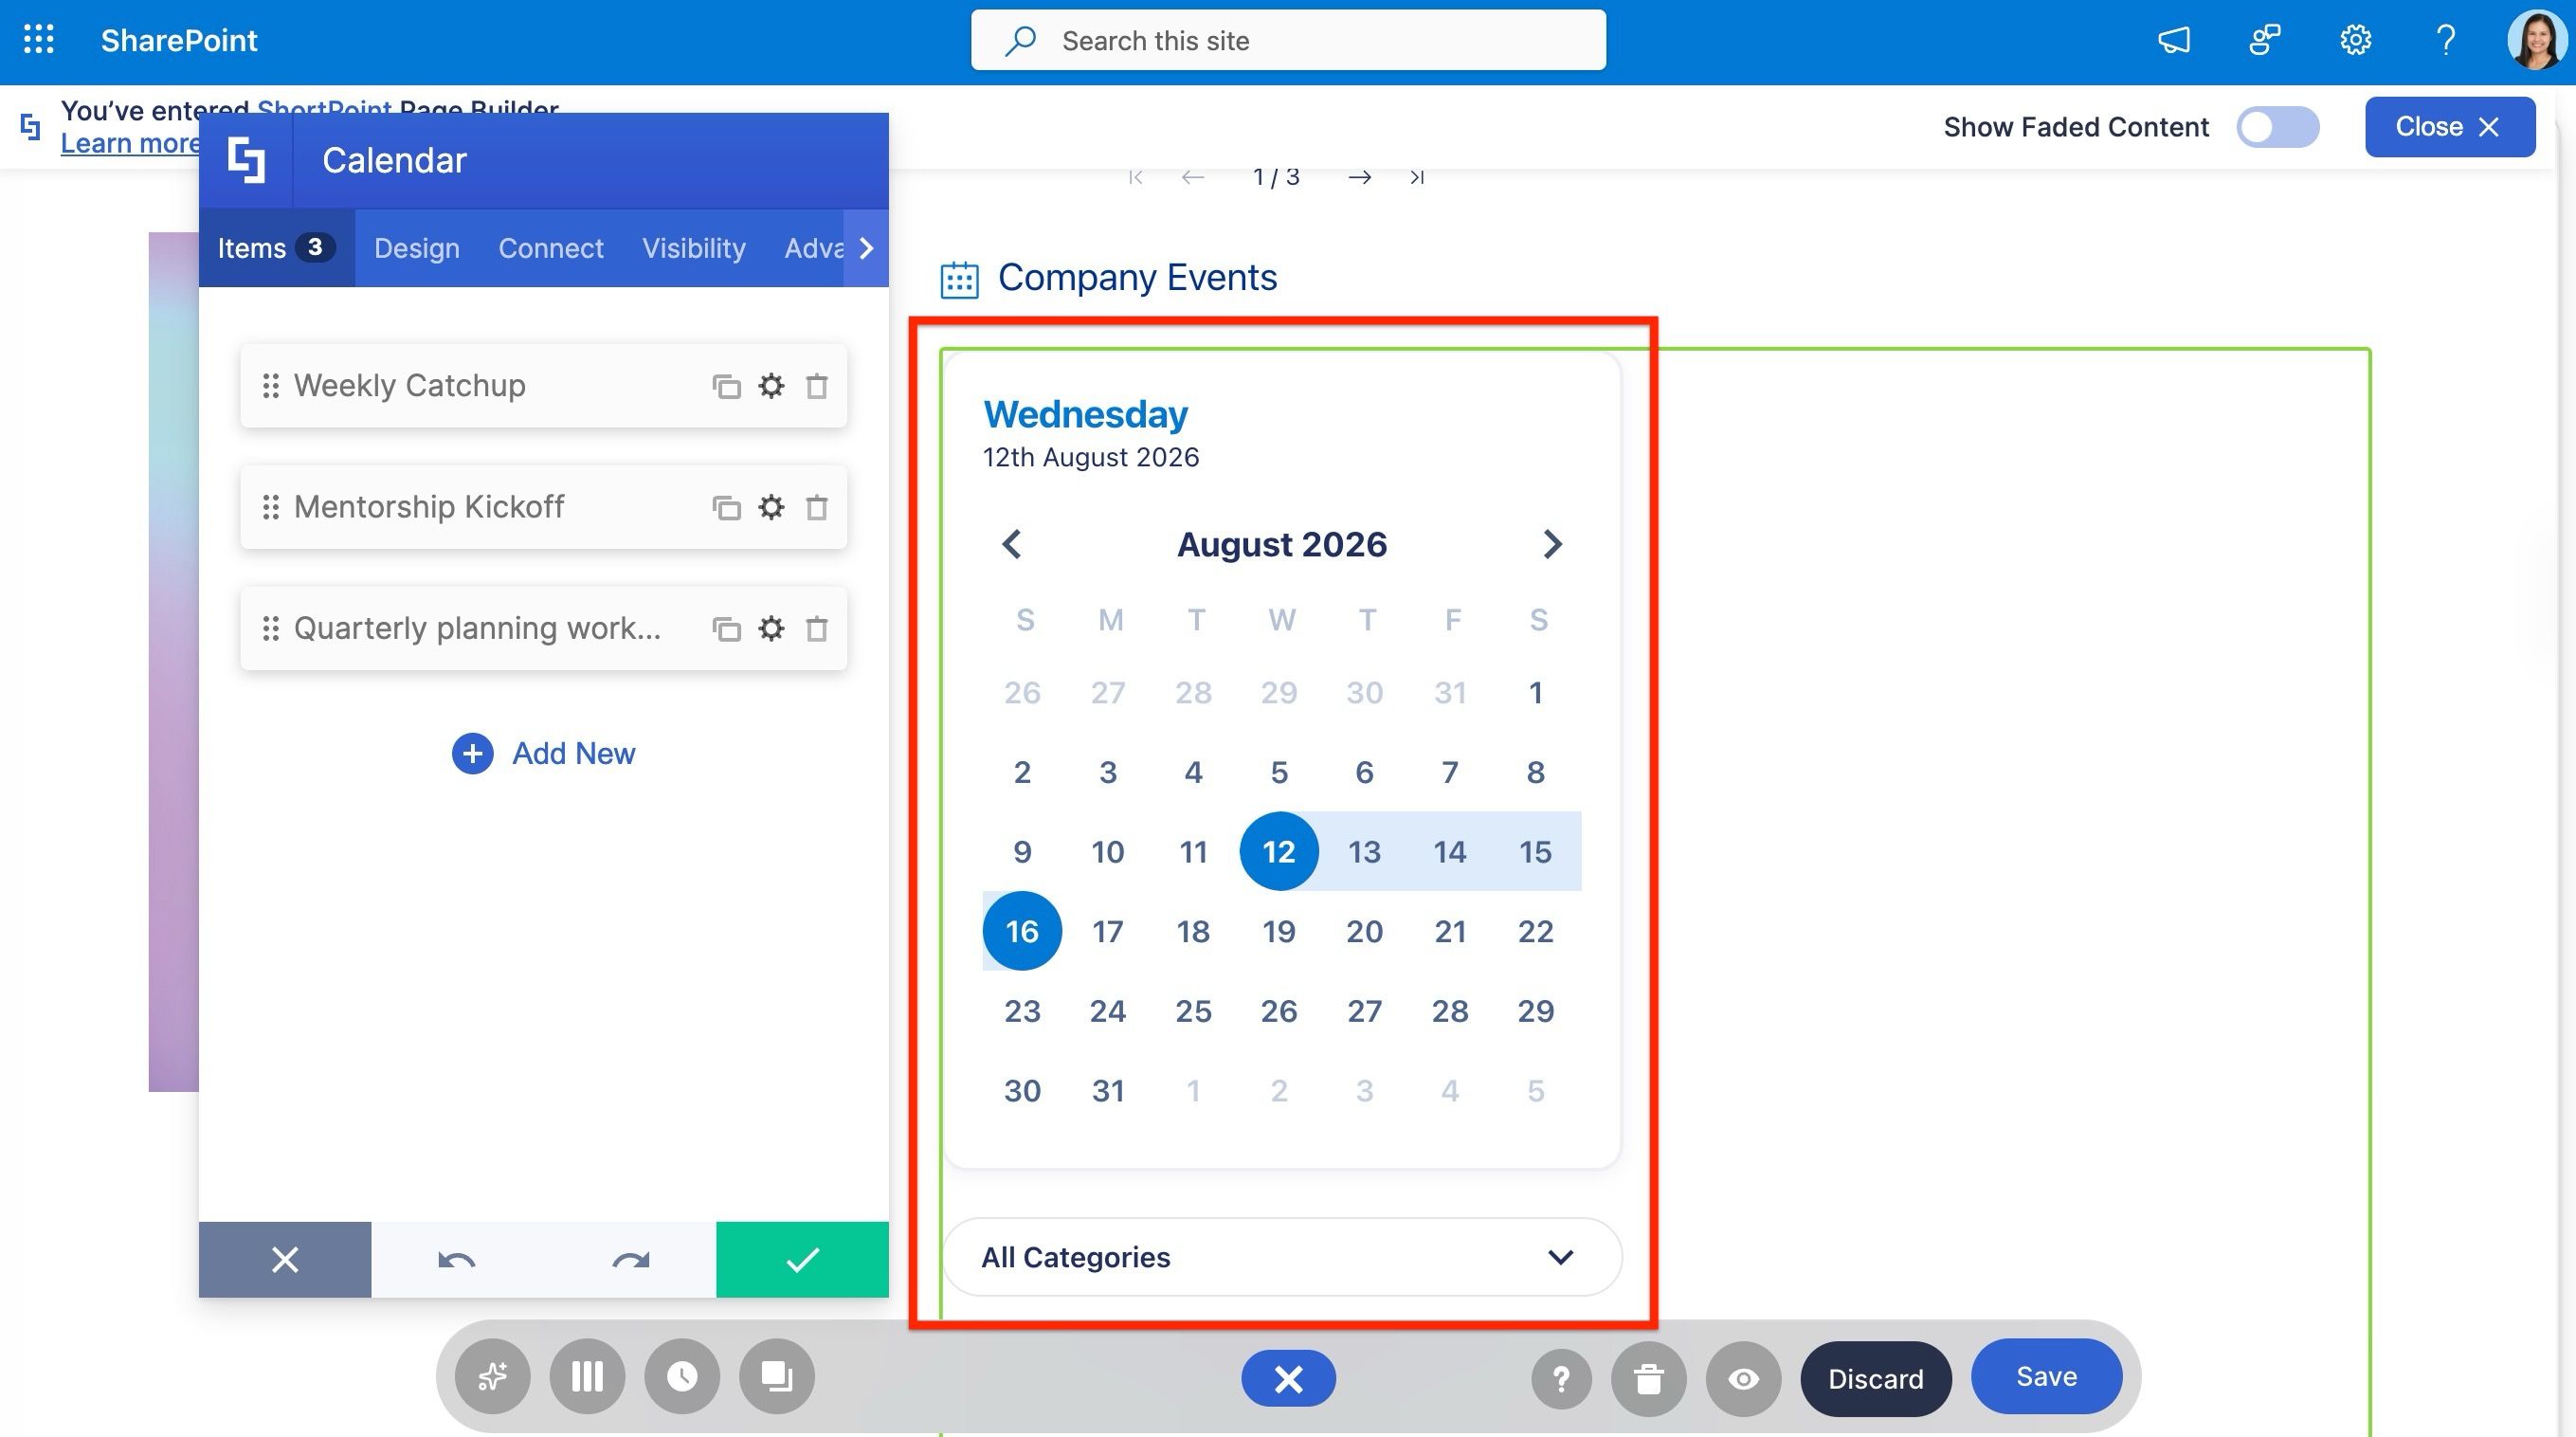
To replace the placeholder with your actual SharePoint calendar data, open its settings, switch to the Connect tab, and click Configure.
Setting up the connection
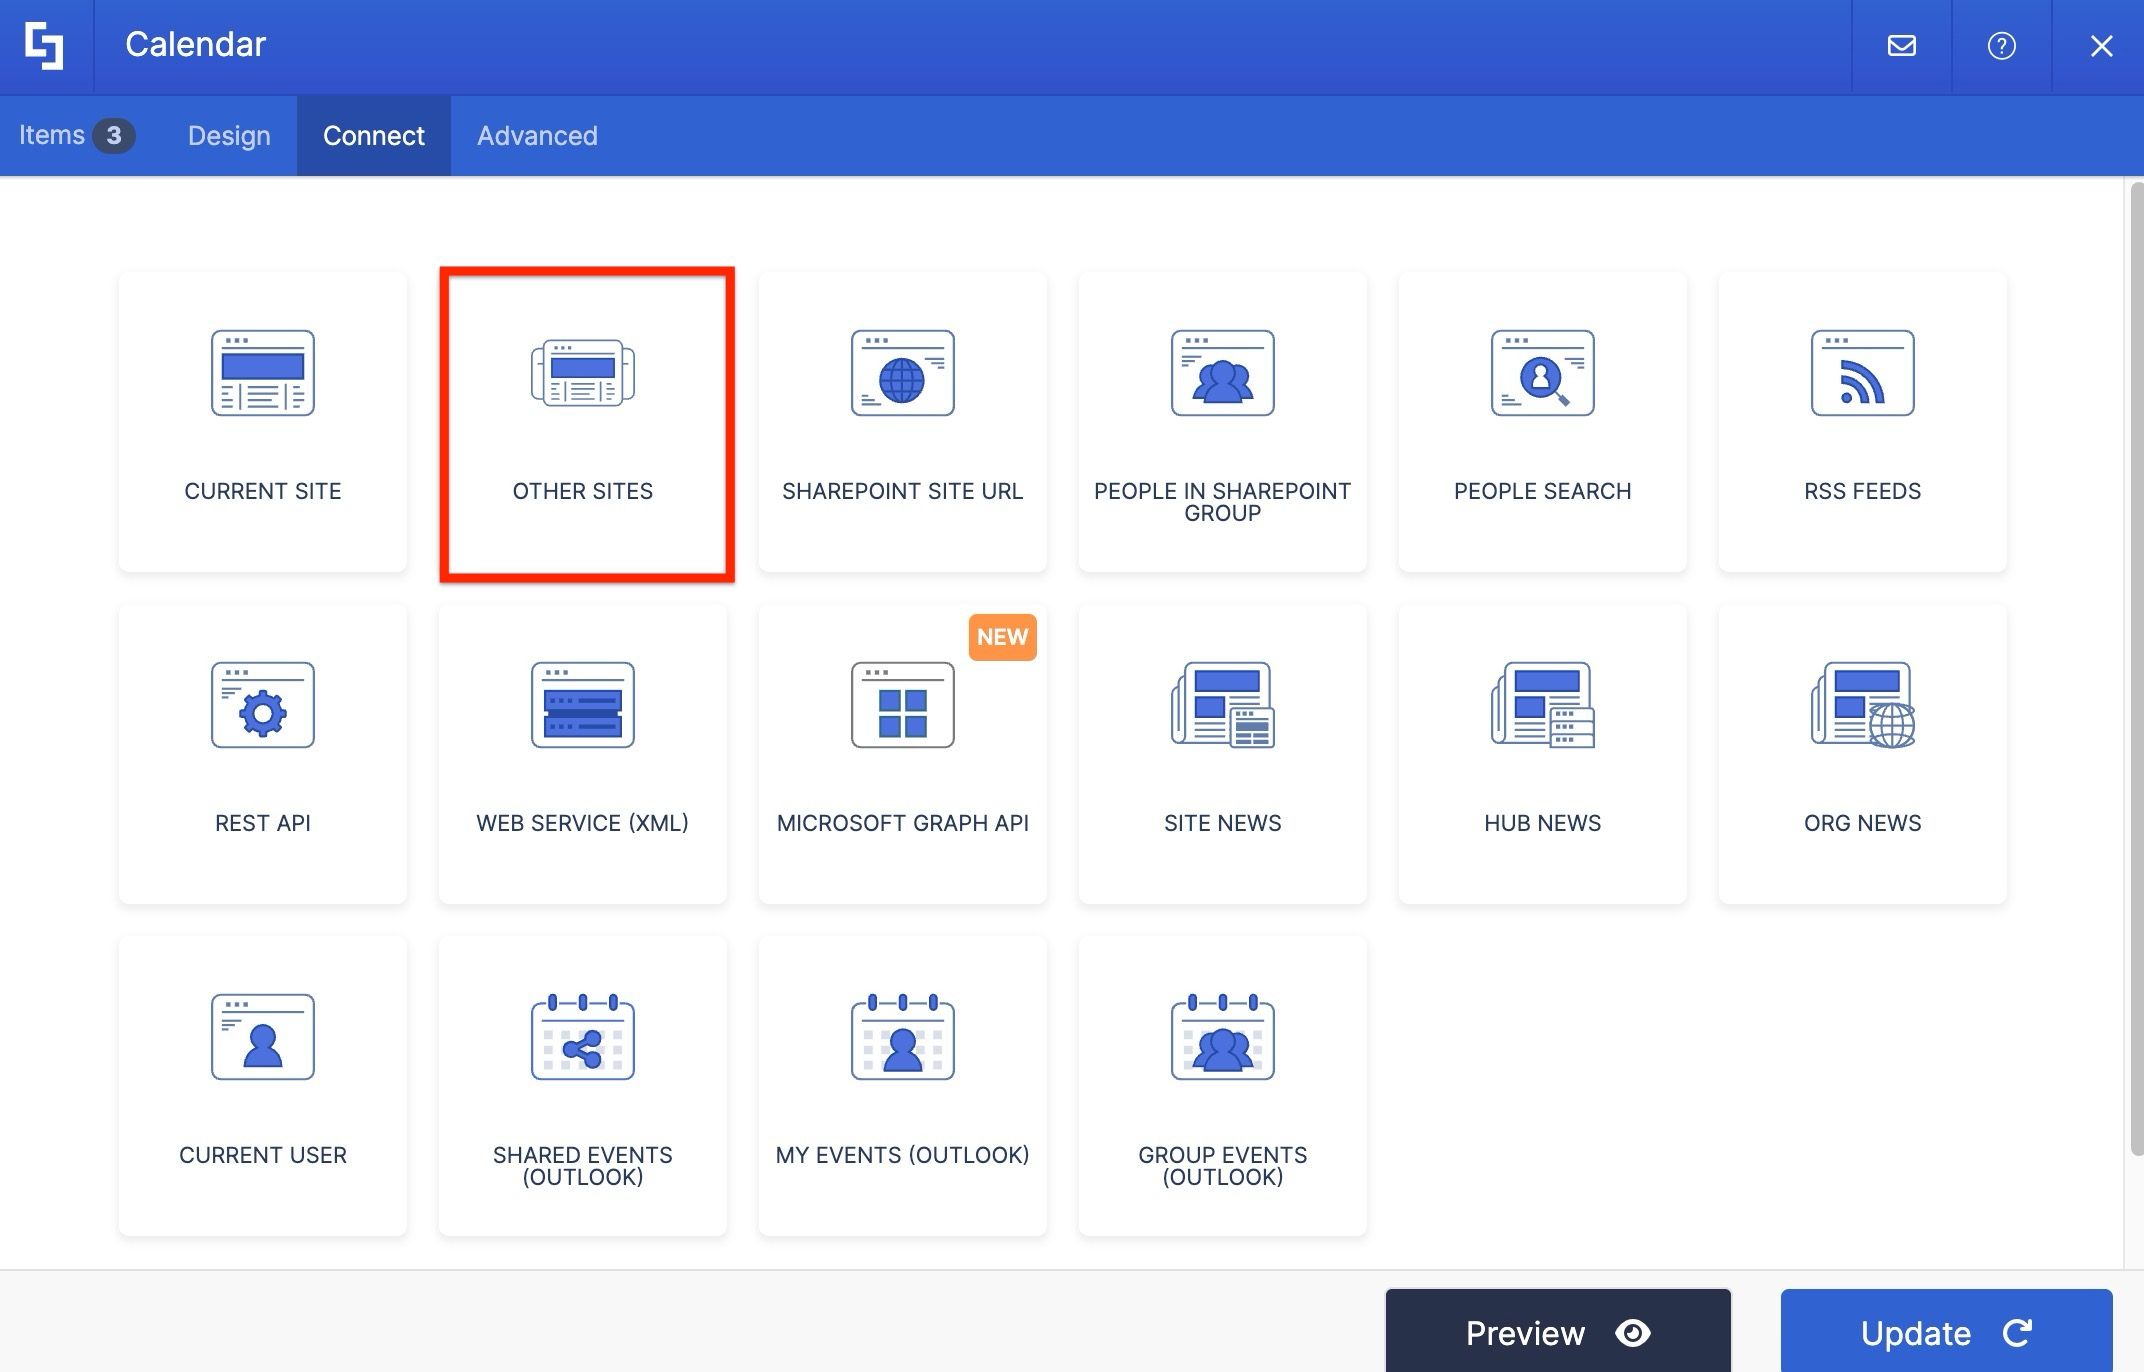
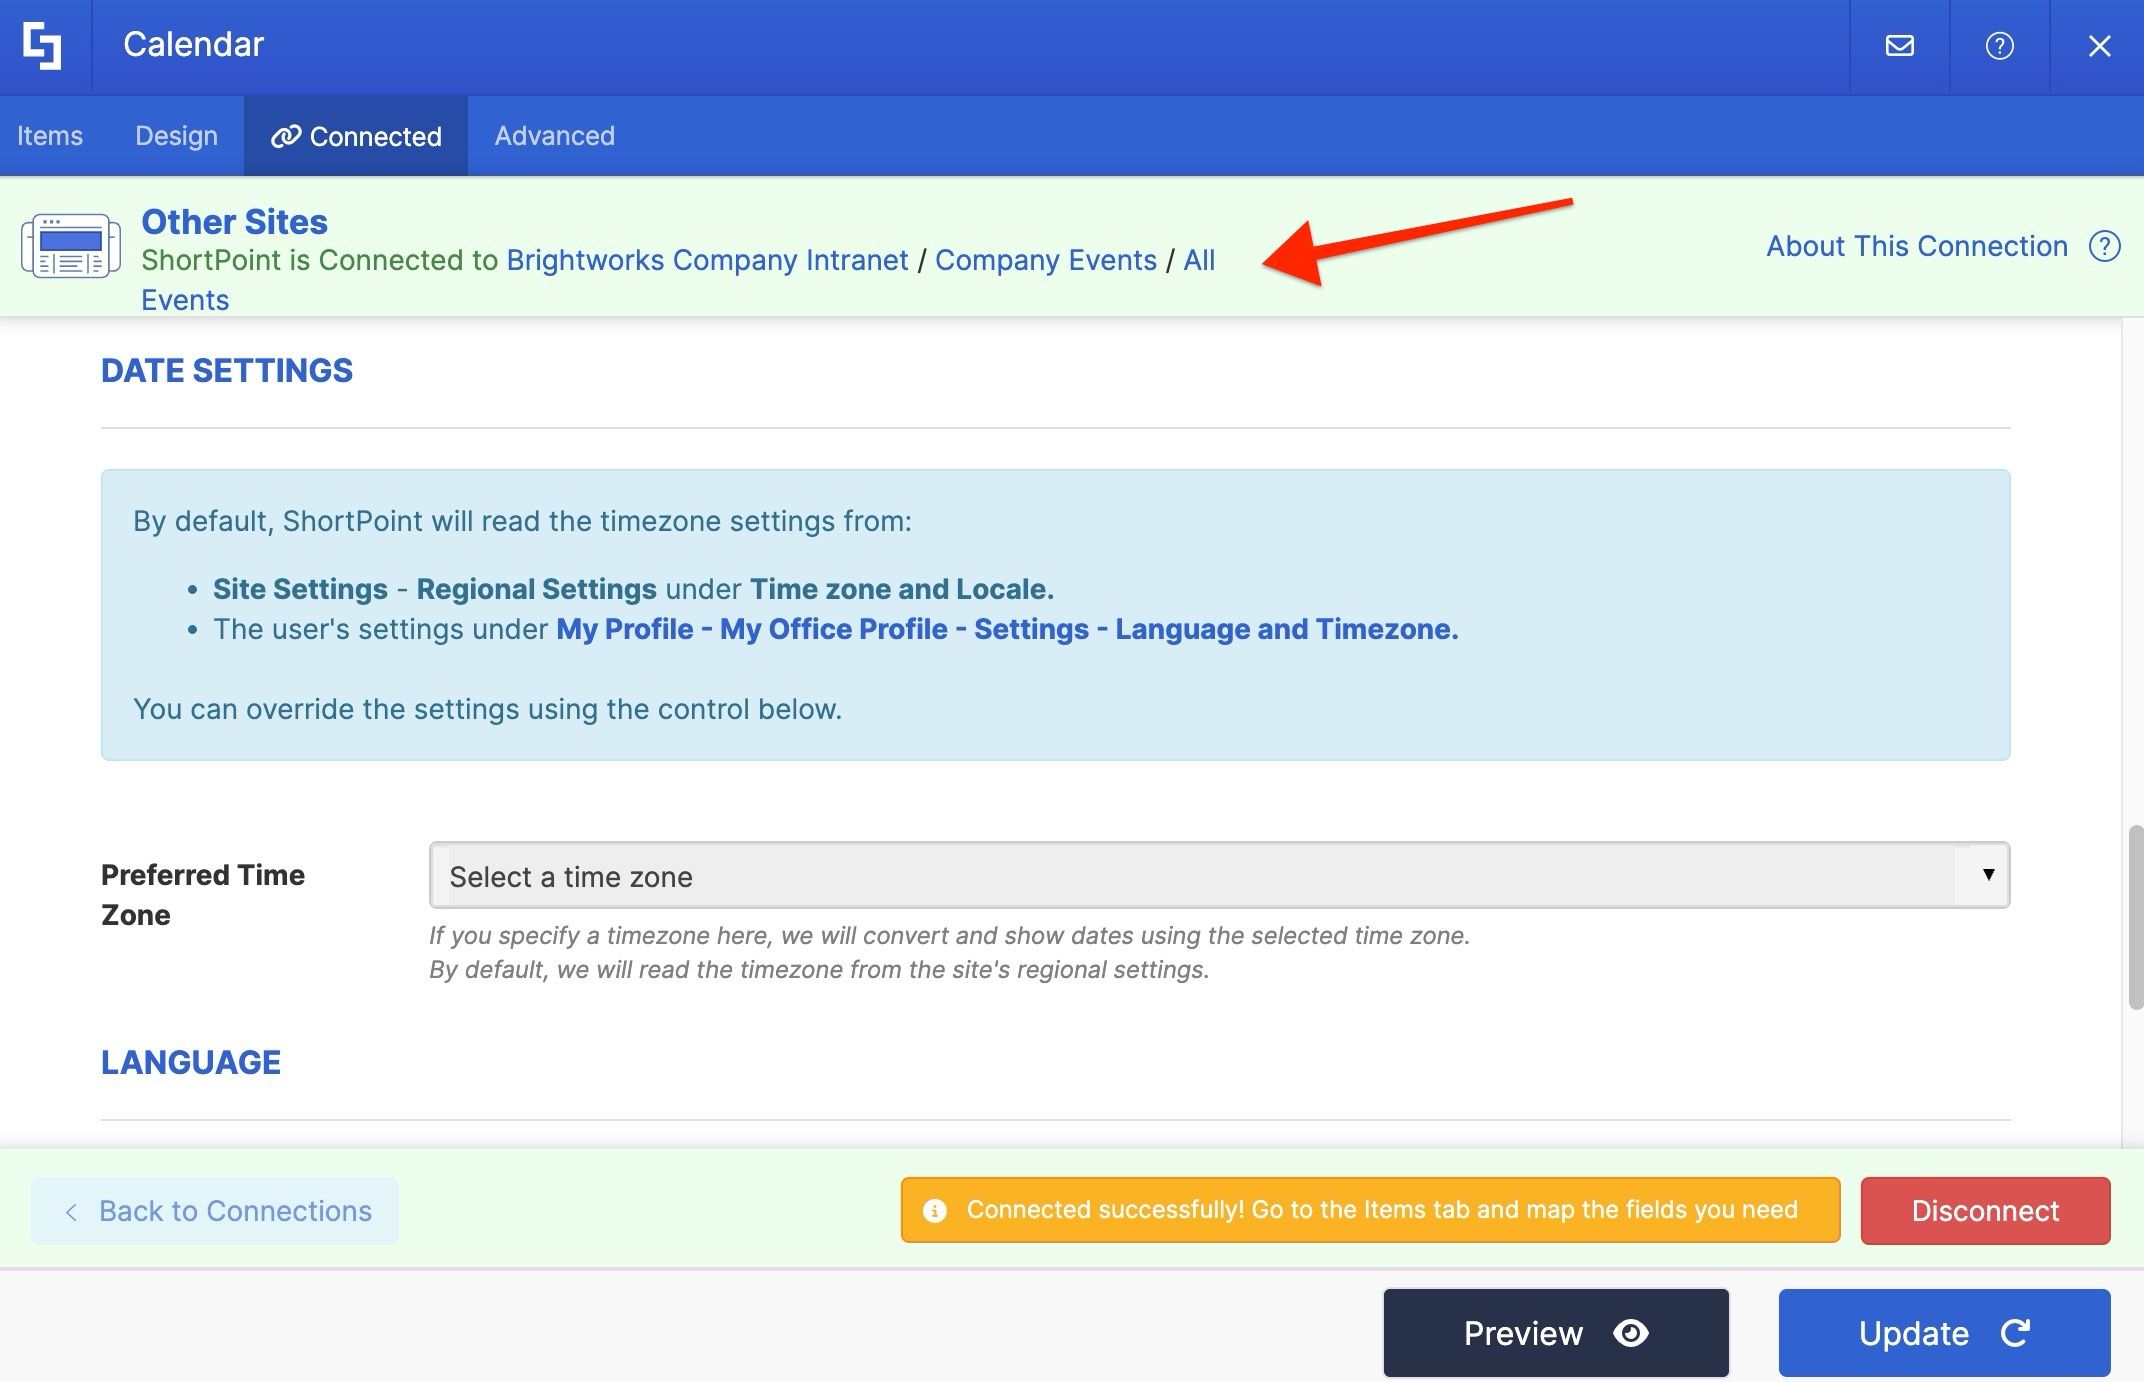
Since the calendar we’re connecting to is located outside of the current site collection, we’ll select the Other Sites connection type.
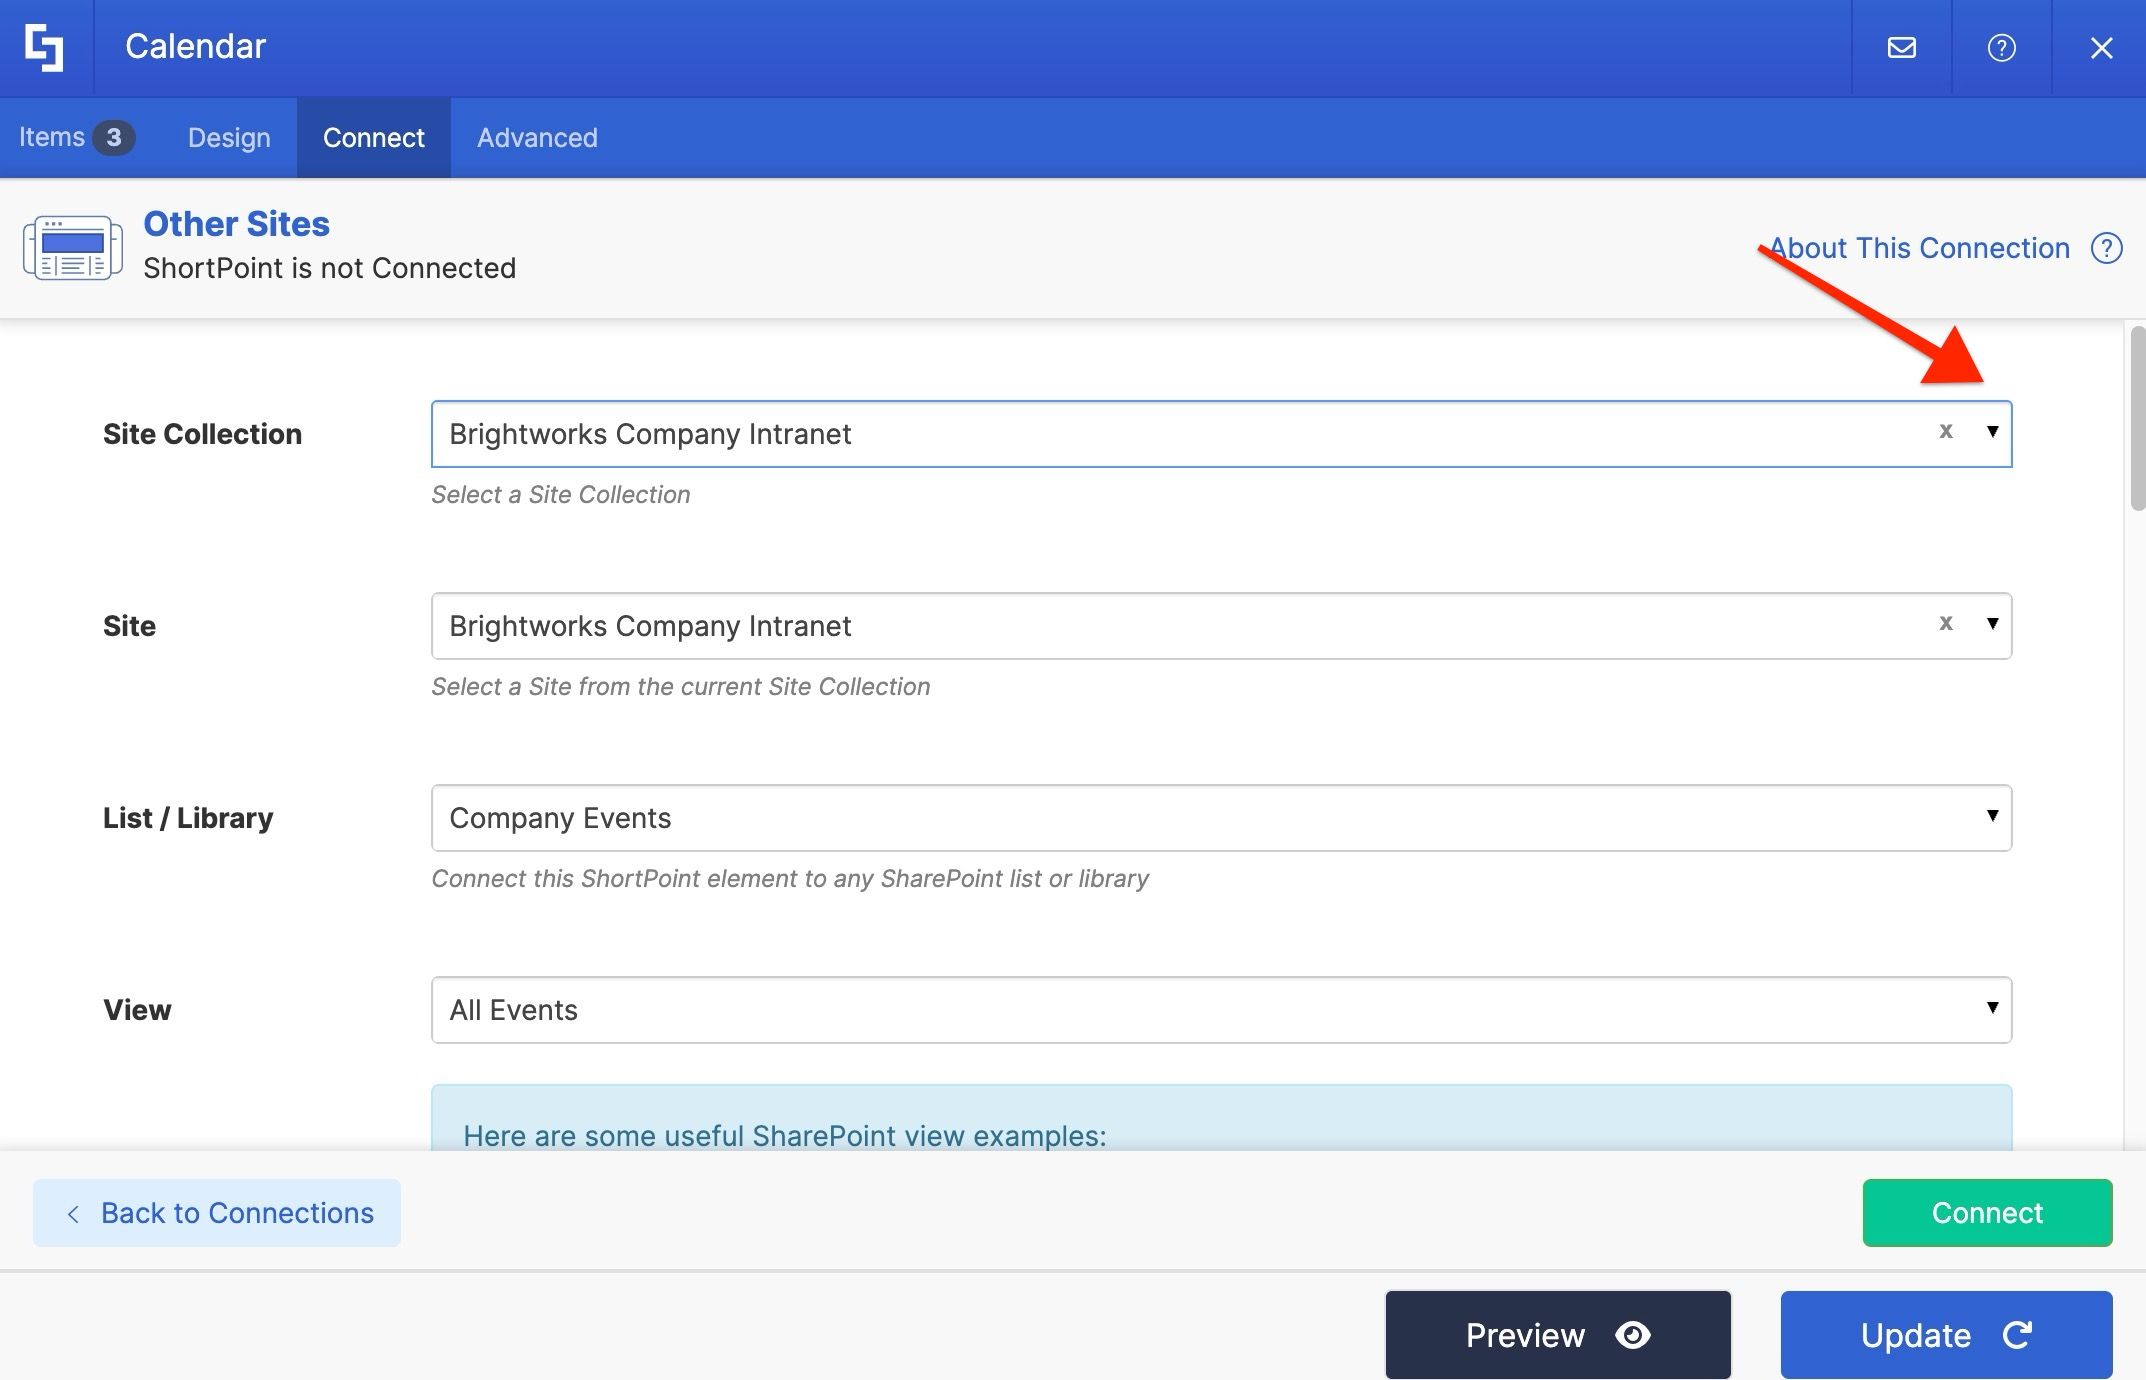
From here, select the specific site from the Site Collection dropdown and specify the same in the Site field. Then choose the list name and the view you want to use.
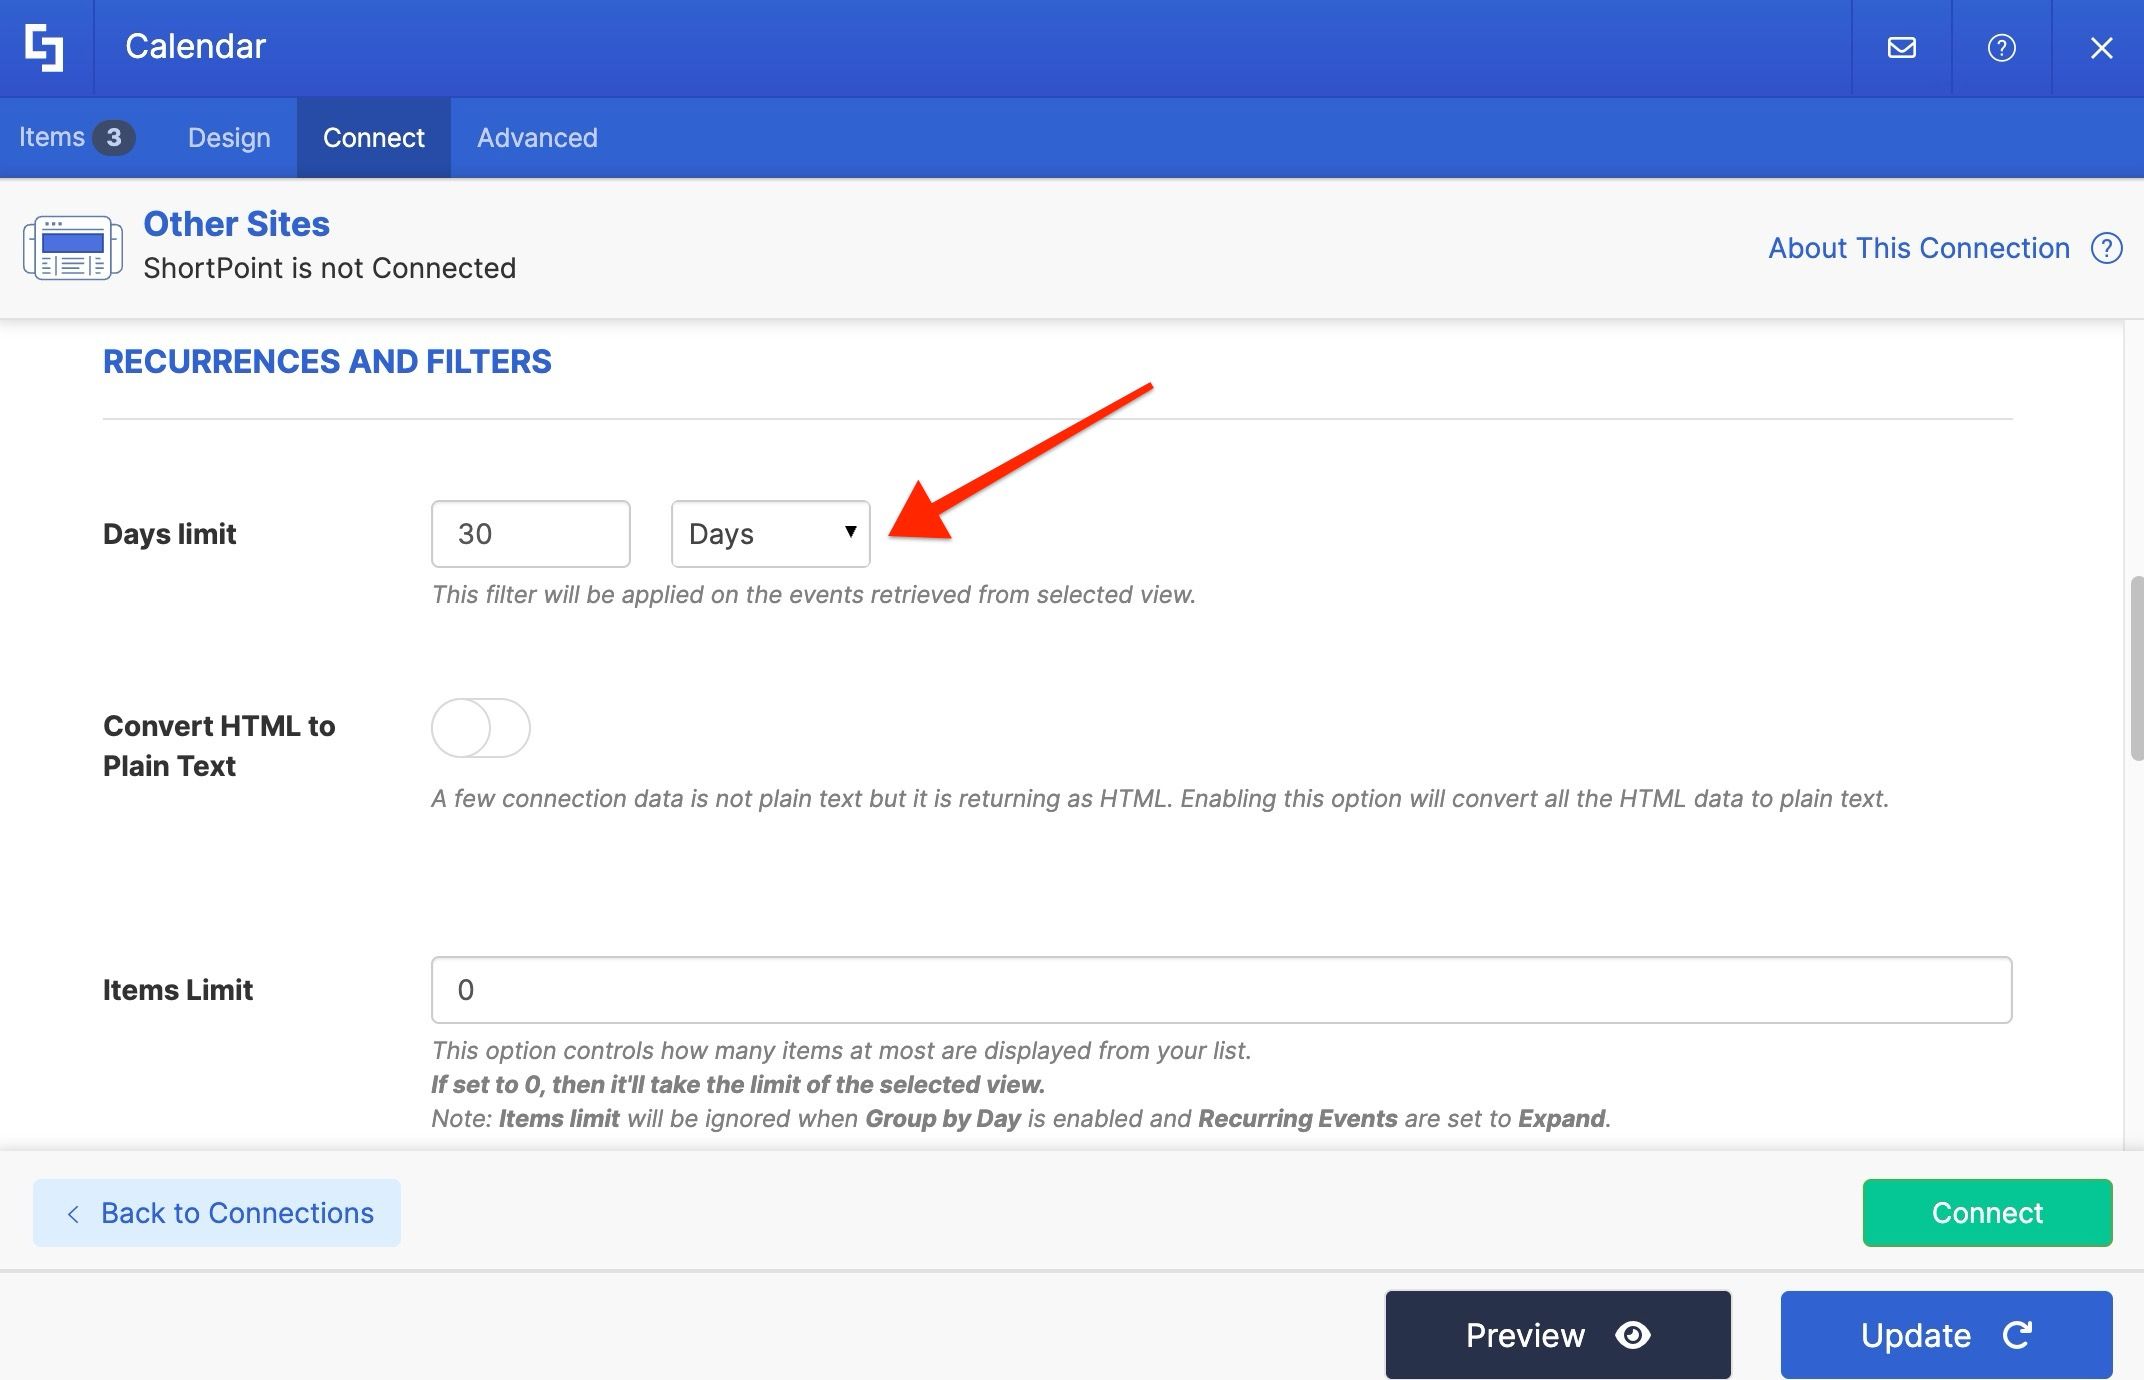
Scroll down and set how far back or ahead you want to retrieve events — by days, months, or years. You can also set how many items appear on your page and choose whether recurring events show every instance or just once.
By default, the time zone used for dates and times follows your site’s regional settings. If you want to change that, you can select a specific time zone here.
Hit Connect, and you’ll see a confirmation that the connection was successful.
Mapping event details
The next step is to configure what information we want the Calendar to display on our page. We do this by mapping properties in the Items tab.
In the list view of our SharePoint calendar, event details are added under specific columns. Using these column names, we’ll map the content we want to show in the Items tab fields. Click the link icon to see the column properties retrieved by the connection, and select the ones you want to use.
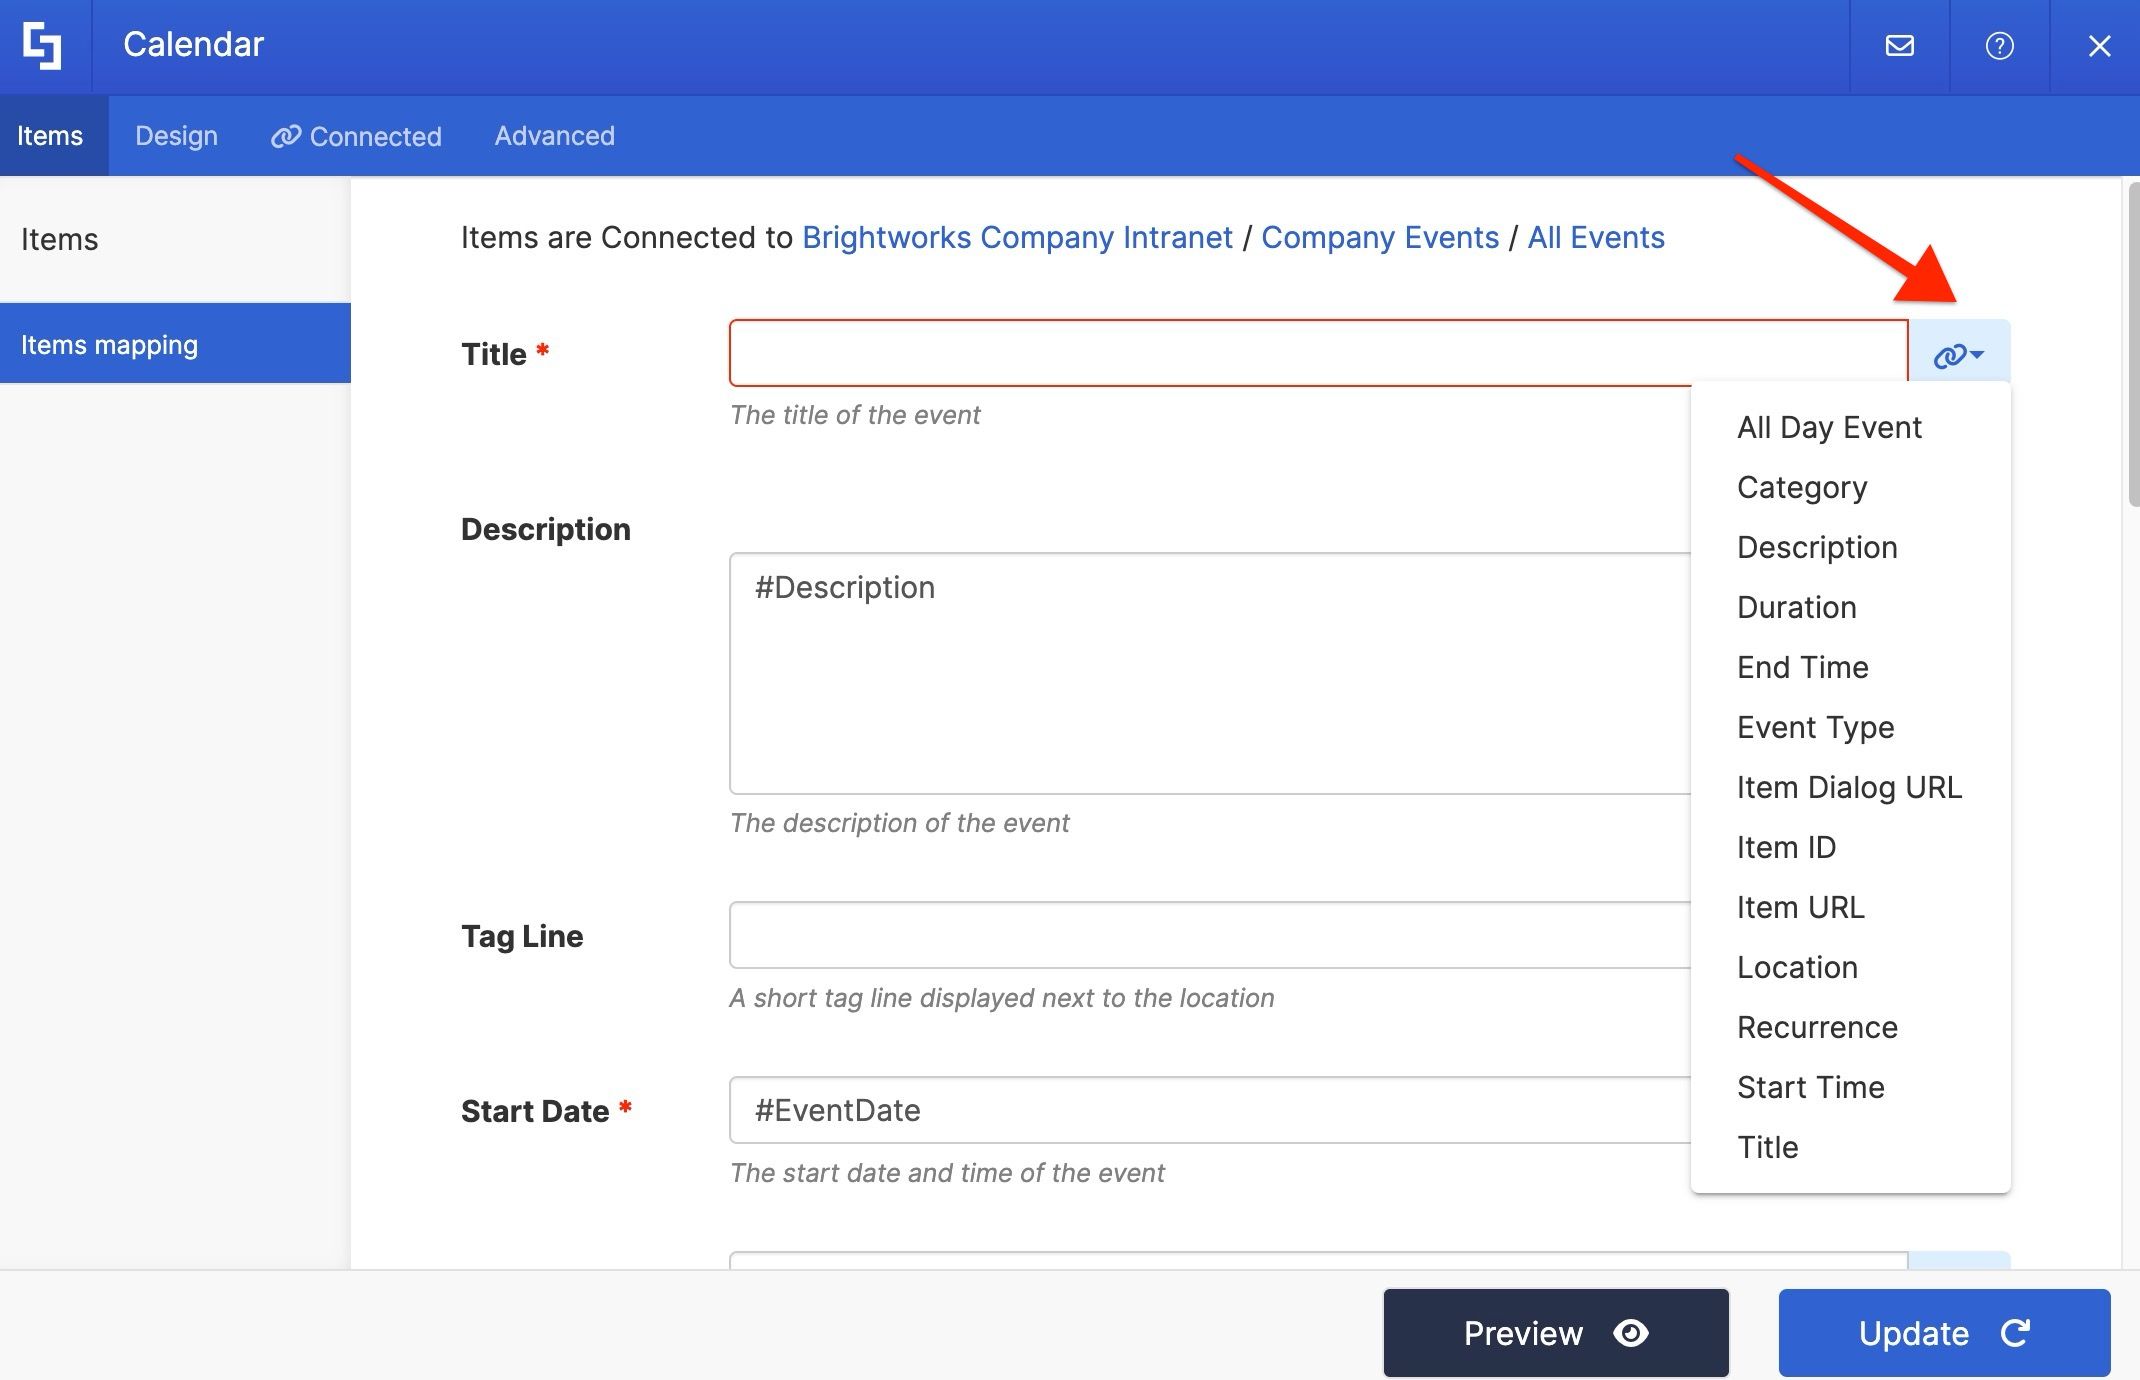
For this example, we’ll match the columns with the fields one-to-one. We’re adding the event Title to the Title field, Description to the Description field, and so on.
Press Update to apply your changes.
Customizing the look and feel
Now that events are displaying on our page, let’s customize the look and feel of the calendar. Head back to the settings window. From here, you can switch to a different style and adjust the layout, like moving the events list to the right.
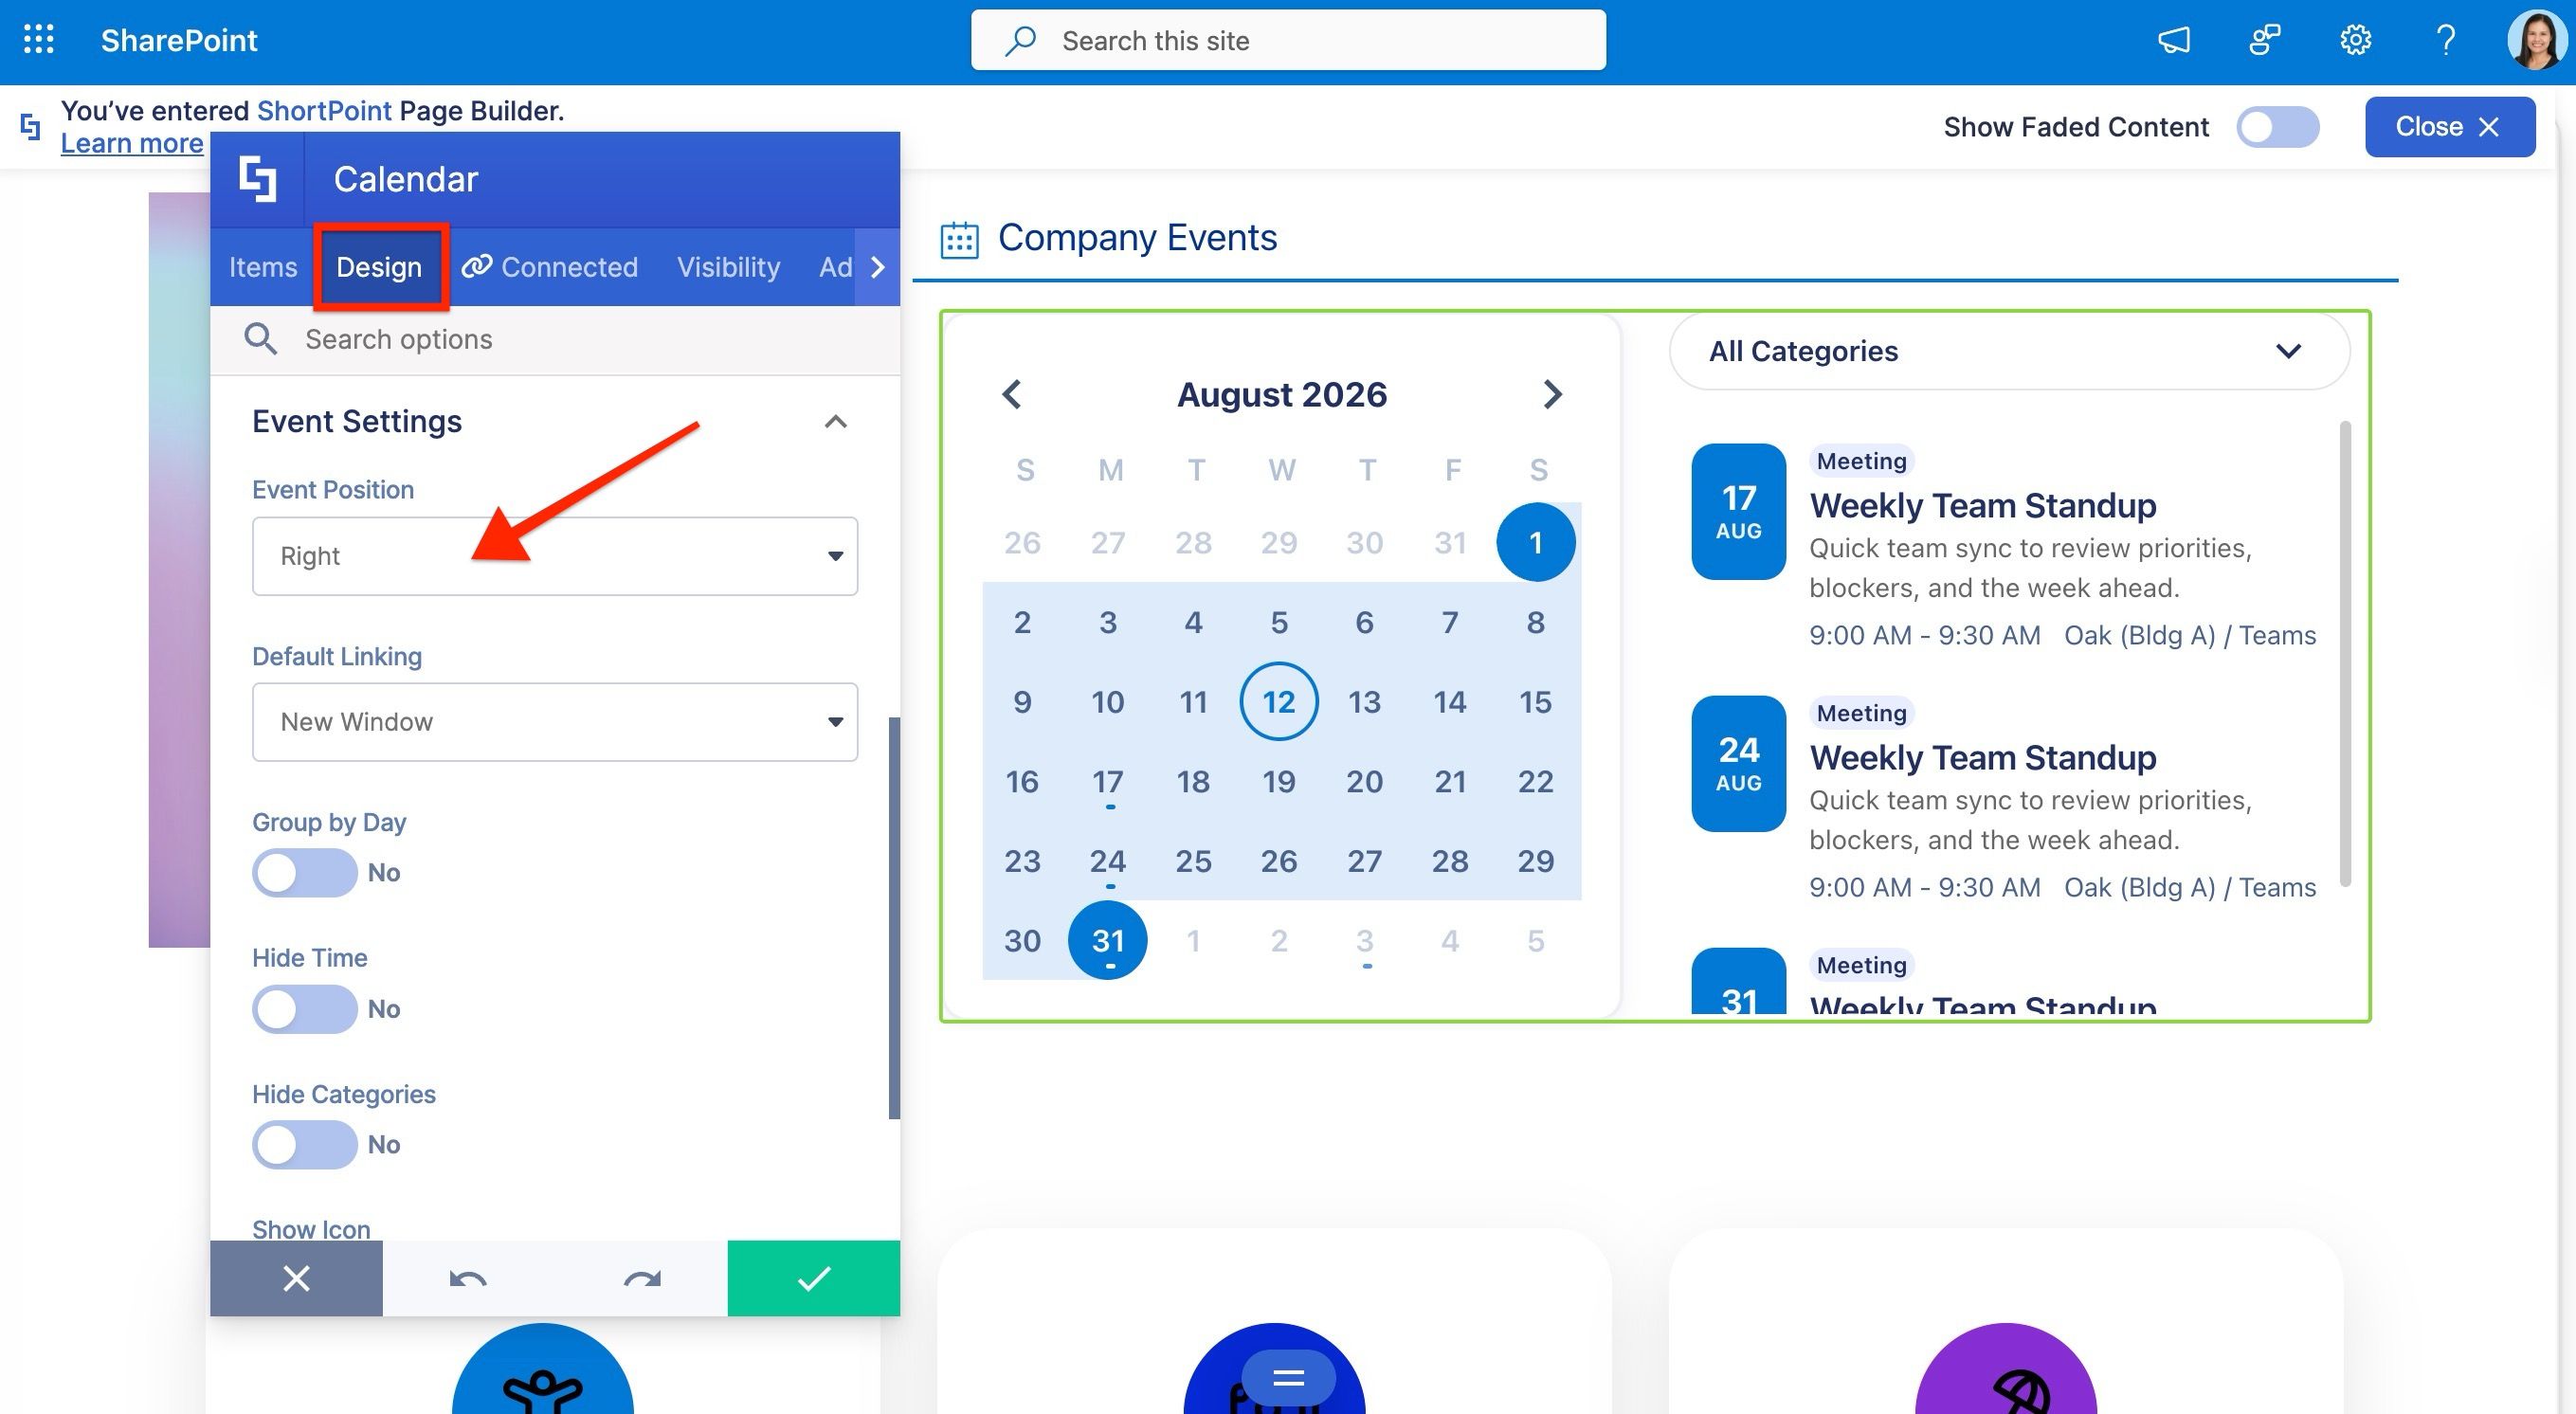
Use Preview on the Action Toolbar to check how the Calendar will look on your page, and hit Save to keep all your edits.
Interactive calendar features
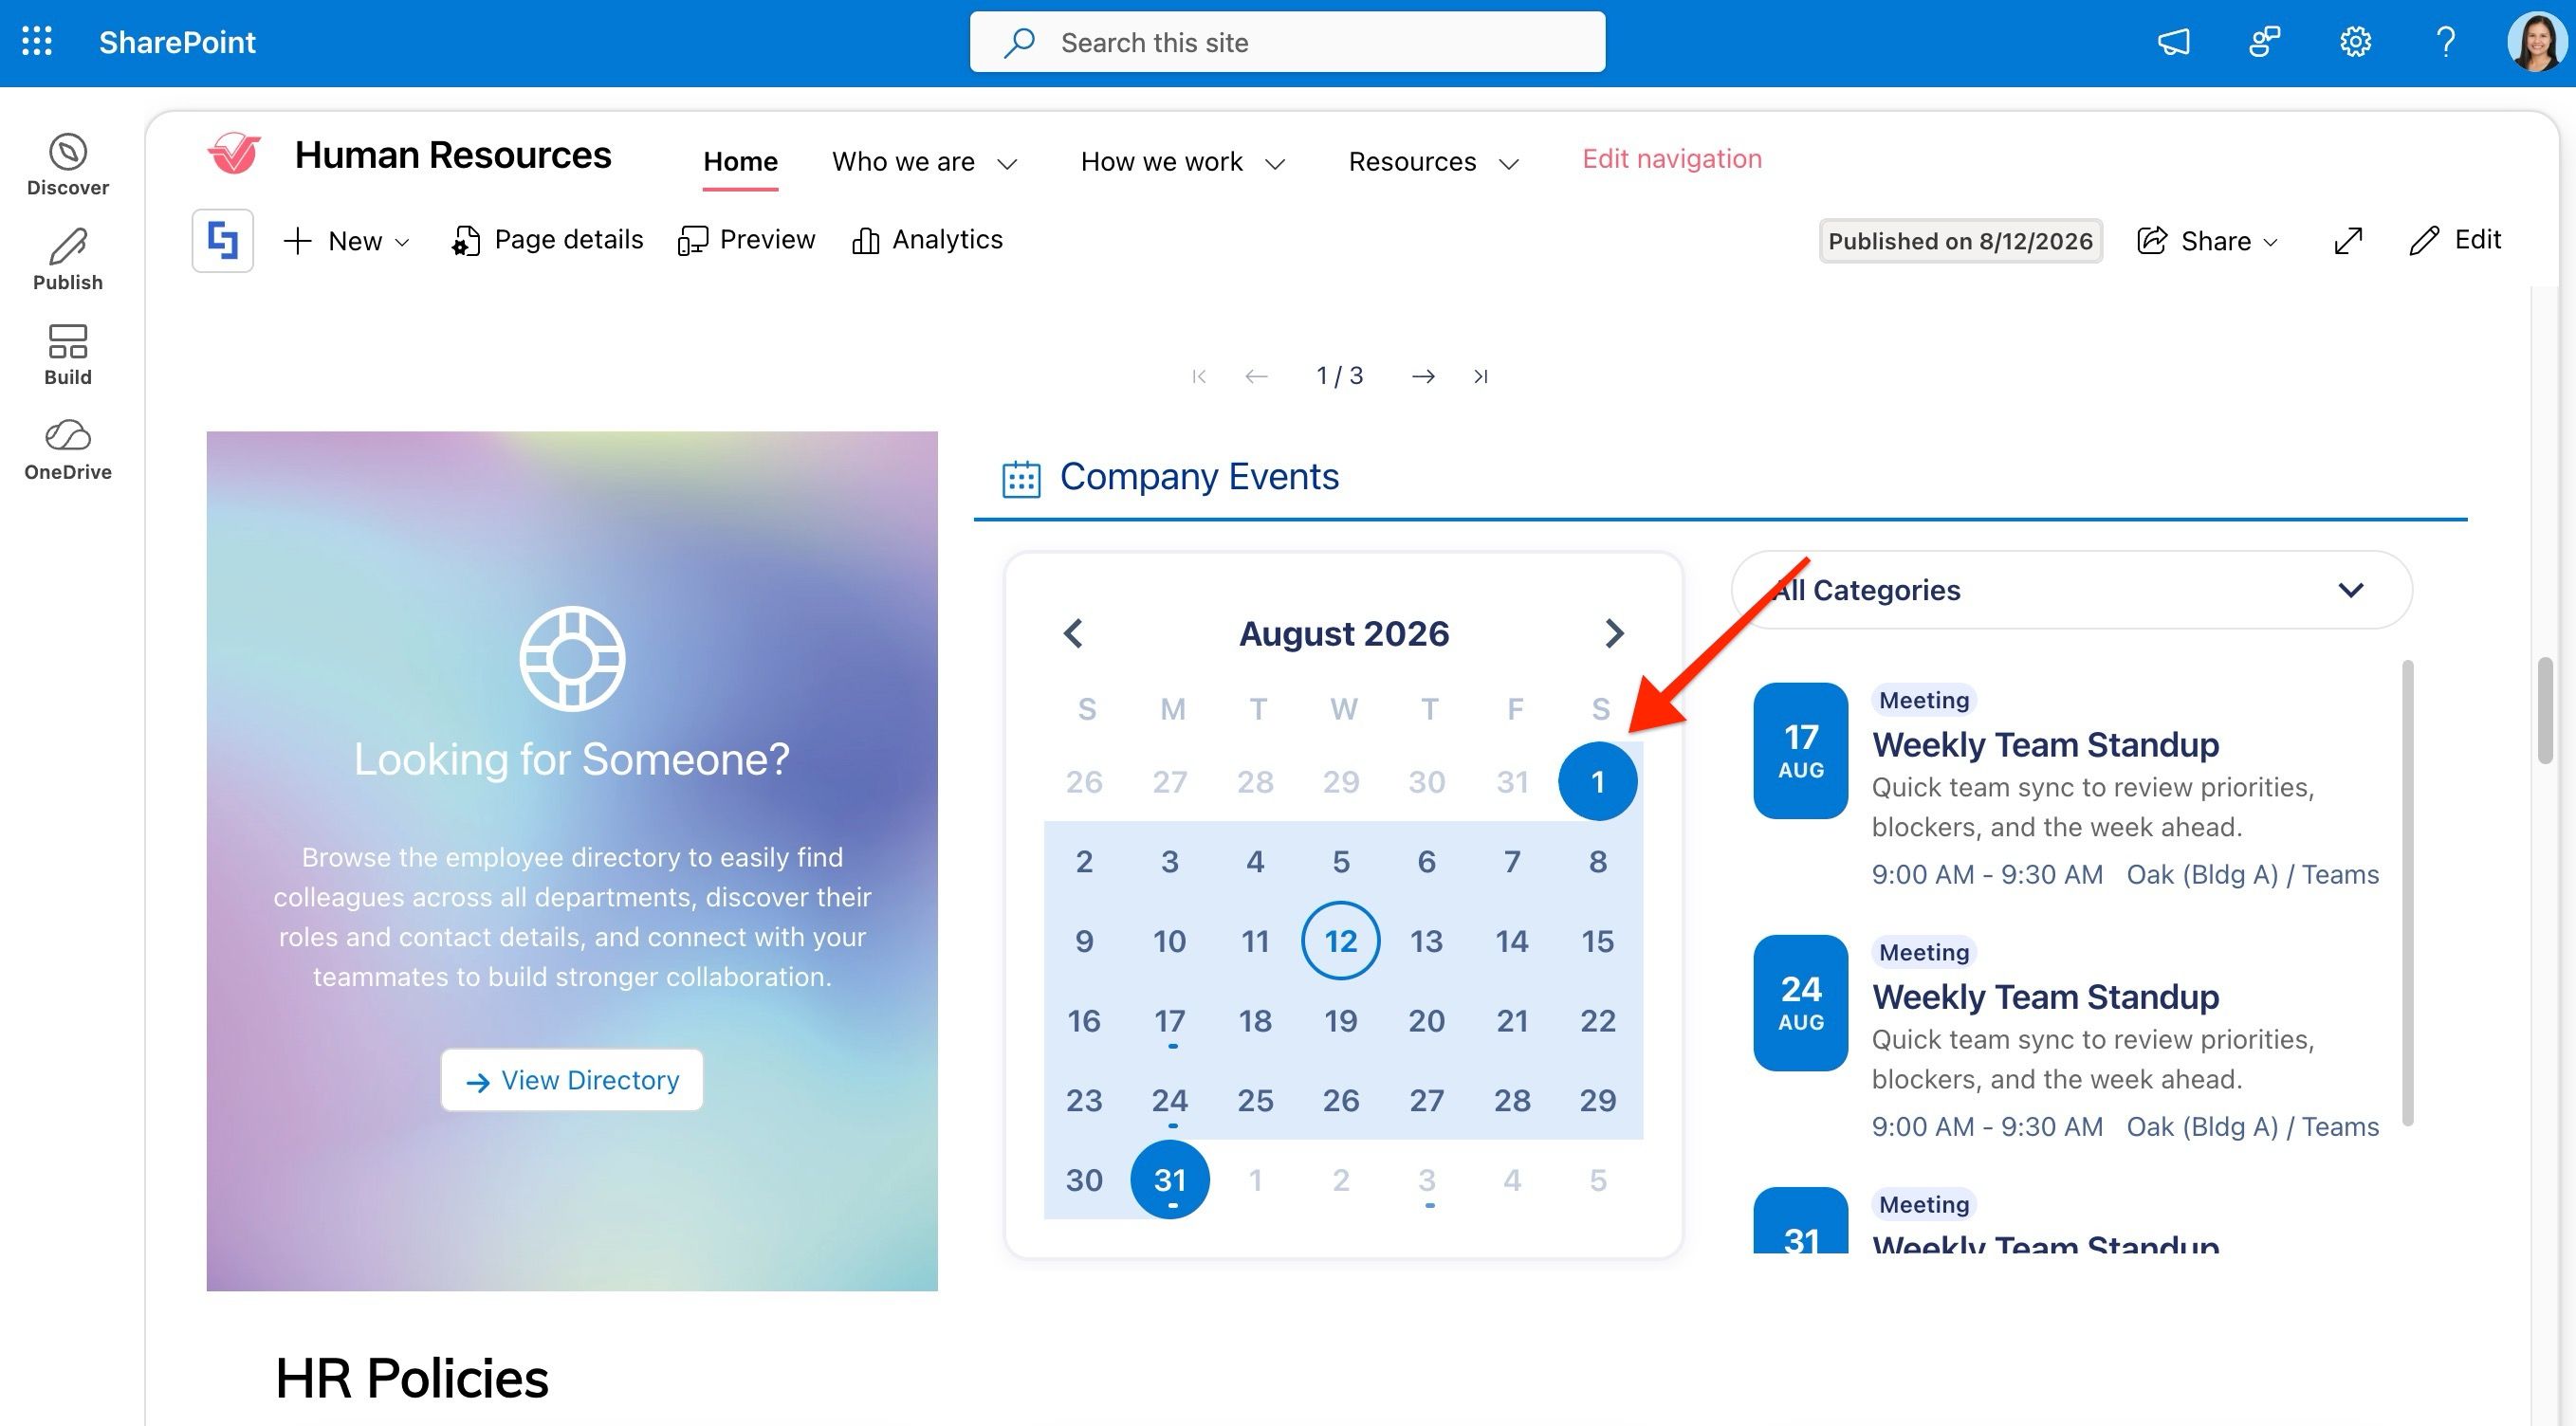
One of the best things about the ShortPoint Calendar is how interactive it is for your users. They can select a single date or a range of dates to filter and view only the events they’re interested in. It is not just a display element, but a genuinely useful tool on your intranet page.
Seeing the connection in action
Just like our SharePoint list connection in the previous lesson, all changes made to the SharePoint calendar will automatically appear on the Calendar element. You won’t have to add or delete events directly on your page. Your users will stay updated on the latest events as they’re added to the SharePoint calendar.
Congratulations! You’ve successfully connected a Calendar Design Element to your SharePoint calendar, giving your users an interactive, always up-to-date way to stay on top of company events.