

ShortPoint Connect Basics
Maintaining Connected Elements
In this lesson, you will learn how to ensure connected content is visible and stays updated, how to optimize page performance where there are connected Design Elements, and a few more advantages of using ShortPoint Connect.
Before you connect: is the content accessible?
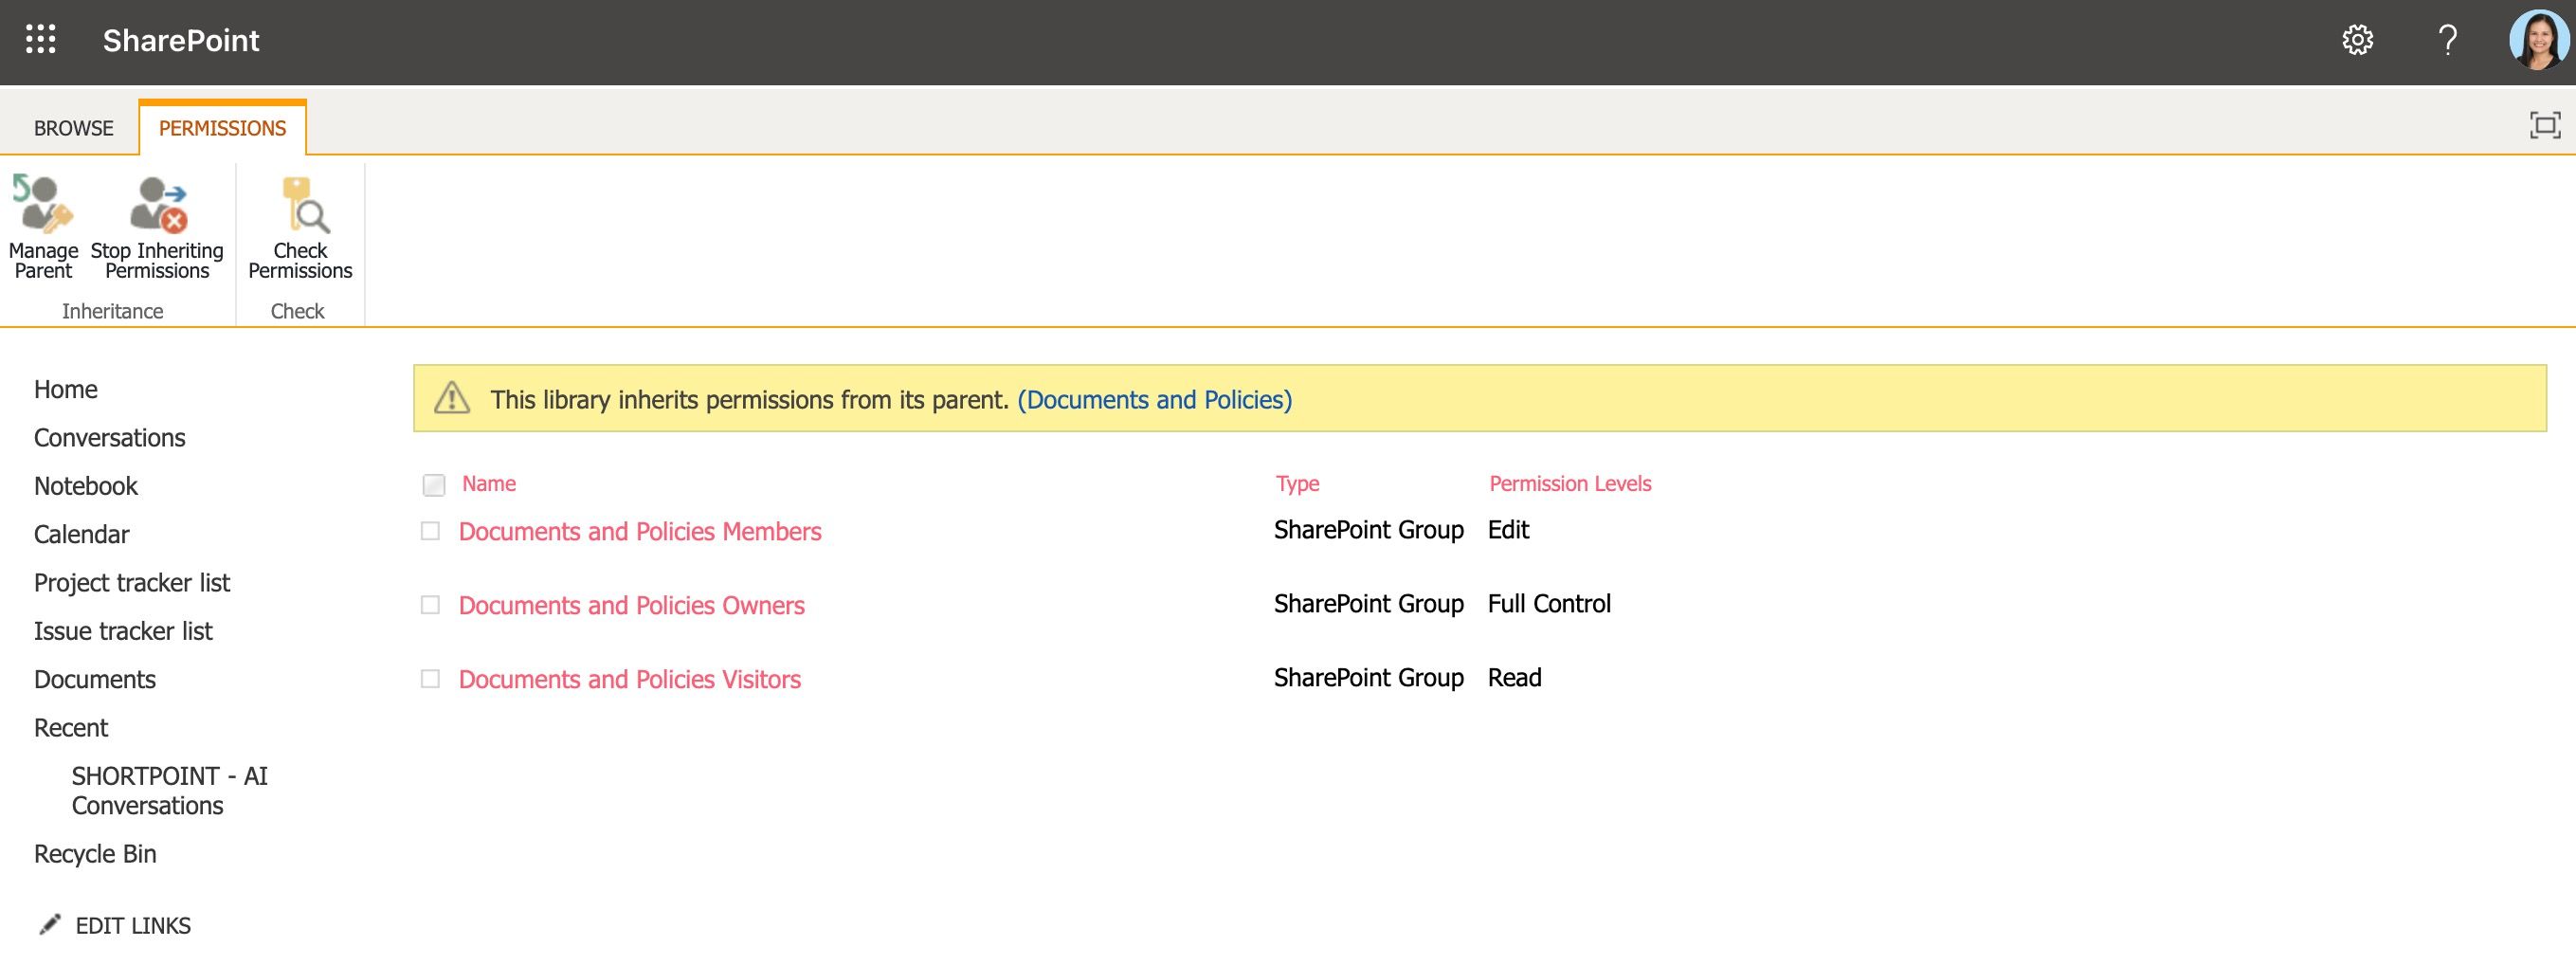
One thing you have to ask when integrating a ShortPoint Design Element with a SharePoint list, library, or other source is: “Is the content accessible to your users?” This means confirming that your users have the necessary permissions to view the content if they were to access it directly.
In SharePoint, many activities and workflows depend on whether a user has the right permissions to view, read, or edit content. These permissions also apply to connected Design Elements. When a SharePoint page loads for a user, only the content they can access will be visible. If a user lacks permission to view content from the source of a connected Design Element, it won’t be visible to them, resulting in a less-than-satisfactory user experience.
Updating content in the back end
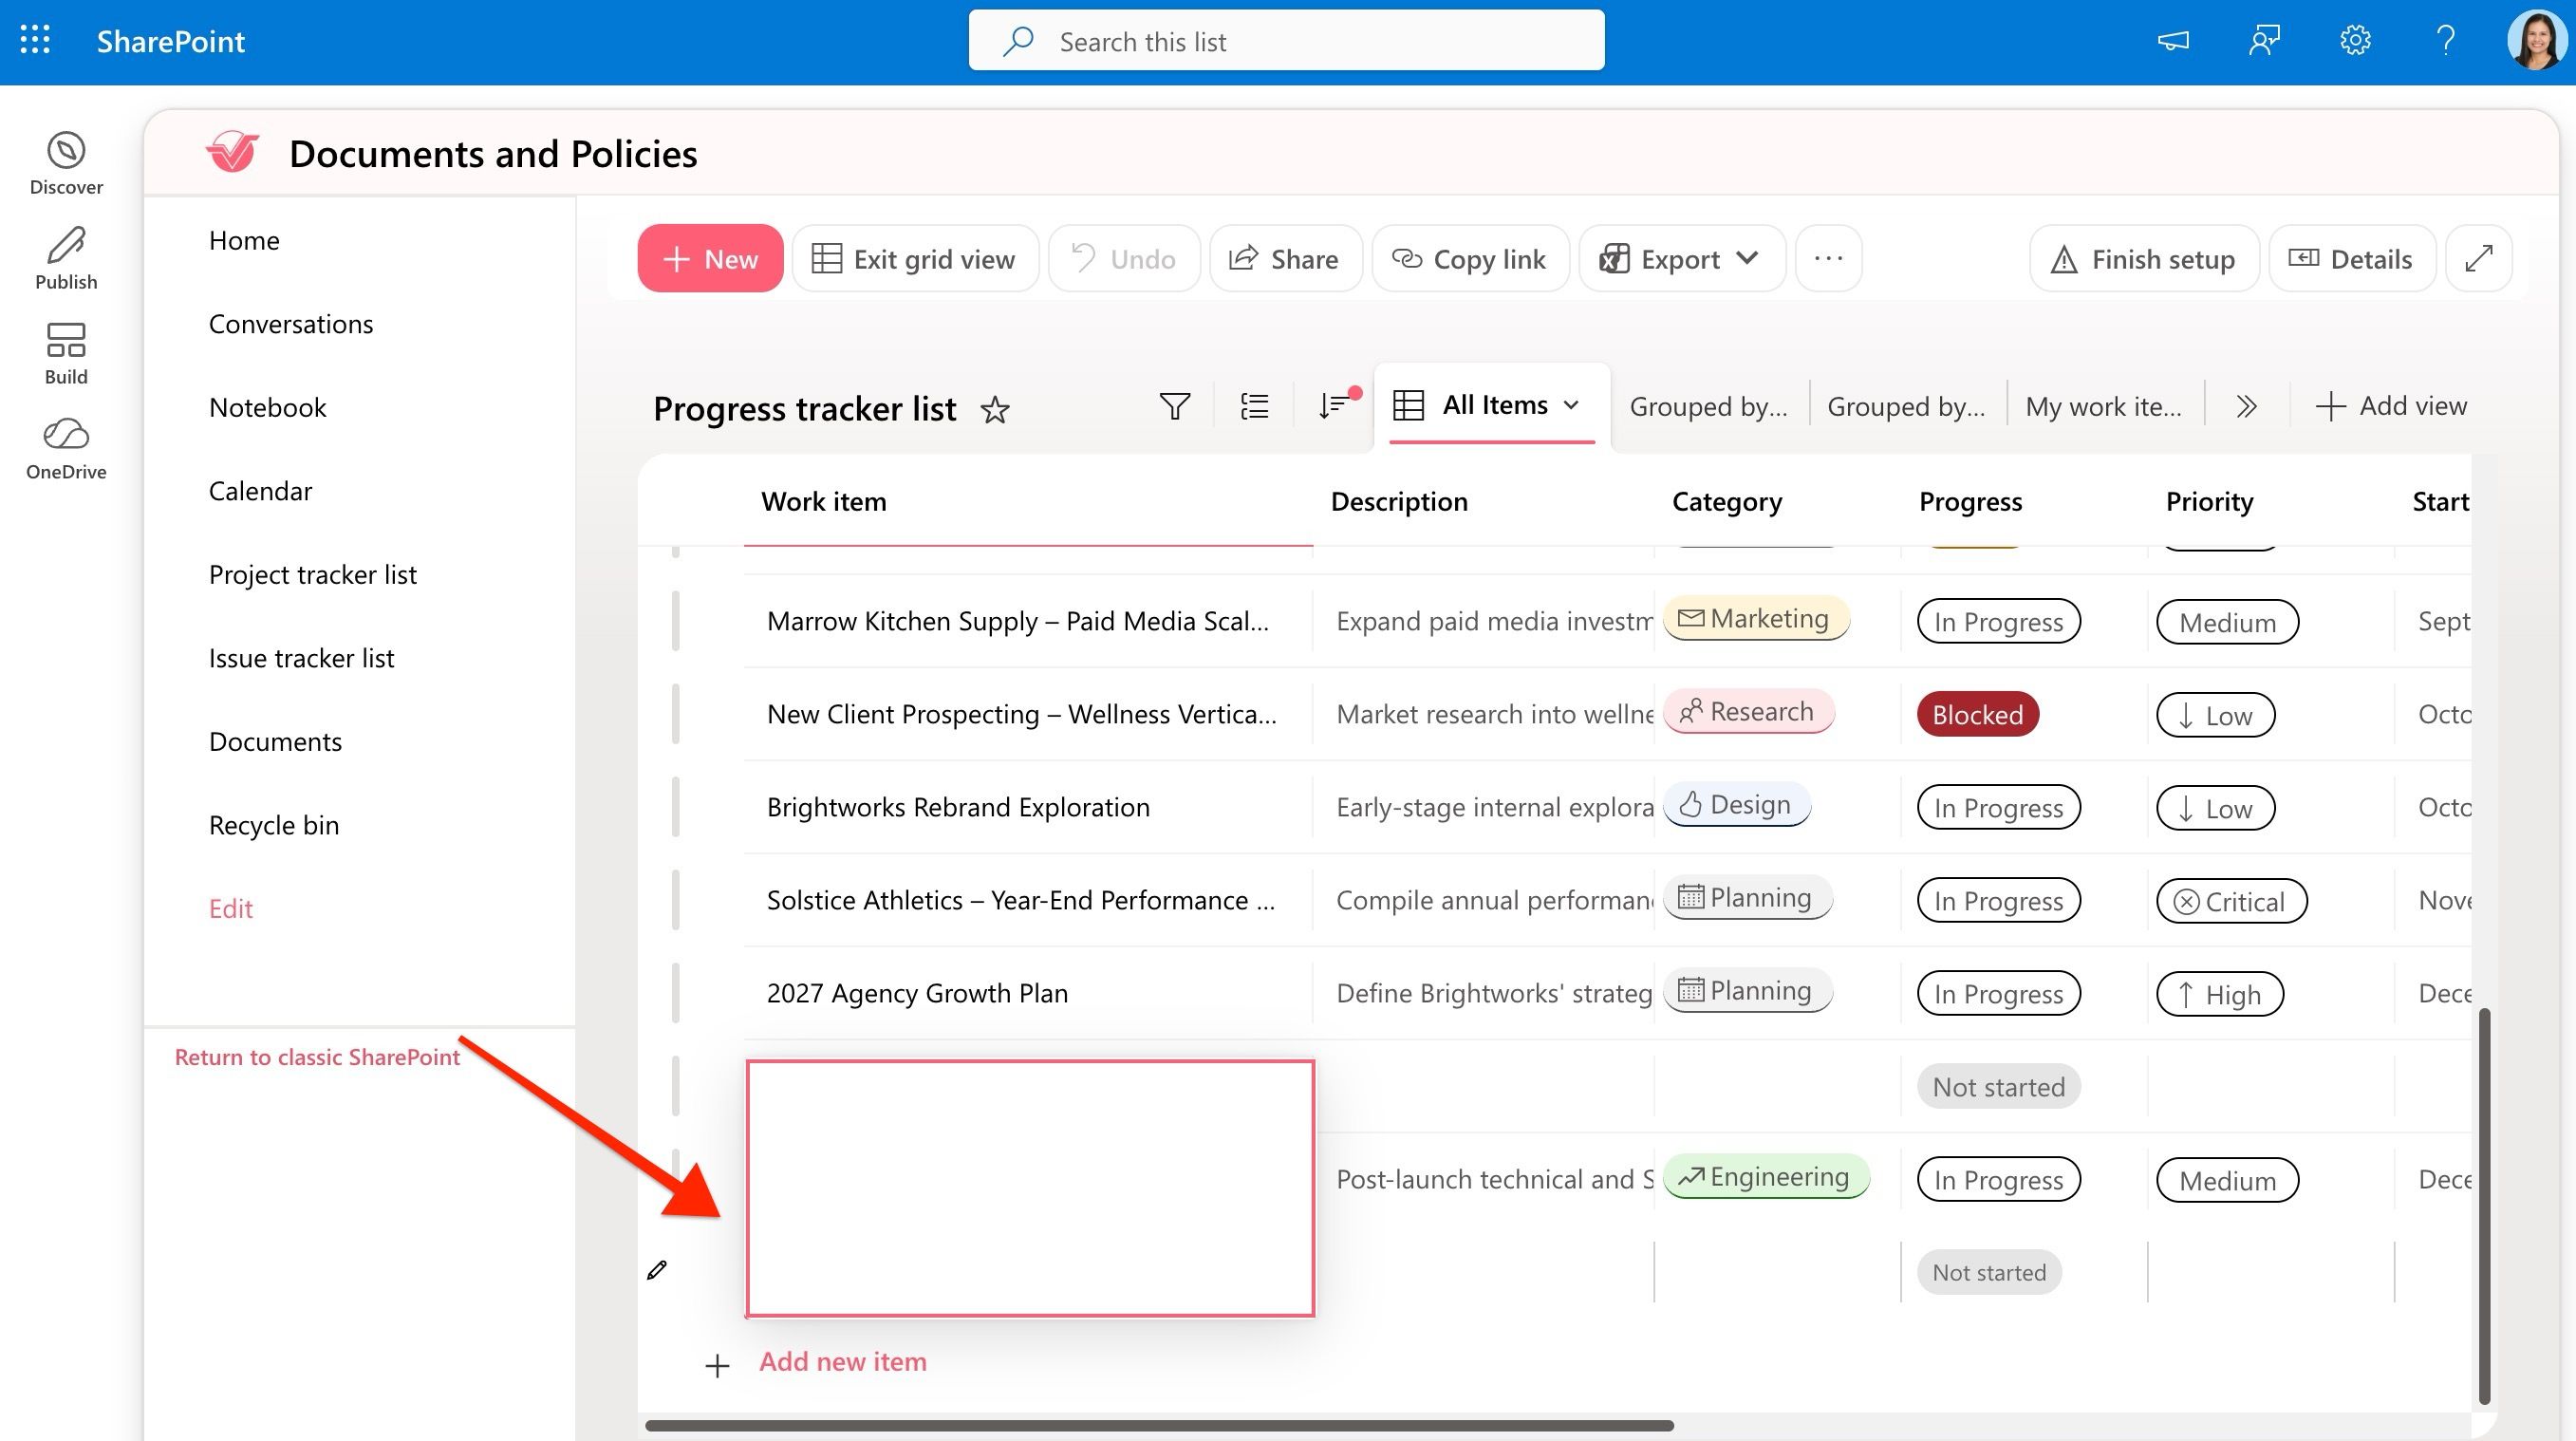
Connected Design Elements also require content to be updated in the back end. If you want to add or edit content pulled from a SharePoint list, for example, you’ll need to edit the list itself. This is what allows content contributors and designers to work independently from each other.
A practical advantage: one source, many pages
The same source can feed multiple Design Elements across different pages, or even different sites. If your organization posts an announcement in a shared list (in our example, a news post that is added to the site pages list), and that list is connected to Design Elements on your home page, your department page, and a team site, updating that single list updates all of those pages at once. You don’t have to make the same edit multiple times in multiple places.
Considering page performance
Page performance is the speed at which your page loads content. When your page is too slow, your users may get frustrated or abandon the page altogether. Connected Design Elements can affect page performance. When the size of information the connection needs to retrieve and display is large, it can delay loading time.
Without caching, ShortPoint reads information from the connected source every time the page loads, which adds to that load time.
Using caching to improve performance
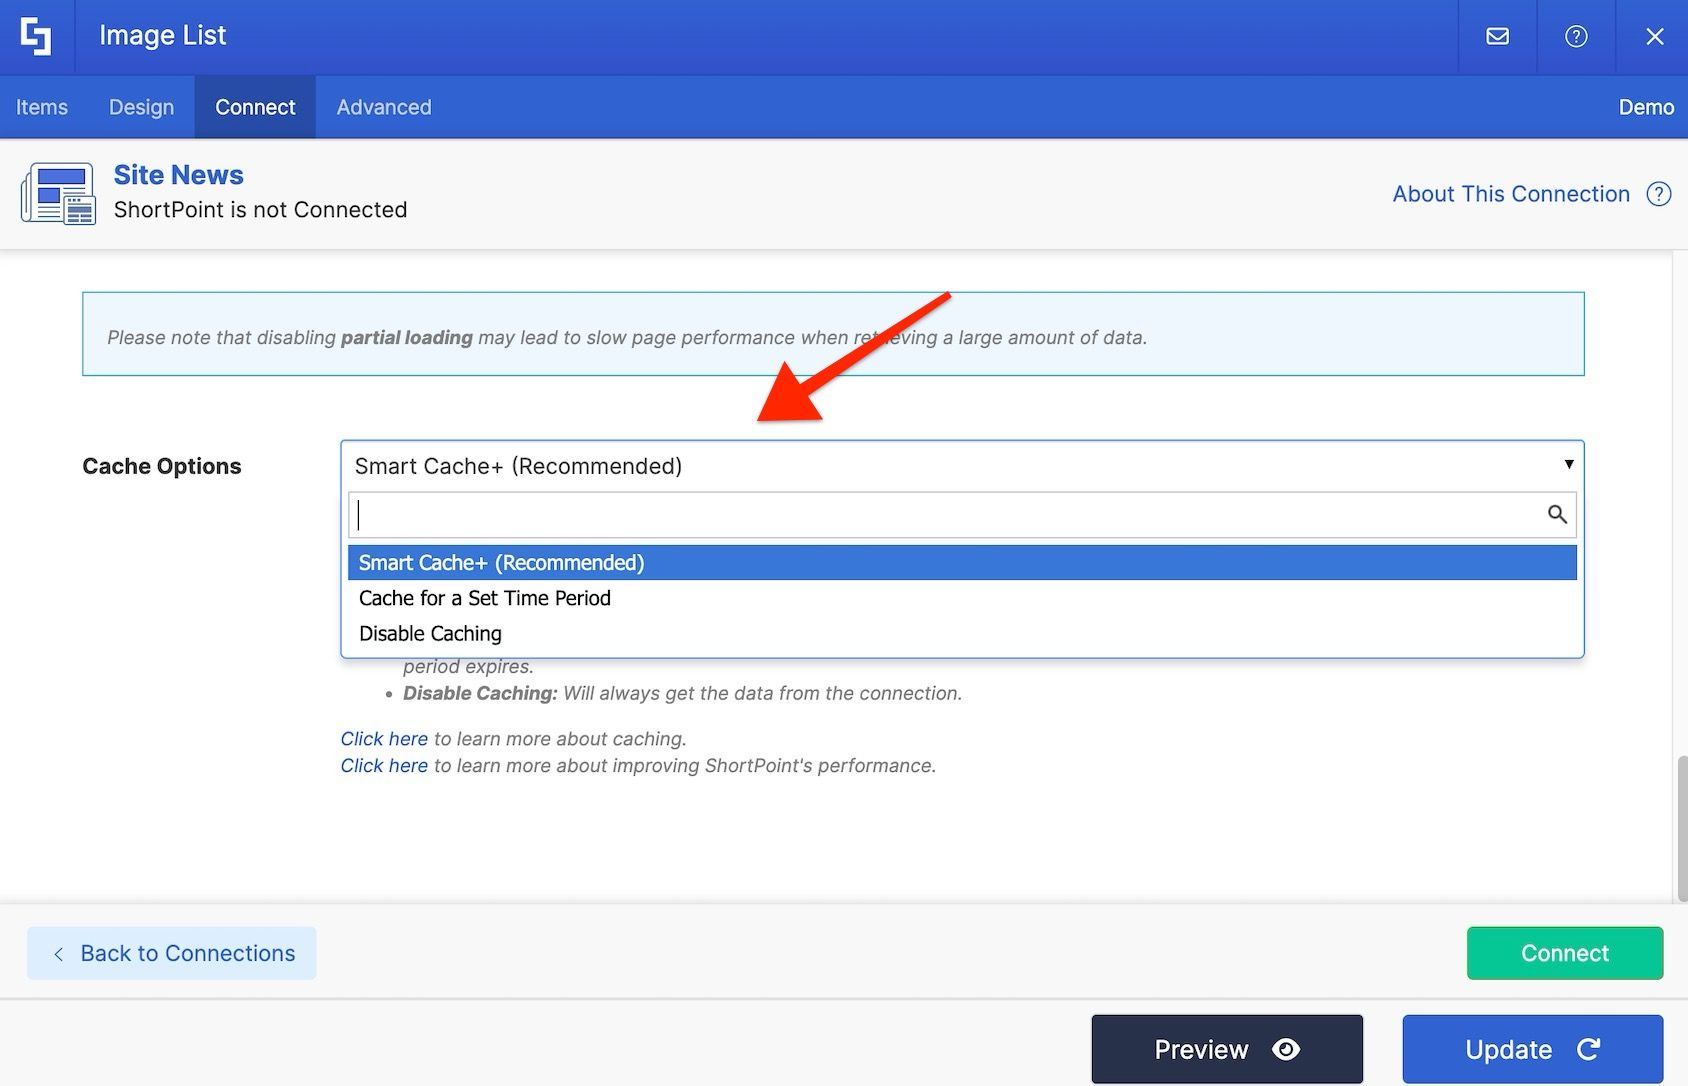
To improve page performance, we recommend enabling caching for connected elements. ShortPoint gives you three caching options to choose from:
- Smart Cache+ (enabled by default) — loads the element quickly from the cache, then retrieves the latest data in the background once the page has finished loading.
- Cache for a Set Period of Time — displays cached data for a duration you choose before refreshing it with the latest information.
- No caching — disables caching altogether.
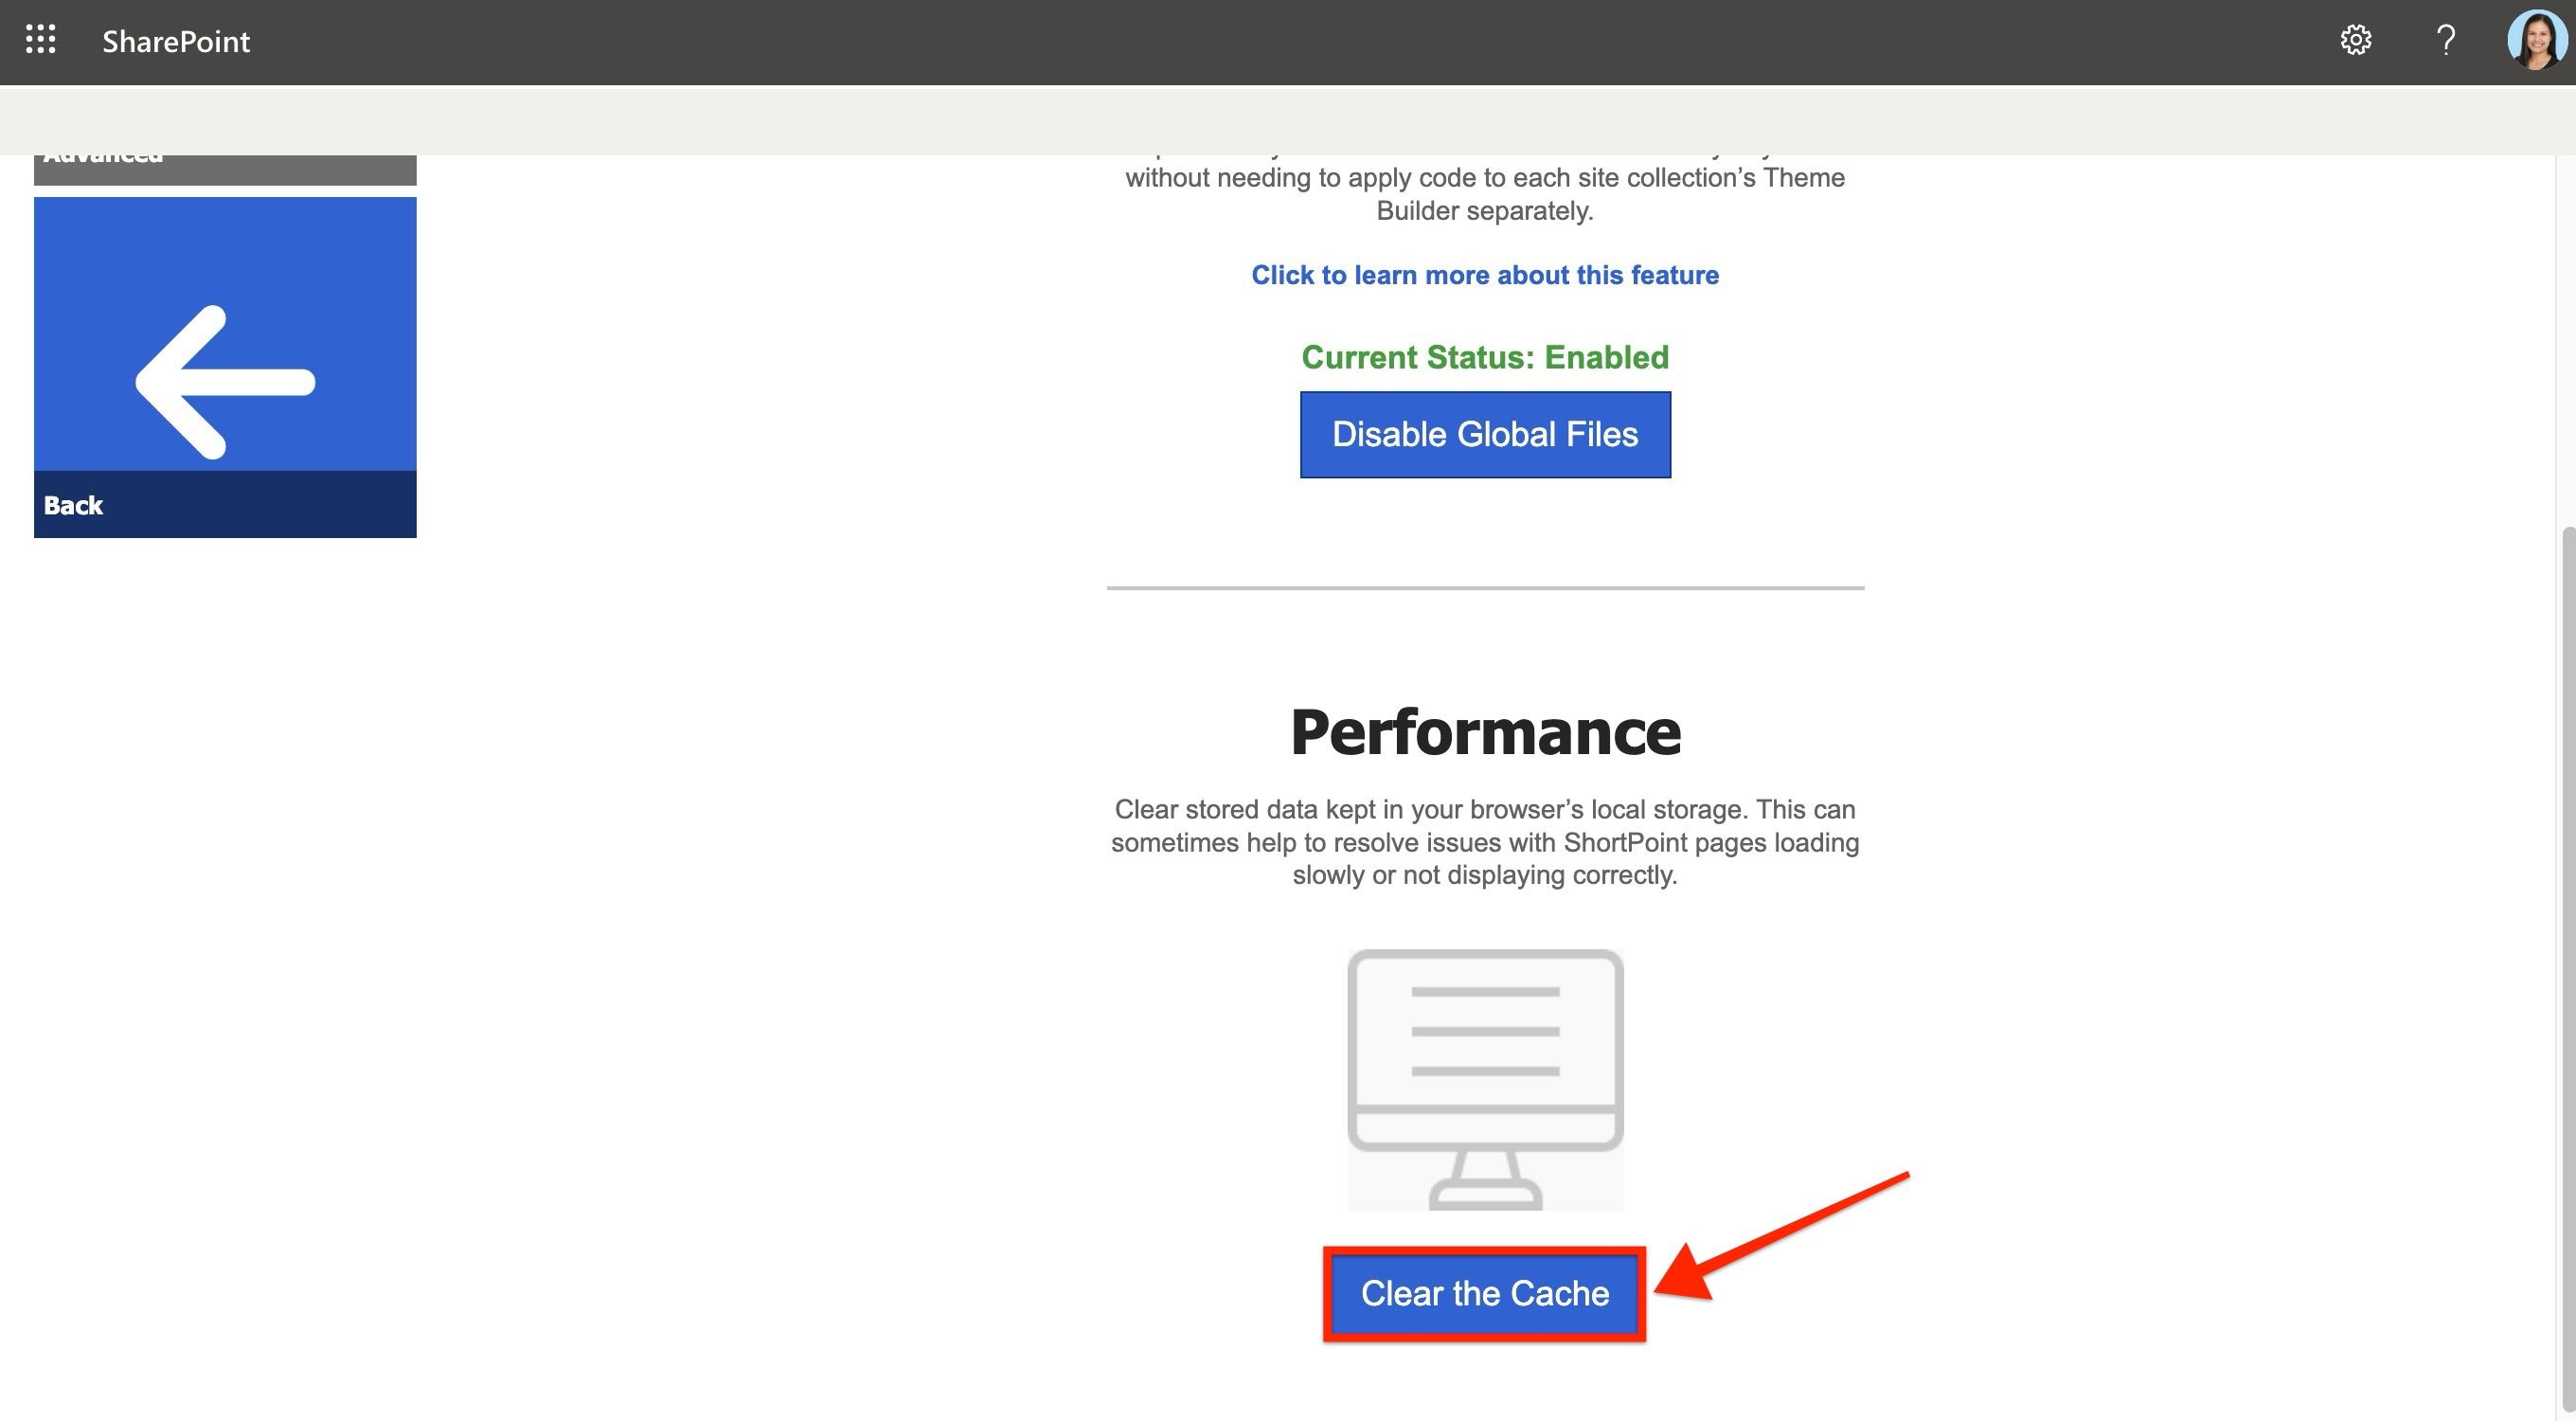
And if you ever need the newest data to show up immediately rather than waiting for the cache to refresh, you can force clear the cached data at any time. Just go to the ShortPoint Dashboard, select the Advanced tile, scroll down to the Performance section, and click the Clear Cache button.
A few more advantages worth knowing
ShortPoint Connect brings you many practical advantages, but we can’t emphasize enough the convenience of having content automatically updated and fed into your SharePoint page. You only have to configure and insert a Design Element once, and it will keep retrieving new content and displaying it on your page without further intervention. And since your design is retained even when you no longer have an active ShortPoint license, the connection will continue running as it should.
ShortPoint Connect and AI Designer
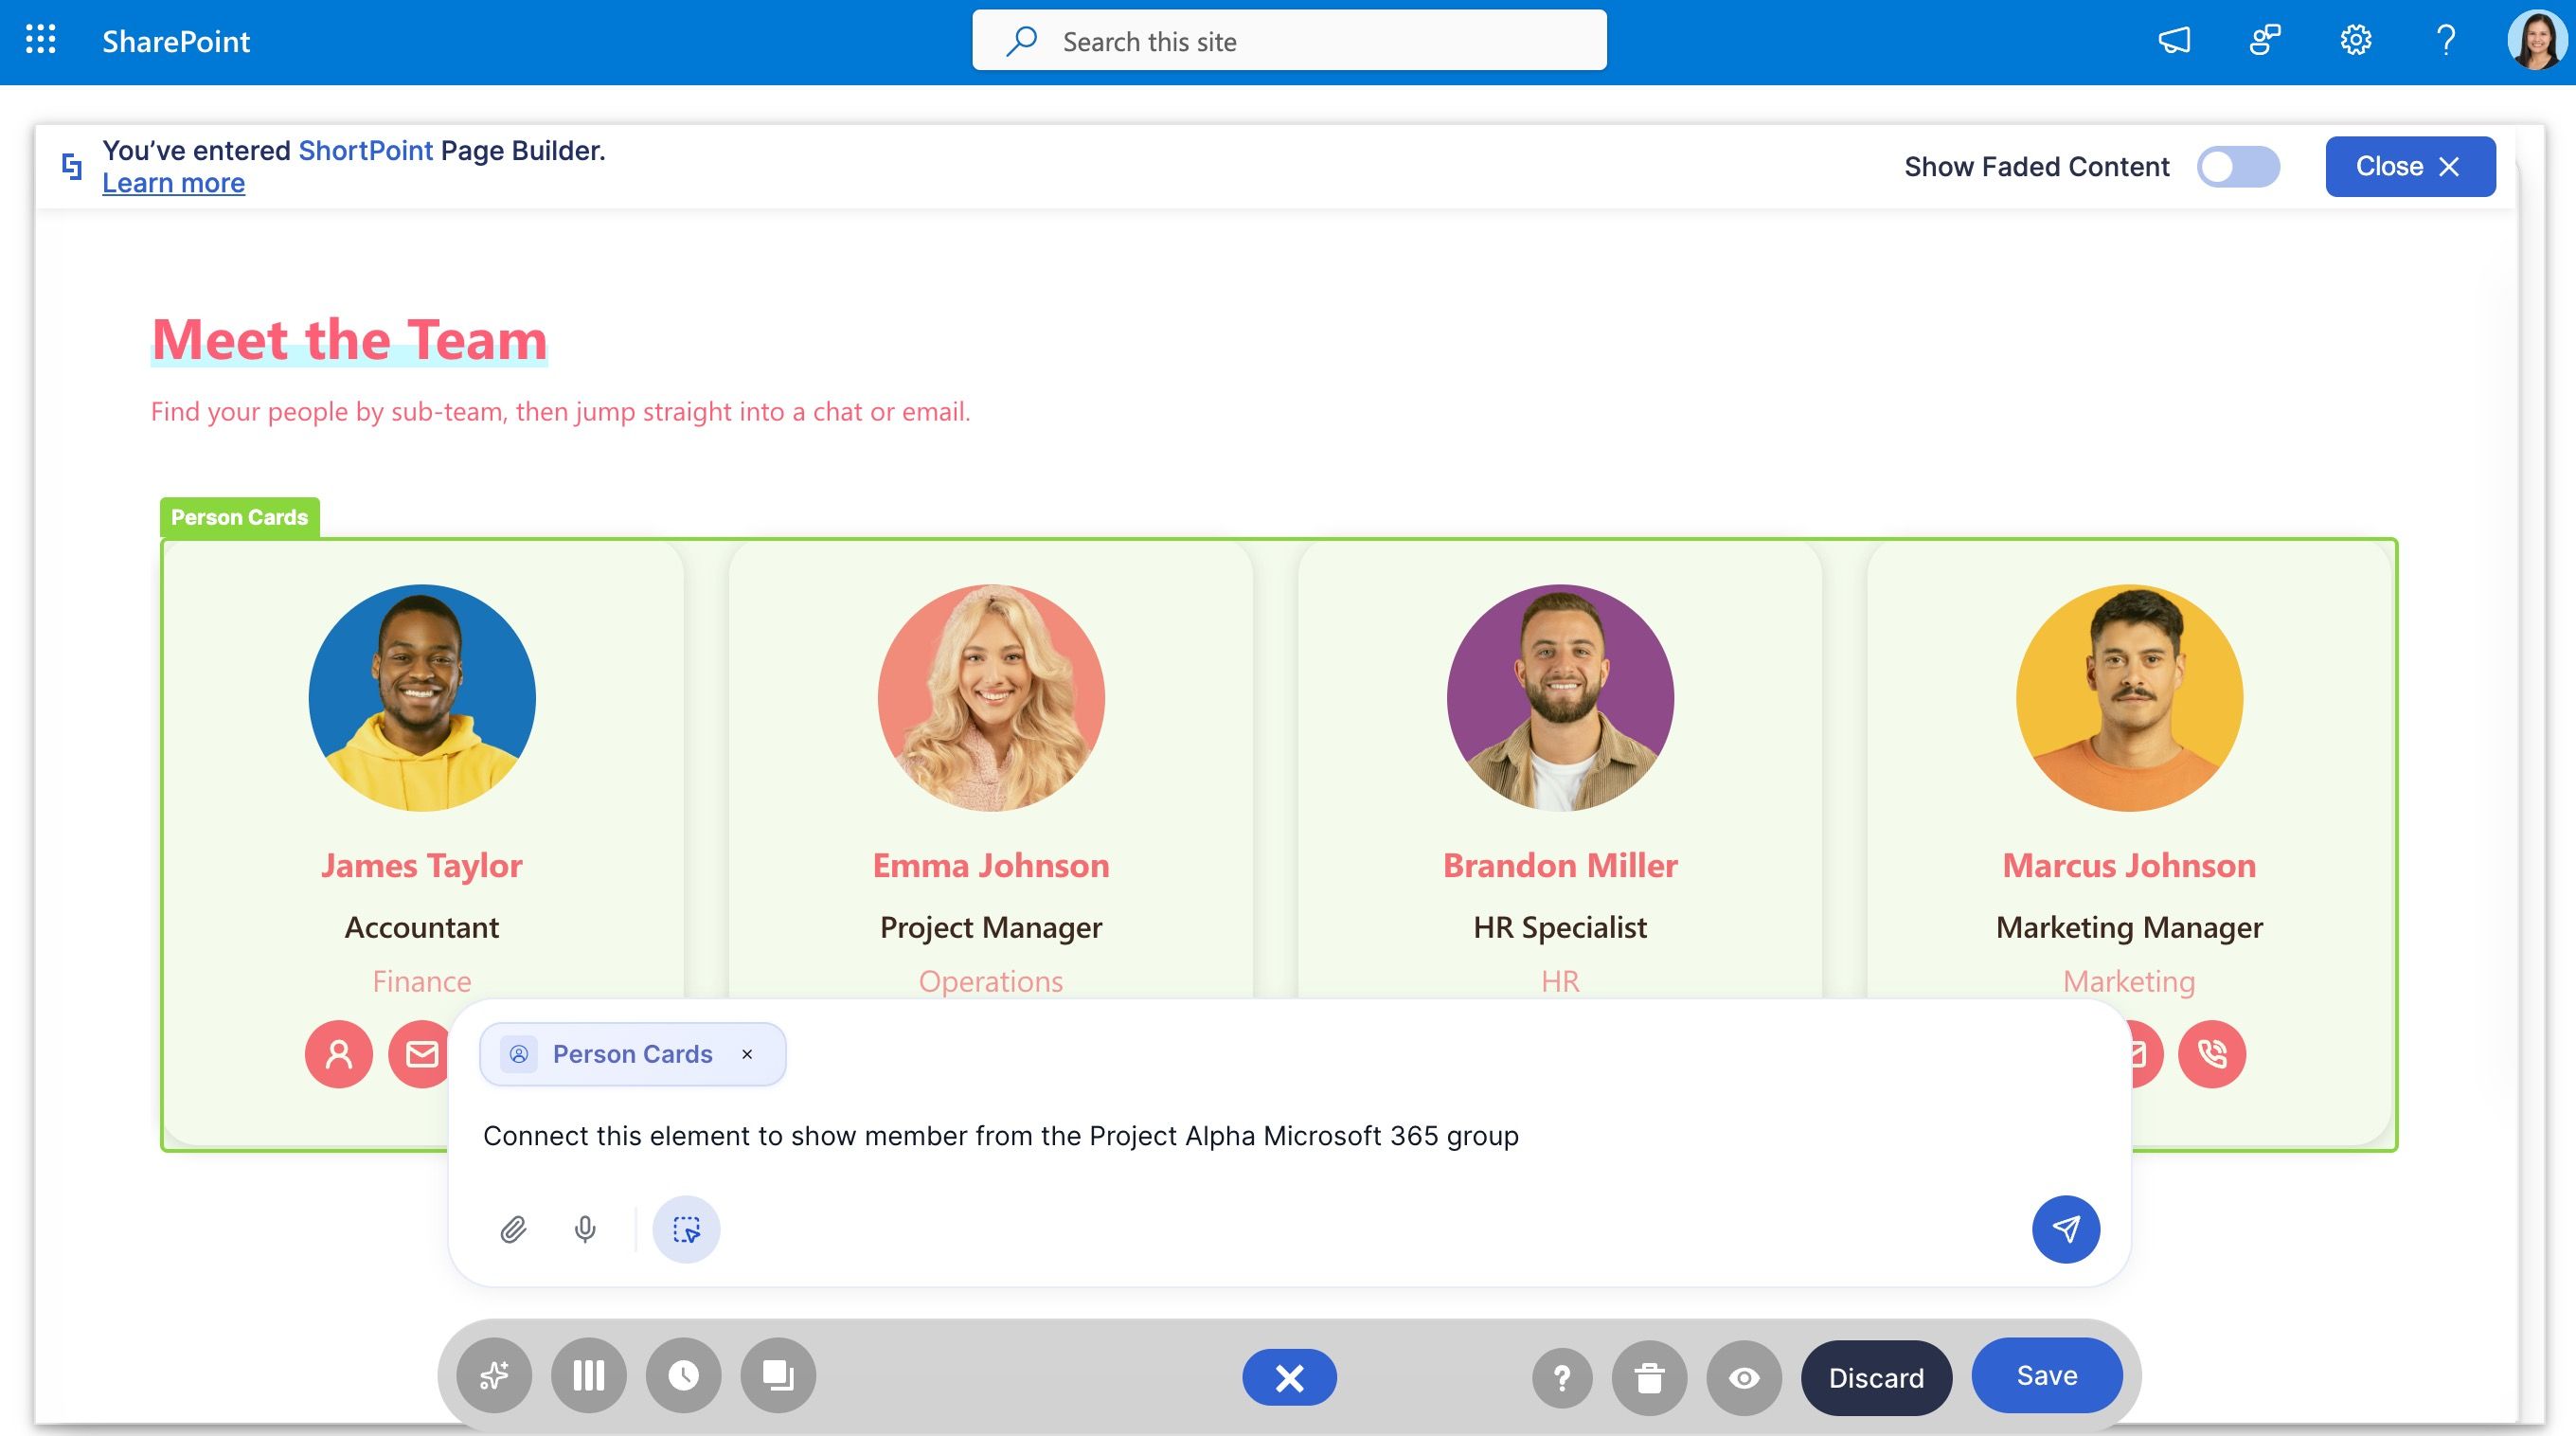
One more reminder before we close out the course: ShortPoint AI Designer can set up connections for you without any manual configuration. Just write a prompt describing which source you want to connect to, and it takes care of the rest. This works especially well with Microsoft Graph API and REST API, two of the most flexible connection types we’ve covered in this course, capable of reaching almost any data source you need.
Continuing your learning
If you’d like to go deeper into anything we’ve covered, our Knowledge Base is full of detailed articles and guides for every connection type. And if you ever run into questions along the way, don’t hesitate to reach out to our support experts. They’re always happy to help.
Congratulations! You’ve reached the end of the ShortPoint Connect Course. You now have the skills to build dynamic, always up-to-date intranet pages — and the knowledge to keep them running smoothly for the long run.