August 2026 Snapshot
This month's Snapshot is filled to the brim with
exciting news and updates.

What's New?
Grid Mode Sunset: What It Means and What to Do About It
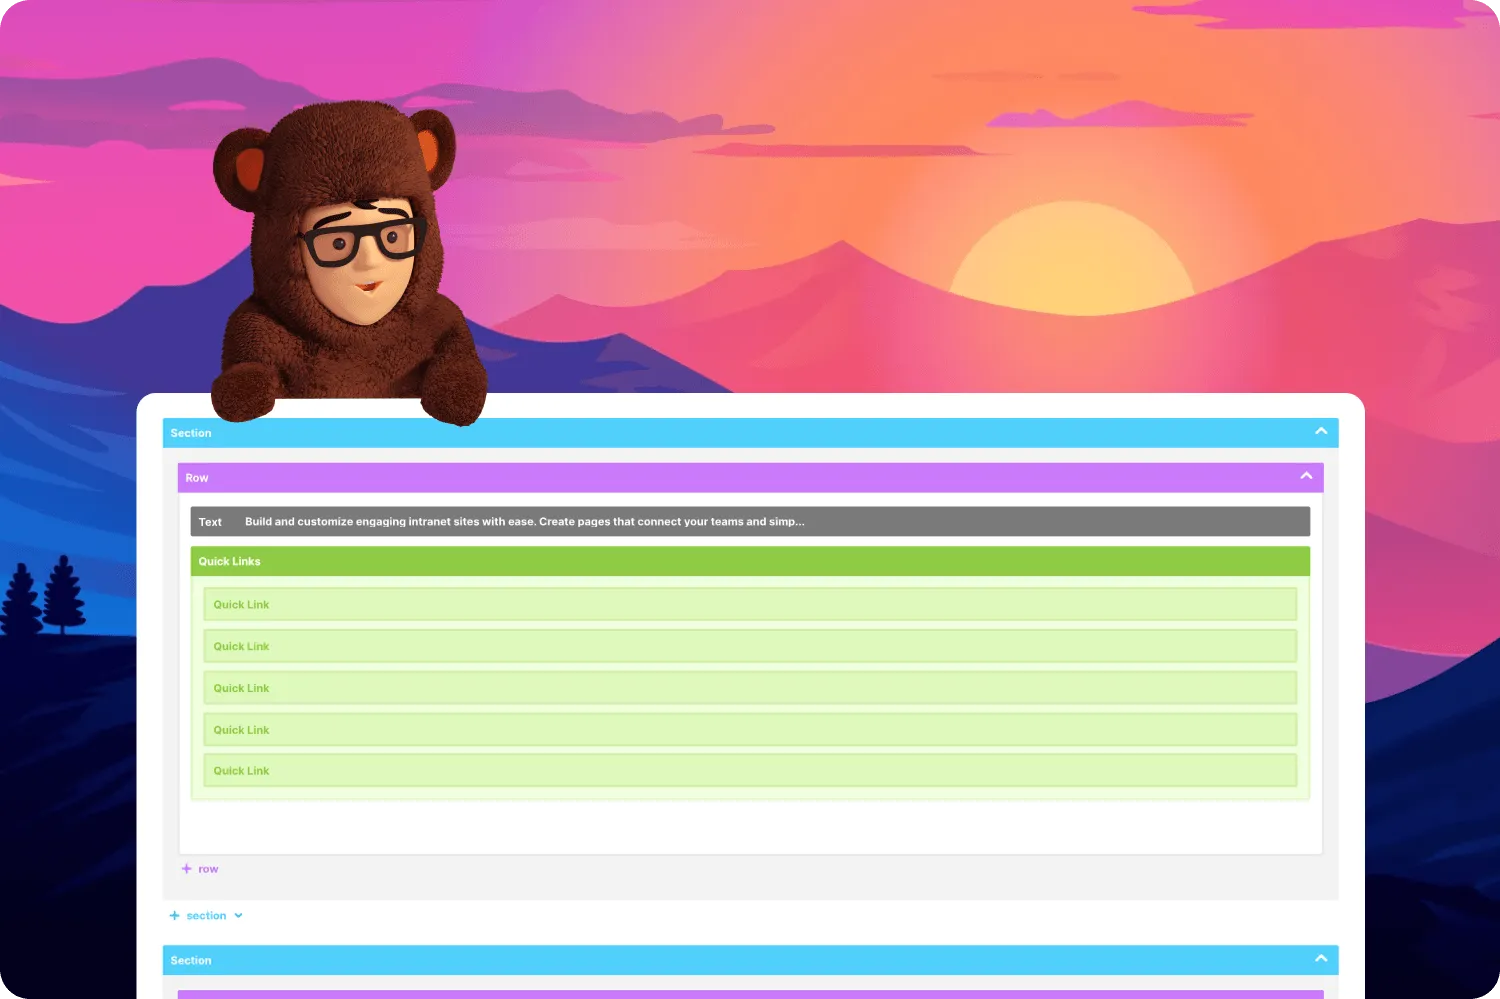
We want to give you a heads-up about a change coming with ShortPoint SPFx version 9.5.0.0: Grid Mode, ShortPoint's editing experience on Classic pages, is being sunset for new releases. So for those who still use Classic pages, editing them or building them, this is for you. Rest assured, this change won't break anything you already have. Your Classic pages will continue to run as they do now. It just means you will stop receiving new features and functionality going forward.
We're making this change because intranet design has moved on, and Grid Mode's architecture wasn't built for the more dynamic, responsive experiences we want to deliver next. Modern SharePoint pages, where Live Mode is the editing experience, give us that foundation. We're putting all our energy into building and improving the design experience there. That means from version 9.5.0.0 onward, all new ShortPoint features, including Design Elements, templates, and AI design tools, will be built exclusively for Modern pages using Live Mode. Our development team is finishing up the work now, and you will see this change soon.
Who this affects
This matters if your team is still building or editing pages on SharePoint 2019/SE Classic pages using Grid Mode. If you're already on Modern pages using Live Mode, you won't need to take any action, but two things are changing for you too: Grid Mode will no longer be available as an editing option, and we're moving the major Grid Mode-only features over to Live Mode so you don't lose functionality in the update.
What it means for Classic page users
Your existing Classic pages won't stop working. You will still be able to build and edit them using Grid Mode. They'll keep running as-is, and you'll still receive critical bug fixes and security patches. What changes is forward motion: no new Design Elements, no new AI-assisted design tools, and none of what's coming next will be available on Classic.
What we recommend
As you can see, there's a lot you may miss out on if you remain on Classic pages. We're not asking anyone to migrate all pages overnight. Still, if your team has the flexibility, we'd recommend starting to plan your move to Modern pages when it suits your schedule, it puts you in a better spot to pick up new features as they ship. Modern pages also give your end users faster load times and cleaner, more responsive rendering out of the box.
When you're ready, we've put together a full walkthrough: How to Convert Your SharePoint 2019/SE Classic Pages to Modern . You can also read more about the shift in our blog post: ShortPoint Says Goodbye to Grid Mode: Welcome to a Faster, Seamless Live Mode Experience . Our Support team is also happy to help you think it through. Reach out at support@shortpoint.com or submit a ticket.

ShortPoint Academy
New Course Alert: The ShortPoint Connect Basics Is Here
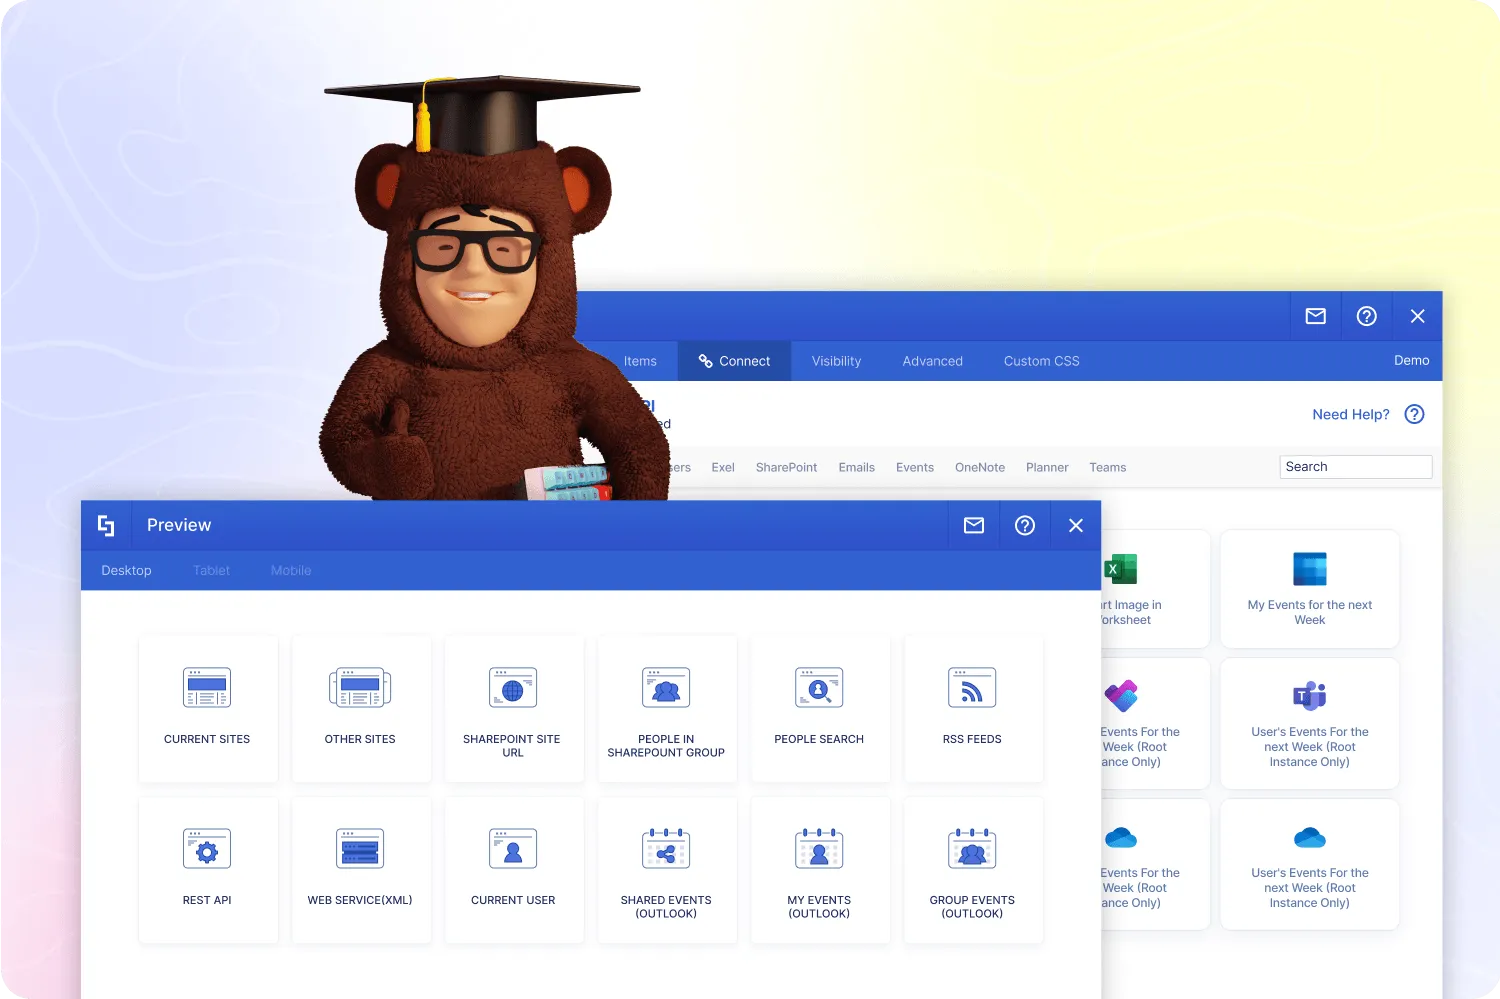
We have just published a brand-new course in the ShortPoint Academy, and it's a big one: the ShortPoint Connect Basics Course is now live and ready for you to dive in.
If you haven't explored it yet, ShortPoint Academy is our library of free, self-paced courses designed to help you get the most out of ShortPoint. From the fundamentals of building a page with ShortPoint to more advanced features like this one. Each course is broken into short, practical lessons you can complete at your own pace.
So what exactly is ShortPoint Connect? It is one of the most-used features at ShortPoint. It lets you link a Design Element directly to a data source, a SharePoint list, calendar, library, or even an outside source. So instead of manually typing content you want to display on your SharePoint page, updates happen dynamically. Once connected, the element pulls in the latest information automatically, so your page stays current without anyone needing to edit it directly.
The new course covers all of it, one practical lesson at a time. You'll start by understanding why Connect exists and the value it brings, then move into connecting to a SharePoint list, calendar, and library, followed by SharePoint news. From there, you'll branch out into Microsoft 365 apps like Outlook and Microsoft Graph API, connect to an external RSS feed, and use REST API for even more flexibility. The course wraps up with how to maintain your connected elements for the long run.
Ready to make your pages update themselves? Check out the Connect Course on ShortPoint Academy today.

Articles
New Articles
Updated Articles

Tech Tip
Build a Dashboard That Stays Current Without Touching It Again
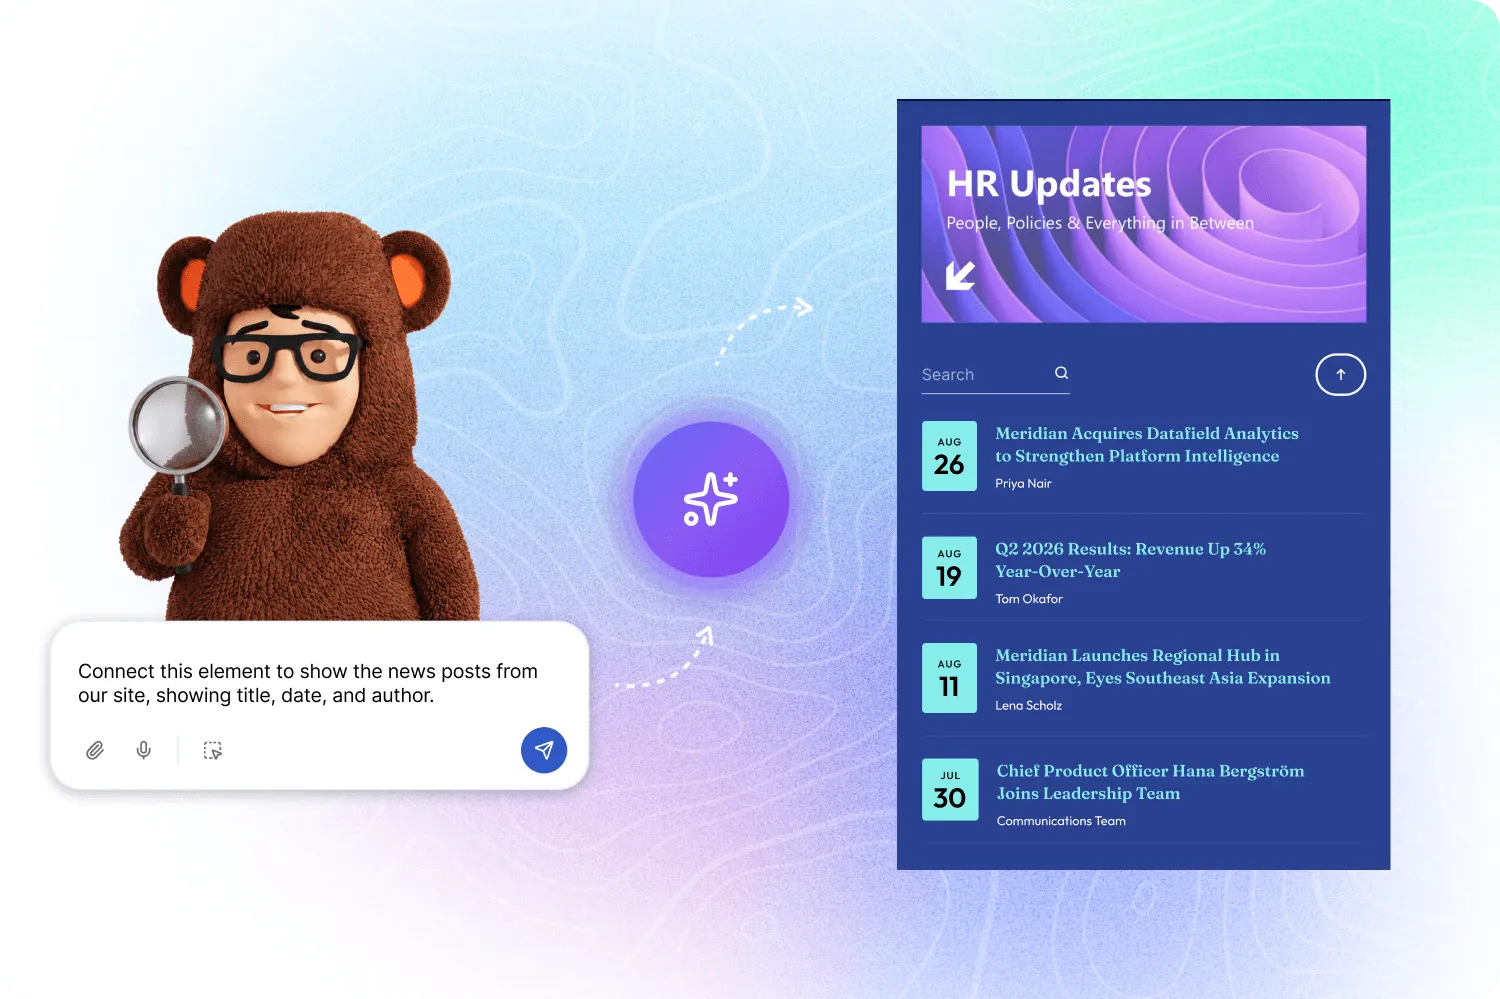
Dashboards, directories, and news feeds usually start the same way: someone builds a clean-looking layout, plugs in the current data, and ships it. Then the data changes, and someone has to go back in and update it by hand. This happens again and again. With ShortPoint AI Designer, you can build the layout, connect it to a live data source, and add search and filtering, all in one conversation. No manual field mapping, no separate setup step, and no more manual updates after launch.
Before you start: make sure AI Designer is enabled on your ShortPoint Admin page with available AI credits, and that you're a ShortPoint Designer with a Pro or Enterprise license. AI Designer currently supports Microsoft Graph API and REST API connections.
The 5-step build
From a blank page to a fully connected, self-updating dashboard, here's how to get there in one AI Designer conversation.
- 1. Open the AI Designer panel. On your target page, click Edit, insert a ShortPoint web part, and click the green AI Designer icon on the Section options.
- 2. Describe the design element you want. You have a few ways to do this: type out a prompt describing what you need, use one of the example prompts provided, or upload a reference image alongside your prompt if you already have a layout in mind. For example: "Add a list-style design element for showing announcements, with a title, date, and author for each entry."
- 3. Connect it to a live data source. Normally, setting up a ShortPoint Connect connection means a few clicks: choosing a connection type, identifying the source, and mapping which content should display. With AI Designer, you can skip all of that. Just describe the connection you want, and it handles the setup behind the scenes: "Connect this element to show the news posts from our [Site Name] site, showing title, date, and author." 💡 Pro tip: If you have multiple design elements on the page, use AI Designer's Select and Edit feature to click directly on the one you want to connect, so your prompt only applies to that element.
- 4. Add search and filtering in the same conversation. Once a design element is connected to a source, it can retrieve a large amount of data. You don't want your users scrolling through a long list or dedicating the whole page just to show it all. This is where the Search & Filters Toolbar helps, and AI Designer can add it through a prompt too: "Add a search bar, a tab by author, and sort by date to this list."
- 5. Preview and publish. Check that the design, connection, and toolbar look right, then Save & Publish.
The result: Your dashboard is live, connected, and easy to navigate, and it stays that way. Add a new item to the source list, and it appears on your page automatically. No manual refresh, no re-editing the element, no upkeep beyond the day you built it.
💡 Pro tip: This combination works especially well for employee directories, announcement feeds, and KPI dashboards. Anywhere a static list creates more maintenance than value.
Want to learn more? Our Knowledge Base has a wealth of resources about AI Designer, its features, and other tricks.